Vogn
0
Tilmeld dig og få 10% i rabat på din ordre
Forventet levering
1-3 dage
Du vil måske også kunne lide


Dansk Firma

Outdoor adventures often leave Canadian campers and American travelers with chairs covered in dust and dirt after each excursion. The right cleaning routine not only extends the life of portable seating but also supports eco-friendly habits wherever your journeys take you. By focusing on smart preparation and using gentle cleaning solutions, you can maintain a comfortable, hygienic resting spot while reducing your impact on the environment. Preparing your cleaning supplies and workspace in advance creates a smoother, safer process from start to finish.
| Effective Cleaning Tips | Clear Insights for Safe Outdoor Cleaning |
|---|---|
| 1. Gather cleaning supplies first | Assemble needed tools like soap, brushes, and gloves for efficiency. |
| 2. Clear debris and detach parts | Remove dirt and cushions before cleaning; take pictures for reassembly. |
| 3. Use appropriate cleaning solutions | Match cleaners to chair materials for safe and effective washing. |
| 4. Rinse thoroughly and inspect | Ensure all residues are removed by careful rinsing and checking spots. |
| 5. Dry properly and check for damage | Allow air drying and inspect for wear to avoid future issues. |
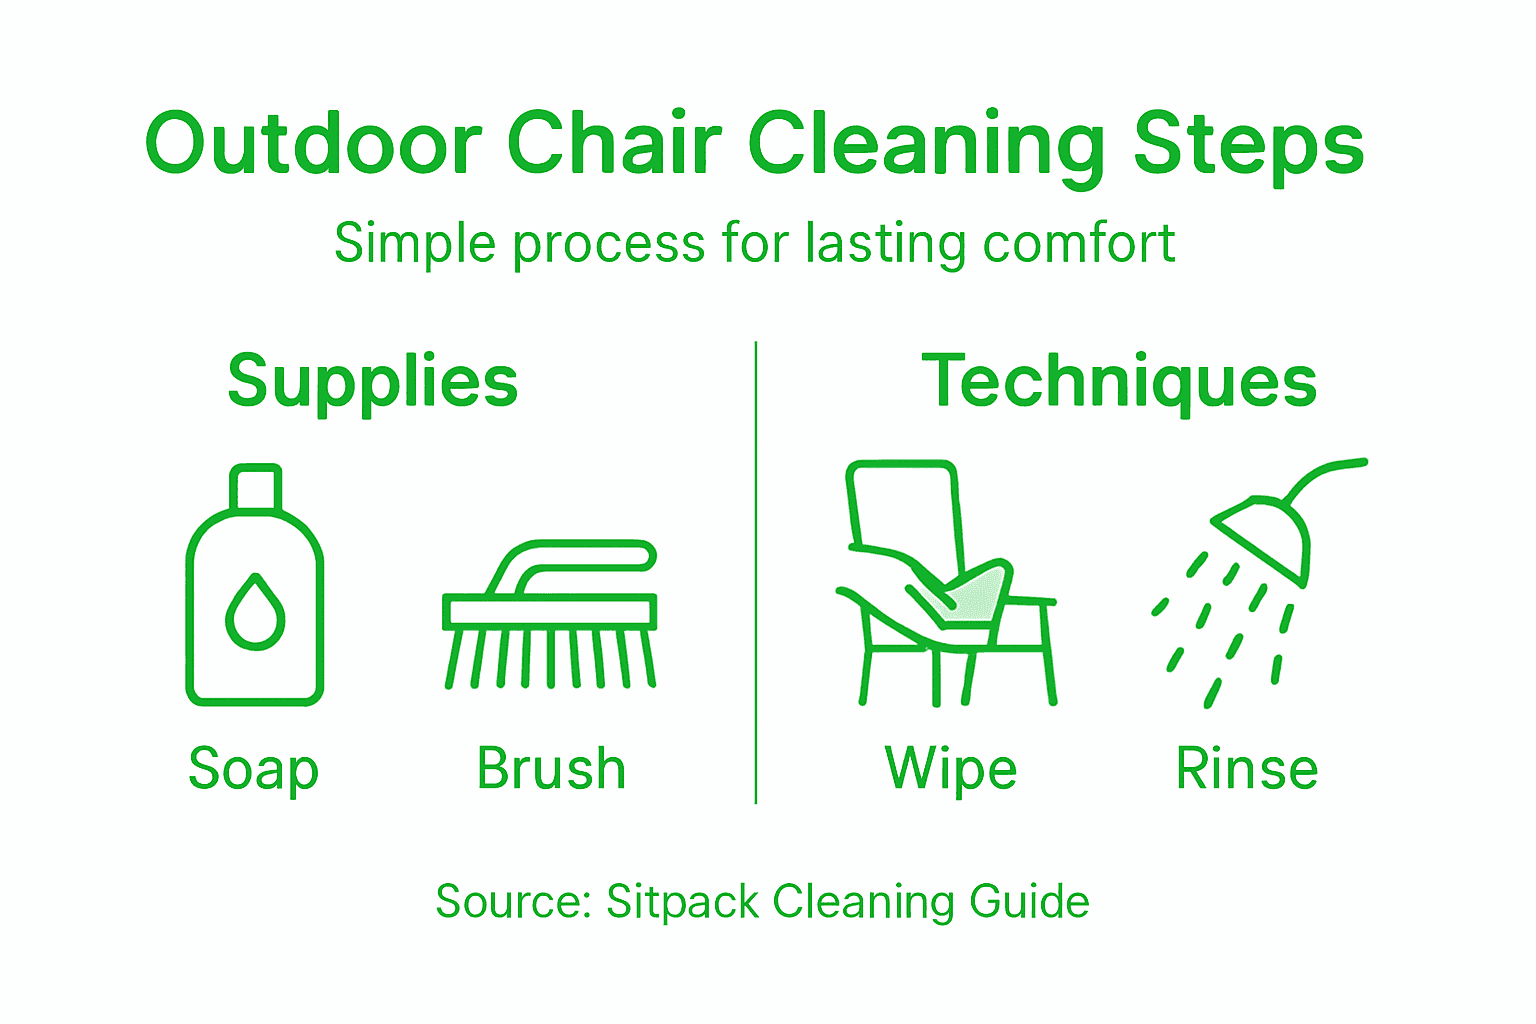
Getting your outdoor chairs sparkling clean starts with gathering the right cleaning arsenal. You’ll want to assemble everything you need before diving into the actual cleaning process. Household cleaning guidelines recommend preparing your supplies in advance to make the task smooth and efficient.
For this cleaning project, you’ll need several key items: mild dish soap, warm water, white vinegar, soft brushes or microfiber cloths, rubber gloves, a large bucket, and potentially a gentle all-purpose cleaner. Opt for non abrasive materials that won’t scratch your outdoor chair surfaces. Having a well-ventilated workspace like a backyard, patio, or driveway will make the cleaning process much easier and more comfortable. Lay out an old towel or tarp to catch any water or cleaning solution runoff and protect your working surface.
Arrange your cleaning supplies within easy reach and put on your protective gloves before starting. This preparation ensures you can work efficiently and protect both your chairs and your hands during the cleaning process.
Pro tip: Consider keeping a dedicated set of cleaning supplies for outdoor furniture to streamline future maintenance and avoid cross contamination with indoor cleaning tools.
Before diving into a thorough cleaning, you need to clear away loose debris and prepare your outdoor chairs for a deep clean. Debris removal strategies highlight the importance of this initial preparation step to ensure a comprehensive cleaning process.
Start by carefully removing all loose debris like leaves, twigs, dust, and dirt from your outdoor chairs. Use a soft brush or clean dry cloth to gently sweep away surface particles. Next, tackle any detachable components such as seat cushions, fabric covers, or removable padding. Take a moment to snap a quick photo of how these pieces were originally positioned this will help you reassemble everything correctly later. Carefully remove each detachable part and set them aside in a clean area where they can be individually cleaned without getting mixed up.
Inspect each chair component as you remove it checking for any significant dirt buildup, stains, or potential damage. This preliminary examination allows you to identify specific cleaning needs for different materials and parts before you begin the actual washing process.
Pro tip: Keep detachable components organized by using labeled containers or a designated clean surface to prevent misplacing smaller parts during the cleaning process.
Now comes the critical stage of actually cleaning your outdoor chairs using the right techniques and cleaning agents. Cleaning and sanitizing guidelines recommend selecting cleaning solutions specifically matched to your chair materials for optimal results.
Prepare a cleaning solution based on your chair’s material. For plastic or metal chairs, mix mild dish soap with warm water. Fabric or upholstered chairs might require a specialized upholstery cleaner. Use a soft microfiber cloth or soft bristle brush to gently scrub the surfaces, working in circular motions to lift dirt without causing damage. Pay special attention to crevices and joints where grime tends to accumulate. Rinse your cleaning cloth frequently to prevent spreading dirt around and ensure you are actually removing contaminants rather than just moving them.

Apply the cleaning solution sparingly to avoid oversaturating the material. Work in small sections, thoroughly cleaning and then immediately wiping away the soap solution to prevent water spots or potential material damage. For stubborn stains, let the cleaning solution sit for a few minutes before gently scrubbing.
Pro tip: Always test your cleaning solution on a small hidden area first to ensure it does not discolor or damage the chair material.
Here’s a quick reference for recommended cleaning methods by chair material:
| Material Type | Best Cleaning Solution | Special Precautions |
|---|---|---|
| Plastic | Mild dish soap and water | Avoid abrasive brushes |
| Metal | Mild soap and water | Dry thoroughly to prevent rust |
| Wood | Gentle soap, minimal water | Do not oversaturate; air dry |
| Fabric/Upholstery | Upholstery cleaner or vinegar | Test cleaner on hidden spot |
With your chairs cleaned, the next crucial step is ensuring all soap and cleaning solution is completely removed. Thorough rinsing guidelines emphasize the importance of systematic water application to prevent residue buildup.
Use clean water at a comfortable temperature to rinse every surface thoroughly. Start from the top of the chair and work your way down, ensuring no soap suds or cleaning solution remain. Use a clean soft cloth or a gentle spray from a garden hose to wash away all cleaning agents. Pay extra attention to joints, crevices, and areas where soap might accumulate. Move your cleaning cloth or water stream systematically to guarantee complete coverage and prevent any missed spots.
Once rinsing is complete, perform a careful visual inspection of the entire chair. Look for any remaining dirt spots, soap residue, or areas that might need additional cleaning. Hold the chair in good lighting to catch any subtle marks or missed sections. If you find any remaining spots, repeat the cleaning and rinsing process for those specific areas to ensure your outdoor chairs are completely clean and ready for use.
Pro tip: Use a clean white towel to wipe down the chair after rinsing this will help you quickly identify any remaining dirt or cleaning solution that needs attention.
The final stage of cleaning your outdoor chairs involves thorough drying and a comprehensive damage assessment. Cleaning and inspection guidelines highlight the critical importance of proper drying to maintain chair integrity and prevent potential deterioration.
Choose a well-ventilated area with indirect sunlight for drying your chairs. Position them in an open space where air can circulate freely around all surfaces. If possible, stand chairs at a slight angle to allow water to run off and prevent pooling. Avoid direct intense sunlight, which can cause material fading or warping. Use clean dry towels to blot away excess moisture, but allow air drying to complete the process. Pay special attention to joints, crevices, and areas prone to moisture retention.
Once the chairs are completely dry, conduct a meticulous visual and tactile inspection. Check for signs of wear such as cracks, rust, loose screws, or fabric tears. Run your hands along seams and stress points to feel for any structural weaknesses. Look closely at connection points, frame integrity, and surface conditions. Address any minor issues immediately to prevent further deterioration and ensure continued safe use of your outdoor chairs.
Pro tip: Keep a small repair kit with weatherproof sealant, replacement screws, and touch up paint nearby to quickly address minor damages during your inspection.
Below is a summary of each step’s main goal and most important tip:
| Step | Primary Goal | Key Tip for Success |
|---|---|---|
| Prepare supplies & space | Assemble all tools & prepare area | Use non-abrasive cleaning tools |
| Remove debris & detachable parts | Clear away dirt and prep chairs | Photograph removable components |
| Wash with cleaning solution | Clean surfaces safely and gently | Test solution on hidden area first |
| Rinse thoroughly & inspect spots | Remove all soap and residues | Use white towel to check cleanliness |
| Dry completely & check for damage | Prevent mold and structural issues | Inspect and repair minor damages |
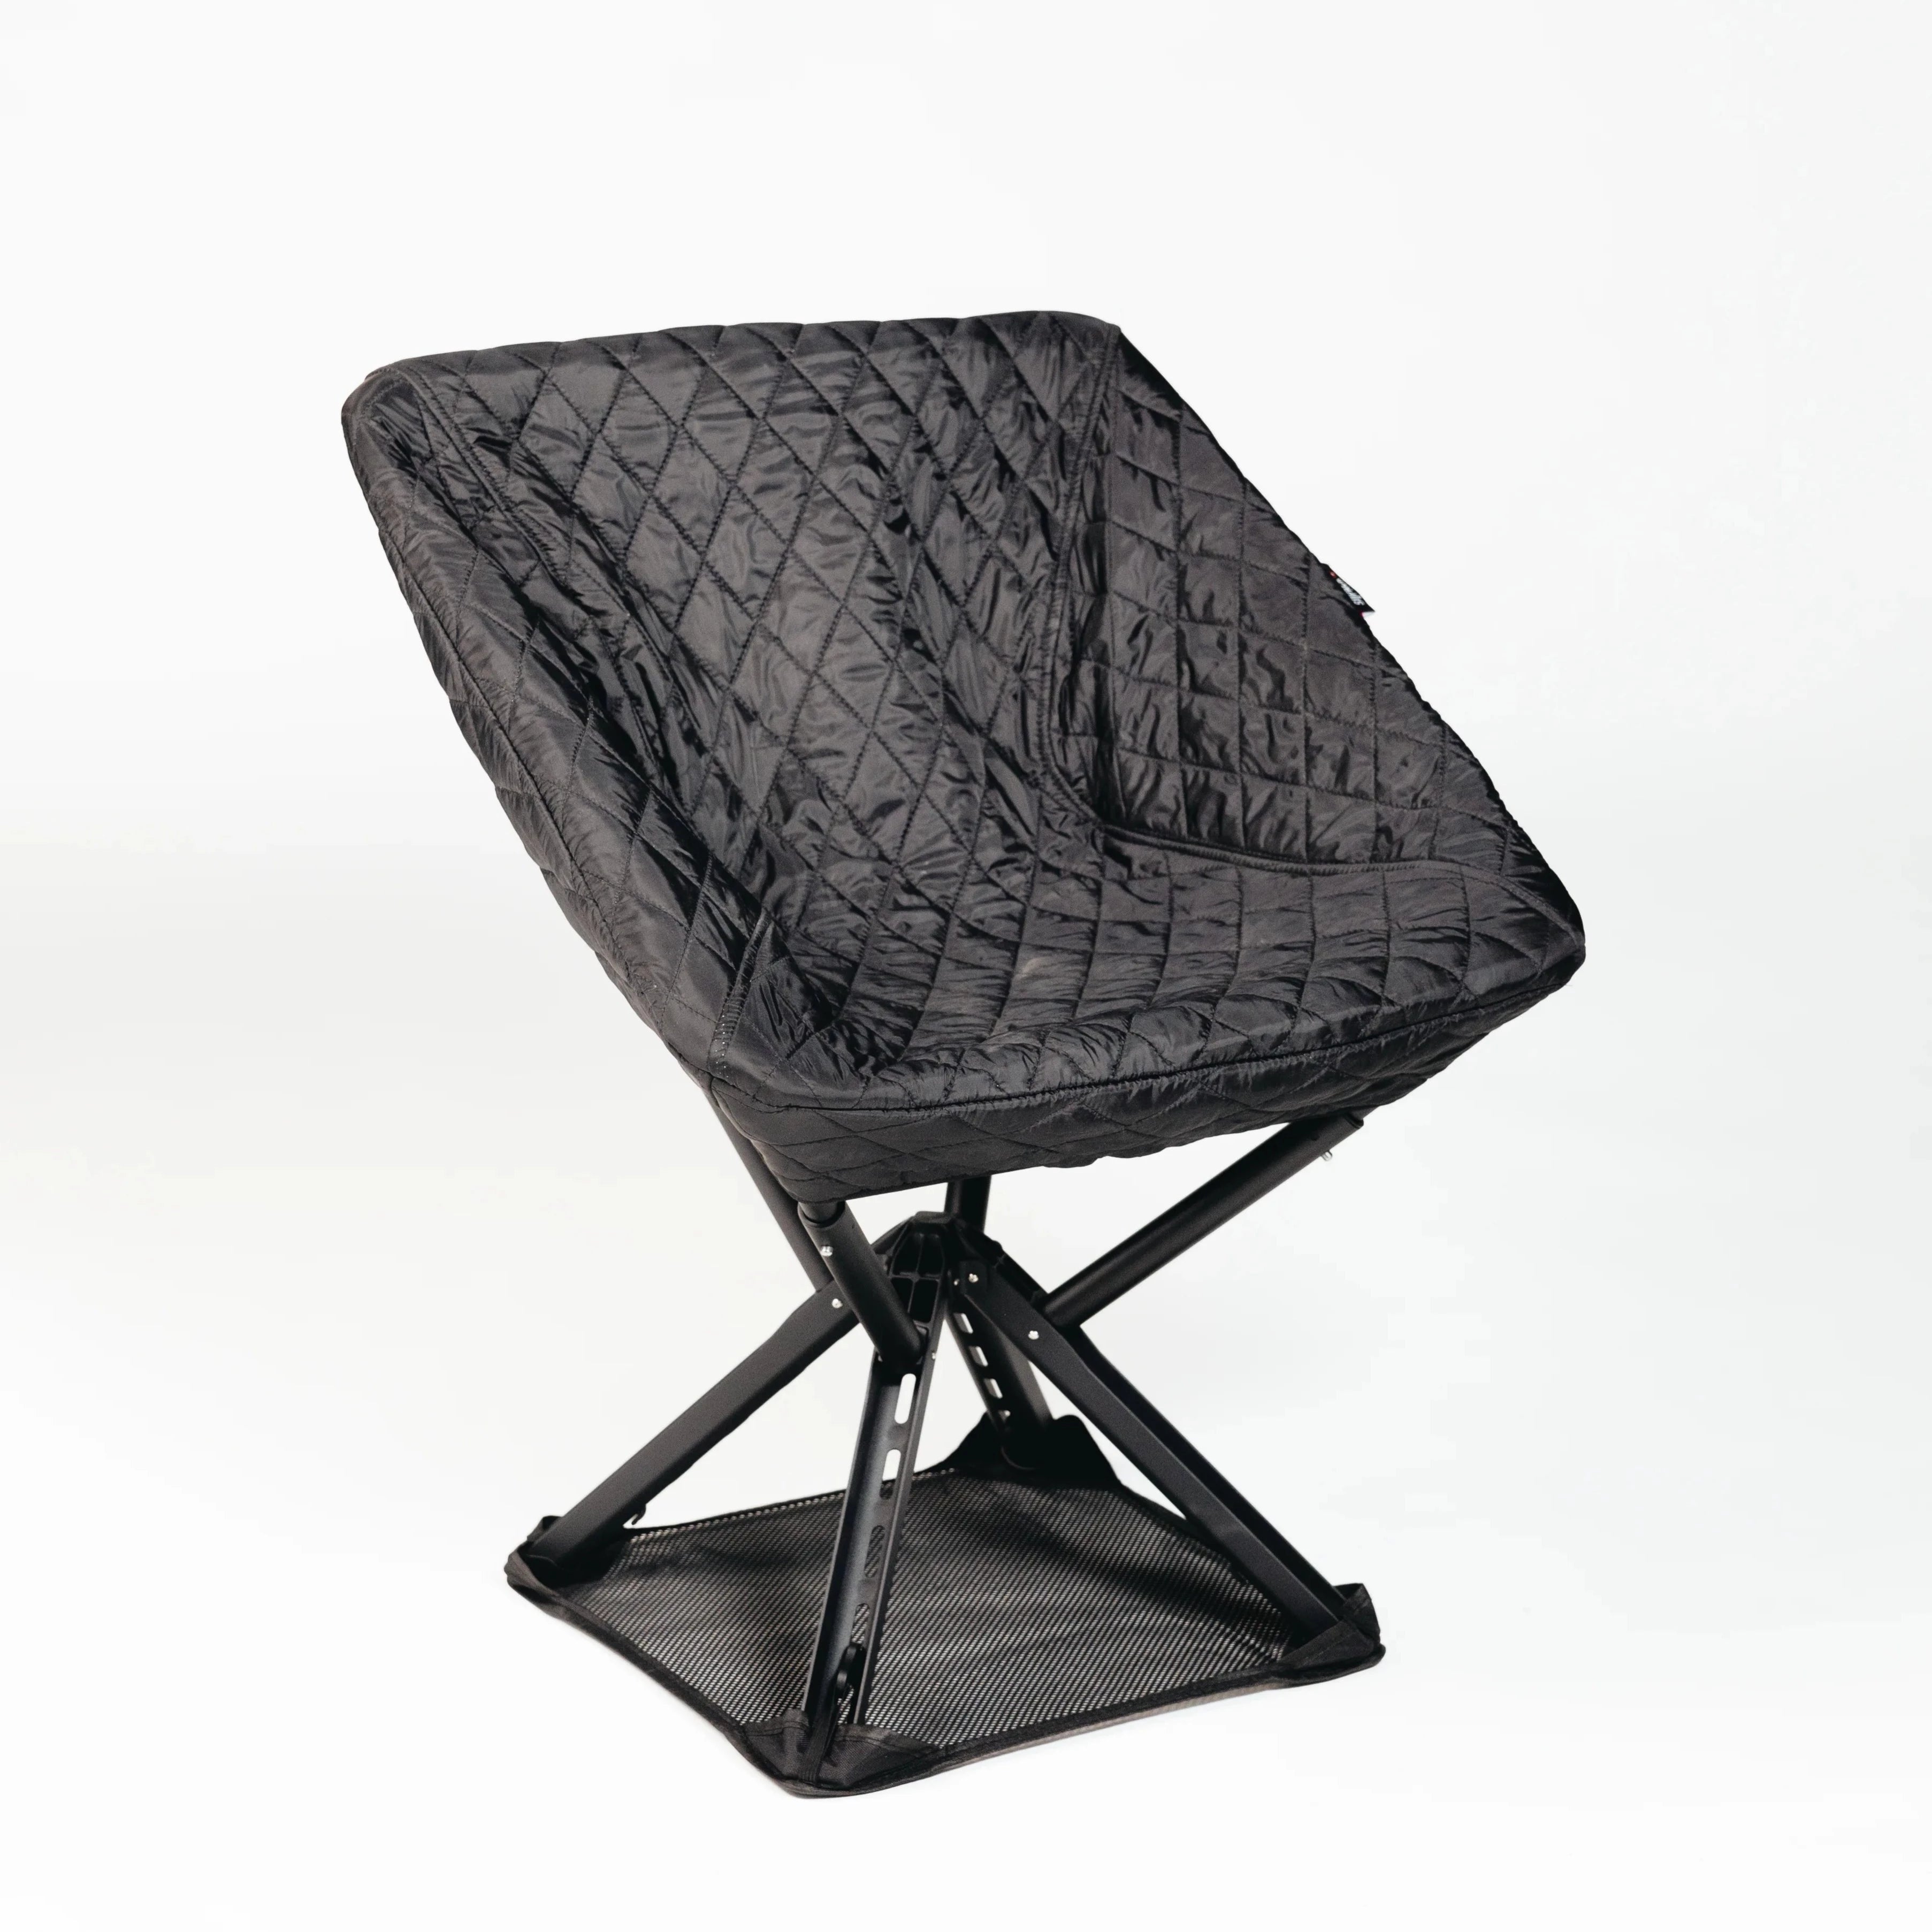
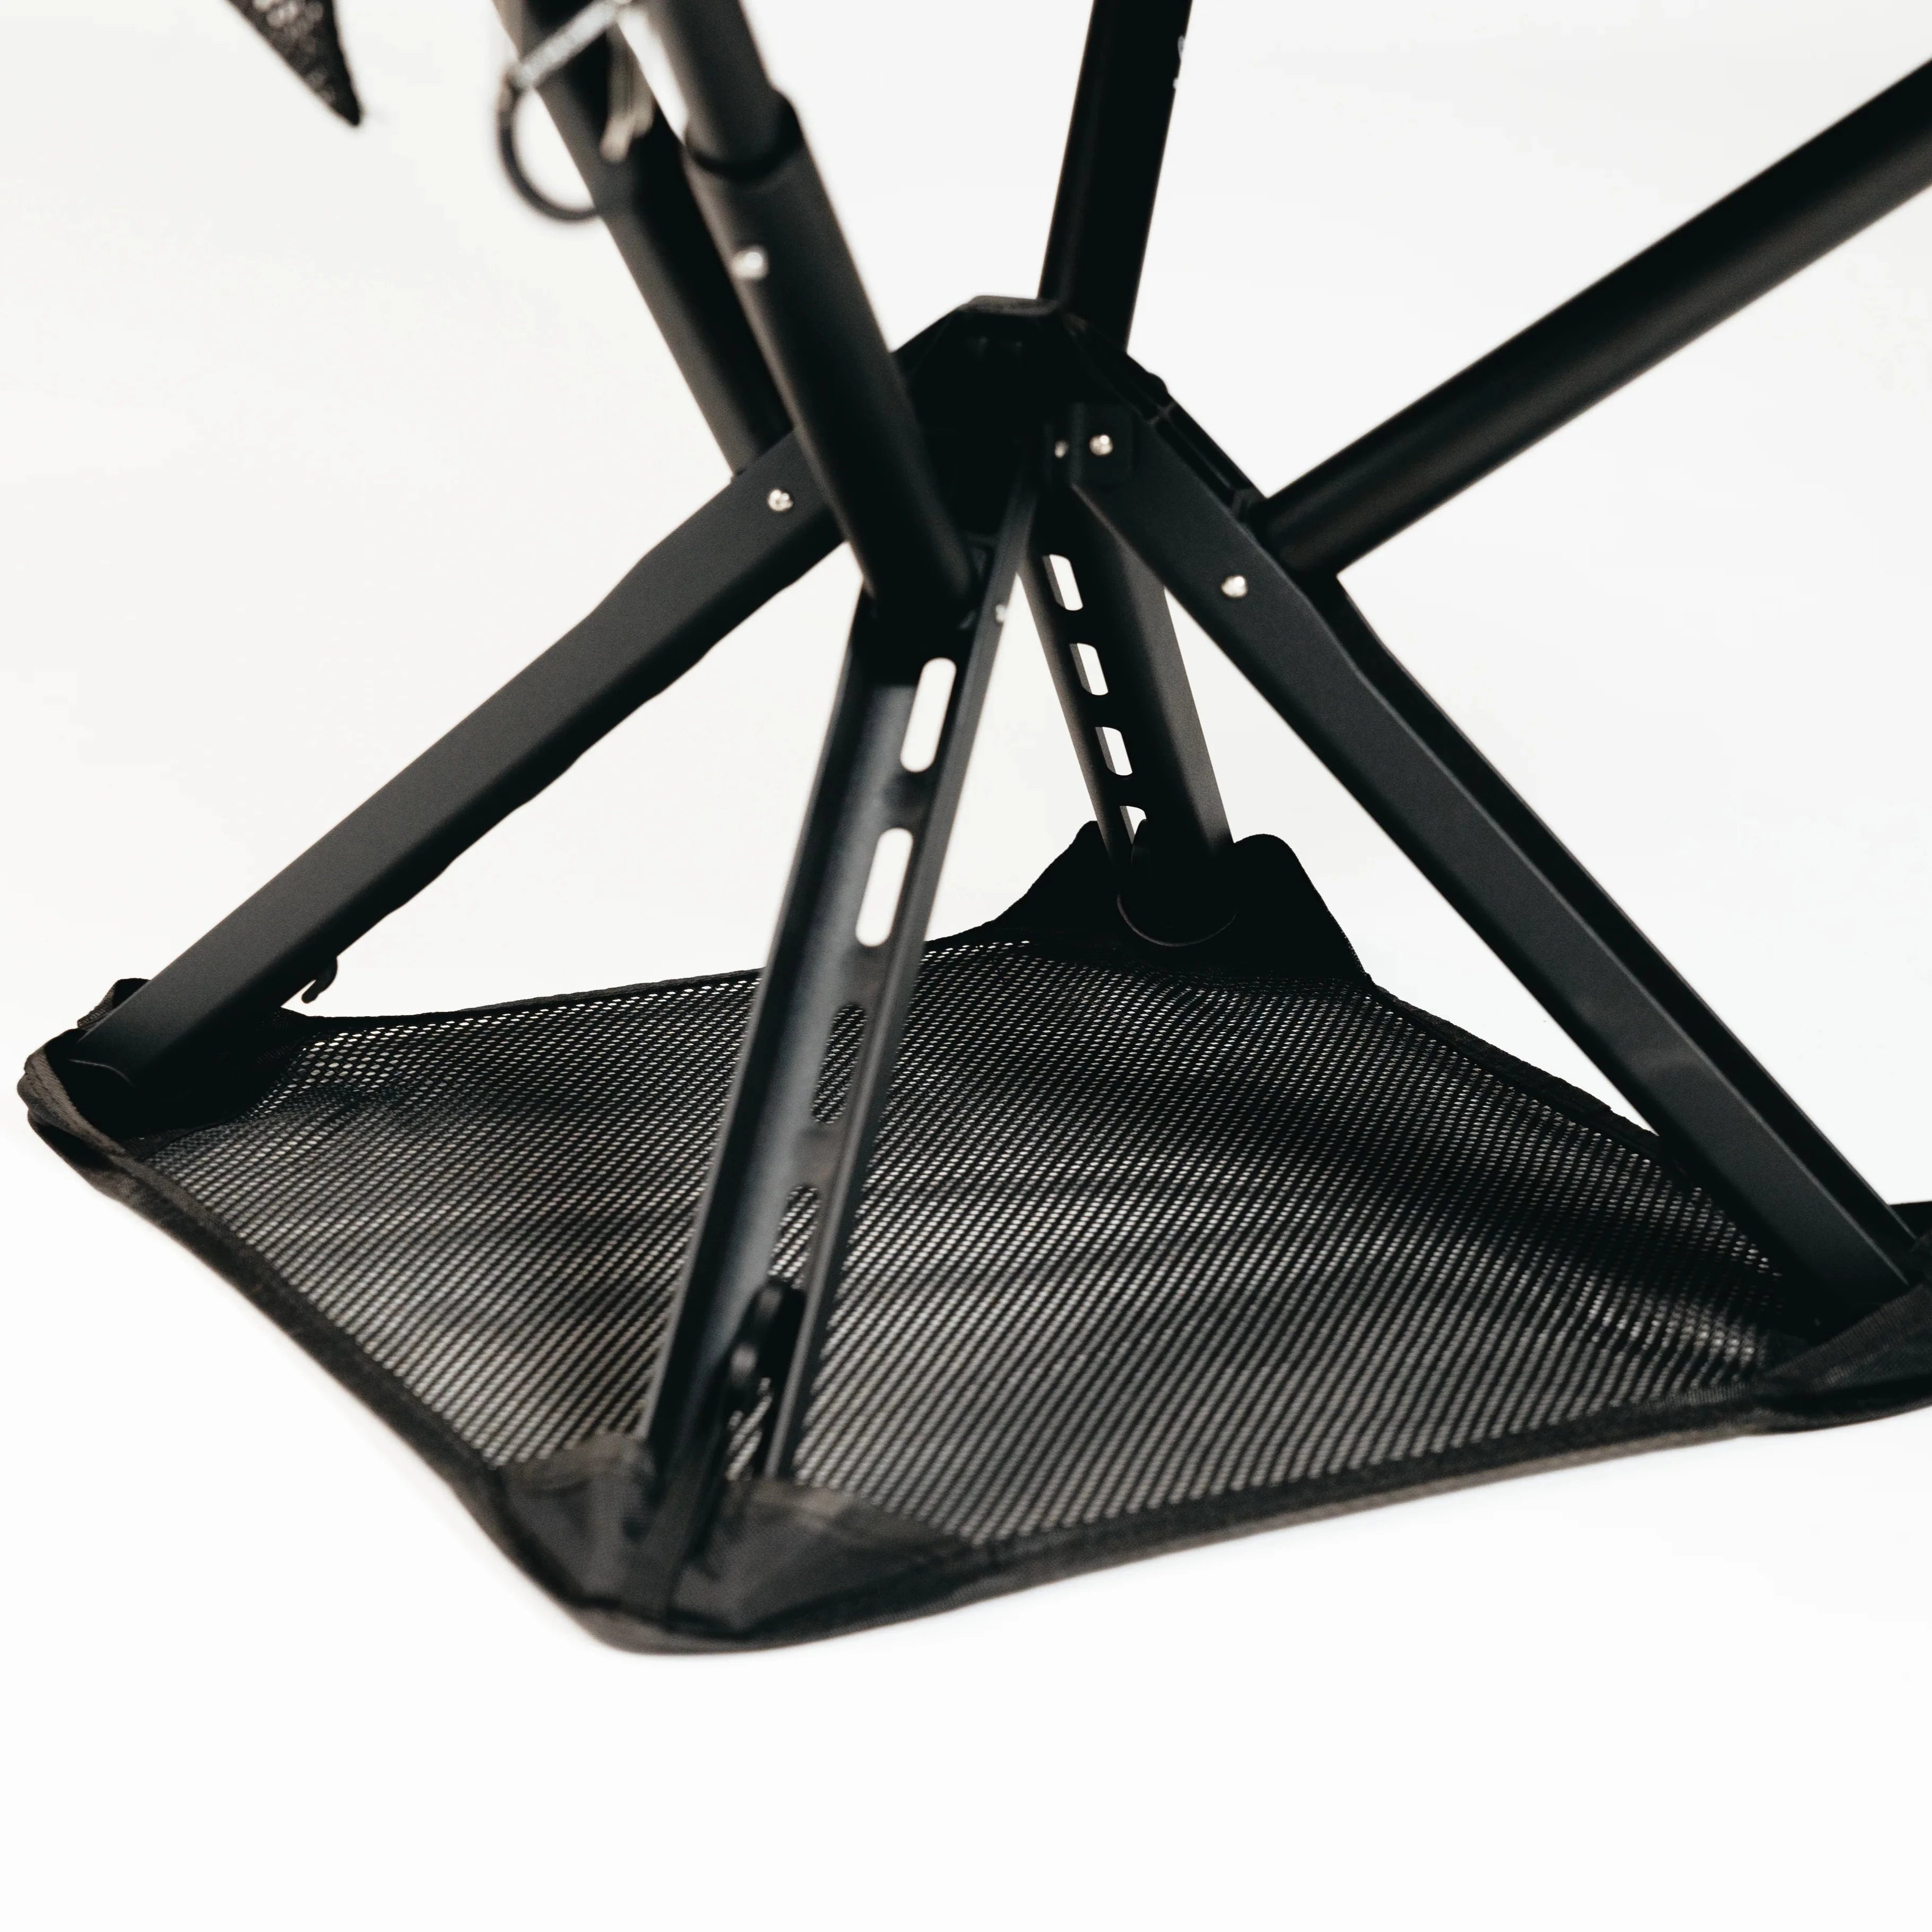
Cleaning outdoor chairs carefully is important to keep them comfortable and durable. But what if you could enjoy portable seating that not only provides comfort but also requires minimal upkeep after every outdoor adventure The challenge of removing dirt, stains, and debris is real especially when chairs are bulky or hard to clean. The article emphasized gentle cleaning solutions and thorough drying to avoid damage and extend chair life. Imagine replacing that hassle with sleek, foldable chairs designed to stay fresh and ready whenever you are.

Discover innovative seating solutions like the Campster II and Sitpack Zen at Sitpack that combine lightweight design and durability for seamless outdoor use. Their minimalistic style and easy-to-clean materials make maintenance straightforward so you spend less time worrying about stains and more time enjoying nature. Plus explore accessories designed for outdoor comfort and convenience. Act now to upgrade your seating gear with confidence backed by fast worldwide delivery and a 45-day satisfaction guarantee. Start your journey to hassle-free comfort today at Sitpack and turn every outdoor moment into lasting enjoyment.
To prepare your outdoor chairs for cleaning, start by gathering mild dish soap, warm water, and soft brushes or microfiber cloths. Remove loose debris like leaves and dust, and detach any components like cushions to clean them separately.
For plastic or metal chairs, mix mild dish soap with warm water. For fabric or upholstered chairs, opt for a specialized upholstery cleaner to avoid damaging the material.
To avoid missing any spots while cleaning, rinse each chair thoroughly from top to bottom, focusing on crevices and joints where dirt tends to accumulate. Use a clean white cloth to wipe down the surfaces, which helps in identifying any remaining dirt or soap residue.
After cleaning, dry your outdoor chairs completely in a well-ventilated area to prevent mold and damage. Blot excess moisture with clean dry towels and inspect for any signs of wear, addressing minor damages immediately to maintain chair integrity.
For lasting comfort, clean your outdoor chairs at least once a season, or more frequently if they are exposed to heavy use or harsh weather. Regular cleaning helps maintain their appearance and prolongs their lifespan by preventing dirt buildup and deterioration.