Vogn
0
Tilmeld dig og få 10% i rabat på din ordre
Forventet levering
1-3 dage
Du vil måske også kunne lide


Dansk Firma

Many campers struggle with discomfort because they don’t use their gear effectively. Setting up insulation incorrectly, pitching tents poorly, or ignoring ventilation can turn an exciting outdoor adventure into a frustrating ordeal. This guide walks you through a proven workflow to select, prepare, set up, and optimize your camping accessories. You’ll learn actionable strategies to avoid common mistakes and transform your campsite into a comfortable, functional basecamp.
| Point | Details |
|---|---|
| Planning and packing | Systematic packing with prioritized lists and ventilation strategies reduces weight and improves campsite comfort. |
| Tent setup mastery | Proper tensioning, insulation layers, and ventilation techniques create stable, warm shelters that withstand weather. |
| Pre-trip checks | Verifying batteries, fluids, and operational systems ensures safety and prevents equipment failures in remote locations. |
| Ongoing optimization | Regular airing, moisture management, and accessory adjustments maintain comfort throughout your camping stay. |
| Environment assessment | Reading wind, temperature, and terrain conditions guides smart accessory choices and setup decisions. |
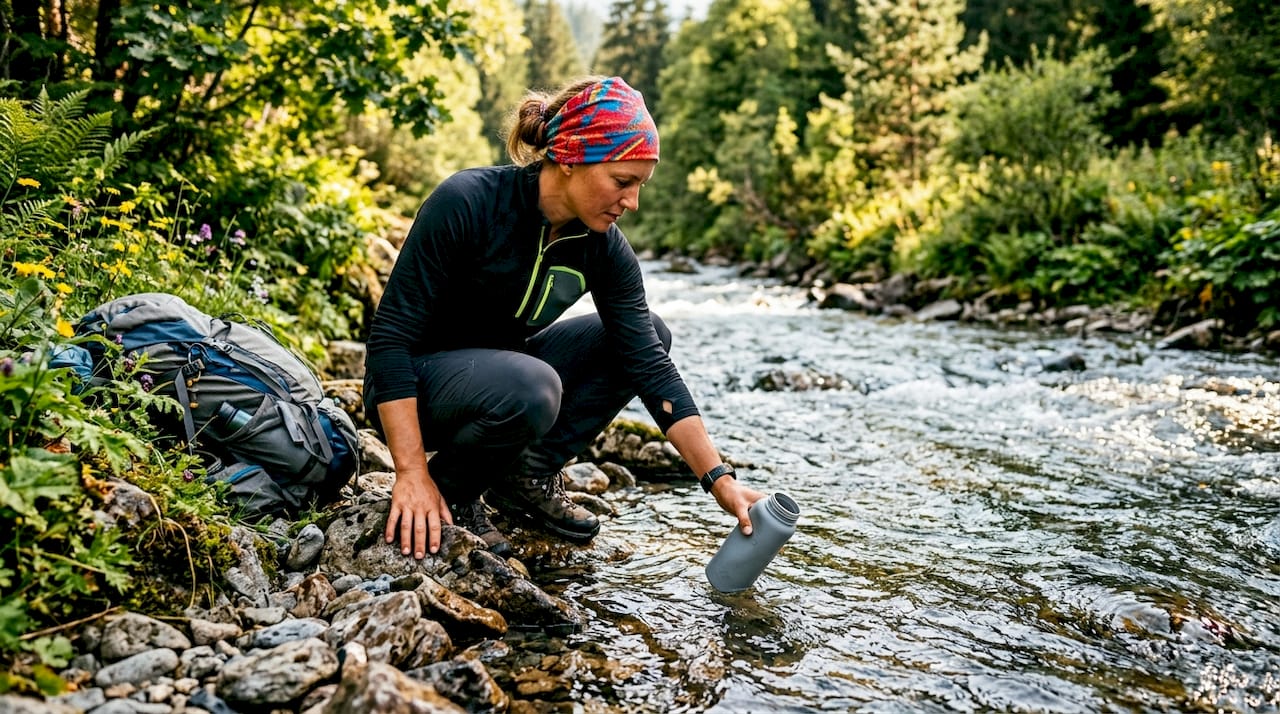
Successful camping starts with knowing what gear you need and how your environment shapes its use. Essential accessories include tents, sleeping pads, insulation layers, portable power stations, and awnings. Each item plays a specific role in creating a comfortable, functional campsite.
Environmental factors dramatically influence how you deploy your gear. Wind direction affects tent orientation and guy line placement. Temperature swings determine insulation requirements and ventilation needs. Terrain impacts stake placement and sleeping pad selection. Precipitation levels dictate waterproofing priorities and awning setup.
Reading the campsite environment is crucial for a comfortable night, requiring observation of wind, water flow, and ground conditions. Walk your campsite before unpacking. Look for natural windbreaks like rock formations or dense vegetation. Avoid low spots where water pools during rain. Check for widow makers (dead branches overhead) and ant hills. Feel the ground texture to assess drainage and comfort.
Smart environment-driven decisions make the difference between misery and comfort:
Building your ultimate camping gear kit starts with understanding these environment-gear relationships. Each camping trip teaches you to read conditions faster and make better accessory choices.
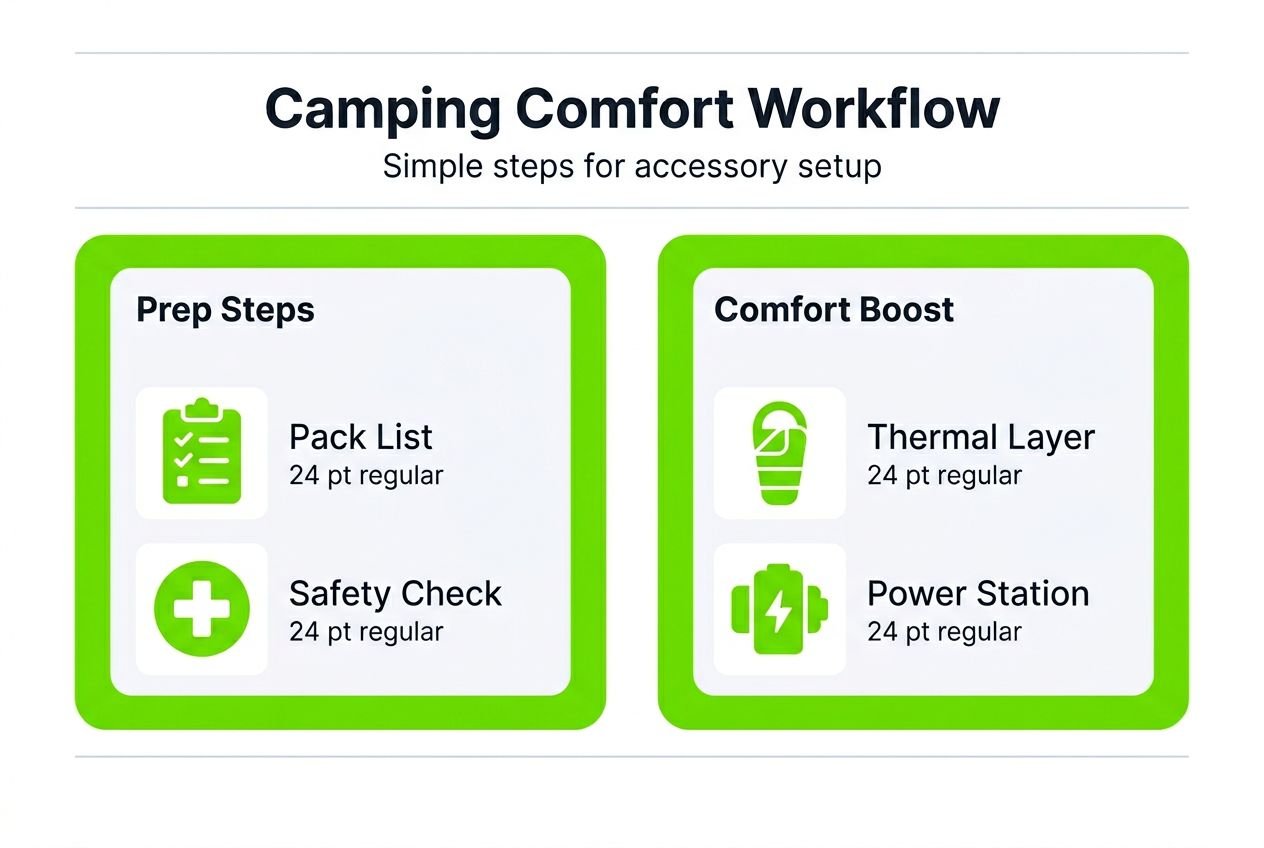
Effective preparation prevents 90% of campsite problems. Start by creating a prioritized packing list organized by category: shelter, sleep system, cooking, power, clothing, and safety. Weight each item’s necessity against pack space and vehicle capacity.
Efficient packing strategies enhance the camping experience by maximizing ventilation and reducing burdens. Pack heavy items low and centered in your vehicle for stability. Place frequently needed gear in accessible locations. Use compression sacks for clothing and sleeping bags to save space.
Follow this systematic pre-departure checklist:
Pre-departure vehicle and rooftop tent system checks are crucial for safety and operational efficiency. A failed tent deployment or dead battery becomes a crisis in remote locations.
Pro Tip: The ‘buy as you go’ resupply strategy reduces packing burdens and maintains food freshness. Purchase perishables and bulky items like firewood at stops near your campsite instead of hauling them for hours.
Organize accessories for quick deployment. Group tent stakes with guy lines. Bundle sleeping system components together. Keep fire starting materials dry and accessible. Label storage bags clearly so you don’t dig through everything searching for one item.
Master packing light for camping by questioning every item. Does it serve multiple purposes? Can you substitute something lighter? Will you actually use it? Ruthless editing creates a manageable, efficient load that’s easier to set up and break down.
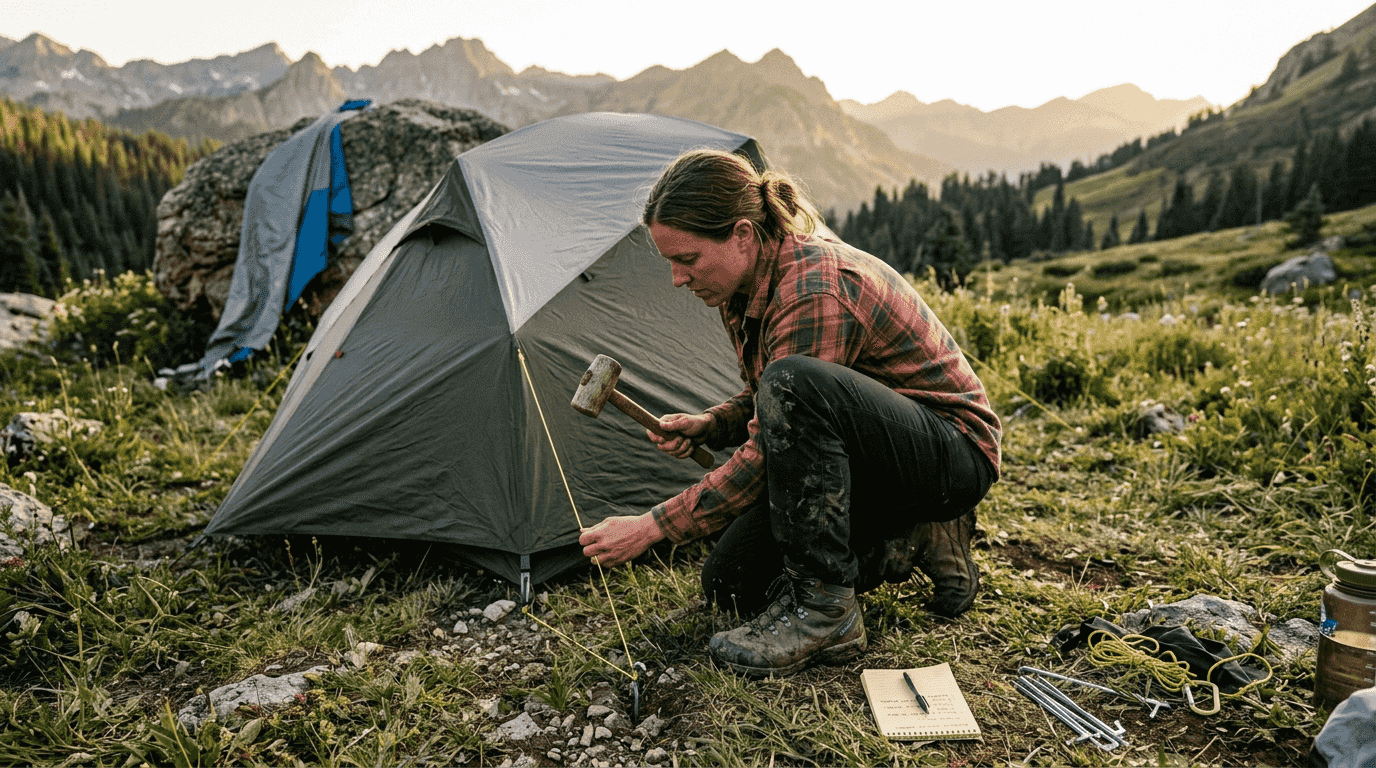
Proper tent setup forms the foundation of campsite comfort. Your workflow directly impacts sleep quality, weather protection, and overall enjoyment.
Follow this proven tent pitching sequence:
Proper tensioning of guy lines is essential for wind and rain protection. Loose lines allow fabric to flap and sag, creating noise and condensation points. Too tight causes stress on seams and stake points. Adjust tension so fabric is taut but poles aren’t bowing.
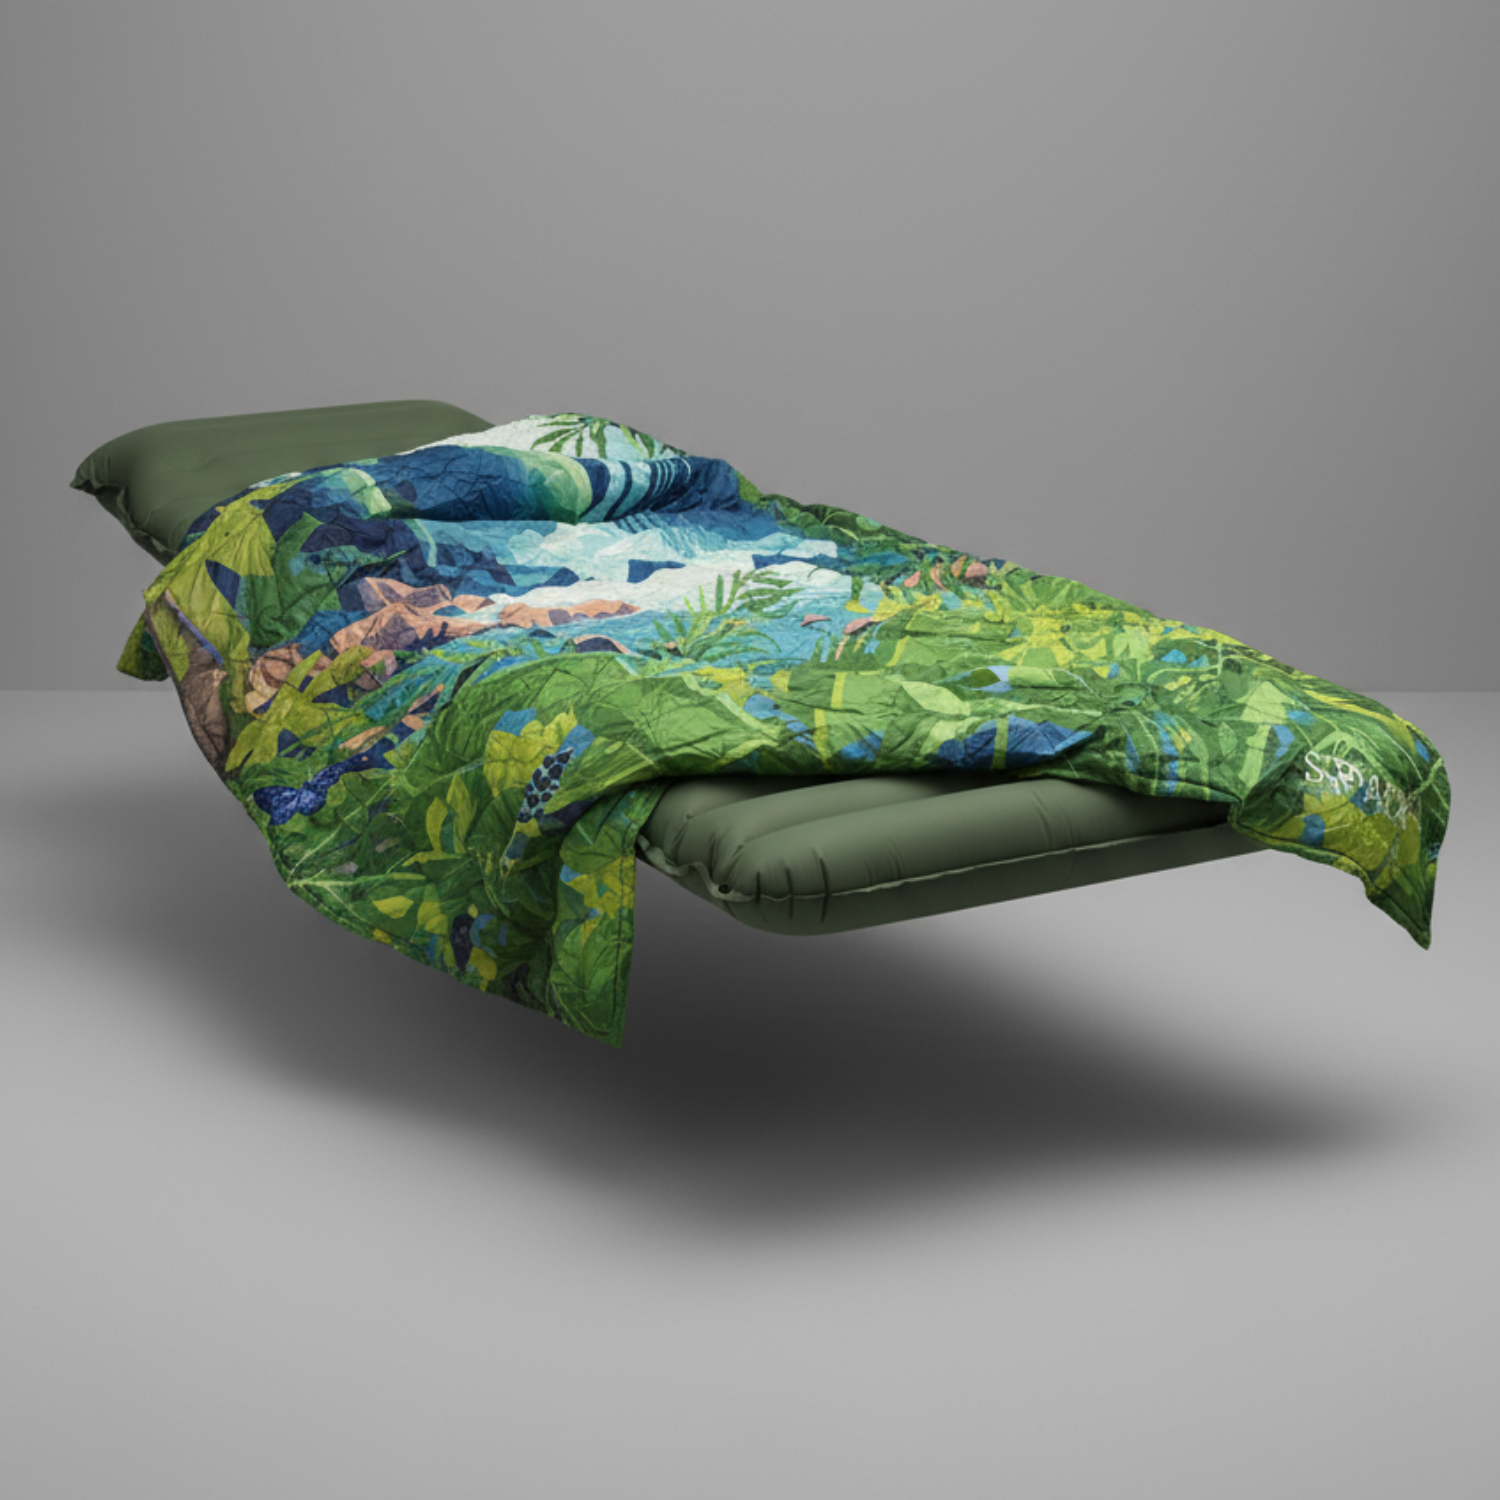
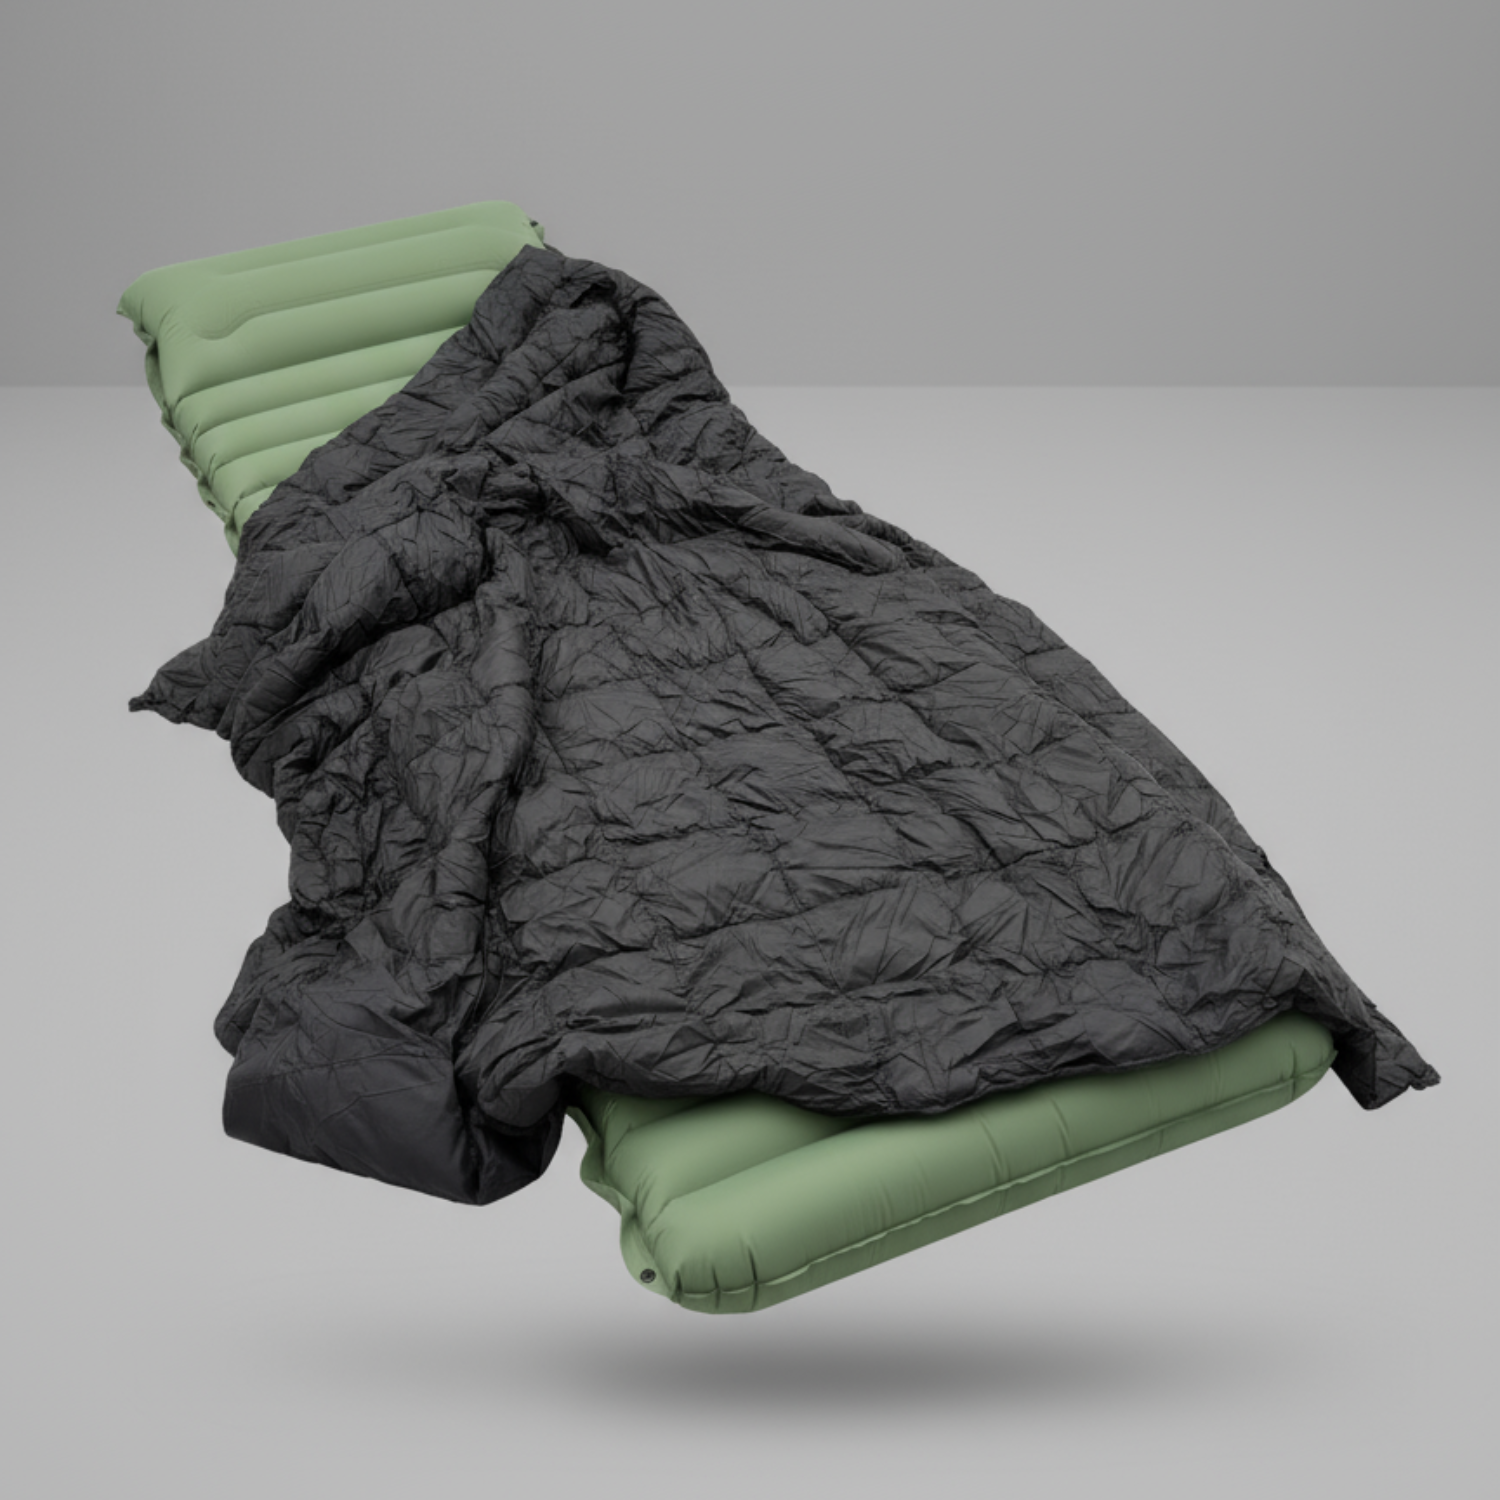
Cold weather demands aggressive insulation strategies. Adding a cold-weather inner insulation layer can increase inside temperatures by 5 to 10 degrees Celsius. Layer thermal fleece liners over your mattress, use wool blankets between sleeping bag and pad, and add foam panels to tent walls if vehicle camping allows the weight.
Rooftop tent ventilation effectiveness improves by utilizing the chimney effect and cross-ventilation. Open vents at opposite ends to create airflow. Position lower vents on the windward side and upper vents leeward. This pulls fresh air through while exhausting moist air upward.
| Feature | Soft-Shell Tents | Hard-Shell Tents |
|---|---|---|
| Setup time | 5 to 10 minutes | 30 to 60 seconds |
| Insulation | Better with fabric layers | Requires add-on liners |
| Weight | Lighter when packed | Heavier overall |
| Weather protection | Excellent when tensioned | Superior wind resistance |
| Cost | Generally lower | Premium pricing |
Pro Tip: Inadequate ventilation and sagging fabric due to temperature changes cause discomfort and moisture buildup. During morning warmth, tent fabric expands and loosens. Re-tension guy lines mid-morning to maintain tautness throughout the day.
Safety Alert: Secure all guy lines with reflective markers or flags to prevent tripping hazards, especially in low light. Improperly secured tents collapse in high wind, potentially causing injury and exposing you to dangerous weather conditions.
Integrate your shelter with other accessories for maximum efficiency. Position your portable seating to take advantage of natural shade or views. Set up cooking areas downwind from sleeping zones. Arrange storage solutions within arm’s reach but outside traffic patterns. Apply proven camping comfort techniques throughout your setup process.
Once your initial setup is complete, verification prevents problems before they become emergencies. Walk through this systematic checklist:
Condensation is the number one winter tent problem. Combat it by maximizing ventilation even in cold weather. Wipe down tent walls each morning with an absorbent cloth. Air out sleeping bags and pads during the day. Never seal your tent completely unless facing severe weather.
Optimize your sleeping system for thermal efficiency. Place an insulated pad underneath your sleeping bag, not just inside it. Add a fleece liner for an extra warmth layer that’s easier to wash than the entire bag. Position extra clothing as a pillow or stuff it into your sleeping bag’s foot box for added insulation.
Accessories like portable power stations, roof boxes, thermal layers, and side awnings significantly enhance comfort and functionality. Deploy awnings during midday heat to create shaded living space. Use power stations to run small fans for air circulation or charge devices without running vehicle engines.
Pro Tip: Create a moisture management routine by airing your tent for 30 minutes each morning. Open all doors and windows, flip sleeping bags inside out, and prop pads vertically. This simple habit prevents mildew and keeps fabrics fresh.
Troubleshoot common workflow issues proactively:
Explore comprehensive ultralight camping gear guide resources to discover accessories that streamline your workflow. Lightweight solutions reduce setup complexity while maintaining comfort standards.
Maintain your tent structure throughout your stay by re-tensioning lines after temperature changes. Morning sun causes fabric to expand and loosen. Evening cooling tightens it again. A quick walk around your tent twice daily keeps everything properly adjusted.
Regularly assess your setup against changing conditions. If wind shifts direction, reorient your cooking area and adjust ventilation accordingly. If rain threatens, verify rainfly coverage and drainage patterns around your tent. Proactive adjustments prevent middle-of-the-night scrambles to fix problems.
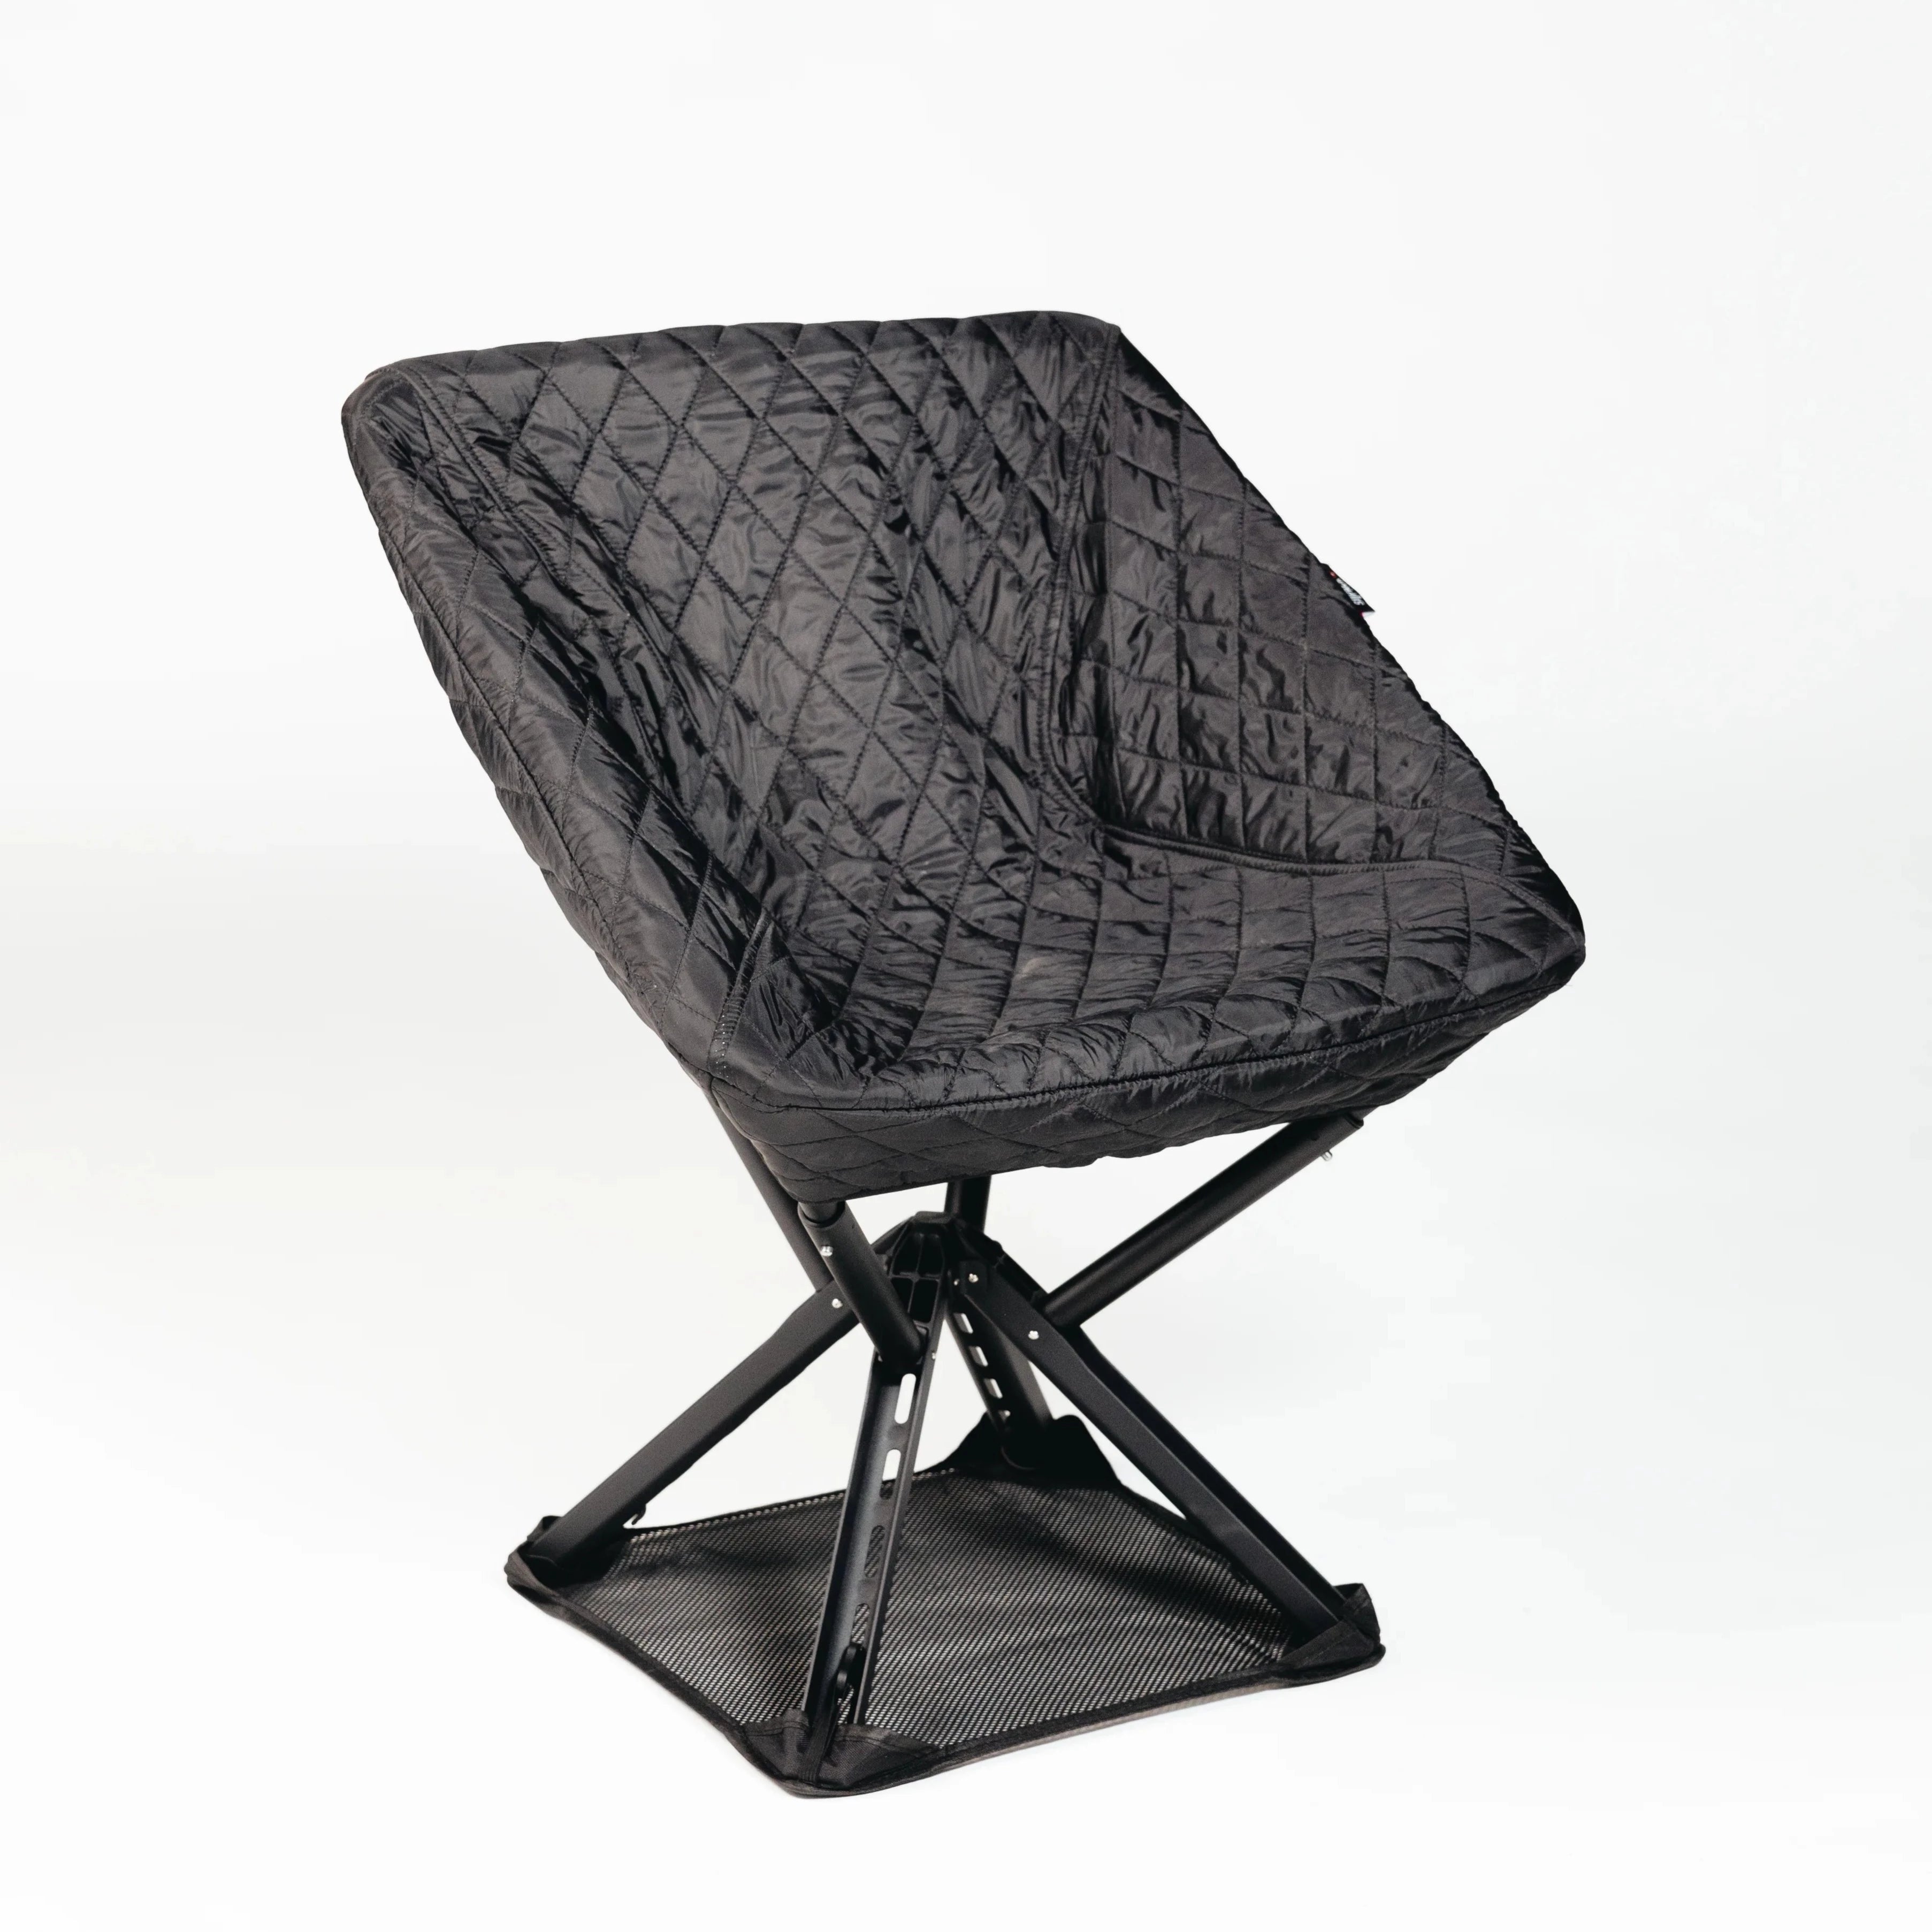
Mastering your camping accessory workflow transforms outdoor adventures from challenging to enjoyable. Sitpack provides innovative gear that complements the strategies you’ve learned, making packing and setup easier while boosting comfort.
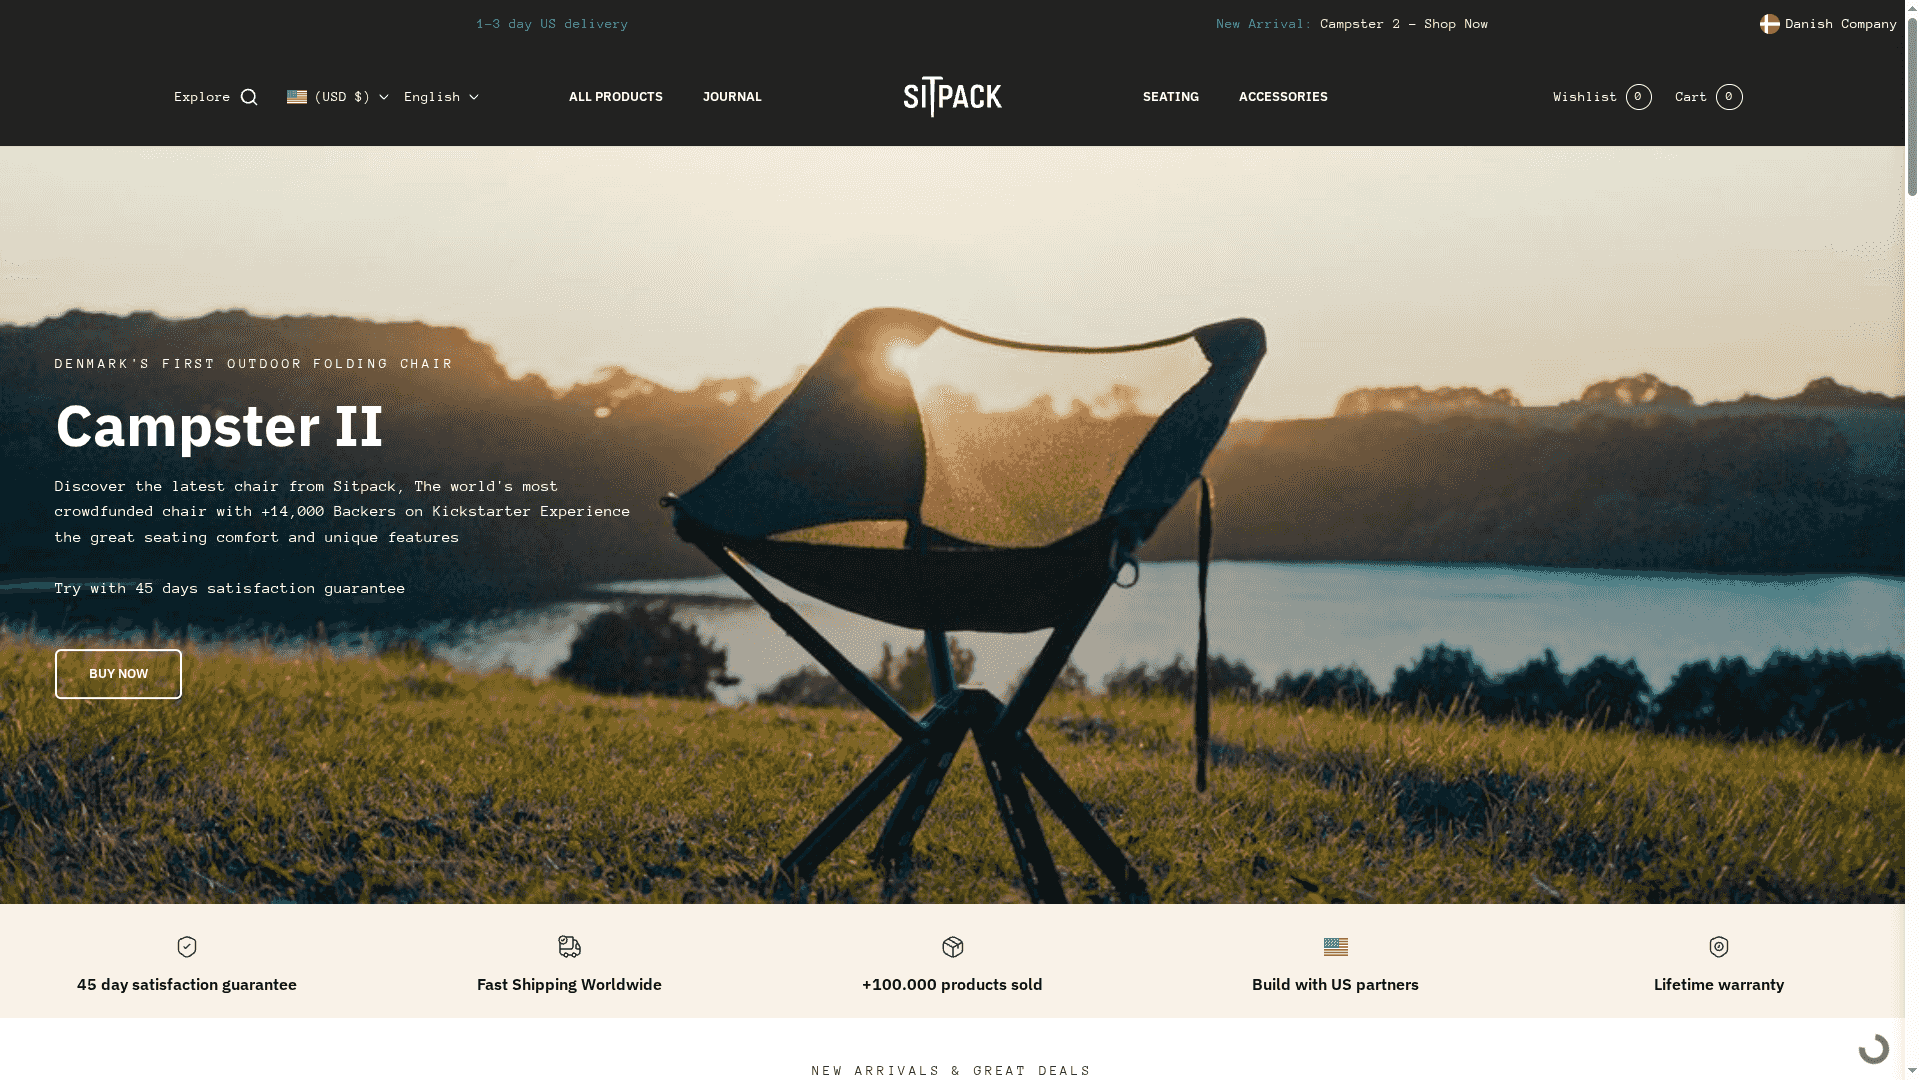
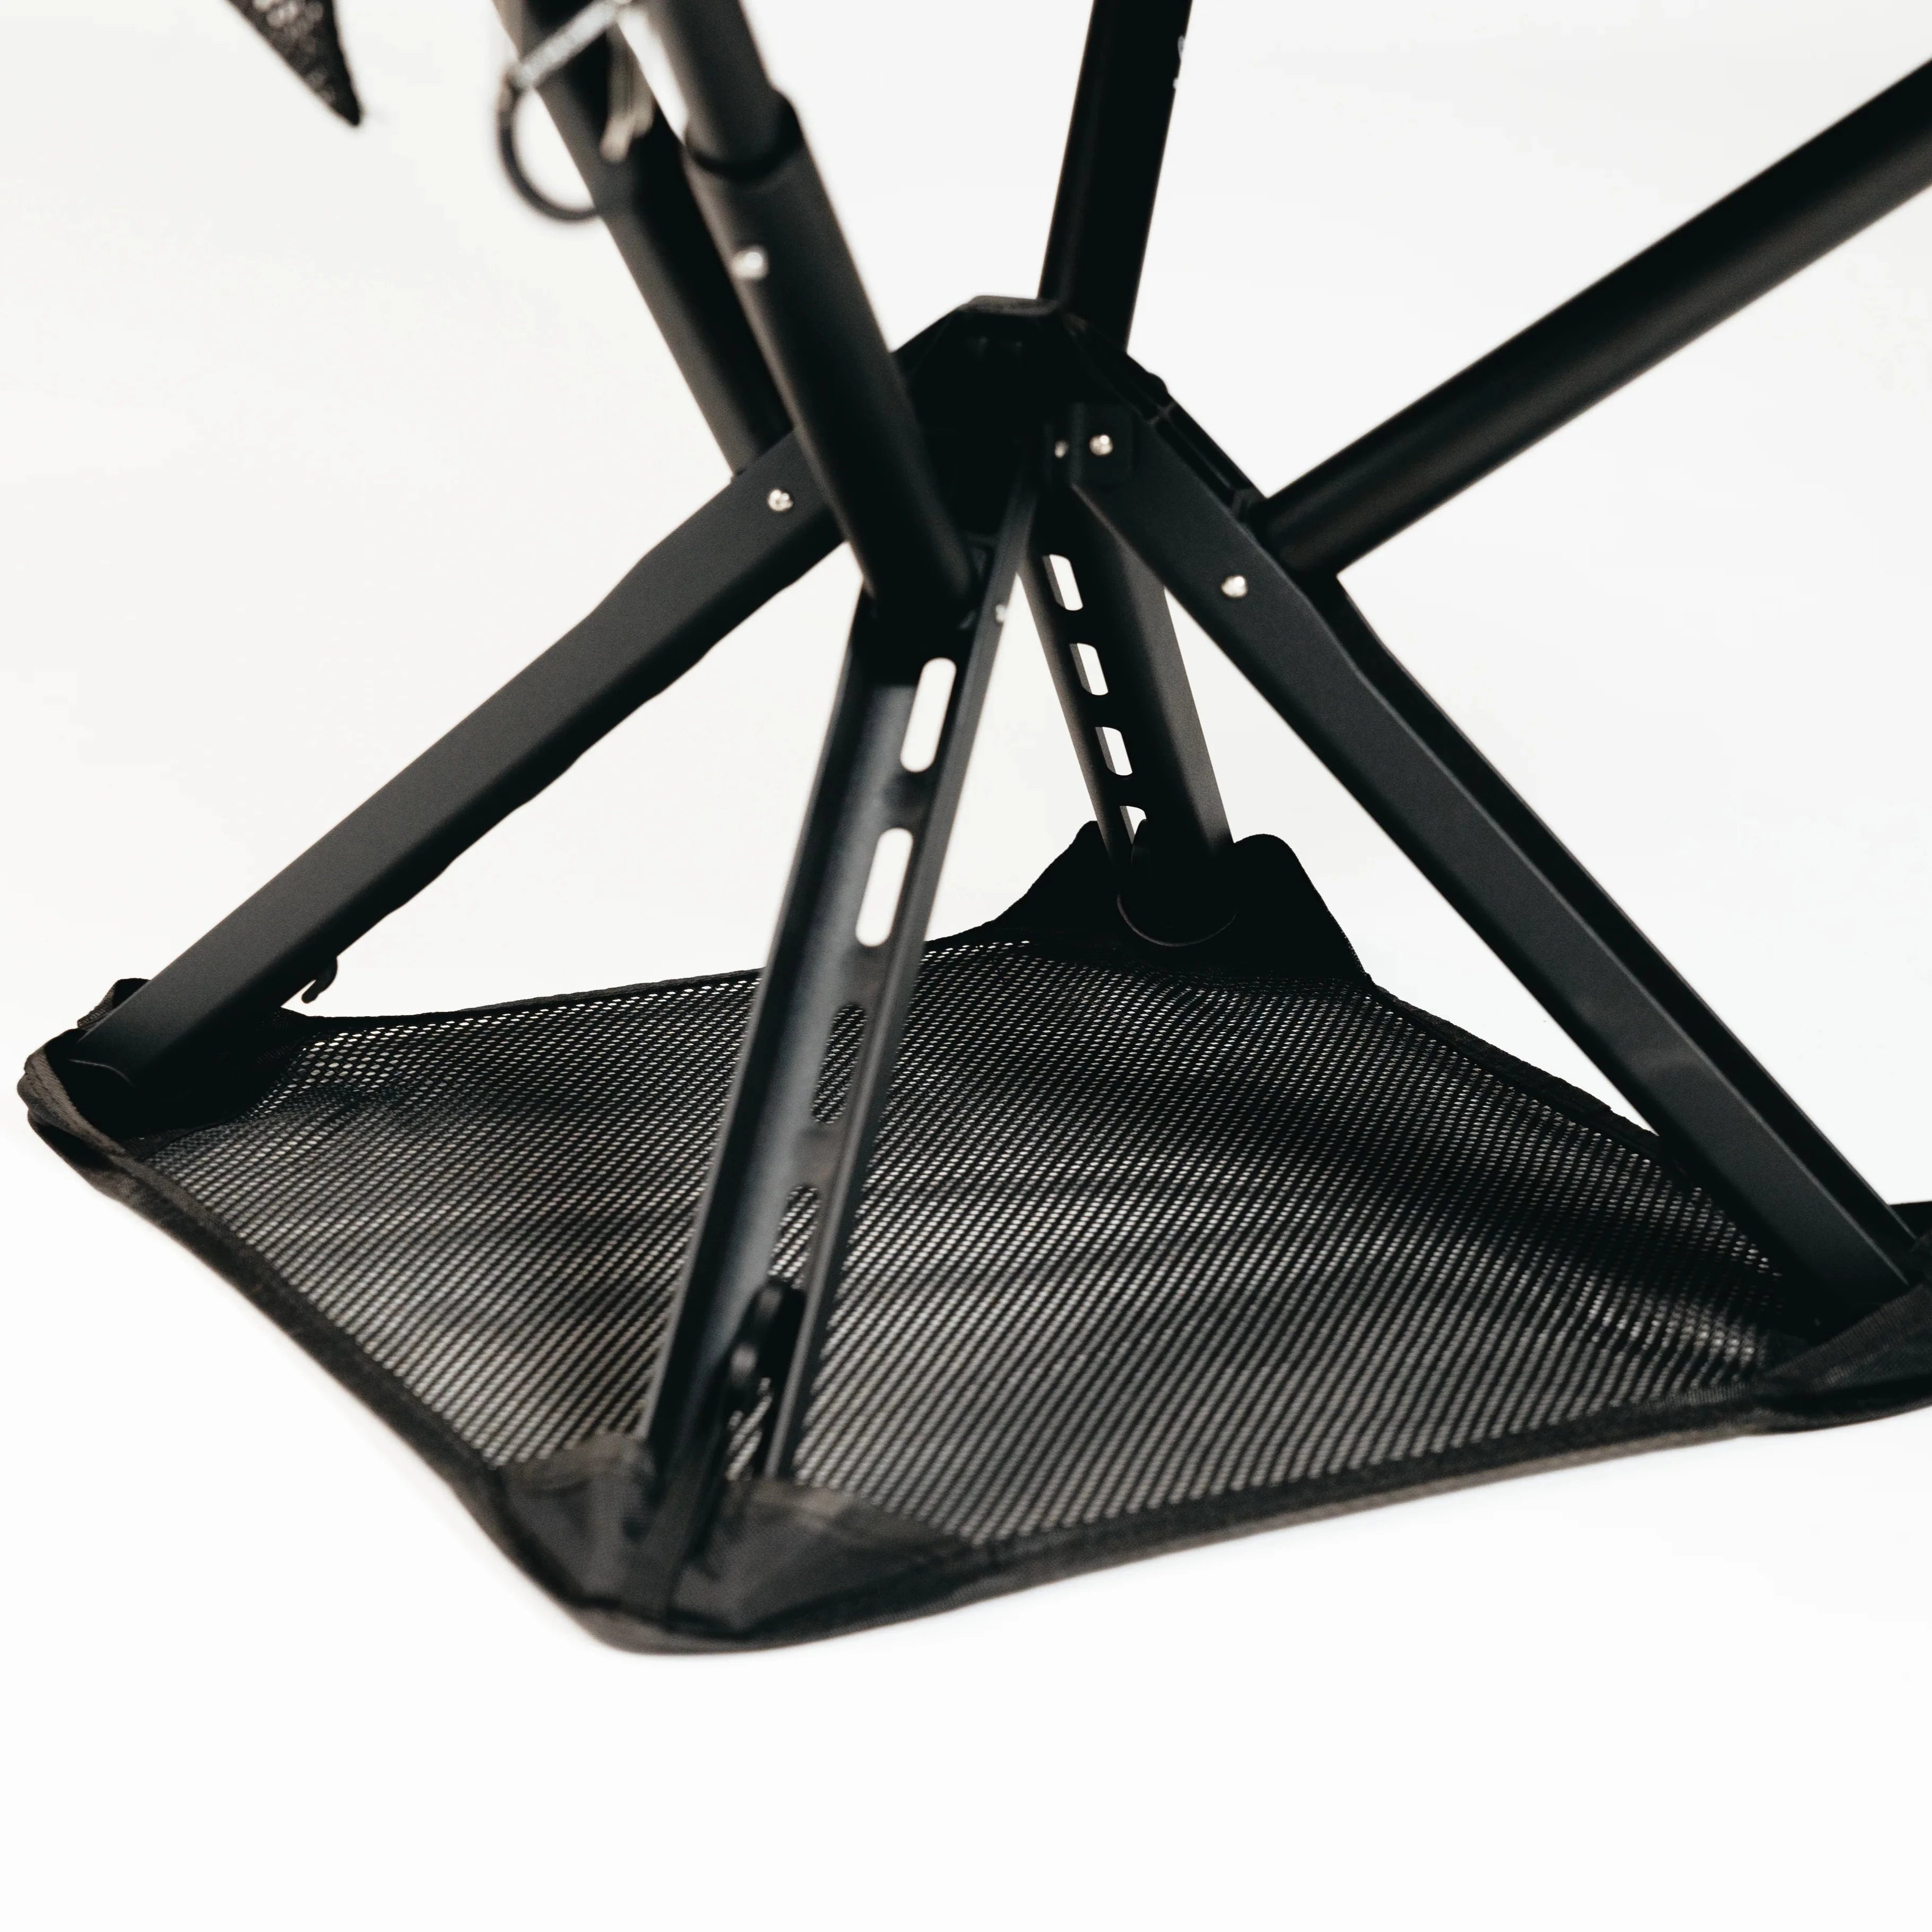
Our portable seating solutions integrate seamlessly into any campsite layout. Lightweight, durable designs pack small but deliver full-size comfort when you need to relax after a day of hiking or setting up camp. Explore Sitpack homepage to discover chairs, tables, and accessories engineered for outdoor enthusiasts.
We publish detailed guides to help you optimize every aspect of your camping experience. Our ultimate camping gear kit guide for 2026 adventures covers equipment selection, packing strategies, and setup workflows. Learn advanced packing light for camping tips that reduce weight without sacrificing comfort. Visit our blog regularly for expert insights, product updates, and seasonal camping advice tailored to real-world conditions.
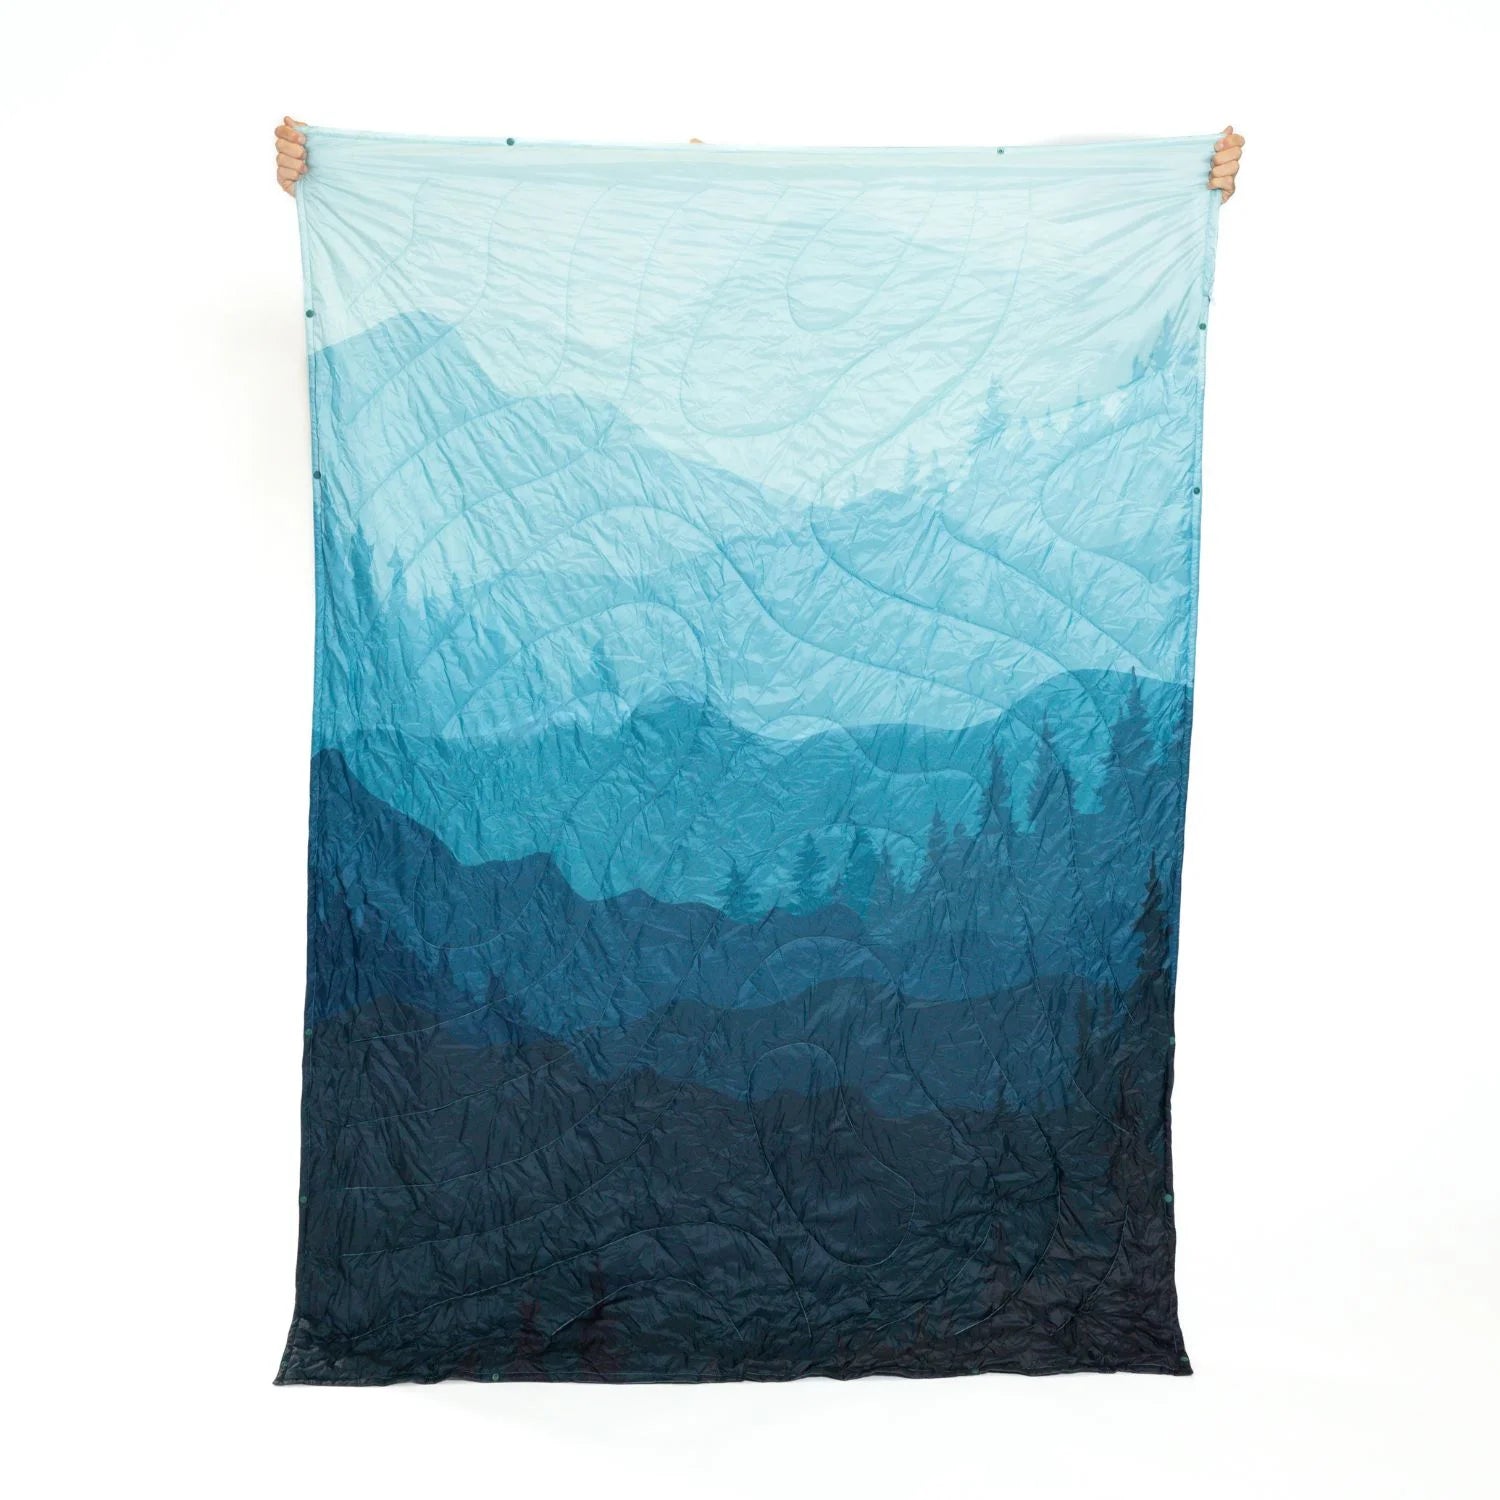
Maximize ventilation by opening vents at opposite tent ends to create cross-flow using the chimney effect. Condensation is the number one winter tent problem, so use insulation layers to moderate temperature swings and reduce moisture buildup. Wipe down walls each morning and air out bedding during the day.
Proper tensioning of guy lines is essential for wind and rain protection. Stake all attachment points at 45-degree angles away from the tent, pulling fabric taut without over-stressing seams. Select natural windbreaks for tent placement and maintain fabric tautness throughout your stay by re-tensioning after temperature changes.
A warm sleeping bag and insulated bedding are must-haves for winter camping. Bring a thermal sleeping bag rated negative 5 to negative 15 degrees Celsius, thermal fleece liners, and insulated mattress toppers. Pack wool or synthetic blankets and inner insulation layers that can increase tent temperatures by 5 to 10 degrees Celsius.
Consider your priorities for setup time, insulation, and budget. Soft-shell tents require 5 to 10 minutes to deploy but offer better natural insulation through fabric layers and cost less. Hard-shell tents pop open in under a minute, provide superior wind resistance, but weigh more and require add-on liners for cold weather insulation.
Verify battery charge on all electronic devices and power stations before leaving home. Check vehicle fluids including oil, coolant, and windshield washer, plus tire pressure on all tires including the spare. Test tent deployment mechanisms, zippers, and stove functionality to catch problems while you still have access to replacements and repairs.