Vogn
0
Tilmeld dig og få 10% i rabat på din ordre
Forventet levering
1-3 dage
Du vil måske også kunne lide


Dansk Firma
TL;DR:
- A step-by-step camping gear setup process can transform chaos into fun by ensuring organized packing and efficient site preparation. Proper site selection, tent pitching, zoning, and weather safety are crucial for a comfortable and safe outdoor experience. Practicing setup at home and focusing on essentials help beginners build confidence and enjoy their trips fully.
Your first camping trip looked so simple in your head: roll up, toss up a tent, roast a marshmallow. Then reality hit. The tent poles went everywhere, you couldn’t find your headlamp, and dinner happened in the dark while something rustled in the trees nearby. Sound familiar? A clear step by step camping gear setup process changes all of that. When you know exactly what to unpack, where to put it, and in what order, the chaos transforms into something that actually feels like fun. This guide walks you through every stage, from pre-trip prep to a fully organized campsite ready for whatever the night brings.
| Point | Details |
|---|---|
| Gear prep starts at home | Check and organize all basic camping equipment before you leave to avoid nasty surprises at the campsite. |
| Follow a setup order | A timed setup workflow reduces stress and gets you camp-ready in under an hour. |
| Tent footprint sizing matters | A footprint larger than your tent floor funnels rain underneath, so always size it smaller than the tent base. |
| Zone your campsite | Separate sleep, cooking, and storage areas to improve safety, comfort, and convenience throughout your trip. |
| Weather safety is non-negotiable | Know the 30/30 lightning rule and never rely on your tent as a safe shelter during a thunderstorm. |
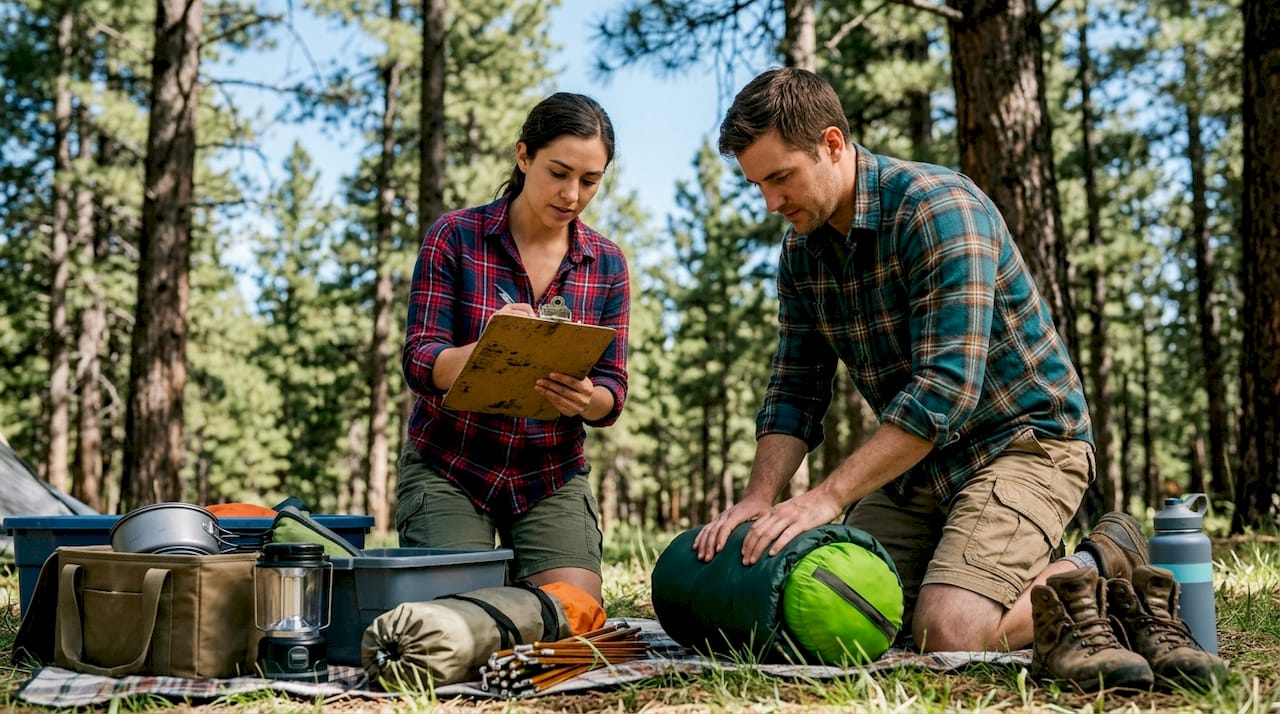
Before you drive two hours to a trailhead, you need to know what you’re actually bringing. The most common beginner mistake isn’t forgetting something obvious like a sleeping bag. It’s showing up with gear stuffed randomly into bags, no idea where anything is, and losing 45 minutes searching for tent stakes in a duffel the size of a small car.
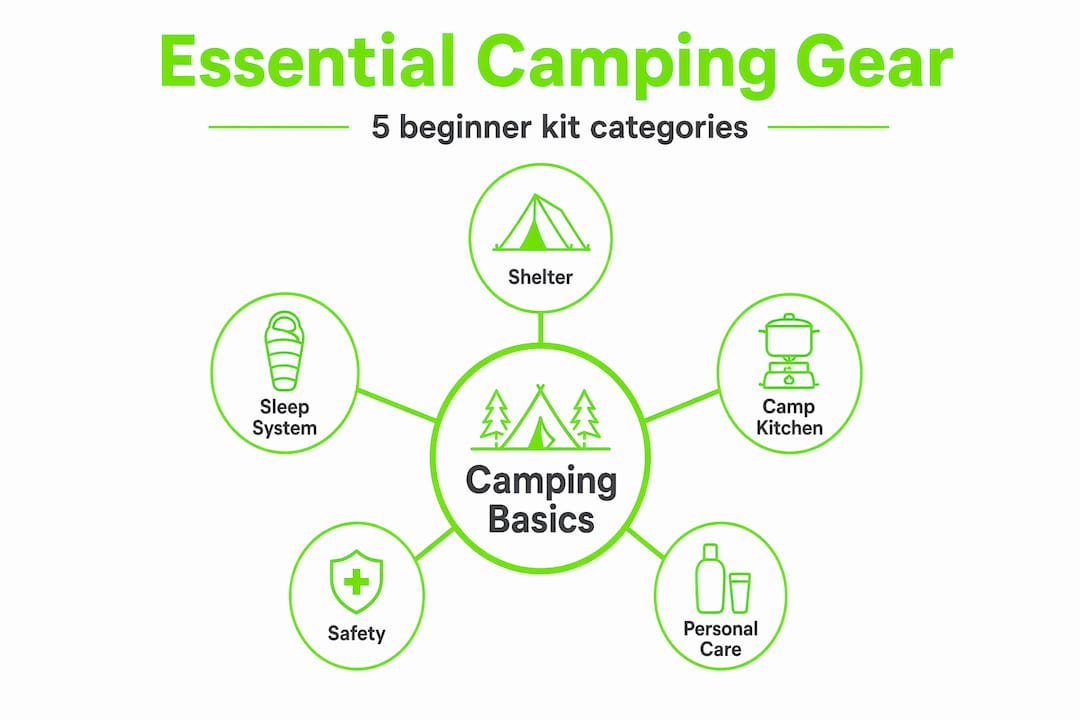
Five core gear categories cover everything a beginner needs: shelter, sleep system, camp kitchen, safety, and personal care. Think of these as your five departments. Pack each one together, and you’ll never be tearing apart your car looking for the can opener again.
| Category | Key items |
|---|---|
| Shelter | Tent, footprint, poles, stakes, rainfly, guylines |
| Sleep system | Sleeping bag, sleeping pad, pillow |
| Camp kitchen | Stove, fuel, cookware, utensils, cooler, water filter |
| Safety | First aid kit, headlamp, whistle, map, emergency blanket |
| Personal care | Toothbrush, biodegradable soap, toilet paper, sunscreen, insect repellent |
Once you’ve sorted your gear into these categories, pack each one in its own bag or stuff sack. Label them if you’re the type who forgets which black bag holds what. Before you zip everything up, check every item for damage: inspect tent seams, test your stove igniter, and make sure sleeping bag zippers work. A broken zipper at home is an inconvenience. A broken zipper at 9,000 feet in 40-degree weather is a problem.
Pro Tip: Adopt an “Essentials Only” mindset and focus on four basics: shelter, sleep, water, and food. Every other item is a bonus, not a requirement, especially for your first few trips.
Attaching guylines to your tent before you leave is one of those small things that pays huge dividends. Pre-attaching guylines at home means you’re not fumbling with cord and knots in the dark while the wind picks up.
This is where most beginners either nail it or completely lose the plot. A good tent setup starts long before you pull a single pole out of its bag.
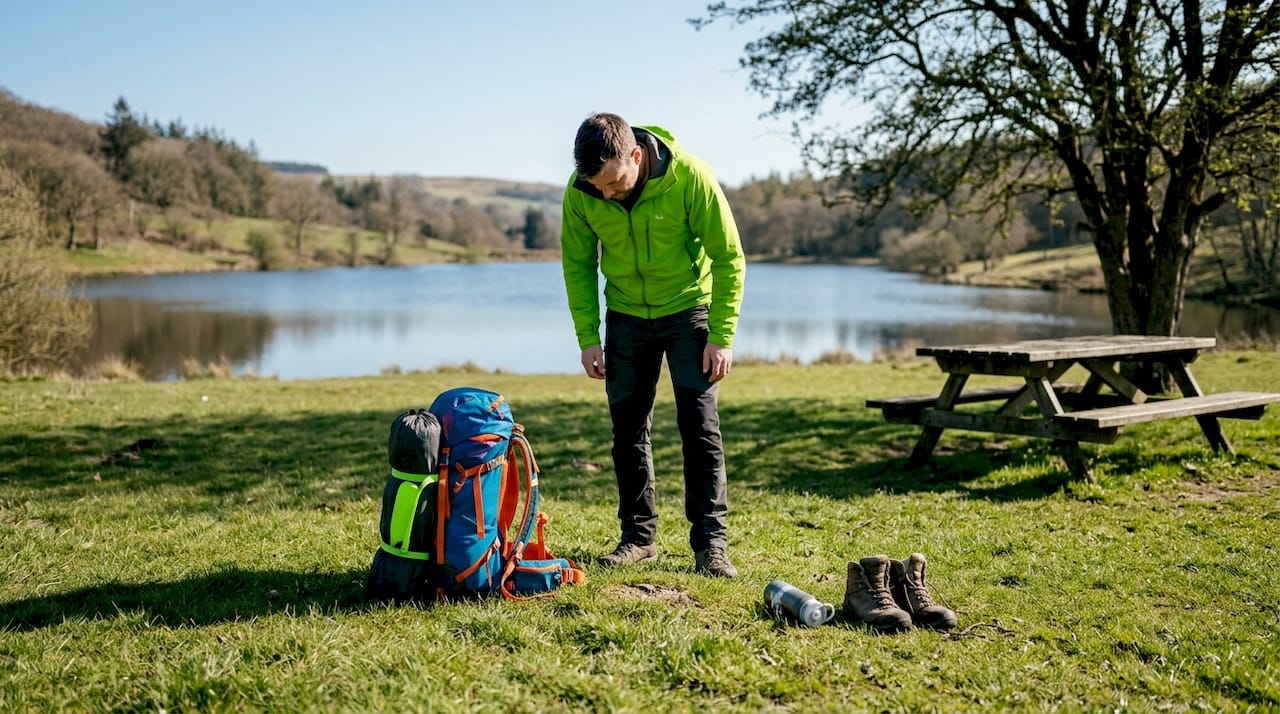
Walk the area for two minutes before committing to a spot. Look for level ground with no visible roots or rocks poking up. Check for low-lying areas where water pools after rain. A slight slope is fine as long as your head will be uphill. Look up, too: dead branches overhead are called “widow makers” for a reason.
Here’s the order that actually works:
Pro Tip: Practice pitching your tent in your backyard or living room before your trip. You’ll spot missing parts, figure out the pole system, and cut your campsite setup time nearly in half.
| Tent setup mistake | What goes wrong | Fix |
|---|---|---|
| Footprint too large | Water pools under tent | Trim or fold edges under |
| Missing guylines | Tent collapses in wind | Pre-attach at home |
| No stake angle | Stakes pull out easily | Stake at 45 degrees |
| Rainfly too tight to tent body | Condensation soaks gear | Leave an airflow gap |
Once the tent is up, resist the urge to throw everything inside and call it done. How you set up the inside of your tent and the surrounding campsite determines how comfortable and functional the next 24 hours will be.
Inside the tent, lay your sleeping pad first, then your sleeping bag on top. If temperatures are expected to drop, put a layer of clothing inside the sleeping bag to add warmth without needing a heavier bag. Your sleeping bag’s temperature rating is the lowest temperature at which a “standard sleeper” stays comfortable. If you run cold, buy a bag rated 10 degrees lower than the expected low.
For campsite organization, think in three zones. Distinct zones for sleeping, cooking, and storage reduce risk and make camp life surprisingly smooth.
Pro Tip: Keep your headlamp, water bottle, and camp shoes just inside the tent door, within arm’s reach for middle-of-the-night bathroom trips. Future you will be extremely grateful.
Ventilation matters more than most beginners expect. Leaving tent vents open, even in cool weather, prevents moisture from your breathing from condensing on the tent walls and dripping onto your gear. A damp sleeping bag is miserable. Crack those vents.
Your camp kitchen setup is where cutting corners causes the most grief. Setting it up properly takes maybe 15 minutes and saves you from eating cold food in the dark because you couldn’t find your lighter.
Choose your cooking area at least 200 feet from your tent and from any water sources. Clear the ground of dry leaves or grass before you set anything up.
Pro Tip: After cooking, wash all dishes, pack food into sealed containers, and store everything in your bear canister or vehicle. Food smells are wildlife invitations, and bears are not polite dinner guests.
Check local fire regulations before building any campfire. Many areas have seasonal restrictions or designated fire rings only. If fires are allowed, keep them small, never leave them unattended, and drown them completely with water before sleeping. Not “mostly out.” Completely out.
Clouds build fast in the mountains. A clear afternoon can turn into a cracking thunderstorm by 3 p.m., especially in summer. Knowing how to respond during setup is the difference between a scary story and a genuinely dangerous situation.
Learn the 30/30 rule. If thunder follows a lightning strike within 30 seconds, the storm is within 6 miles and you need to take cover. Then stay sheltered for 30 minutes after the last thunder you hear. Not 10 minutes. Thirty.
“Proper guyline tension won’t stop lightning, but it can mean the difference between waking up in your tent and waking up under it.”
Pro Tip: Check the five-day forecast before every trip and look at hourly patterns, not just the daily summary. Afternoon thunderstorm probability is usually listed separately and is often the one that catches campers off guard.
Wind is underrated as a threat. A fully anchored tent handles serious gusts with no drama. A half-staked tent with slack guylines becomes a kite, and not the fun kind.
I’ve watched a lot of first-time campers arrive at a campsite with perfectly good gear and a completely chaotic setup process. Tent goes up last instead of first, kitchen gear gets scattered across three different spots, and nobody can find the headlamp when darkness hits at 7:30 p.m. The gear isn’t the problem. The order is.
What I’ve learned, and what I wish someone had told me early on, is that practicing your tent setup at home once before your first trip does more for your confidence than any amount of YouTube watching. You find the broken clip. You realize the guylines aren’t attached. You discover the rainfly goes on a specific way. All of that happens in your driveway, not in a rainstorm.
I’ve also found that campsite zones feel like overkill until the moment they don’t. The first time I set up a dedicated cook zone 200 feet from my sleep area, I slept noticeably better. No food smells, no fire anxiety, no gear pile beside the tent door.
My advice to any beginner: ignore the fancy gadgets and focus on getting the basics right. Getting your camping checklist sorted before the trip is worth more than any single piece of expensive gear. Setup skills genuinely improve fast. After three or four trips, what took you 90 minutes will take 30, and it’ll feel automatic.
— Jonas
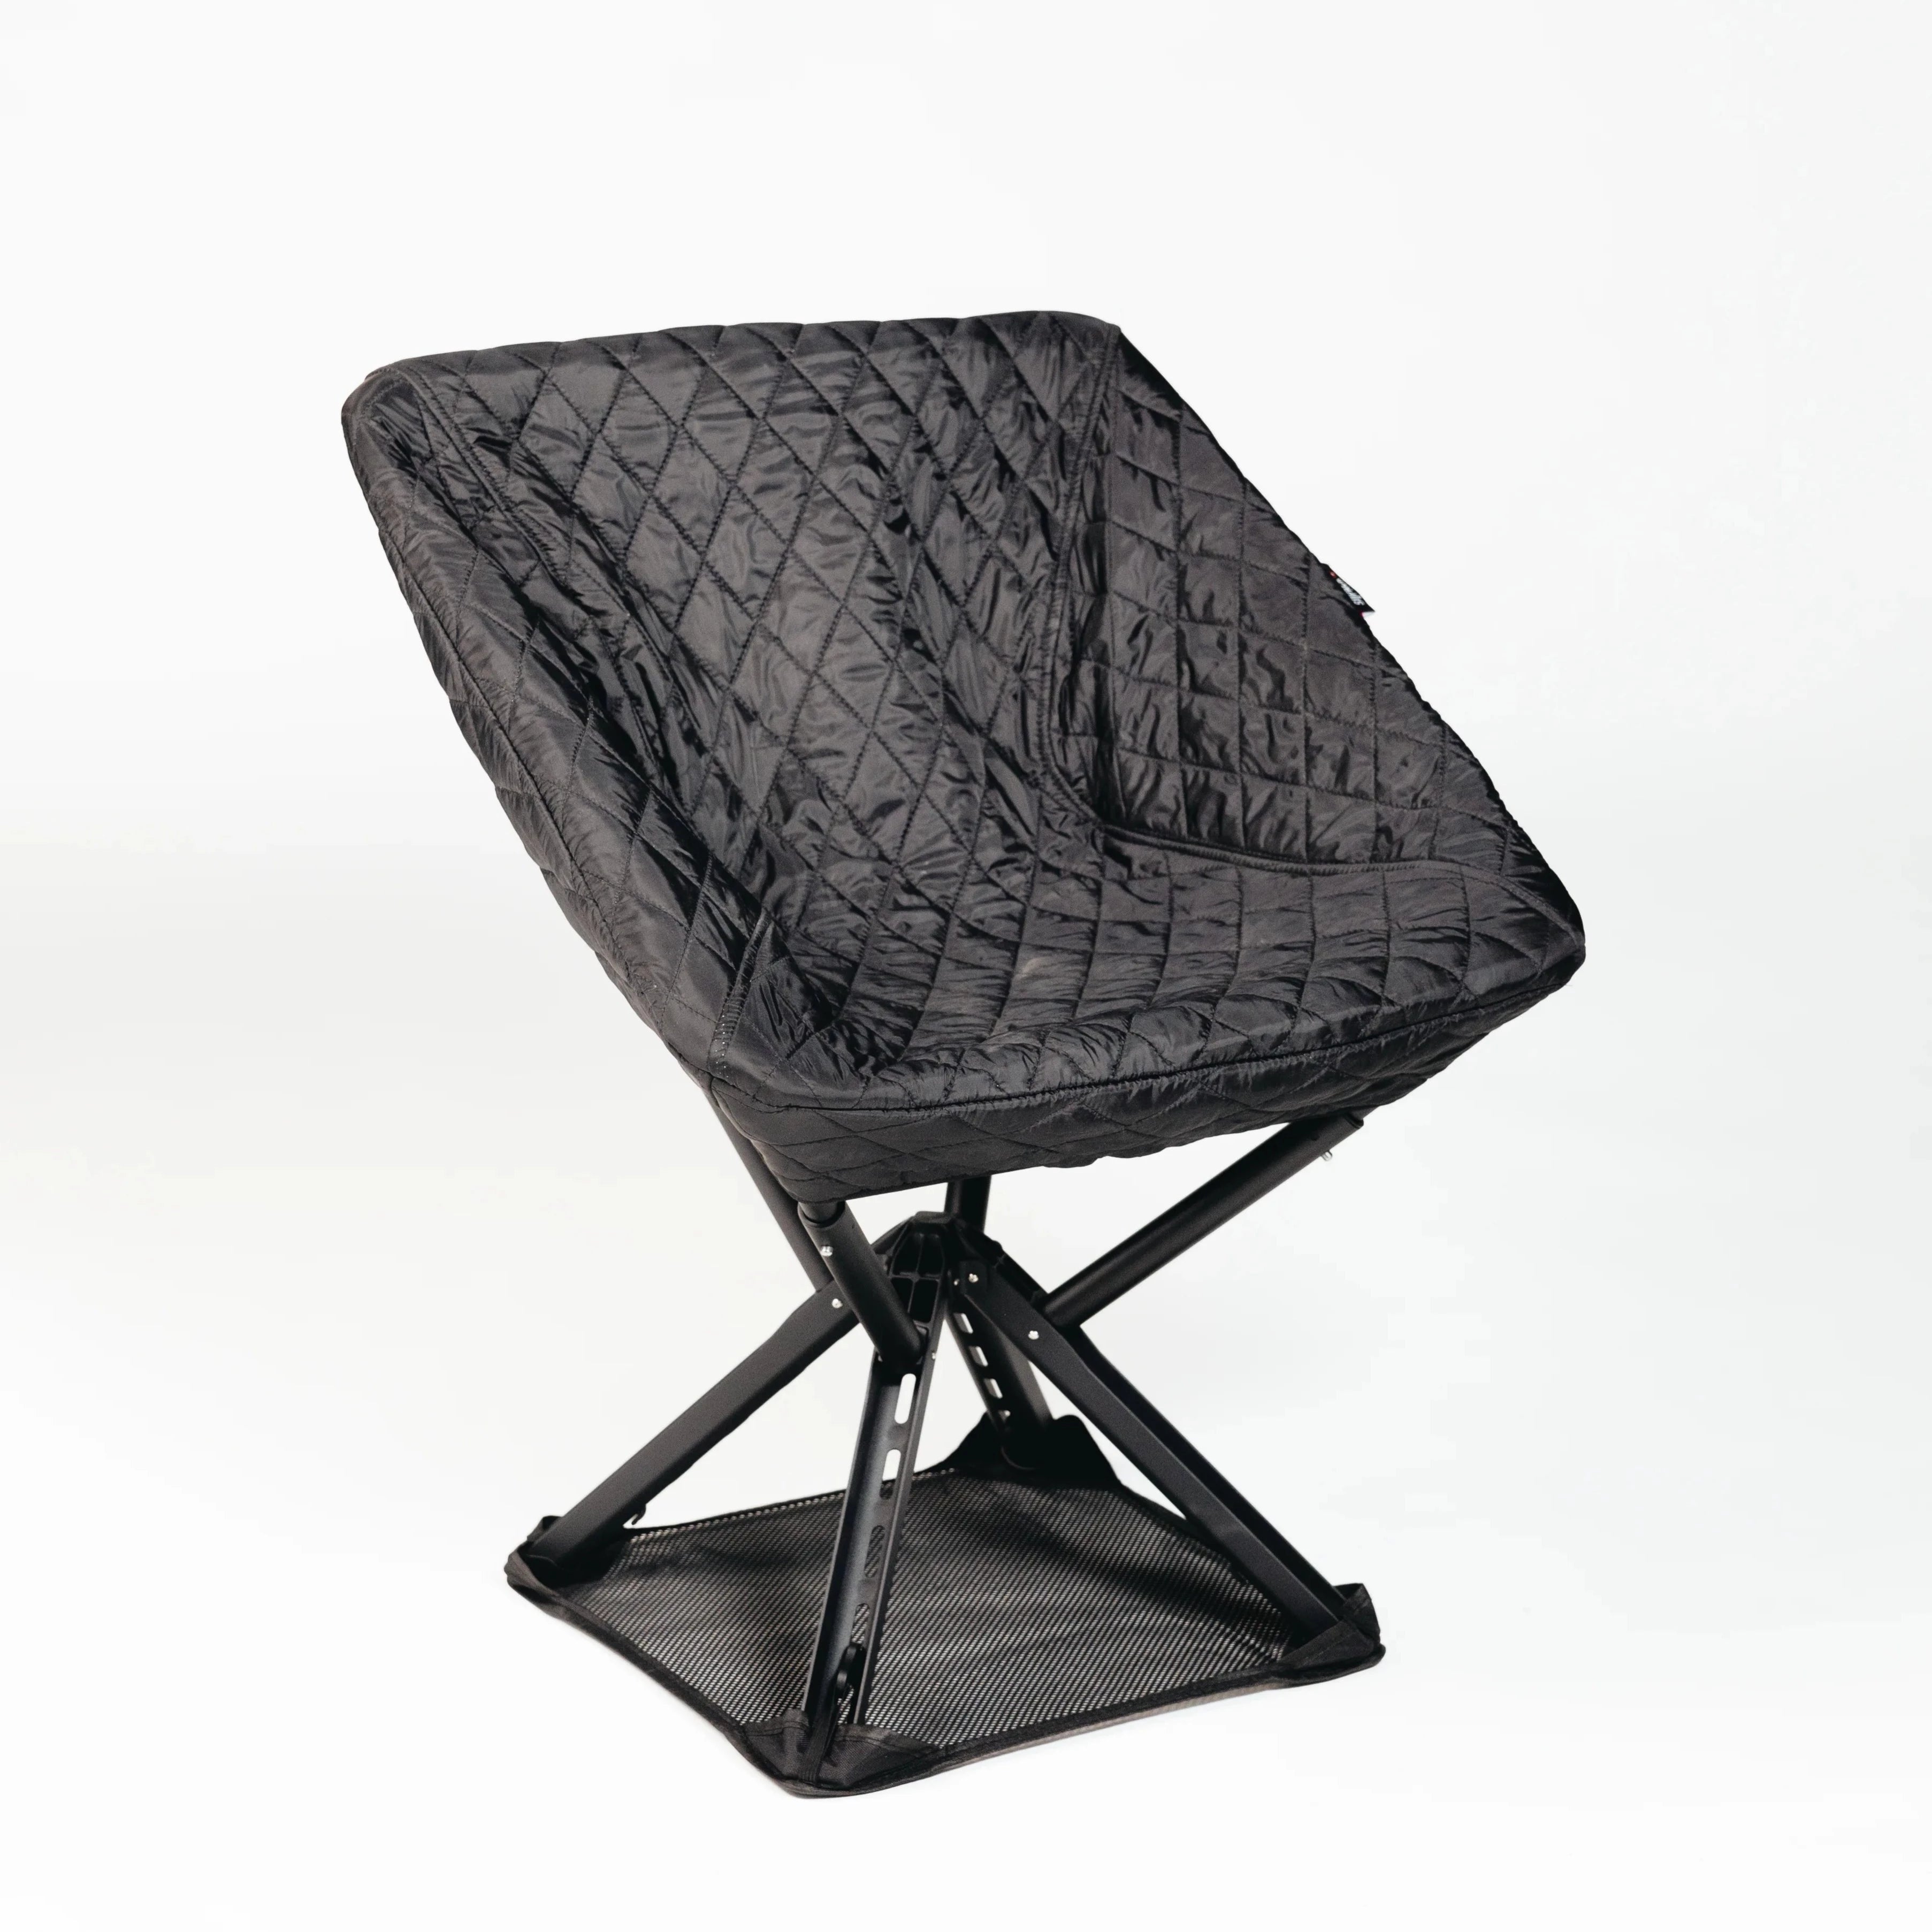
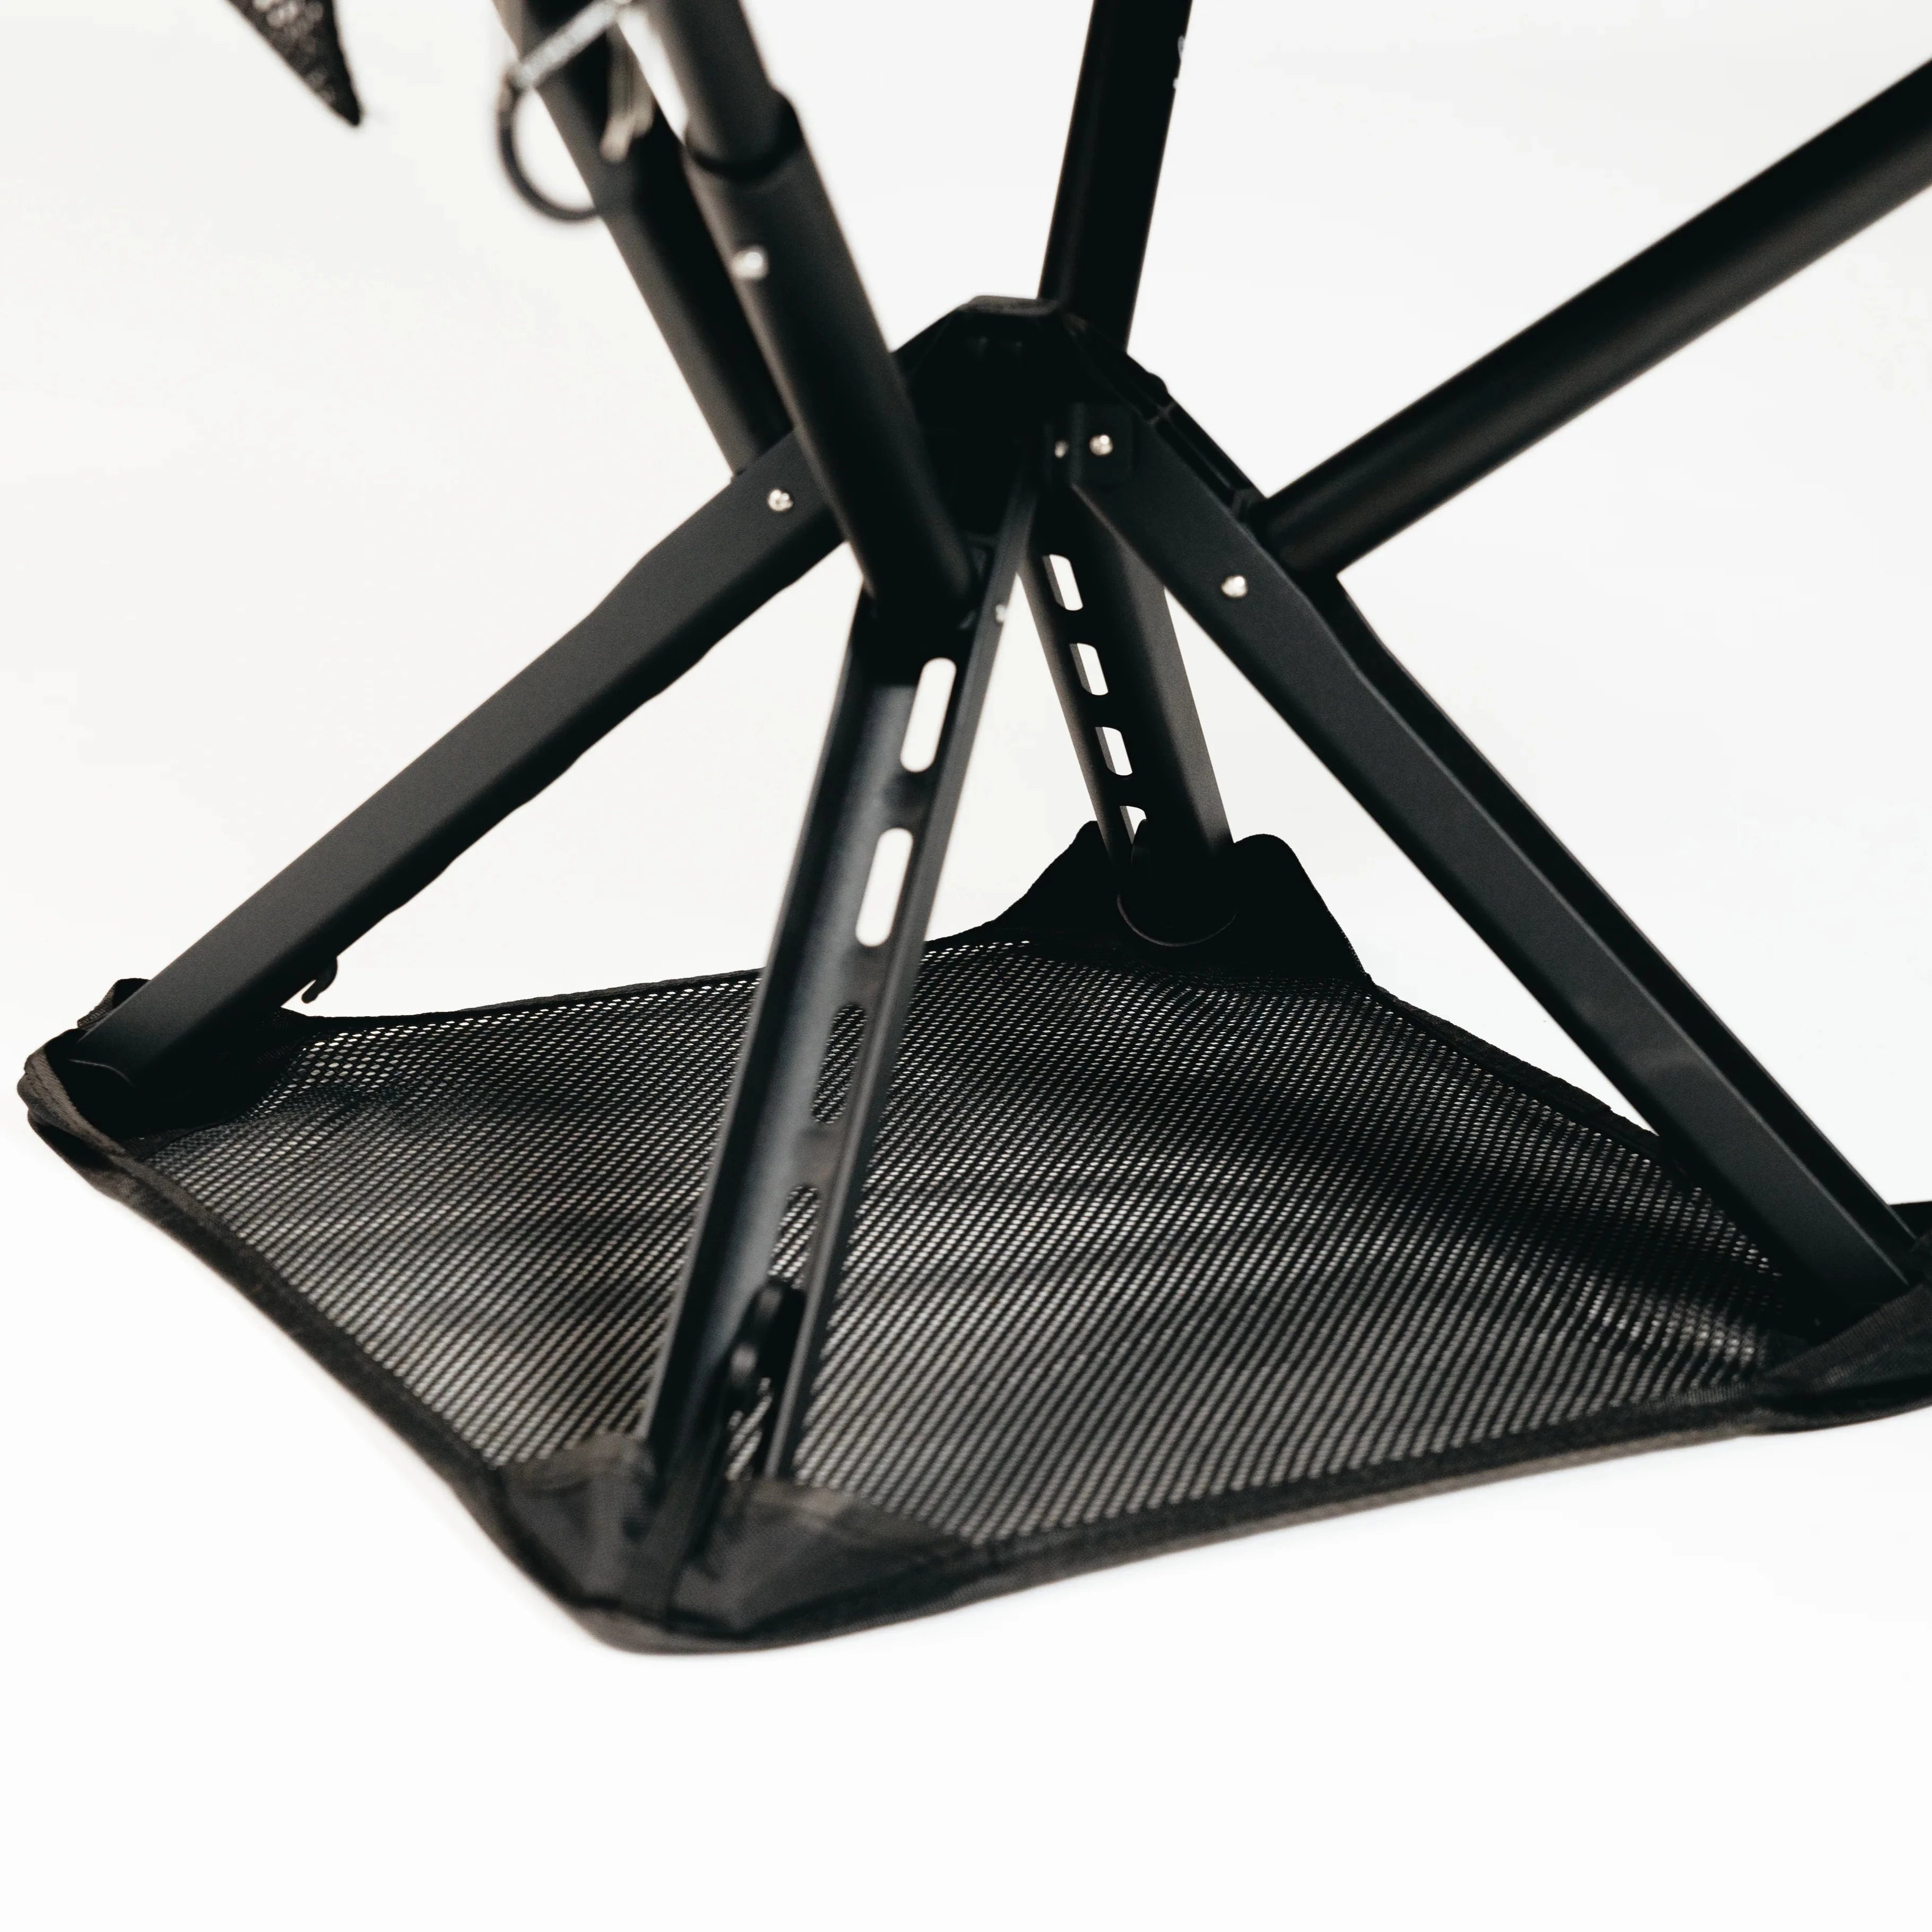
Getting the setup process right is half the battle. The other half is making sure your camp is actually comfortable once everything is in place. At Sitpack, we think a lot about the gear that makes the difference between “surviving the outdoors” and genuinely enjoying it. Our portable camp seating like the Campster II and Sitpack Zen are built for exactly this: lightweight, packable, and ready to deploy the second your tent is up so you can actually sit down and take in where you are. If you want to go deeper on gear selection before your next trip, our camping gear selection guide covers weather-resistant shelters and sleep systems for beginners and intermediate campers alike. Good setup and good gear go together. We’ve got both covered.
The most efficient order is to scan for hazards first, then pitch your tent, set up your sleep system inside, organize campsite zones, and finally set up your camp kitchen. Following this timed setup sequence gets most campers fully set up in under an hour.
Size your footprint smaller than the tent floor to prevent rainwater from pooling underneath, and always attach your rainfly with a ventilation gap between the fly and tent body. Tensioning all guylines and staking every corner also dramatically improves rain performance.
No. Tents should never be used as lightning shelters because tent poles can conduct electricity. Move to a hard-topped vehicle or a fully enclosed building, and follow the 30/30 rule: seek shelter when thunder follows lightning by 30 seconds or less, and stay sheltered for 30 minutes after the last thunder.
Focus on five categories: shelter, sleep system, camp kitchen, safety, and personal care. An essentials-only approach covering shelter, sleep, water, and food covers the true necessities, with everything else being optional comfort.
Leave tent vents open even in cool weather to allow airflow and carry moisture out. Positioning the rainfly with a gap from the tent body also allows humid air to escape before it condenses on interior surfaces and drips onto your sleeping gear.