Vogn
0
Tilmeld dig og få 10% i rabat på din ordre
Forventet levering
1-3 dage
Du vil måske også kunne lide


Dansk Firma

TL;DR:
- Proper gear selection and practice streamline outdoor seating setup, saving time and avoiding frustrations.
- Following a step-by-step process and performing stability checks ensures safe, comfortable outdoor seating.
- Practicing setup at home builds muscle memory, making outdoor seating quick and effortless.
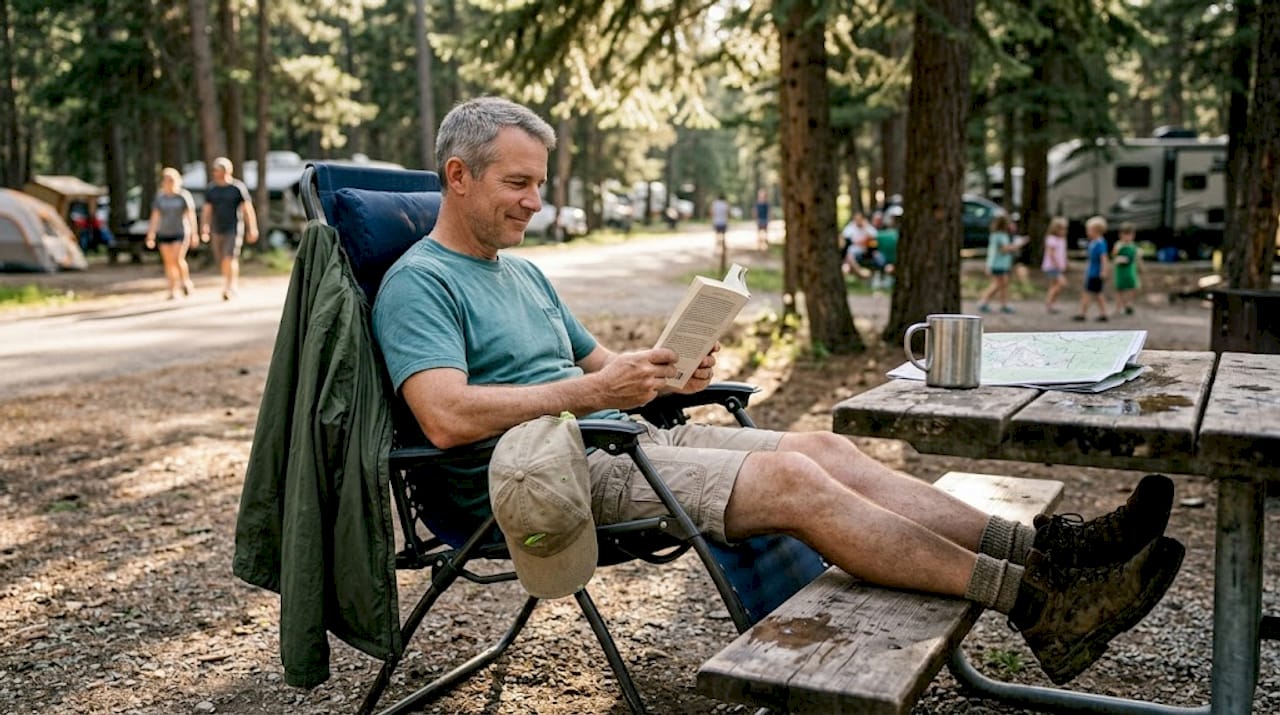
You know the feeling. You’ve hiked to a gorgeous spot, the sun is dipping toward the treeline, and all you want is to park your posterior in a comfortable chair and soak it all in. Instead, you’re wrestling with poles, fumbling with fabric, and muttering things your camping buddies pretend not to hear. Awkward, time-consuming seating setups are one of outdoor life’s most underrated frustrations. But here’s the good news: getting comfortably seated outdoors doesn’t have to be a comedy sketch. This guide walks you through the gear you need, a clear setup process, common mistakes to dodge, and a post-setup checklist so your chair is ready before the campfire even gets going.
| Point | Details |
|---|---|
| Preparation is key | Having the right chair and tools makes setup straightforward and enjoyable. |
| Practice boosts speed | Repeated setups at home can cut your outdoor chair assembly time by up to 20%. |
| Safety first | Testing stability and fabric tension prevent accidents and ensure long-lasting comfort. |
| Customize for activity | Choose lighter seats for hiking and heavier, more comfortable options for car camping. |
Now that you know what this guide will cover, let’s start with what you’ll need to ensure your outdoor seating setup goes smoothly.
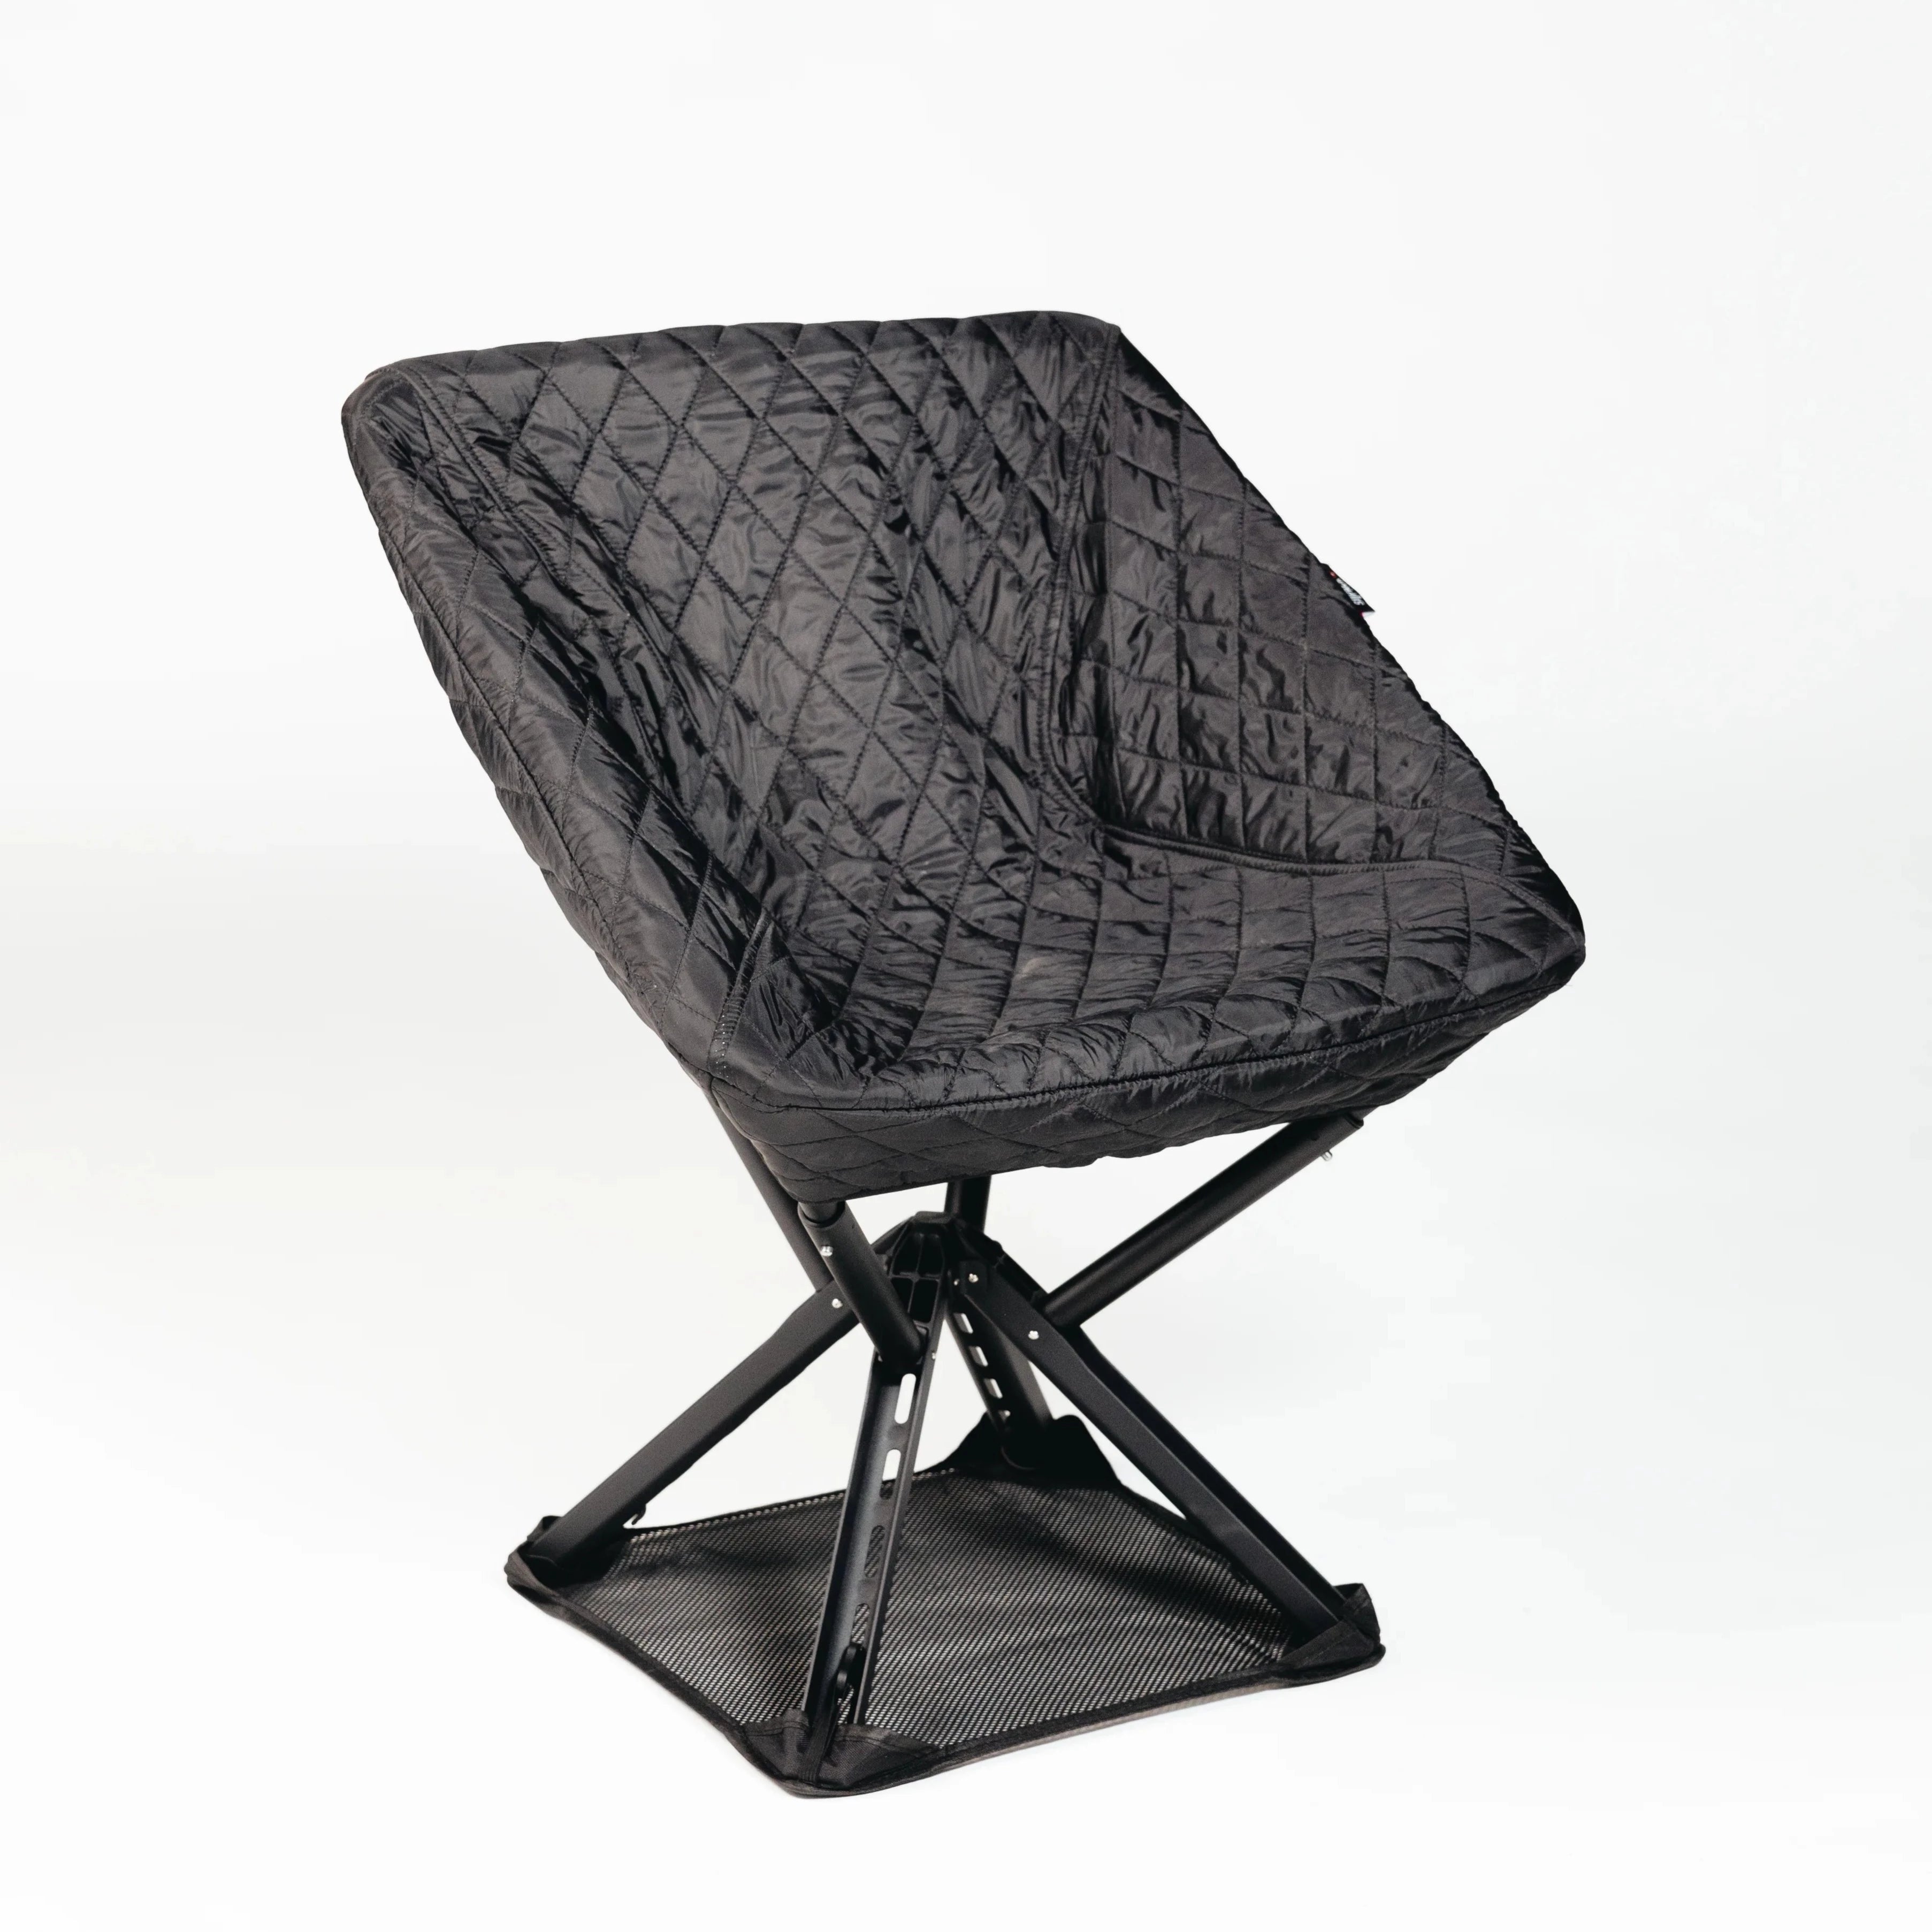
Not all portable chairs are created equal, and what works brilliantly for a car camping trip to a lakeside campground might be a punishing dead weight on a five-mile backpacking trail. Matching your gear to your activity is step one, and honestly, it’s where most people go wrong before they’ve even left the driveway.
Here’s a quick checklist of what a complete portable seating kit typically includes:
Weight and packed size are the two factors that should drive your buying decision. The advantages of compact chairs become crystal clear the moment you’re two miles into a trail and grateful you didn’t bring that bulky recliner your neighbor swears by.
To give you a concrete benchmark, here’s how popular chair types stack up:
| Chair type | Typical weight | Packed size | Best for |
|---|---|---|---|
| Ultralight backpacking | Under 2 lb | Bottle-sized | Long trails, thru-hikes |
| Standard camp chair | 4-6 lb | Carry bag | Short hikes, base camps |
| Reclining camp chair | 7-9 lb | Medium bag | Car camping, extended stays |
| Packable stool | Under 1 lb | Pocket-sized | Minimalist, urban use |
A great real-world example of the reclining category is the Nemo Stargaze chair. Its setup takes just 1-2 minutes: connect the shock-corded poles into the base, clip the seat into place, and adjust the headrest and tension. That’s genuinely fast for a chair with a full reclining mechanism. Weighing in around 7-8 pounds, it’s firmly in the car camping lane, but for those who prioritize comfort around the fire, that tradeoff is absolutely worth it.
The bottom line on gear selection: know your activity, know your distance, and don’t let marketing hype convince you that a luxury recliner belongs in your ultralight kit.
With all essentials ready, it’s time to move through setup steps that make outdoor seating effortless.
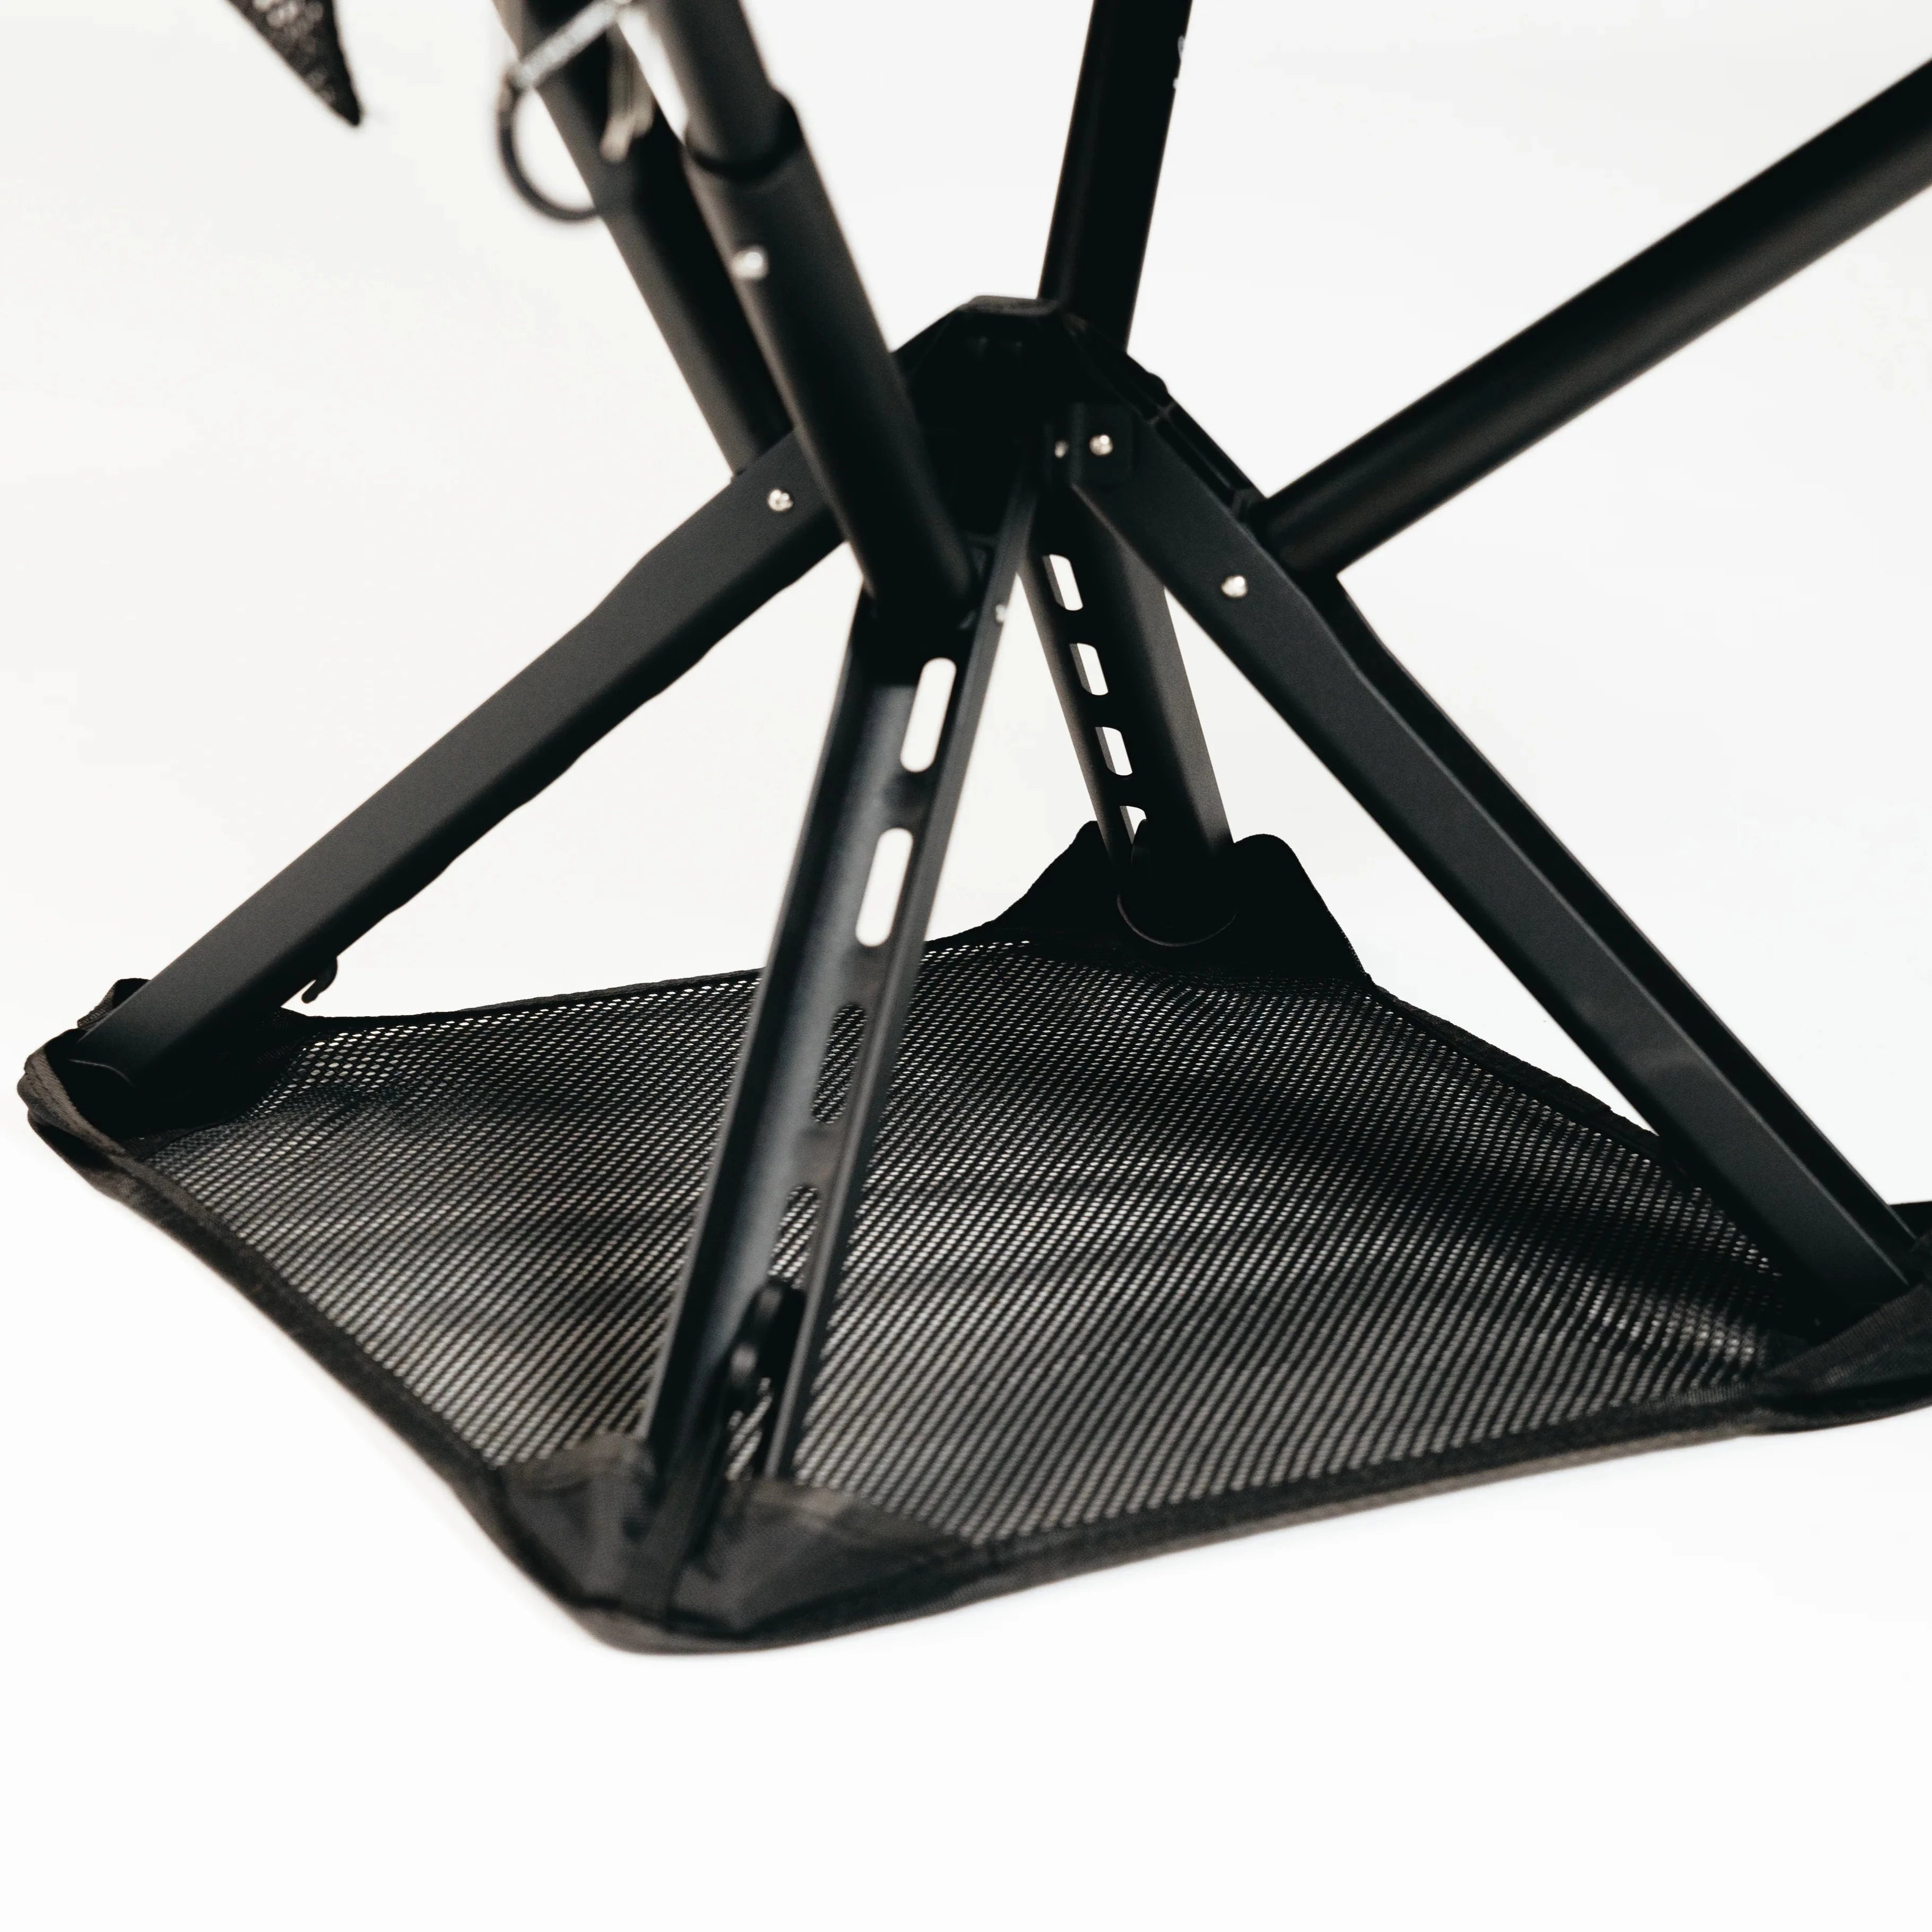
The best part about modern portable chairs is that their designers have genuinely sweated the details to make assembly as intuitive as possible. Still, there’s a right order to doing things, and skipping steps tends to result in wobbly chairs, strained fabric, or the kind of mid-sit collapse that everyone around the campfire will remember forever.
Here’s the standard process that applies to the vast majority of portable seating options, backed by lightweight seating advice from experienced outdoor gear testers:
For a specific example, the Nemo Stargaze follows these exact four steps with the addition of a headrest adjustment at the end. According to the step by step portable seating guide, practiced users complete the whole process in well under two minutes.
Pro Tip: Practice your full setup routine at home at least twice before your trip. This builds muscle memory and reduces setup time by 20%, which feels like a small gain until you’re doing it in fading light with hungry kids asking when dinner is ready.
Here’s a quick comparison of setup complexity by chair type:
| Chair type | Setup steps | Average setup time | Skill level needed |
|---|---|---|---|
| Packable stool | 1-2 | Under 30 seconds | Beginner |
| Standard camp chair | 3-4 | 1-2 minutes | Beginner |
| Reclining camp chair | 4-5 | 1-3 minutes | Intermediate |
| Hammock chair | 5-7 | 3-5 minutes | Intermediate |
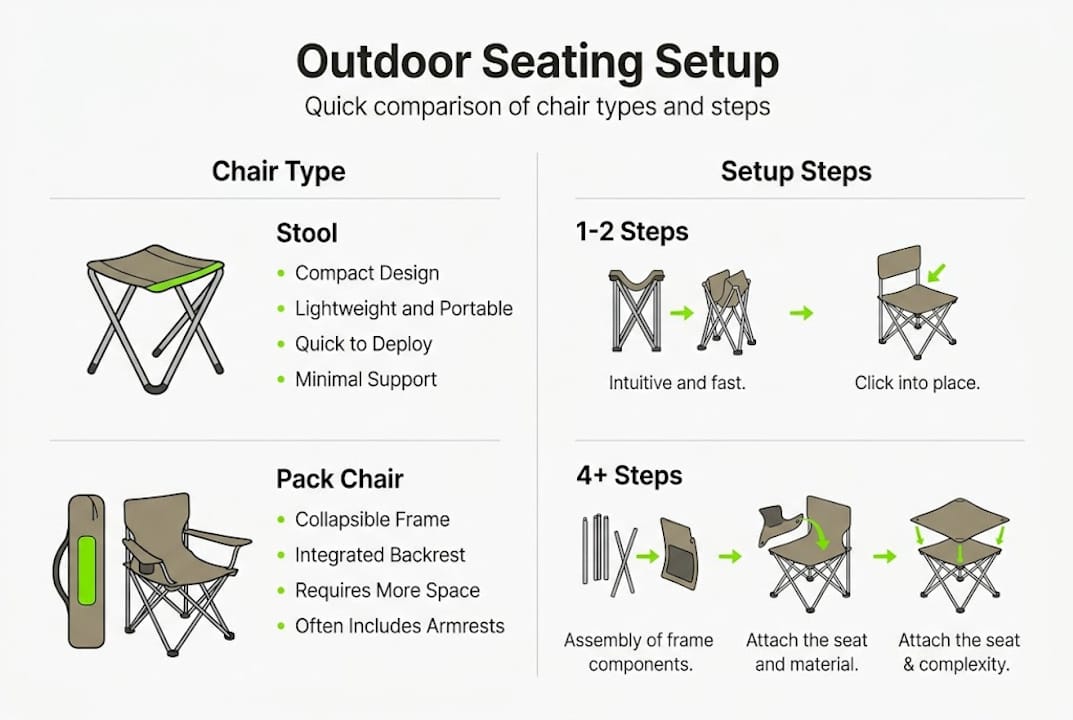
Keep that comparison in mind when you’re shopping. A chair that takes seven steps to assemble might be a joy at home but genuinely annoying in the field.
Even with clear steps, some challenges can arise. Here’s how to prevent or fix the most common issues.
Let’s be honest: most outdoor seating disasters are self-inflicted. The good news is that they’re also almost entirely avoidable once you know what to look for. Here are the most frequent mistakes and how to sidestep them:
For safety, the expert troubleshooting advice is clear: always test stability before you commit your full body weight to a seat. This is especially important on uneven terrain where one leg might be bearing more load than the others.
“Test stability before sitting. Practice reduces setup time by 20% and builds the kind of automatic caution that prevents accidents in the field.”
One underrated fix for wobbly setups on soft ground: carry a small pack of plastic leg caps or rubber tip replacements. They add almost no weight but dramatically improve grip on sand, mud, or grass. Small detail, big difference when you’re not digging chair legs out of the dirt every ten minutes.
For a deeper look at portable seating setup tips, including terrain-specific advice, it’s worth reading through setup guides that cover edge cases most product manuals skip entirely.
Once you’ve eliminated basic setup errors, here’s how to confirm your seat is ready for outdoor use.
Setting up your chair is only half the job. Verifying it before you settle in with your coffee and completely zone out is what separates a great outdoor session from a surprise trip to the ground. Run through this checklist every time:
Pro Tip: Adjust your chair’s position relative to the terrain and your expected activity. For backpacking chairs under 2 lb, prioritize flat ground placement since their lighter frames have less stability buffer. Car camping setups in the 7-9 lb range can handle more varied ground but still deserve a quick stability check. Knowing which category your chair falls into shapes how thorough your pre-sit verification should be.
The compact chair advantages really shine here: lighter chairs with fewer components mean fewer things to check and fewer failure points. For extended outdoor sessions, a quick two-minute verification process is genuinely worth the time investment. Think of it as the outdoor equivalent of buckling your seatbelt. Takes seconds, prevents real problems.
With step-by-step guidance in place, let’s explore what really matters for effortless seating outdoors, beyond the standard instructions.
Here’s something most gear guides won’t tell you: the best portable chair is the one you’ve practiced with enough to set up without thinking. Muscle memory beats premium specs every single time in real field conditions. A veteran camper with a basic folding chair they’ve assembled fifty times will be sitting comfortably long before a newcomer finishes reading the instructions on their expensive recliner.
There’s also a persistent myth in outdoor circles that ultralight automatically means better. It doesn’t. For a weekend car camping trip where you’re hauling gear twenty feet from your vehicle, dragging a 3-pound ultralight chair when you could have a 7-pound recliner is just unnecessary self-denial. Match the gear to the actual conditions, not to an idealized version of what a serious outdoorsperson looks like.
The expert setup strategies that experienced campers swear by boil down to two things: practice the setup at home for muscle memory, and always test stability before sitting. Everything else is just details. The campers who nail their seating setup every time aren’t using fancier gear. They’re just more practiced and more methodical.
Now that you know how to set up and secure your outdoor seat, discover how specialized products and pro tips can further enhance your experience.
If you’re ready to stop wrestling with your chair and start actually enjoying the outdoors, it might be time to look at seating solutions built specifically for fast, reliable comfort. At Sitpack seating solutions, you’ll find portable chairs and accessories designed with the kind of thoughtful, minimalist engineering that makes field setup genuinely intuitive. From ultralight options for serious trail use to comfortable foldable chairs for car camping, the lineup is built around one idea: you should spend your outdoor time relaxing, not setting up. Explore the full range and find the seat that fits your adventure style.
Most portable chairs assemble in 1-2 minutes, and regular practice at home can shave an additional 20% off that time by building reliable muscle memory.
Always tension seat fabric fully, confirm poles are placed correctly, and press down with your hands to test stability before sitting down with your full body weight.
For backpacking, stick to chairs under 2 lb to protect your back on the trail; car camping allows you to go up to 7-9 pounds for extra reclining comfort without penalty.
Absolutely. Practicing at home builds muscle memory that makes setup faster and more reliable when conditions outdoors are less forgiving, like setting up in wind, fading light, or on uneven ground.