Vogn
0
Tilmeld dig og få 10% i rabat på din ordre
Forventet levering
1-3 dage
Du vil måske også kunne lide


Dansk Firma
TL;DR:
- Effective camping organization relies on a category-based bin system, functional campsite zones, and a consistent departure routine. Properly aligning each bin with its designated zone reduces setup time and enhances safety, especially in bear country. Regularly resetting and updating the system at home ensures efficiency and keeps gear ready for future adventures.
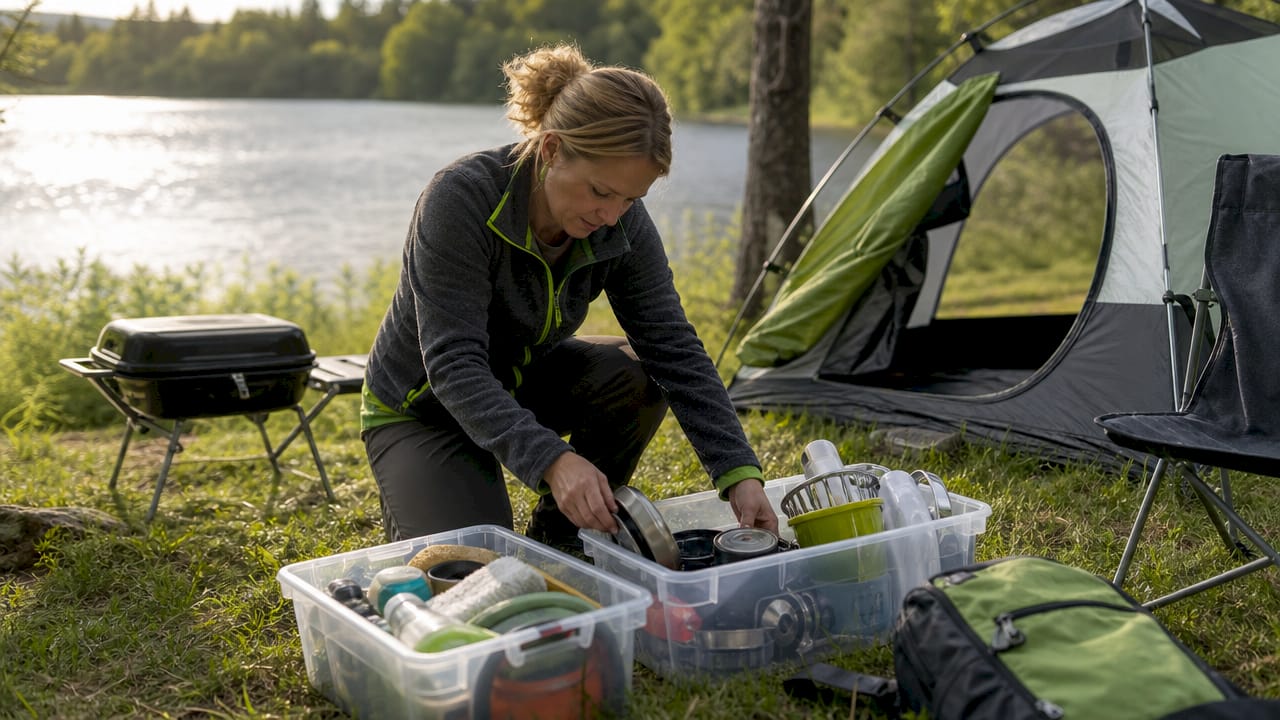
Camping organization tips are the essential practices and systems that help you efficiently pack, store, and set up your gear for a smooth, comfortable trip. A well-organized camp means less time digging through a pile of stuff at 10 p.m. looking for your headlamp, and more time actually enjoying the fire. The core tools are simple: category-based bins, clear labels, and a campsite divided into functional zones. Get these three things right, and you will arrive at your site ready to relax instead of ready to lose your mind.
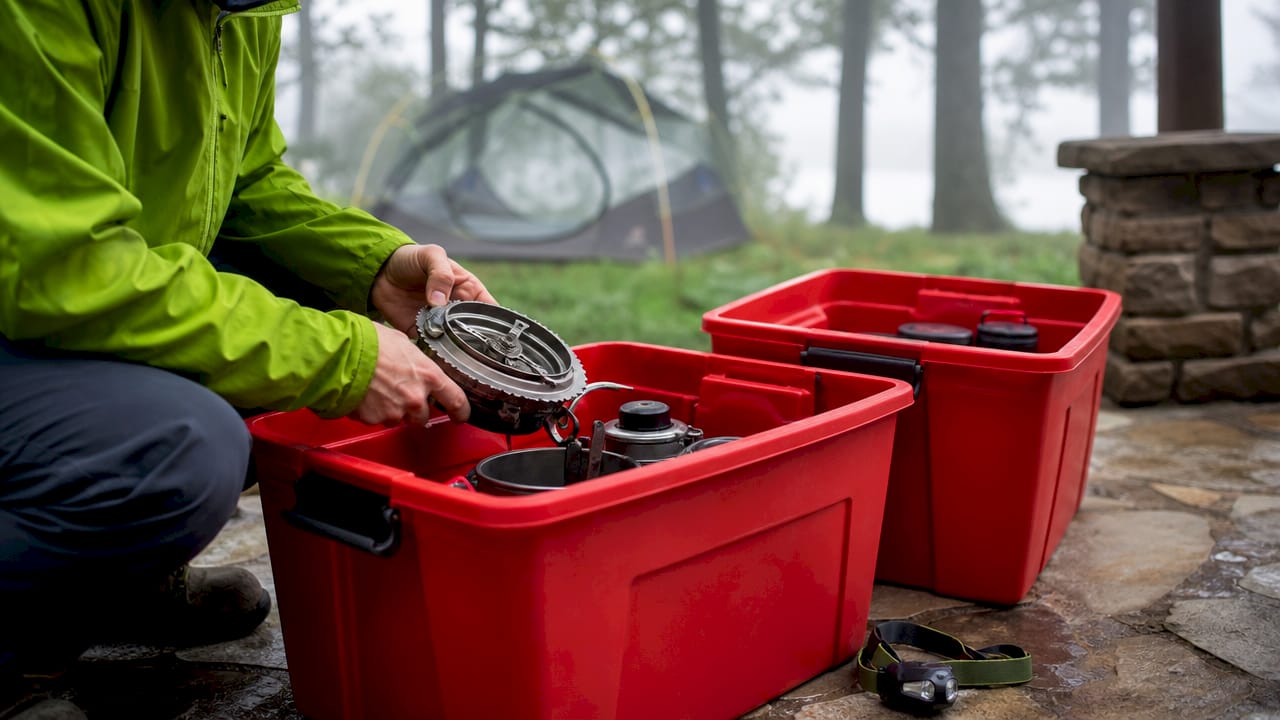
The most effective way to organize camping gear is a category-based bin system, where every item has a permanent home in a labeled container that lives between trips. Clear labeled totes with master contents lists reduce forgotten gear and packing errors, taking about two minutes per bin to verify. This is not a one-time setup. It is a system you build once and reuse forever.
Start with a full gear audit. Pull everything out, eliminate duplicates, and toss anything broken or expired. Then sort what remains into five core categories:
For containers, Sterilite 66-quart latching totes are the industry standard. They are clear so you can see contents at a glance, they stack cleanly in a truck bed or SUV, and the latching lids hold up to repeated use. Print a master contents list for each bin and laminate it or tape it inside the lid. Experienced campers use these lists religiously to verify packing completeness before every trip.
Pro Tip: Keep your bin count to five or fewer. More bins means more loading, more unloading, and a creeping tendency to overpack. If a bin is only half full before a trip, consolidate it.
Dividing your campsite into functional zones is one of the best camping organization techniques because it separates activities that conflict with each other and reduces the risk of wildlife encounters. The four zones are the sleep zone, the kitchen and cooking zone, the activity zone, and a central social zone around the fire.
The most critical layout rule in bear country is the 100-meter triangle, which keeps your sleeping area, cooking area, and food storage roughly 100 meters apart from each other. This separation reduces the chance that a bear investigating food smells will wander into your tent. Position the kitchen zone downwind of the sleeping area so cooking odors drift away from where you sleep.
Here is how the four zones compare in terms of placement and purpose:
| Zone | Placement | Primary purpose |
|---|---|---|
| Sleep zone | Upwind, away from kitchen | Rest and personal storage |
| Kitchen zone | Downwind, 100 m from tent | Cooking, food prep, washing |
| Food storage | 100 m from tent and kitchen | Bear canisters, hung food bags |
| Activity zone | Between sleep and social areas | Games, gear prep, drying clothes |
One detail most campers miss: toiletries count as attractants. Toothpaste, lip balm, sunscreen, and deodorant all need to go in your bear canister or hung food bag, not in your tent. Treat anything with a scent the same way you treat food.
Packing in the correct order is one of the most overlooked tips for packing for camping, yet it cuts your setup time at the site by a significant margin. The rule is simple: pack in reverse order of use. The kitchen bin goes in last so it comes out first. Sleeping gear goes in first because you will not need it until the tent is up.
Follow this sequence at home before you leave:
At camp, unload in the same logical order. Set up the kitchen zone first so you can make coffee or prep lunch while the rest of the site comes together. Packing heavy bins first and keeping arrival-critical gear accessible is the key principle behind a fast, frustration-free setup.
Departure is where most campers lose their organization discipline. A 10-minute Leave No Trace routine covers a micro-trash sweep, a food and scent check, a fire reset, a site reset, and a final gear scan. Run through it before you load a single bin. When you get home, reset each bin: restock consumables, replace anything used, and update the master contents list. The system only works if it is maintained between trips.
Pro Tip: Set a phone timer for 10 minutes at departure. It creates a sense of urgency that prevents the slow, distracted cleanup that leaves tent stakes and granola bar wrappers behind.
Good gear storage solutions do not require a big budget. They require the right containers and a consistent labeling approach. Here are the tools that actually make a difference:
Pack multipurpose items wherever possible. A cast iron skillet replaces three separate pans. A multi-tool replaces a knife, pliers, and screwdriver. Every item that does double duty is one less thing taking up bin space. A structured camping checklist with organized categories helps you audit what you actually need versus what you are packing out of habit.
For a deeper look at what to bring, Sitpack’s camping gear checklist covers core categories from sleeping to kitchen to personal care in a format you can use directly.
The smartest outdoor organization hack is aligning your bin categories directly with your campsite zones, so each bin gets carried to its zone and unpacked once. No shuffling items between zones. No digging through the kitchen bin for a sleeping pad. Practitioners of this method sync packing categories with setup zones to minimize unloading time and avoid searching for gear after arrival.
In practice, this means your kitchen bin goes straight to the kitchen zone, your comfort and sleep bin goes to the tent area, and your activities bin lands in the activity zone. The miscellaneous bin stays central, near the fire or social area, since first aid and fire starters are accessed from anywhere. This one-bin-to-one-zone approach turns a chaotic unload into a five-minute operation.
It also makes packing up faster. Each zone feeds back into its corresponding bin. You are not hunting for items scattered across the site because everything started in a zone and stayed there.
Leave No Trace is not just an environmental principle. It is a practical organization framework. Campers who integrate cleanup routines into their organization workflow improve both their environmental impact and their overall camp enjoyment. A clean, well-maintained site is also a faster site to pack up.
The practical integration looks like this: your dry food bin includes a small trash bag clipped to the inside lid. Your kitchen zone has a dedicated waste station from day one, not as an afterthought. Your departure checklist lives laminated inside the lid of your miscellaneous bin, so it is always there when you need it. Packing a ‘pack it out’ mindset with detailed departure checklists prevents micro-trash and food leftovers that attract wildlife and degrade the site for the next camper.
The goal is to leave a site that looks like you were never there. That is not just good ethics. It is the mark of a camper who actually has their system dialed in.
Solid camping organization is built on a repeatable bin system, functional campsite zones, and a consistent departure routine that resets the system for the next trip.
| Point | Details |
|---|---|
| Use a category-based bin system | Five labeled bins covering kitchen, food, sleep, activities, and misc covers most trips. |
| Align bins with campsite zones | Carry each bin directly to its zone on arrival to cut setup time significantly. |
| Apply the 100-meter triangle rule | Keep sleeping, cooking, and food storage 100 meters apart in bear country. |
| Treat toiletries like food | Toothpaste, deodorant, and lip balm are bear attractants and belong in a canister. |
| Reset bins at home after every trip | Restocking and updating master lists between trips keeps the system error-free. |
I used to pack for camping the way most people do: throw everything into a duffel the night before, forget the can opener, and spend the first hour at camp untangling gear. It was fine, mostly. But “fine” is a low bar when you are standing in the dark looking for your headlamp while everyone else is already sitting around the fire.
The shift happened when I started treating my camping gear like a kitchen. Everything has a place. Everything goes back to that place. The bin system felt overly structured at first, honestly. But after the first trip where I arrived at the site and had the kitchen running in under 10 minutes, I was sold.
What surprised me most was how much the campsite zoning changed the feel of a trip. Keeping the kitchen downwind and away from the tent is not just a bear safety rule. It means you are not waking up at 3 a.m. smelling last night’s chili. Small thing. Big difference.
The one thing I would push back on in most organization guides is the obsession with gear. The system matters more than the containers. You can run a perfectly functional bin system with basic plastic totes from a hardware store. What you cannot replace is the habit of resetting the system when you get home. Skip that step twice and the whole thing falls apart. The master list inside the lid is not optional. It is the whole point.
If you are just starting out, Sitpack’s step-by-step setup guide is a solid starting point for building your first organized camp from scratch.
— Jonas
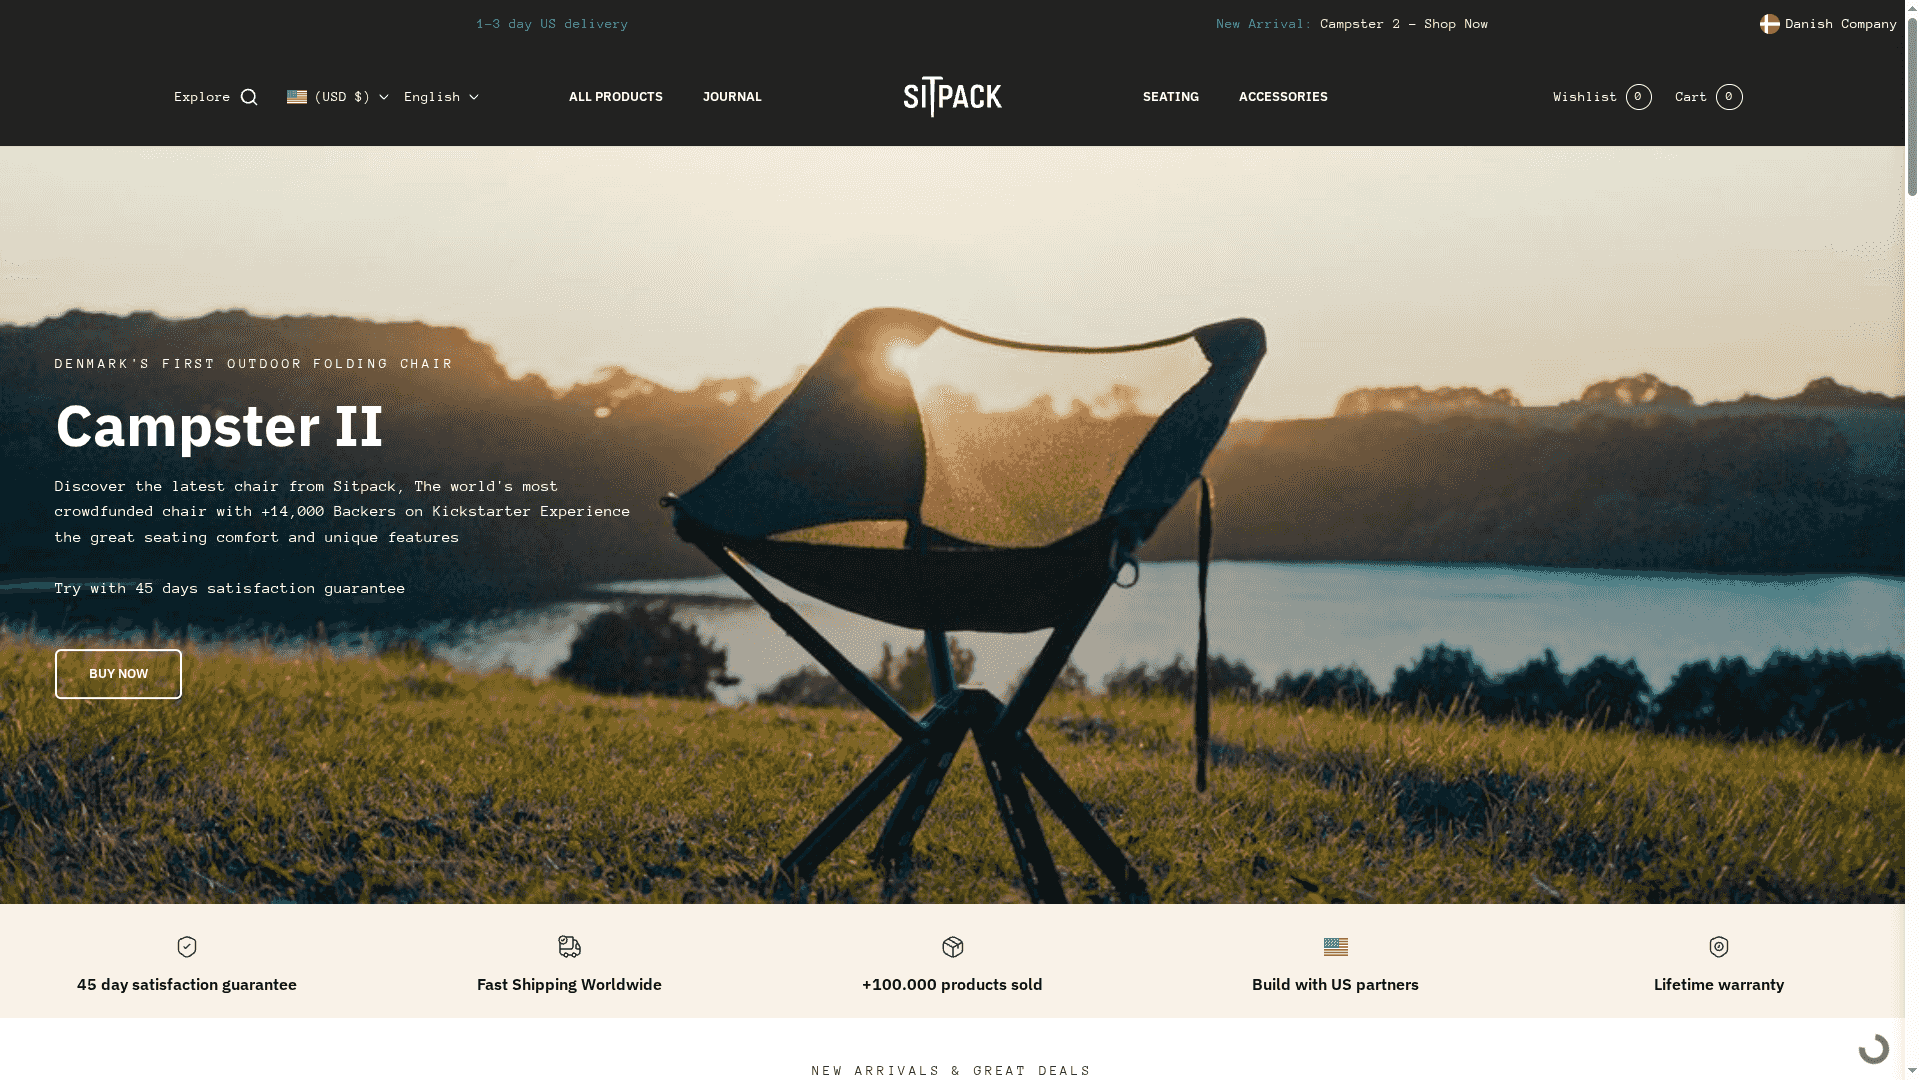
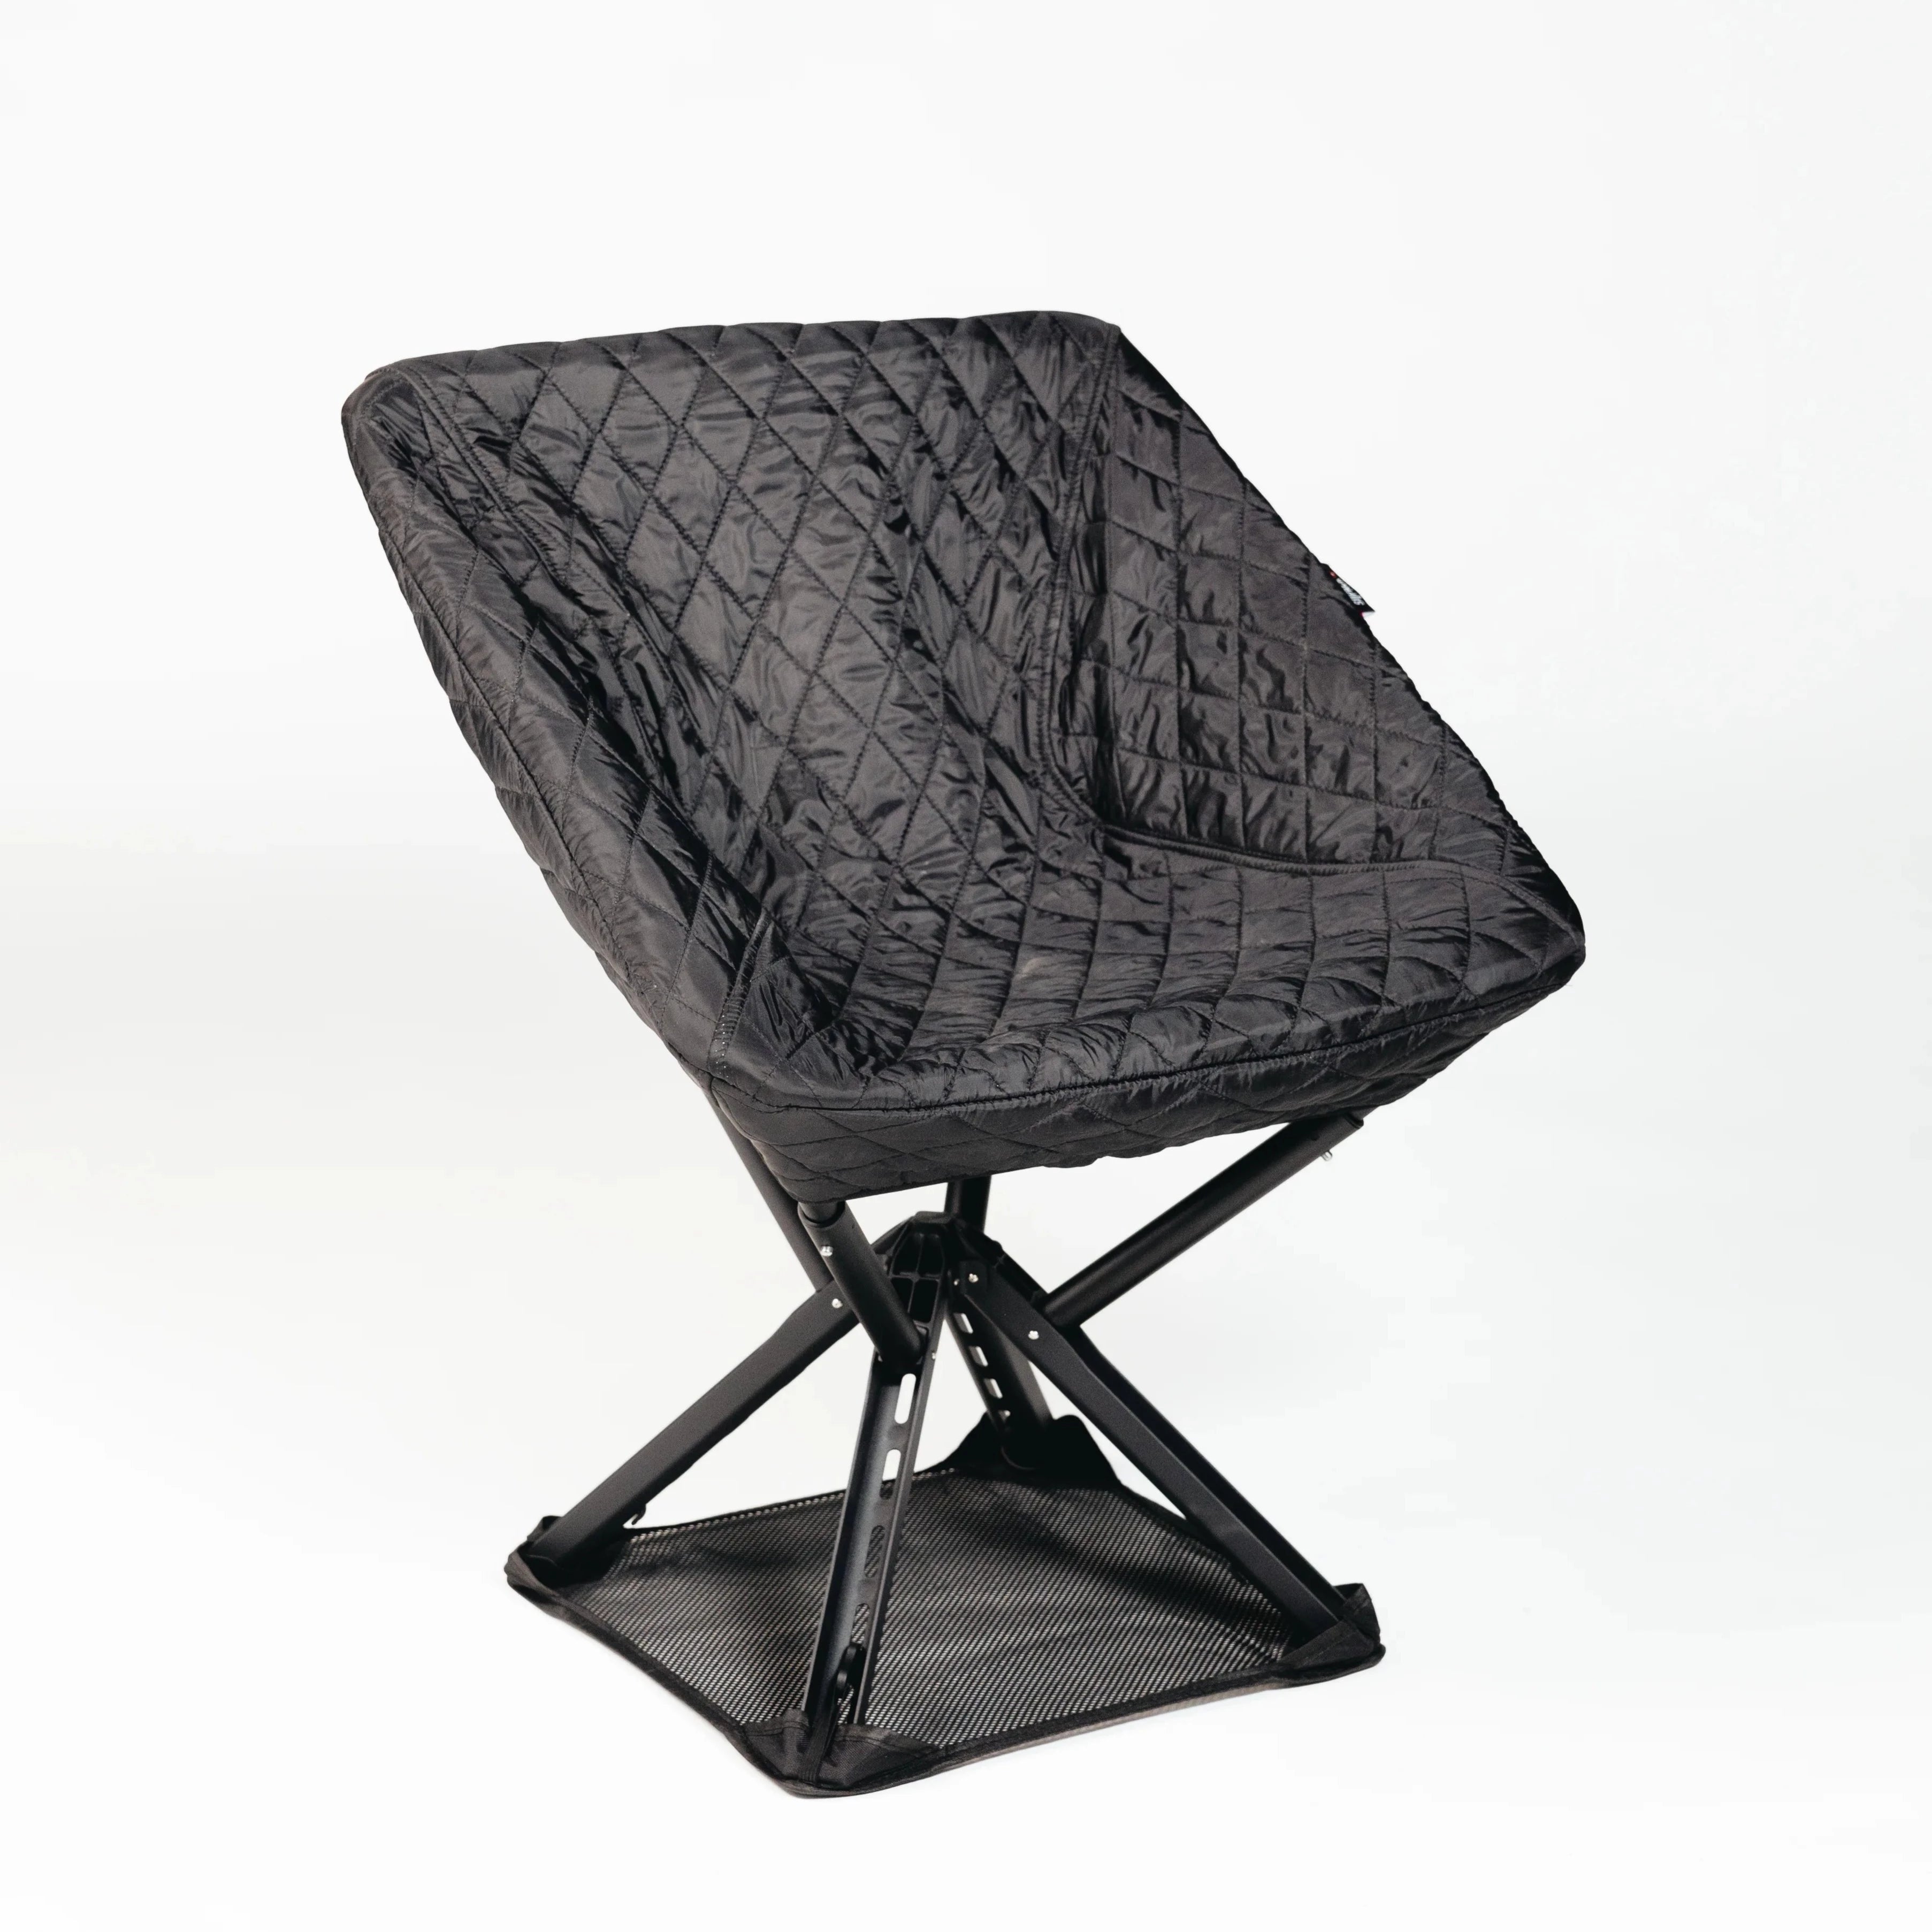
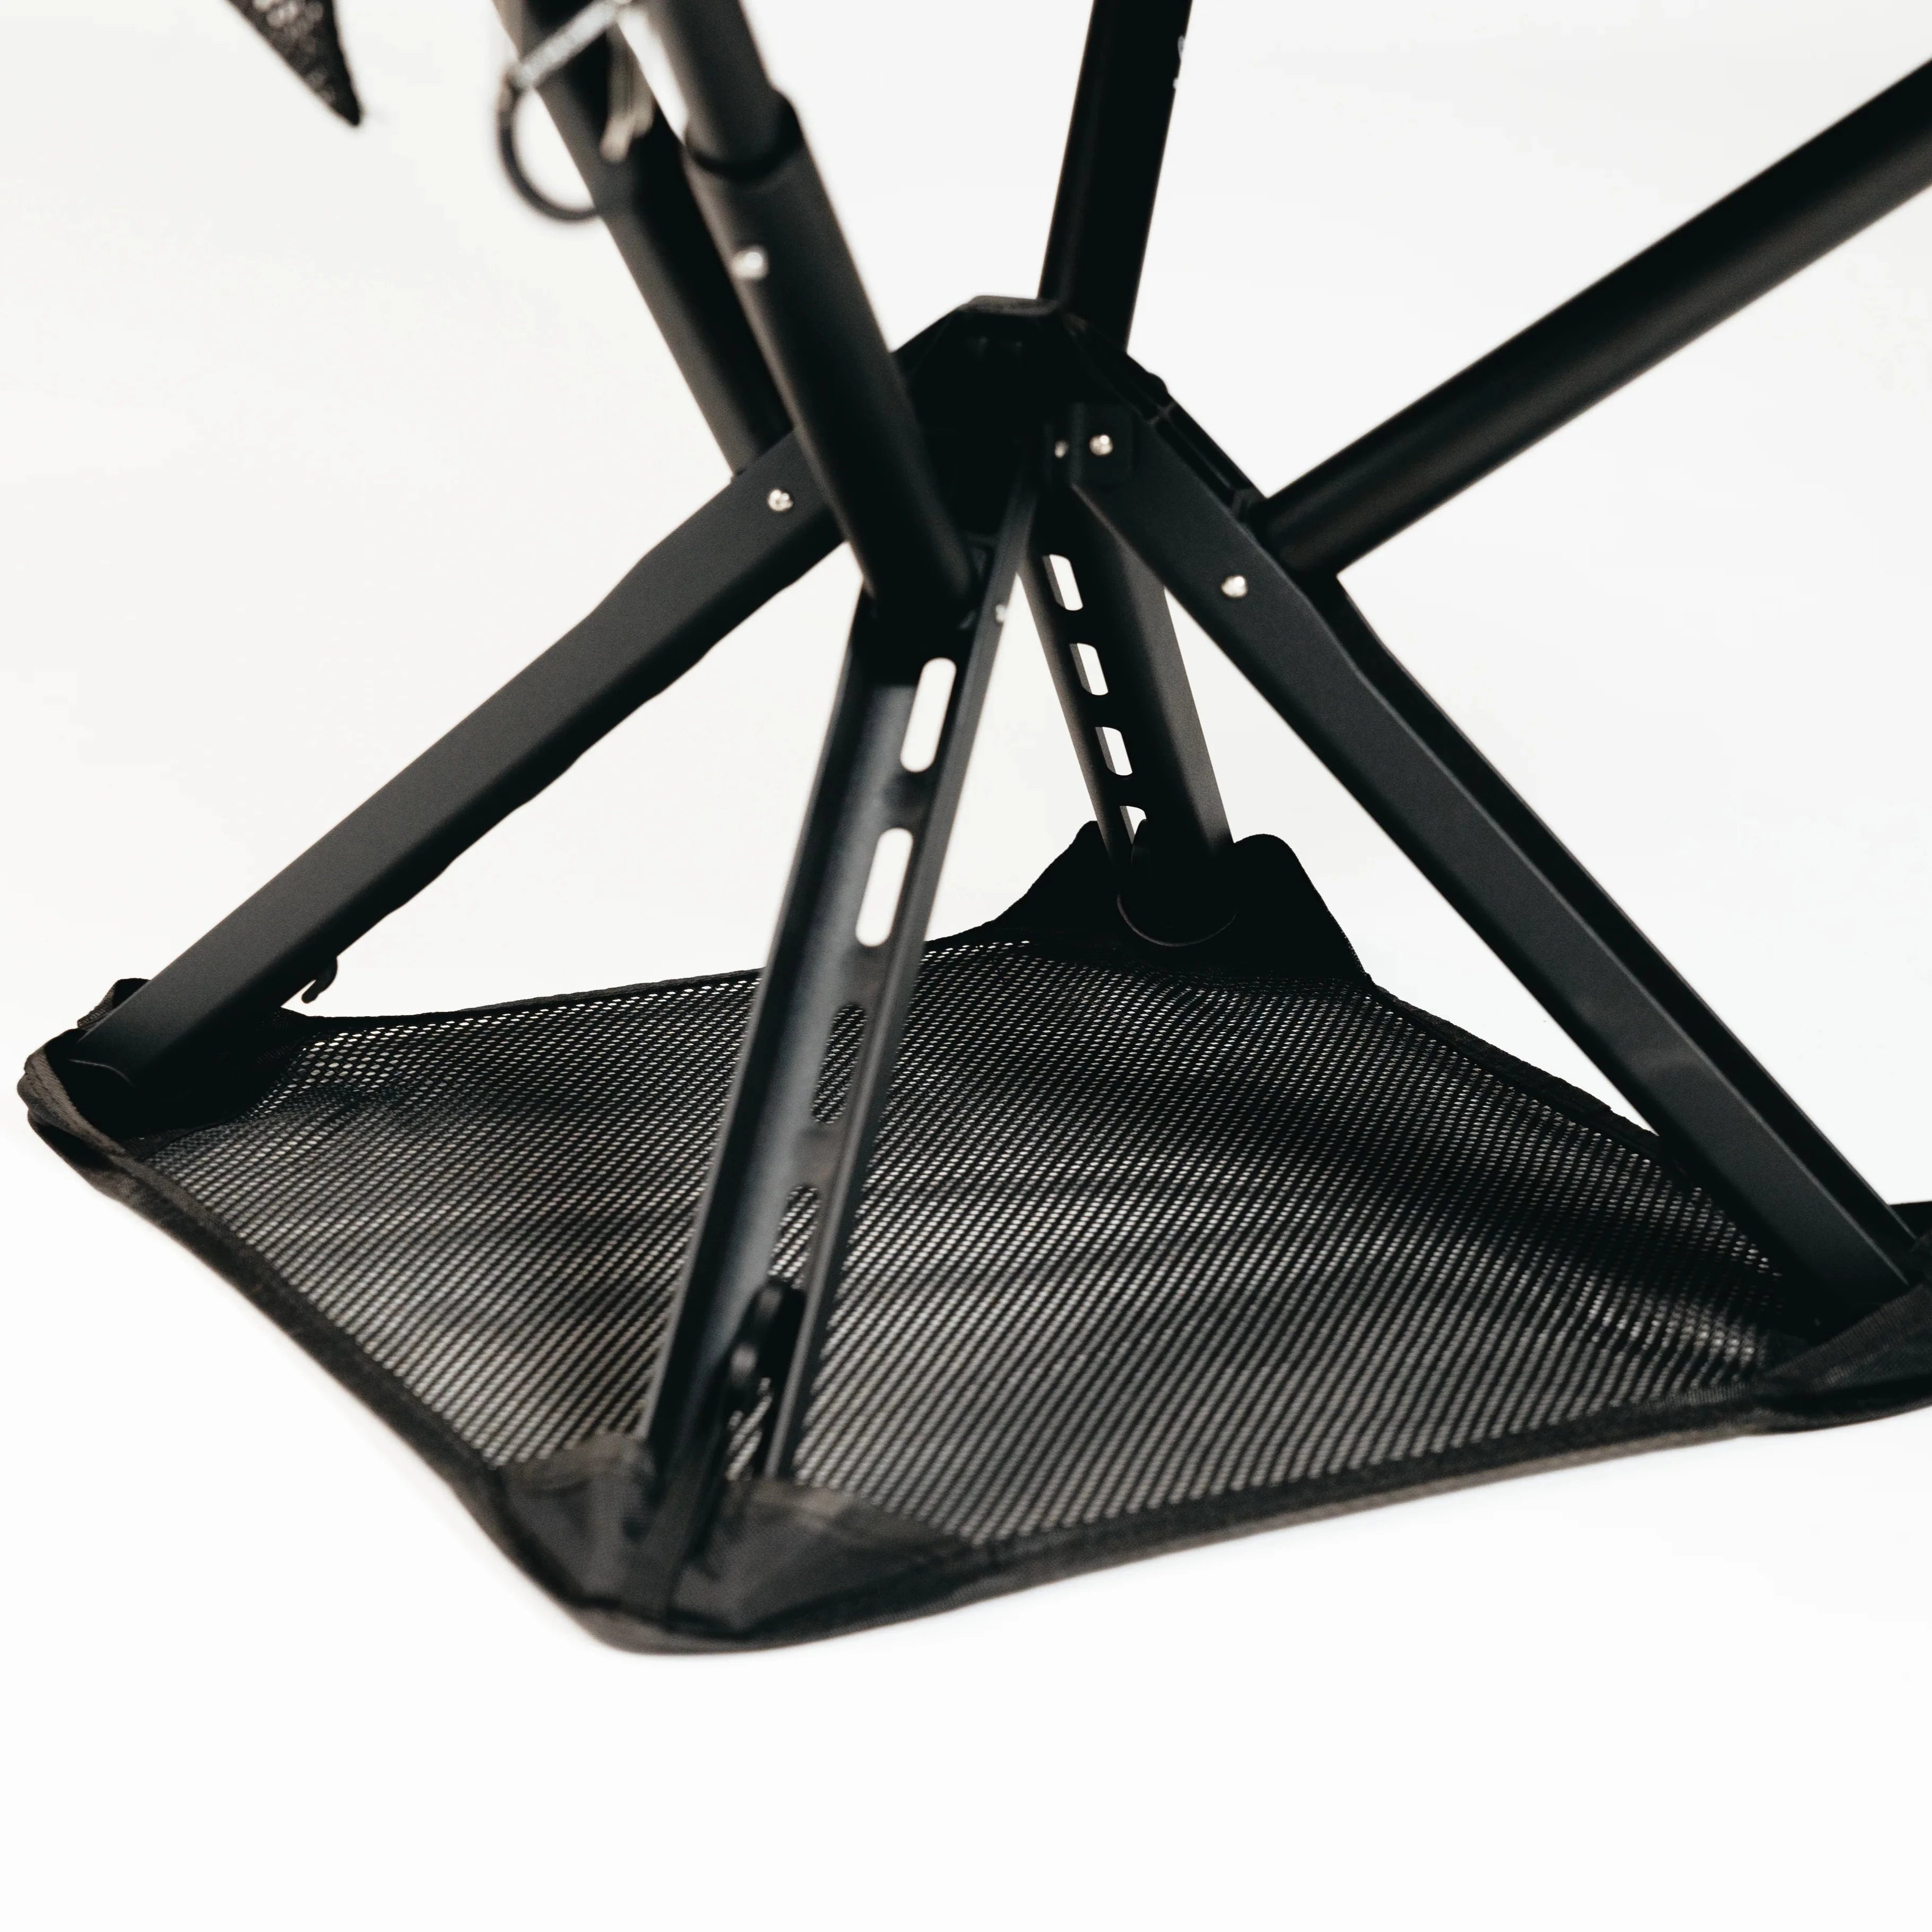
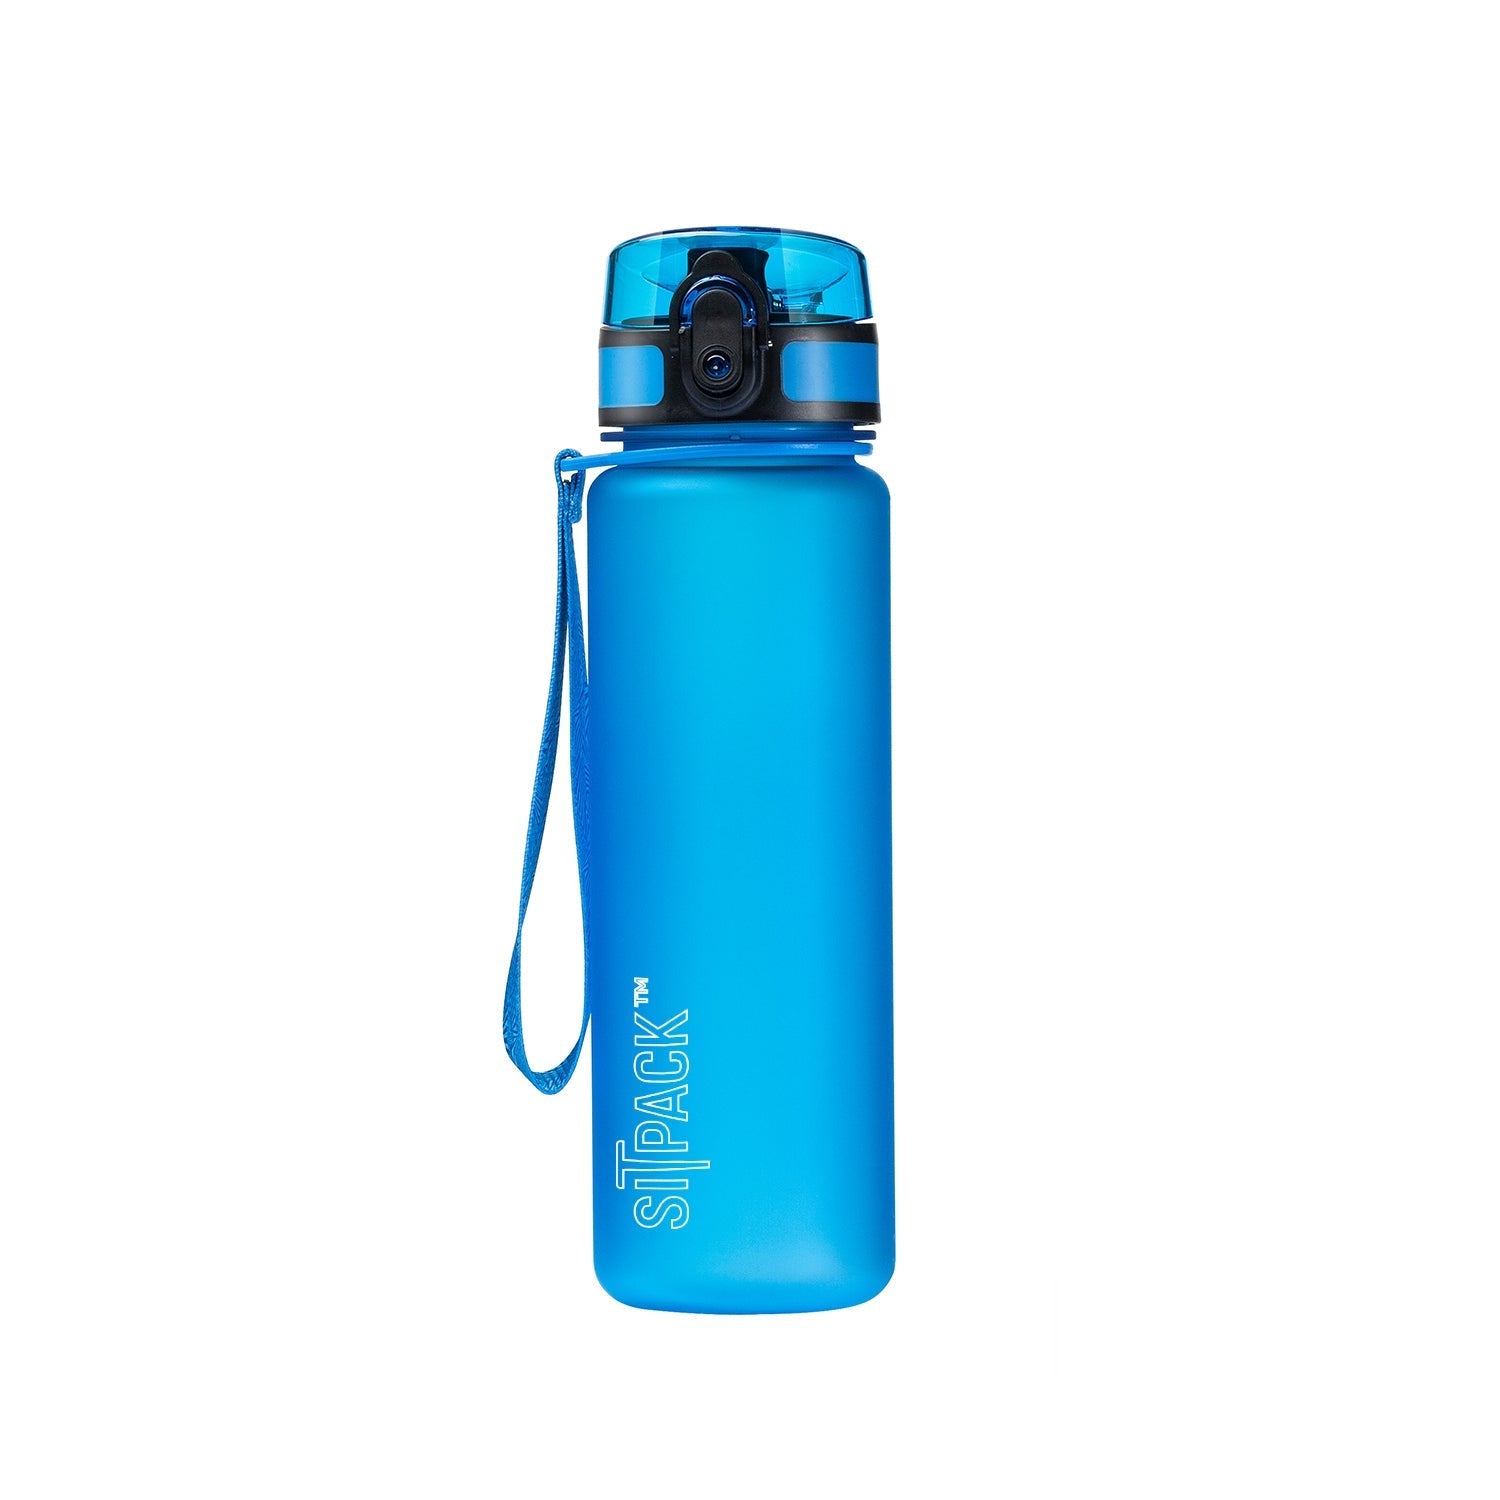
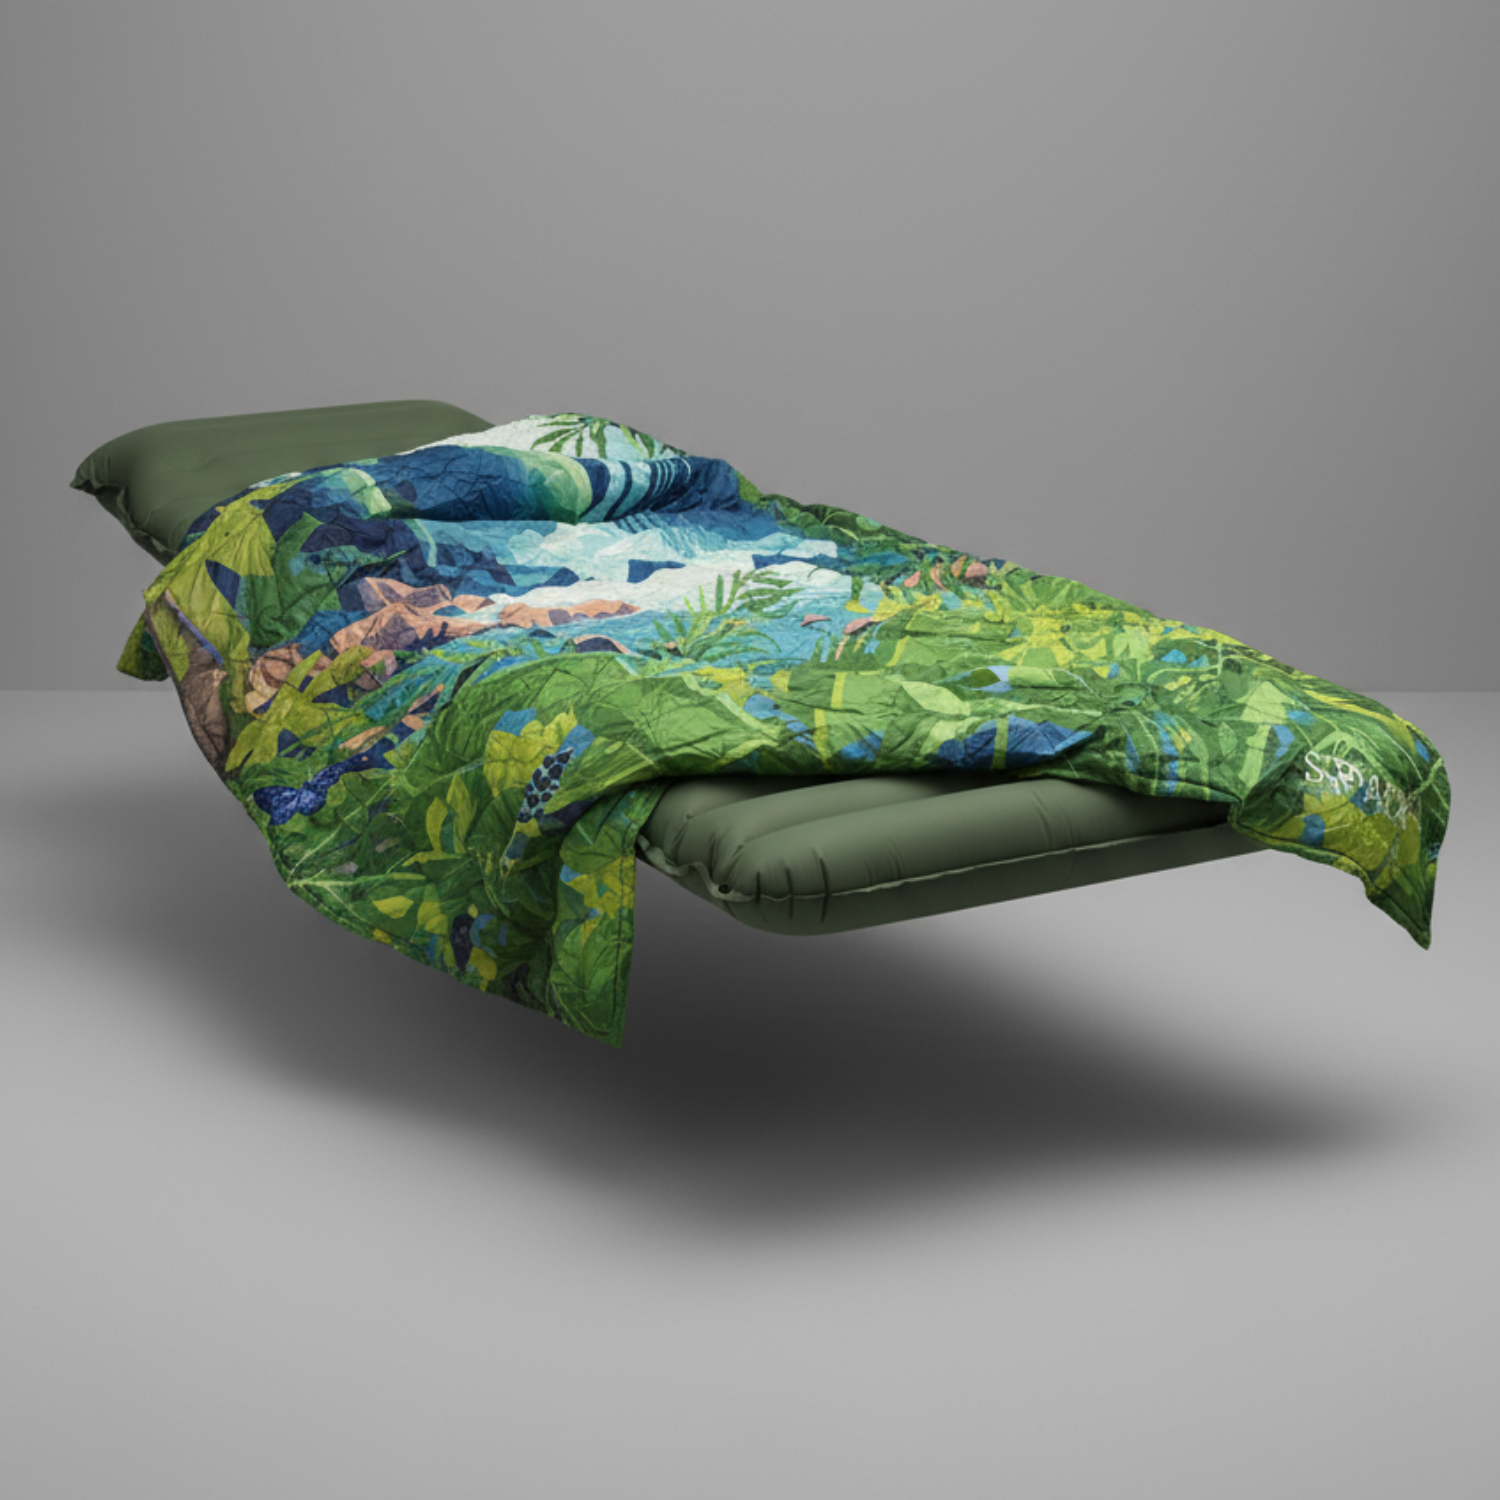
Once your organization system is locked in, the gear inside those bins matters more. Sitpack builds portable seating and outdoor accessories designed for campers who want comfort without hauling a truckload of furniture. The Campster II is a foldable camp chair that weighs almost nothing and packs flat, which means it fits neatly into your comfort and sleep bin without eating up half the space. Sitpack also offers accessories like thermal blankets, seat warmers, and travel towels that are compact enough to pack without a second thought. When every item in your bin earns its place, the whole system gets lighter and faster. Explore the full range at Sitpack.
Start with a five-bin category system covering kitchen, dry food, sleep, activities, and miscellaneous. Use clear latching totes with laminated contents lists so you can verify packing in under two minutes per bin.
Divide the site into four zones: sleep, kitchen, food storage, and activity. Carry each bin directly to its corresponding zone on arrival to avoid shuffling gear and cut setup time significantly.
A solid camping checklist covers tent components, sleeping gear, kitchen essentials, tools, clothing, and personal items organized by category. Laminate it and store it inside your main bin lid for every trip.
Follow the 100-meter triangle rule, keeping your sleeping area, cooking area, and food storage roughly 100 meters apart. Store all food, trash, and scented toiletries in a bear canister or hung food bag, never in your tent.
Reset each bin at home after every trip: restock consumables, replace used items, and update the master contents list. This 15-minute home reset is what keeps the system working trip after trip.