Vogn
0
Tilmeld dig og få 10% i rabat på din ordre
Forventet levering
1-3 dage
Du vil måske også kunne lide



Dansk Firma

TL;DR:
- A proper camping trip workflow follows a staged process from booking to final departure checks to avoid last-minute problems. Early planning and gear testing are essential for a smooth outdoor experience, with each phase building on the previous one. Running a trial setup at least three days before departure helps catch failures and ensures readiness for specific weather conditions.
A solid camping trip preparation workflow is a sequential, phased process that moves you from campsite booking through gear testing to final departure checks, without the last-minute scramble that ruins the first night. The Plan-Pack-Prepare method breaks outdoor adventure planning into three manageable stages, each with a clear timeframe and set of tasks. Busy summer campgrounds book up to six months in advance, so starting early is not optional. Get the sequence right, and you show up at the trailhead calm, equipped, and ready to actually enjoy the woods.
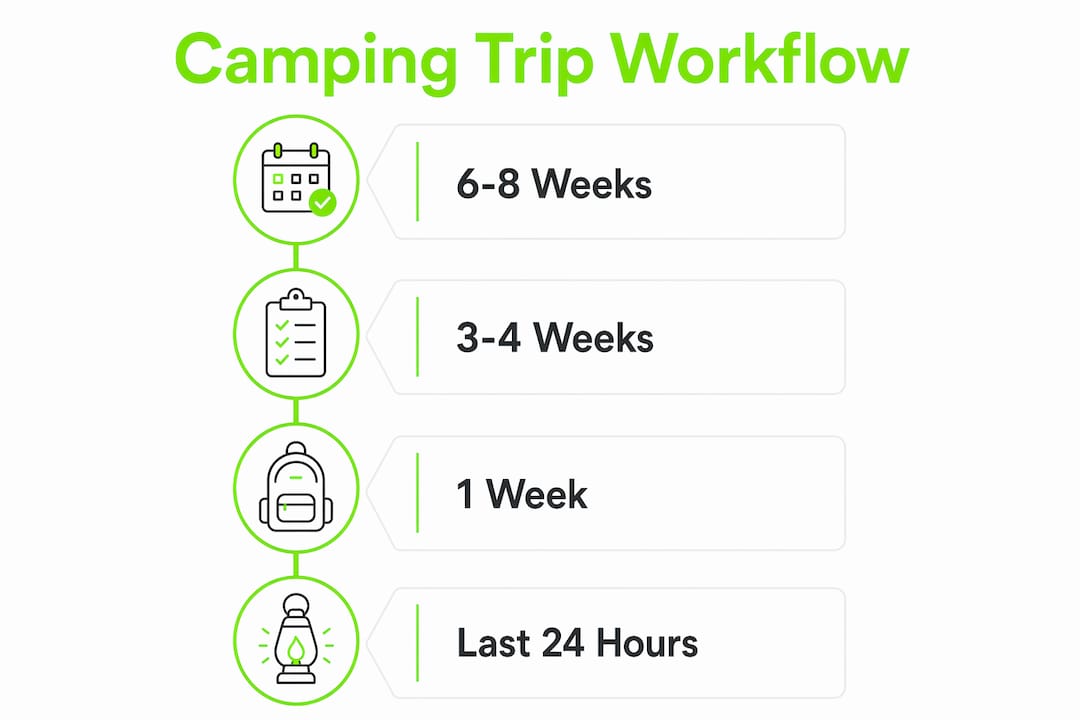
The camping trip preparation workflow runs on four temporal checkpoints, each tied to a specific window before your departure date. Miss one, and the next phase gets harder.
6–8 weeks out: Lock in your campsite. Recreation.gov handles reservations for most federal campgrounds, and popular spots at national parks fill within minutes of opening. Early campsite booking up to six months ahead is the single most common mistake beginners skip. Book first, plan everything else second.
3–4 weeks out: Audit your gear and plan your menu. Pull every item out of storage and check it physically. A tent with a broken pole discovered three weeks early is a minor inconvenience. Discovered at the campsite, it’s a disaster. Plan meals by night, not by day, so you account for the reality that dinner on night two always takes longer than expected.
1 week out: Shop for food and consumables, then pack. Organizing gear by function rather than by category prevents the classic mistake of forgetting stove fuel while remembering the cast iron skillet.
Last 24 hours: Run final checks, freeze water bottles, load the vehicle, and confirm weather with the National Weather Service.
| Timeframe | Primary task | Key focus |
|---|---|---|
| 6–8 weeks out | Book campsite | Recreation.gov, permit research |
| 3–4 weeks out | Gear audit and menu plan | Check all equipment physically |
| 1 week out | Shopping and packing | Functional gear organization |
| Last 24 hours | Final prep and weather check | National Weather Service forecast |
The staged approach matters because each phase feeds the next. Skipping the gear audit means your shopping list is wrong. A wrong shopping list means your pack is wrong. A wrong pack means a bad trip.
Functional packing beats memory packing every time. Memory packing is when you mentally run through “what do I need?” and grab things. Functional packing means you organize gear by the job it does, then check each job off systematically. Functional gear organization prevents common packing errors that leave you without stove fuel or a can opener.
The core gear categories for any camping checklist are:
Water planning deserves its own math. Budget 1 gallon per person per day covering drinking, cooking, and basic sanitation. A layered water system, meaning a personal bottle for active use, a larger camp container for cooking, and a backup purification method, keeps you covered even if one element fails or a water source runs dry.
Pro Tip: Freeze water bottles the night before departure and place them in the cooler. They serve as long-lasting ice and convert to cold drinking water as they melt, saving cooler space and money on bagged ice.
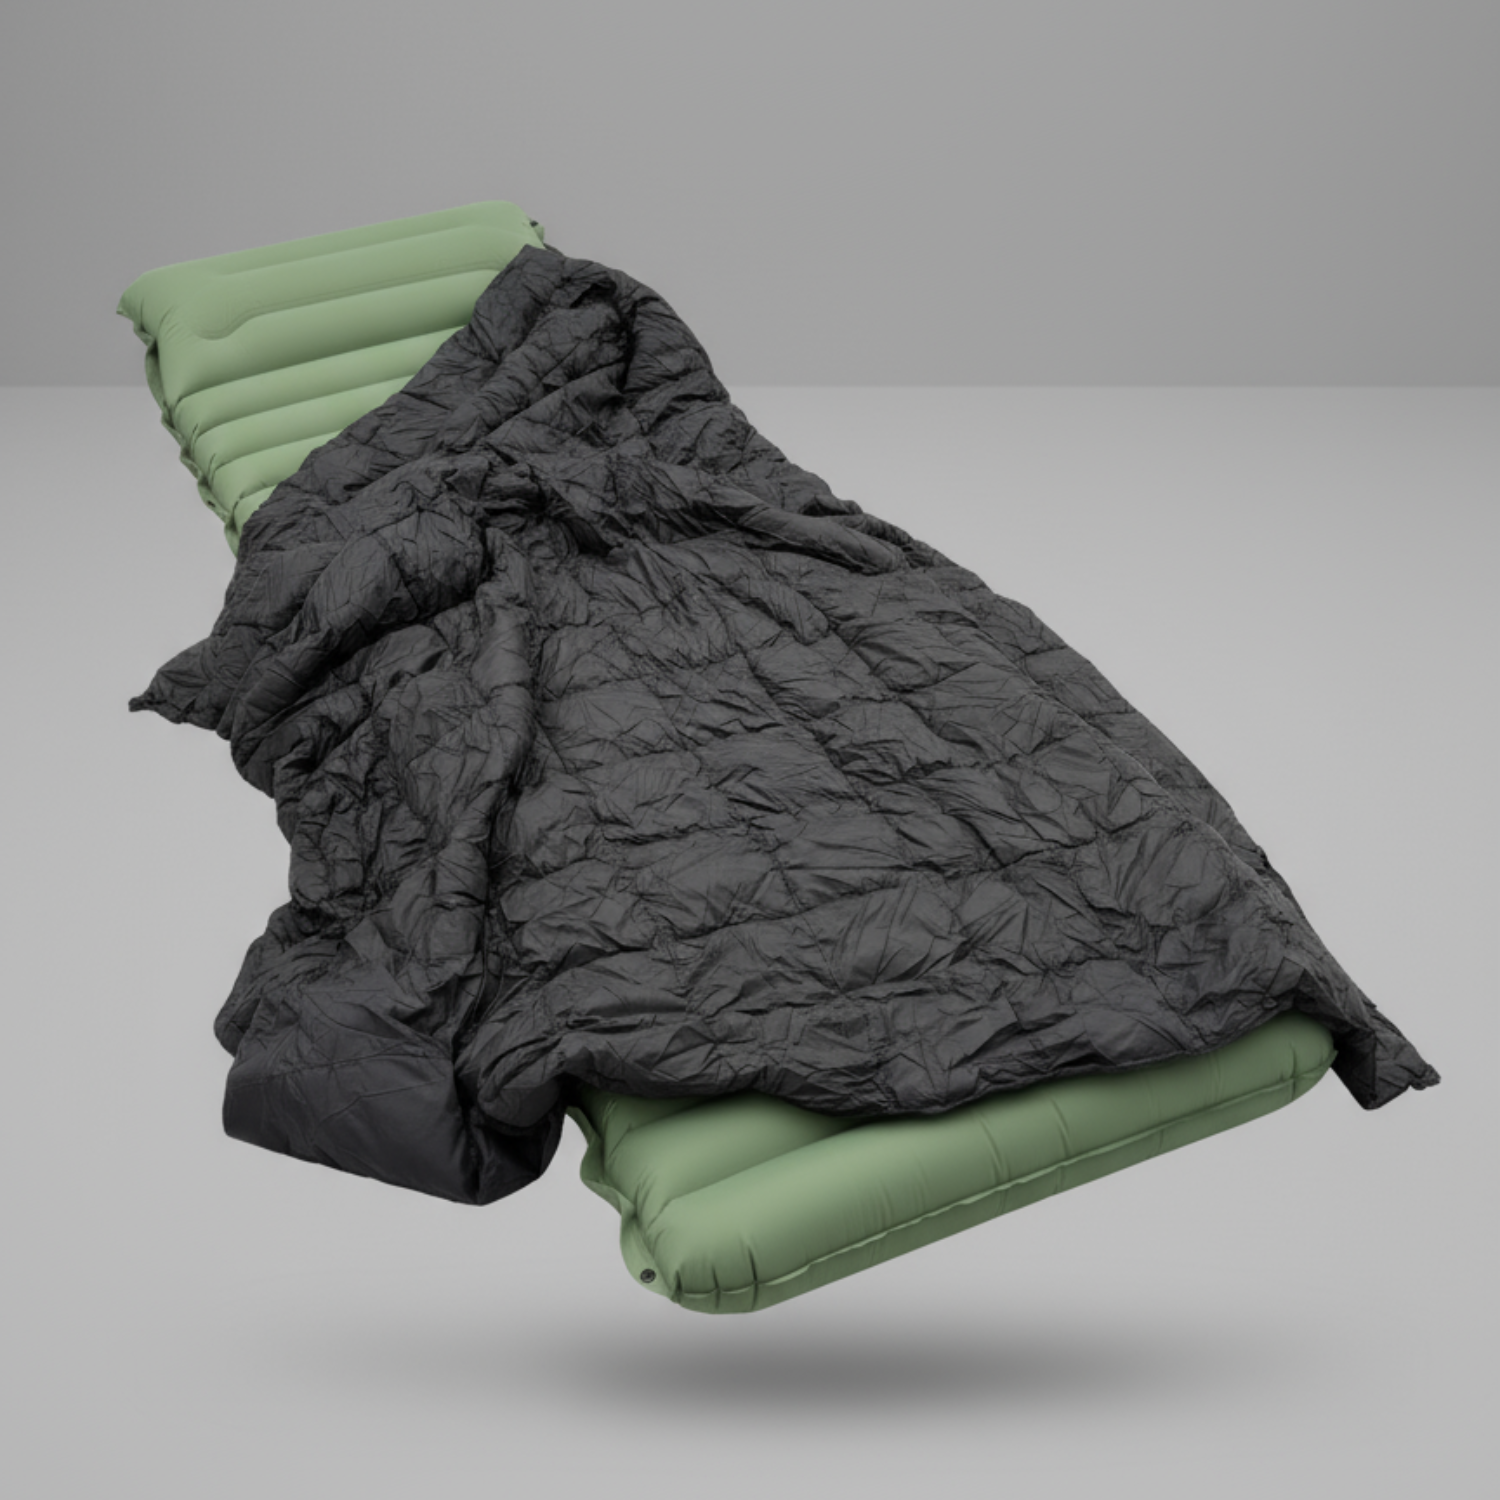
Prioritize your sleep system above everything else. Experienced campers put shelter and sleep first because poor rest undermines every other part of the trip. A $30 sleeping pad on frozen ground will ruin a trip that cost $300 to plan.
Weather is the variable that breaks otherwise solid plans. Mountain and wild area conditions change fast, and the National Weather Service hourly forecast is the most reliable free tool for tracking that change. Check it the morning of departure, not just the night before.
The 3-layer clothing system manages temperature and moisture across changing conditions:
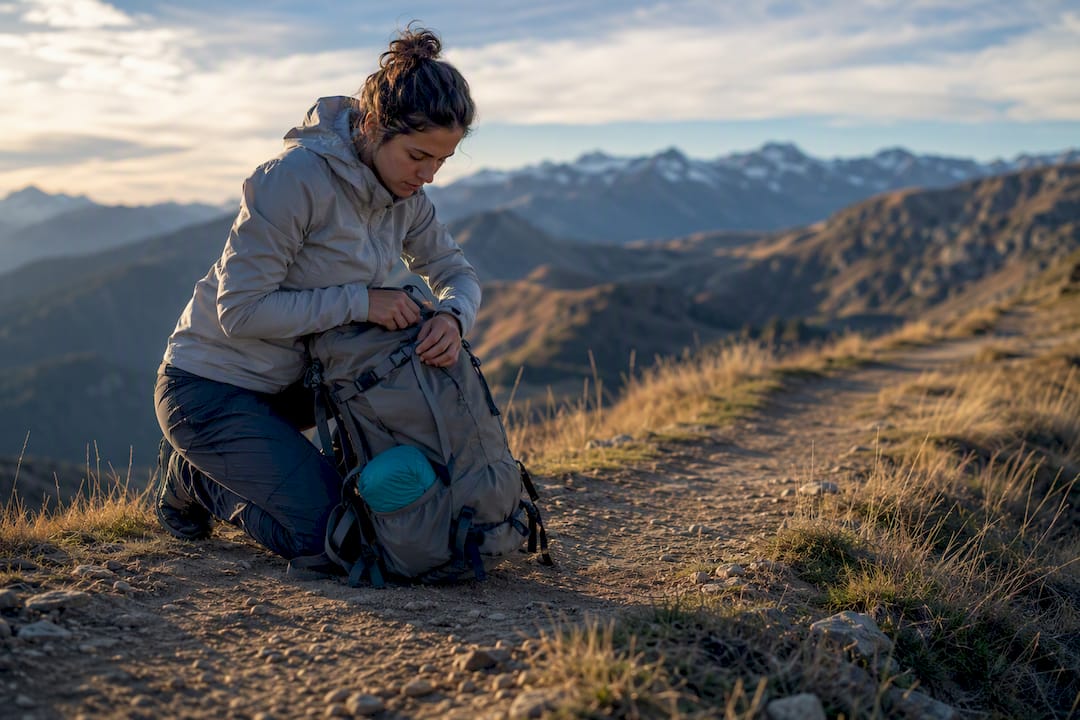
Rain prep goes beyond a jacket. Waterproof your gear bags with pack liners or dry bags. Store your sleeping bag in a separate dry bag inside your pack. Create a shelter-in-place plan before you leave: know where your tent’s rain fly attaches, and practice pitching it in under five minutes.
Pro Tip: Pack a small tarp in addition to your tent rain fly. A tarp rigged over the cooking area gives you a dry kitchen during rain and extends your usable outdoor space dramatically.
Family trips add a layer of planning complexity. Simplify meals to one-pot dinners that require minimal prep and cleanup. Set up sleeping arrangements before dark, because organizing sleeping pads and bags by headlamp with tired kids is a special kind of misery. For lightweight gear packing strategies that reduce load without sacrificing comfort, the functional category approach applies equally to family and solo trips.
The Backyard Test is the single highest-value step most campers skip. Run a trial at least 3 days before departure so you have time to fix what breaks. Three days is not arbitrary. It gives you a full business day to order a replacement part or buy a missing item.
The Backyard Test checklist runs in this order:
Backyard trial runs catch the vast majority of common campsite frustrations before arrival, including broken poles, stove ignition failures, and missing parts. The Leave No Trace principle of preparation extends beyond environmental stewardship. It means showing up ready so you spend less time fixing problems and more time being present in the outdoors.
Pro Tip: Take a photo of your fully packed gear layout before you load the car. If you can’t find something at camp, the photo tells you exactly where it was packed.
A one-time camping checklist is useful. A living checklist that you update after every trip is a genuine asset. Maintaining a post-trip notes system lets you track unused items, missing gear, and food quantities that were off, so each trip gets measurably better.
The habits that separate experienced campers from perpetual beginners are straightforward:
For campers moving toward lighter, more efficient setups, minimalistic gear packing reduces both physical load and decision fatigue on the trail. The step-by-step camping gear setup approach on Sitpack’s blog walks through the Plan-Pack-Prepare method in detail for campers building their system from scratch.
Pro Tip: Create a “never again” list alongside your checklist. Every item that caused a problem or got left behind goes on it with a one-line note explaining why. It’s the fastest way to stop repeating the same mistakes.
A well-executed camping trip preparation workflow, built on the Plan-Pack-Prepare method with staged checkpoints, is the most reliable way to arrive at camp ready for anything.
| Point | Details |
|---|---|
| Book early | Reserve campsites 6–8 weeks out, or up to six months ahead for peak summer spots. |
| Organize by function | Pack gear by job category, not by memory, to prevent missing critical items like stove fuel. |
| Plan water carefully | Budget 1 gallon per person per day and carry a backup purification method. |
| Run the Backyard Test | Set up and test all gear at least 3 days before departure to catch failures early. |
| Maintain a living checklist | Update your packing list after every trip to improve efficiency on future outings. |
Honestly, the first few camping trips I planned were a mess. Not catastrophic, but the kind of mess where you spend the first evening hunting for the can opener and realize the sleeping pad has a slow leak. The staged workflow I described above came from accumulating those small failures, not from reading about them.
The insight that changed everything for me was treating shelter and sleep as non-negotiable budget priorities. I used to spend money on camp kitchen gear and scrimp on the sleeping pad. That’s backwards. A bad night’s sleep makes the whole trip feel like a slog, no matter how good the scenery is. Once I flipped that priority, trips got dramatically better.
The Backyard Test felt silly the first time I did it. Pitching a tent in my own yard seemed like overkill. Then I discovered a broken pole clip I’d never have caught until I was setting up in the dark after a four-hour drive. Now I’d never skip it. Three days of lead time is the rule, not a suggestion.
Weather monitoring is the other habit I underestimated early on. Checking the forecast the week before is not enough. Mountain weather in particular shifts fast, and the National Weather Service hourly forecast the morning of departure has saved me from several genuinely unpleasant situations. Adapting your gear for specific conditions is not paranoia. It’s just good planning.
The camping gear checklist you build over multiple trips is worth more than any single piece of gear you buy. It’s the accumulated knowledge of what you actually need, not what a generic packing list says you need.
— Jonas
Planning a great trip covers the logistics. Enjoying it once you’re there is a different matter, and comfort at camp matters more than most people admit until they’re sitting on a log for the fourth hour.
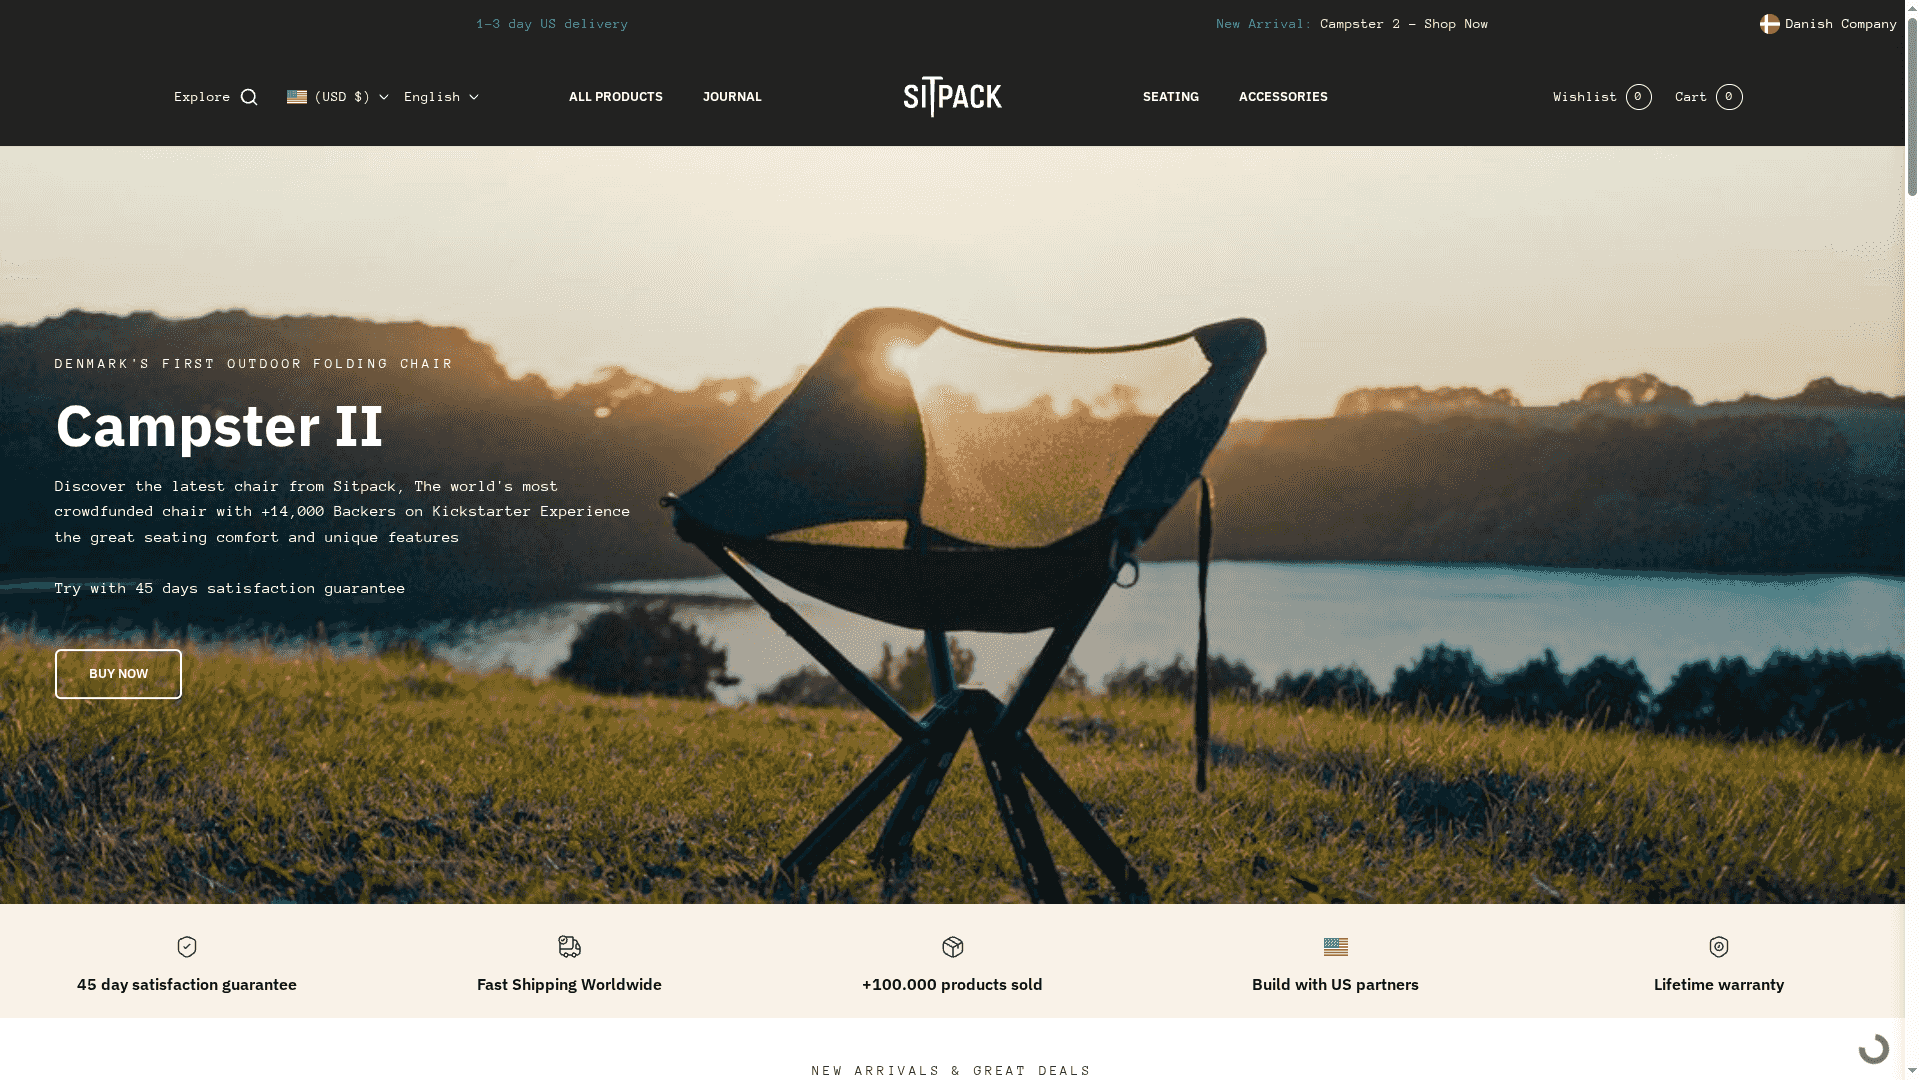
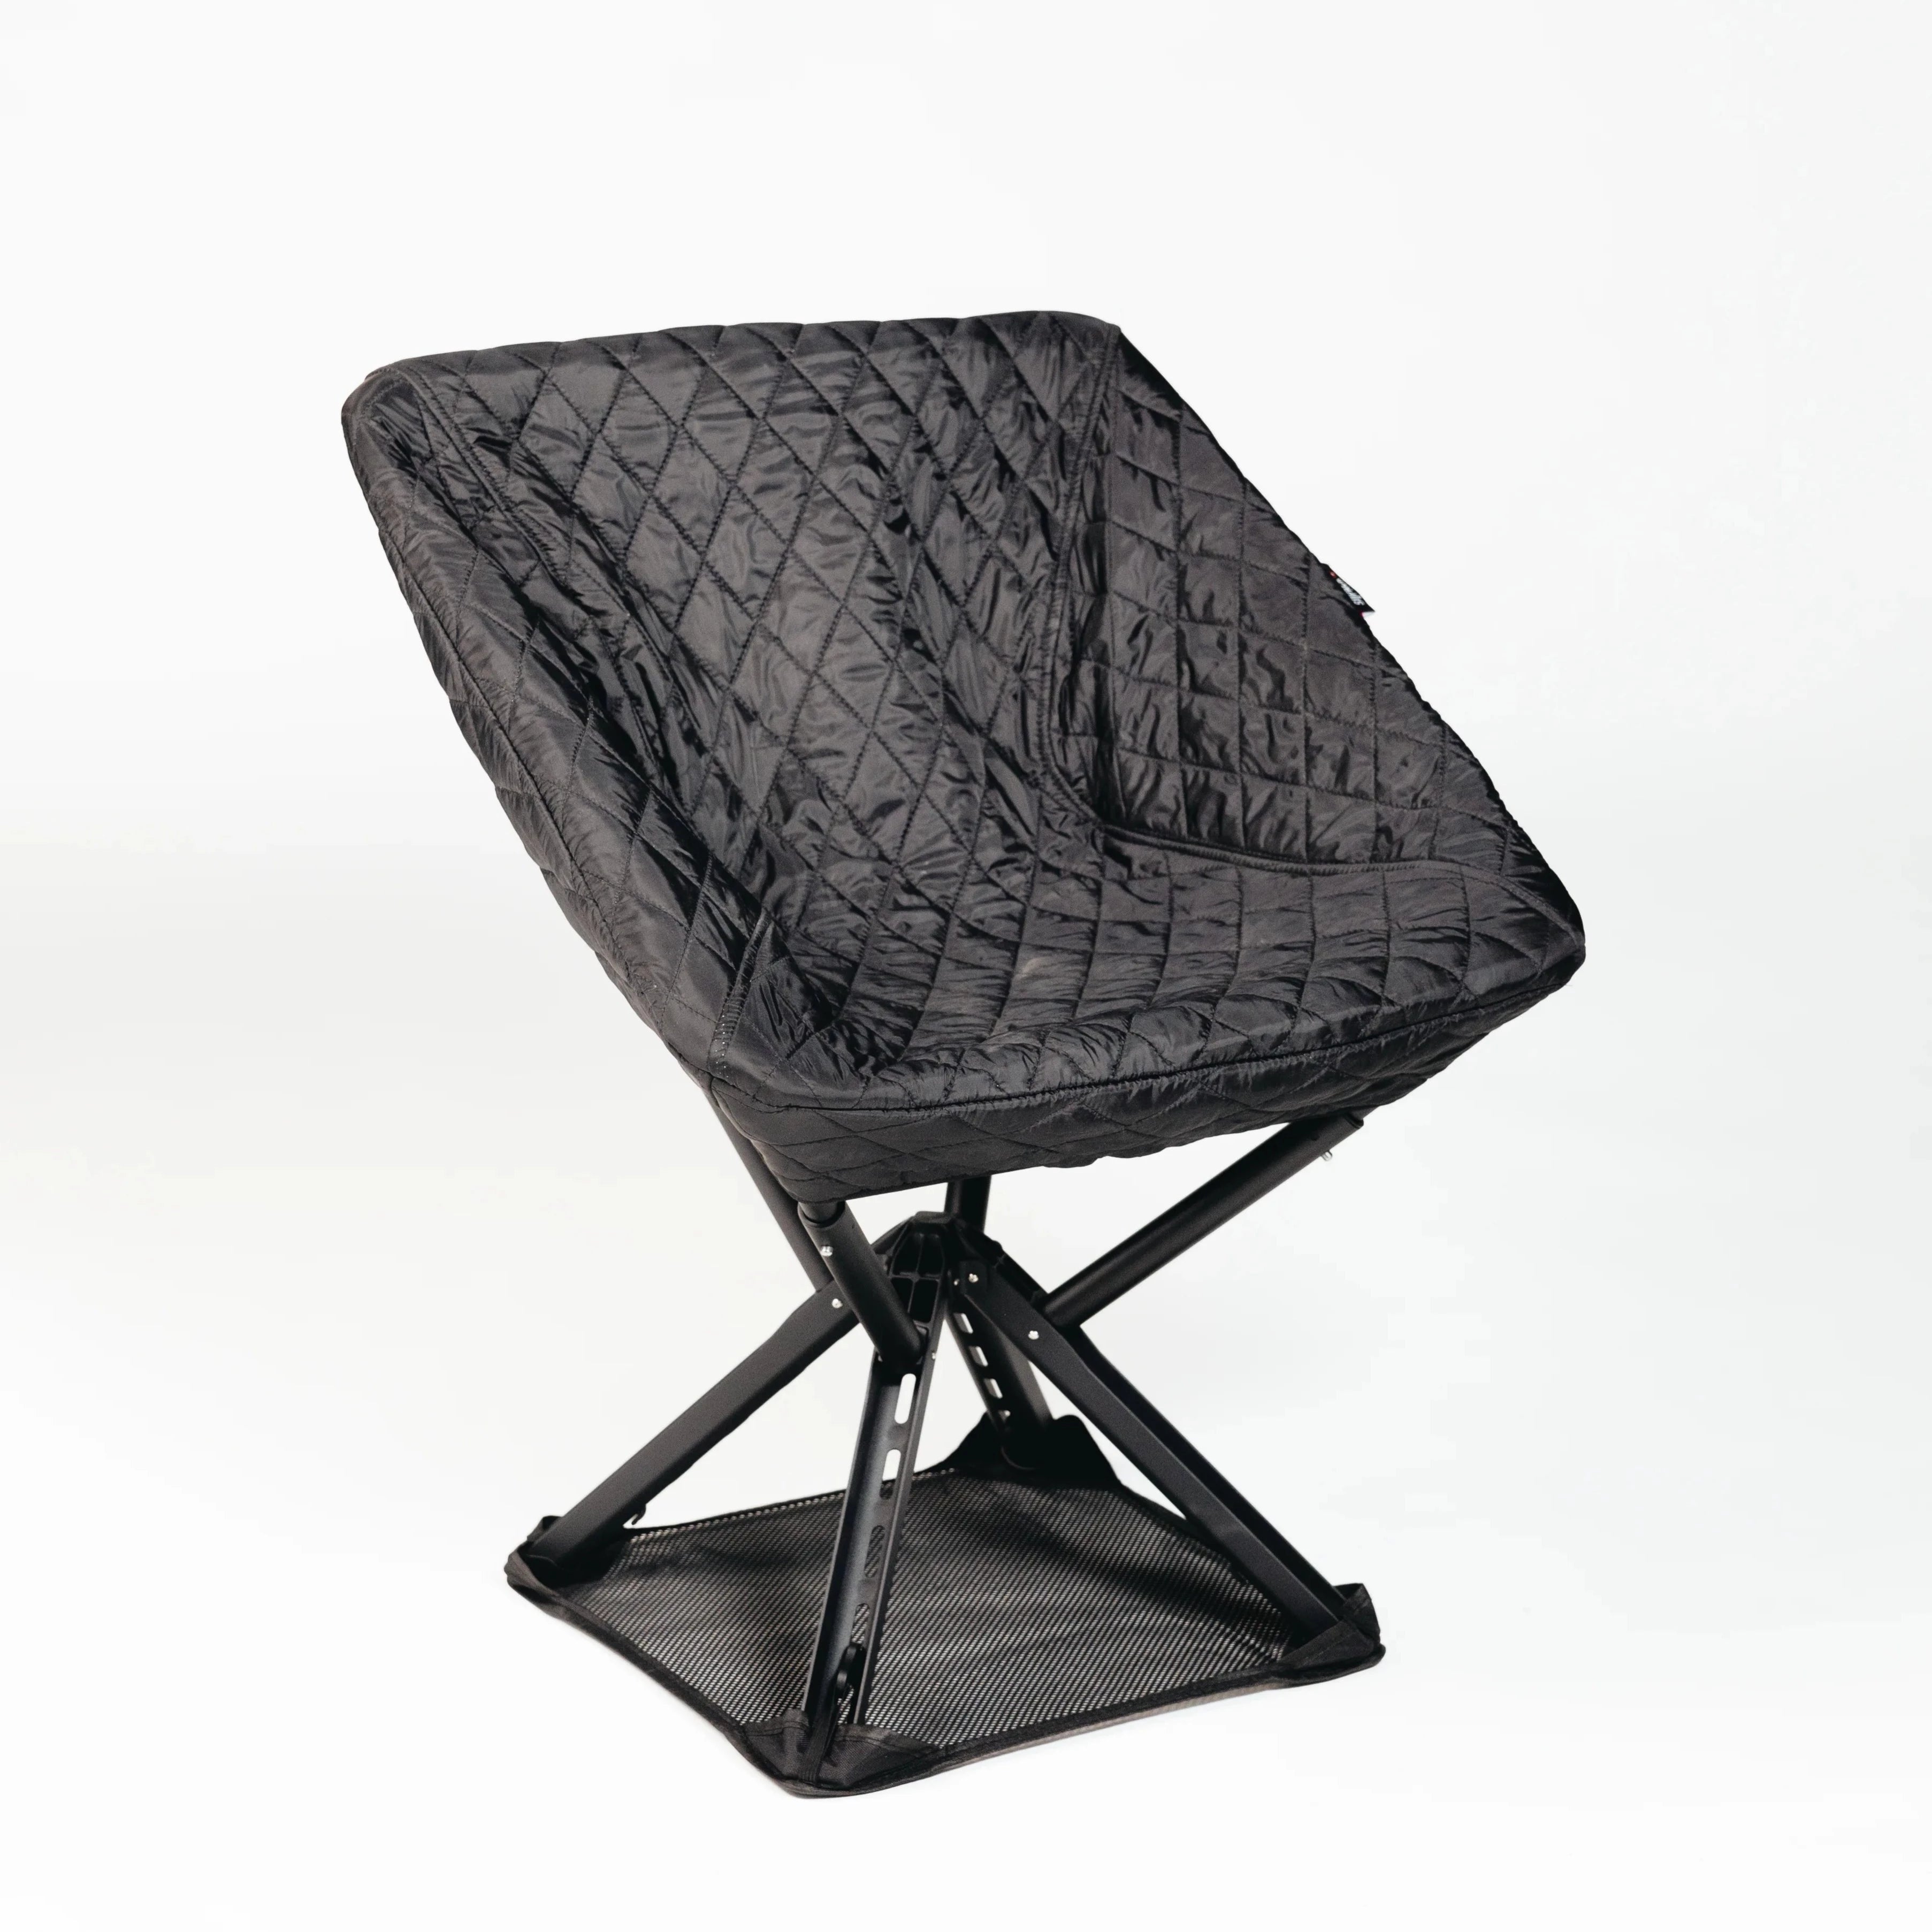
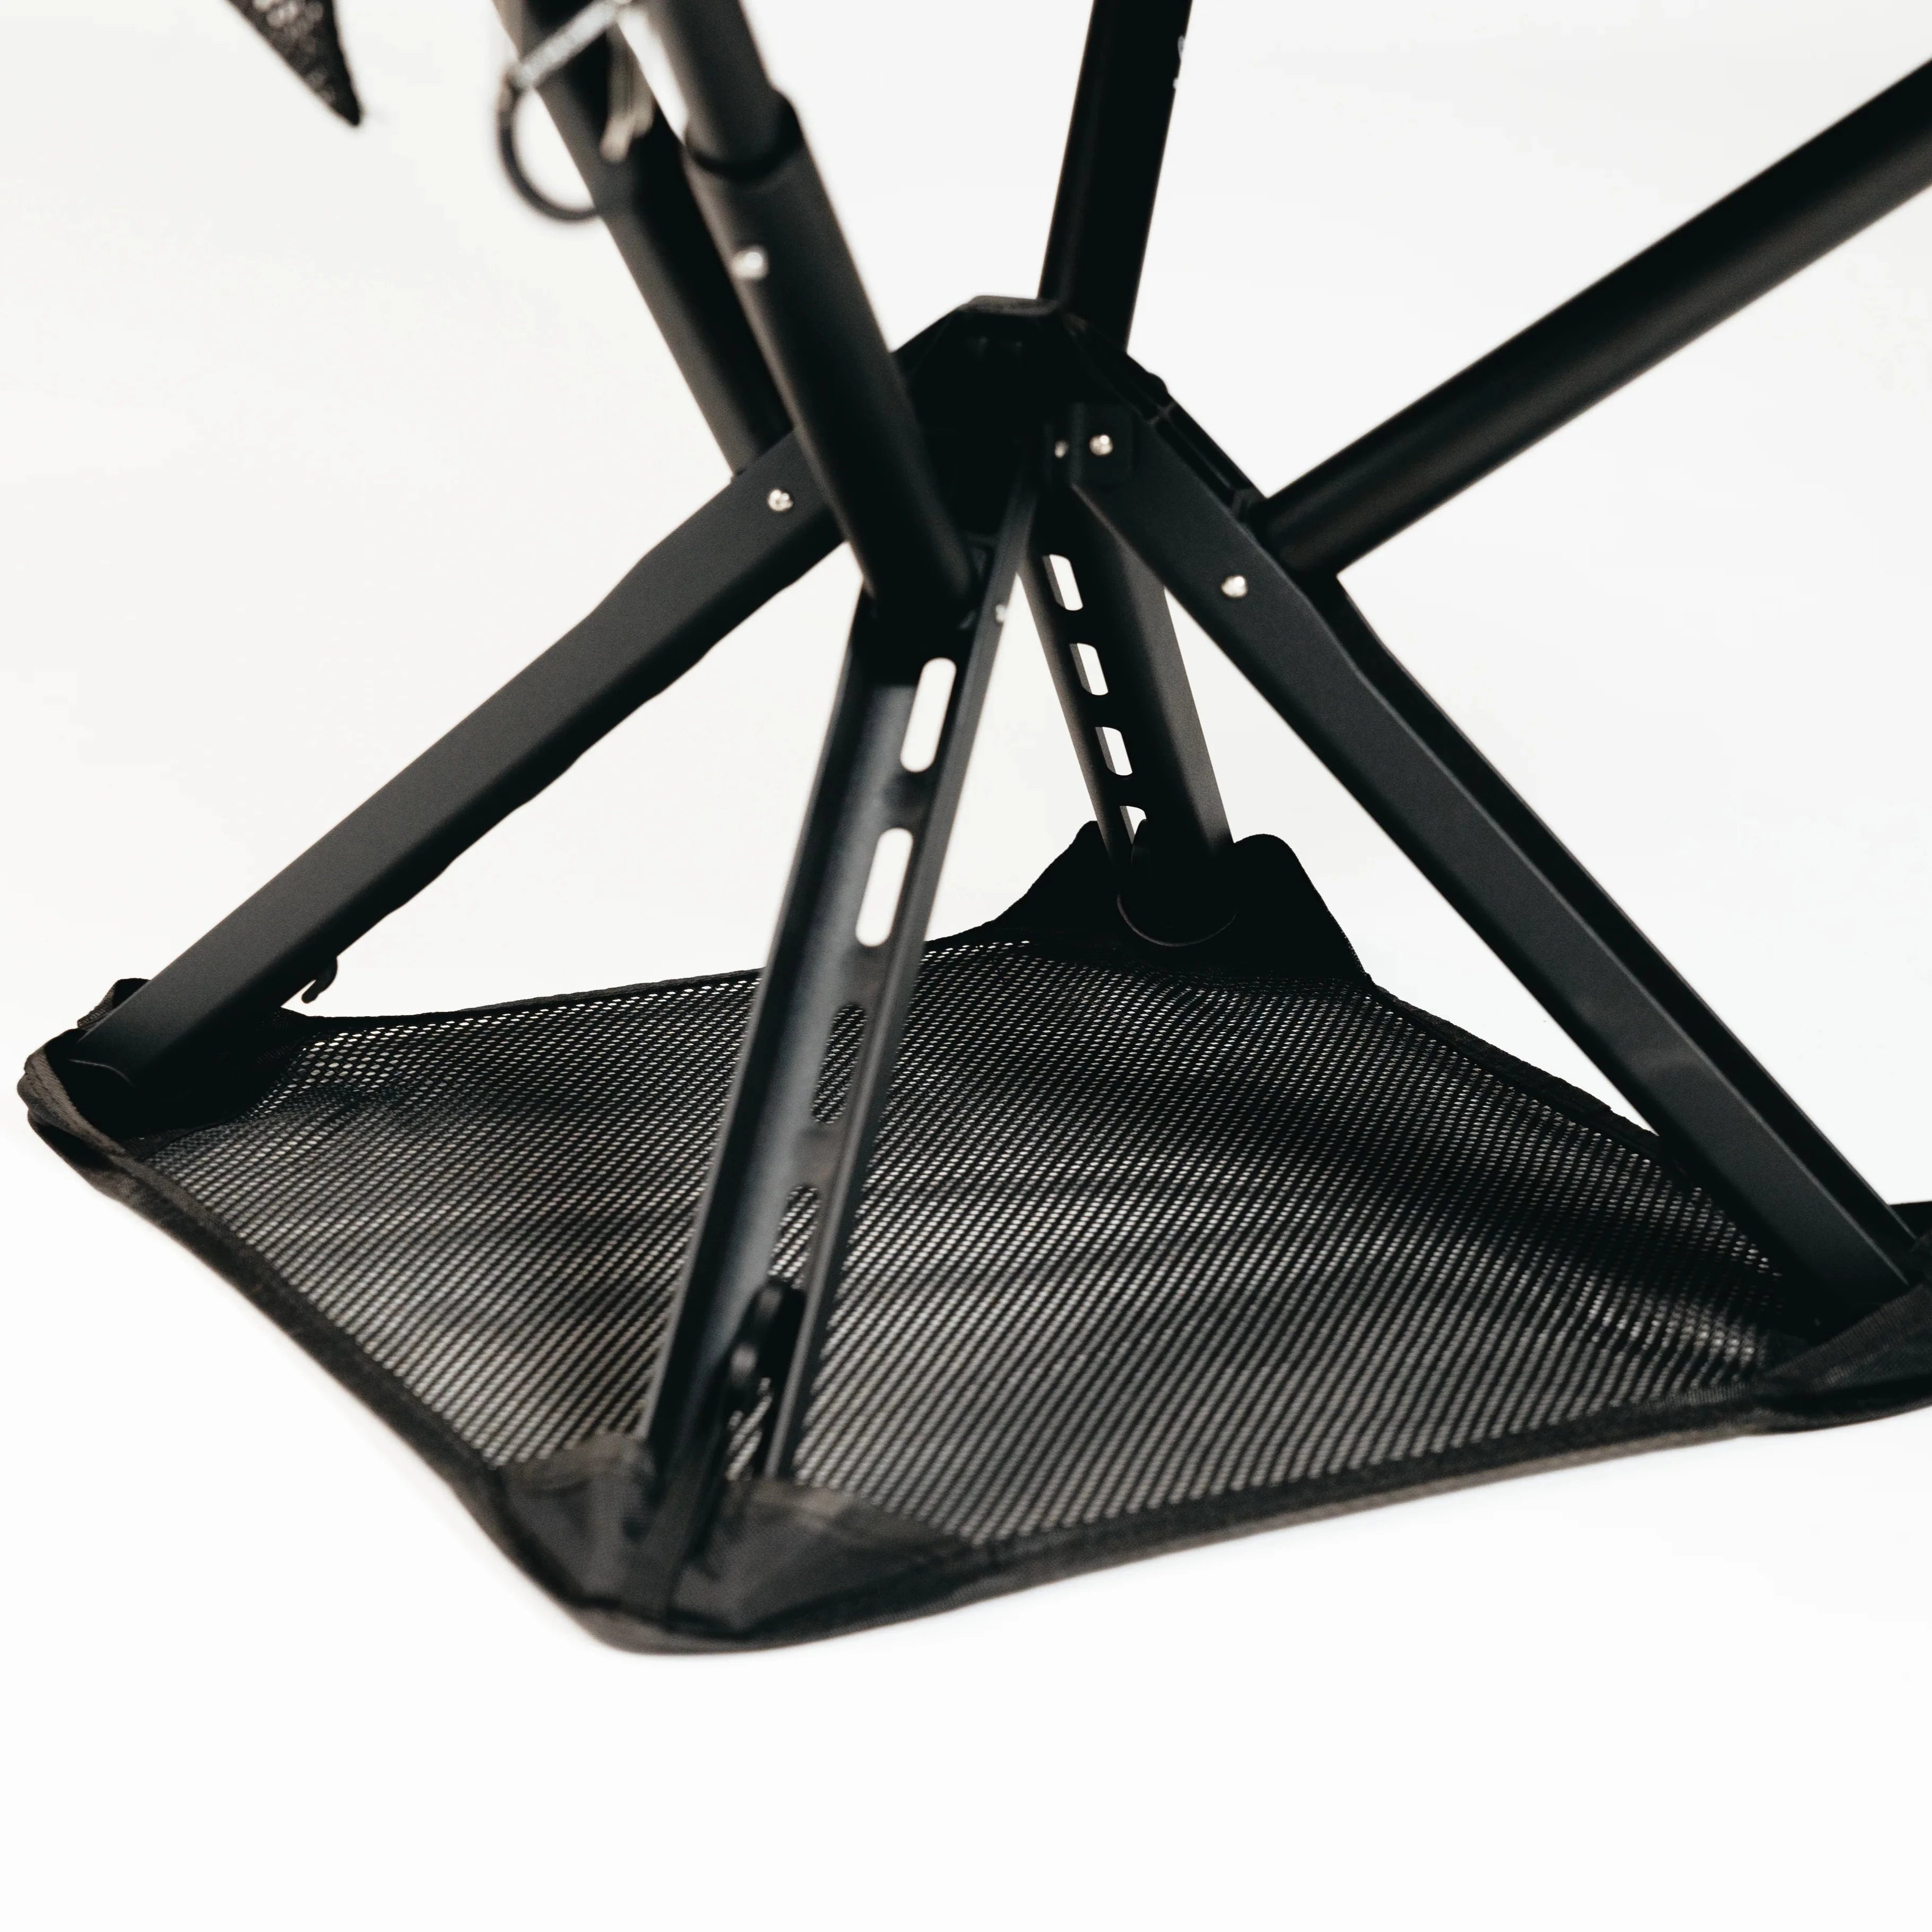
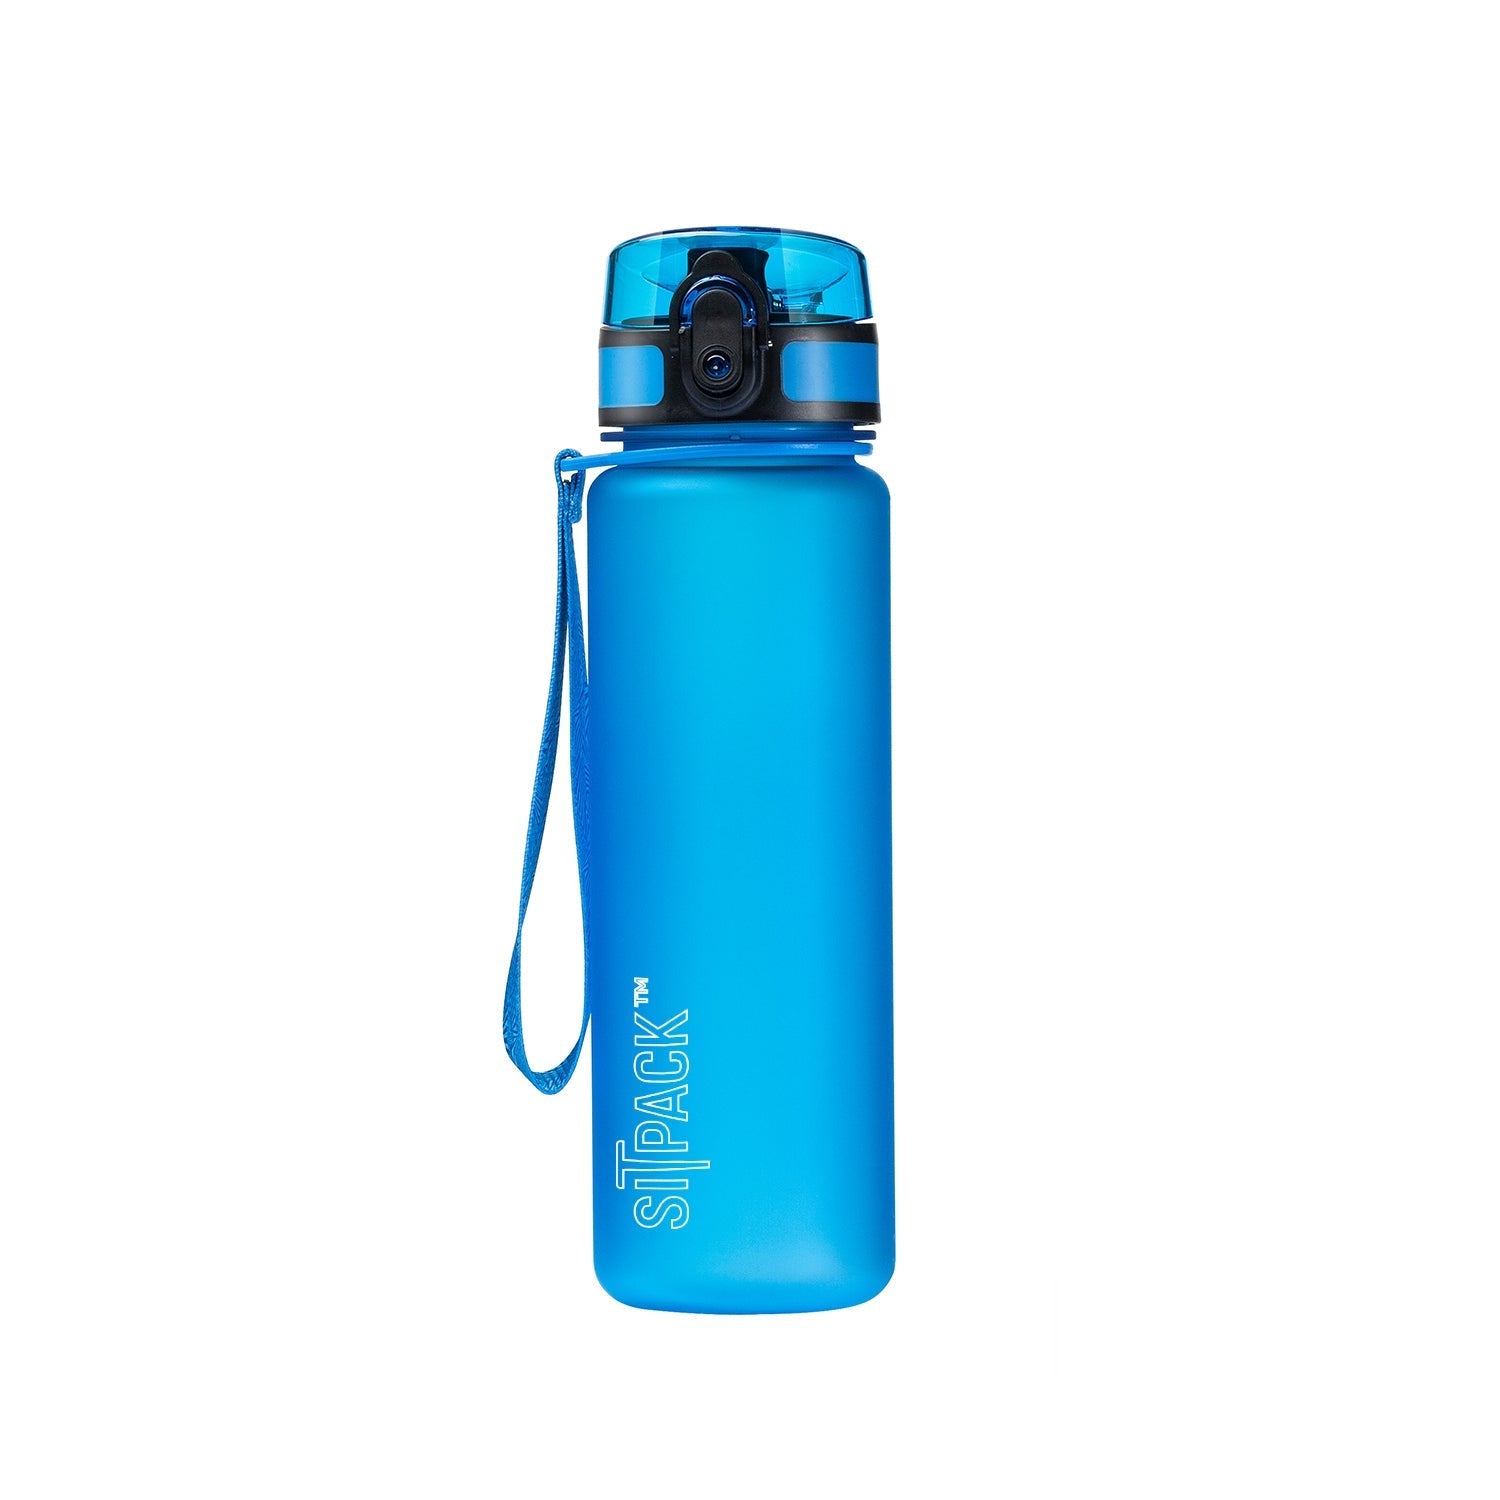
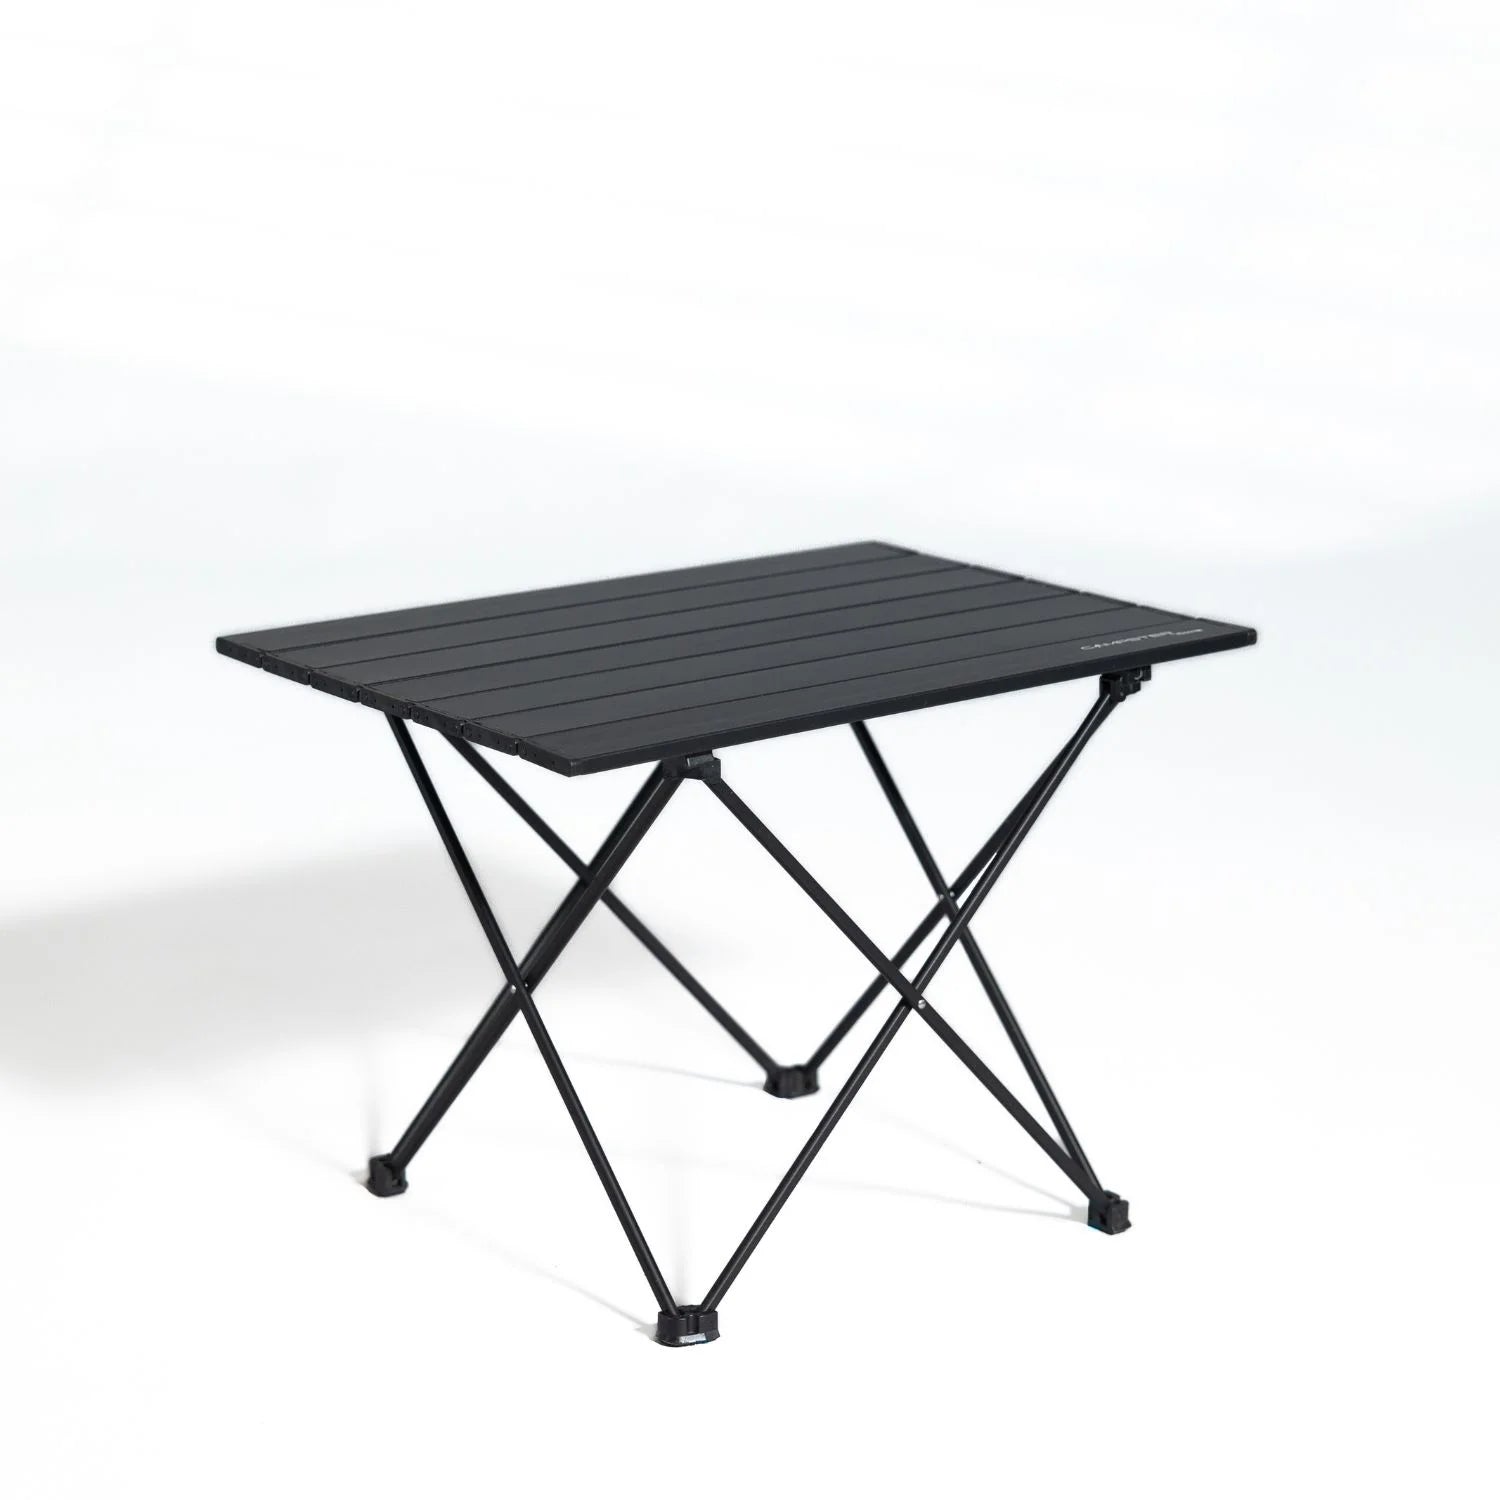
Sitpack builds portable, lightweight seating designed for exactly this situation. The Campster II and Sitpack Zen fold down small enough to slip into a pack or clip to a bag, and they’re built to handle real outdoor use. Whether you’re parked at a trailhead, watching the fire, or waiting out a rain shower under a tarp, having a proper seat changes the experience. Sitpack also carries accessories like thermal blankets, water bottles, and travel towels that fit naturally into a well-organized camp kit. Browse the full range at sitpack.com and see what fits your setup.
The Plan-Pack-Prepare method is a three-phase camping trip preparation workflow that moves from campsite booking and route research through gear organization and packing, to final checks and departure. Each phase has a defined timeframe, starting 6–8 weeks out and ending in the last 24 hours before departure.
Book popular campgrounds 6–8 weeks ahead at minimum, and up to six months ahead for high-demand summer spots at national parks. Recreation.gov handles federal campground reservations and opens booking windows that fill within minutes for top destinations.
Plan for 1 gallon per person per day to cover drinking, cooking, and sanitation. Always carry a backup purification method like a water filter or iodine tablets in case your primary source fails or runs dry.
The Backyard Test catches gear failures, like broken tent poles, stove ignition problems, and leaking sleeping pads, before you’re at the campsite with no fix available. Running it at least 3 days before departure gives you time to replace or repair any item that fails.
Update your camping checklist within 48 hours of returning from each trip, noting unused items and anything you wished you had packed. A living checklist refined after every outing becomes your most reliable prep tool over time.