Vogn
0
Tilmeld dig og få 10% i rabat på din ordre
Forventet levering
1-3 dage
Du vil måske også kunne lide


Dansk Firma

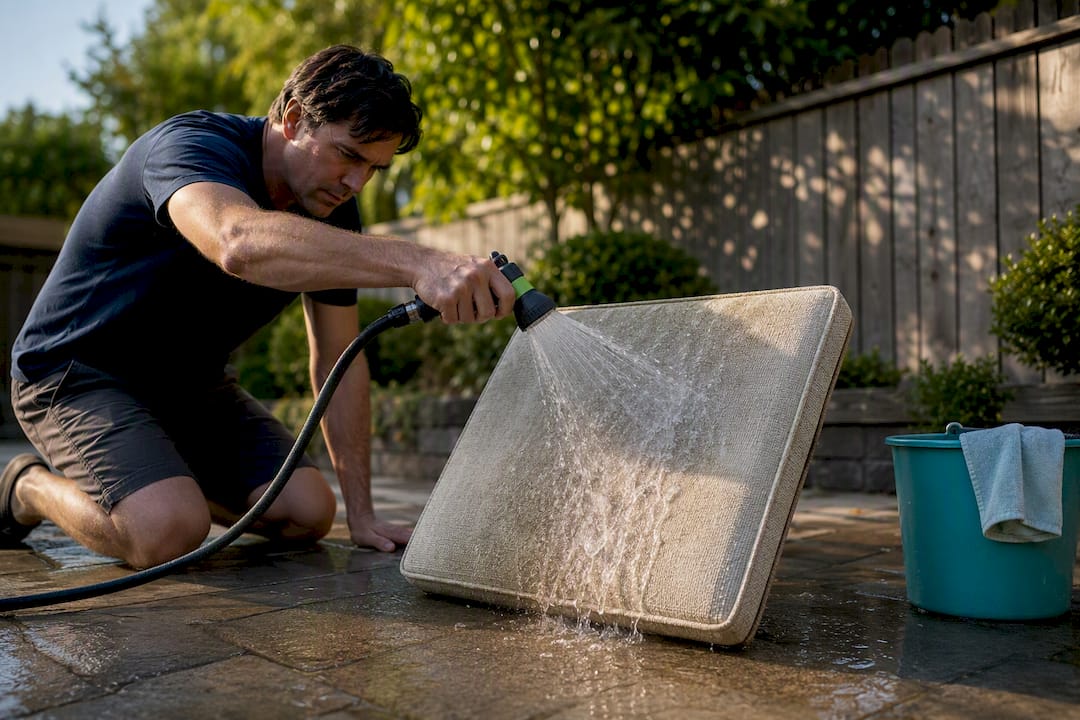
For most outdoor chair cushions, the fastest safe clean is: vacuum first, scrub with mild dish soap and water (or dish soap plus vinegar), rinse thoroughly, air-dry completely, then treat them with a fabric protector. Always check the care label and spot-test any solution first. If you’re staring down heavy mildew, fused-on stains, or a fabric that doesn’t say “washable” anywhere, that’s your cue to call a professional upholstery cleaner instead of improvising.
TL;DR:
- Vacuum cushions thoroughly before wet cleaning to prevent ground-in dirt and push debris out of fabric creases and seams.
- Spot-test cleaning solutions on hidden areas and follow care label instructions to avoid shrinking, color bleeding, or fabric damage.
- Use the appropriate cleaning method: machine wash covers with a delicate cycle if possible, or hand-wash and blot non-removable covers carefully to prevent mold and mildew.
- Apply targeted stain treatments for mildew, grease, sap, blood, or bird droppings, using specific chemistry for each to avoid spreading or setting stains.
- Fully rinse and air-dry cushions completely, allowing at least 24 hours in good weather to prevent mildew and humidity from causing future issues.
You don’t need a garage full of gear to pull off a solid cushion cleaning. Here’s what actually earns a spot in your bucket:
For solutions, three ratios cover almost every situation. General cleaning calls for half a cup of non-detergent dish soap mixed with a gallon of warm water. Want extra cutting power for grime? Add a cup of white vinegar to that same gallon. If mildew is the culprit, work in a quarter cup of Borax per gallon, and spot-test before you go all in.
Here’s the five-step fast routine, in order:
Skip the vacuum and you’re not cleaning your cushions, you’re basically finger-painting mud into the fabric weave; for detailed cleaning tools and techniques, check out these home upholstery cleaning tips. Wetting dirty cushions before removing loose debris pushes particulates deeper into the fibers instead of lifting them out. Run the upholstery attachment along creases and seams first, since that’s where crumbs, pollen, and grit like to hide.
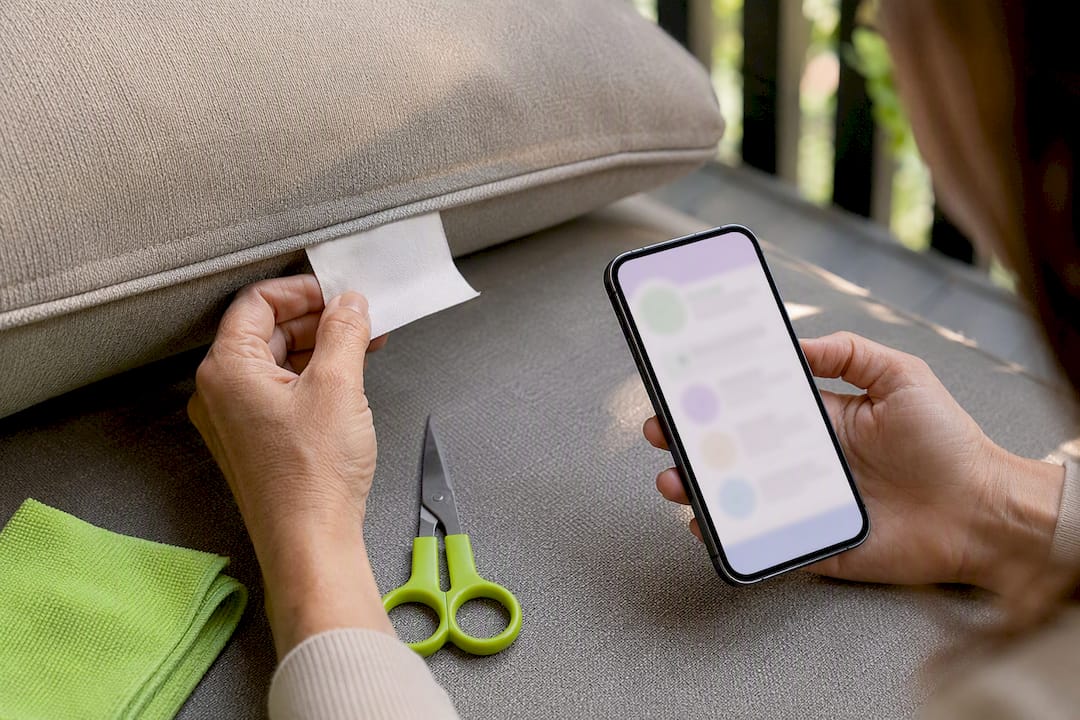
Next, flip the cushion and find the care tag. Those little letter codes aren’t decorative:
Once you know what your fabric can handle, pick a hidden spot (the underside of a cushion corner is perfect) and apply a small amount of your solution. Wait 5 to 10 minutes, then check for color bleeding or texture changes before treating the whole cushion.
Pro Tip: Snap a photo of the care tag with your phone before it fades in the sun. You’ll thank yourself the next time you can’t remember whether your cushions are a W or an S.
If your cushion covers unzip, you’ve got the easy version of this job. Start by removing the cover and checking the foam insert underneath. Some inserts are genuinely washable, but most aren’t, and tossing a foam block into a washing machine is a fast way to ruin both the foam and your machine.
Here’s the sequence for machine-washable covers:
For covers that say hand-wash only, or for anyone without patience for a delicate cycle:
Machine-washable covers do most of the heavy lifting for you, but they’re only as good as the care label instructions you follow. Skip a step, like leaving zippers open or using hot water when the label says cold, and you risk shrinking a cover that fit perfectly last summer.
Non-removable covers need a gentler touch since you’re cleaning fabric that’s permanently attached to foam that can’t handle a soaking. The go-to recipe is half a cup of mild dish soap and one cup of white vinegar per gallon of warm water for deep cleaning. For lighter maintenance, a teaspoon of dish soap per quart of water does the trick without overloading the fabric with suds.
A few things make the difference between a clean cushion and a soggy mess:
If you’re dealing with cushions that see heavy use, a portable extractor speeds things up considerably by pulling water back out as it cleans. That matters more than people realize, because a sewn-on cover with a soaked foam core can take days to dry and mildew loves exactly that kind of trapped moisture.
Different stains need different chemistry, and using the wrong one just spreads the mess around. Here’s what actually works for each:
A vinegar and baking soda combination also handles general buildup and musty odors reasonably well when you’re not dealing with a specific stain, just seasonal grime.
Rinsing sounds simple until you realize most people stop too early. Keep rinsing with a low-pressure hose until every trace of suds disappears, because leftover soap residue actually attracts more dirt once the cushion dries. Skip the pressure washer entirely unless your care label specifically allows it, and even then, use the lowest setting available.
Getting the water out matters just as much as getting it in:
Drying fully is the step people rush, and it’s the one that determines whether mildew comes back in two weeks. Squeeze the cushion gently; if you feel any dampness in the center, it’s not ready. Give it a sniff too. Any musty smell means moisture is still trapped inside. In good weather, plan on a full 24 hours before you replace cushions on furniture or pack them away.
Pro Tip: If you’re drying multiple cushions at once, prop them against a fence or railing at an angle instead of laying them flat. Air moves through both sides that way instead of pooling underneath.
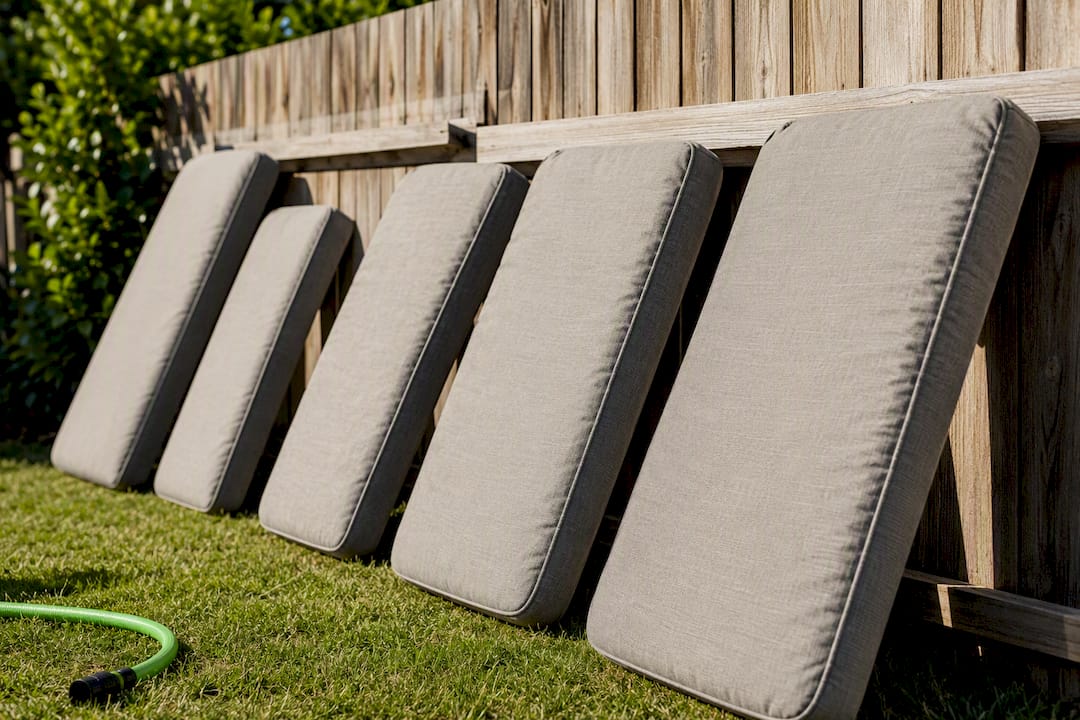
A quick weekly wipe-down or vacuum during heavy summer use prevents most of the deep cleaning headaches described above. Save the full soap-and-scrub treatment for the start and end of the outdoor season, when cushions are coming out of storage or going back in.
A fabric protectant applied to dry, clean cushions repels the next spill or rain shower before it soaks in, cutting your cleaning workload significantly for the rest of the season.
Sitpack’s own guidance on cleaning outdoor chairs leans on the same principle running through this entire guide: gentle cleaning agents protect both the fabric and the eco-friendly materials used in modern portable seating longer than harsh chemicals do. Mild soap, patience, and full drying time beat aggressive scrubbing every time.
That philosophy extends to how Sitpack backs its products. The kind of coverage that makes proper cushion care worth the effort since you’re protecting gear built to last.
The ratios and steps in this guide pull from sources that specialize in exactly this problem. Lowe’s supplied the all-purpose soap and vinegar ratio used for deep cleaning. BobVila contributed the step-by-step checklist and stain-specific recipes, including the hydrogen peroxide method for blood. Architectural Digest reinforced the vacuum-first approach and offered the vinegar and baking soda combination. Hunker detailed the technique behind vacuuming before wetting fabric. BISSELL emphasized full drying and extractor use to cut mildew risk.
Most cushion cleaning advice online treats drying as an afterthought, a quick mention at the bottom of the article after three paragraphs on stain removal. That’s backwards. The research consistently points to drying as the step that determines whether your effort actually solves the problem or just delays it by two weeks until mildew reappears.
Vacuuming gets buried the same way, treated as optional prep instead of the step that prevents you from grinding dirt permanently into the weave. If you remember one thing from all of this, remember that order matters more than products. A cheap dish soap solution used correctly, vacuum first, dry completely, beats an expensive cleaner applied to cushions that were still damp underneath.
Where the conventional wisdom really falls short is in treating every stain the same way. Grease, mildew, and blood are different chemistry problems, and dumping generic all-purpose cleaner on all three explains why so many stains come back after a wash. Match the solution to the stain, dry it properly, and most outdoor cushions will outlast the furniture they sit on.
— Jonas