Vogn
0
Tilmeld dig og få 10% i rabat på din ordre
Forventet levering
1-3 dage
Du vil måske også kunne lide


Dansk Firma

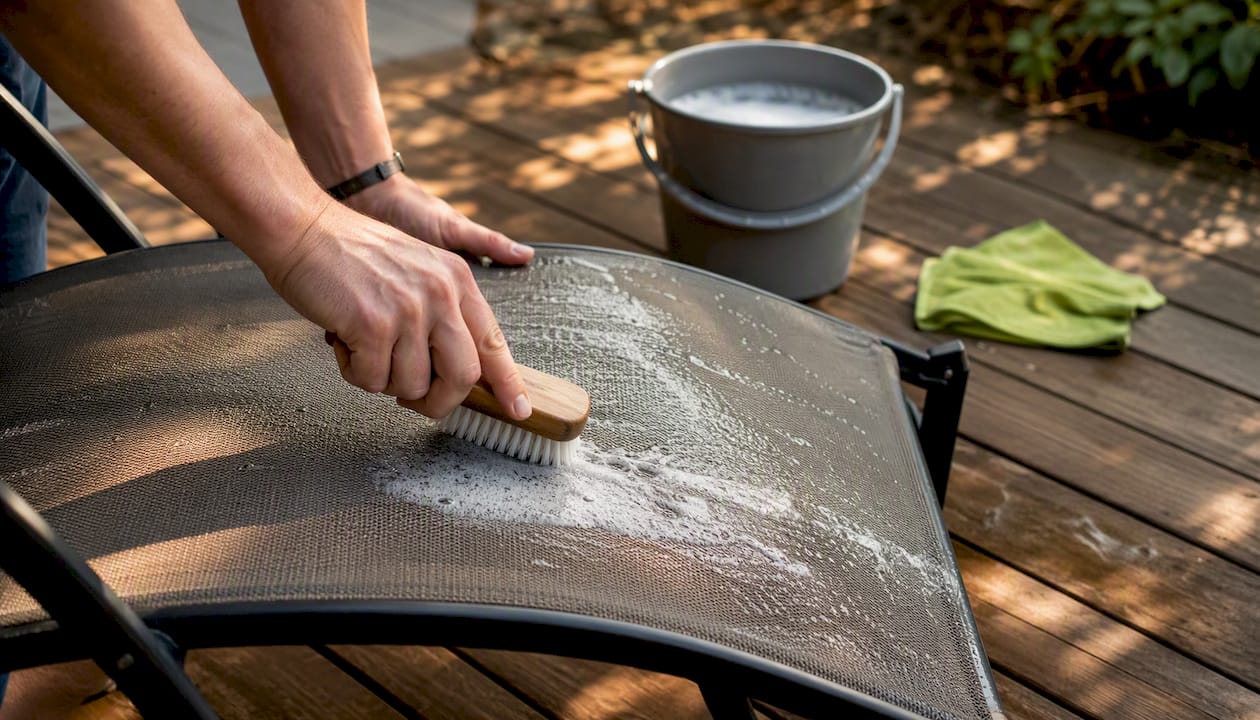
Scrub your mesh chairs with 2 ounces of mild dish soap dissolved in 1 gallon of warm water, work it in with a soft-bristle brush, rinse thoroughly, and let them air-dry completely. That single routine handles most everyday grime. For mildew, step up to a distilled white vinegar solution (about 1 cup per gallon), let it sit 5–15 minutes, then rinse. Oxygen bleach is the next escalation for stubborn biological growth; diluted chlorine bleach is a last resort, and only when the fabric manufacturer confirms it’s safe.
Three micro-actions before you touch a drop of liquid:
Pro Tip: Keep a small spray bottle of diluted white vinegar near your patio. A quick spritz on any suspicious fuzzy spot, followed by a rinse, stops surface mildew before it digs in.
A mild dish soap wash handles everyday grime, white vinegar (1 cup per gallon) tackles surface mildew, and a weekly five-minute brush-off prevents most deep-clean situations from arising.
| Point | Details |
|---|---|
| Default cleaning method | Mix 2 oz dish soap per 1 gallon warm water, scrub gently, rinse thoroughly, and air-dry completely. |
| Mildew escalation path | Start with 1 cup white vinegar per gallon; move to oxygen bleach, then diluted chlorine bleach only if fabric-safe. |
| Always patch test first | Apply cleaner to a hidden spot and wait the full contact time before cleaning the whole chair. |
| Dry completely before storing | Check underside and frame joints for trapped moisture; never cover a damp chair. |
| Weekly habit prevents deep cleans | A five-minute brush-off during peak season stops debris buildup that leads to mildew and fiber damage. |
Skipping the dry-clean step is the most common mistake people make when cleaning outdoor furniture. Wet mesh traps grime deeper into the weave, and debris left under moisture creates hidden mold pockets that are genuinely annoying to shift later.
Consumer Reports recommends vacuuming first and pre-treating mildew spots before any wet cleaning begins. That sequence exists for a reason: dry removal is always gentler on fibers than scrubbing wet grime.
Pro Tip: Lay the chair on its side after brushing to check the underside of the seat and the inside of frame tubes. Debris collects there and you’d never know until mold appears.
This is your go-to method for routine dirt and light staining. According to OpenBackyard, a basic wash with warm soapy water, followed by a thorough rinse and full air-dry, handles the vast majority of day-to-day grime without any risk to the mesh coating.
The mix: 2 ounces of mild dish soap per 1 gallon of warm water. That ratio creates enough surfactant action to lift dirt without leaving a heavy residue that attracts more grime.
A few things to avoid:
Soap residue left in mesh fibers attracts airborne dust and pollen, which speeds up the next round of grime buildup. A thorough rinse isn’t optional.
Surface mildew is common on outdoor mesh, especially after a humid summer. The good news: you usually don’t need anything aggressive to shift it.
Step 1: Start with white vinegar. Mix 1 cup of distilled white vinegar per gallon of water. Apply it to the affected area, let it sit for 5–15 minutes, scrub gently with a soft brush, then rinse completely. OpenBackyard confirms this concentration typically removes surface mildew without damaging mesh coatings.
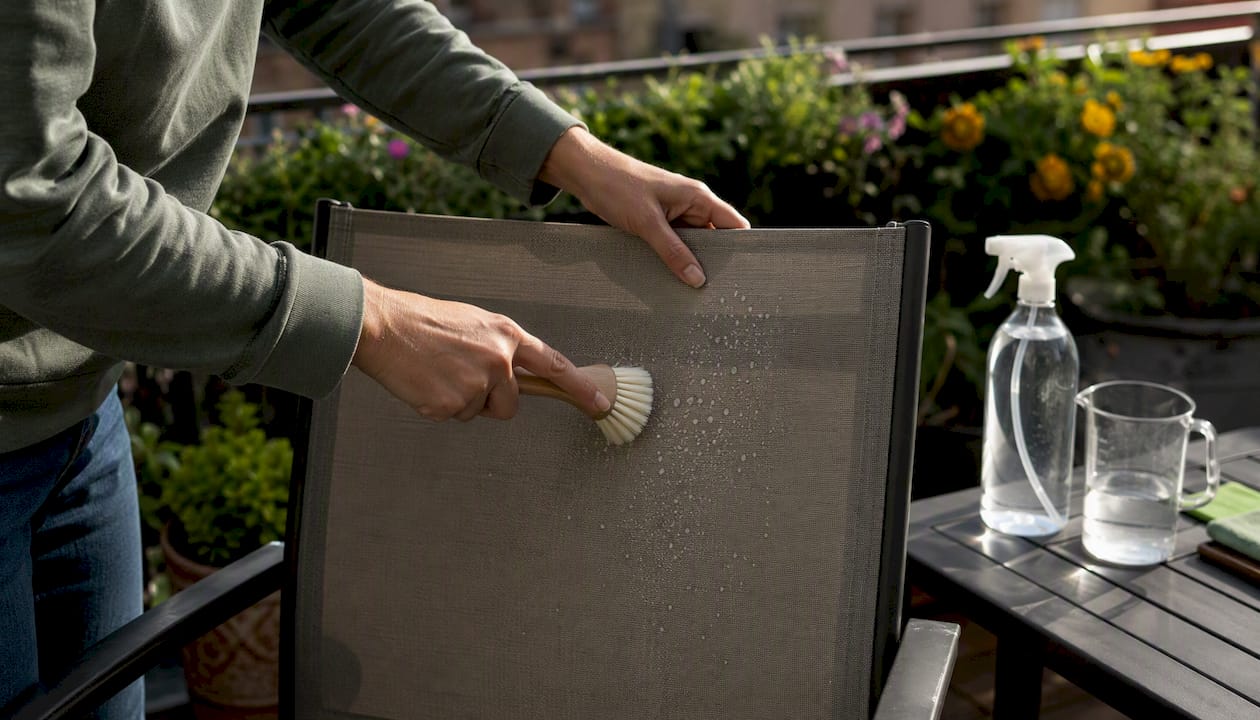
Step 2: Baking soda for odor and organic stains. Make a paste with baking soda and a small amount of water, apply it to the stain, let it sit for 10 minutes, then scrub and rinse. It’s mild enough for most mesh fabrics and neutralizes the musty smell mildew leaves behind.
Step 3: Oxygen (color-safe) bleach for tougher mildew. Sailrite’s fabric guidance recommends oxygen bleach over chlorine bleach for mesh because it sanitizes without the color-stripping risk. Mix per the product label, apply, let sit, scrub, and rinse thoroughly.
Step 4: Diluted chlorine bleach — last resort only. Consumer Reports provides a recipe for severe mildew on non-removable covers: 1 cup bleach, ¼ cup mild detergent, 1 gallon of water. Use this only when the manufacturer confirms the fabric is bleach-safe, work outdoors with good ventilation, wear gloves, and rinse extremely well.
Never mix bleach and vinegar. The combination produces chlorine gas. Use one or the other, with a full rinse between attempts if you switch.
Pro Tip: Apply vinegar solution with a spray bottle and let gravity do some of the work. Spray, wait, then scrub. You’ll use less product and get better contact time than wiping it on.
The right tools make this job easy. The wrong ones turn a 20-minute clean into a repair project.
Reach for these:
Leave these alone:
The professional technique favored by upholstery and furniture care specialists is to mist a cloth with your cleaning solution and wipe the mesh rather than spraying the chair directly. Controlled application keeps liquid out of frame cavities, where it causes hidden corrosion or mold.
Pro Tip: For sling-style mesh that’s removable, Storables recommends detaching the fabric and cleaning the frame and sling separately. You get a much better result on both.
Mesh tensile strength drops when exposed to sustained heat above 60°C (140°F) — a good reason to skip the pressure-washer hot setting and never use a heat source to dry faster.
Short answer: with real caution, and only on the lowest setting. Furniturity’s step-by-step guide explicitly cautions against high-pressure washers on mesh outdoor furniture, and for good reason.
Safe pressure-washer technique (if you insist):
When to skip the pressure washer entirely:
Save the pressure washer for the deck boards.
Pro Tip: If you do use a pressure washer, keep it moving constantly. Holding the stream in one spot for more than a second concentrates force on a single point of the weave and can permanently distort the mesh.
Drying is where most people get lazy, and it’s where mildew starts. A chair that looks dry on top can still hold moisture in frame joints and on the underside of the seat.
The Spruce recommends at least two deep cleans per year (spring and pre-storage) plus light brush-offs during peak season. Rotating chairs occasionally also prevents localized mesh stretching from repeated use in the same position.
Pro Tip: Before putting chairs away for winter, give them a quick vinegar wipe-down even if they look clean. Any invisible mildew spores get neutralized before they have months of dark, damp storage to multiply.
Most spot stains respond well to targeted treatment if you catch them quickly.
Acidic substances like bird droppings and sap don’t just stain — they degrade UV-protective finishes on mesh, accelerating fiber embrittlement. Prompt removal is genuinely protective, not just cosmetic.
Pro Tip: Keep a small kit near your patio: a spray bottle of diluted dish soap, a microfiber cloth, and a bottle of isopropyl alcohol. Most spot stains take under two minutes to treat when you catch them fresh.
A patch test takes two minutes and can save you from a bleached stripe across your favorite chair.
Personal safety checklist:
Equipment protection: Keep liquids away from mechanical adjustment points and the inside of frame tubes. SIHOO notes that liquid intrusion into adjustment mechanisms can cause corrosion and functional failure over time.
Mixing bleach and vinegar produces chlorine gas — a real hazard, not a theoretical one. If you’ve used vinegar and want to try bleach, rinse the chair completely and let it dry first.
The goal isn’t a heroic annual deep-clean. It’s small, consistent habits that mean you never need one.
Weekly (5 minutes): A quick brush-off or vacuum with the soft attachment removes pollen, dust, and debris before they work into the weave. This single habit does more for mesh longevity than any cleaning product.
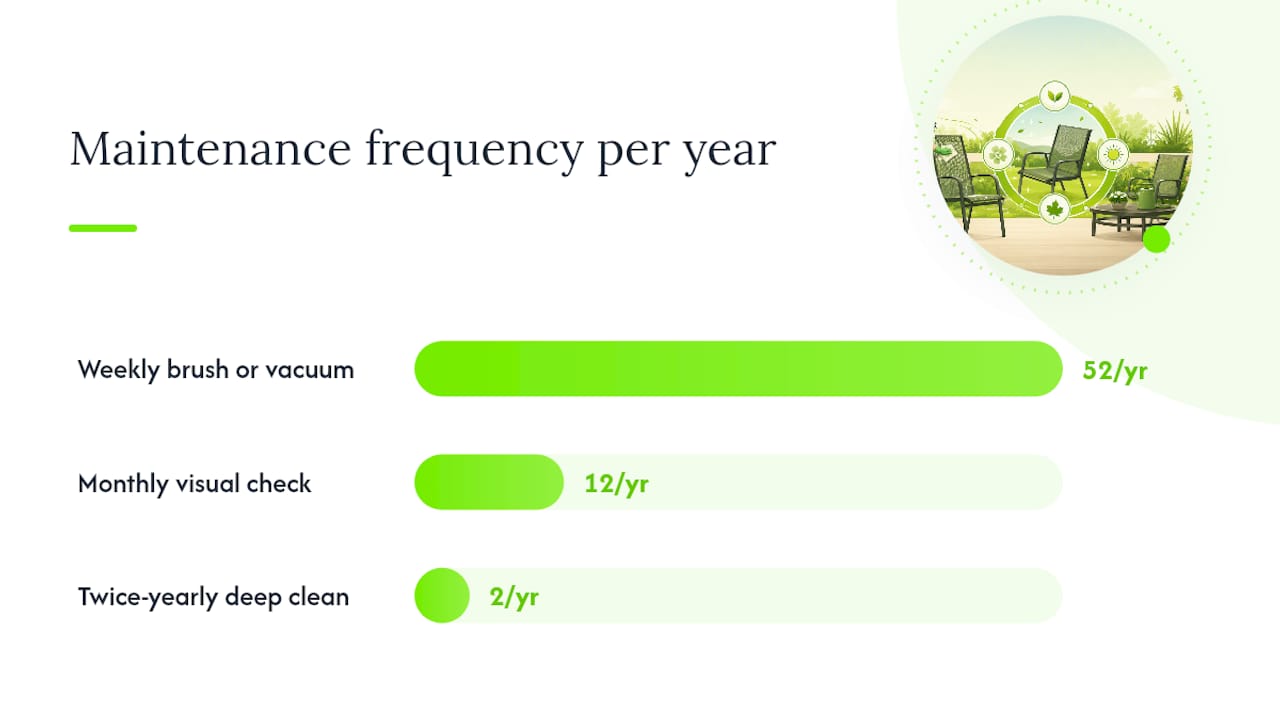
Monthly: A quick visual check for early mildew spots, frame rust, or loose fasteners. Spot-treat anything suspicious immediately with diluted vinegar.
Twice yearly (spring and pre-storage): A full deep clean following the steps above — dry prep, soapy wash, mildew treatment if needed, thorough rinse, and complete air-dry before covering or storing.
Acidic debris like bird droppings, pollen, and tree sap gradually degrade UV-resistant finishes and cause fiber embrittlement when left in place. Regular cleaning is structural maintenance, not just aesthetics.
Pro Tip: Set a phone reminder for the first weekend of April and the last weekend of September. Two deep cleans a year, locked in, means your chairs will outlast the ones your neighbors replace every three years.
Here’s what I keep coming back to after reading through all the guidance on maintaining mesh chairs: most people treat cleaning as a reactive task. The chair looks bad, so they scrub it. But the chairs that last longest are the ones whose owners never let them get bad in the first place.
A five-minute weekly brush-off sounds almost insultingly simple. But it’s the difference between mesh that stays supple and UV-resistant for a decade and mesh that frays, fades, and grows mildew patches by year three. The chemistry is straightforward: acidic fallout from bird droppings and pollen sits on the surface, slowly breaking down protective coatings. Remove it weekly and it never gets the chance.
The other thing worth saying plainly: the vinegar step is underused. Most people jump straight to bleach when they see mildew, but a 1-cup-per-gallon vinegar solution handles the vast majority of surface mildew without any color risk. Save the bleach for the rare case where vinegar genuinely doesn’t work, and always confirm the fabric is bleach-safe first.
Small habits, consistently applied, beat aggressive occasional treatments every time.
These are the sources used in researching this guide, each worth bookmarking for the specific angle they cover: