Vogn
0
Tilmeld dig og få 10% i rabat på din ordre
Forventet levering
1-3 dage
Du vil måske også kunne lide


Dansk Firma
Most American outdoor enthusiasts know the frustration of setting up a portable table on uneven ground, risking spills or wobbly meals. Choosing the right placement and assembling every piece correctly can make all the difference for safety and comfort. In fact, nearly 80 percent of outdoor accidents involving portable tables are linked to unstable surfaces or improper assembly. Discover clear steps for a smoother experience so your next American adventure stays both organized and stress-free.
| Essential Insights | Clarification |
|---|---|
| 1. Choose a stable surface | Select a flat, firm area to set up your table for better stability and comfort during use. |
| 2. Organize components carefully | Unpack all parts on a clean surface to ensure you have everything needed for assembly. |
| 3. Securely assemble the frame | Follow assembly instructions closely to ensure each part is tightly connected without overtightening. |
| 4. Attach tabletop correctly | Align all mounting points correctly and secure them using the recommended tools for stability. |
| 5. Test stability before use | Conduct a stability test by applying pressure and checking for wobbling to ensure safety. |
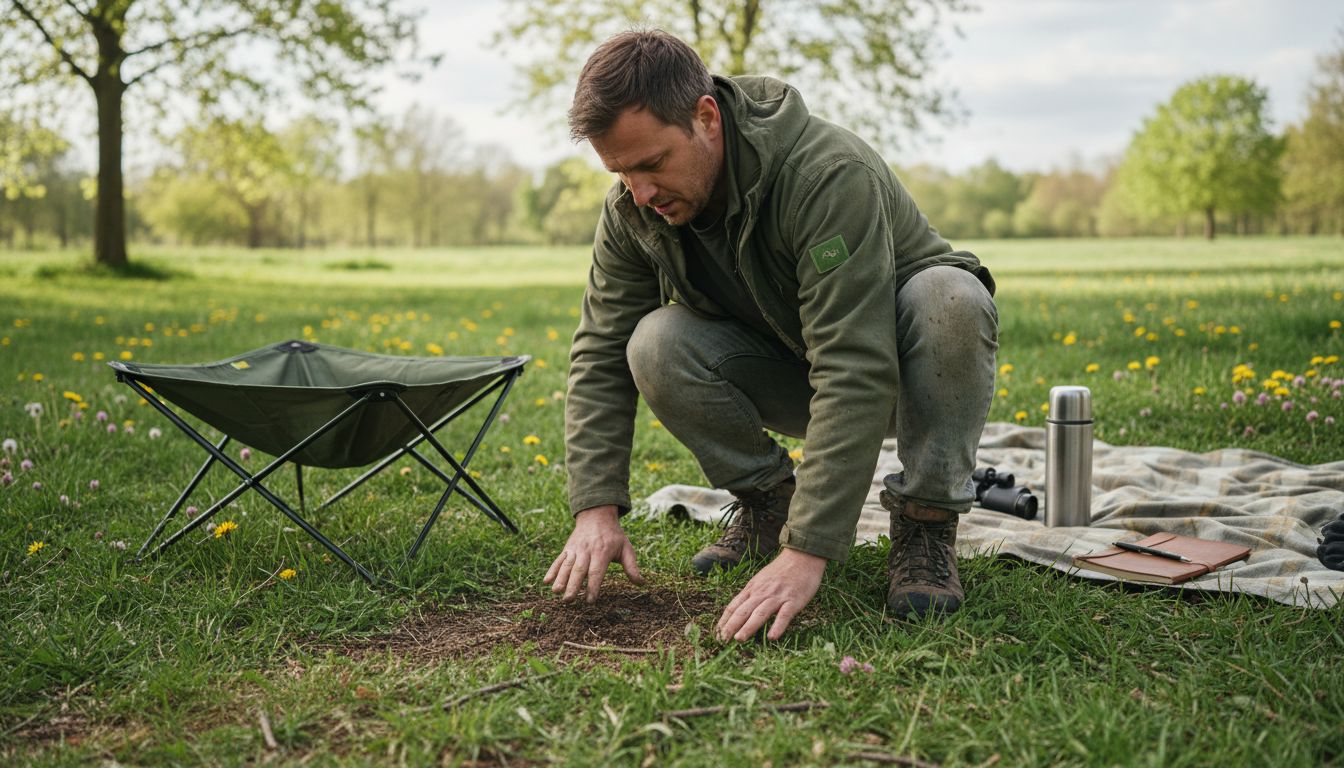
Picking the right spot for your portable table setup requires strategic thinking and practical awareness. Your location choice will determine comfort, stability, and overall outdoor experience. University of Michigan’s design guidelines recommend selecting secure areas with stable surfaces that provide both safety and functionality.
When scouting for the perfect spot, consider multiple environmental factors. Look for ground that is relatively flat and firm, avoiding loose sand, uneven terrain, or sloped areas that could compromise your table’s stability. Paved surfaces like compact dirt paths, concrete, or well-maintained grass work best. Wood decks, picnic areas, and campground clearings often provide ideal platforms for portable table setups. Pay attention to surrounding elements like tree roots, rocks, or debris that might interfere with your table’s placement.
One pro tip: always do a quick ground assessment before setting up. Gently tap the area with your foot to check firmness, remove any small obstacles, and ensure your table will sit level. If you’re in a wilderness setting, look for natural windbreaks like large rocks or tree clusters that can provide additional stability and protection. Your goal is creating a safe, comfortable workspace that enhances rather than complicates your outdoor experience.
With your location selected, you’re now ready to move on to the next crucial step of actually positioning and setting up your portable table.
Now that you have selected the perfect location, it is time to unpack your portable table. This crucial step requires patience and careful attention to detail. Before beginning assembly, you will want to unpack and position the components on a clean surface to take inventory of all required parts.
Start by finding a clean, flat area near your chosen location. Carefully remove the packaging, being mindful not to damage any components. Spread out all pieces and compare them against the instruction manual to ensure nothing is missing. Look for key components like table legs, support frames, mounting hardware, and the tabletop itself. Group similar pieces together and organize them in a way that makes sense for your upcoming assembly process. Take a moment to inspect each part for any potential shipping damage or manufacturing defects.
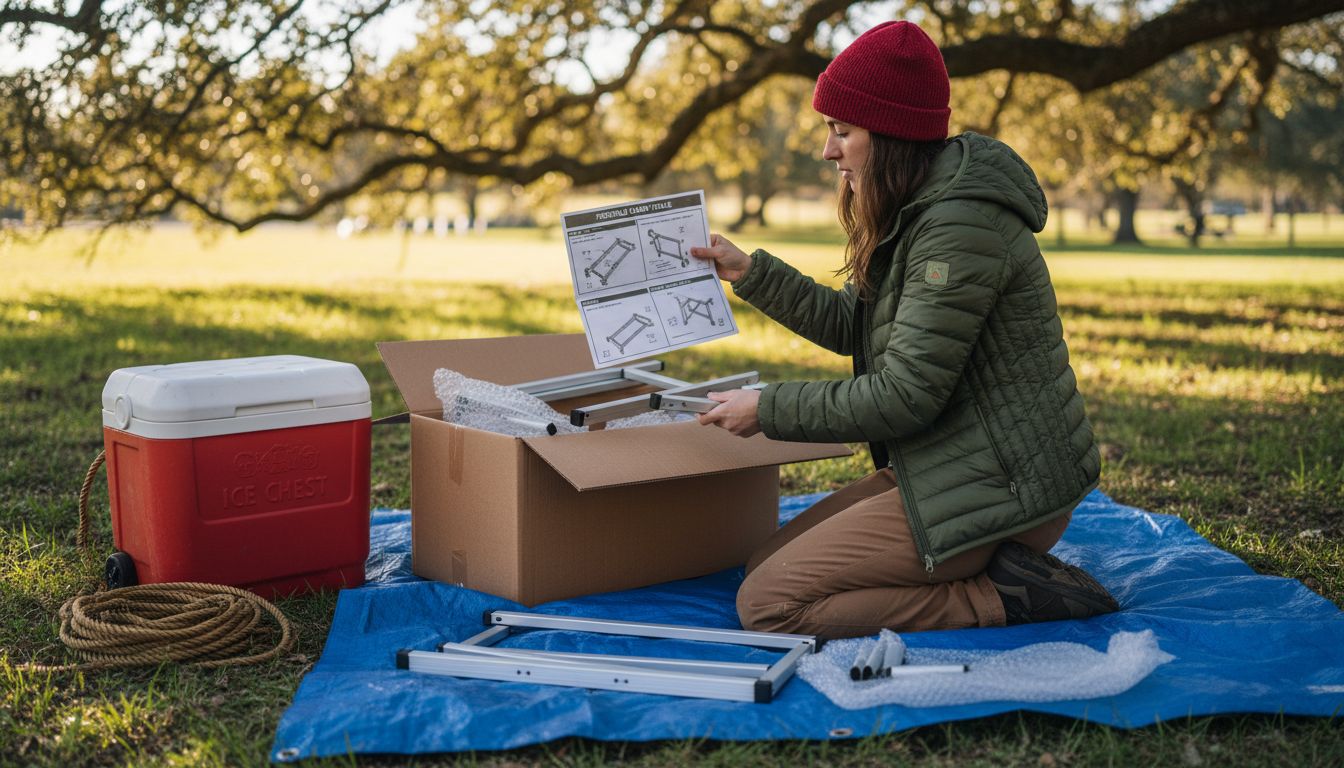
Pro tip: Keep the original packaging nearby during unpacking. It might seem counterintuitive, but the box can serve as a clean surface for sorting components and can be useful for storing smaller pieces like screws or connectors. If you are working outdoors, consider laying down a clean towel or portable mat to create a clean workspace that prevents dirt or small debris from interfering with your setup. Your goal is to create an organized, efficient environment that sets you up for smooth table assembly.
With all components carefully unpacked and organized, you are now ready to move on to the next exciting phase of assembling your portable table.
Assembling your portable table frame is a critical step that requires precision and careful attention to detail. Your goal is to create a stable foundation that will support your outdoor activities safely and efficiently. When attaching the legs to the table top, you will want to use the provided hardware and ensure all screws, nuts, and bolts are tightened securely to maintain stability.
Begin by laying out all your frame components in the order they will be assembled. Start with the base or primary support structure, making sure each connection point is aligned correctly. Insert the provided hardware through the designated holes, taking care not to cross thread any screws or bolts. Use the appropriate tools typically a Phillips head screwdriver or adjustable wrench to gradually tighten each connection. Work in a systematic manner tightening opposite sides equally to ensure the frame remains level and balanced. This approach prevents warping and ensures your table will sit evenly on any surface.
Pro tip: Do not overtighten the hardware. While you want a secure connection, excessive force can strip threads or crack mounting points. Go for a firm, snug fit where components are held tightly but not under extreme tension. If you encounter resistance while threading a screw, back it out and realign rather than forcing it. A gentle touch and patient approach will result in a more robust and reliable table frame.
With the frame now securely assembled, you are ready to move on to the next stage of your portable table setup.
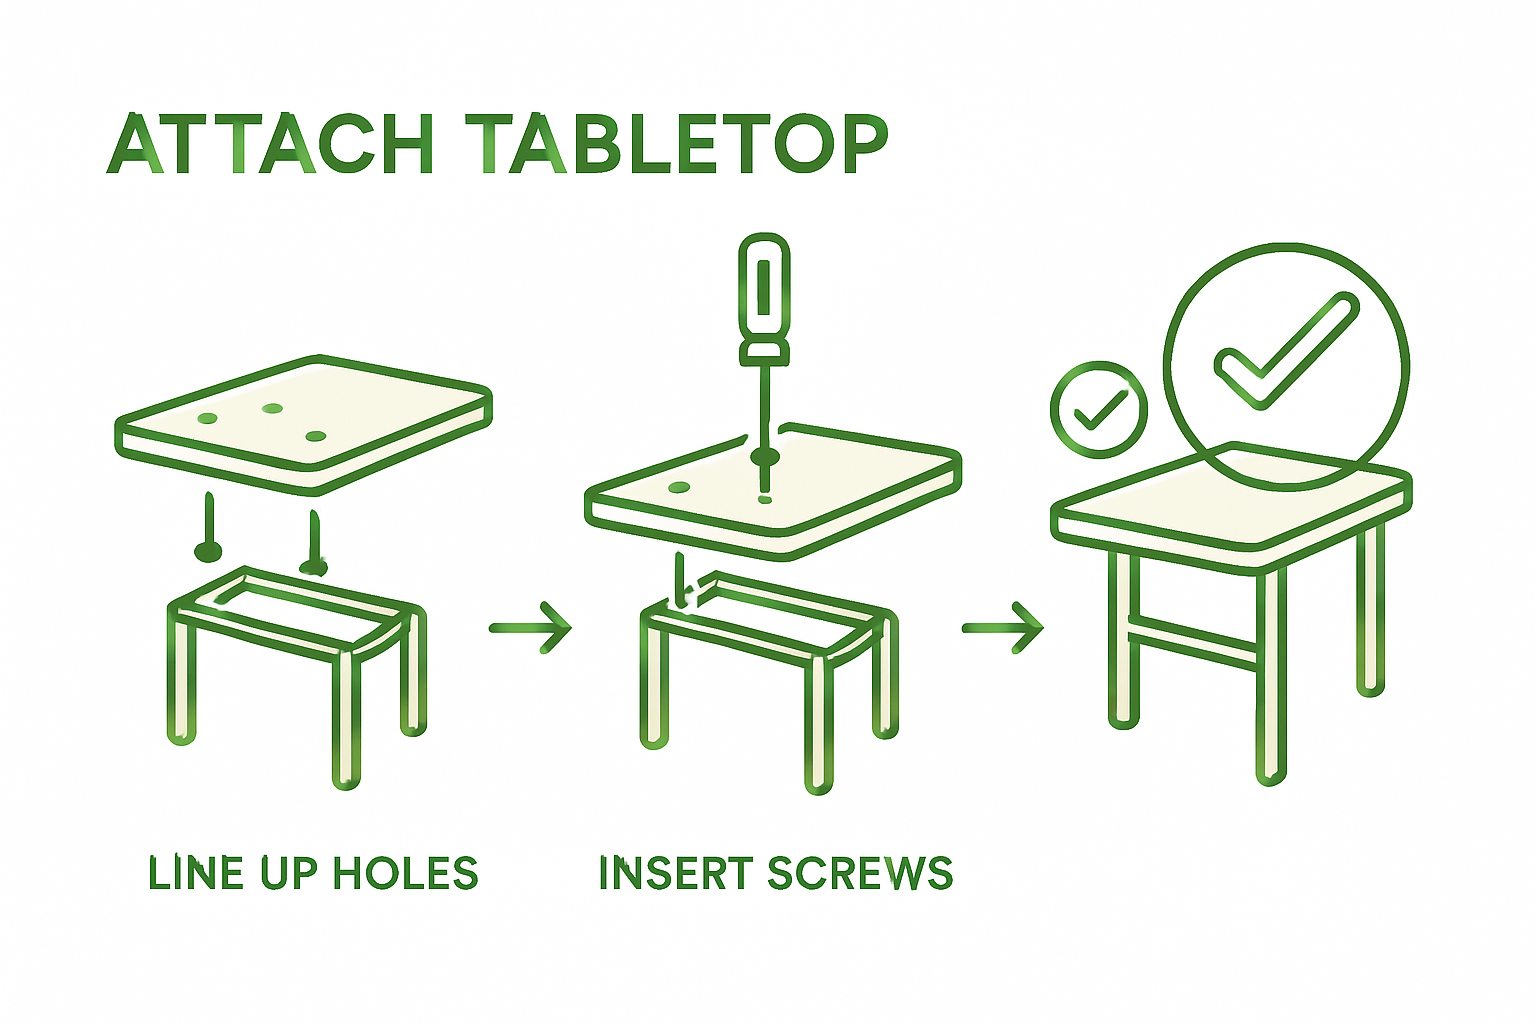
With your table frame assembled, it is time to securely attach the tabletop and prepare for a stable outdoor workspace. The final connection between your frame and tabletop is crucial for ensuring overall structural integrity and performance. When installing the tabletop, you will need to carefully align the hinge mechanism with pre-drilled holes and use the appropriate tools to secure the connection.
Begin by positioning the tabletop precisely over the assembled frame. Carefully inspect the alignment to ensure all mounting points match up perfectly. Look for pre-drilled holes or designated attachment areas that will guide your connection process. Gently lower the tabletop onto the frame, making sure no cables or internal components get pinched during placement. If your portable table includes a locking mechanism, ensure it is fully disengaged during initial positioning. Use a Phillips head screwdriver or the recommended nut driver to gradually insert and tighten the mounting hardware. Work systematically start from one corner and move diagonally across the surface to maintain even pressure and prevent potential warping.
Pro tip: Do not rush the attachment process. Take your time to ensure each connection point is secure but not overly tightened. Listen for a consistent sound as you tighten screws and watch that the tabletop remains perfectly flat against the frame. If you notice any wobbling or uneven surfaces, stop and readjust before fully securing all connections. A patient approach will result in a more stable and reliable portable table setup.
With the tabletop now firmly in place, you are ready to prepare for your outdoor activities and enjoy your newly assembled portable workspace.
With your portable table fully assembled, the next critical step is ensuring its stability and reliability before loading any items or beginning your outdoor activities. After completing assembly, you should thoroughly check that all hardware is fully engaged and tightened, and plan to periodically inspect the table to maintain its security.
Begin your stability test by gently placing the table on your prepared surface and applying light pressure to different areas. Rock the table slightly from each corner to check for any unusual movement or wobbling. Pay close attention to how each leg contacts the ground and whether the tabletop remains level. If you notice any significant movement or uneven contact, you may need to readjust the leg connections or slightly modify the surface underneath. Use a small carpenter level if available to confirm the table is sitting perfectly horizontal. Test the table’s weight capacity gradually by adding items of increasing weight and observing how the frame responds.
Pro tip: Perform your stability test on the exact surface where you plan to use the table most frequently. Different terrains like grass, gravel, or uneven ground can dramatically impact table performance. If you are setting up in an outdoor environment with potential wind or uneven terrain, consider using additional stabilization methods such as weight bags or ground anchors. Remember that a few minutes of careful testing can prevent potential accidents or damage to your equipment and belongings.
With your portable table now thoroughly tested and confirmed stable, you are ready to enjoy your outdoor workspace or dining setup.
Setting up a stable and comfortable portable table outdoors can be challenging. From selecting the perfect location to assembling a secure frame and testing stability, every step demands patience and precision. If you want to elevate your outdoor experience beyond just a table, consider integrating versatile seating and accessories that complement your setup while ensuring maximum portability and durability. This will transform your outdoor workspace or relaxation area into a comfortable, efficient zone.
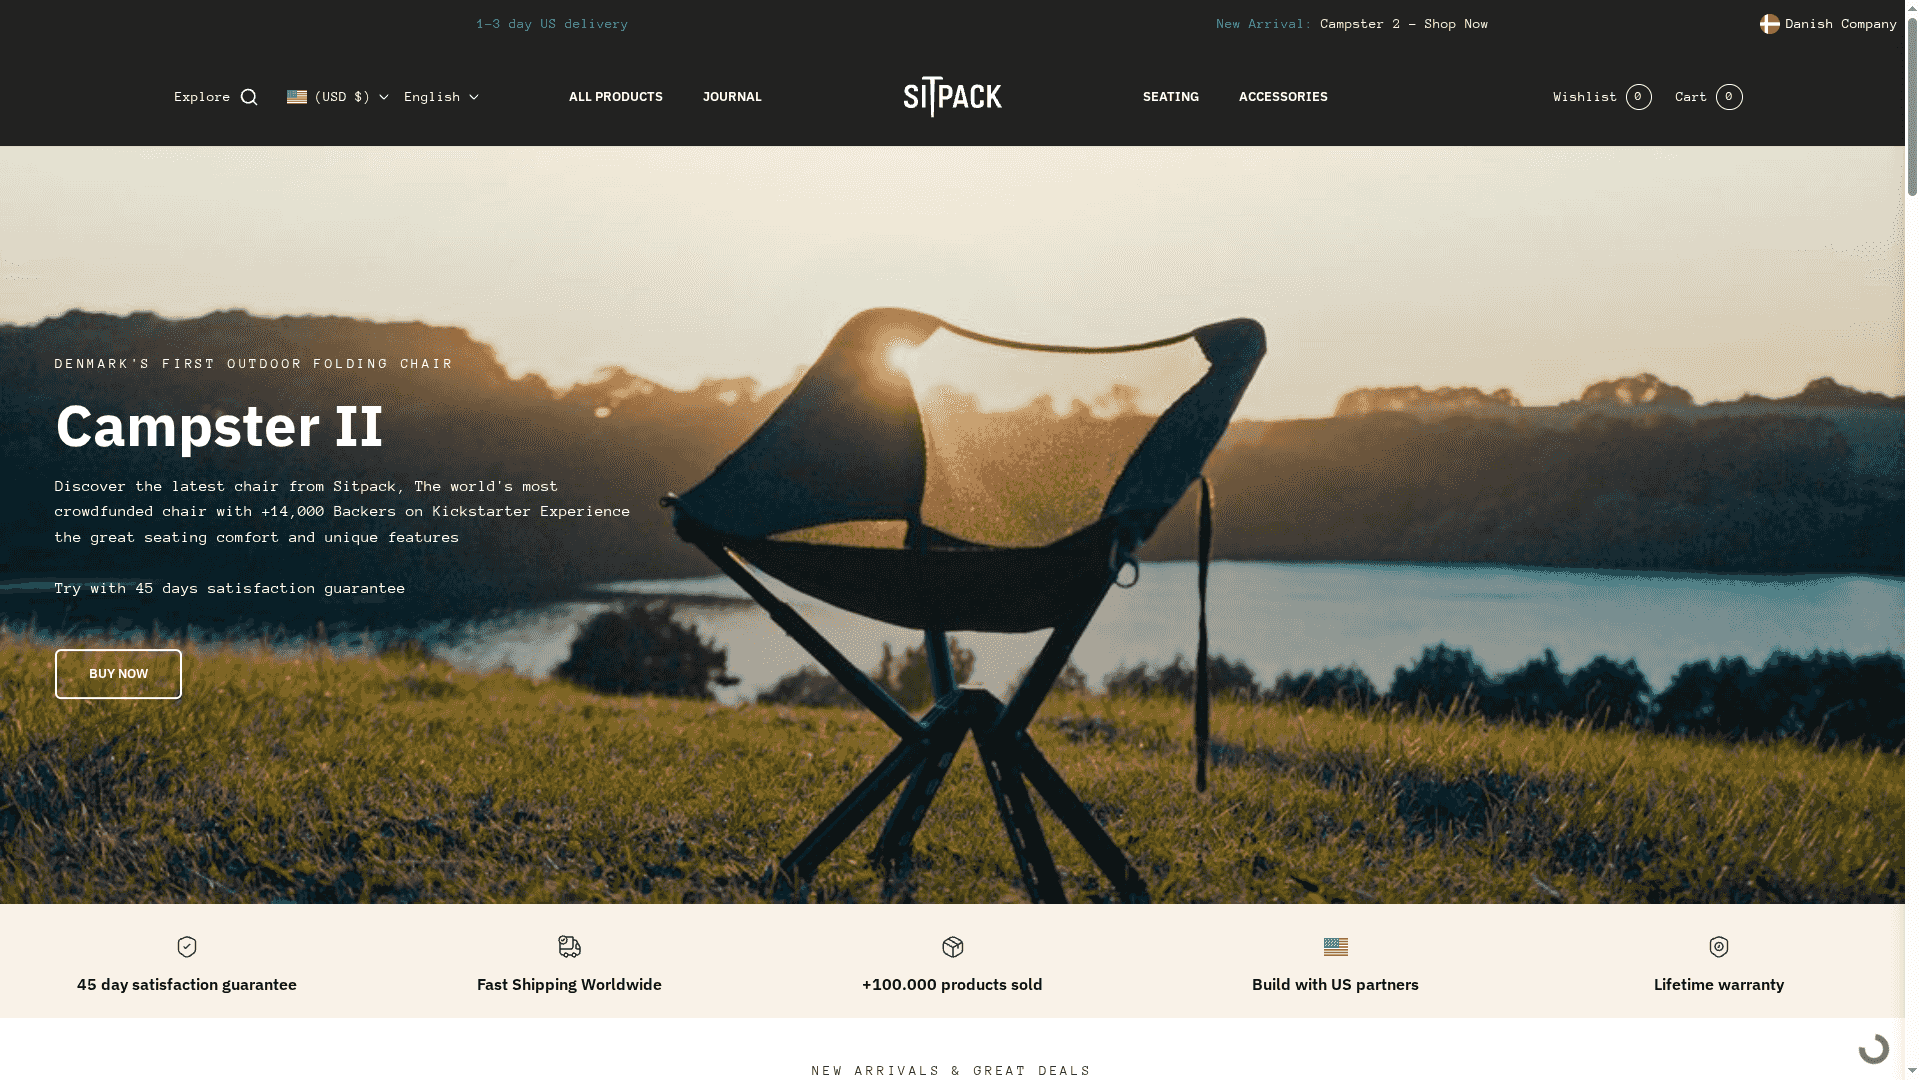
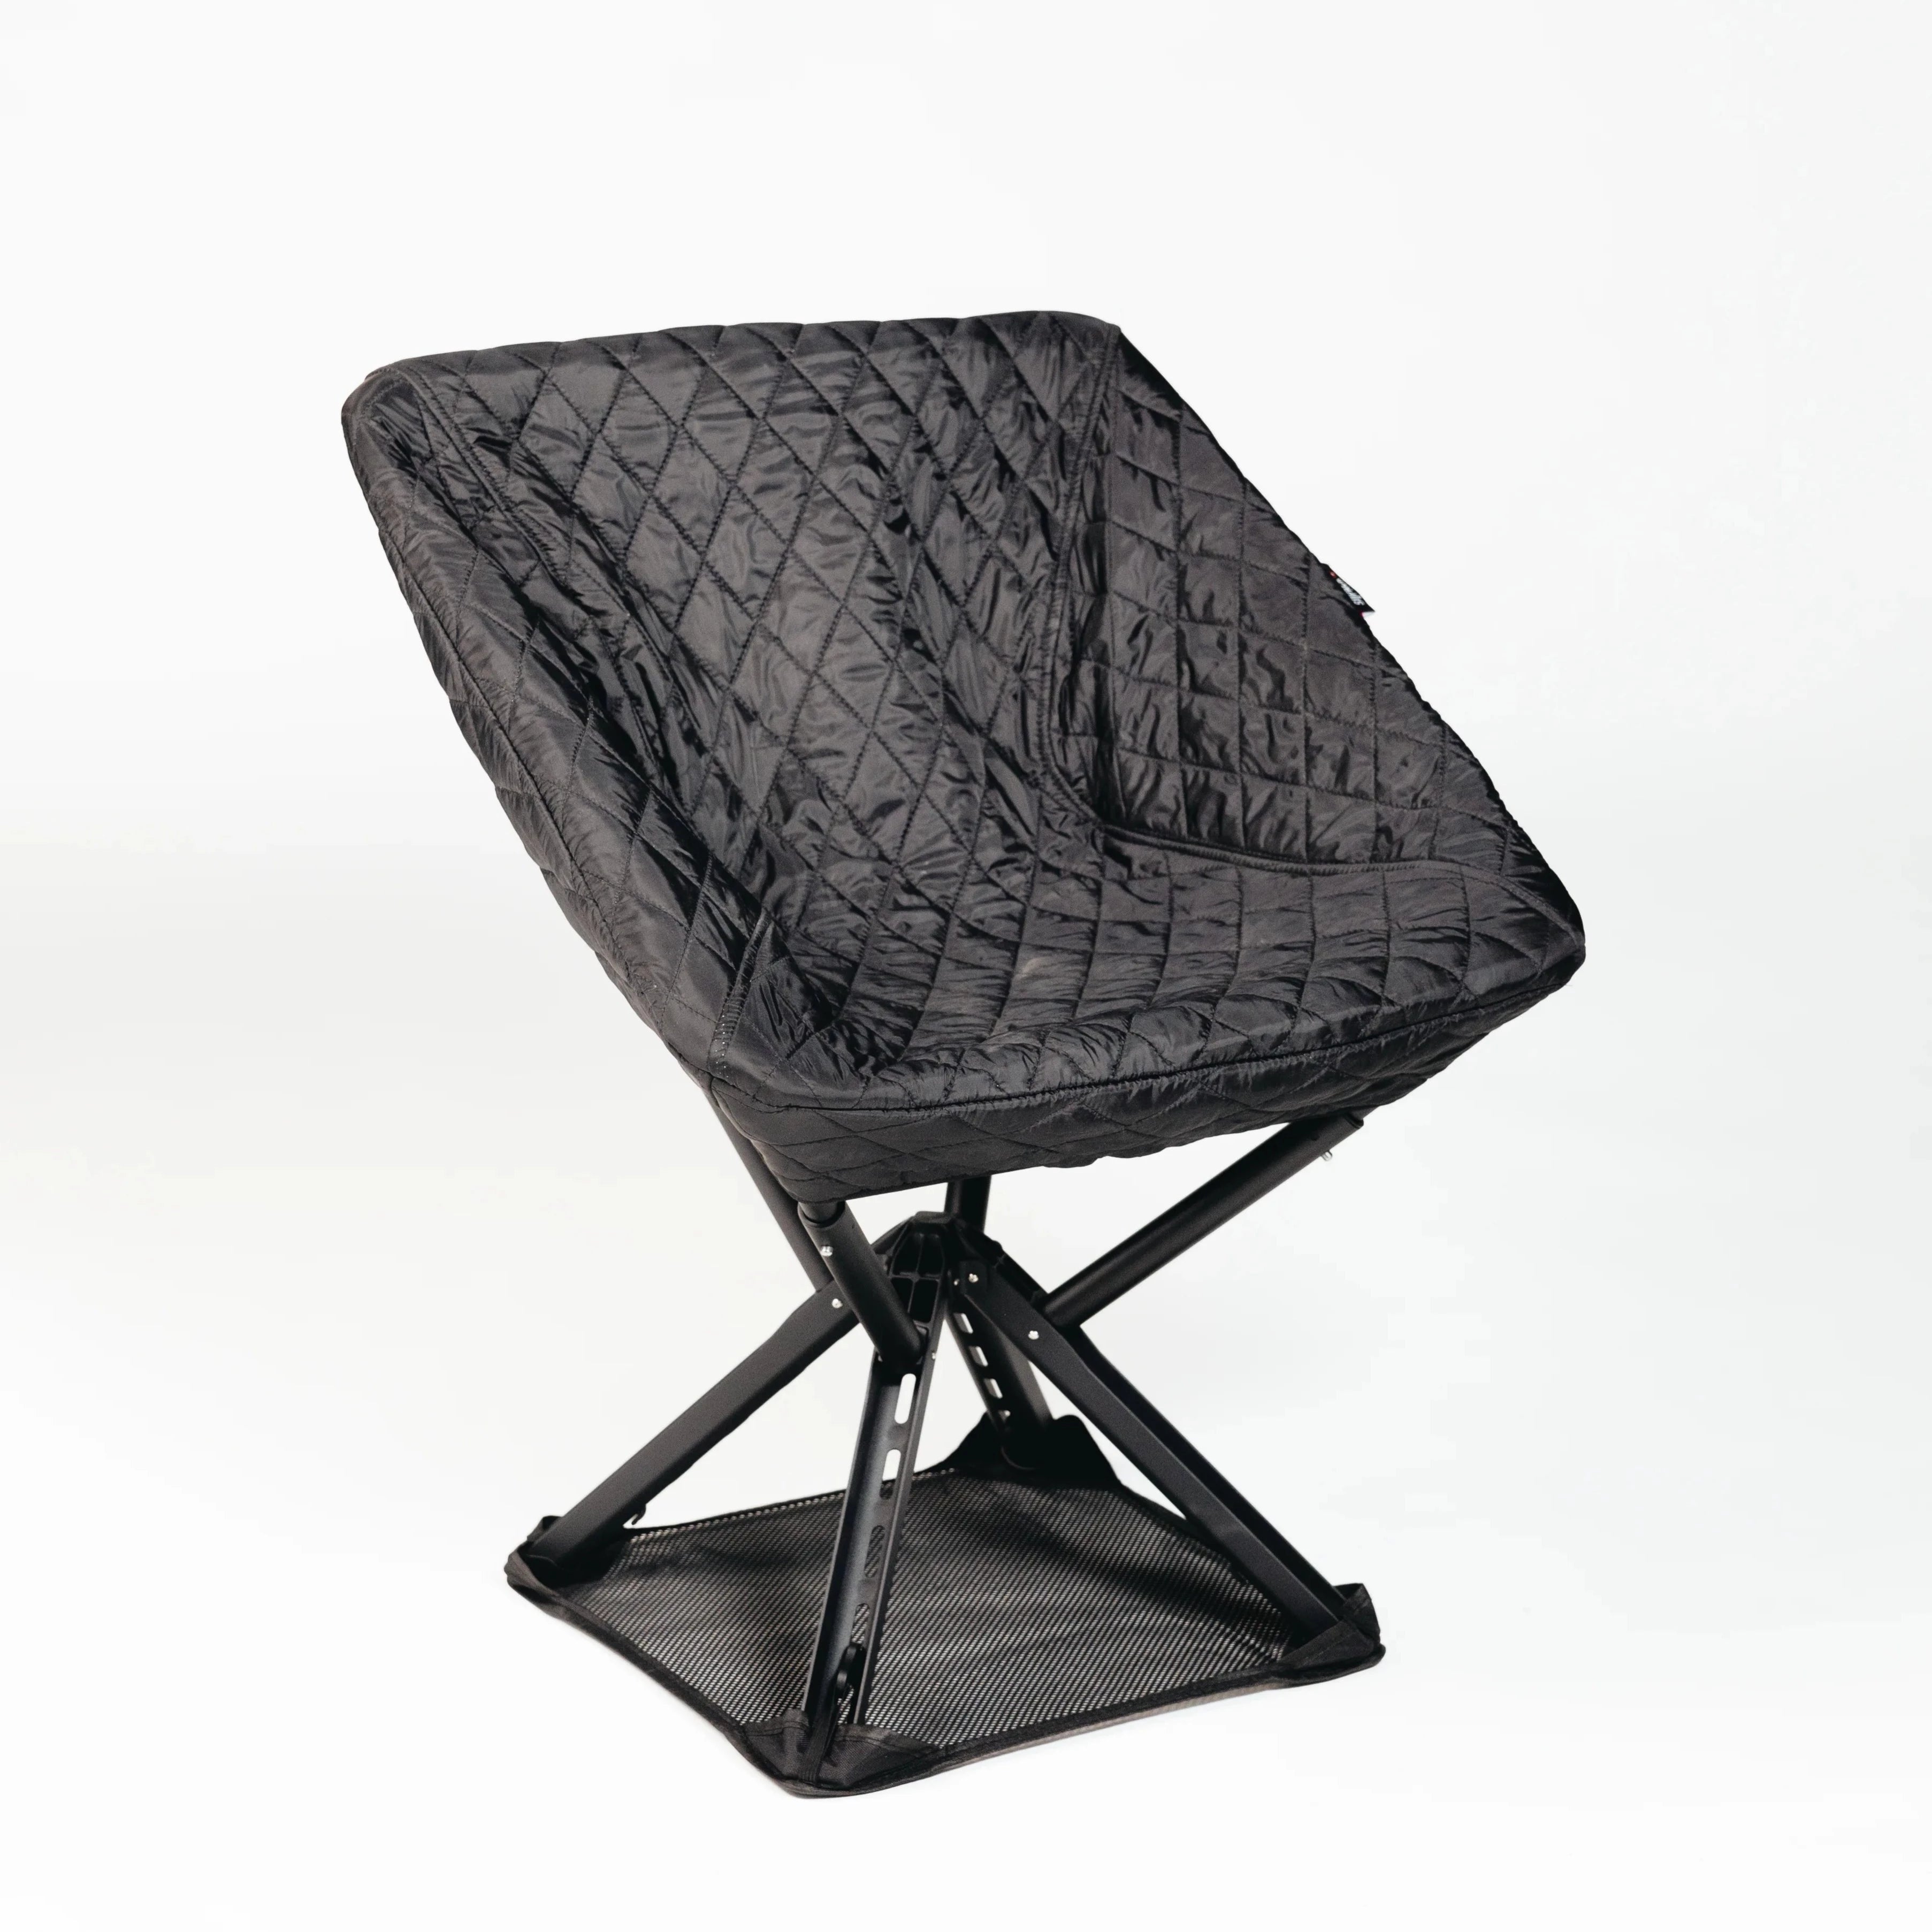
Discover a range of innovative portable seating options and outdoor accessories at Sitpack. Whether you need lightweight, foldable chairs like the Campster II or Sitpack Zen to pair with your table setup or additional outdoor essentials designed for durability and user comfort, our products are crafted for adventurers, campers, and travelers who demand both functionality and style. Act now to enjoy fast worldwide delivery and a 45-day satisfaction guarantee that makes upgrading your outdoor gear worry-free. Visit Sitpack today and complete your portable outdoor experience with confidence.
Selecting the best location involves finding a flat, stable surface away from obstacles like tree roots or rocks. Ensure the area is secure and can support your table’s weight.
Before unpacking, find a clean, flat area nearby to organize the components. Make sure to compare all parts against the instruction manual to confirm nothing is missing.
Make sure to align all connection points when assembling your frame, and use the provided hardware to tighten screws and bolts. Follow a systematic approach by tightening opposite sides equally to maintain balance.
Carefully align the tabletop with the frame’s pre-drilled holes before securing it. Gradually tighten the mounting hardware, starting from one corner and moving diagonally to prevent warping.
To test stability, gently apply pressure to different areas and check for any wobbling. If the table is uneven, readjust the leg connections or consider stabilizing methods like weight bags.
If your table is wobbling, inspect each leg to ensure they are firmly connected and all mounting points are secure. Adjust the legs if necessary or look for stabilization methods to improve balance.