Cart
0
Sign up and get 10$ off your order
Expected delivery
1-3 days
You may also like


Danish Company

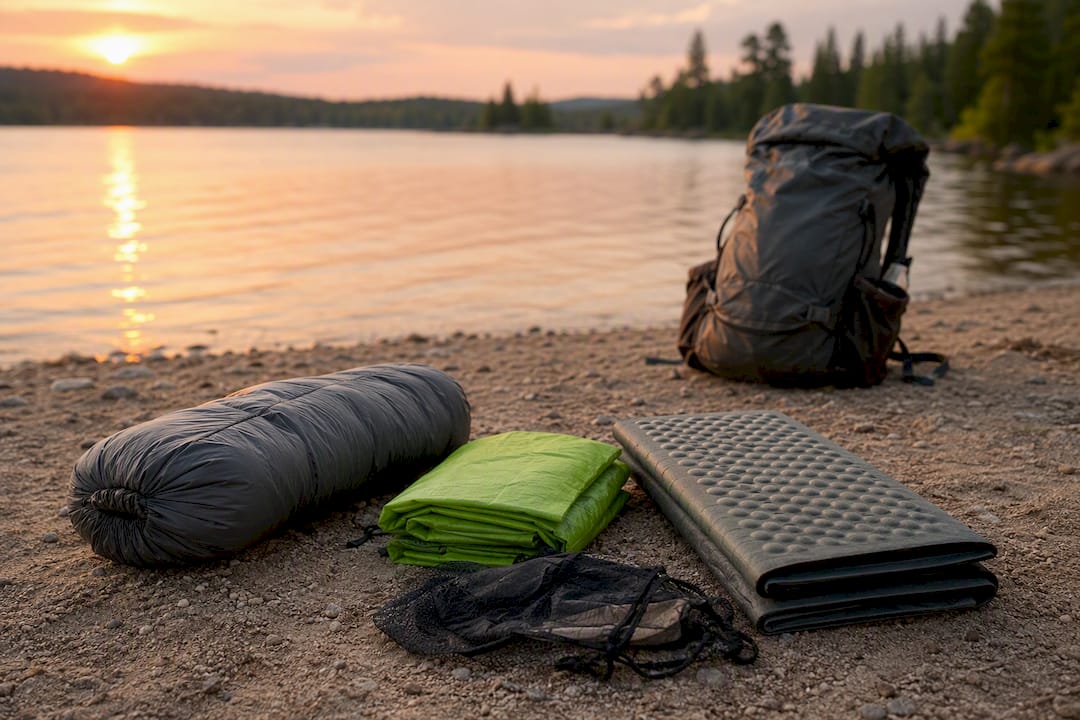
Aim for an 8 to 12 pound base weight, and build it in this order: shelter, sleep system, backpack, then everything else. That’s the whole game. Every ultralight backpacking gear checklist worth trusting starts with the Big Three because they typically account for 60 to 70 percent of your base weight (base weight means everything in your pack except food, water, and fuel). The two swaps that move the needle fastest: trade a mummy sleeping bag for a quilt, and trade a freestanding tent for a tarp or trekking-pole shelter. Do just those two things and most hikers shave two to four pounds without touching anything else.
Here’s the compact version, category by category:
Community-standard base-weight thresholds put ultralight under 10 pounds, lightweight between 10 and 15 pounds, and anything heavier in traditional territory. If you’re coming from traditional backpacking, don’t panic about hitting sub 10 pounds on trip one. A practical ultralight range of 8 to 12 pounds is a realistic, sustainable target for most three-season trips, and it still lets you carry a sit pad or a compact chair without guilt.
TL;DR:
- Upgrading shelter to a tarp, bug bivy, or trekking-pole tent can save 2 to 4 pounds without sacrificing necessary protection.
- Choosing a quilt over a mummy bag and a tarp or lightweight shelter instead of a double-wall tent offers the fastest weight reductions.
- Maintaining a base weight of 8 to 12 pounds is realistic for most three-season trips, with safety gear always remaining a non-negotiable weight.
- Conducting a home gear audit with precise weighing can typically reveal 8 to 12 ounces of unnecessary weight before purchasing new gear.
- Replacing bulky comfort items with compact seats like Sitpack’s models can be a weight-efficient upgrade if they substitute other pack items.
Shelter, sleep system, and pack aren’t just the heaviest items in your kit. They’re also the three where manufacturers have made the most genuine engineering progress in the past few years, which means the payoff for upgrading here is bigger than anywhere else in your pack.
A basic flat tarp weighs somewhere between 5 and 12 ounces depending on material and size, and it does one job: it keeps rain off you. It does not keep bugs off you, and it does zero for wind protection in an exposed camp. Add a bug bivy and you’re looking at 10 to 18 total ounces, which is still dramatically lighter than most double-wall tents, and now you’ve got a sealed sleeping space.
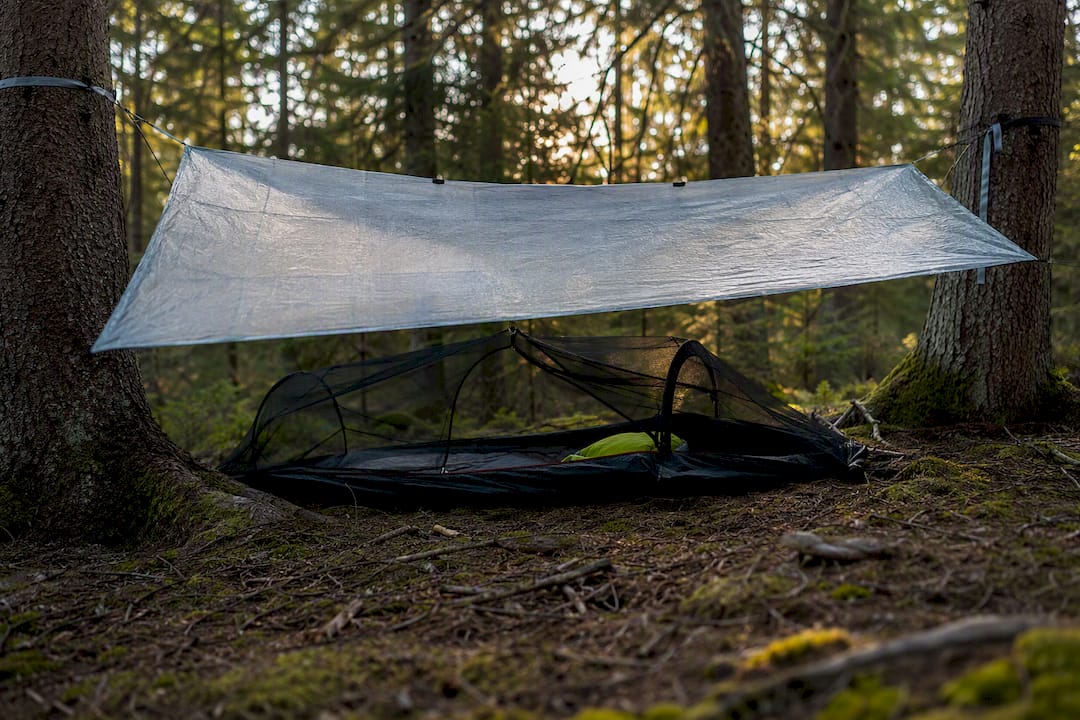
Single-wall trekking-pole tents split the difference. Brands have gotten much better at fighting condensation in single-wall designs, and a modern one gives you real four walls, a floor, and mesh, often for 18 to 26 ounces. That’s the sweet spot for hikers who want tent-like security without tent-like weight. Traditional double-wall freestanding tents still make sense in exposed alpine terrain or if you’re camping on slickrock or platforms where trekking poles won’t anchor a shelter, but you’re paying a weight tax of a pound or more for that versatility.
Hammocks are a genuine third option in forested terrain with reliable tree spacing, and they solve ground-sleeping discomfort entirely. They’re a poor choice above treeline, in the desert, or anywhere you can’t guarantee two solid anchor points, so treat them as a terrain-specific tool rather than a default.
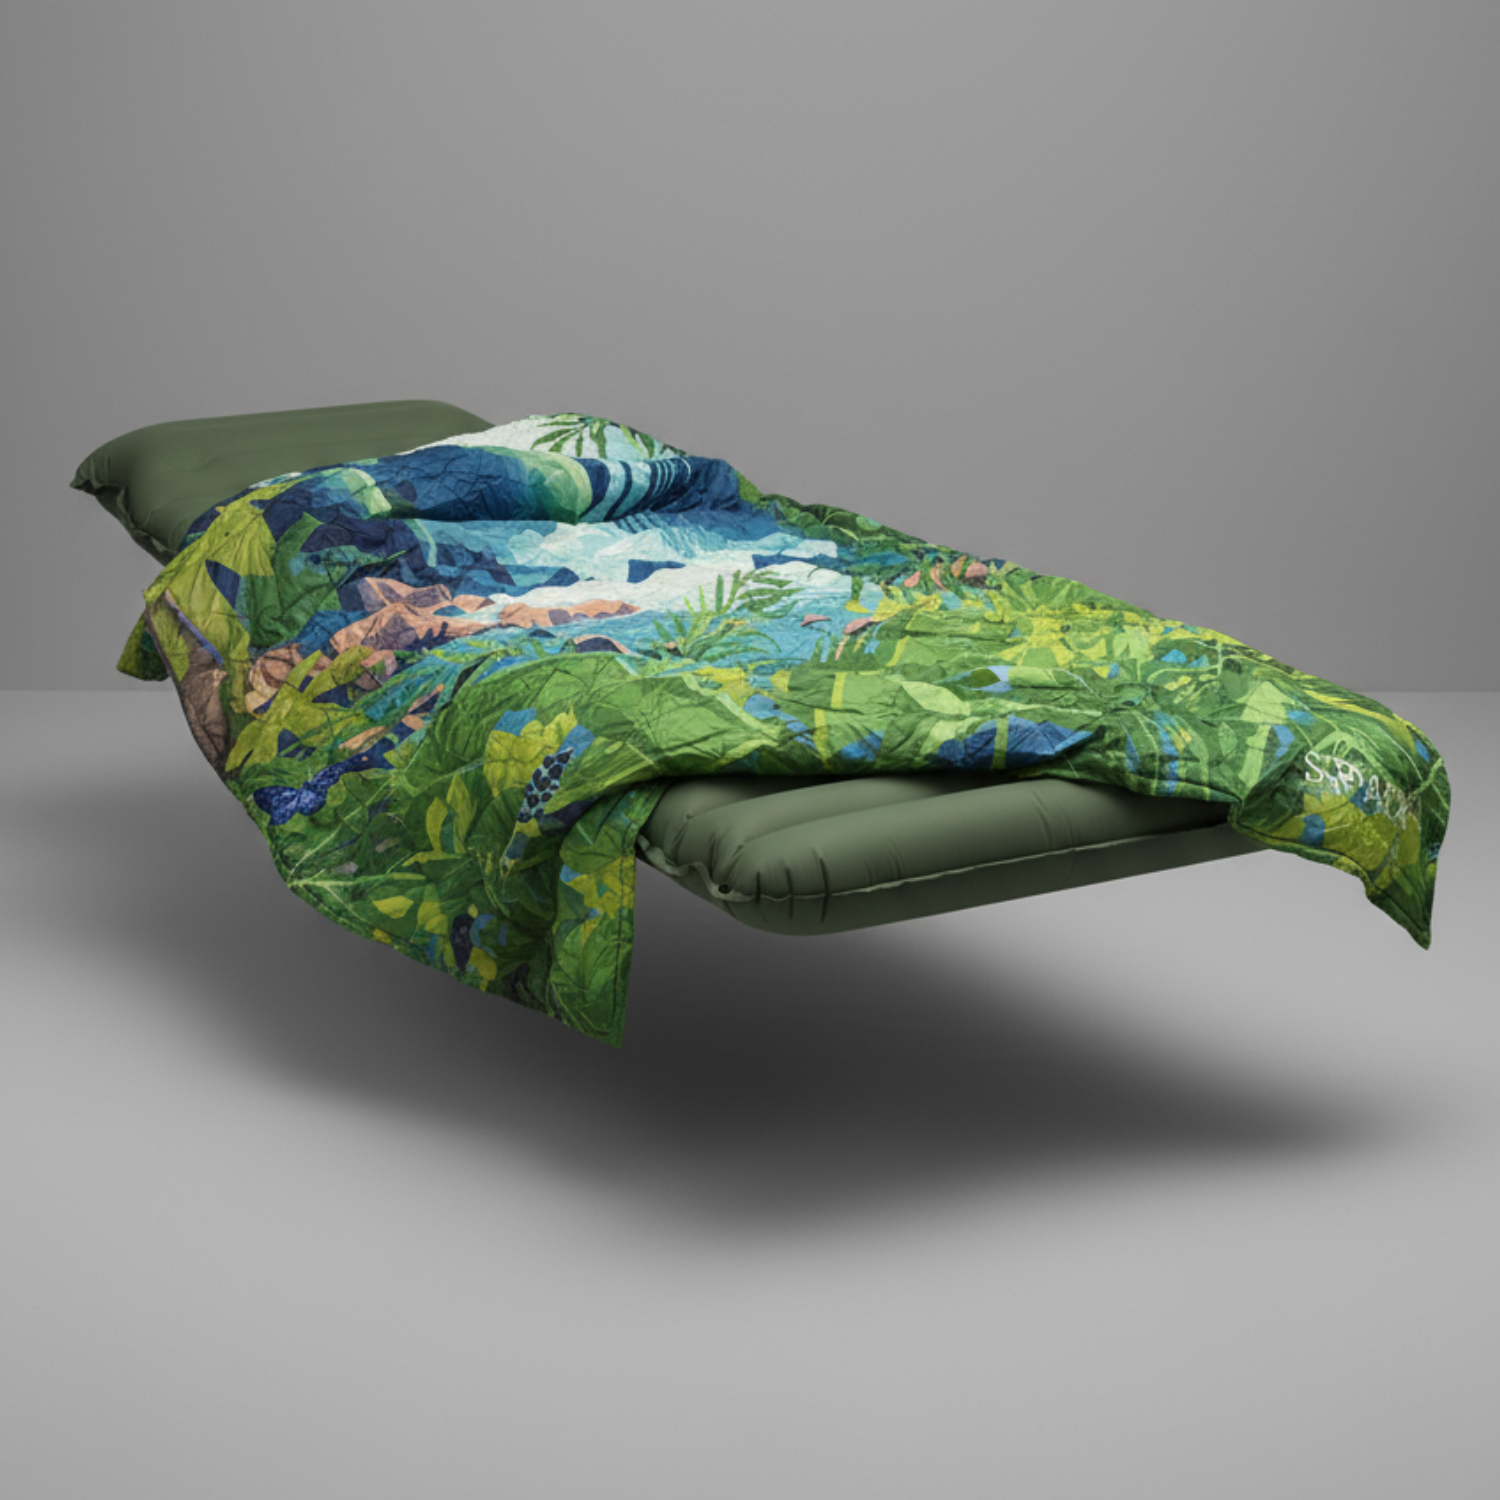
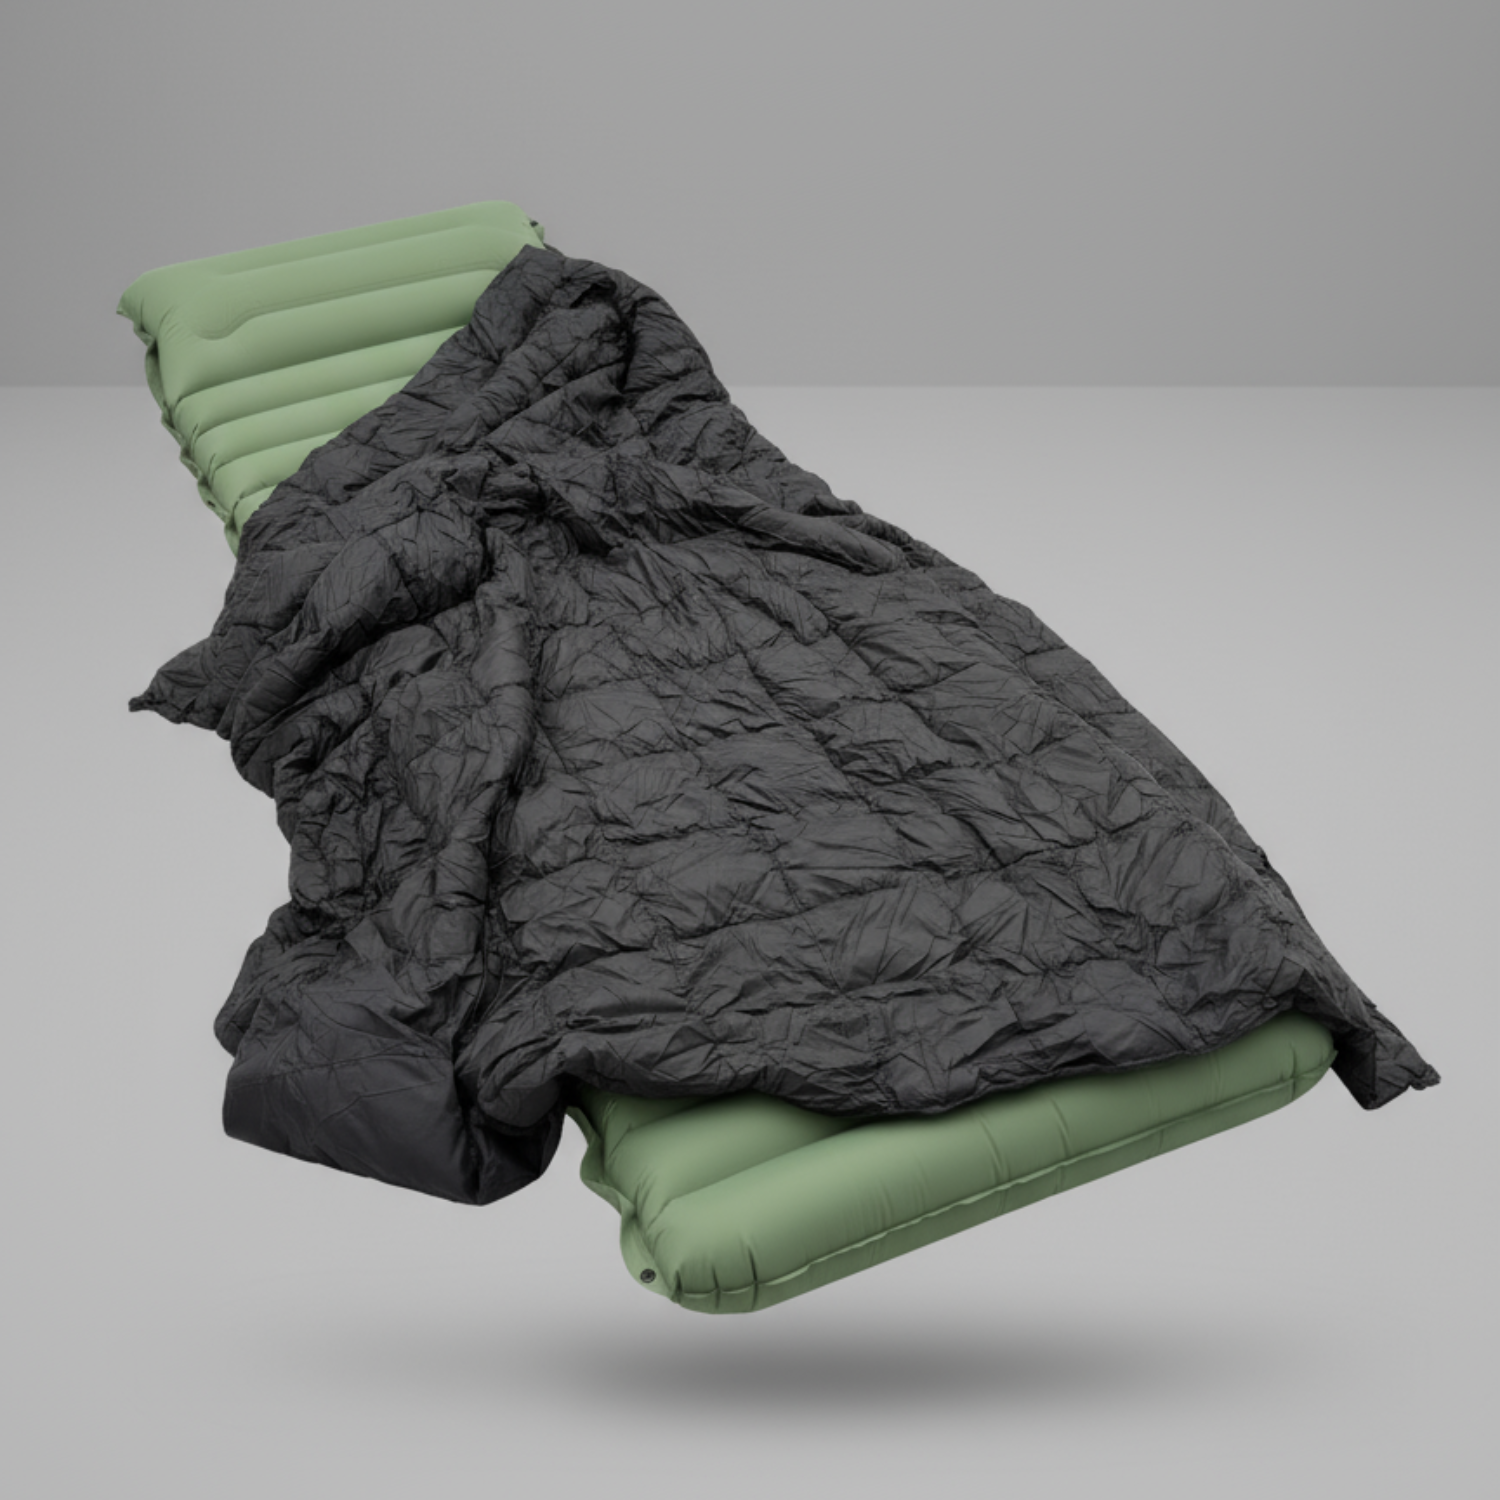
Quilts eliminate the zipper, the hood you never use fully cinched, and the compressed underside insulation that does nothing once your body weight flattens it. Cutting that dead weight typically saves 4 to 8 ounces over a comparable-temperature mummy bag. The old objection to quilts, that side sleepers get drafts and restless sleepers kick them off the pad, has mostly been engineered away: sewn footboxes and pad-attachment straps now keep a quilt anchored to your pad all night, which makes it a viable choice for a lot more sleepers than it was five years ago.
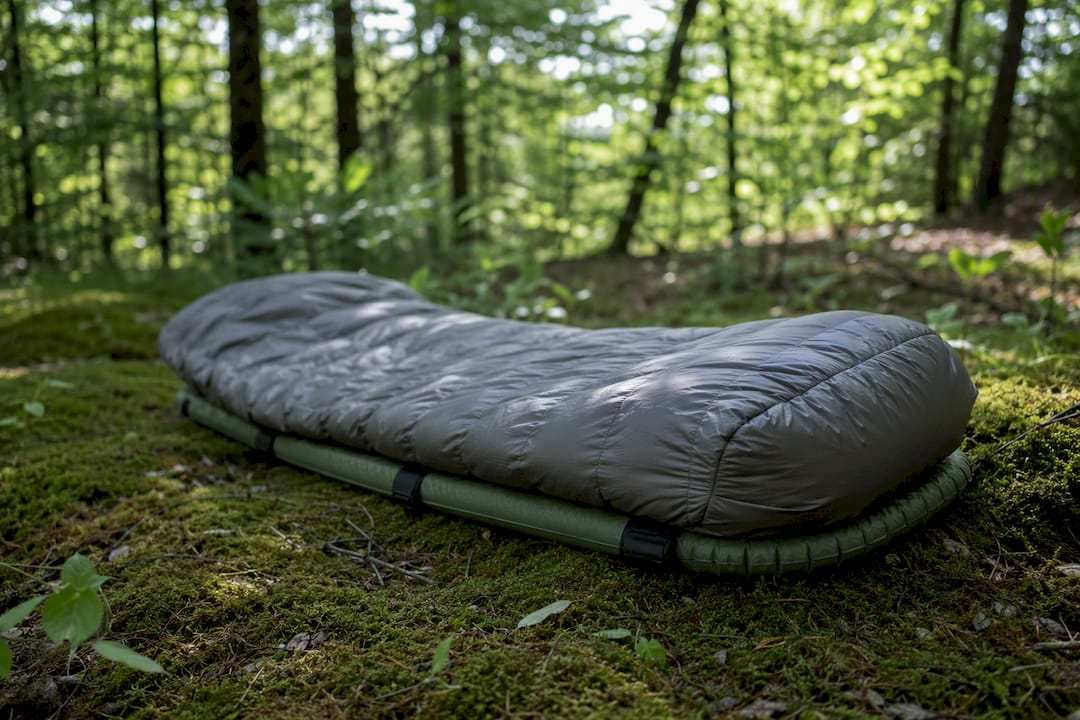
Pad choice matters just as much as the quilt itself. Match your pad’s R-value to your coldest realistic night, not your average night. An R-value of 2 to 3 covers most three-season trips; anything colder than freezing needs R-4 or higher, or you’ll be cold from the ground up no matter how good your quilt is. A pillow is optional. Plenty of ultralight hikers stuff a dry bag with spare clothes instead and skip the dedicated pillow entirely, saving 2 to 4 ounces for zero real comfort loss. Our lightweight sleeping bag guide breaks down specific quilt and bag options if you want side-by-side numbers.
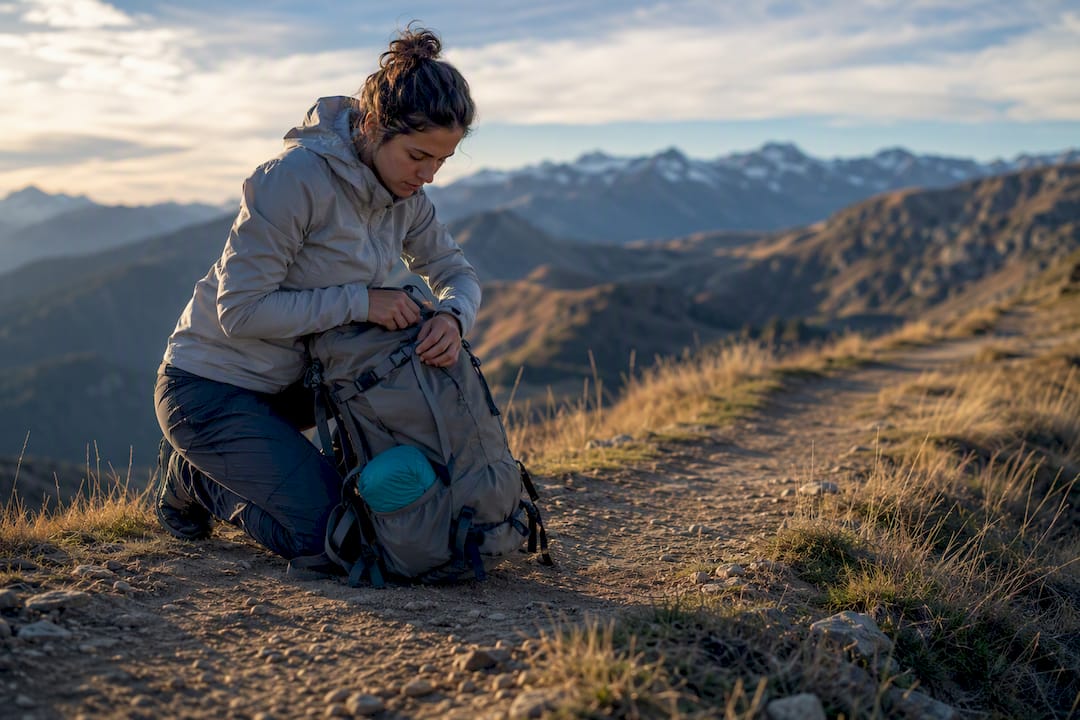
Pack choice should follow everything else in your kit, not the other way around. As a practical rule of thumb repeated across the ultralight community, frameless packs work fine for total carried weight under about 20 pounds. Above that, an internal frame starts earning its keep by transferring load to your hips instead of your shoulders. Push past 30 pounds, whether from cold-weather gear, extended food carries, or a bear canister, and a traditional framed pack becomes the safer, more comfortable choice even at the cost of extra ounces.
Pro Tip: Load-test a candidate pack with actual gear, not the foam blocks stores sometimes use for demos. Foam sits and compresses differently than a stuffed quilt or food bag, and that changes how the frame feels against your back.
Cold-soaking means skipping the stove entirely and rehydrating meals in a jar or bag using cold or lukewarm water. It saves the weight of a stove, fuel canister, and pot, often 8 to 12 ounces total, and it works well when water is plentiful and temperatures are cool enough to keep food safe. The catch: cold-soaked meals need longer rehydration times, and skipping proper soak times or sanitary handling raises food-safety risk, especially with meat-based meals in warm weather. Cold-soaking is a smart trade for dedicated ultralight trips in mild conditions. It’s a poor choice in cold, wet climates where a hot meal is doing real work for morale and core temperature.
If you want heat, your main options break down like this:
Pair any of these with a single titanium or aluminum pot sized to your actual meals, usually 550 to 900 milliliters for solo cooking, and skip the stacked mess-kit approach entirely. One pot, one spork, one insulated cozy if you’re simmering rehydrated meals. That’s the whole kitchen.
Water planning comes down to knowing the distance between reliable sources on your specific route and carrying enough capacity to bridge the longest realistic gap, plus a margin. Filters (hollow-fiber squeeze or gravity systems) handle bacteria and protozoa reliably and let you drink immediately. Chemical tablets weigh almost nothing and work as a great backup, but require wait times of 30 minutes or more. UV pens are fast but battery-dependent, which makes them a riskier primary choice on longer trips. Soft flasks and collapsible bottles beat rigid hard-sided bottles for weight and packed size, and they double as extra capacity on dry stretches without adding bulk when empty.
A three-part clothing system covers nearly every three-season trip: a trail layer for hiking, a dedicated camp layer that stays dry, and a rain or wind shell. That’s it. The mistake most hikers coming from traditional backpacking make is packing redundant warmth layers “just in case,” when a single well-chosen puffy or fleece plus a shell handles almost every temperature swing you’ll hit between spring and fall.
Merino wool resists odor far longer than synthetic fabric, which matters more than people expect on multi-day trips where you’re not washing anything. Synthetic fabric dries faster after a stream crossing or a sweaty climb, which matters more in wet climates or shoulder seasons. Neither fabric is objectively better; pick based on your trip’s actual conditions rather than brand loyalty.
Trail runners have become the default footwear choice for a majority of long-distance ultralight hikers, and for good reason: they weigh roughly half what a comparable lightweight boot weighs, dry in hours instead of days, and require zero break-in period. Boots still make sense with heavy loads above 30 pounds, on technical terrain with loose rock, or if you have ankle instability that needs the extra support. For most three-season trail hiking at ultralight loads, though, trail runners are lighter, faster-drying, and just as capable.
Pro Tip: Buy trail runners a half size up from your street shoe size. Feet swell on multi-day trips, and a snug fit that felt fine on day one turns into black toenails by day three.
Some categories are non-negotiable no matter how aggressively you’re cutting ounces, and this is where REI’s checklist framework draws a firm line: keep the Ten Essentials even as you cut weight everywhere else. Navigation, illumination, and first aid are not places to save 2 ounces.
Practitioners widely treat the Big Three as the priority zone for savings precisely because safety items shouldn’t be where you cut. A lighter tent is a comfort trade-off. A skipped headlamp battery or a missing map is a risk trade-off, and those aren’t equivalent.
Your hygiene kit should fit in a sandwich bag: a small hand sanitizer, a travel-size biodegradable soap if you’re washing dishes near (not in) a water source, a trowel for cathole digging, and enough toilet paper or a reusable option for your trip length. Pack out hygiene waste that doesn’t break down quickly, including used wipes and hygiene products, per Leave No Trace guidelines that apply on nearly every trail system.
A repair kit weighing under 2 ounces covers most field failures:
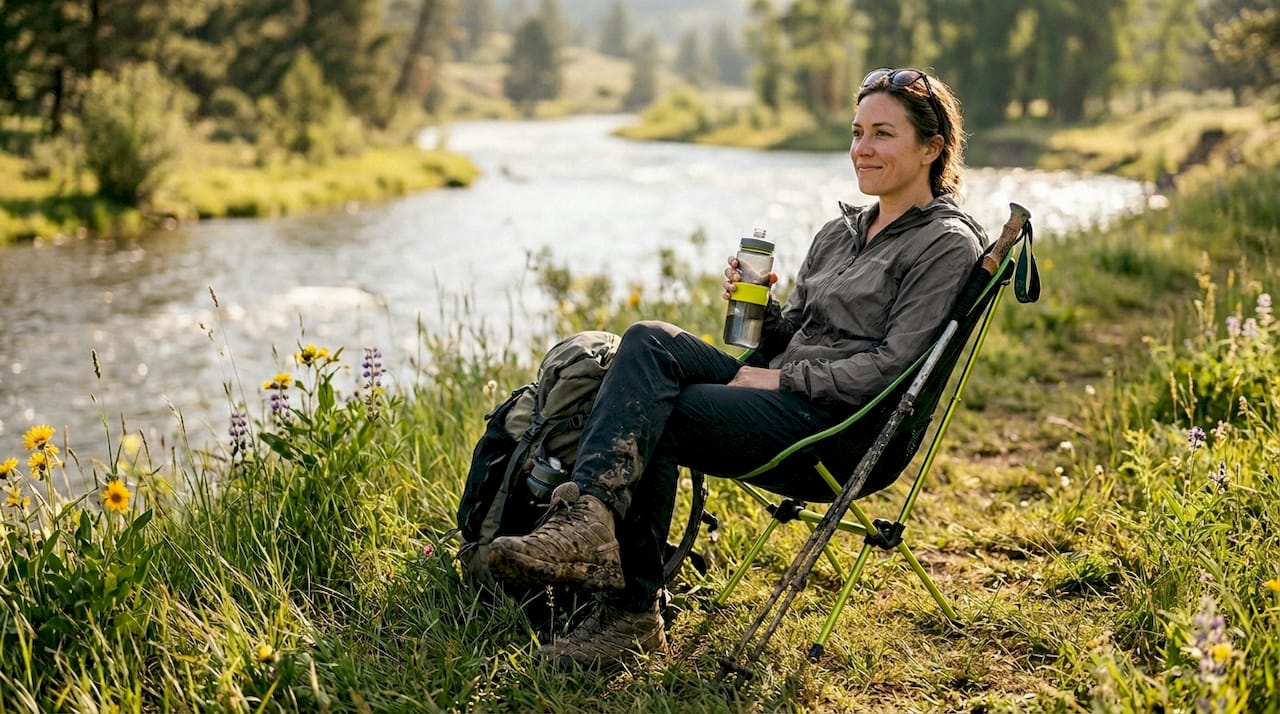
Small comforts deserve a deliberate yes-or-no decision rather than an automatic pack-it reflex. A sit pad or compact seat solves the “nowhere dry to sit” problem at camp and doubles as extra ground insulation under your pad, which makes it one of the few luxury items that’s genuinely earning double duty. A full camp chair, on the other hand, is dead weight that does one job. Decide before the trip which single comfort item you’re keeping, not which three you can justify.
Copy this into a spreadsheet or notes app and check items off before you leave the trailhead. It’s organized the way experienced ultralight hikers actually think about their gear: what always goes, what depends on conditions, and what to deliberately leave behind.
Essentials, every trip regardless of length:
Optional, depending on trip and conditions:
Deliberate omissions, the luxury column you skip on purpose:
Trip-profile guidance matters more in shoulder-season, desert, or winter conditions than length alone. A three-day desert trip with sparse water sources demands more carrying capacity than a week-long forest trip with water every few miles, so let terrain and season adjust these numbers as much as duration does. For a deeper dive into short-trip specifics, our guide to what to bring backpacking for one to seven nights walks through the reasoning trip by trip.
Most hikers can find real savings before spending a dollar. Run this four-step process at home with a kitchen scale before you touch your credit card:
This disciplined pass typically uncovers 1 to 3 pounds of savings, and a first audit alone often turns up 8 to 12 ounces of gear that’s simply dead weight. The highest-return swaps, in order, are shelter, then sleep system, then pack downsizing once the first two are lighter. That order matters: swapping your pack before lightening your shelter and quilt often means buying a pack that’s still oversized for your new, lighter load.
Behavioral fixes cost nothing: decant toiletries into smaller containers, cut tags off gear, trim maps to just the sections you need, and repackage food out of bulky retail packaging into zip bags. None of that requires a purchase.
Pro Tip: Don’t chase the last few ounces on a $40 titanium spork if your quilt is still a 3-pound bag from a decade ago. Fix the biggest offenders first; diminishing returns kick in fast once the Big Three are handled.
A seat is a luxury item until you realize it’s replacing something else, at which point it becomes a smart trade rather than dead weight. That’s the test Sitpack applies to its own gear, and it’s the same test worth applying to any comfort item you’re considering: does it eliminate a second item, or does it just add ounces?
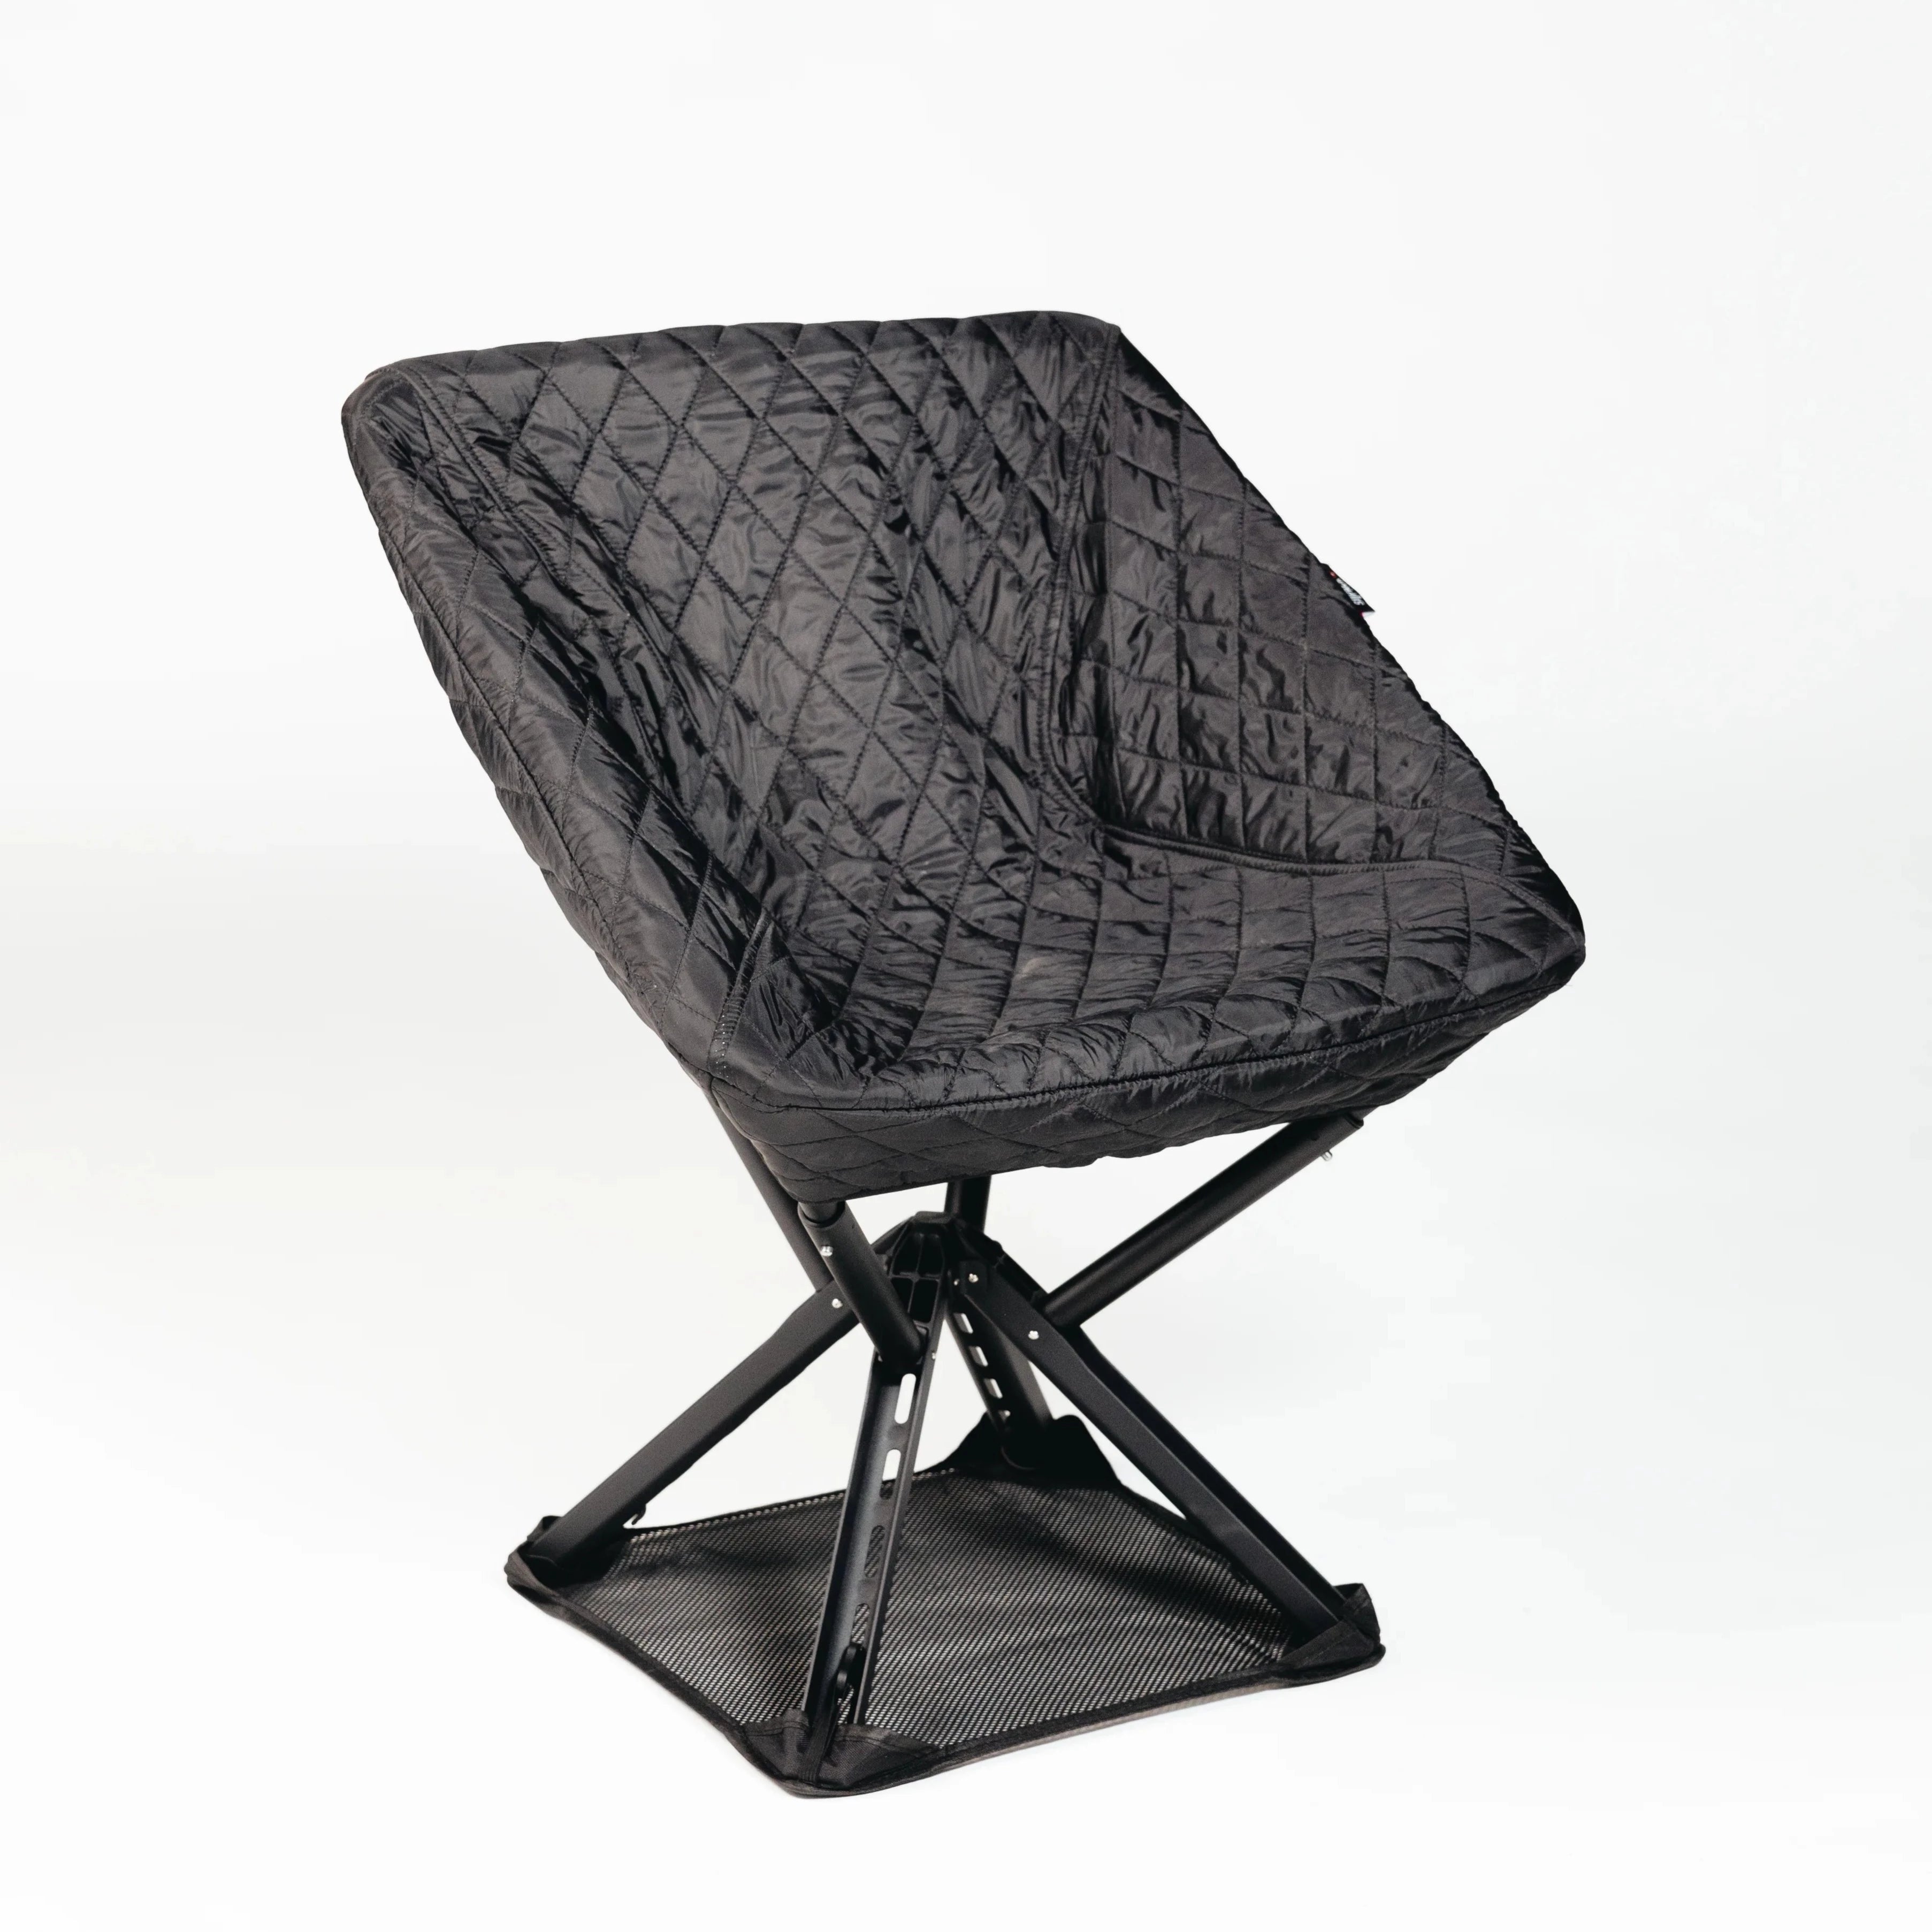
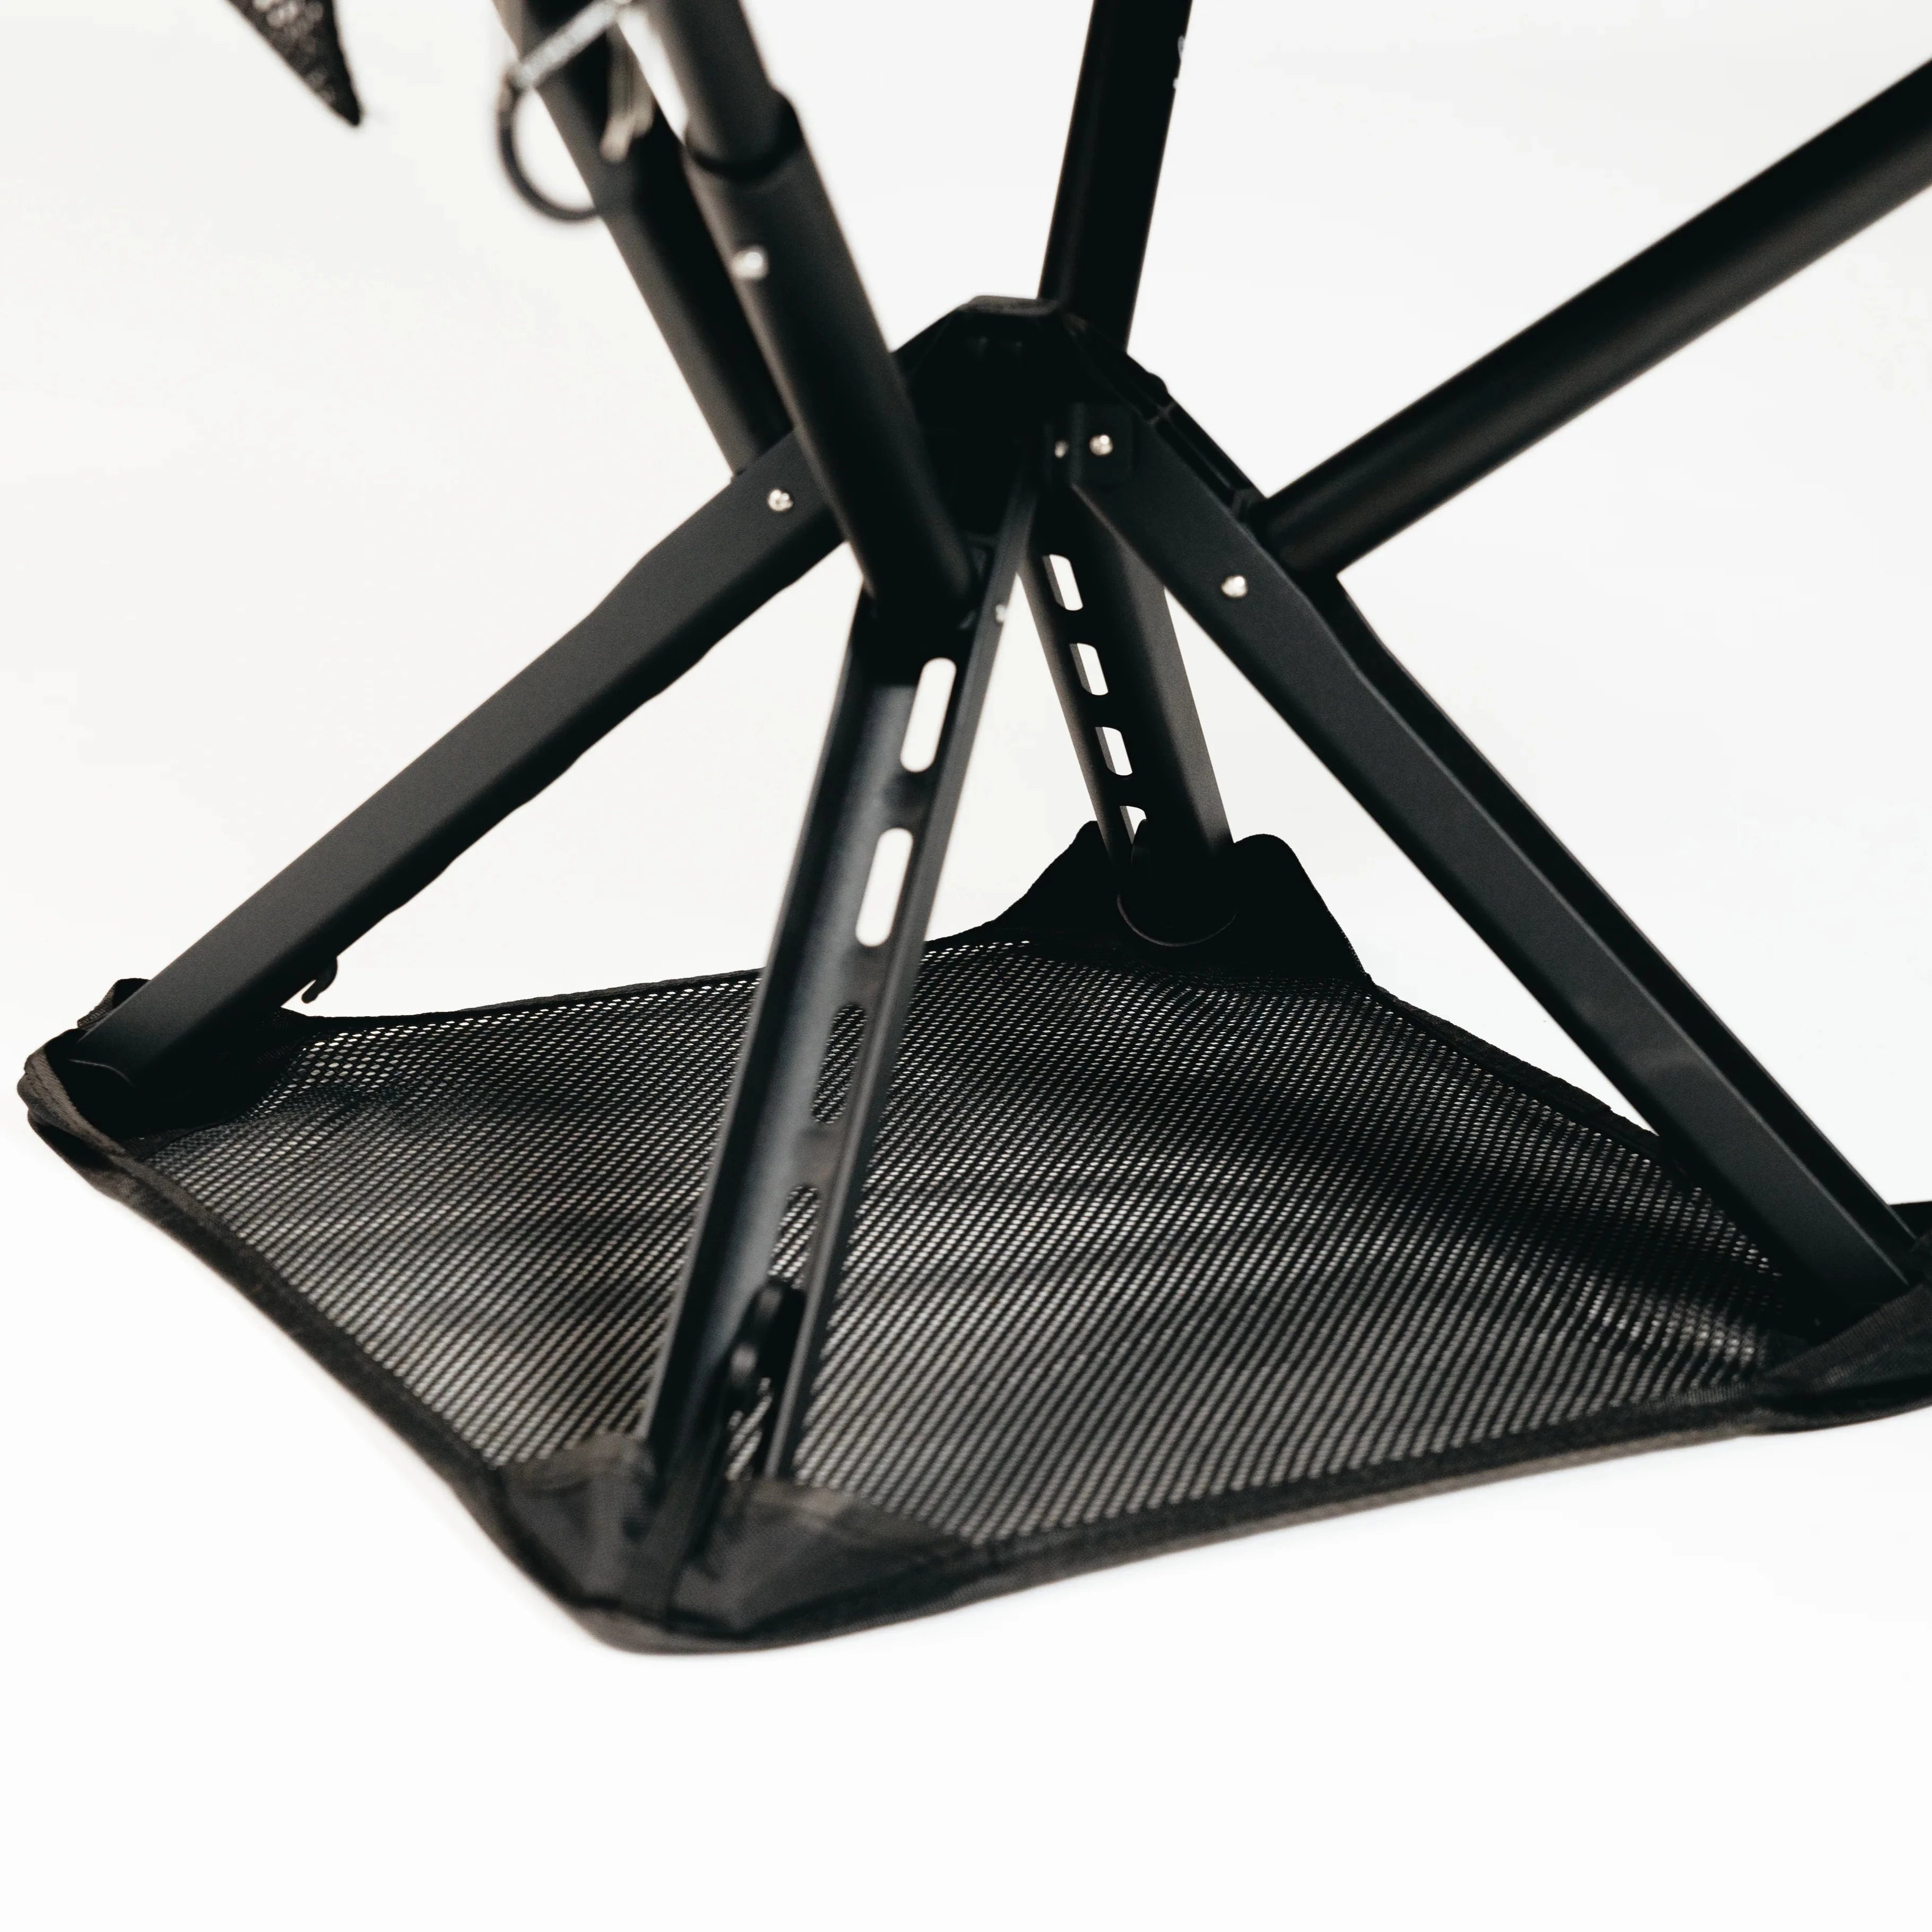
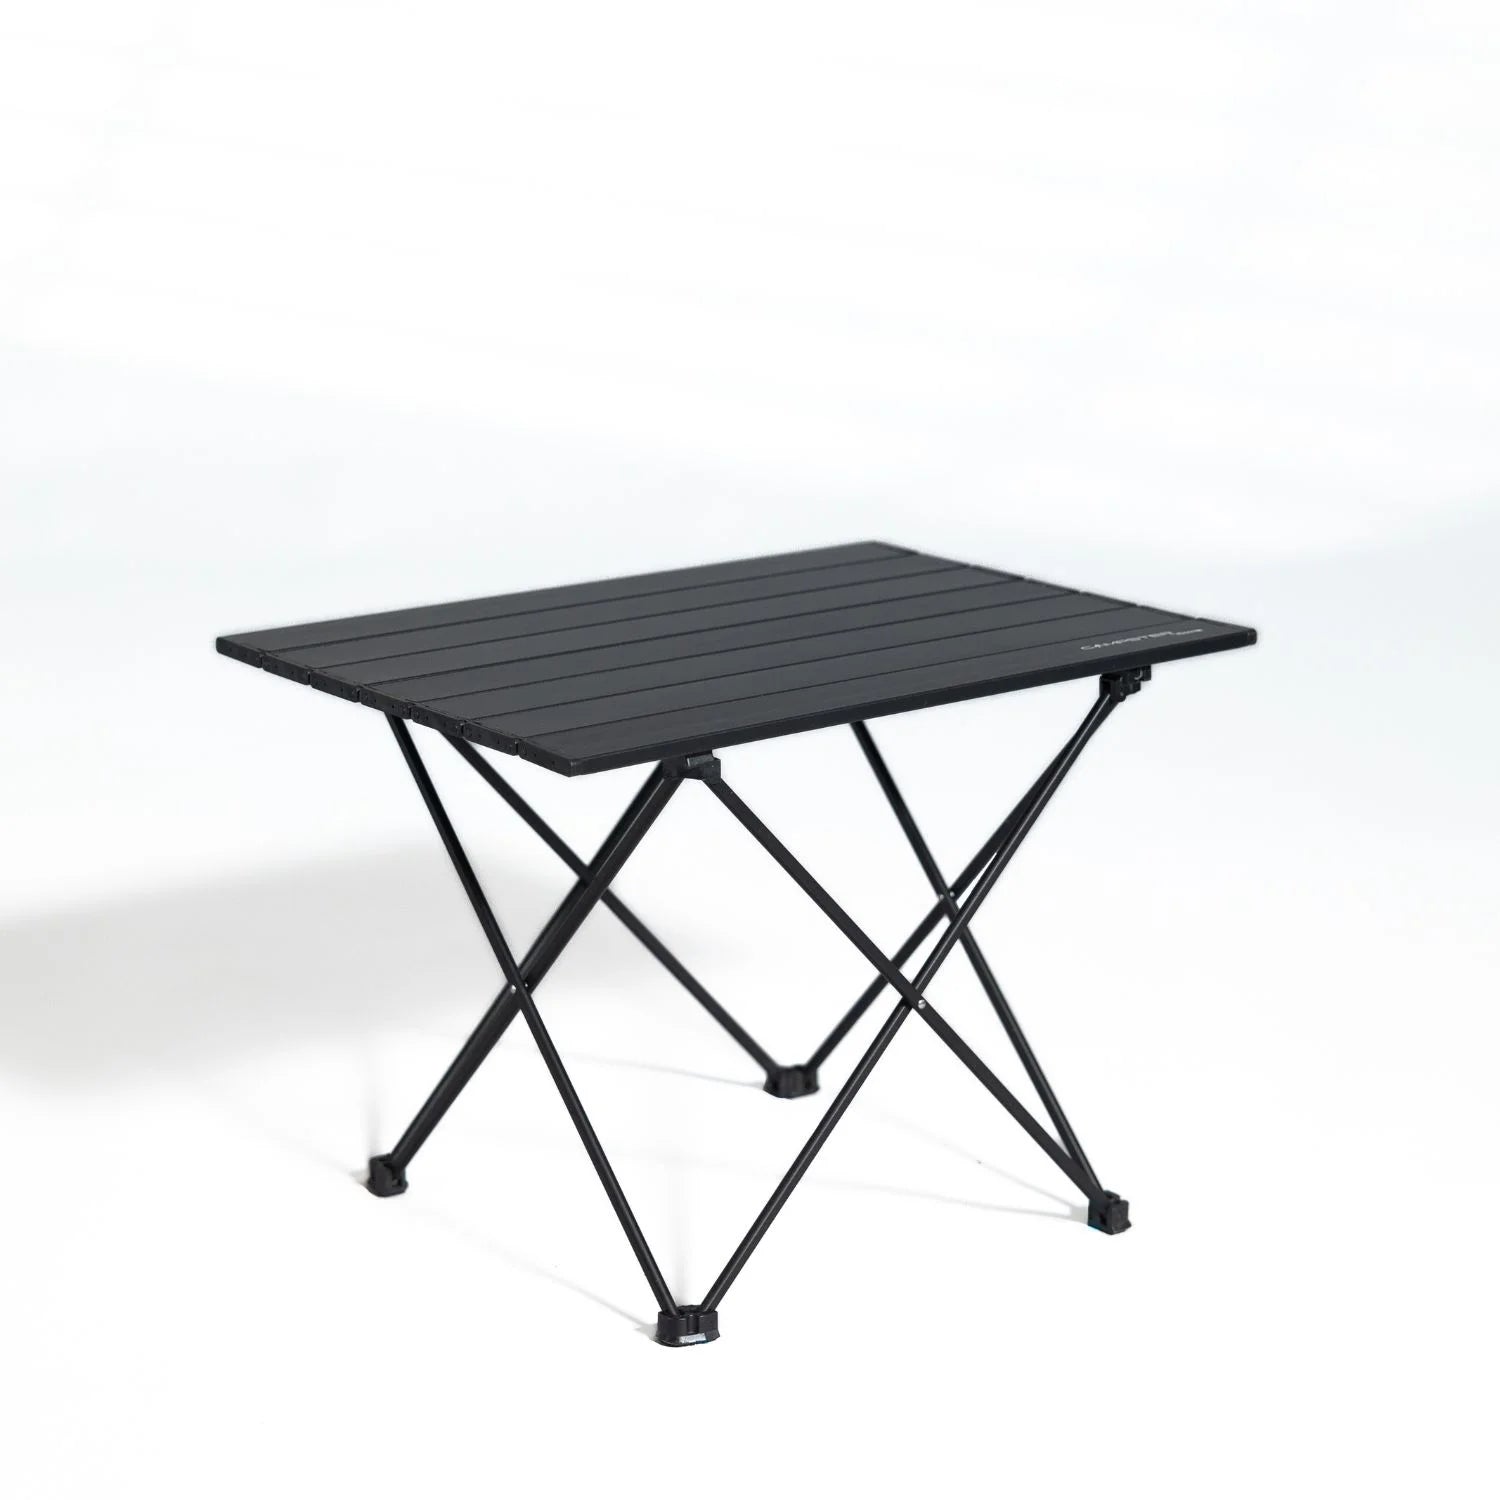
The Campster II folds down small enough to clip onto a pack’s exterior webbing and gives you a stable, off-the-ground seat at camp, on breaks, or waiting out a rain delay under a tarp. The Sitpack Zen goes even more minimal, trading full back support for a lighter, more packable stool format suited to hikers who want a place to sit without carrying anything close to a full chair.
The Big Three drive most of your base weight, and a disciplined weigh-audit-swap cycle typically recovers 1 to 3 pounds before you spend a dollar on new gear.
| Point | Details |
|---|---|
| Prioritize the Big Three | Shelter, sleep system, and pack drive 60 to 70 percent of base weight; fix these first. |
| Target 8 to 12 lb base weight | That’s a realistic ultralight range for most three-season trips without sacrificing safety gear. |
| Never cut safety items | Map, headlamp with spare battery, minimal first aid, and sun protection stay in every pack. |
| Audit before buying | A home gear audit with a kitchen scale often finds 8 to 12 ounces of dead weight for free. |
| Let a seat replace, not add | A compact option like Sitpack’s Campster II or Zen only earns its weight if it replaces another comfort item. |
The conventional advice treats every category as equally worth optimizing, and that’s backward. Spend your time on shelter and sleep system first. A titanium spork saves half an ounce; a quilt swap saves half a pound. Guides that list forty tips with no priority order waste a beginner’s limited attention on the wrong five percent.
The other place standard advice falls short is treating comfort as the enemy of light. It isn’t. A sit pad or compact stool that replaces a log-hunting habit or an inflatable chair is a rational trade, not a compromise. The mistake is carrying comfort items that stack instead of substitute.
If you take one thing from this checklist, take the order of operations: weigh what you own, fix the Big Three, then decide what earns a spot in the remaining ounces. Everything else is detail work.
— Jonas
Once your shelter and sleep system are dialed in, the next smartest ounces you spend might be on somewhere to actually sit. Sitpack built the Campster II and Sitpack Zen specifically for hikers who’ve already cut everything they can from their kit but still want a dry, stable seat at camp instead of a wet log or bare ground.
Both fold down to a fraction of the size of a traditional camp chair, and each is backed by a lifetime warranty and worldwide shipping, so ordering ahead of a big trip is straightforward no matter where you’re headed. The real test is simple: if a Sitpack replaces your sit pad or an inflatable chair rather than joining them in your pack, it’s a smart trade for the ounces. Check the full lineup on Sitpack’s site and see which model fits the trip you’re planning next.
If you want to go deeper on any single category before your next trip, these sources back up the specific numbers and trade-offs covered here: