Cart
0
Sign up and get 10$ off your order
Expected delivery
1-3 days
You may also like




Danish Company

TL;DR:
- Proper seating ergonomics reduce musculoskeletal strain by supporting neutral spine alignment during prolonged sitting. Adjusting chair features such as seat height, depth, and lumbar support is essential for comfort and spinal health. Regular movement breaks and correct monitor positioning enhance overall ergonomic effectiveness and prevent pain.
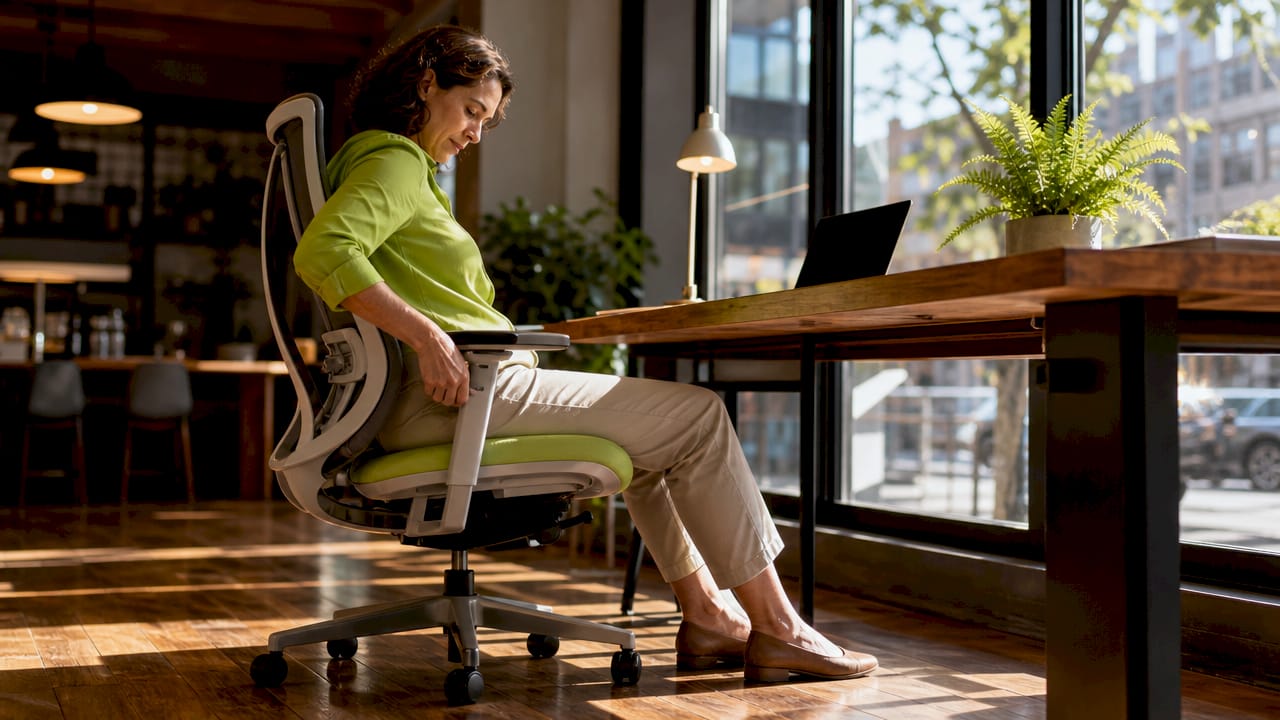
Seating ergonomics is the practice of configuring your chair and workstation to maintain neutral spine alignment and minimize musculoskeletal strain during prolonged sitting. Done right, it reduces your risk of lower back pain, neck tension, and circulation problems that creep up after hours at a desk. This guide to seating ergonomics walks you through every major adjustment, from seat height to headrest, using current industry standards and ergonomic science. The goal is not a perfectly rigid posture. The goal is a supported, adaptable setup that keeps you comfortable and productive all day long.
Seating ergonomics covers six core adjustments: seat height, seat depth, lumbar support, backrest recline, armrests, and headrest position. Each one affects a different part of your body, and getting them wrong compounds the problem. OSHA and BIFMA ergonomic standards both emphasize that chair adjustability is the single most important factor in reducing musculoskeletal disorder risk. That means a well-adjusted basic chair beats an expensive chair set up incorrectly every time.
The underlying principle is neutral spine alignment. Your spine has three natural curves: cervical (neck), thoracic (mid-back), and lumbar (lower back). A properly configured chair supports all three without forcing your body into an unnatural position. When any curve collapses or overextends, muscle fatigue and pain follow.
Seat height is the foundation of every other ergonomic adjustment. Get it wrong, and nothing else you tweak will fully compensate.
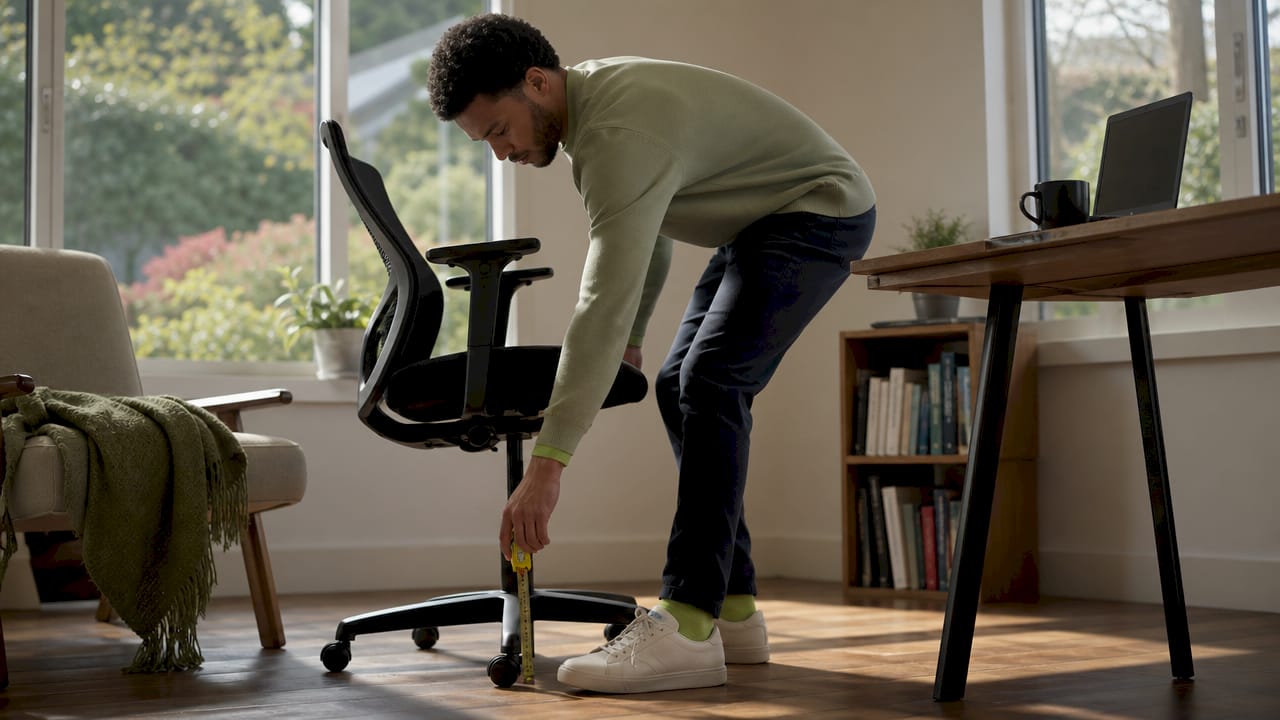
Industry standards set ergonomic chair seat height between 16 and 21 inches, covering the 5th to 95th body percentile with knees at roughly 90 degrees and feet flat on the floor or a footrest. That range exists because body proportions vary widely. A setting that works for a 5’4" person will leave a 6’2" person with their knees jammed up or their feet dangling.
The correct adjustment sequence:
Incorrect seat height set by matching desk height rather than your own anatomy causes the “waterfall effect,” where the seat edge cuts into the back of your thighs and restricts blood flow. That numbness you feel in your legs after an hour? That is the waterfall effect in action.
Pro Tip: Always set seat height based on your foot-to-floor connection first, then adjust your desk or use a monitor riser to match. Never sacrifice foot placement for desk clearance.
Seat depth and lumbar support work together to protect your lower back. Nail both, and your spine stays in its natural S-curve without effort.
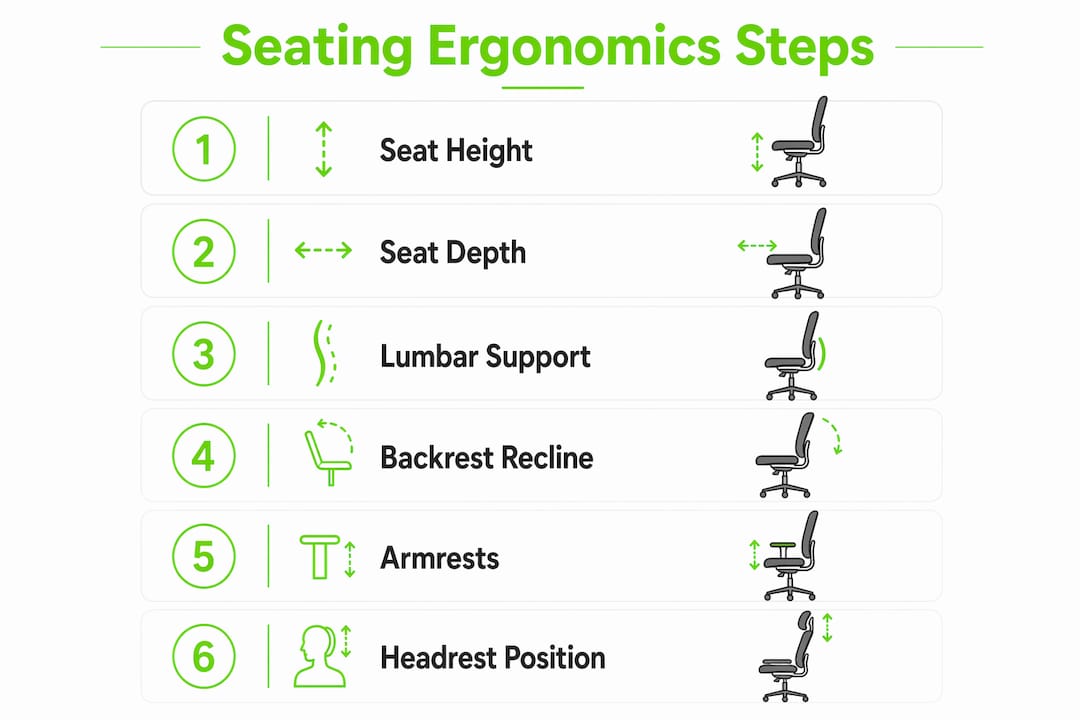
Seat depth should leave a 2–3 finger-width gap between the front edge of the seat and the back of your knees. That gap prevents pressure on the nerves and blood vessels behind your knees while still giving your thighs full support. A seat that is too deep forces you to slouch forward to avoid the pressure. A seat that is too shallow leaves your thighs unsupported and shifts your weight awkwardly onto your tailbone.
Common seat depth issues and fixes:
Adjustable lumbar support positioned at the small of your back around belt level is the most critical ergonomic chair feature for preventing lower back pain. Without height and depth adjustment, lumbar support simply will not provide effective spinal alignment for your specific body. Position the lumbar support so it gently fills the inward curve of your lower back. You should feel light, consistent contact, not a hard push that forces your spine into an exaggerated arch.
Pro Tip: If your lumbar support feels like it is shoving you forward, it is set too firm or too high. Dial it back until it feels like a gentle hand resting on your lower back, not a fist pushing into it.
Most people assume sitting bolt upright at 90 degrees is the gold standard. Ergonomic research says otherwise.
A recline angle of 100°–110° is recommended for active desk work because it distributes body weight between the seat and backrest, reducing pressure on lumbar discs compared to a rigid upright posture. For reading or taking a break, 110°–130° works well. Sitting at exactly 90 degrees actually increases disc pressure because your entire upper body weight loads straight down through your spine.
How to set your recline and armrests correctly:
Armrests set too high cause shoulder shrugging, which loads the trapezius muscles and leads to neck tension. Armrests set too low cause you to lean sideways, which throws your spine out of alignment. Neither extreme is subtle. Both show up as pain within a few hours.
Movement breaks every 30–60 minutes, including micro-movements of 1–2 minutes, prevent static loading injury even in a perfectly adjusted chair. Recline variation during those breaks is one of the easiest ways to shift load off your lumbar discs without leaving your desk.
Forward head posture is one of the most common consequences of poor screen and headrest setup. For every inch your head moves forward from its neutral position, the effective load on your cervical spine increases significantly.
Headrest position should align with the base of your skull, called the occipital ridge, to support your neck without pushing your head forward. A headrest placed too low supports only your neck and encourages chin-jutting. One placed too high pushes your head into a forward tilt. Neither provides the neutral cervical support you need.
Key monitor and headrest checkpoints:
Pairing correct headrest support with proper monitor height is one of the most underrated ergonomic seating solutions available. Most people adjust the chair and ignore the screen, then wonder why their neck still aches.
Even people who own well-designed ergonomic chairs often set them up incorrectly. The symptoms are predictable and fixable.
Common warning signs of poor ergonomic setup:
Each symptom points to a specific cause. Lower back pain usually means lumbar support is missing or mispositioned. Leg numbness signals seat height or depth problems. Neck tension often traces back to armrests set too high or a monitor positioned too low.
Frequent position changes every 30–45 minutes reduce cumulative musculoskeletal loading more effectively than any single fixed posture. The best ergonomic seating solutions treat the chair as a dynamic tool, not a static mold. You can also explore ergonomic accessories like footrests and adjustable armrest pads to fine-tune your setup without replacing the whole chair.
A quick morning ergonomic check takes under two minutes and catches most problems before they become pain:
Pro Tip: Set a recurring phone reminder every 45 minutes labeled “posture check.” It sounds basic, but the habit alone eliminates most of the chronic tension that builds up from forgetting to move.
Correct seating ergonomics requires adjusting six chair elements to your body and incorporating regular movement breaks throughout the day.
| Point | Details |
|---|---|
| Seat height first | Set height so feet are flat and thighs parallel before adjusting anything else. |
| Lumbar support at belt level | Position adjustable lumbar support at the small of your back to maintain natural spinal curve. |
| Recline to 100°–110° | A slight recline reduces lumbar disc pressure more than sitting rigidly upright at 90 degrees. |
| Move every 30–60 minutes | Micro-movements and position shifts prevent static loading even in a perfectly adjusted chair. |
| Monitor at eye level | Place the top third of your screen at or just below eye level to avoid forward head posture. |
Here is something I wish someone had told me earlier: the rigid 90-degree sitting posture that gets taught in most office onboarding sessions is not the ergonomic ideal. It is a simplification that causes real harm when people follow it too literally.
I spent a long stretch convinced that sitting perfectly upright was the goal. My back was straight, my feet were flat, and I was miserable by 2:00 PM every day. The problem was that I was treating my chair like a brace rather than a support. A slight recline, a properly positioned lumbar cushion, and permission to shift around every 45 minutes changed everything. The benefits of ergonomic chairs only show up when you actually use the adjustments.
What I have also learned is that ergonomic principles do not stop at the office desk. Whether you are sitting at a campfire, on a train, or at an outdoor event, the same fundamentals apply: support your lower back, keep your feet grounded, and move regularly. A chair is a tool, not a cure. The best setup in the world will not save you if you sit frozen in it for six hours straight.
— Jonas
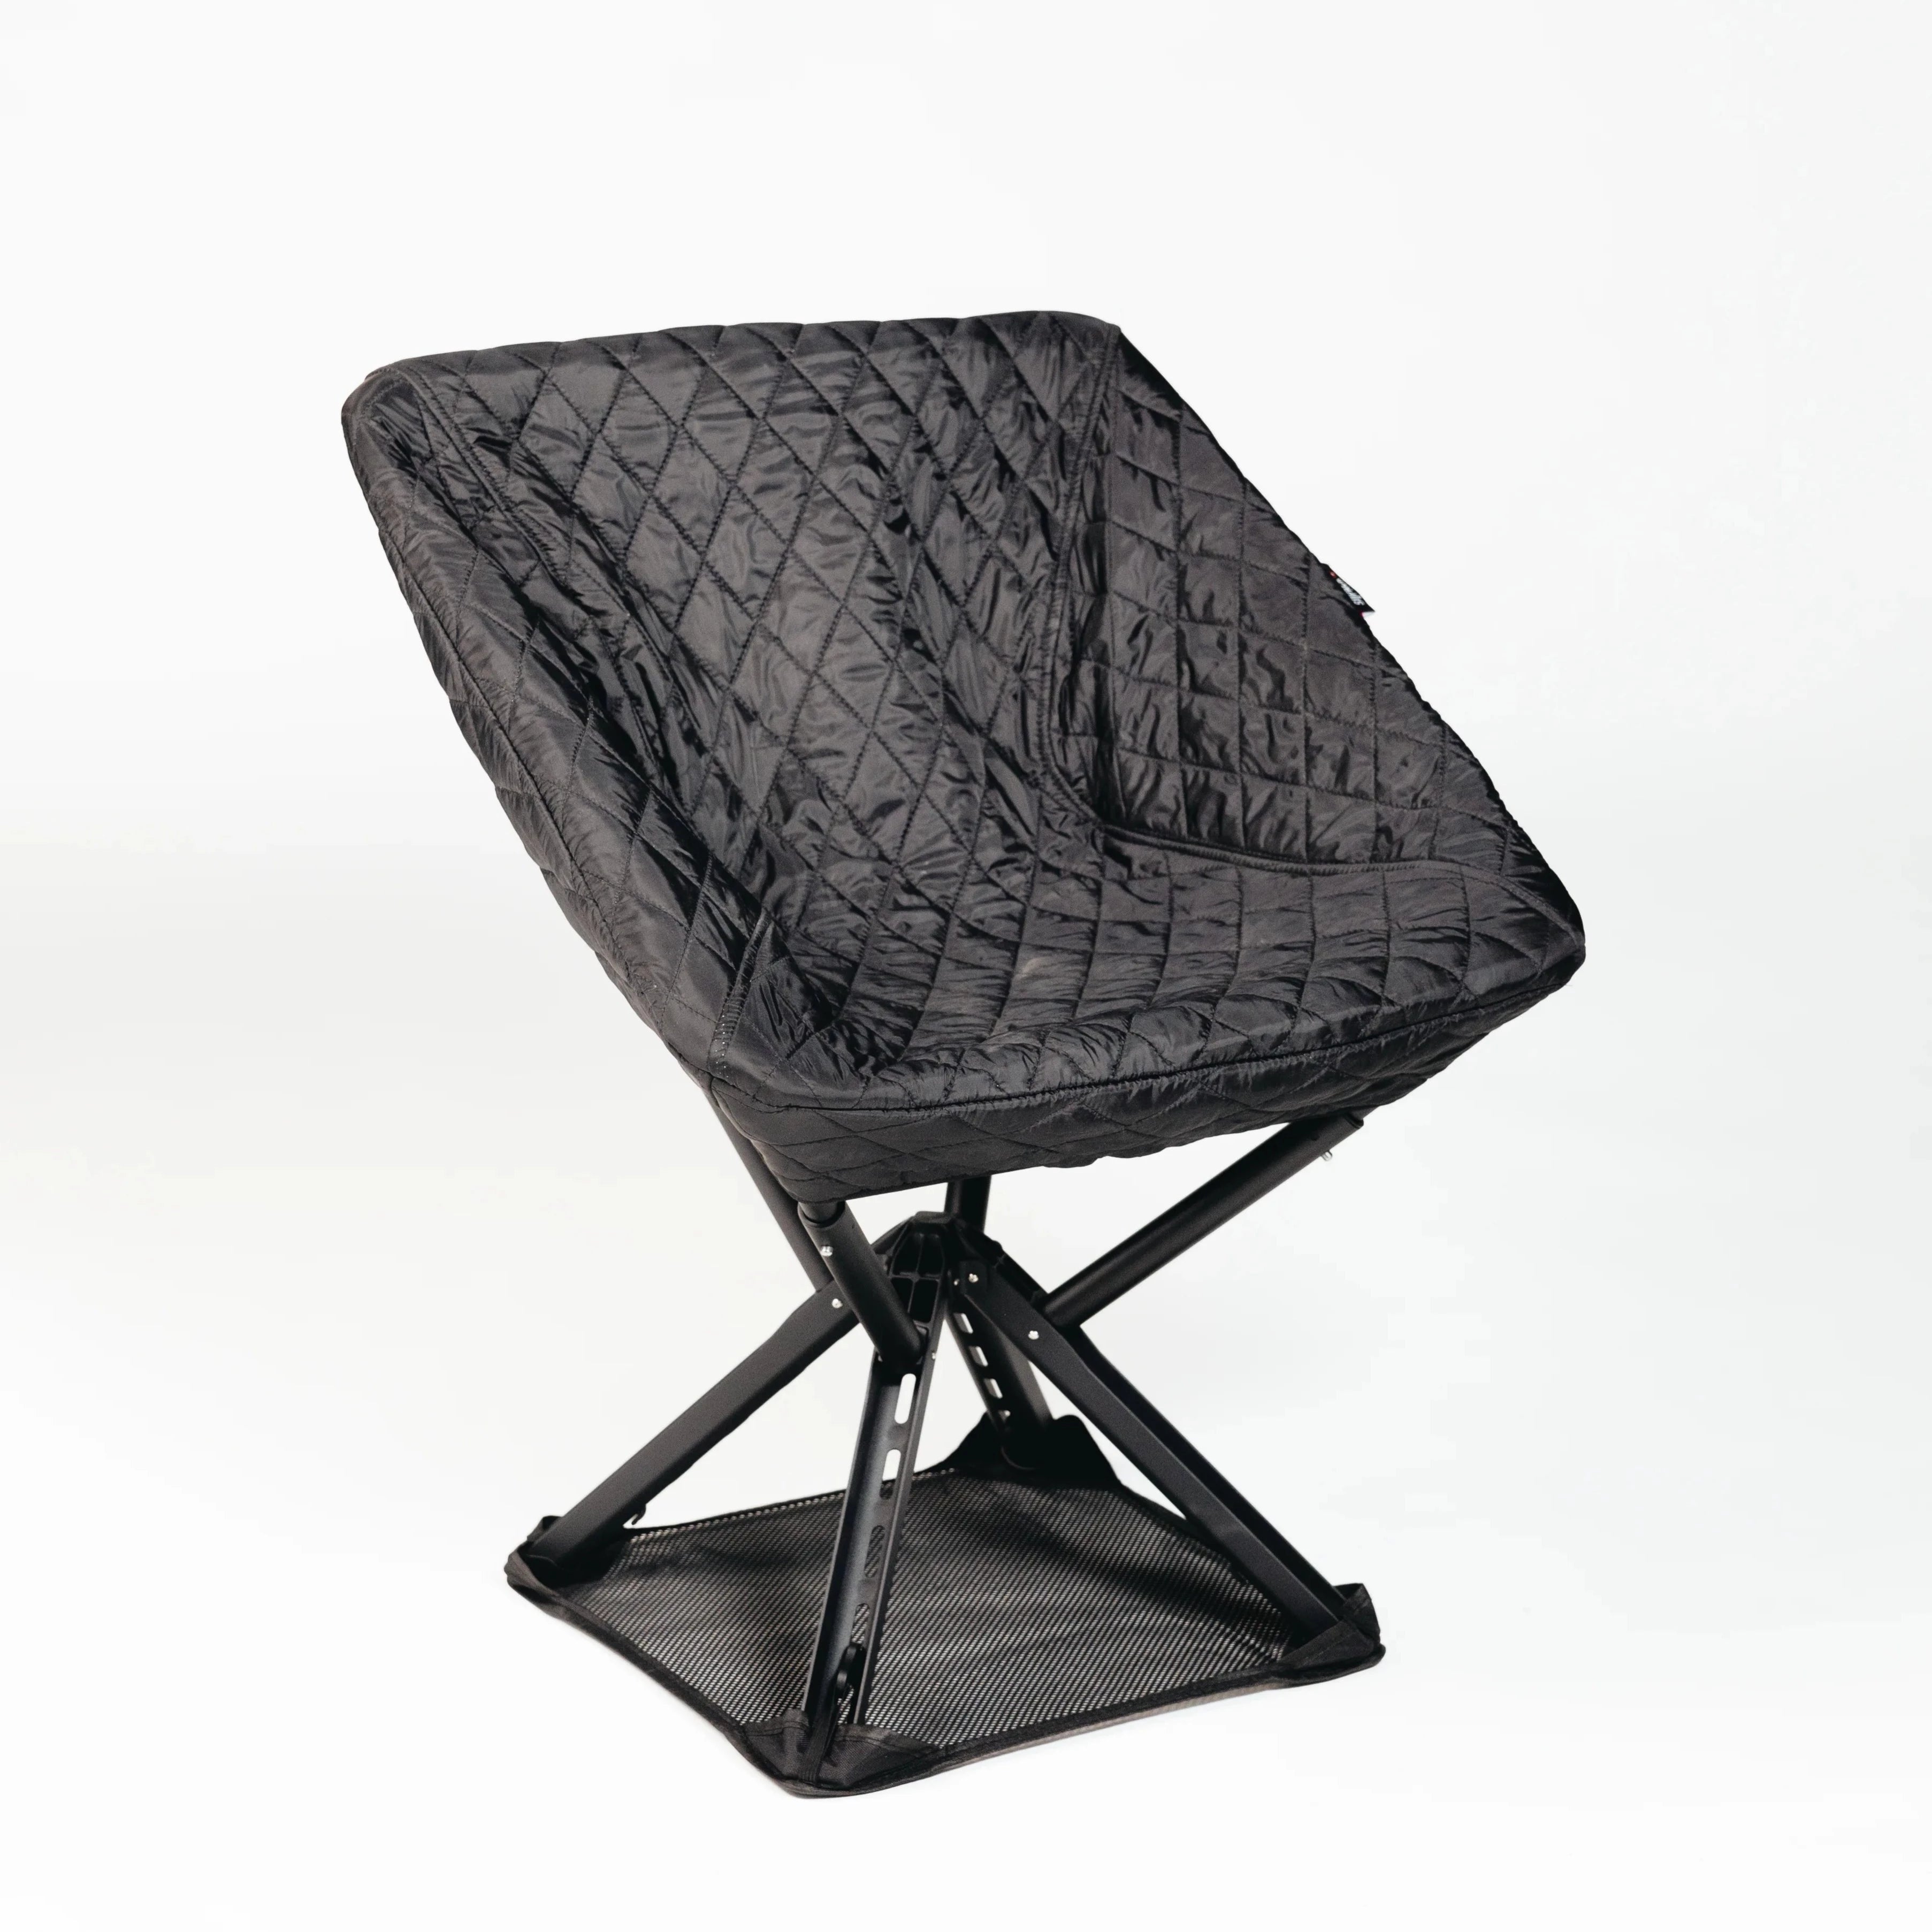
Good ergonomic seating does not have to mean a bulky office chair bolted to one spot. Sitpack designs portable seating solutions built for people who move through different environments, from outdoor events and travel to urban commutes and beyond.

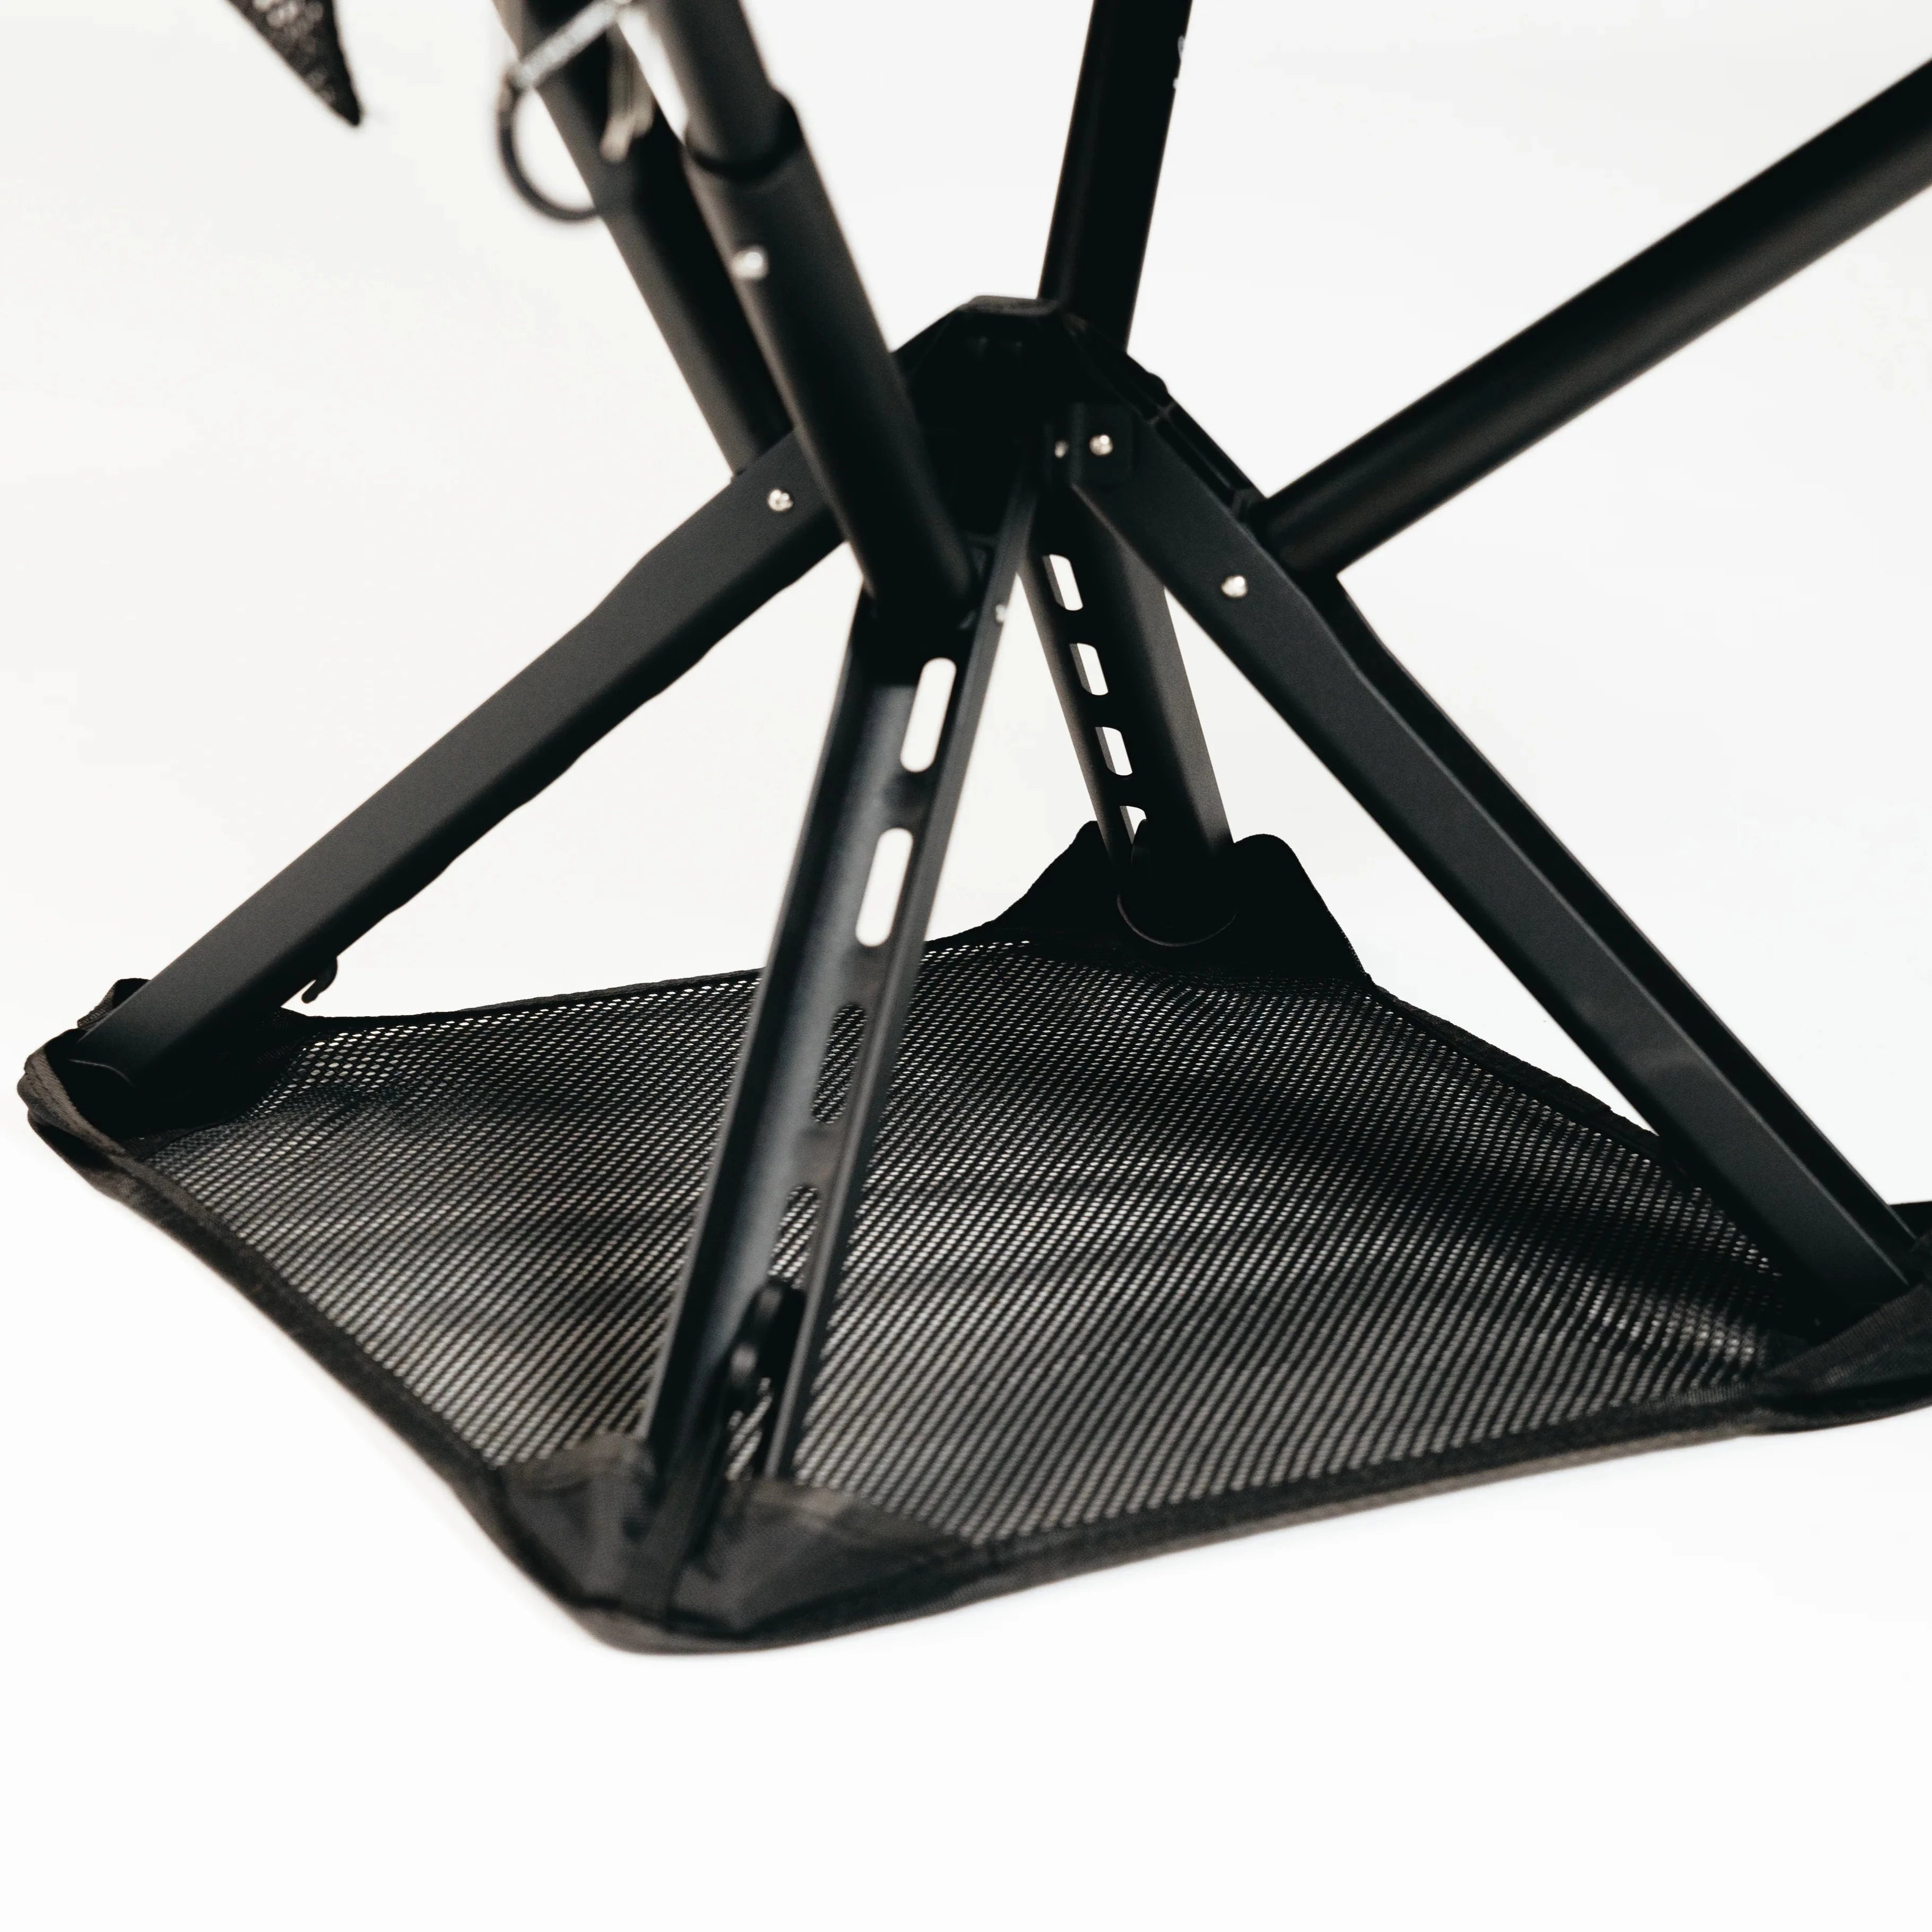
Sitpack’s range includes the Campster II and Sitpack Zen, both engineered with lightweight materials and a minimalist design that still prioritizes real sitting comfort. They are built for the moments when you need to rest your back but cannot drag a full office chair along. Sitpack also backs every product with a 45-day satisfaction guarantee and worldwide delivery. If you want to read more about ergonomic urban seating and how to apply these principles beyond the desk, Sitpack’s blog is a solid next stop.
Seating ergonomics is the practice of adjusting your chair and workstation to support neutral spine alignment and reduce musculoskeletal strain during prolonged sitting. The goal is a supported, adaptable setup rather than a single fixed posture.
Seat height should place your feet flat on the floor with your knees at roughly 90 degrees and your thighs parallel to the ground. Industry standards recommend a height range of 16–21 inches to accommodate most body types.
Movement breaks every 30–60 minutes, including micro-movements of 1–2 minutes, prevent static loading injury even in a correctly adjusted chair. Position changes every 30–45 minutes reduce cumulative musculoskeletal strain more effectively than any single fixed posture.
Lumbar support should sit at the small of your back around belt level to maintain the natural inward curve of your lumbar spine. Without height and depth adjustability, lumbar support cannot provide effective individualized spinal alignment.
Yes. The core principles of foot grounding, lower back support, and regular movement apply in any seated environment, including outdoor seating, travel, and events. Portable ergonomic options like those from Sitpack extend these principles beyond the traditional desk setup.