Vogn
0
Tilmeld dig og få 10% i rabat på din ordre
Forventet levering
1-3 dage
Du vil måske også kunne lide


Dansk Firma


Ultralight backpacking means a base weight under about 10 pounds, excluding food, water, or fuel. This checklist walks you through category targets for shelter, sleep, and pack, plus a sample tally that lands right around that mark. You’ll trade a few comforts for grams saved, but you won’t have to trade away a good night’s sleep to get there.
TL;DR:
- Targeting a base weight under 10 pounds usually involves swapping traditional gear in the Big Three to ultralight versions, saving at least 10 pounds.
- The pack should weigh 1.5 to 2.5 pounds, the shelter 1 to 2 pounds, and the sleep system 2.5 to 3.5 pounds to stay within the ultralight threshold.
- Trip length significantly influences food, water, and fuel, with longer trips requiring resupply planning and layered insulation for cold nights.
- Items should be justified by their utility, frequency of use, and weight, favoring multi-use gear and eliminating “just in case” redundancies.
- Weigh gear consistently, test it on short trips, and remove unused or redundant items to refine your kit and reach lighter weights without sacrificing safety or comfort.
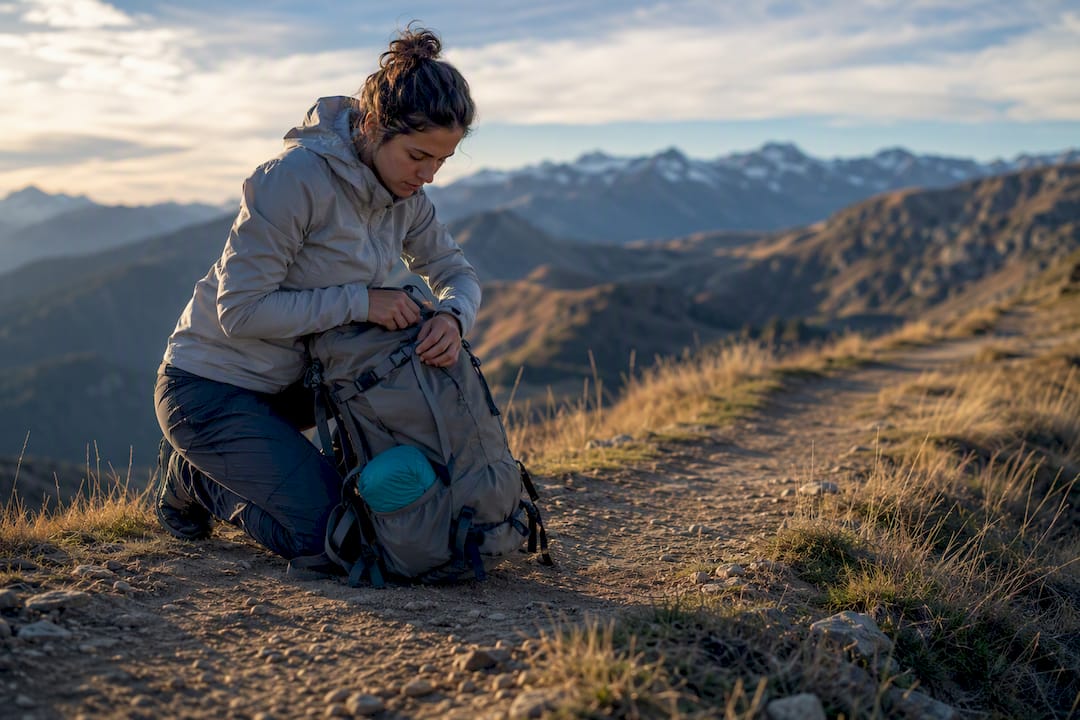
Your pack, shelter, and sleep system make up what the ultralight community calls the Big Three, and they represent the largest contributors to your base weight. Get these three items right, and you’ve solved most of the puzzle before you even open your stuff sack.
Pro Tip: Weigh your current pack, tent, and sleep system before you buy anything new. Most hikers assume their Big Three is fine and blow their budget on titanium sporks instead.
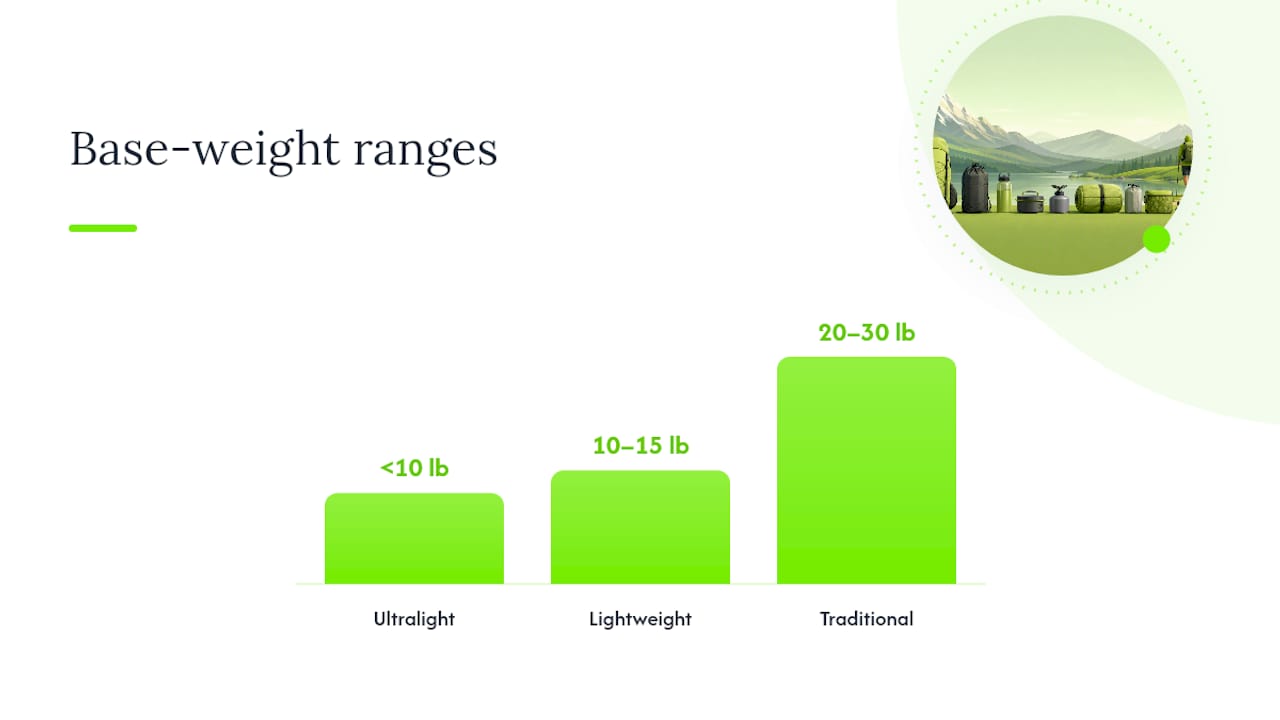
The numbers back this up. Ultralight hikers target a base weight under 10 lb, lightweight backpackers sit at 10 to 15 lb, and traditional setups often run 20 to 30 lb. That’s a massive range, and the Big Three usually explains most of the gap. A practical approach to trimming weight targets these three items first because they account for roughly 60 to 70% of your total base weight savings potential, according to gear guides that track where hikers actually cut pounds.
Here’s why the math works out this way: a traditional external-frame pack can weigh 6 lb before you put anything in it. A double-wall four-season tent can run 5 lb. A 20-degree synthetic bag can hit 4 lb. Swap all three for ultralight versions, and you’ve already shaved 10 lb or more without touching your cook kit, clothing, or electronics.
Target allocations for the Big Three, once you’re aiming for a base weight around 10 pounds or less, approximate to the following ranges:
That leaves roughly 3 to 4 lb for everything else, which is tight but doable once you see the category breakdown.
Choosing which version of each item to buy depends on three things: route, season, and how much comfort you’re willing to sacrifice. A trekking-pole tent saves close to a pound over a freestanding design, but it demands taut ground and decent stakes, which matters if you’re camping on slickrock or gravel bars. A quilt saves weight over a mummy bag but loses the zippered draft collar that keeps out cold air on exposed ridgelines. None of these choices are universal. As long-distance hiker Andrew Skurka points out, gear decisions should follow your itinerary and conditions, not a one-size-fits-all list somebody else built for a different trip.
Building an ultra light backpacking gear list from scratch works best when you move category by category, weighing every option against what it actually earns you on the trail. Below is a working checklist with target weight ranges pulled from real-world ultralight setups, plus notes on when to prune and when to hold the line.
Here’s how those categories stack up in a sample tally, based on realistic per-item choices that mirror the kind of lists Cleverhiker publishes for readers chasing a genuine sub-10-lb base weight.
| Category | Target Weight |
|---|---|
| Shelter | 2.5 lb |
| Sleep system | 3.0 lb |
| Pack | 2.0 to 2.5 lb |
| Clothing (carried) | 1 to 1.5 lb |
| Cook system and water | 0.5 to 1 oz |
| Electronics and navigation | 6 to 10 oz |
| Safety and first aid | 3 to 4 oz |
| Hygiene and repair | 1.5 to 2 oz |
| Total base weight | under 10 lb |
That total sits comfortably under the 10-lb ultralight threshold with room to spare for a small luxury item or two. REI’s own ultralight checklist splits gear into essential and optional tiers the same way, which is worth mirroring when you build your own version: essentials get bought first, optional items get added only after you’ve weighed what you already have.
Situational items deserve a separate mental category entirely. Bear canisters, ice axes, microspikes, and extra insulation for shoulder-season trips aren’t part of your baseline kit, but they’re not optional when conditions call for them. Add them based on the specific trip, not because a generic list told you to always carry them.
Your base weight stays the same whether you’re out for one night or ten, but your consumables (food, water, fuel) scale up fast, and that’s where trip length actually reshapes your pack.
Overnight checklist (1 night):
2 to 4 night checklist:
Multi-day with resupply: For trips stretching past four nights with a resupply stop, plan food in blocks between towns rather than carrying it all upfront. This is where the gear list template Andrew Skurka publishes earns its reputation. It pushes hikers to build a personal, trip-specific list rather than defaulting to a generic one, which matters most on longer routes where conditions shift.
Cold-weather or high-elevation legs on a longer trip call for added insulation and a warmer sleep system rating, even if the rest of your itinerary stays mild. Don’t average your gear choices across an entire trip. Pack for the coldest night you’ll actually face, not the trip’s overall mean.
Every item in your pack should survive a simple three-question screen before it earns a spot: What does this do for me? How often will I actually use it? What does it weigh relative to that use? An item that solves a real problem, gets used daily, and weighs next to nothing passes easily. An item that solves a rare problem, gets used once a trip, and weighs half a pound needs a harder look.
This screen catches the classic ultralight traps fast. A dedicated camp shoe sounds nice until you realize your rain jacket already doubles as an extra layer and your trekking pole tips already double as your shelter’s structure. Multi-use items are the backbone of any serious lightweight hiking gear setup:
The “just in case” category is where most overpacking happens, and it’s worth naming the usual suspects directly. Seasoned hikers consistently over-pack redundant layers, backup stoves, and full-size first aid kits stocked for injuries they’ll never treat on trail, according to community observations on common gear Wikipedia catalogs around ultralight practice. A second knife. A backup headlamp battery you never use because your primary lasts the whole trip. A full roll of duct tape when six wraps around a pole would do.
Pro Tip: Before your next trip, pull every “just in case” item out of your pack and lay it on the floor. If you can’t name the specific scenario where you’d use it, and that scenario isn’t a genuine safety risk, leave it home.
Safety items are the one place where “just in case” logic still applies, and pruning too aggressively here creates real risk rather than saved grams. A trimmed-down emergency kit still needs to actually work when you need it, which is a gap some analysis of standard emergency kits points out applies well beyond car camping. The fix isn’t carrying more. It’s carrying the right few things instead of a bulky kit padded with items you’ll never use.
Base weight only means something if you measure it consistently, and that starts with a clear rule: base weight includes everything in your pack except food, water, and fuel. Worn items (boots, the clothes on your back, trekking poles you’re carrying rather than packing) typically stay out of the base weight number too, though some hikers track a “skin out weight” that includes everything worn and carried combined.
Once your spreadsheet number looks right on paper, take it on a shakedown hike. This is a short overnight trip, close to home, where the goal is testing gear rather than covering miles. Watch four things specifically: how comfortable your sleep system actually feels once temperatures drop overnight, how long your shelter takes to pitch in real wind, whether your pack causes any chafe points after six or eight hours of carrying, and whether you actually reached for every item in your pack.
That last point decides your next move. If an item sat unused, cut it. If you were cold, under-slept, or in pain, that’s not a weight problem. That’s a signal to upgrade a specific piece of gear rather than simply remove it.
This list draws on the same category structure REI uses in its own ultralight backpacking checklist, cross-checked against real sample tallies from experienced ultralight hikers and refined through Sitpack’s own gear coverage.
The math isn’t complicated once you separate essentials from situational gear. Weigh what you own, compare it against category targets, and replace the heaviest offenders first. That single habit, repeated after every trip, does more for your base weight than any single piece of expensive gear ever will.
— Jonas
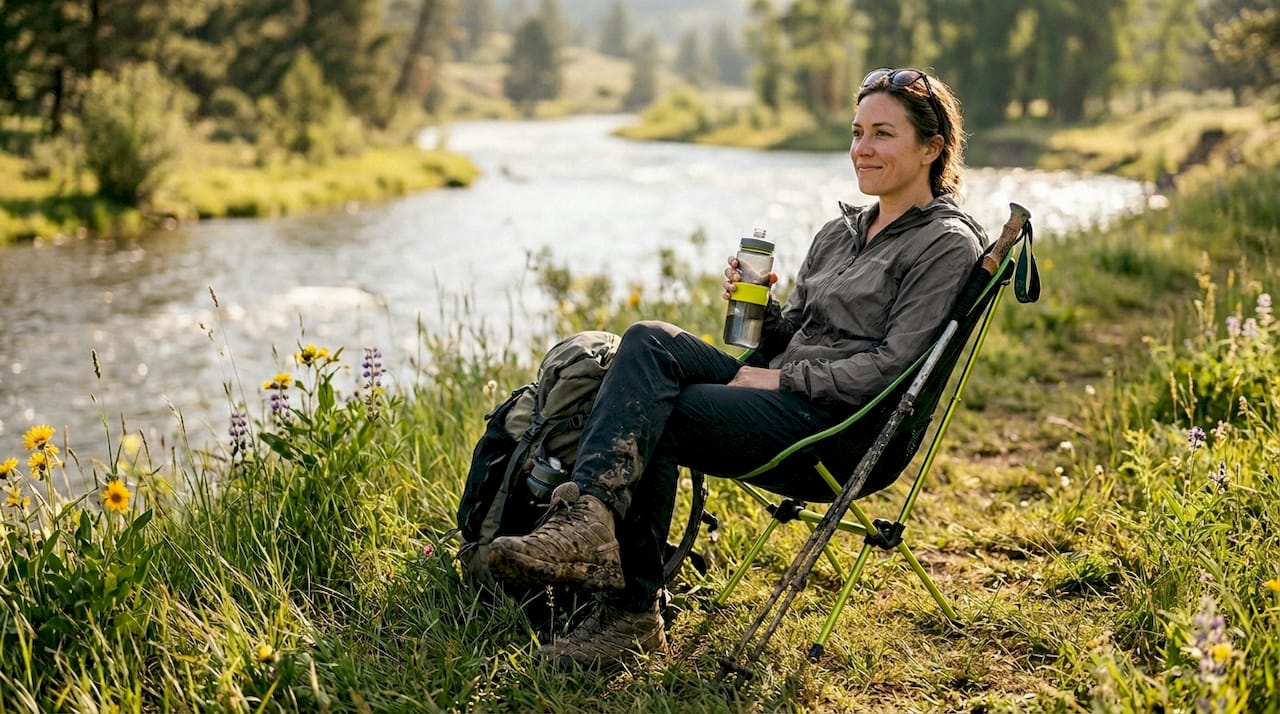
I once watched a hiking partner ditch a two-pound camp chair he’d carried for three straight trips, convinced he’d be miserable sitting on a rock or a log instead. He wasn’t. He replaced it with a foam pad cut to sit-pad size, weighing under two ounces, and reported back that the difference in comfort was smaller than the difference in his shoulders by day three.
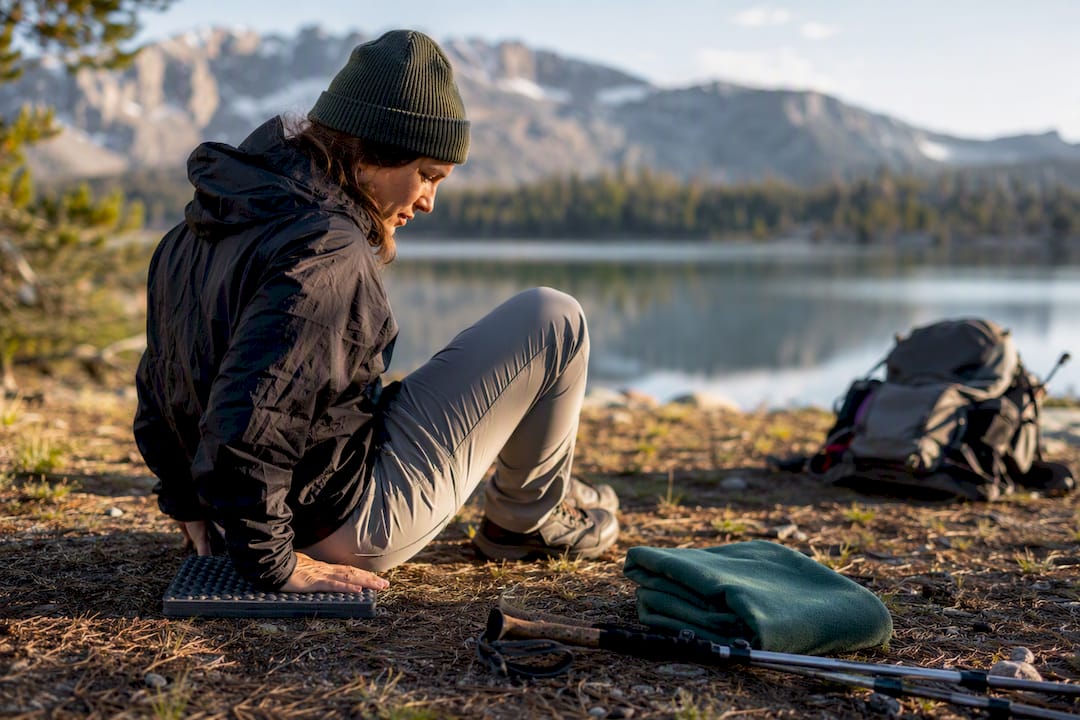
That’s the trade that defines good ultralight decisions: not deprivation, but substitution. Try this on your next shakedown hike: take one item you’ve carried out of habit rather than need, weigh it, and spend one night without it. If you don’t miss it, that’s your answer.
The best ultralight gear isn’t the lightest version of everything. It’s the version that earns its weight every single day on trail.
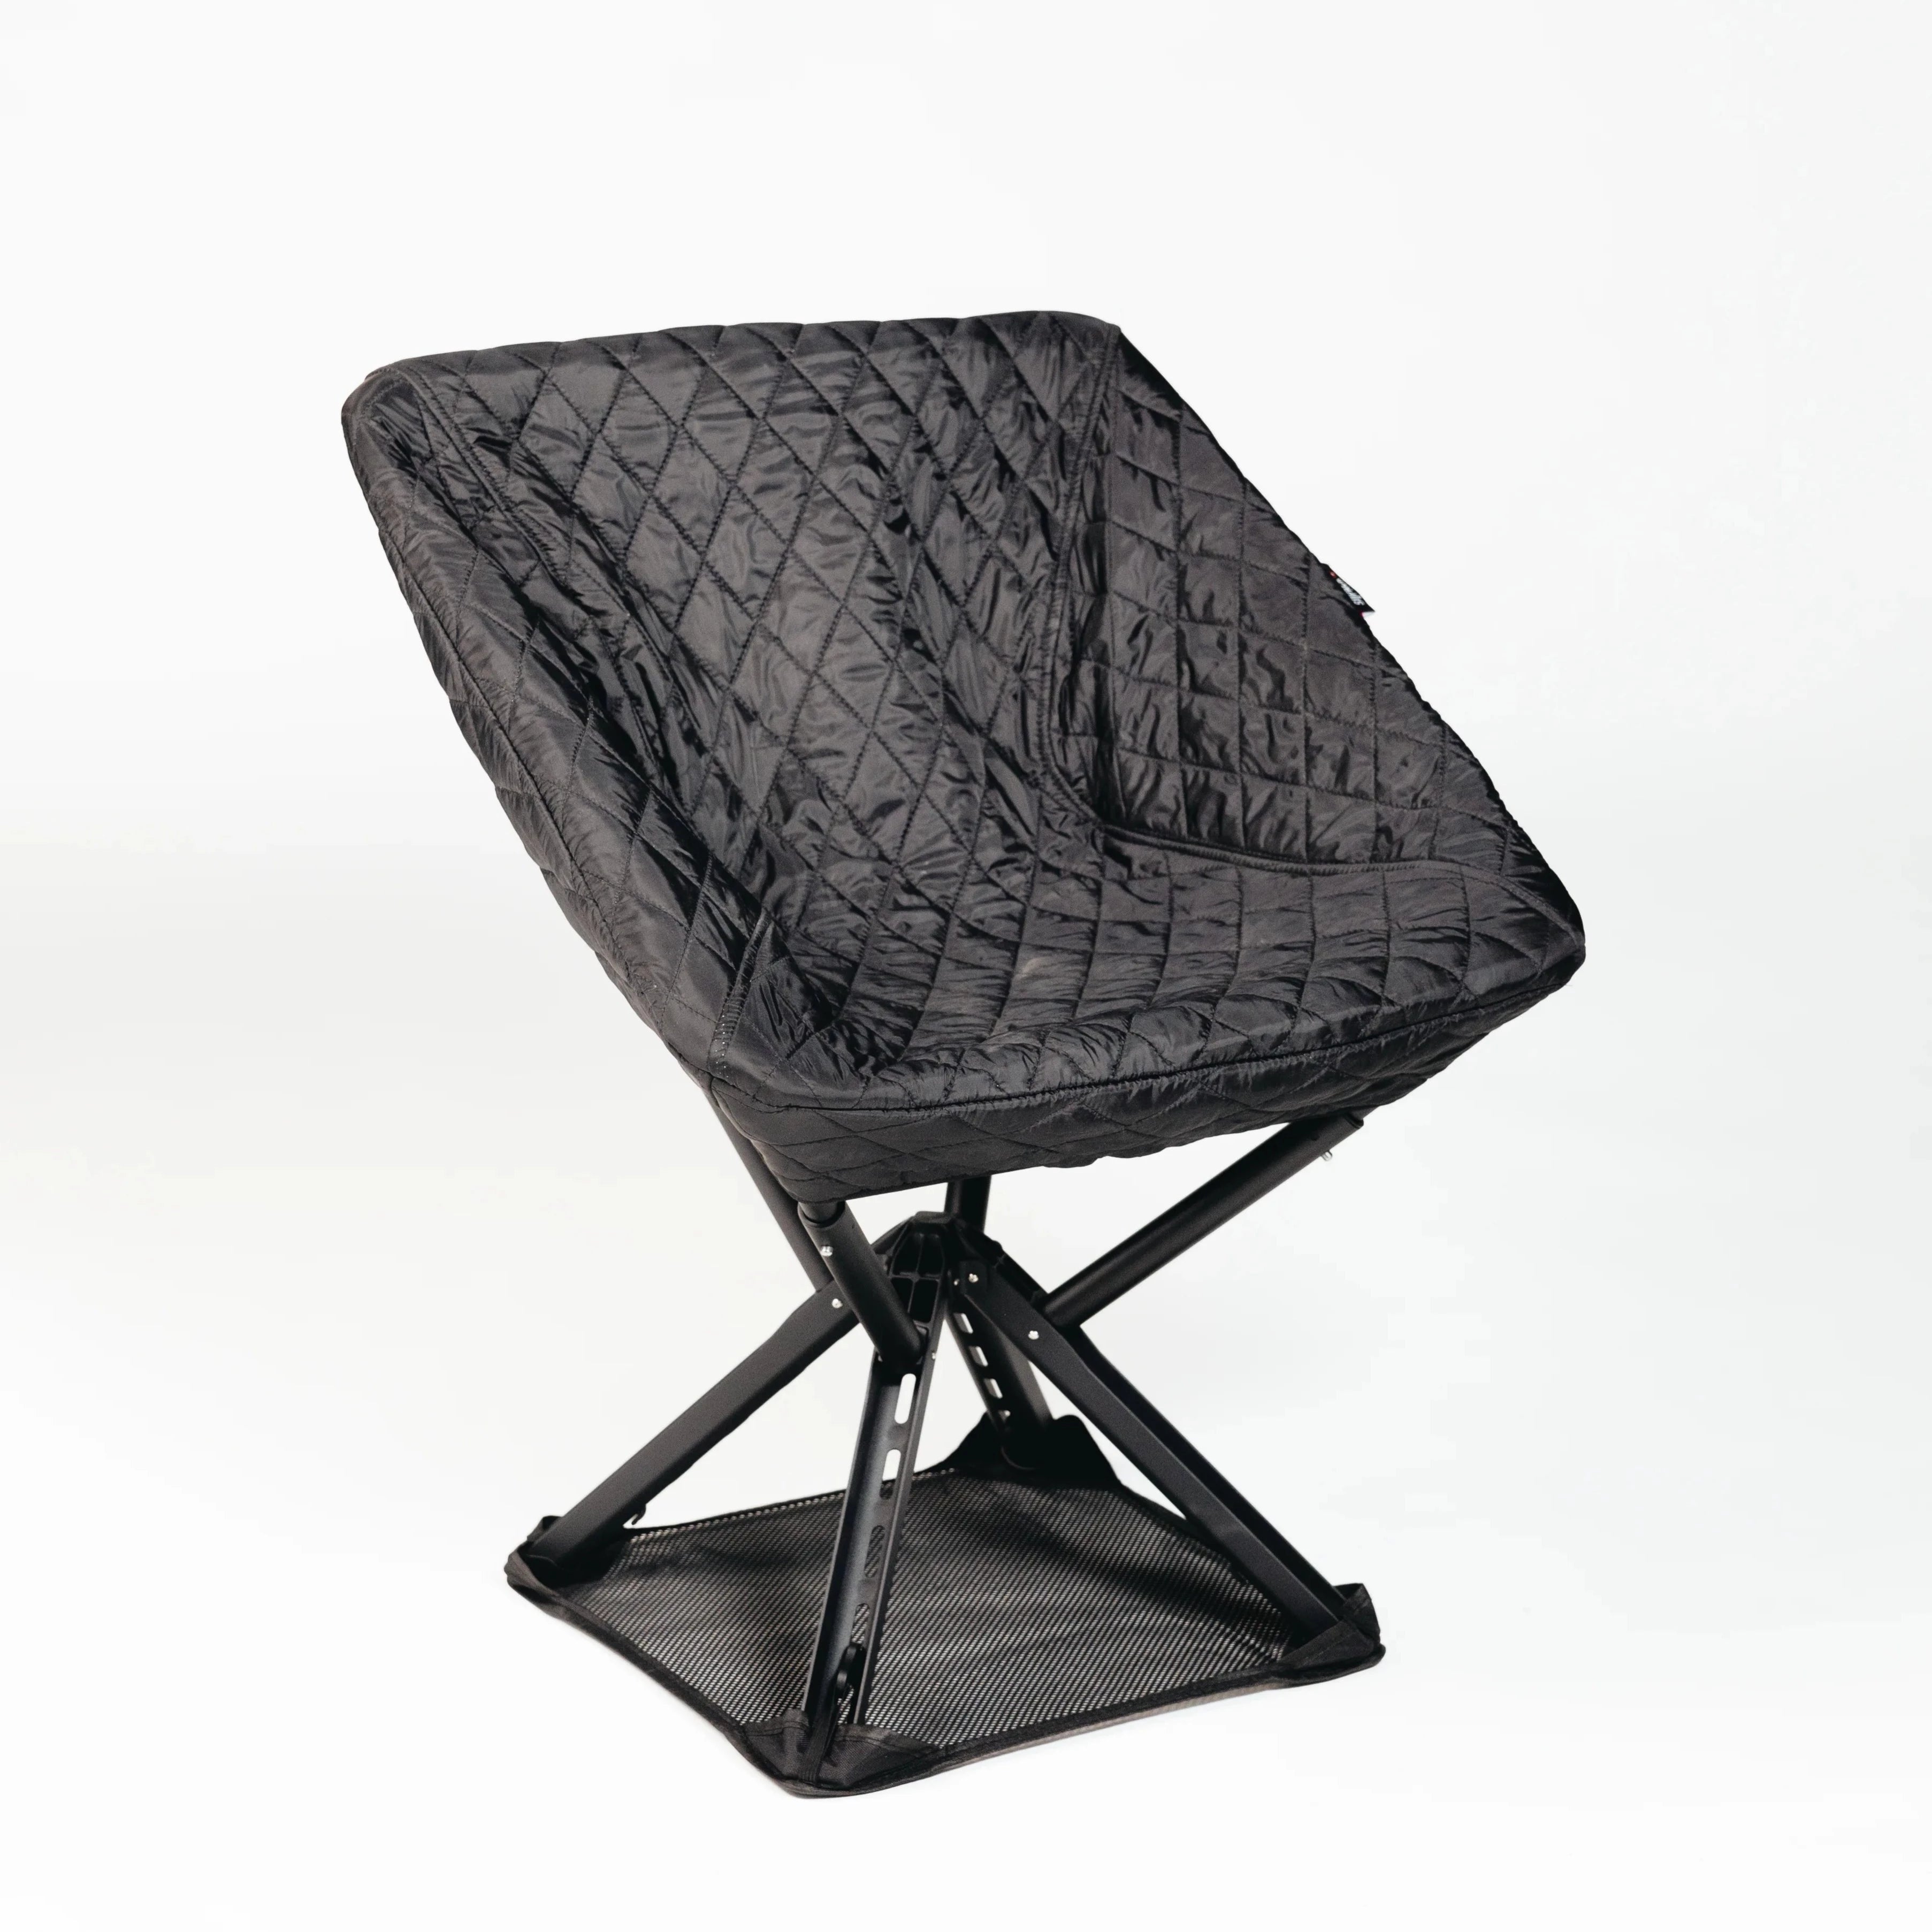
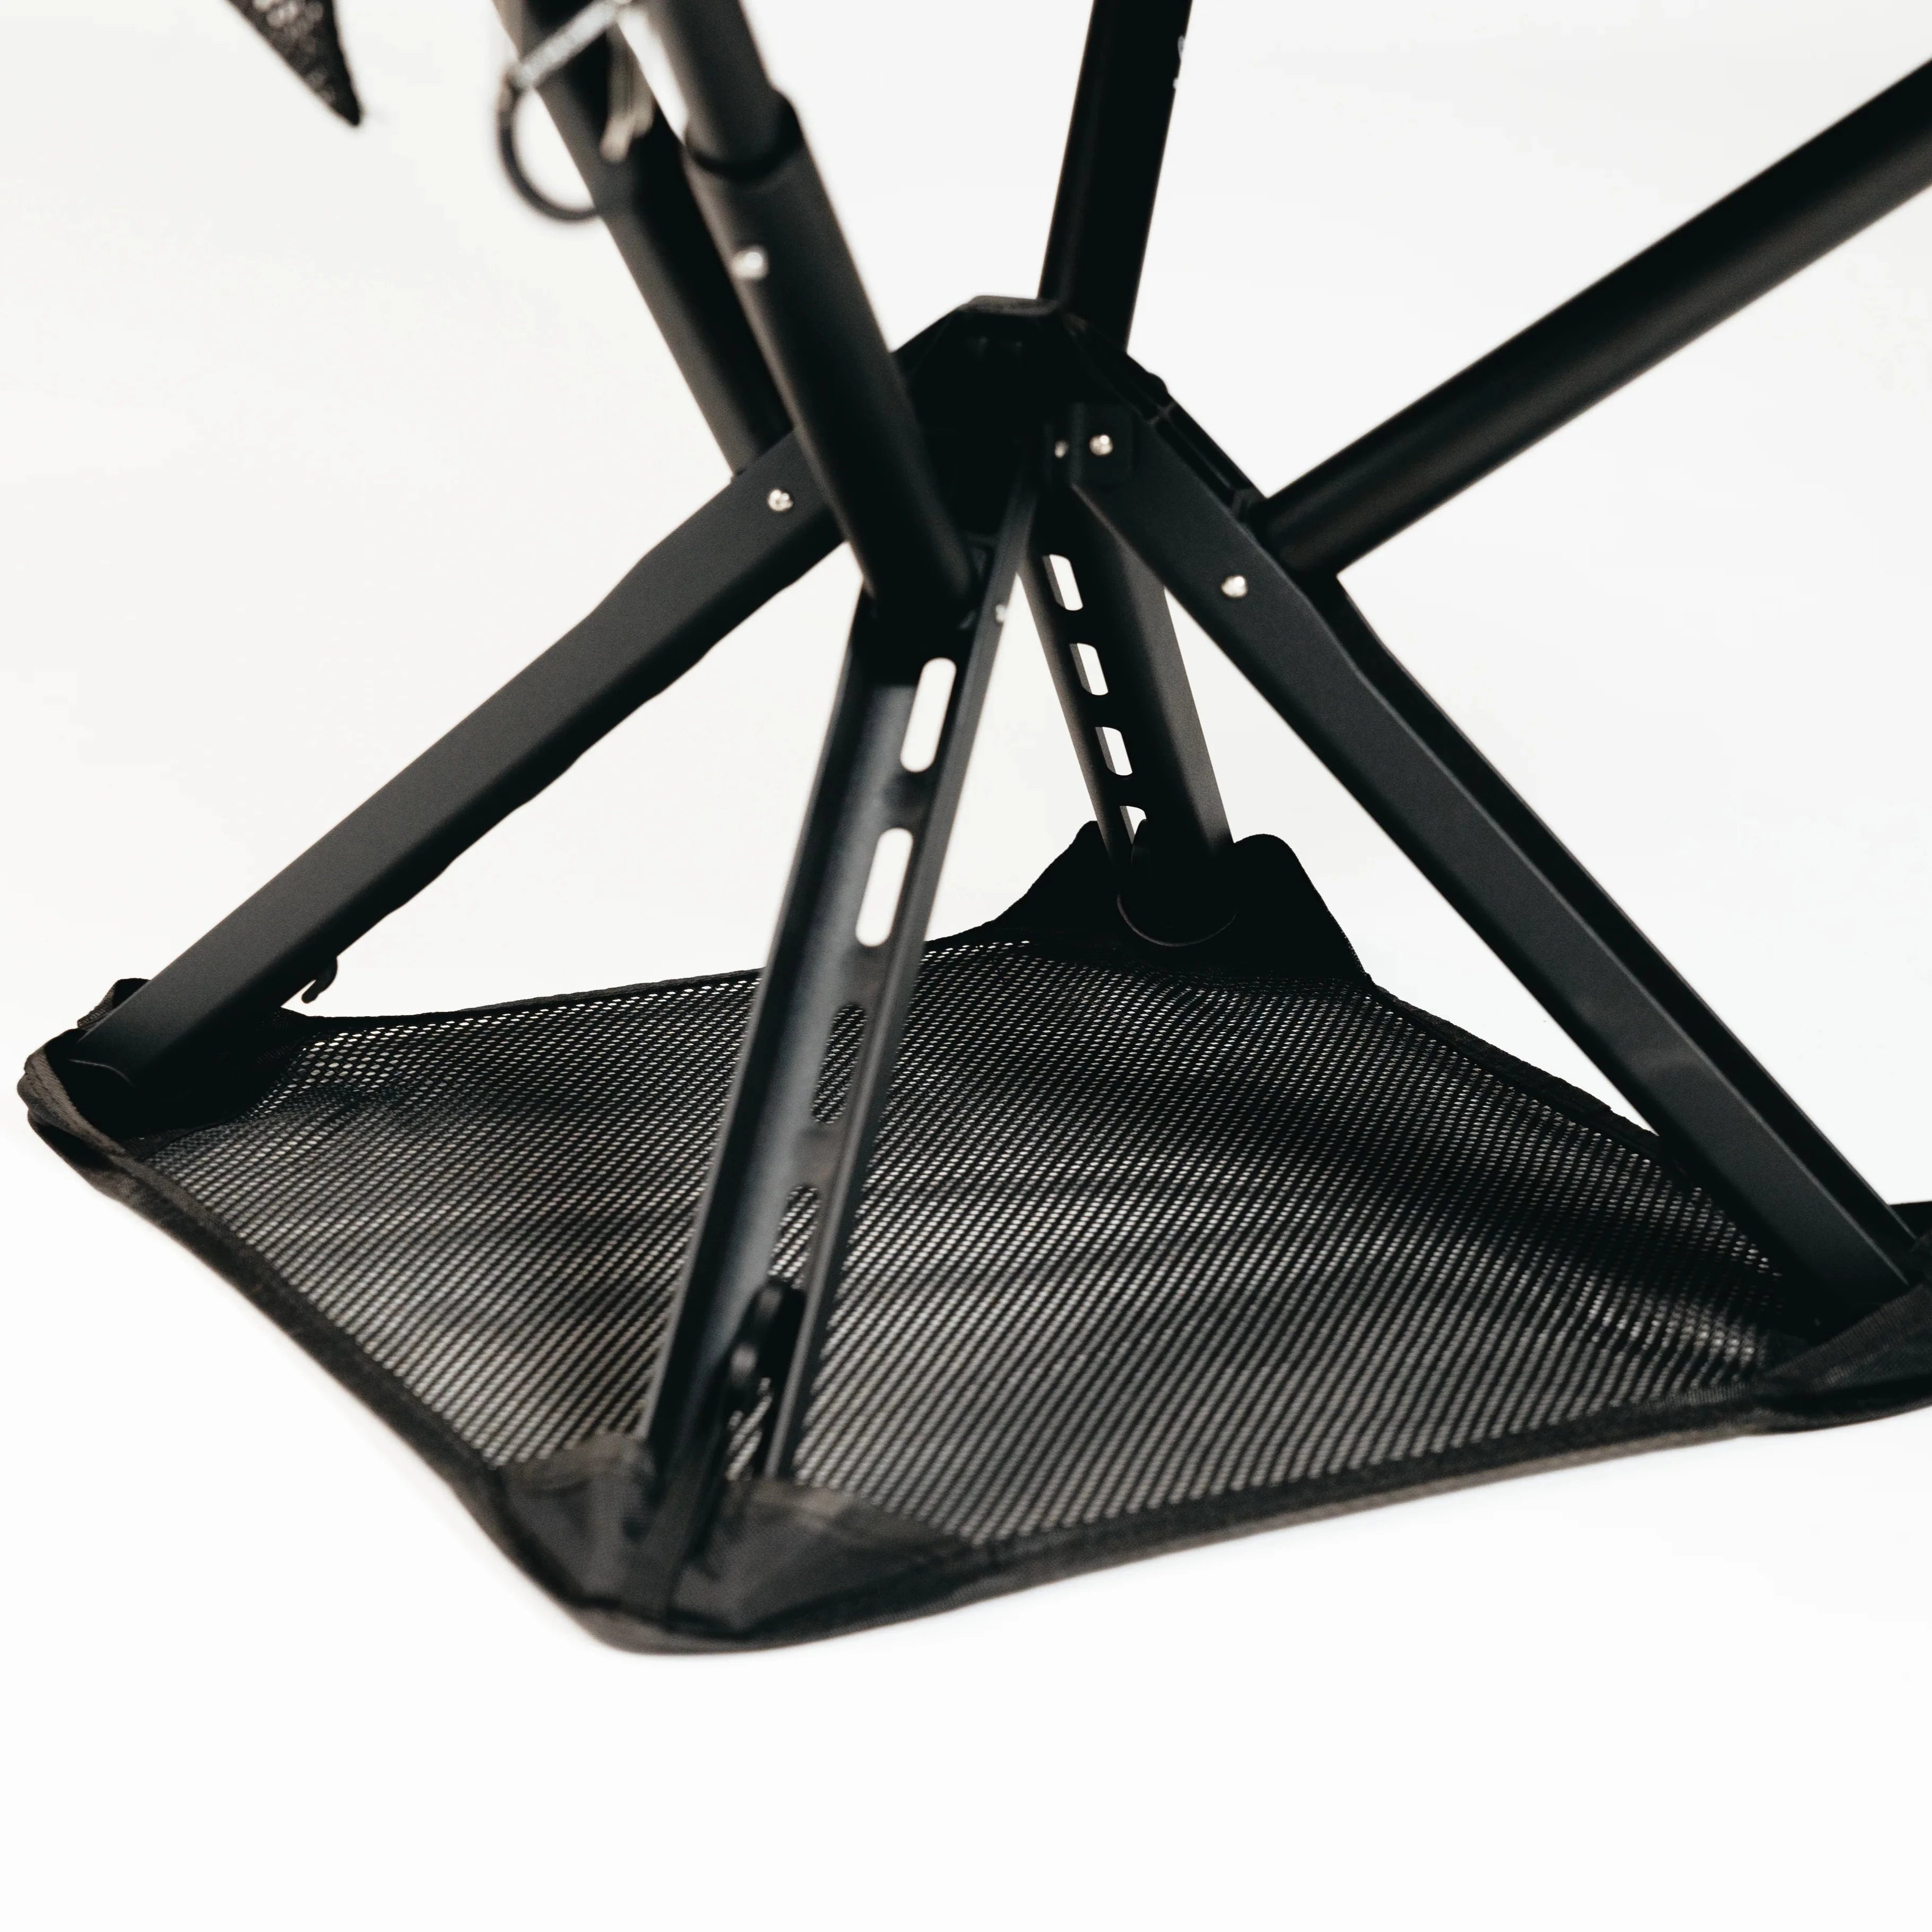
None of the categories above have room for a folding camp chair, and that’s by design. Traditional camp chairs run 2 to 4 lb, which eats a full third of your entire base-weight budget for something you only use at rest stops and around camp. A compact folding stool like Sitpack’s lineup solves the actual problem, a place to sit that isn’t a wet log or a cold rock, without the pack-volume penalty of a full chair frame and fabric seat.
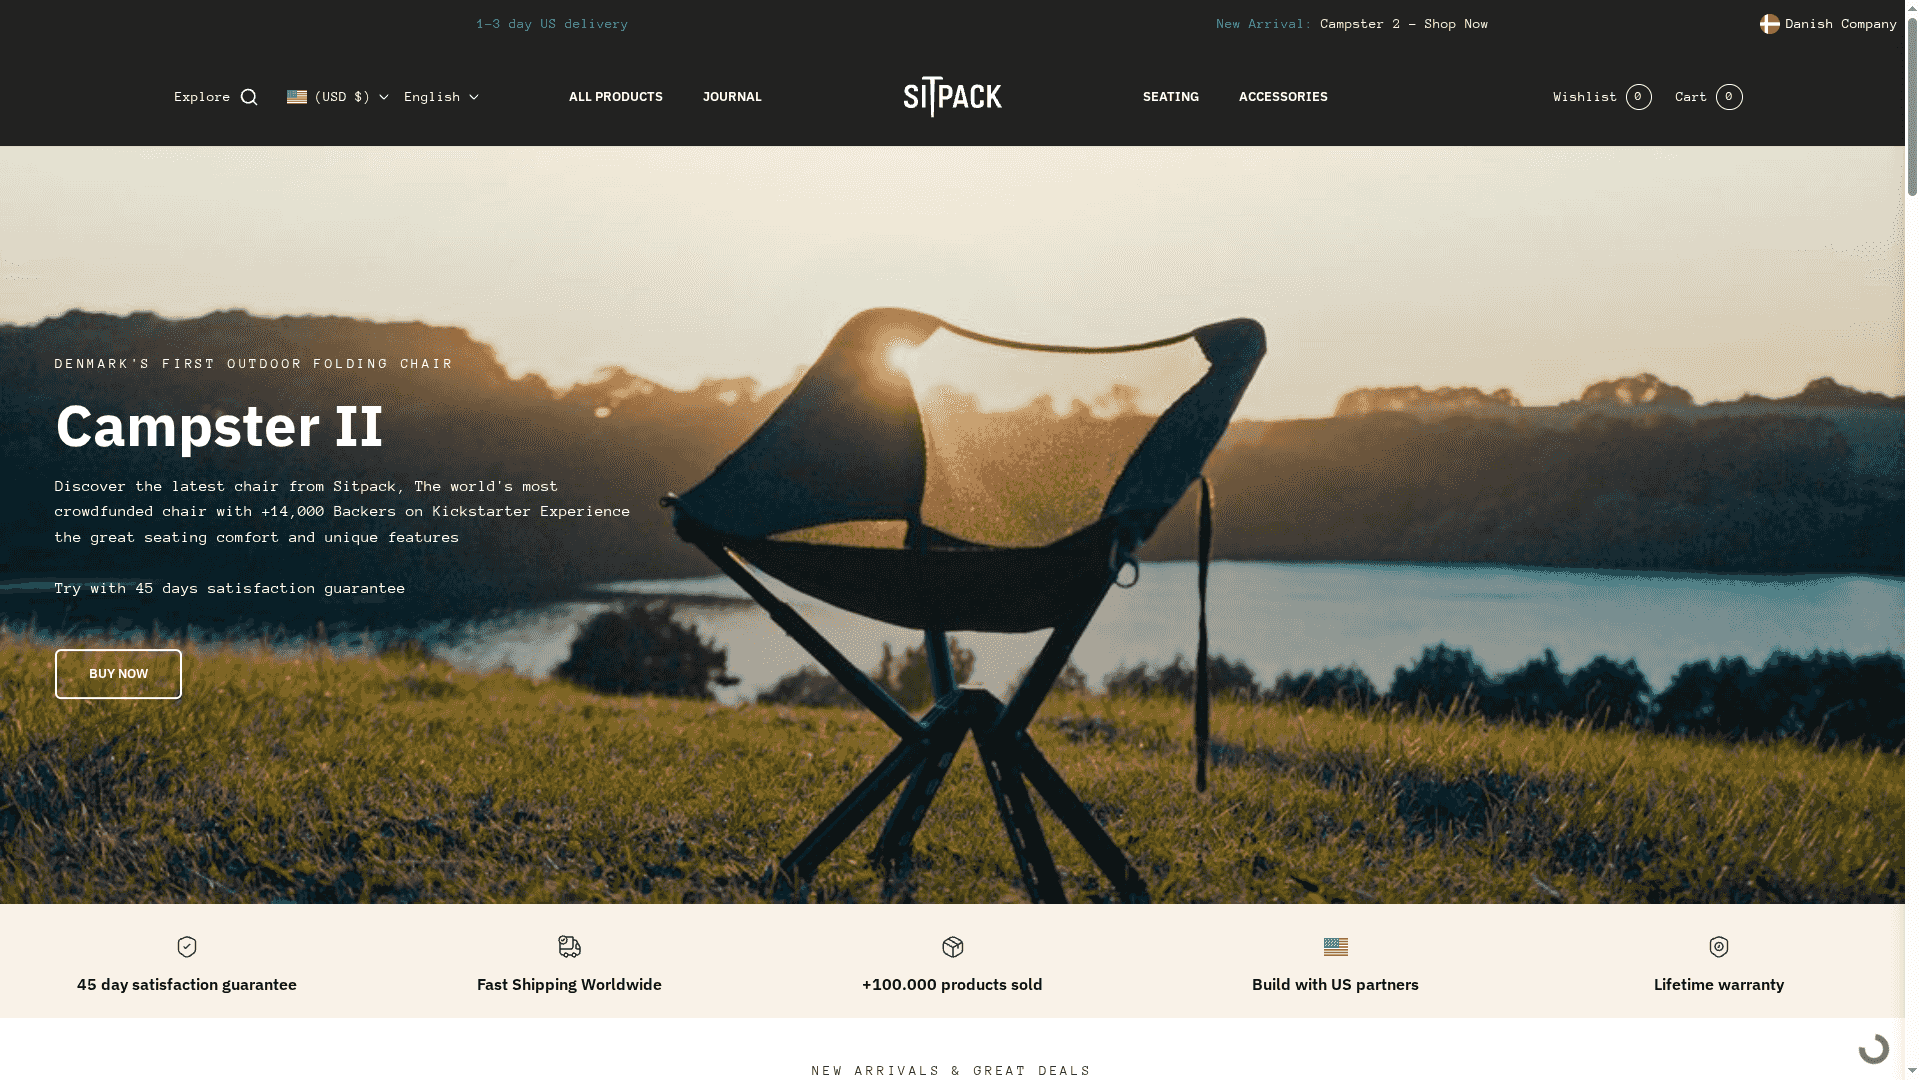
The trade-off is real and worth naming honestly: a minimalist stool doesn’t recline, and it won’t replace a chair with a backrest if lounging at camp matters more to you than shaving grams. But if you’re already running a sub-10-lb kit and want a genuine seat option that doesn’t blow your pack volume, a compact folding stool fits the gap between “nothing to sit on” and “full camp chair” better than either extreme. Check the current lineup and specs on the Sitpack product page before your next trip and see whether one fits your kit.