Vogn
0
Tilmeld dig og få 10% i rabat på din ordre
Forventet levering
1-3 dage
Du vil måske også kunne lide
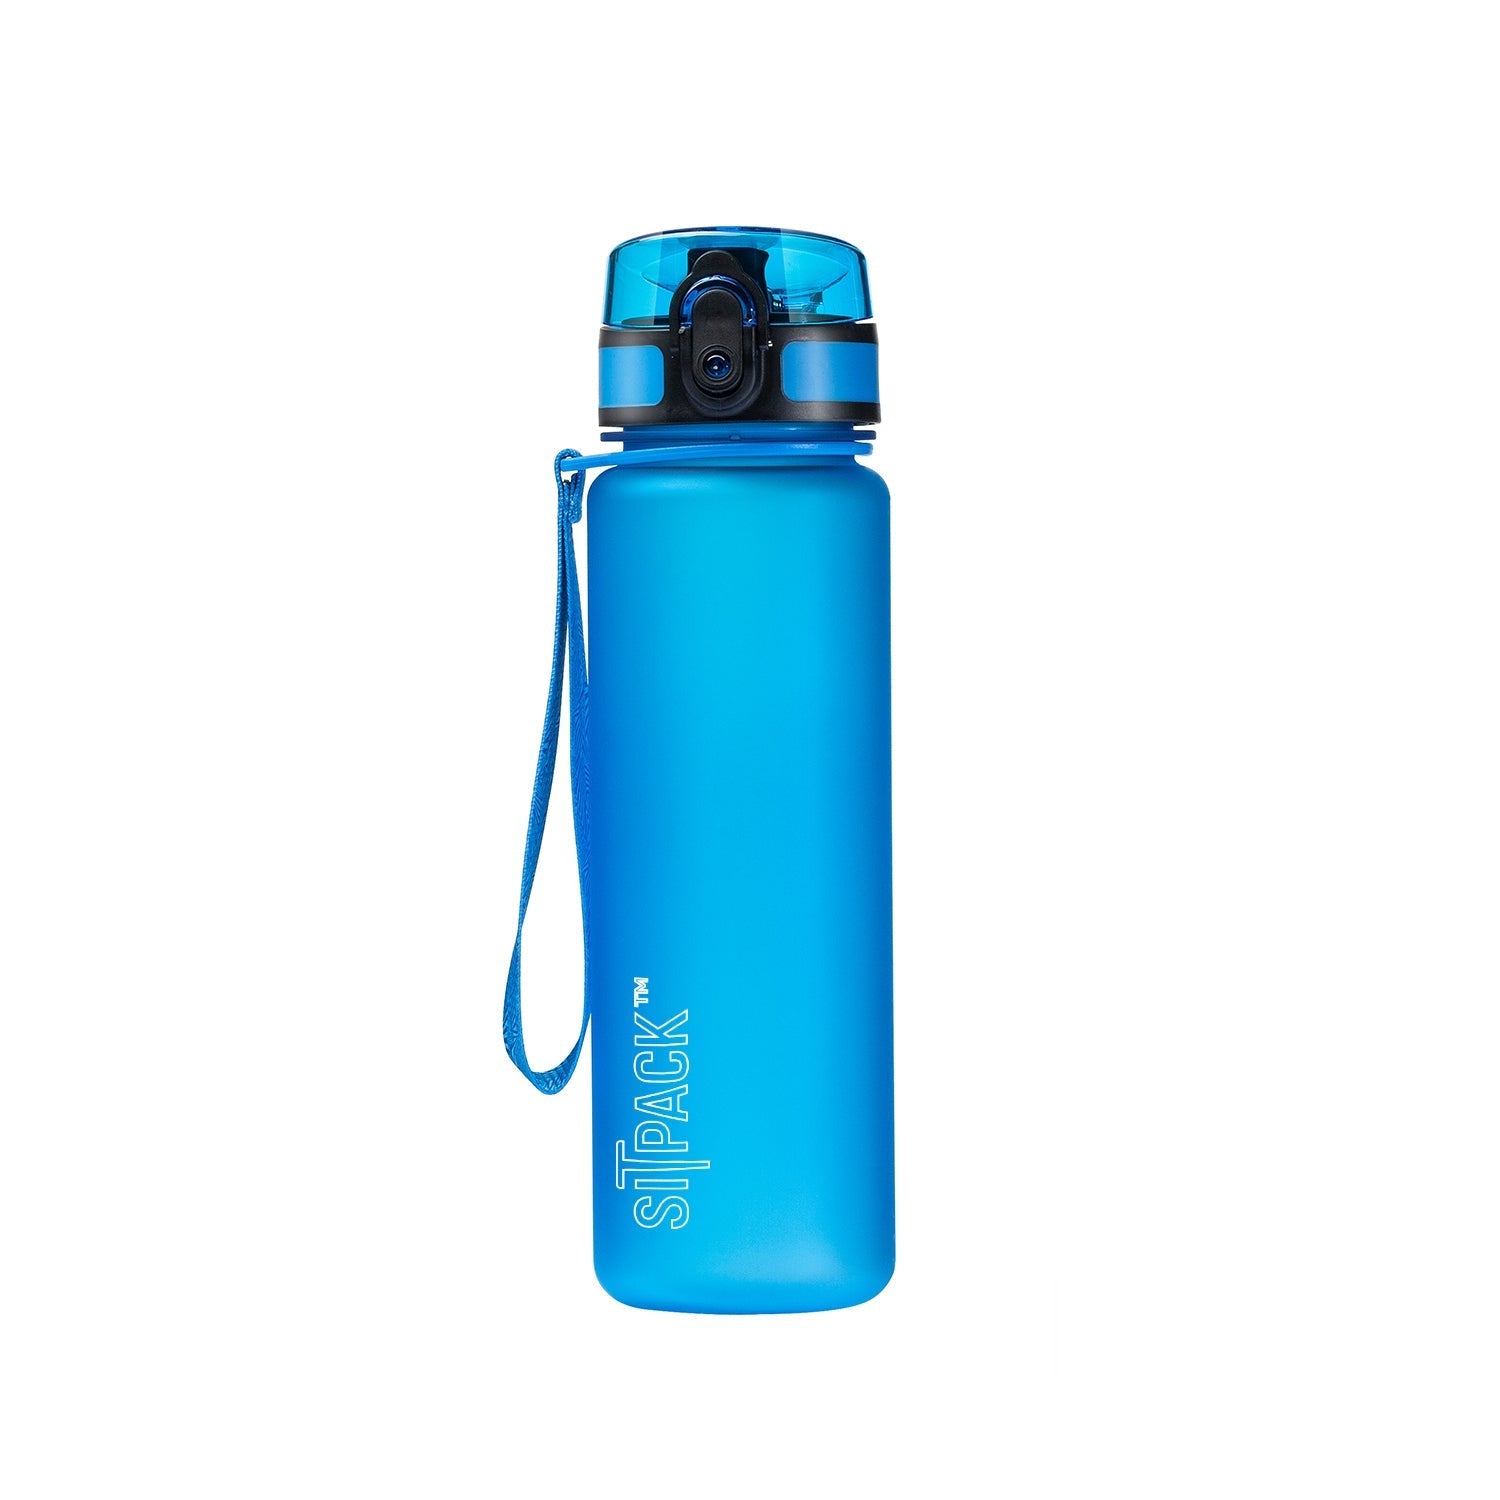
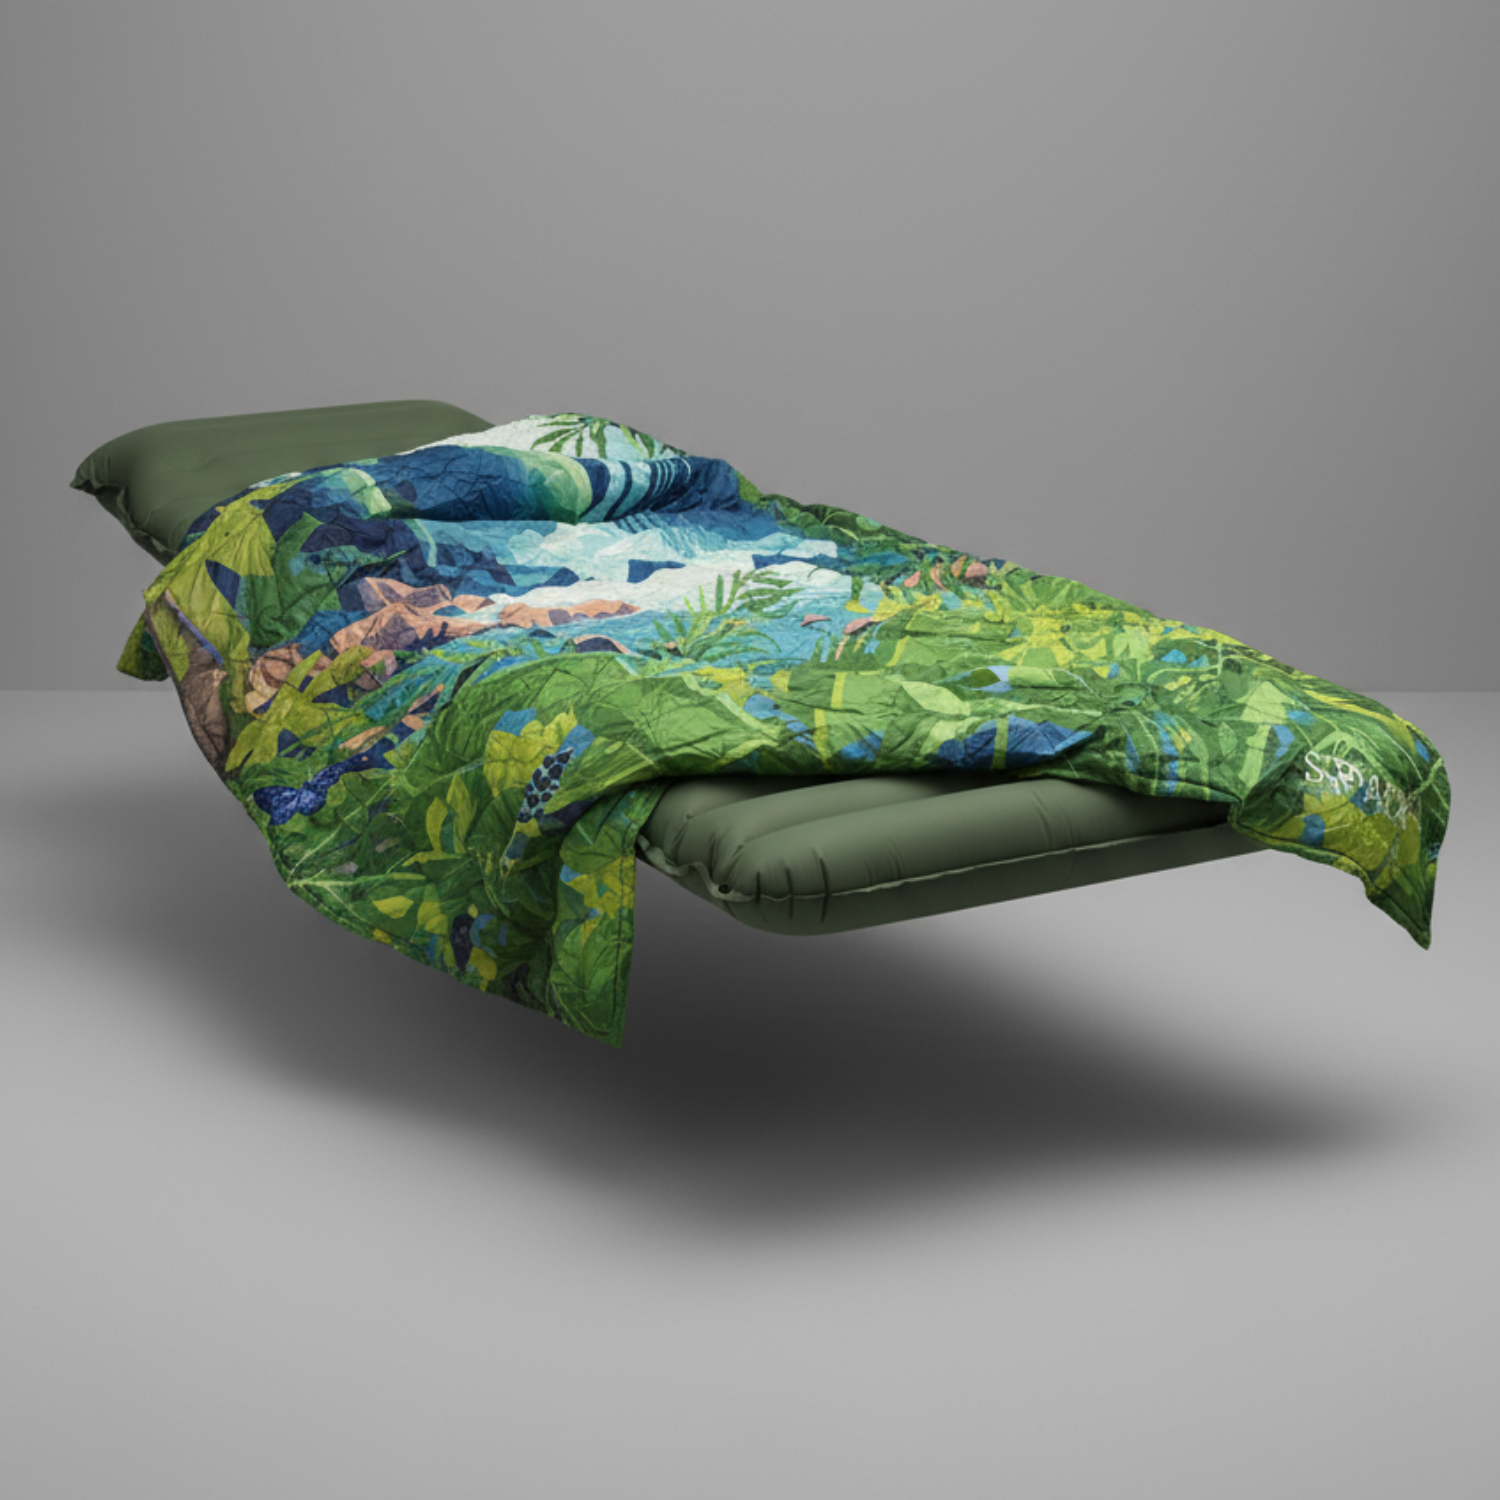
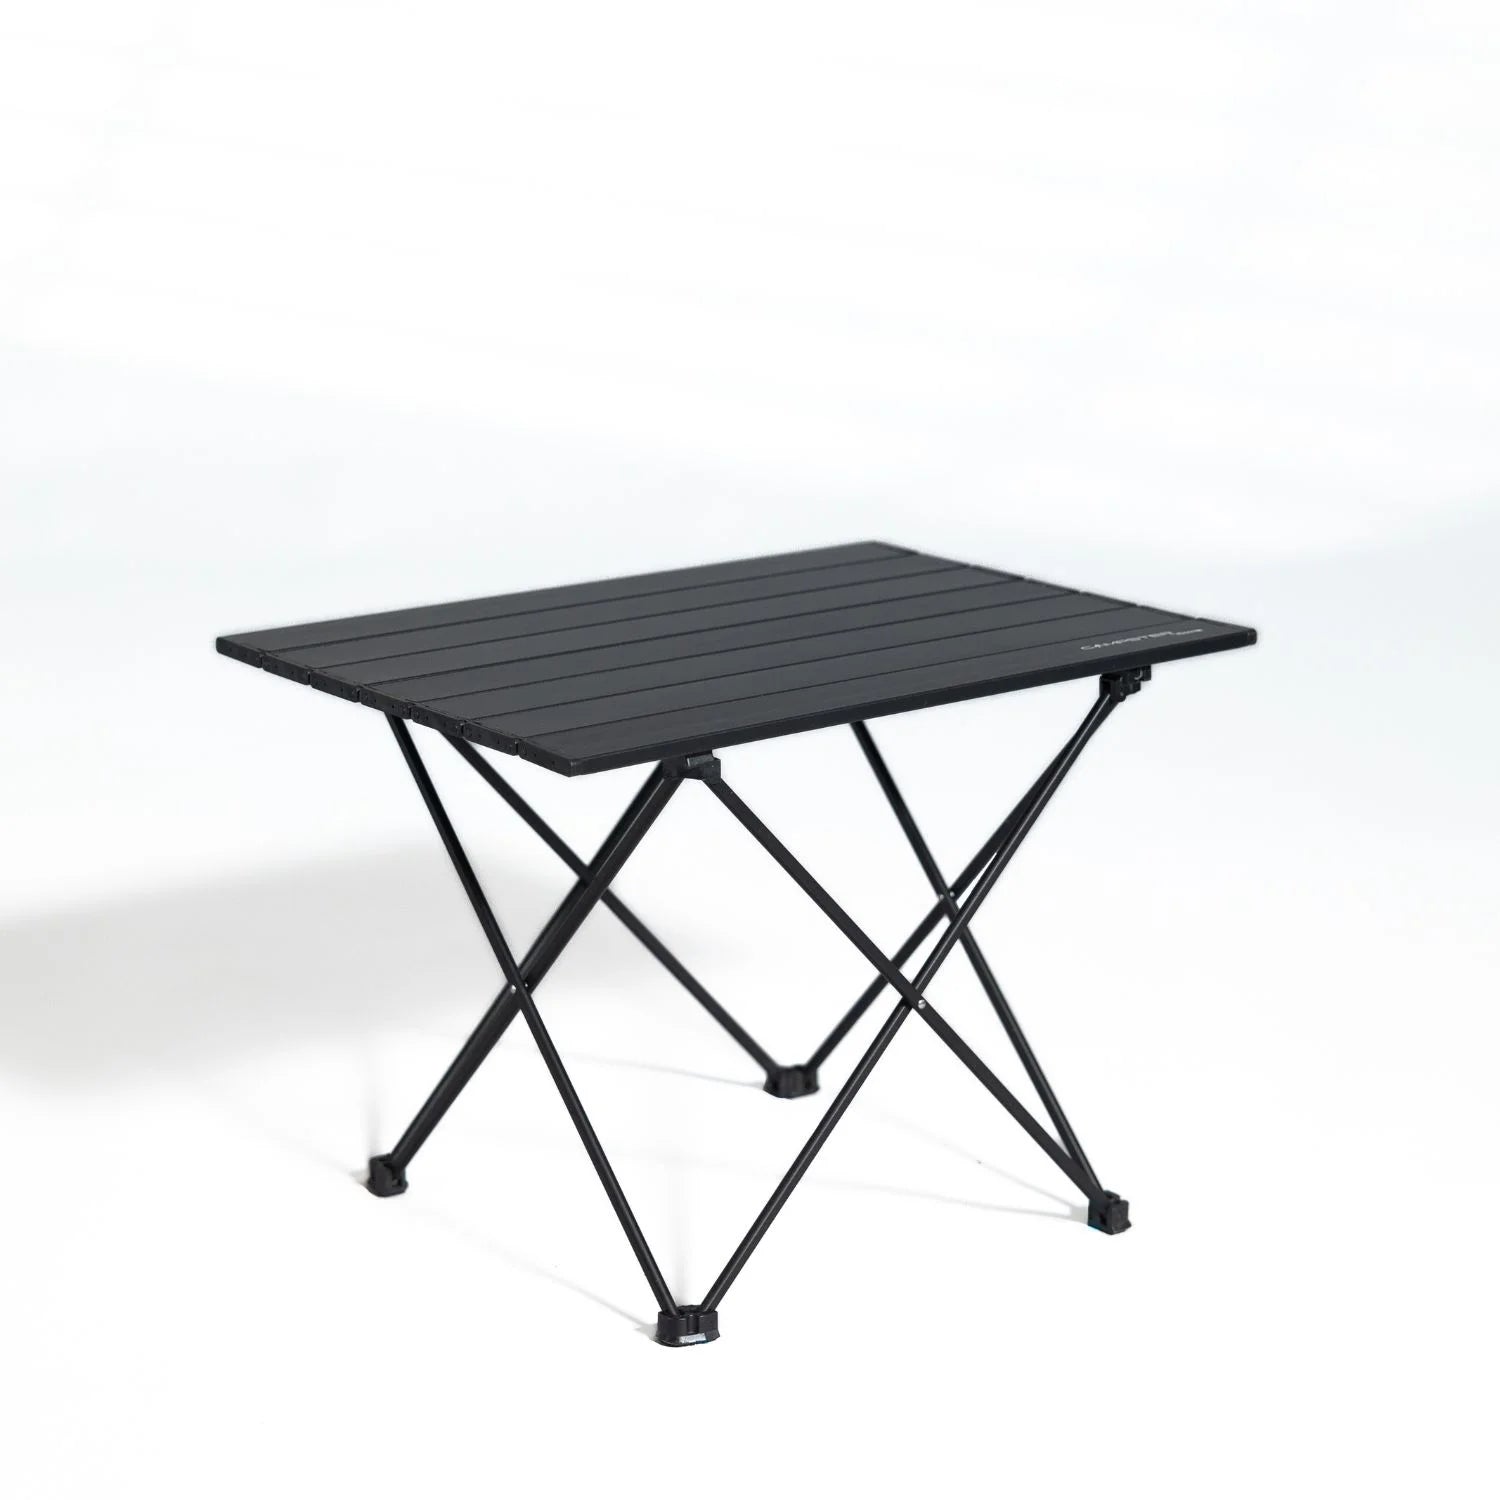
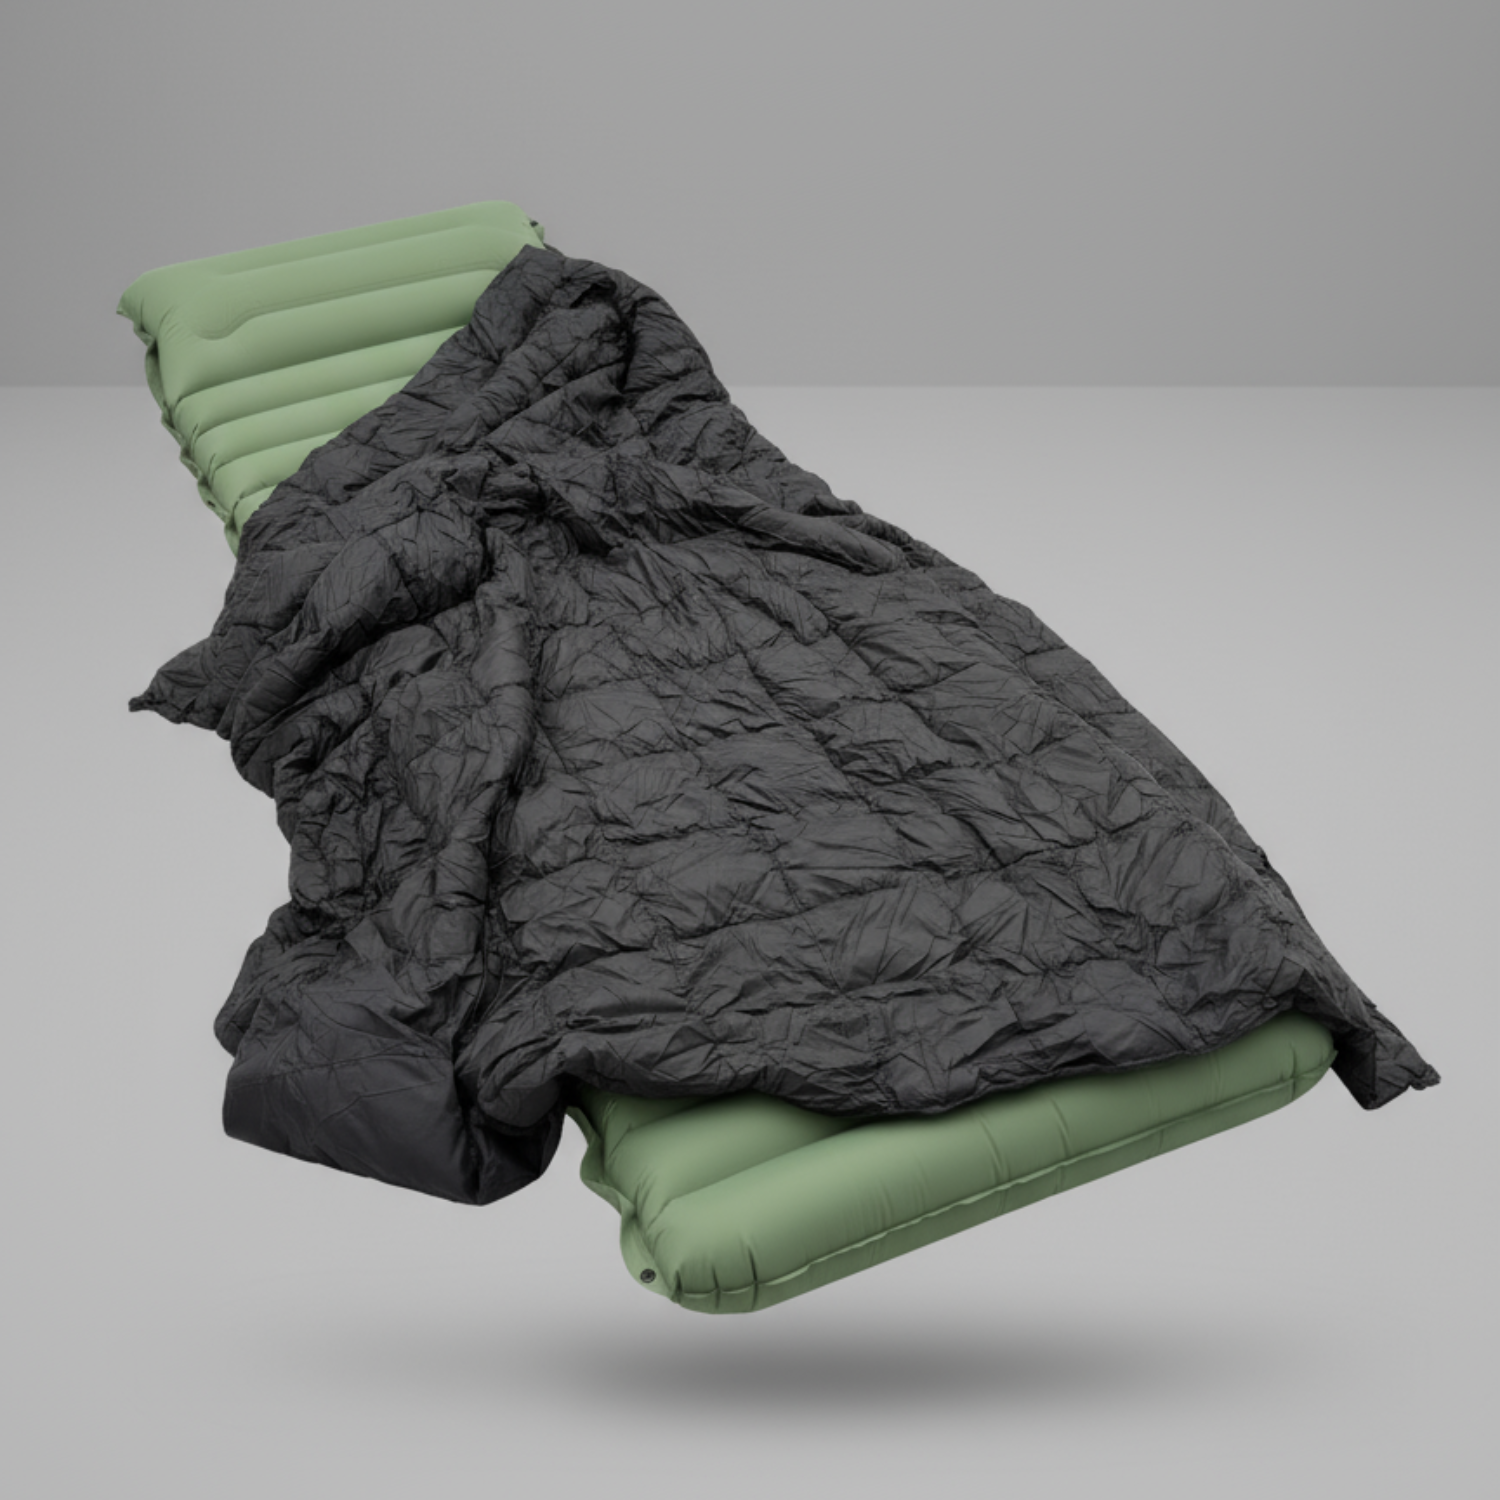


Dansk Firma

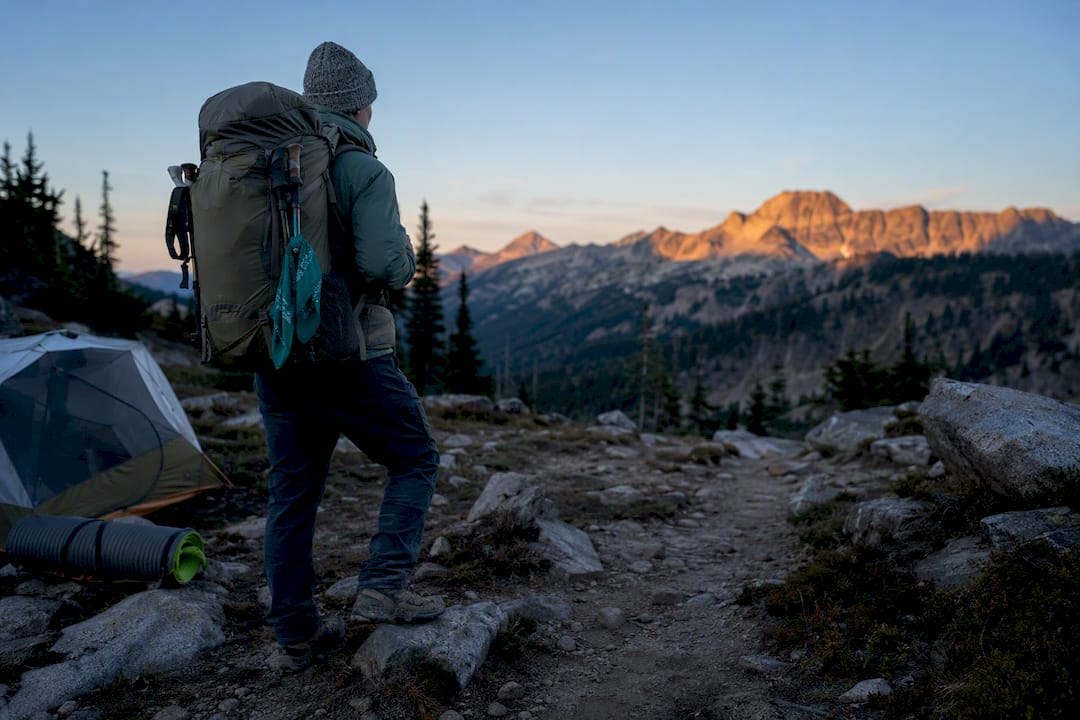
For a single night in the backcountry, bring the Big 4 (shelter, sleep system, pack, footwear) plus the Ten Essentials, and don’t overthink the rest. A medium-sized pack covers nearly every one-night trip; go bigger only if you’re hauling a bear canister or bulky cold-weather gear. Toss a headlamp in your pocket before you leave the car. Everything else is refinement.
TL;DR:
- Bring only the Big 4 gear, the Ten Essentials, and select comfort items, as they account for most of your weight and budget.
- Use a 30 to 50-liter pack for one-night trips, ensuring proper weight distribution, and test fit with a shakedown hike before the trip.
- Pack clothing layers that match weather conditions, avoiding cotton and focusing on moisture-wicking, insulating, and waterproof fabrics.
- Follow strict food and waste storage rules, especially in bear country, and check regulations for permits, camp restrictions, and site selection.
- Carry navigation tools, a headlamp with backup batteries, and a lightweight safety kit, always including a paper map and compass for redundancy.
A one-night trip is forgiving in a way multi-day trips aren’t. You don’t need seven days of food calculations or a rotation of clean socks. What you do need is every category covered once, without gaps, because a missing rain shell or a dead headlamp battery matters just as much on night one as it would on night five.
Here’s the full rundown, split by what’s non-negotiable and what’s genuinely optional.
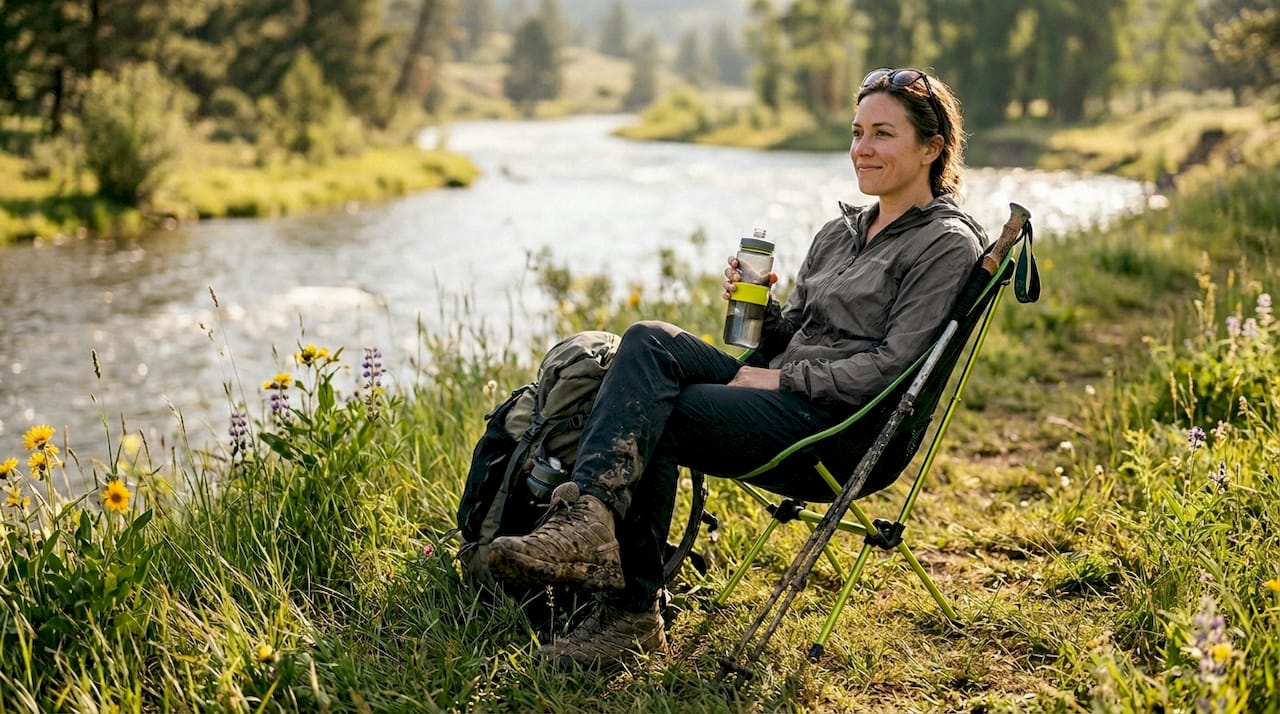
Optional items earn their weight only in specific conditions. A camp chair or portable stool adds real comfort at a rocky or muddy site where there’s nowhere decent to sit. A backup battery pack matters if you’re navigating heavily by phone. A camera or binoculars are pure bonus weight, worth carrying only if the destination justifies it. An extra base layer helps on shoulder-season trips where temperatures swing 30 degrees between noon and midnight.
Regulatory details deserve their own line item, not an afterthought. Many national parks and wilderness areas require hard-sided bear canisters, not just a hang, and rules vary by district. Overnight permits are often mandatory even for a single night, and some popular trailheads cap the number of permits issued per day. Check the specific land manager’s website before you finalize your gear, not after you’ve already packed the wrong food storage system.
| Category | Must-have | Skip unless conditions demand it |
|---|---|---|
| Shelter & sleep | Tent/tarp, bag or quilt, insulated pad | Extra pillow, camp chair |
| Water & cook | Filter, 2L+ capacity, stove & fuel | Backup stove |
| Clothing | Base layer, shell, dry sleep clothes | Second insulating layer |
| Safety | Headlamp, first-aid, map & compass | Satellite messenger |
| Hygiene & tools | Trowel, soap/wipes, multi-tool | Camp towel, camera |
These four items drive most of your comfort, most of your pack weight, and most of your budget. Get them right and everything else on your backpacking gear checklist falls into place around them.
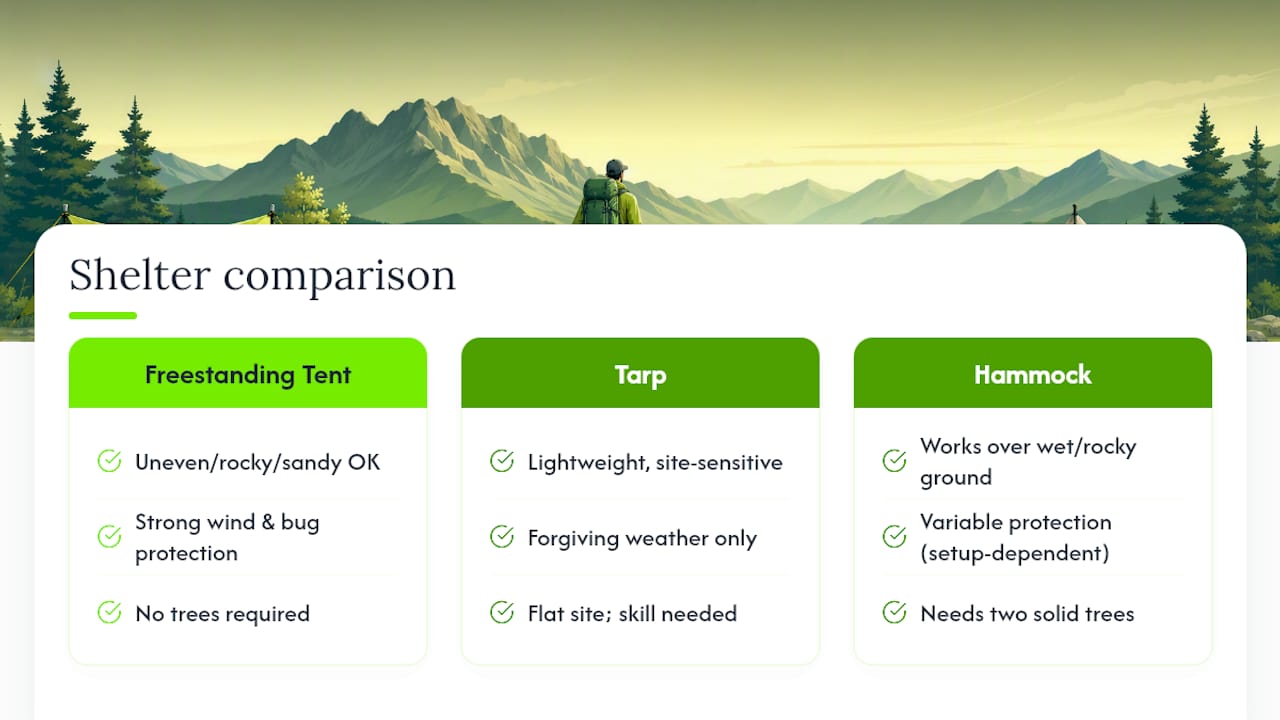
Shelter comes in three practical flavors for an overnight trip. A freestanding tent is the forgiving choice: it pitches on rock, sand, or uneven ground and handles wind and bugs without fuss. A tarp shaves serious weight but demands more skill and forgiving weather. A hammock solves ground-clearance problems in wet or rocky terrain but needs two solid trees spaced correctly, which isn’t guaranteed at every site. For a first overnight, a tent remains the safer bet.
Sleep systems split into bags and quilts. A mummy bag traps heat efficiently and suits cold, exposed camps. A quilt cuts weight by ditching the zipper and hood, working well for anyone who sleeps hot or moves a lot at night. Pad selection matters just as much as the bag: look for an R-value of at least 3 for three-season trips, and closer to 4 if you’re camping on snow or frozen ground in shoulder season.
Pack volume should follow your gear, not the other way around. A 30 to 50 liter pack fits most overnight loads comfortably, according to REI’s gear guidance. Bump up toward 45 to 65 liters if you’re carrying a bear canister, winter-rated bag, or gear for more than one night. Buying too large a pack is a common rookie mistake. It invites overpacking because empty space always gets filled.
Footwear depends entirely on terrain and your own ankle stability. Trail runners work fine for maintained trails and lighter loads. Boots with ankle support earn their weight on rocky, off-trail, or steep terrain, especially when carrying 25+ pounds.
Pro Tip: Try on boots or trail runners at the end of the day, when your feet are slightly swollen, and wear the same socks you’ll hike in. A boot that fits perfectly at 8 a.m. can raise blisters by mile six.
The layering system is simple in theory: a base layer manages moisture, an insulating layer traps heat, and a shell blocks wind and rain. Getting the fabric choices right is where most people go wrong.
Cotton is the one material to leave at home. It absorbs sweat, dries slowly, and pulls heat away from your body once wet, which is a real problem if temperatures drop after sunset. Merino wool and synthetic fabrics like polyester dry fast and keep insulating even damp.
Weather should drive last-minute swaps to your list. Rain in the forecast means adding pack liners and a pack cover, not just a jacket. Cold nights call for a warmer sleeping layer and possibly a liner inside your bag rather than a heavier shell jacket, since insulation while stationary matters more than insulation while hiking. Hot or desert conditions flip the whole approach: prioritize sun protection with a wide-brim hat and light long sleeves, and carry more water capacity than you think you’ll need, since dry air pulls moisture out of you faster than it feels like it should.
Water planning starts with a simple question: are you camping near a reliable source, or carrying everything in? Most overnight trips do best with a filter plus at least two liters of carrying capacity, refilling at streams or lakes along the way rather than hauling a full day’s supply from the trailhead. A squeeze filter or pump handles bacteria and protozoa; carry chemical treatment tablets as backup in case your filter clogs or freezes.
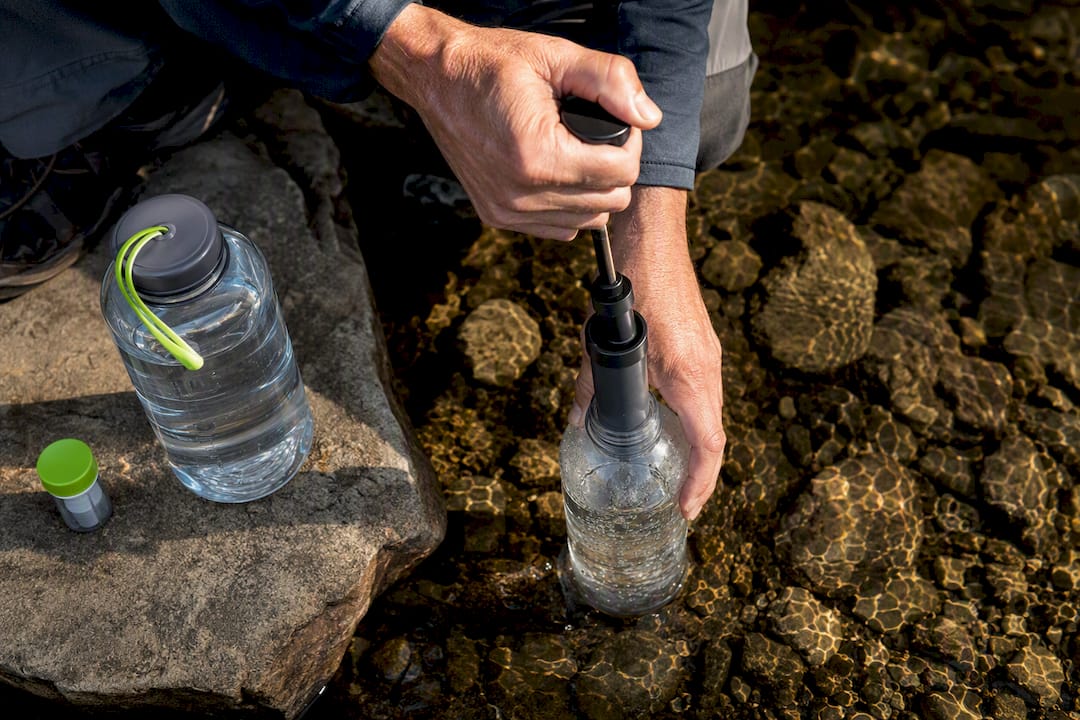
Stove choice depends on how much you’re cooking and how cold it is — check out free Backyard Cooking Gear samples for lightweight cooking ideas and deals before you buy. Canister stoves are the simplest option for one night: fast, reliable, and light. A single 4-ounce fuel canister comfortably covers boiling water for dinner and breakfast on one overnight trip, with fuel to spare. Liquid-fuel stoves perform better in extreme cold but add weight and complexity that most overnight trips don’t need.
Meal planning for a single night doesn’t need to be complicated. Dehydrated meals rehydrate with boiling water and clean up in minutes. Instant oatmeal, tortillas with peanut butter, and freeze-dried dinners cover most calorie needs without a single dish to scrub.
Ultralight backpacking guidance from REI recommends trimming shelter and sleep system weight before touching your pack size, since those two categories typically carry the most cuttable ounces on a standard overnight gear list.
Food storage isn’t optional in bear country. Where regulations require a hard-sided canister, bring one. Where they don’t, follow Leave No Trace guidance on hanging a bear bag, suspended at least 10 feet off the ground and 4 feet from the trunk or nearest branch.
The Ten Essentials exist as a redundancy system, not a wish list. Even experienced backpackers carry the full set on trips they expect to finish in daylight, because plans change and injuries happen. Here’s the condensed version built for a one-night trip:
Navigation redundancy matters more overnight than people expect, because darkness changes everything about how a trail looks. Carry a paper map and compass even if your phone has offline maps downloaded. Phones die, screens crack, and batteries drain faster in cold weather.
A personal locator beacon or satellite messenger earns its weight on remote trips with no cell coverage and no other hikers nearby. For a popular, well-traveled overnight route, it’s a nice-to-have rather than a requirement. Check for active fire bans before you pack a stove that relies on an open flame, and confirm local bear regulations before you decide between a hang and a canister.
Pro Tip: Store your offline map app, a photo of your permit, and a photo of the trailhead parking area all in your phone before you lose signal. That last one matters more than people expect when you’re hiking back out after dark.
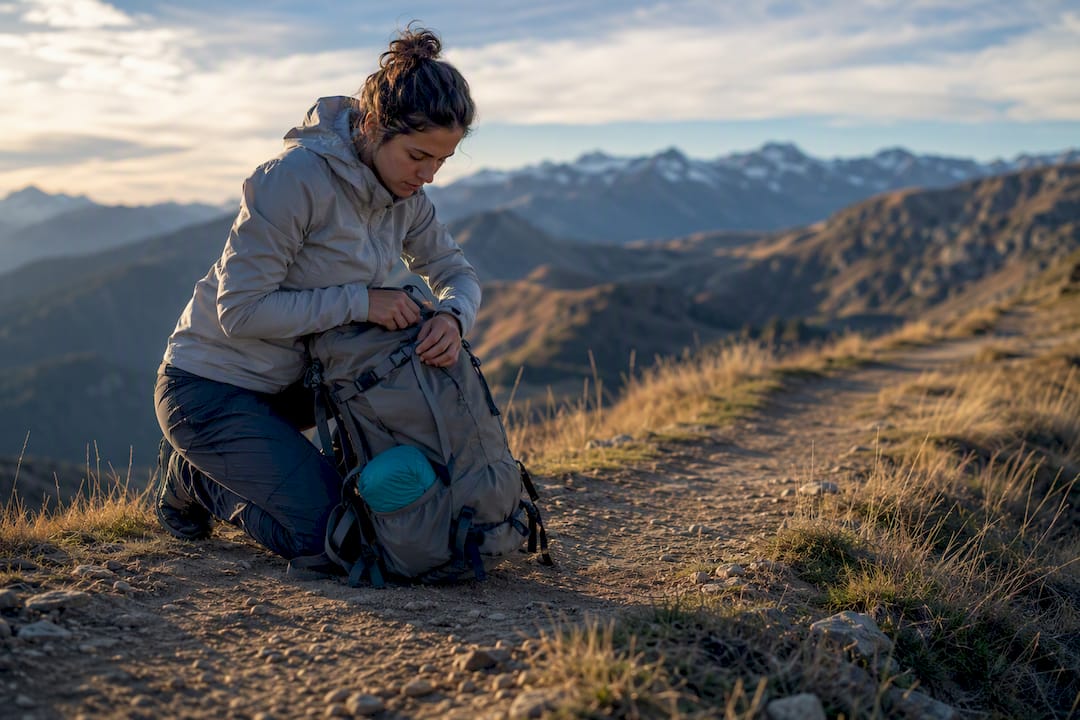
How you pack matters almost as much as what you pack. Heavy items (your bear canister, water, food) belong close to your back and centered between your shoulder blades and hips, not high or low. That keeps your center of gravity stable on uneven terrain. Lighter, bulky items like your sleeping bag and camp clothes go at the bottom, since you won’t need them until you stop for the night.
Anything you’ll want during the day, rain shell, snacks, map, headlamp, belongs in top pockets, hip belt pockets, or side pouches where you can reach it without unpacking your whole bag.
Fit matters more than volume on paper. Load your pack fully, adjust the hip belt to carry most of the weight, and walk around your yard or block for ten minutes before you ever hit the trail. If your shoulders are doing the work instead of your hips, the frame size or torso length is wrong, not just the strap adjustment.
The single best pre-trip test is a shakedown hike, a shorter trip or long day hike with your full loaded pack, done before your actual overnight trip. It reveals fit problems, chafing points, and stove issues while you’re still close to your car instead of six miles into the backcountry. Test your stove, sleep in your bag if you can manage a backyard trial, and note anything that rubbed, rattled, or ran out.
Base weight (everything in your pack minus food, water, and fuel) breaks roughly into three bands. Ultralight setups typically chase sub 10 pound base weights and demand precise, often expensive gear choices. Lightweight setups land in the middle, trimming ounces where it’s easy without sacrificing much livability. Traditional setups prioritize comfort and durability over weight, often landing well above 20 pounds.
Trade-offs are concrete, not abstract. A single-wall ultralight shelter might save a full pound over a two-wall tent but condenses badly in humid weather, leaving your gear damp by morning. A pad with an R-value of 2 shaves a few ounces off a pad rated at 4, but that difference is the gap between a comfortable night and a cold, sleepless one once temperatures drop below 40 degrees.
A practical rule for first-timers: match your base weight to your comfort level and experience, not to what a gear forum recommends. Undervaluing shelter comfort or sleep insulation to hit an arbitrary number tends to backfire on exactly the trip where you needed to sleep well. Renting or borrowing a tent and sleeping bag for a first overnight trip is a smart way to test what you actually need before spending money on your own gear.
A lightweight camp seat fits into this calculation as a comfort item rather than a Big 4 essential. Sitting on a wet log or a cold rock for two hours while dinner cooks wears on you more than the extra half-pound in your pack ever will.
Screenshot this or copy it into your notes app before you head to the trailhead.
Priority 1, non-negotiable: shelter, sleep system, pack, footwear, water filter, stove and fuel, headlamp, first-aid kit, map and compass, emergency shelter, firestarter.
Priority 2, weather and location dependent: bear canister, rain gear, extra insulating layer, satellite messenger, sun protection.
Priority 3, comfort: camp chair or seat, camera, extra snacks, camp shoes.
| Quick reminder | Why it matters |
|---|---|
| Run a shakedown hike first | Catches fit and gear issues before they matter |
| Pack heavy items centered, close to your back | Keeps balance stable on uneven trail |
| Never skip the headlamp, even for a “sure thing” day hike | Darkness and delays happen faster than expected |
Leave No Trace principles apply with extra weight overnight, since you’re occupying one spot for hours instead of passing through. Camp on established sites at least 200 feet from water sources and trails whenever possible, rather than creating a new flattened patch of ground that takes years to recover.
Food storage is where overnight trips diverge most from day hikes. Whatever you can’t eat needs to be secured, hung correctly per Leave No Trace guidance or locked in a canister, before you go to sleep. That includes toothpaste, scented lotion, and trash, not just leftover dinner.
Waste disposal deserves the same seriousness. Pack out all trash, including food scraps and fruit peels that people assume are “natural.” Bury human waste at least 200 feet from water in a cathole 6 to 8 inches deep, and pack out toilet paper in a sealed bag rather than burying it, since it doesn’t break down as fast as most people think.
Fires deserve real caution on an overnight trip. Check local fire restrictions before you pack a fire-dependent stove or plan a campfire at all, and use existing fire rings rather than building new ones. Keep noise down after dark, respect other campers’ space if you’re sharing a designated site, and leave your campsite looking like nobody was ever there. That last habit is the whole point of the principles, and it’s the one most overnight campers skip when they’re tired and just want to get to bed.
Bear safety starts with food storage, and the rules vary by region, so verify what your specific park or forest requires before you pack. Some areas mandate hard-sided canisters. Others allow a proper hang using the method described in Leave No Trace’s bear bag guidance, suspended well above reach and away from the trunk.
Cook and eat away from your tent site, ideally 100 yards apart in bear country, so food smells don’t linger where you sleep. Store anything scented, sunscreen, lip balm, toothpaste, with your food, not in your tent pocket for “just in case.”
Smaller wildlife causes more actual problems on most overnight trips than bears do. Rodents chew through unprotected food bags and gear straps looking for crumbs, so a hung bag or canister protects against them just as much as against anything larger. Snakes and ticks matter more in warm, low-elevation terrain: check boots before putting them on in the morning, and do a tick check before bed if you camped in tall grass or brush.
Making noise while hiking, especially near water or in thick brush with poor visibility, gives wildlife a chance to move off before you’re close enough to startle each other. If you do encounter a bear, stay calm, back away slowly, and never run.
Many overnight routes require a permit, even for a single night, and popular trailheads often cap how many go out per day. Check the specific land manager, whether that’s a national park, national forest, or state land office, well before your trip, since permits for popular routes sometimes book out weeks in advance.
Campsite selection follows a few consistent rules across most wilderness areas. Choose an established site over creating a new one, ideally flat, durable ground like packed dirt or rock rather than a meadow that scars easily. Stay at least 200 feet from lakes and streams both for the sake of the ecosystem and because low ground near water tends to collect cold air and morning dew.
Check for widowmakers, dead branches overhead that can fall without warning, before you pitch your tent under any tree. Avoid low spots that could flood in a surprise storm, and avoid ridgelines exposed to wind and lightning. If you’re camping above treeline, wind protection matters more than proximity to a view.
Regulations sometimes restrict campsite choice directly, requiring designated sites in high-traffic wilderness areas or banning camping within a certain distance of trailheads and water sources. Read the specific rules for your destination rather than assuming general backcountry etiquette covers it, since fines and permit revocations are real consequences for ignoring posted restrictions.
My own overnight kit always includes a real pillow (not a stuffed jacket), a second headlamp battery, and a compact camp seat. That third item sounds like a luxury until you’ve spent an evening perched on a wet rock. None of that replaces a proper shakedown hike, though. Run one before any trip with new gear, even gear you’re sure you understand. It’s the cheapest insurance you’ll ever buy for a backcountry trip.
— Jonas
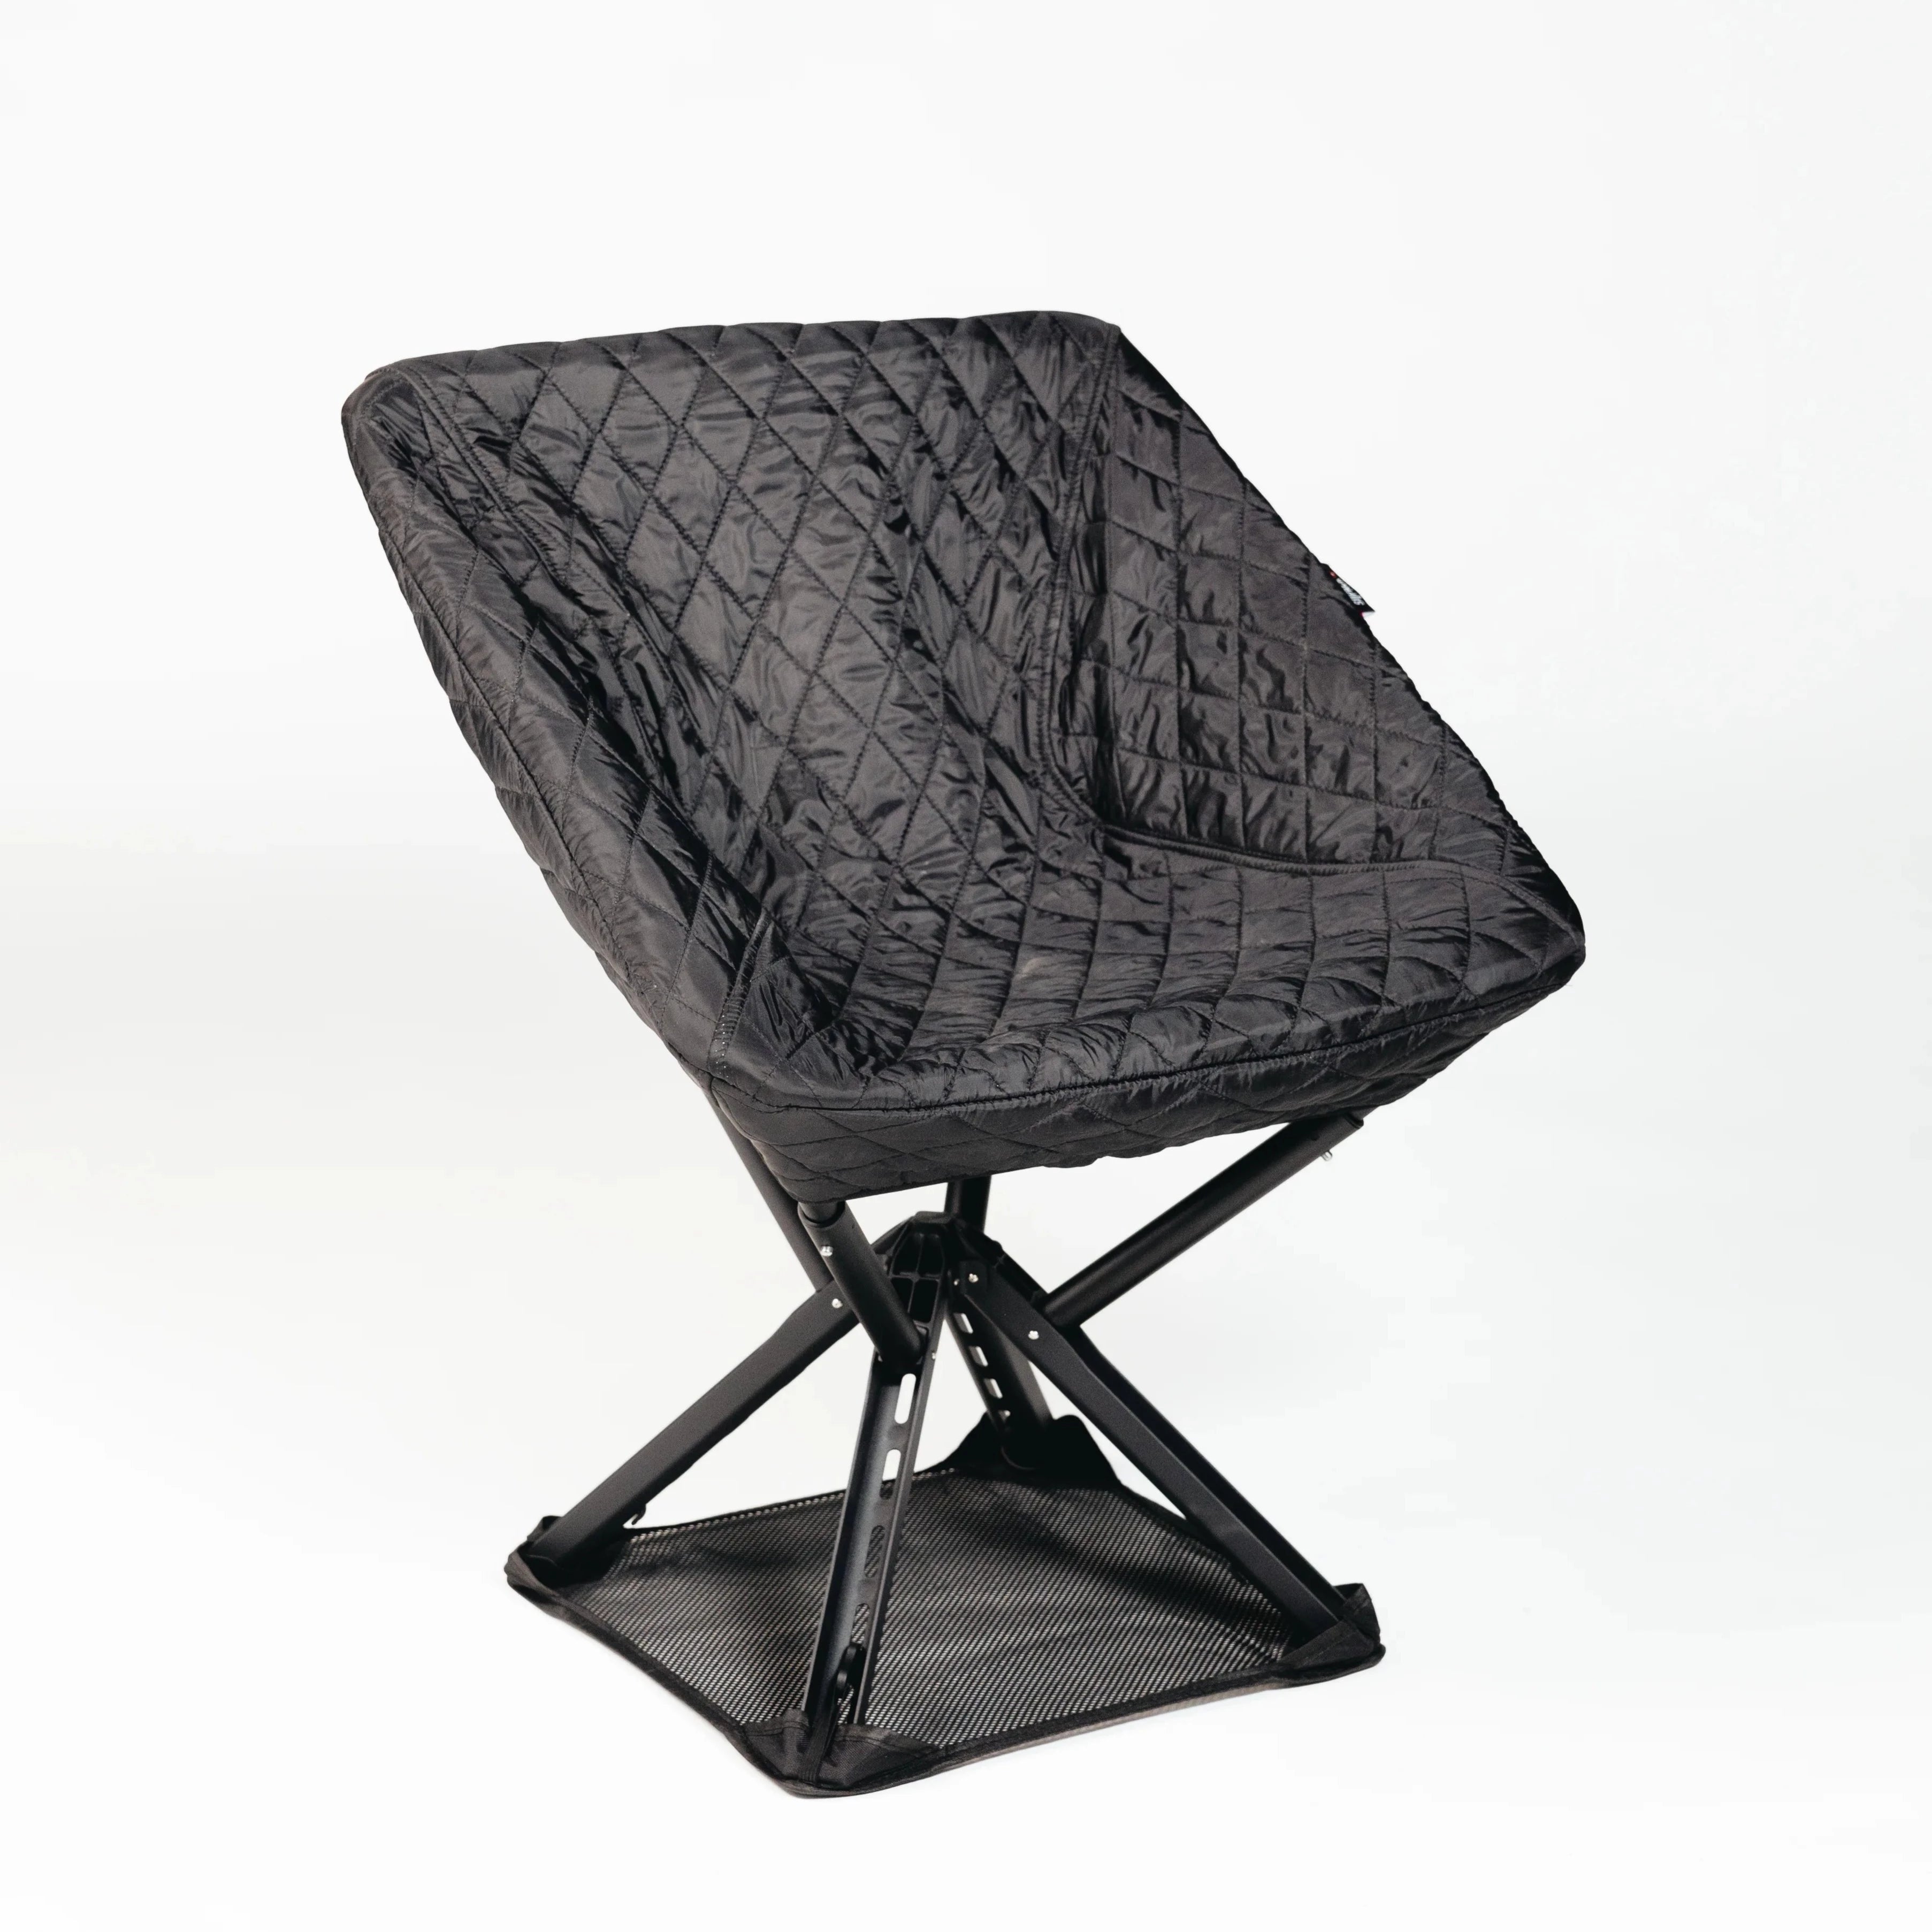
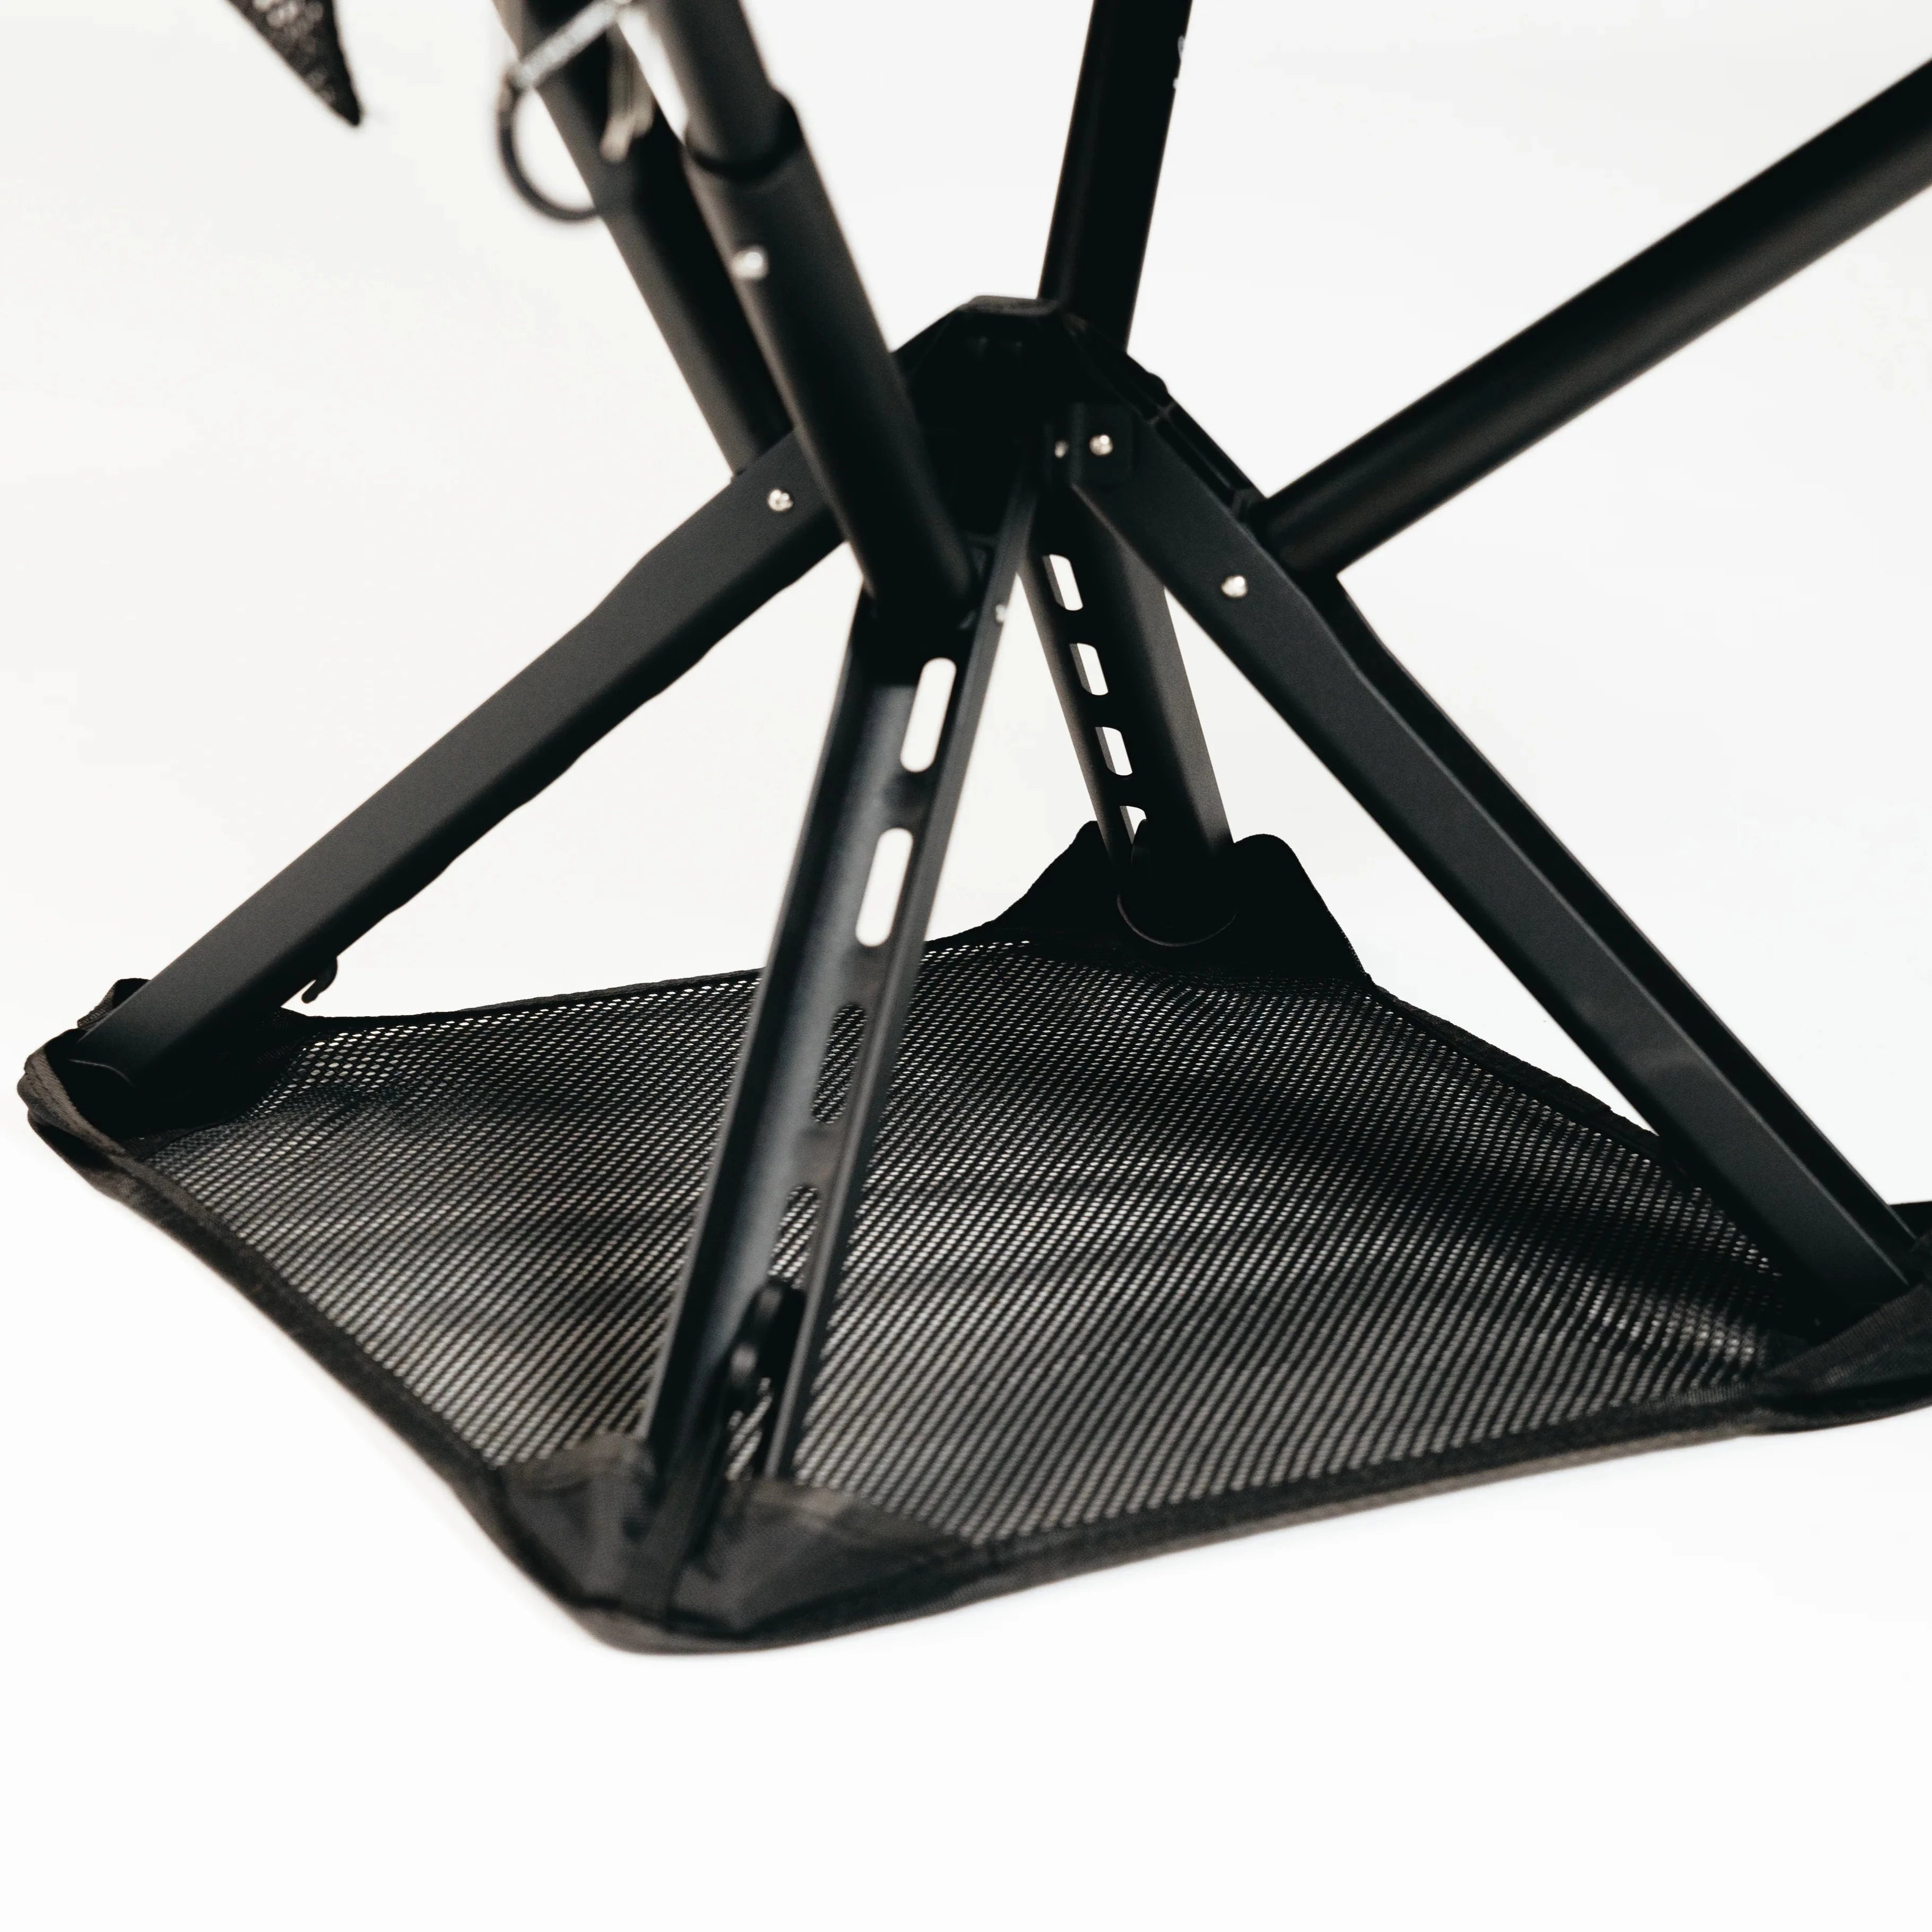
Camp comfort doesn’t have to compete with pack weight. Foldable, lightweight seating designed to compress down small enough to strap onto or slide into an overnight pack without eating into your Big 4 budget is available. Once you’ve dialed in your shelter, sleep system, and food storage, a seat is the one item that changes how the actual evening feels, sitting at a real height instead of hunched on a rock while your dinner rehydrates.
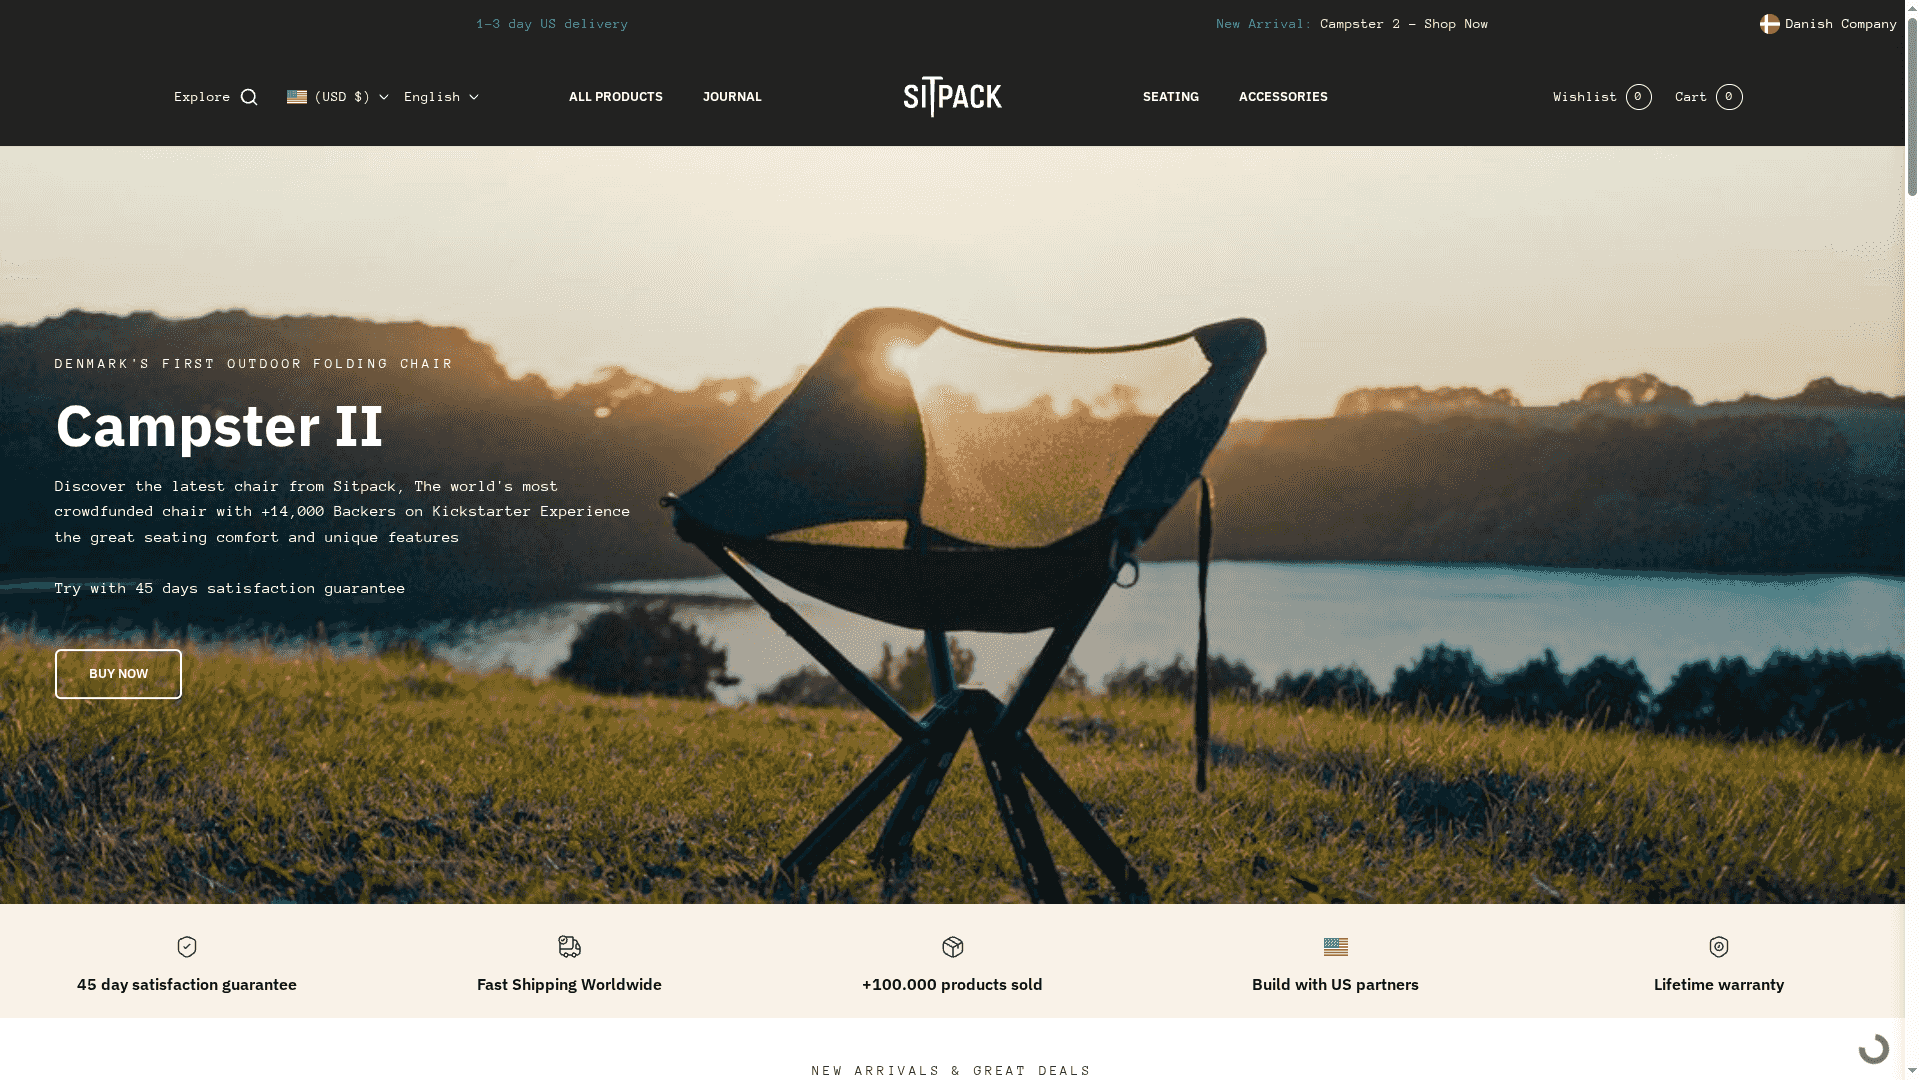
It’s worth packing on trips where you know you’ll be sitting still for a while, at a scenic overlook, a lakeside camp, or anywhere the ground is wet, rocky, or uneven. On fast overnight trips where you’re setting up camp right at dark and crawling into your bag soon after, you can reasonably leave it behind. For everything in between, it stows easily alongside your sleep system without disrupting your load distribution. Browse the current lineup of foldable seats and accessories at Sitpack to see which size fits your pack and your trips best.
This checklist draws on REI’s backpacking gear guidance, REI’s ultralight advice, Switchback Travel’s checklist, and Leave No Trace’s food storage guidance. For more, see Sitpack’s guides on the Ten Essentials and overnight base weight.