Cart
0
Sign up and get 10$ off your order
Expected delivery
1-3 days
You may also like
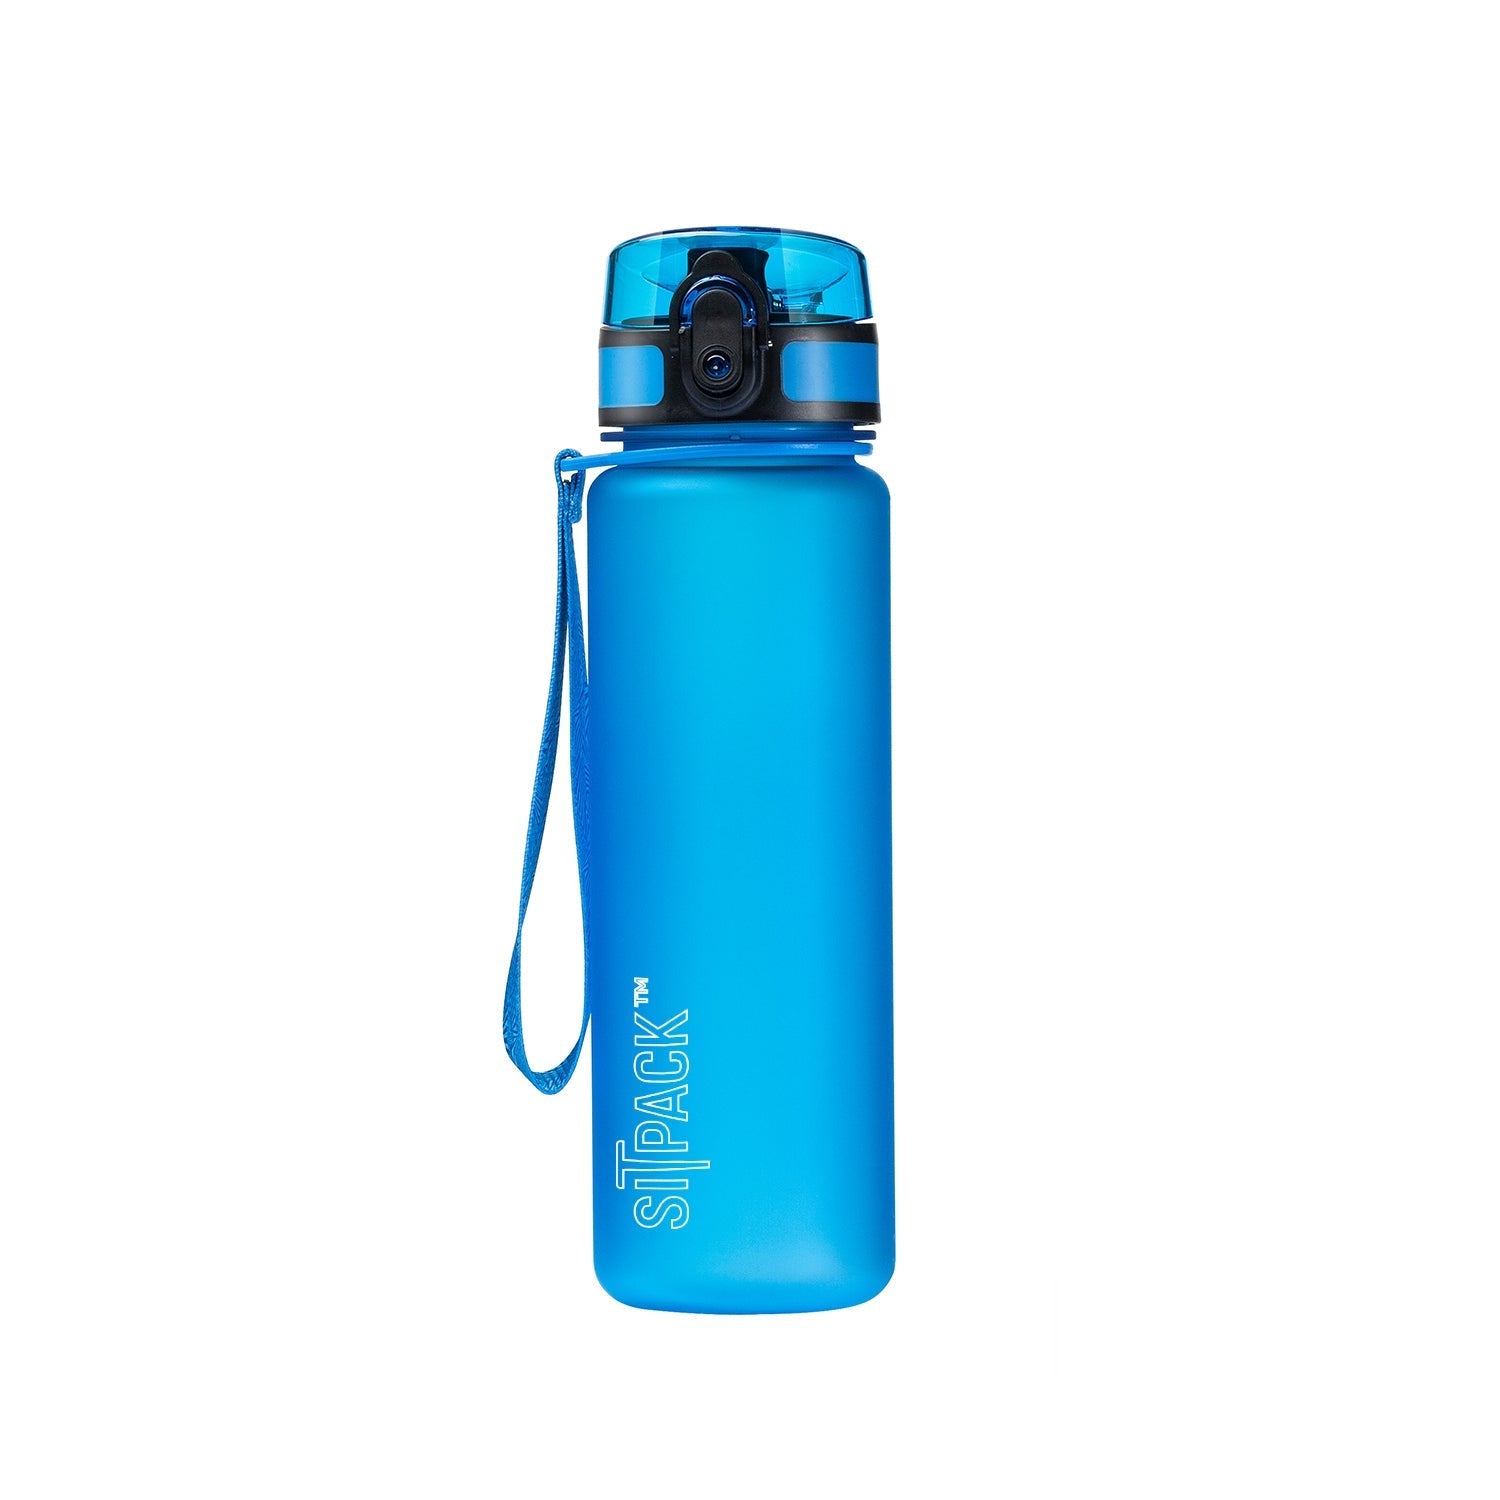

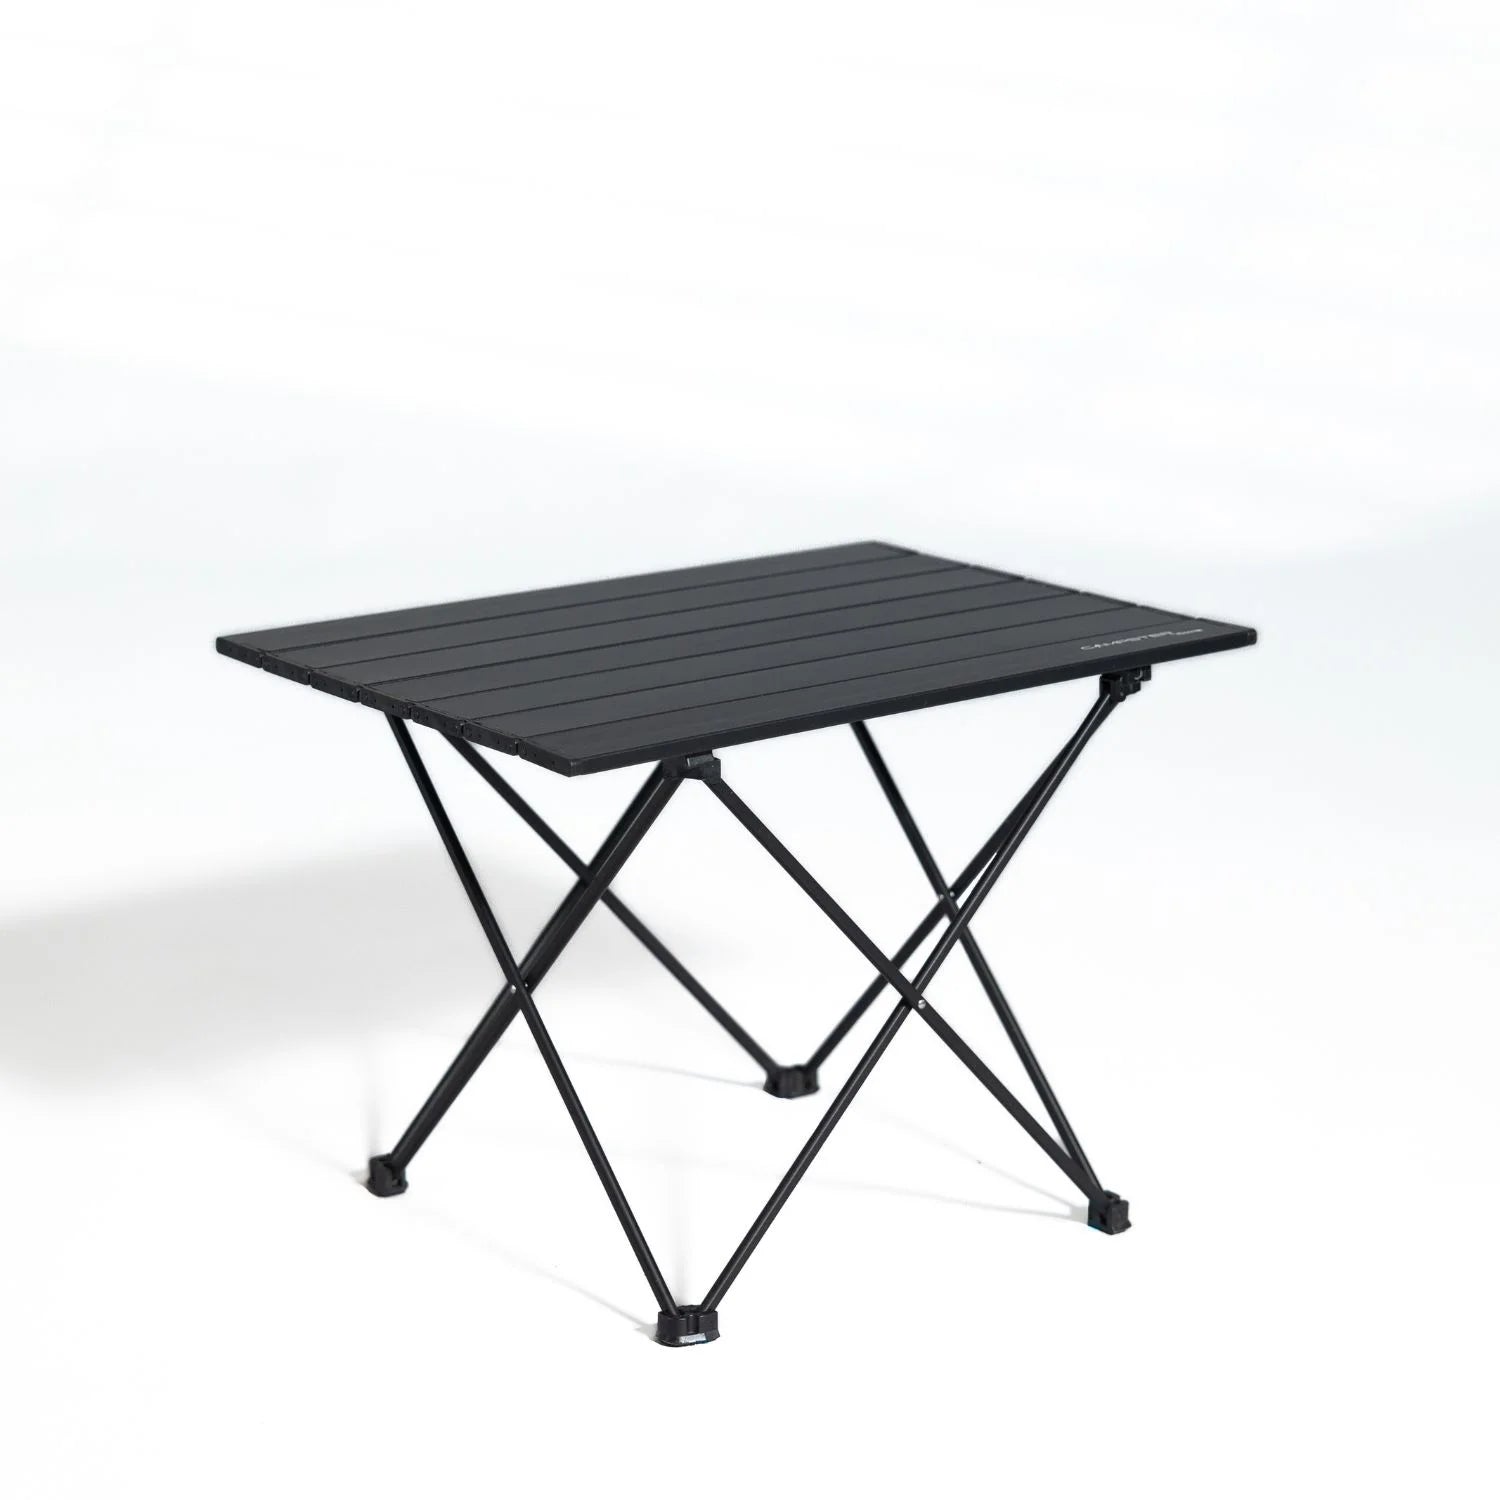
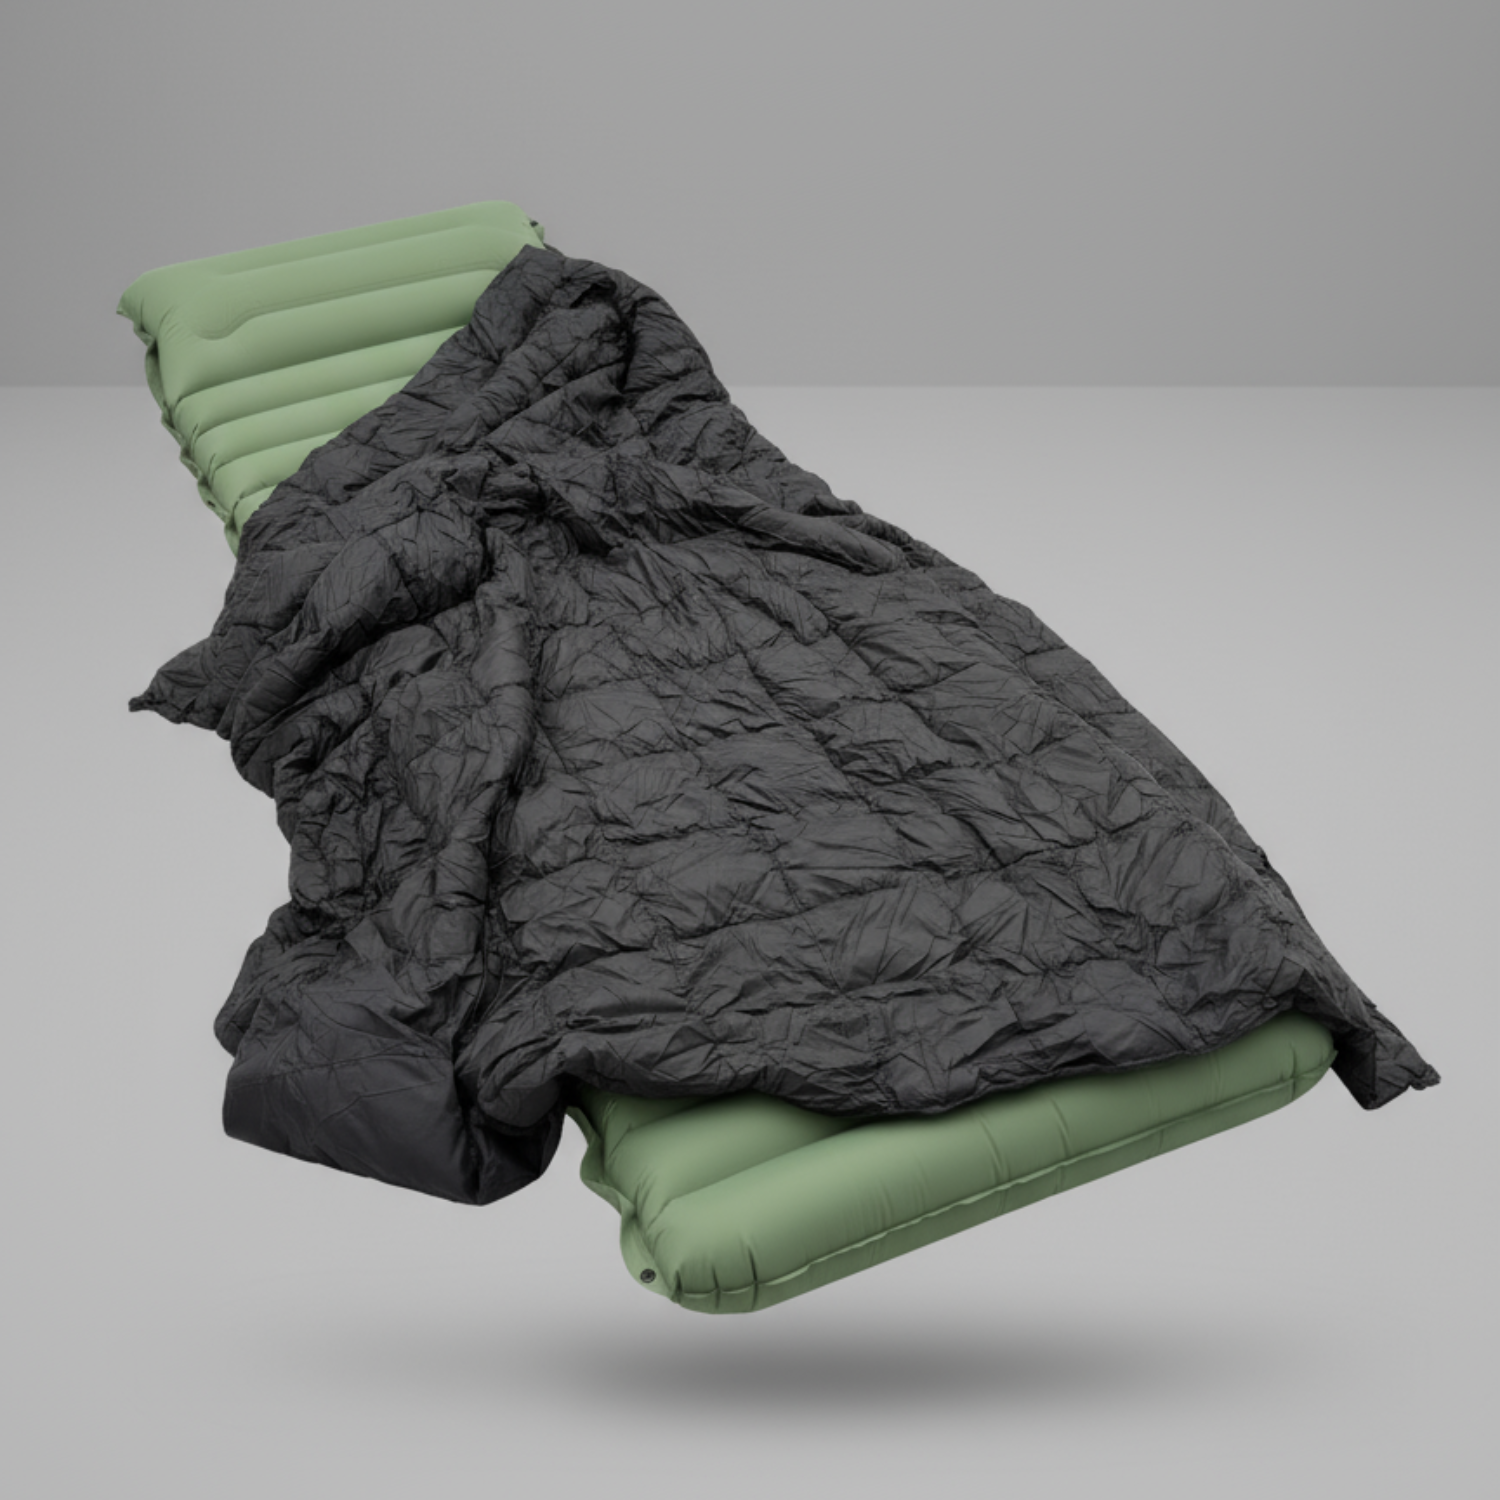
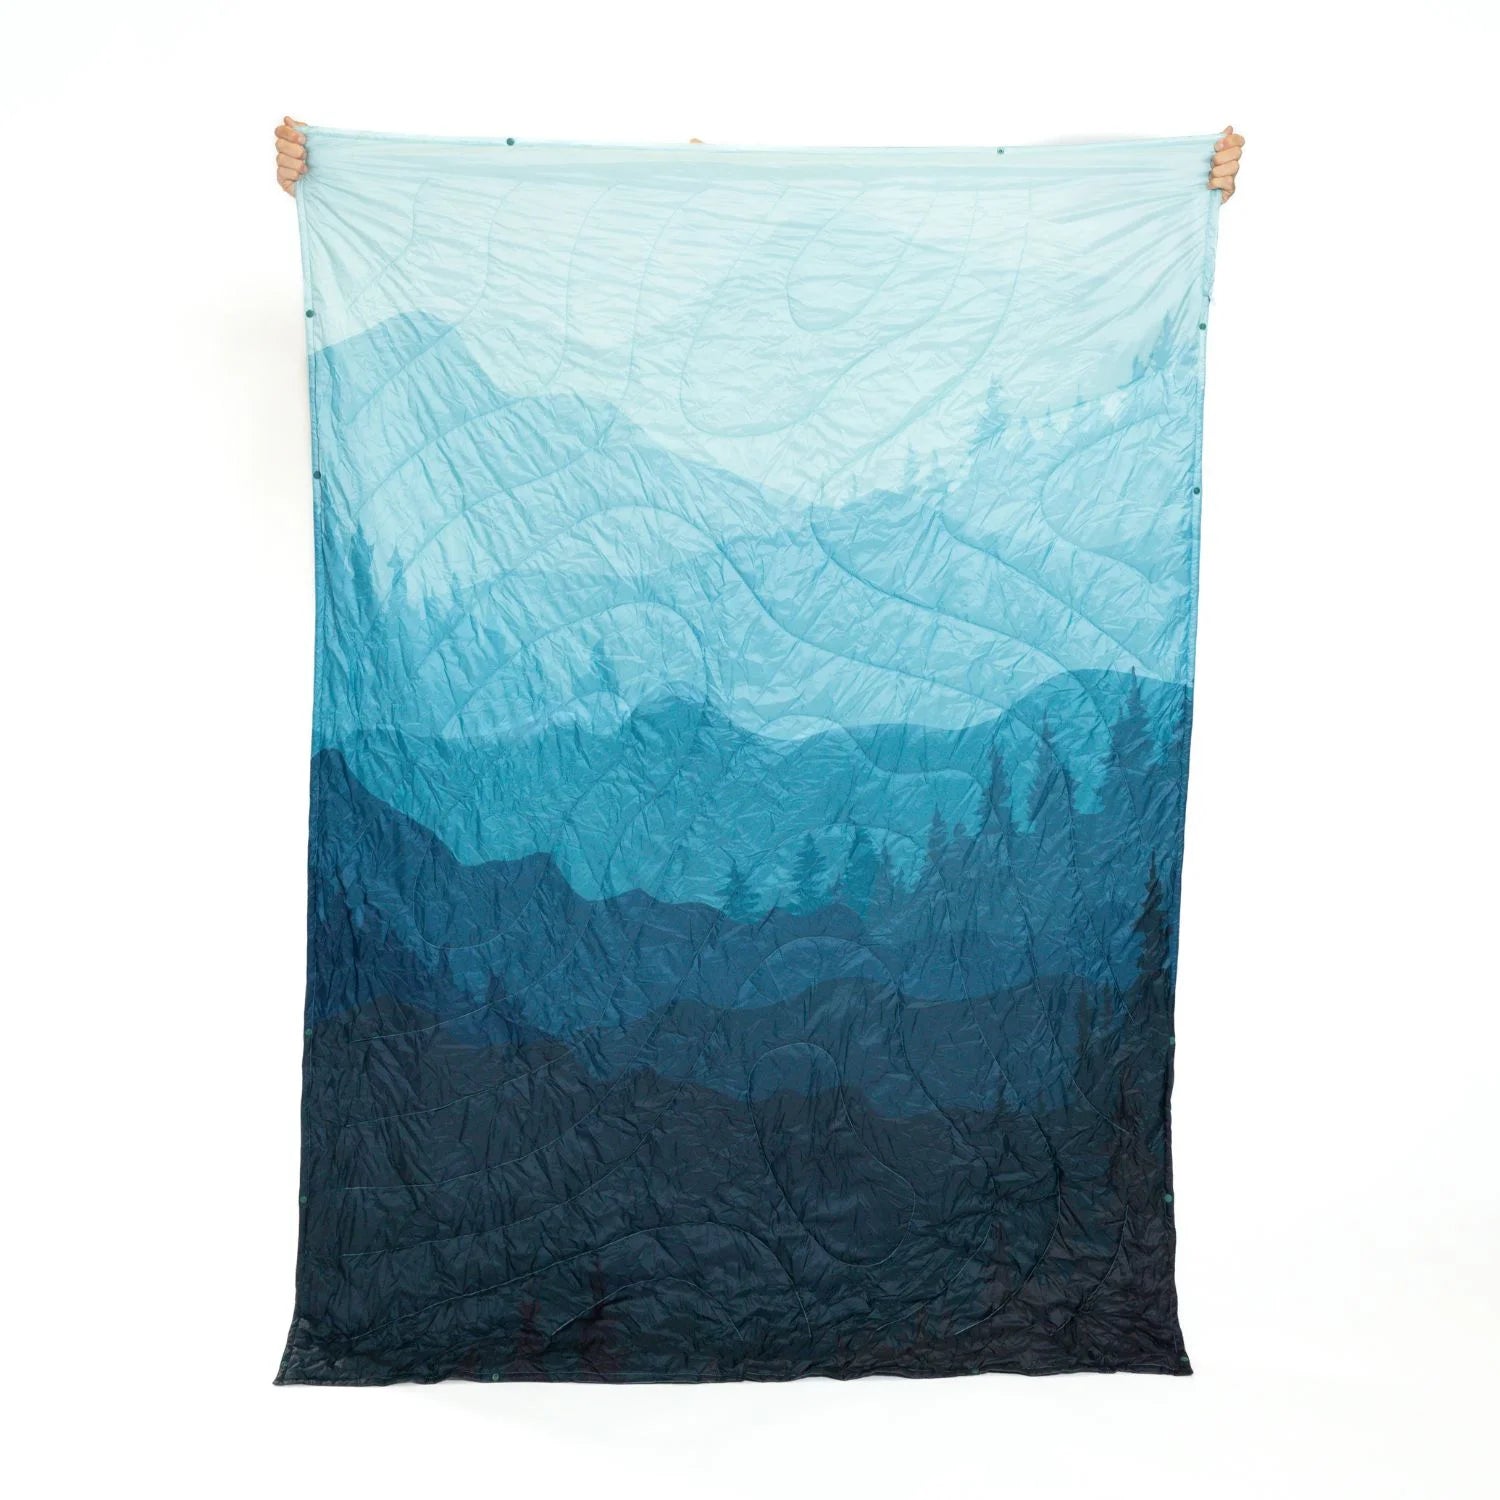


Danish Company

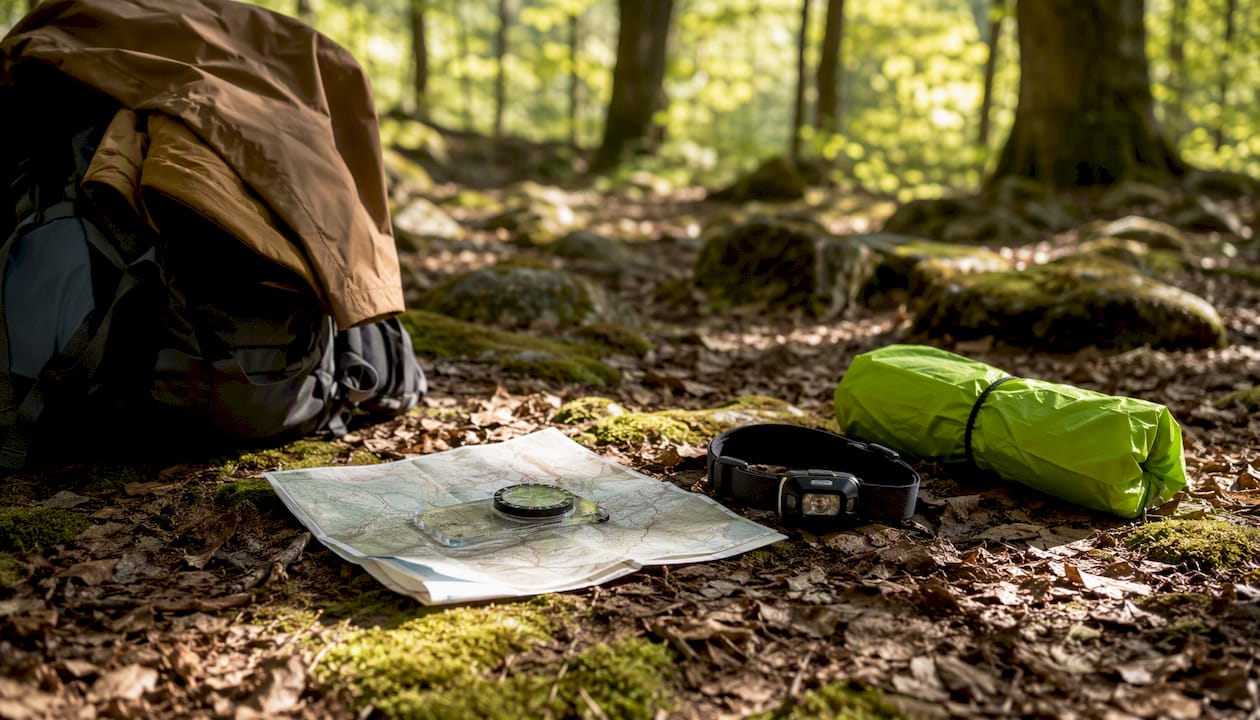
The Ten Essentials are the ten survival systems every backpacker should carry on every trip. According to American Hiking Society, these core items form the baseline for backcountry readiness across every skill level and terrain type. Here’s the full list so you can check your kit right now:
That’s your backpacking gear checklist in one scan. The rest of this article explains how to use it, tailor it, and pack it smart.
The Ten Essentials are functional systems, not a fixed gear list — tailor each one to your trip’s exposure, distance from help, and duration for a kit that’s both safe and packable.
| Point | Details |
|---|---|
| Systems, not a shopping list | Each essential covers a functional need; multi-use items that cover two systems save weight without sacrificing safety. |
| Navigation needs redundancy | Always carry a paper map and compass; add GPS or a satellite communicator for remote trips. |
| Water planning baseline | Plan for roughly 0.5 L/hour in moderate conditions and always carry a treatment method for natural sources. |
| Emergency shelter on every trip | A space blanket or emergency bivy weighs under 8 oz. and belongs in your pack on every hike, not just overnights. |
| Pre-trip check is non-negotiable | Test your headlamp, flush your filter, and scan your first-aid kit the night before departure. |
The Ten Essentials are not a shopping list. Both the U.S. National Park Service and Leave No Trace frame them as functional systems designed to handle minor injuries, sudden weather changes, and unexpected delays. The goal is resiliency and redundancy, not gear accumulation.
That framing matters. A stove, for example, covers both the fire system and the water-treatment system simultaneously. A rain jacket doubles as emergency shelter on a short day hike. Thinking in systems pushes you toward multi-use items and away from packing duplicates that add weight without adding safety.
Tailoring the list to your trip is the whole point:
Pro Tip: Lay out every item before packing and ask “which system does this cover?” Anything that doesn’t cover at least one of the ten systems is a candidate to leave behind.
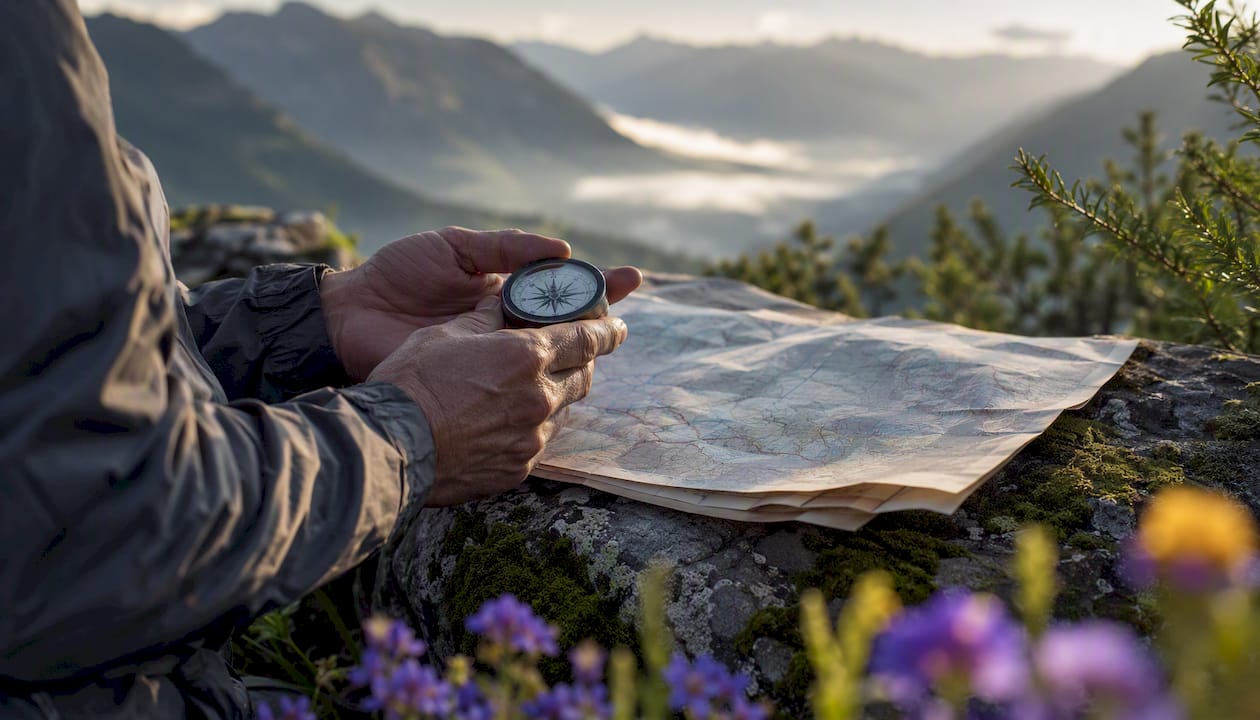
Carry a paper topographic map and a baseplate compass as your non-negotiable baseline. Electronics fail; paper doesn’t run out of battery. As The Mountaineers note, modern backcountry navigation relies on multiple tools working together: map, compass, altimeter, GPS device, and a personal locator beacon or satellite communicator for remote trips.
Practical navigation items to pack:
Pro Tip: Practice reading your map and compass at home before you need them on trail. Knowing how to take a bearing takes about 20 minutes to learn and could save your life.
A headlamp keeps both hands free, which matters when you’re scrambling over rocks, setting up camp in the dark, or digging through your pack for dinner. Bring it even on day hikes; more people get caught out after sunset than they expect.
What to pack for lighting:
Pro Tip: Test your headlamp the night before every trip and check battery level. A dead headlamp discovered at the trailhead is a classic rookie mistake that’s completely avoidable.
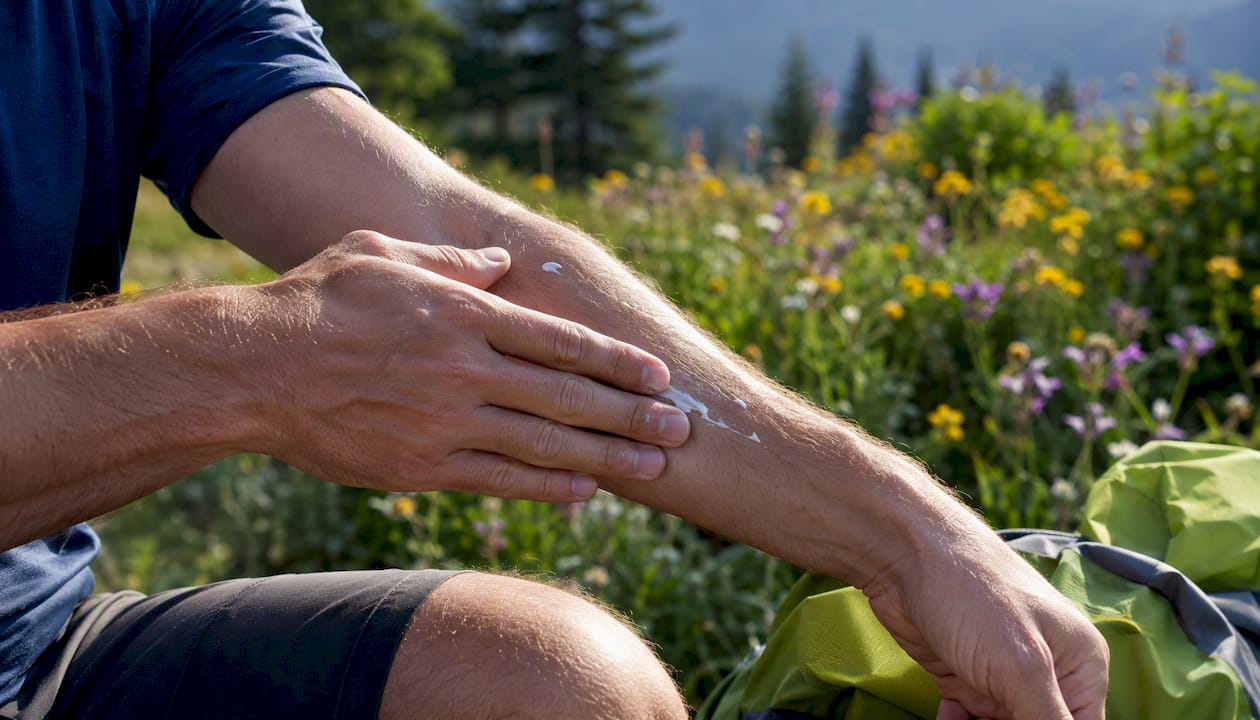
Always carry sunglasses, sunscreen, and sun-protective clothing.
Core sun-protection items:
Pro Tip: Pack a neck gaiter in your sun-protection kit. It doubles as wind protection, a dust mask, and a light insulating layer when temperatures drop.
Start with a pre-made kit and modify it for your specific trip and medical history. The NPS recommends including blister care and personal medications alongside the standard supplies, and checking expiration dates before every trip.
Core first-aid supplies:
The NPS advises: “Start with a preassembled kit and modify it for the specific trip and your medical needs. Include any personal medications and know how to use everything in your kit before you leave the trailhead.”
Check expiration dates every season, not just once. Medications and adhesives both degrade, and discovering an expired EpiPen mid-trip is not the adventure you signed up for.
A small knife or multi-tool handles food prep, first aid, gear repair, and a dozen other tasks you won’t anticipate until you need them. Keep the repair kit minimal but functional.
Repair kit essentials:
Store your knife in a secure sheath clipped inside your pack’s hip belt pocket so it’s accessible but won’t wander off at camp. Losing a multi-tool mid-trip is more annoying than it sounds.
Carry at least two fire-starting methods in waterproof packaging. A lighter is the most reliable everyday tool; waterproof matches or a ferro rod serve as backup when the lighter gets wet or runs dry.
Fire-starting kit:
Safety note: Always check local fire regulations before your trip. Many wilderness areas in the American West enforce fire bans during dry season, and violating them carries serious fines. Campfire regulations are posted on the relevant land management agency’s website for your destination.
Carry an emergency shelter sized for the worst realistic weather on your specific route. An unexpected night out in the rain without shelter is a hypothermia scenario, not just an inconvenience. Leave No Trace recommends carrying a shelter even on day trips for exactly this reason.
Shelter options by weight and coverage:
Pro Tip: Keep a small emergency bivy permanently stuffed in the bottom of your pack. You’ll never think about it until the one day you desperately need it, and at that point you’ll be very glad it’s there.
Pack extra no-cook, calorie-dense food on top of your planned rations to prepare for unexpected delays. The Washington Trails Association points out that on cold trips, extra food directly contributes to warmth by fueling your body’s heat production — so this system does double duty.
Best emergency food options:
In a group emergency, share food proportionally based on body size and exertion level rather than splitting equally. The person doing the most physical work burns the most calories. Pack your emergency rations in a separate, clearly labeled bag so you don’t accidentally eat them on day two.
Carry enough water for your planned trip plus a credible contingency, and always bring the means to treat additional water from natural sources. The Washington Trails Association suggests planning around roughly 0.5 liters per hour as a baseline in moderate conditions — though heat, elevation, and exertion can push that number significantly higher.
Planning baseline: ~0.5 L/hour in moderate conditions. Adjust upward for hot weather, steep terrain, or high altitude.
Water treatment options compared:
Pro Tip: Use a wide-mouth water bottle (Nalgene 32 oz. is the classic) for easy refilling from streams and filters. Add a small collapsible reservoir like a Platypus 2L for extra carry capacity when water sources are spread out.
Hiking with a dog? Their water needs add up fast too. Check out Rebarkable’s guide to hiking with your dog for practical tips on managing canine hydration on trail.
Pack extra clothing to survive the worst realistic weather you might encounter, not just the forecast. Conditions change fast in the mountains, and wet cotton is a hypothermia risk. Synthetic and wool fabrics stay warm even when damp; cotton does not.
High-impact clothing items to add:
Pro Tip: Pack your extra clothing in a dry sack inside your pack. A wet insulating layer is nearly useless, and most backpacks are not waterproof even with a rain cover. Compressible down jackets stuff into their own pocket and take up almost no space.
Prioritize items by the three risk factors that matter most: exposure to weather, distance from help, and trip duration. A two-hour day hike on a popular trail near a trailhead needs lighter versions of each system. A five-day remote wilderness trip needs full redundancy across every system. For beginner backpackers, starting with a conservative, slightly heavier kit is smarter than going ultralight before you know what you actually need.
Packing sequence (load your pack in this order):
Quick trip-tailoring rules:
For trips lasting one to seven nights, Sitpack’s gear guide by trip length breaks down exactly how to scale your kit without overpacking.
Pro Tip: Consolidate multi-use items aggressively. A stove covers fire and water treatment. A rain jacket covers emergency shelter on short trips. A trekking pole can serve as a tarp ridgeline. Every item that covers two systems is a win for your back.
Here’s the honest version of the Ten Essentials that experienced hikers rarely say out loud: the list is correct, but the execution is where most people go wrong.
The items I consider non-negotiable regardless of trip length are navigation (map and compass, always), a headlamp, and an emergency bivy. These three cover the scenarios that actually kill people: getting lost, getting caught in the dark, and unexpected exposure. Everything else scales with the trip.
The trade-offs worth making:
A stove replaces both a dedicated fire kit and a second water container on most trips. It’s heavier than a lighter, but it boils water reliably in wind and rain when an open fire is either banned or impossible. On snow trips, it’s not optional.
I keep a lightweight emergency bivy permanently in my pack rather than swapping it in and out. It weighs about 4 ounces and I’ve never regretted carrying it. The one time you need it, you really need it.
The repair kit is where most people either overpack (carrying a full sewing kit and three types of tape) or underpack (carrying nothing).
Pro Tip: Run a five-minute gear check the evening before every trip: headlamp on, water filter flushed, first-aid kit opened and scanned, map confirmed for your route. Five minutes at home beats two hours of problem-solving on trail.
These are the authoritative references behind the guidance in this article. All are free, well-maintained, and worth bookmarking: