Vogn
0
Tilmeld dig og få 10% i rabat på din ordre
Forventet levering
1-3 dage
Du vil måske også kunne lide


Dansk Firma

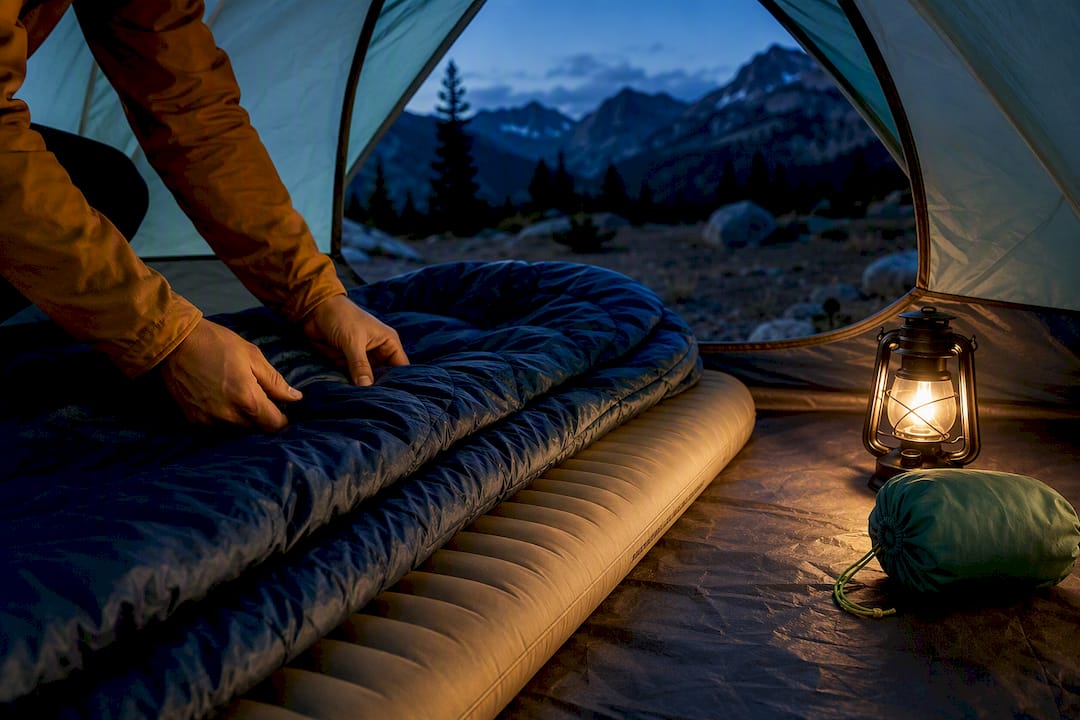
The fastest way to make tent camping comfortable is building a proper sleep system: an insulating pad rated for the season, a temperature-appropriate bag, and a level, well-drained pitch. Add basic ventilation control and one small pillow upgrade, and most campers report a dramatically warmer, quieter night within a single trip. Everything else, from lanterns to rugs, is a bonus on top of that foundation.
TL;DR:
- The most significant comfort improvement comes from upgrading your sleeping pad to meet or exceed seasonal R-value recommendations and choosing a flat, well-drained campsite.
- Proper ventilation, site selection, and moisture control are crucial for avoiding condensation and the discomfort it causes, especially on single-wall tents.
- Layering with moisture-wicking clothing, a sleeping liner, and pre-sleep routines boosts warmth, while testing pad and vent setups helps personalize comfort.
- Carrying a small inflatable pillow, a ground tarp, and a portable seat near the entrance greatly enhances perceived comfort and organization inside the tent.
- Prioritizing these upgrades and routines results in dramatically warmer, quieter, and more comfortable nights with minimal investment.
You don’t need a gear closet to fix a miserable night in a tent. You need the right ten moves, done in order, before the sun goes down. Here’s the priority list I hand to anyone who tells me camping “just isn’t for them,” ranked by comfort gained per dollar and minute spent.
Items 1 and 3 deliver the most dramatic swing in comfort. A cheap foam pad under a good bag still leaves you cold; a great pad under a mediocre bag still lets you sleep. Site selection costs nothing and takes five extra minutes, which makes it the best free upgrade on this list.
R-value measures how well a material resists heat flow, and for sleeping pads, it’s the number that matters more than price, brand, or thickness. The National Park Service recommends an R-value of 3 or higher for three-season camping, climbing to 5 or above once temperatures drop into winter range. Below that threshold, the ground acts like a heat sink, and no bag rated for 20°F will keep you warm if you’re lying directly on 40°F dirt.
Manufacturers increasingly publish ASTM-tested R-values, which finally makes shopping straightforward. The Sea to Summit Comfort Deluxe self-inflating mat, for example, lists an ASTM-tested rating on some models above 7, putting it firmly in winter-capable territory. That tested number means more than a marketing phrase like “extra warm,” because it’s measured the same way across brands.
Pro Tip: Stack a cheap closed-cell foam pad underneath your main air pad on cold nights. R-values add together, so a $20 foam pad can push a marginal 3.2-rated air pad into genuinely warm territory.
Pad types come with real tradeoffs, not just price differences:
Ground insulation, not bag warmth, is the variable most new campers get wrong. Skipping straight to a “0°F bag” while sleeping on a thin pad is a common and expensive mistake.
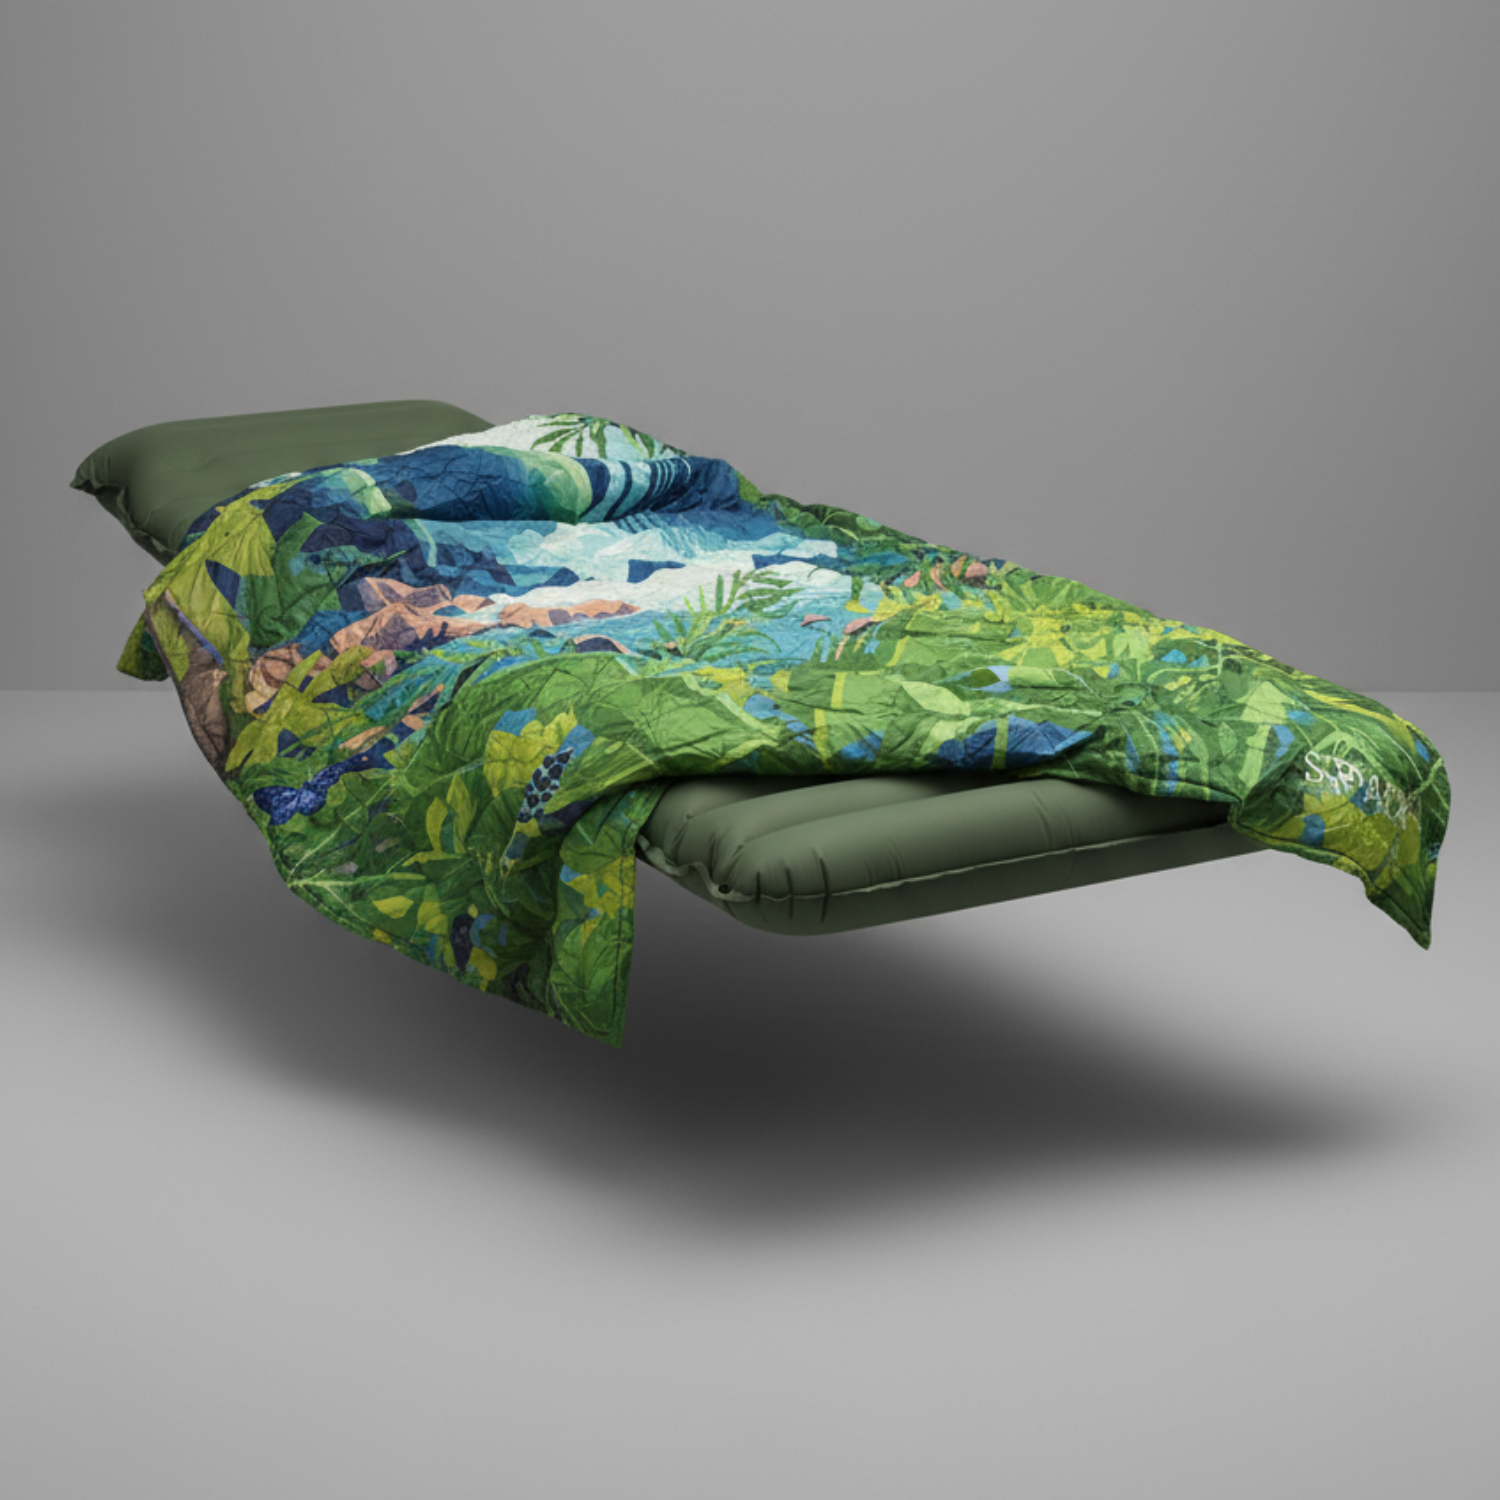
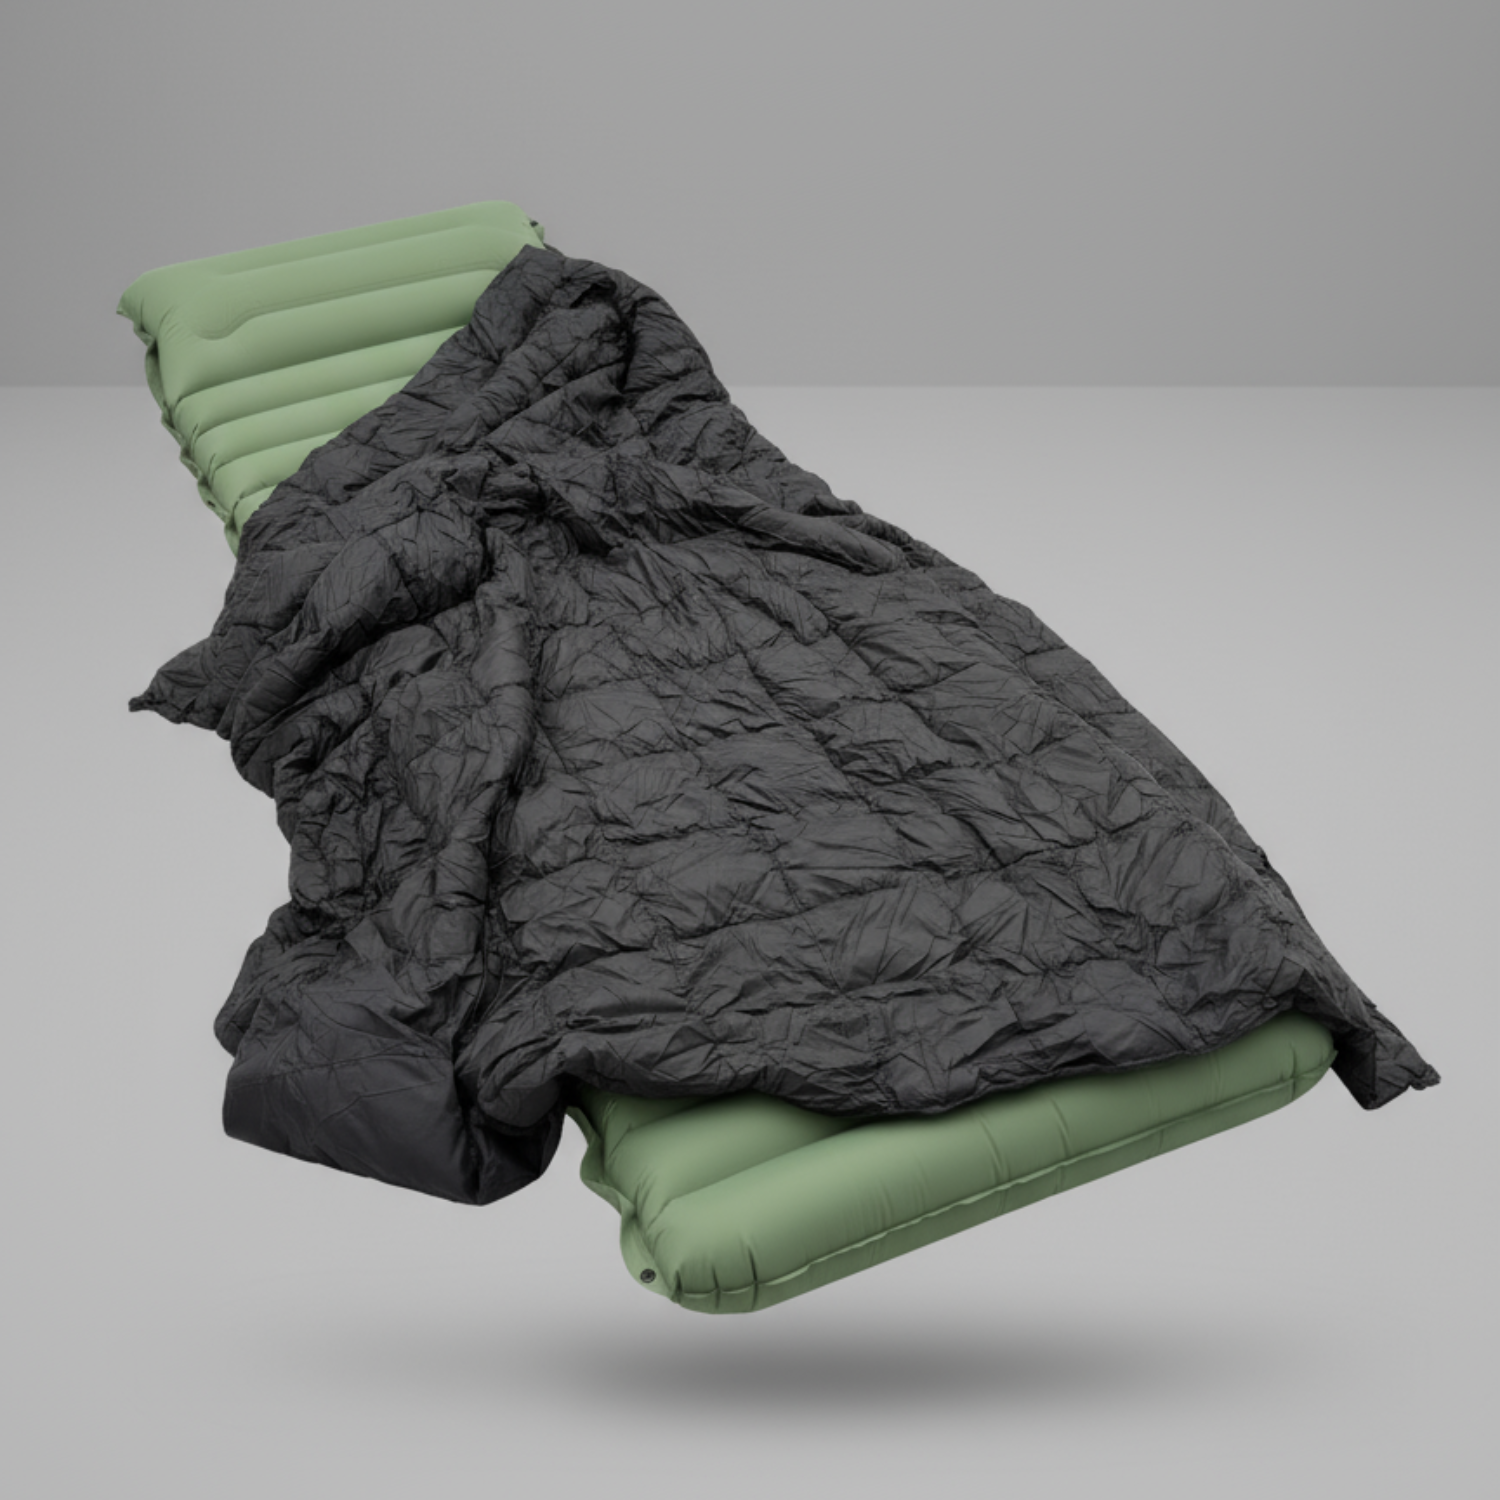
Liners deserve more attention than they get. A silk liner adds roughly 5°F of warmth and keeps your bag cleaner between washes. A fleece or Thermolite liner can add 10 to 15 degrees, according to field-tested comparisons from experienced campers, which effectively turns a three-season bag into a shoulder-season winter bag for a fraction of the cost of buying a second one. That flexibility matters if you camp across different seasons but don’t want two separate bags taking up closet space.
For maintenance, air out your bag and pad after every trip, even a dry one. Trapped body moisture breaks down insulation loft over several seasons faster than actual outdoor use does. Store bags loose or in a large mesh sack rather than stuffed tight, since compression over months flattens the fill that keeps you warm.
The National Park Service frames good site selection around three non-negotiables, sometimes called the the so-called campsite triangle: level ground, natural drainage, and wind protection. Nail those three, and you’ve solved most of the comfort problems that gear alone can’t fix.
Start by scanning for the flattest patch of ground available, then do the unglamorous but essential lie-down test. Actually lie on the spot for thirty seconds before staking anything. Your palm can miss a root or buried rock that your hip will find at midnight.
If perfectly flat ground doesn’t exist, the Park Service advises orienting your tent with your head slightly uphill, which stops you from sliding toward the door all night. Avoid the tempting shallow dip that looks flat and sheltered. Depressions collect runoff the moment it rains, and you’ll wake up in a puddle instead of a valley.
A few setup details separate a comfortable pitch from a noisy, damp one:
Campsite layout matters beyond the tent itself. Keep cooking areas well separated from your sleeping space. In bear country, the Park Service recommends roughly 200 feet of distance between food storage and sleeping areas, and following that spacing habit even outside bear country keeps food smells from drifting into your tent overnight.
Condensation forms when warm, moist air from your breath and body meets the cold inner wall of your tent. It’s not a leak, and sealing every vent to “keep the cold out” makes the problem worse, not better, by trapping that moisture with nowhere to go.
Cross-ventilation is the fix. Crack two opposing vents, even on a cold night, so air moves through the tent instead of sitting still against the walls. Double-wall tents handle this better by design, letting condensation form on the outer rainfly rather than the inner lining that’s inching from your face and sleeping bag.
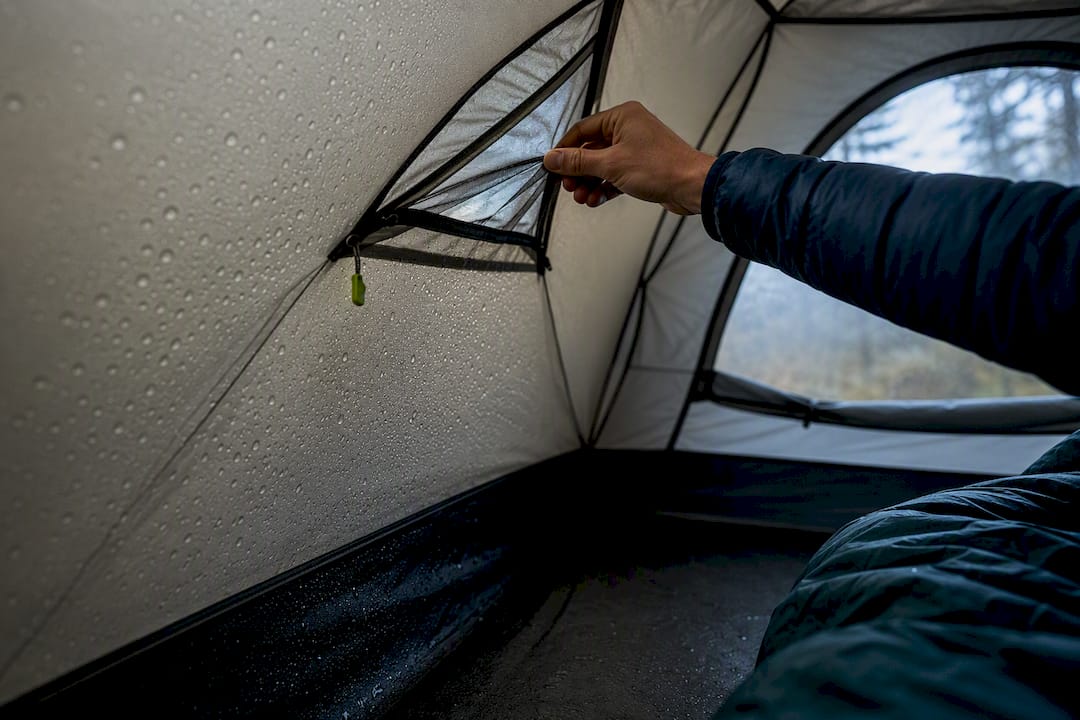
Pro Tip: If your single-wall tent fogs up constantly, wipe the interior with a small microfiber towel before bed, not after. A dry wall overnight collects less new condensation than a damp one starting the cycle over.
A short pre-sleep checklist keeps moisture under control by ensuring vents on opposite sides of the tent are cracked so air flows through rather than pooling.
Layering is the backbone of staying warm in a tent, and the rule is simple: no cotton. Cotton absorbs sweat and holds it against your skin, which cools you down exactly when you need warmth. A base layer of synthetic or merino wool, topped with a warm midlayer and dry sleep socks, does more for comfortable sleep than any single piece of gear.
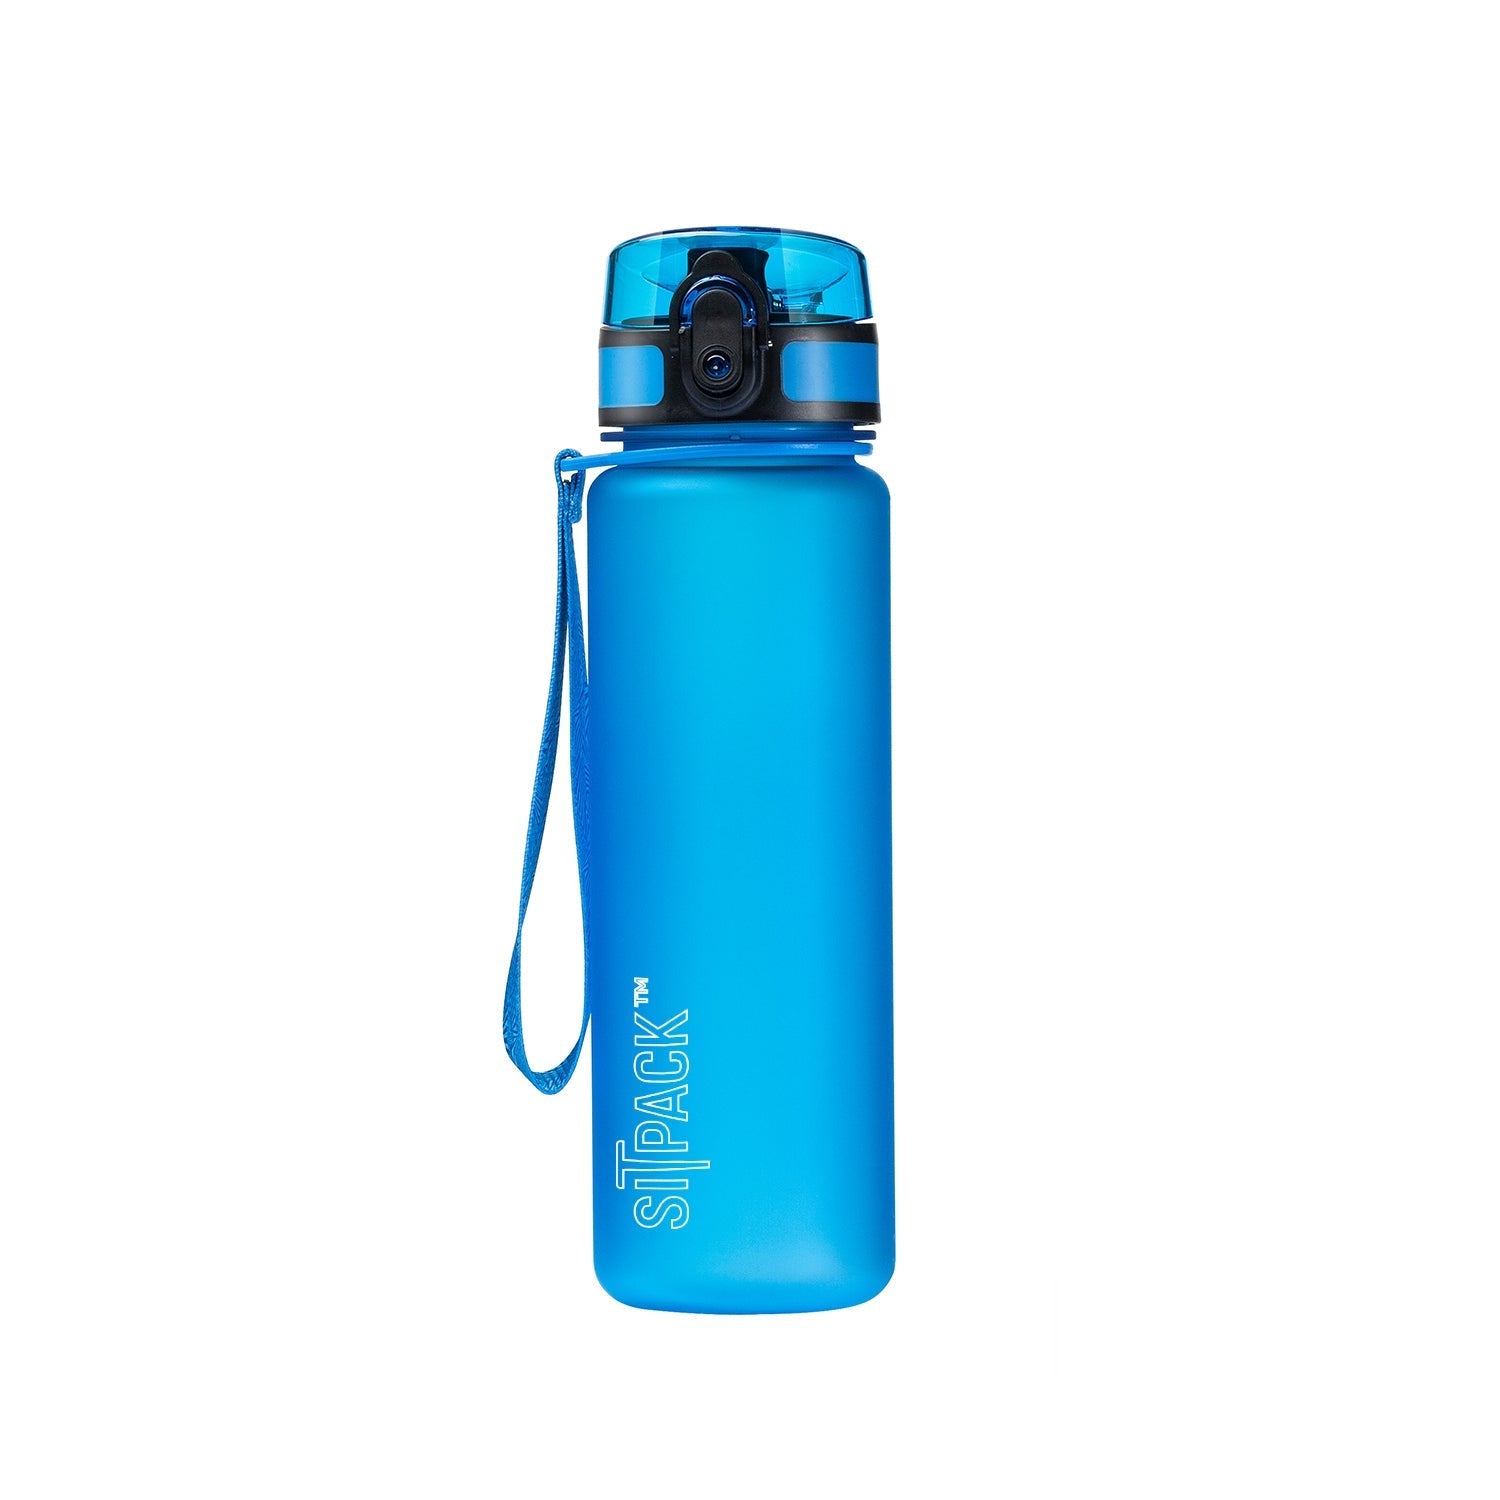
A few pre-bed habits multiply that effect. A hot-water bottle tucked at the foot of your bag turns cold feet into a non-issue within minutes, using nothing more than a Nalgene bottle and a camp stove. Stuffing tomorrow’s dry clothes into your bag rather than leaving them in your pack keeps them warm for the morning and adds a little extra insulation overnight.
Camp veterans treat warmth as a system rather than a single fix: ground insulation, clothing, and behavior all work together, and skipping one undercuts the other two.
Pro Tip: Eat a small snack with protein or fat right before bed. Digestion generates body heat, and going to sleep on an empty stomach on a cold night measurably worsens how warm you feel.
Practical tactics worth building into your routine:
Comfort isn’t only about temperature. It’s also about whether your tent feels like a cramped storage unit or a small, livable space. A few cheap changes shift that perception more than most campers expect.
A dedicated pillow, even a $12 inflatable one, beats a rolled-up hoodie every time. Hoodies flatten and slide within an hour; a real pillow, or even a stuff sack loosely filled with your next day’s clothes, holds its shape all night.
Floor comfort matters more than people assume. A thin foam mat or small rug just inside the door keeps dirt from tracking onto your sleeping area and gives your feet something other than cold tent floor to land on when you get up at 3 a.m. Organize gear into zones: a sleeping zone that stays clear, and a gear zone near the door for boots, packs, and anything muddy.
Lighting changes the mood of a tent instantly. A headlamp with a red-light mode preserves night vision and doesn’t wake up a tent partner the way a full white beam does. A small soft lantern hung from the ceiling loop gives ambient light for reading or organizing without the harsh glare of a phone flashlight.
Noise control rounds out the list:
Sleep researchers and frontcountry campground operators agree on one underrated fix: familiarity. KOA’s camping comfort guidance points out that keeping your normal bedtime rituals intact, even in a tent, helps your brain register that it’s actually time to sleep.
None of these take real effort. They just require treating your tent like a bedroom instead of a waypoint between hikes.
Not every purchase deserves the same priority. If you’re building a comfort kit from scratch, buy in this order and shop by spec, not price alone.
If your budget only stretches to one upgrade this year, make it the sleeping pad. A tested R-value pad fixes the single most common complaint campers have, cold nights, more reliably than a pricier bag ever will on its own.
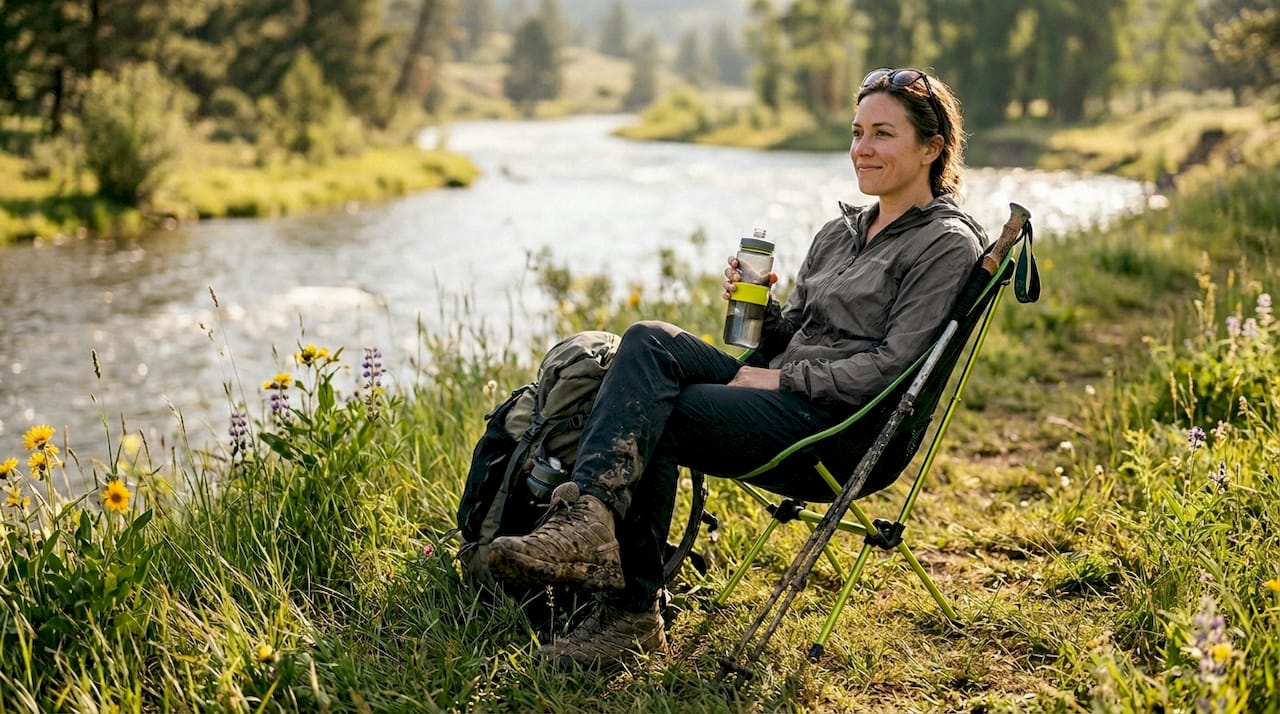
Portable seating changes more about camp comfort than its size suggests. A stool or compact chair parked near your tent’s entrance gives you somewhere to sit while pulling off boots, sorting gear, or just having coffee, instead of hunching over a groundsheet or perching on a cooler.
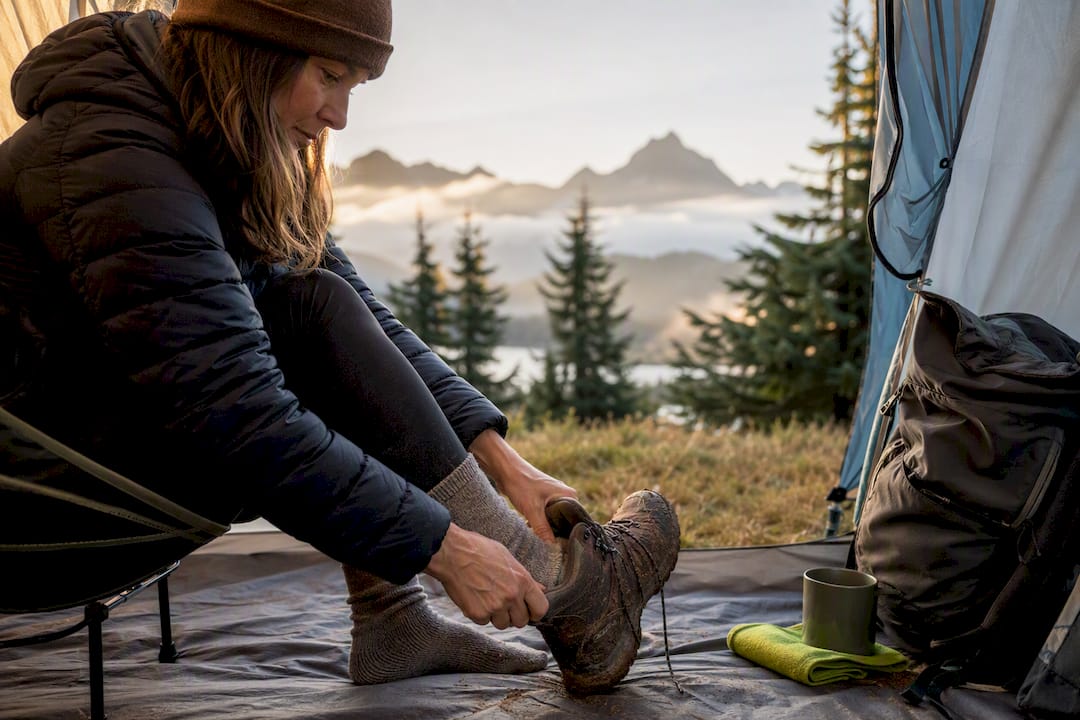
That small habit reshapes how a tent feels inside. Dirt, damp boots, and daypacks stay outside the sleeping zone, which keeps your actual bed area clean and dry through the night. A lightweight seat near the entrance reduces interior clutter without costing you an inch of sleeping space, and the perceived comfort gain is bigger than the item’s size would suggest.
A workflow worth copying:
Here’s the sequence I run through on nearly every trip, in order, from arrival to lights-out:
Two quick experiments worth trying: sleep one night with just your main pad, then add a foam pad underneath the next night, and compare how your back and hips feel by morning. Separately, test cracking one vent versus two on similar temperature nights and note the difference in tent-wall moisture at sunrise. Small comparisons like these teach you more about your own comfort thresholds than any spec sheet can.
— Jonas
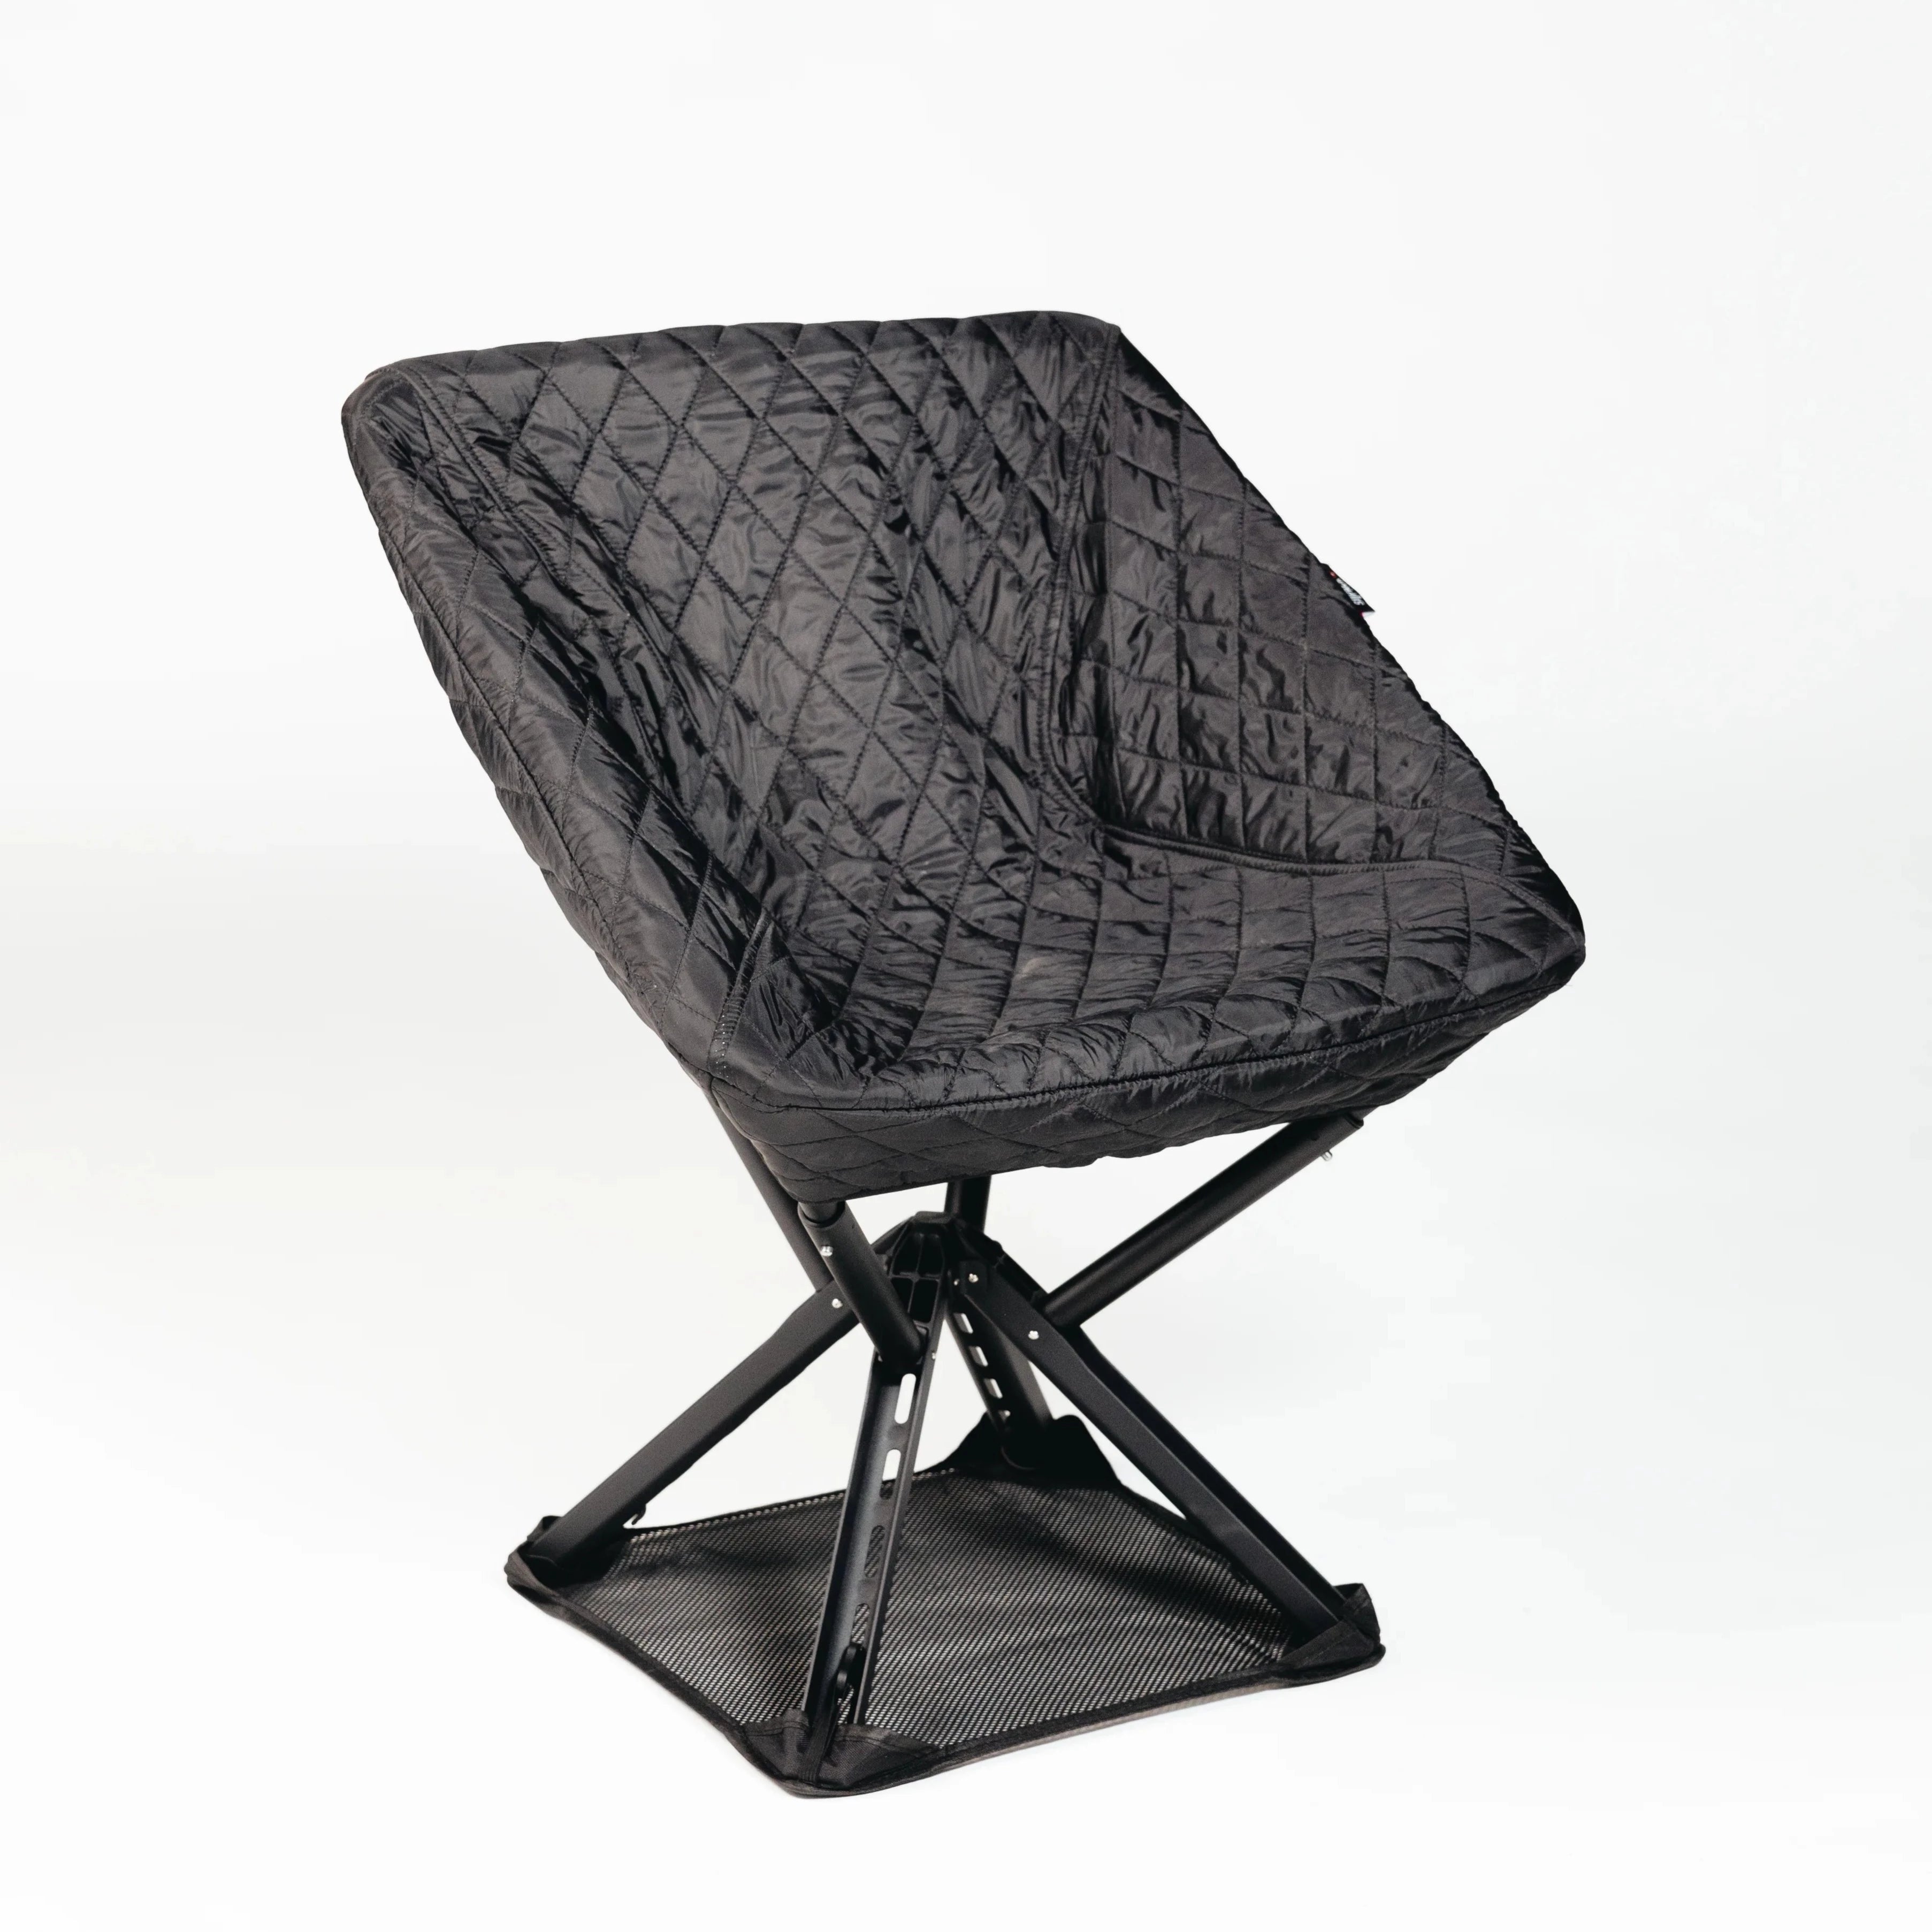
A great sleep system solves the biggest comfort problems, but the hours before bed matter too, and that’s where Sitpack fits in. Sitpack’s portable, foldable seating gives you a real place to sit at your entrance instead of hunching on a cooler, which keeps mud and gear out of your sleeping zone entirely.
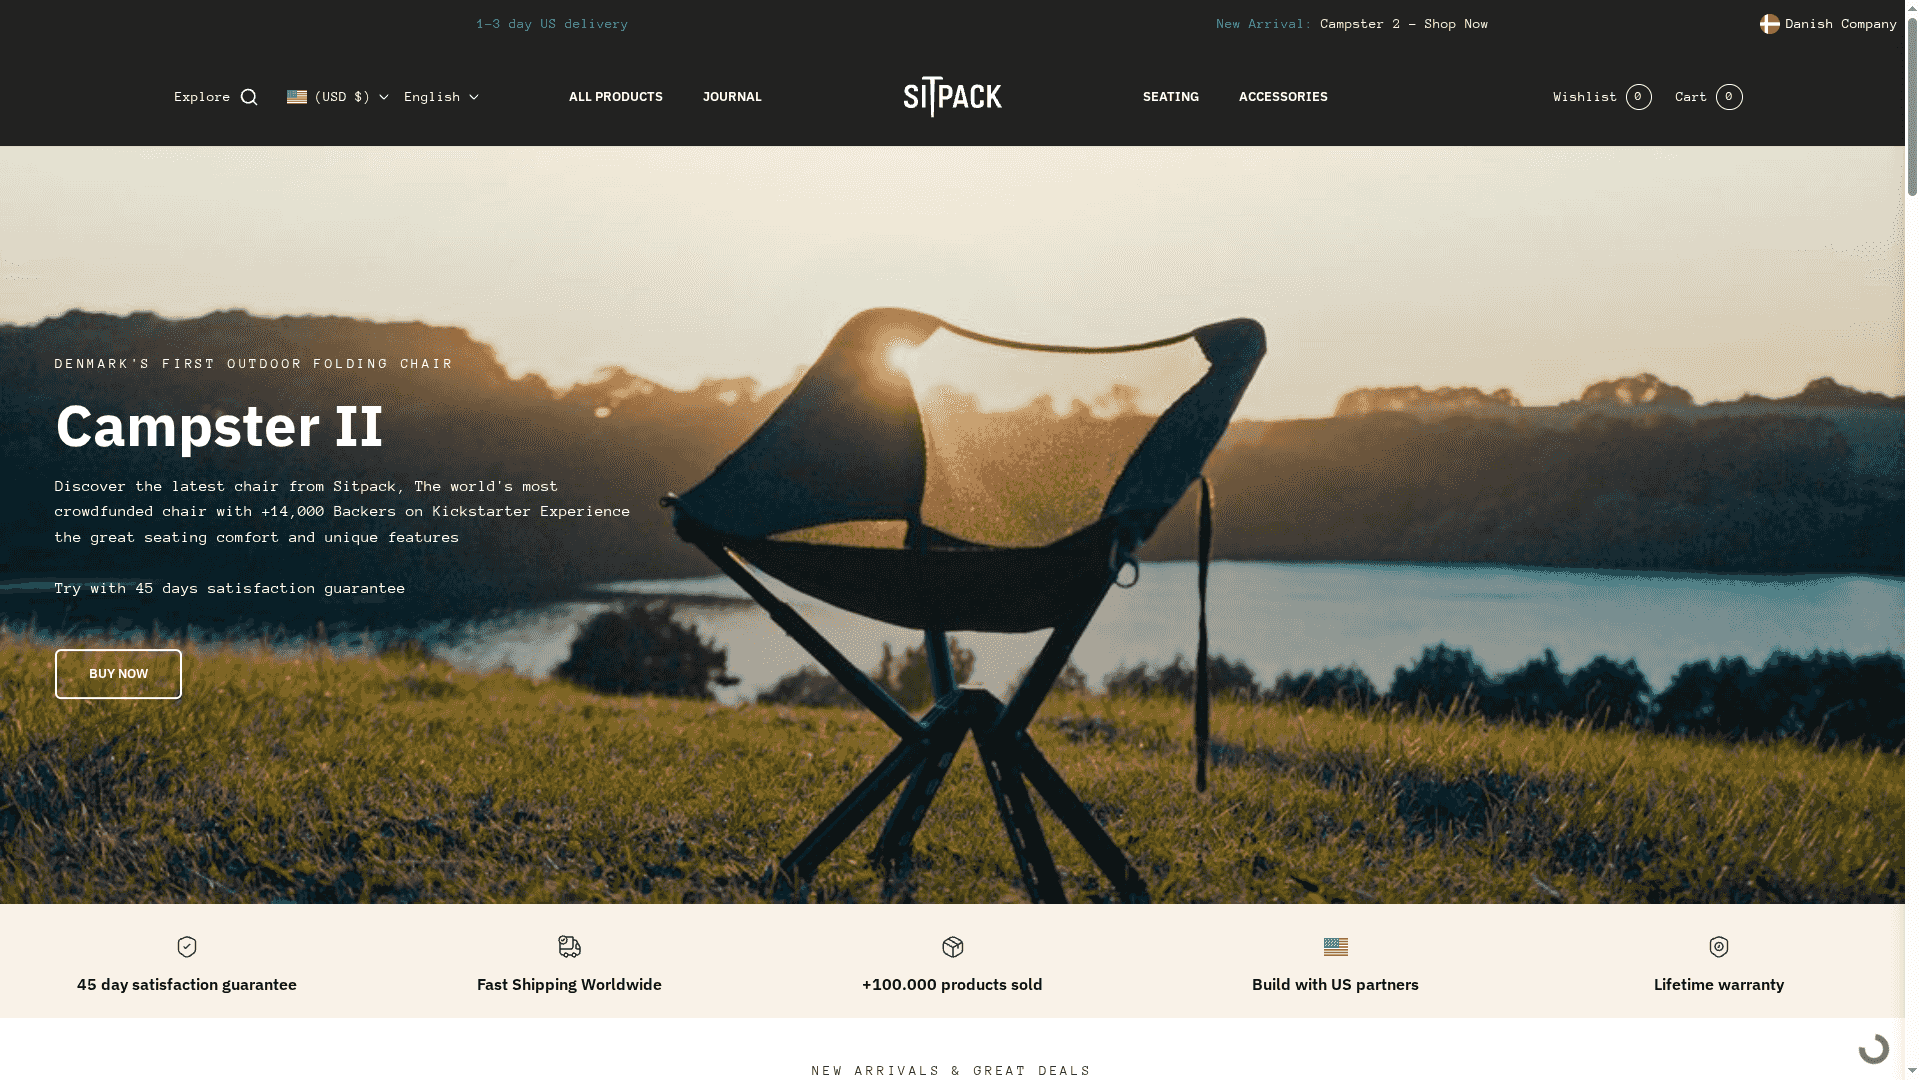
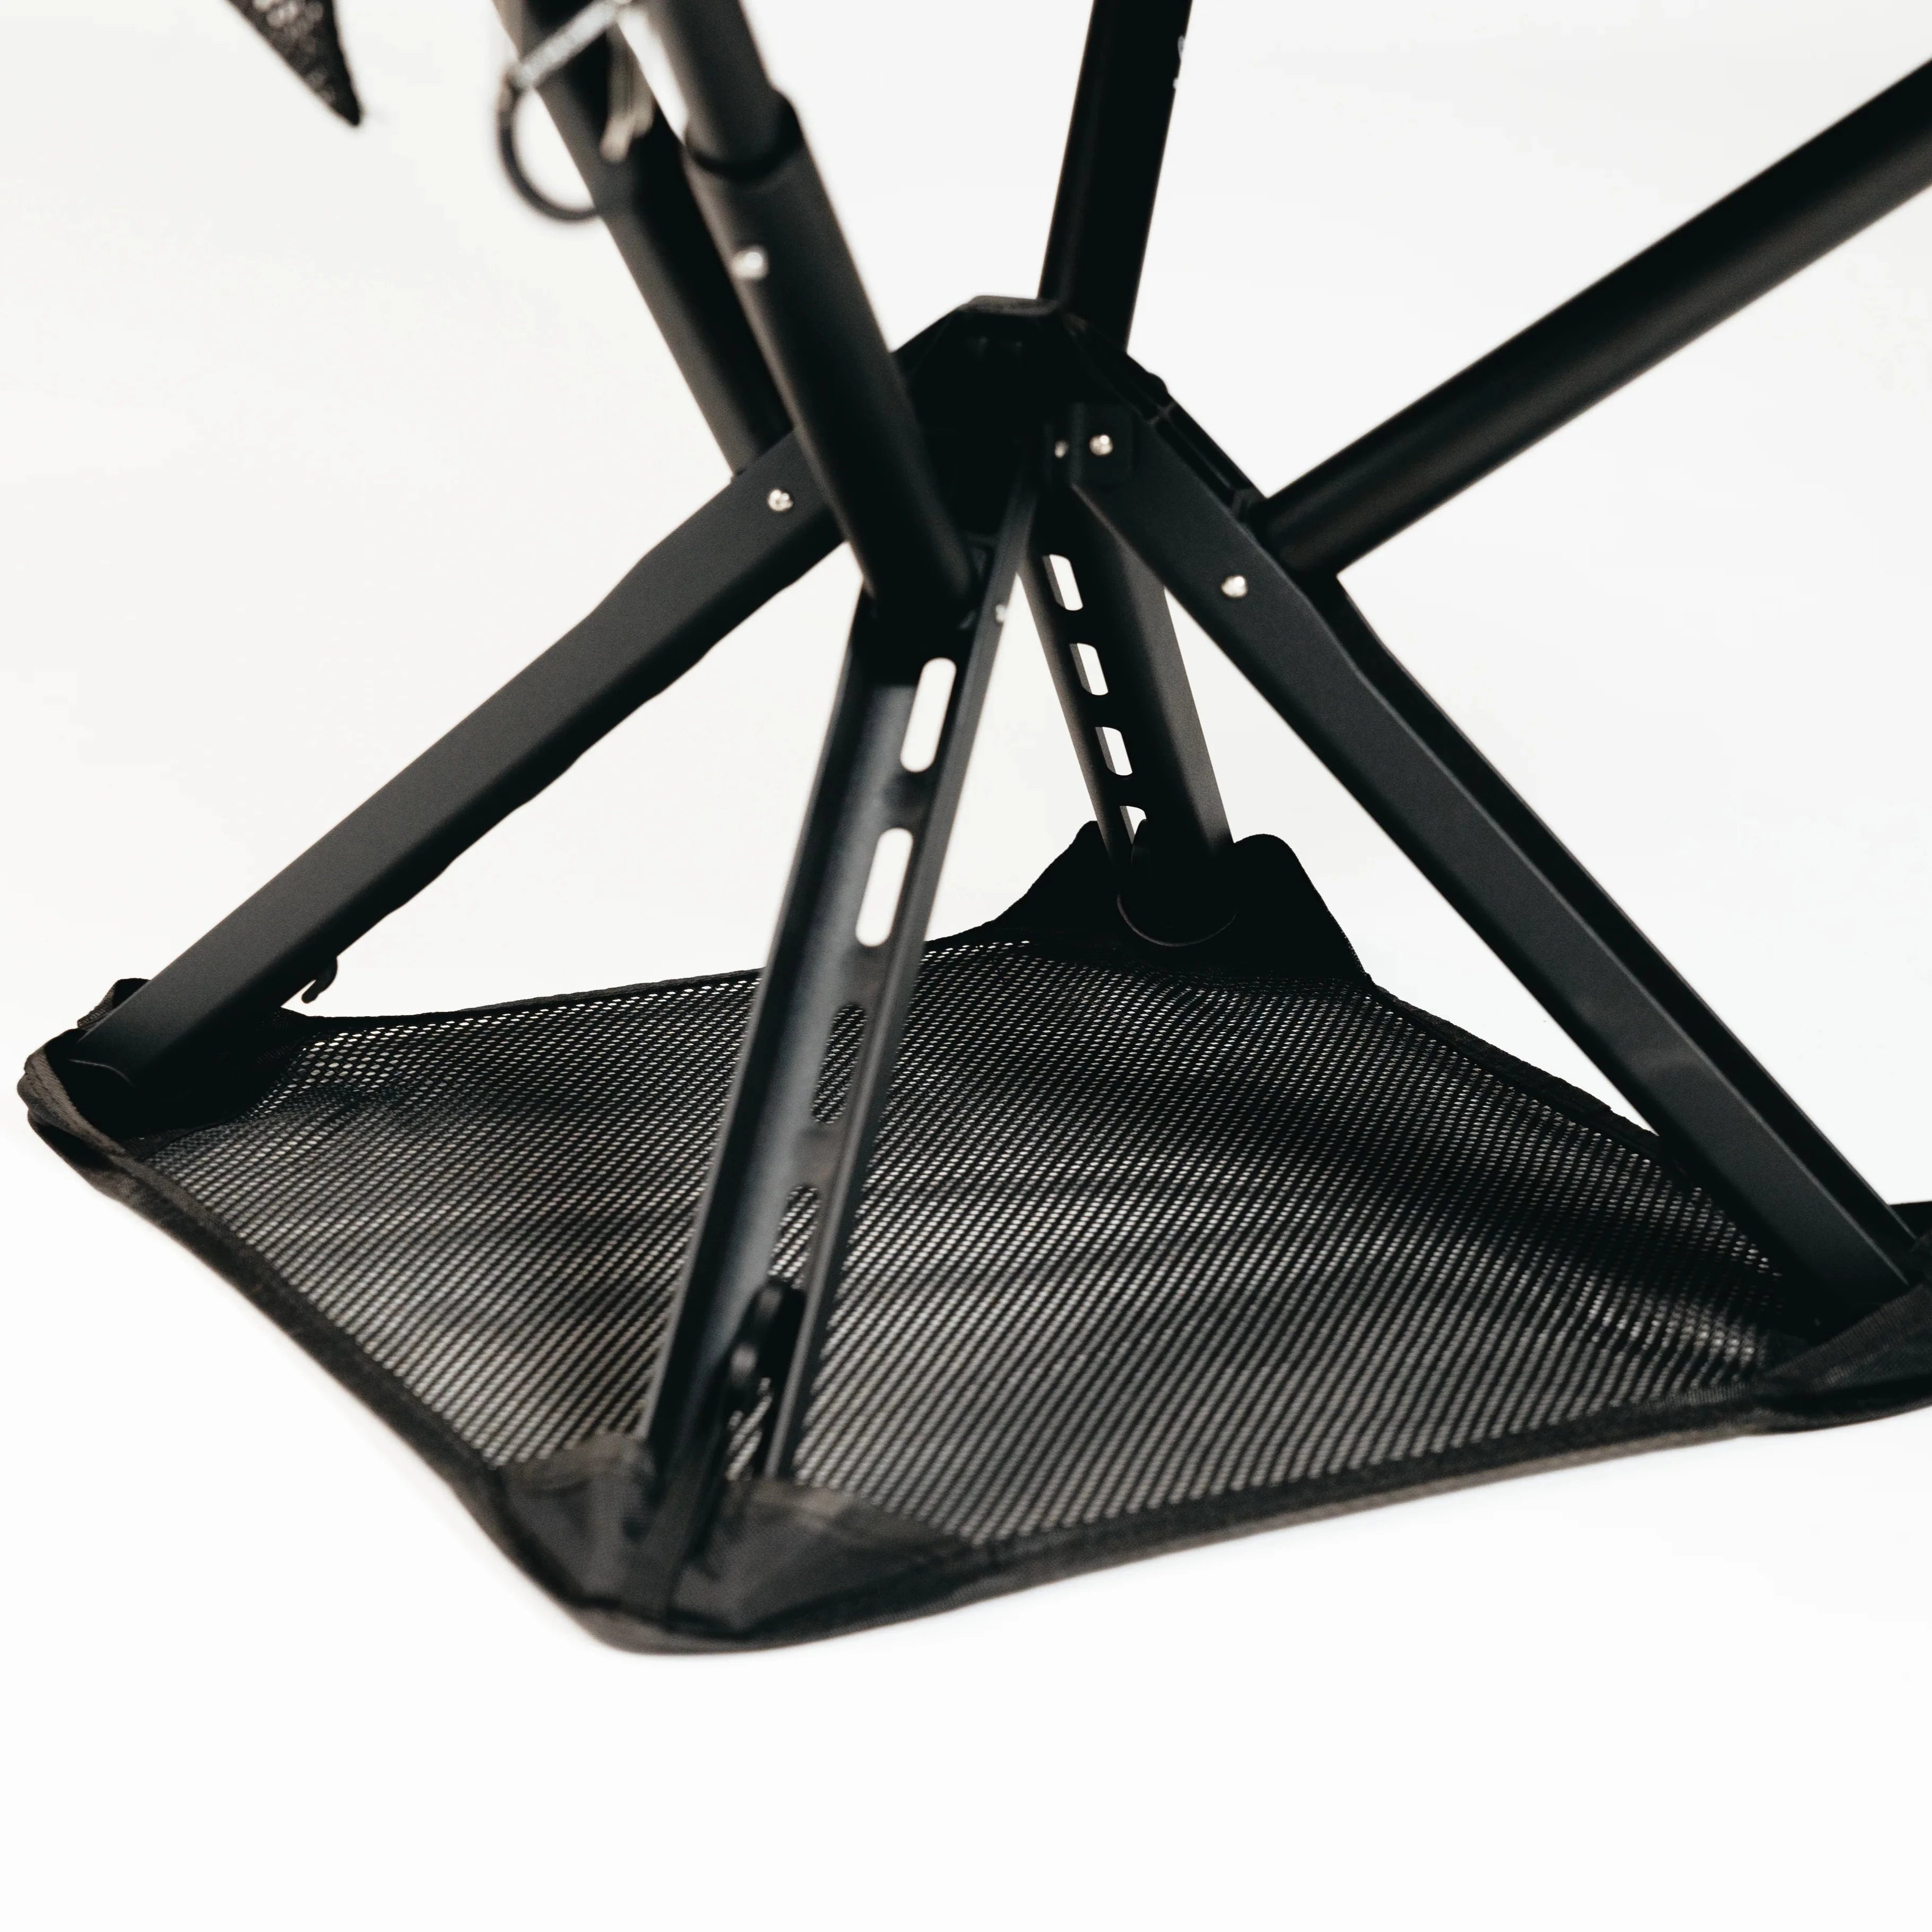
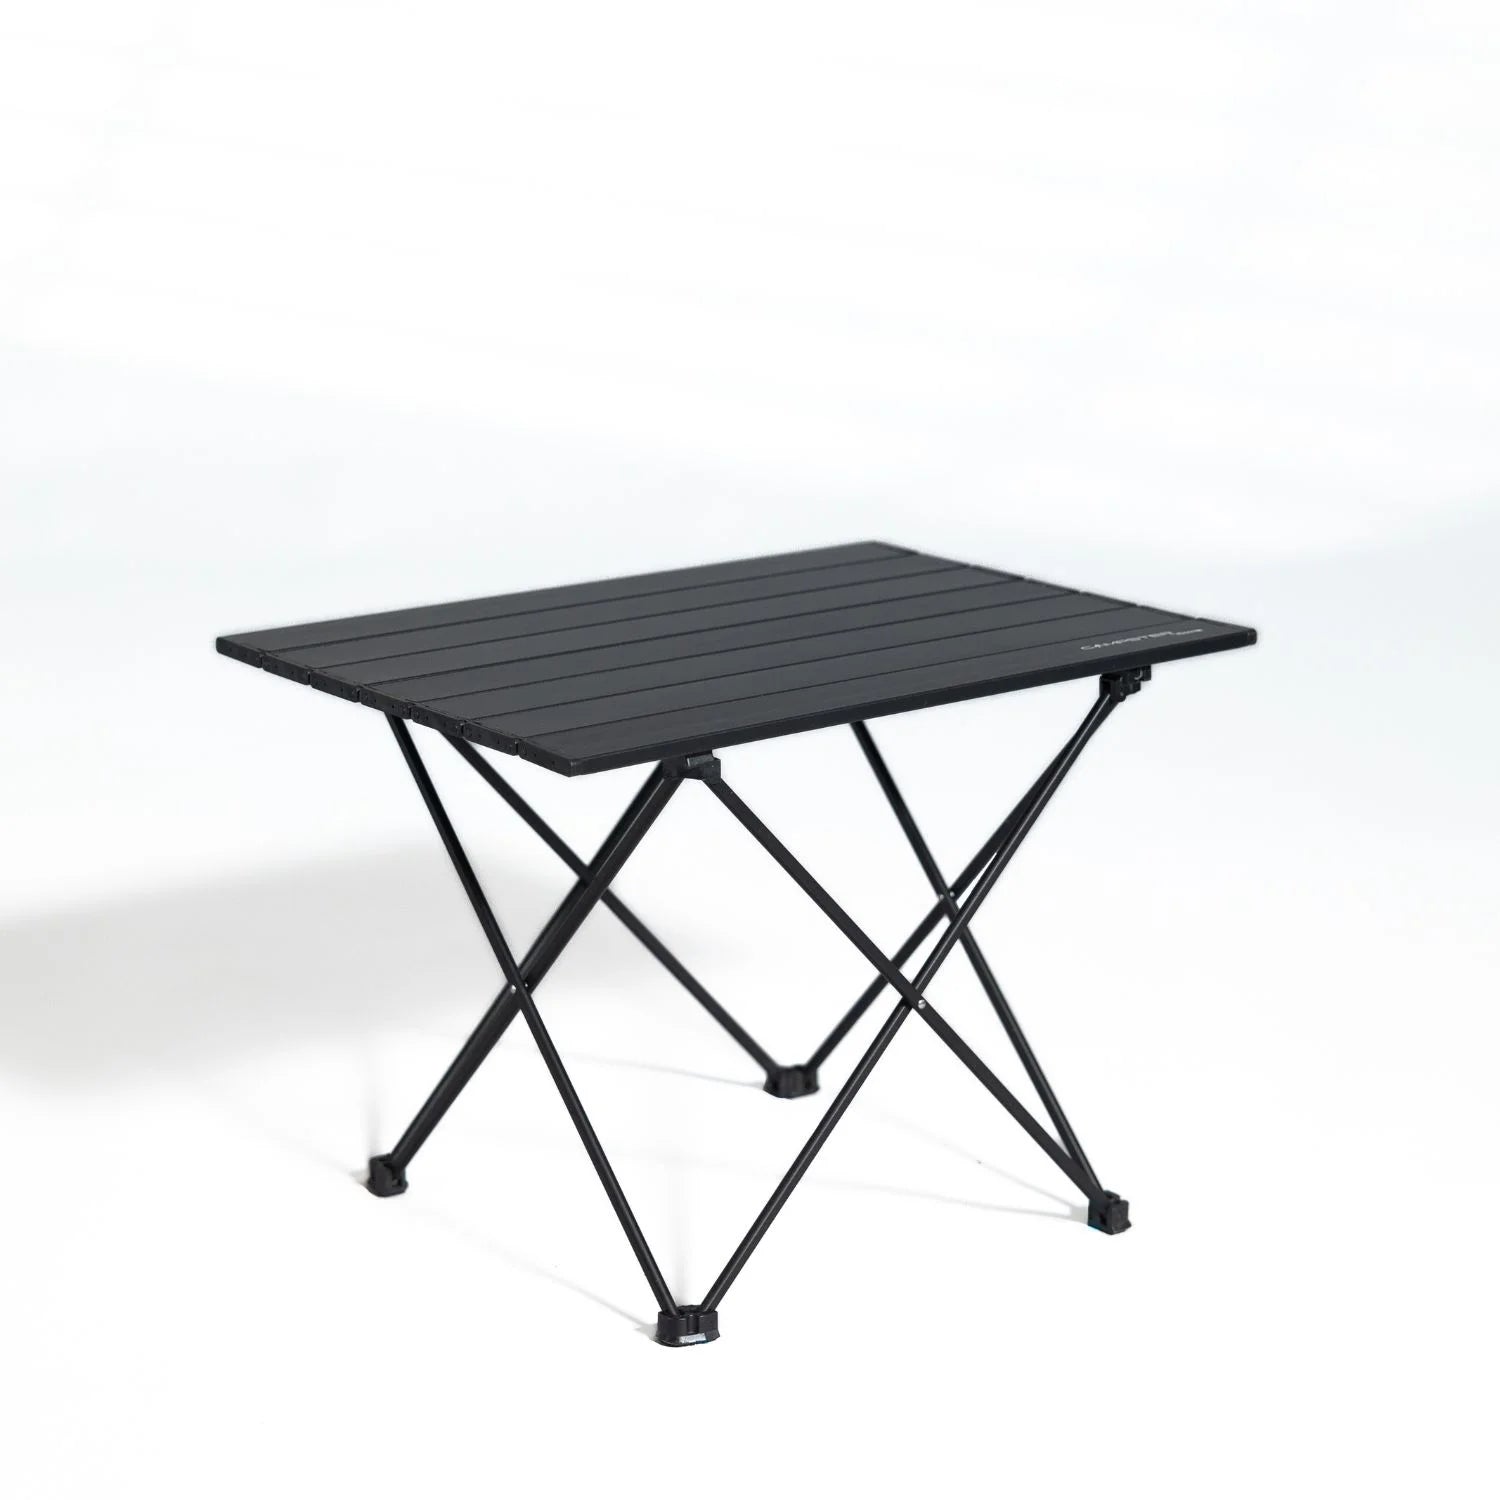
Some portable seats fold down small enough to ride in a side pocket, and a lightweight, minimalist build can help avoid trading pack space for comfort. Pair a stool or chair with a compact table and a seat warmer for cold mornings, and your camp living area does double duty without eating into the footprint you need for tent and gear. Browse the current lineup of portable outdoor chairs and accessories to see which size and fold style fits your typical trip, and check the available add to cart options before your next weekend out.