Cart
0
Sign up and get 10$ off your order
Expected delivery
1-3 days
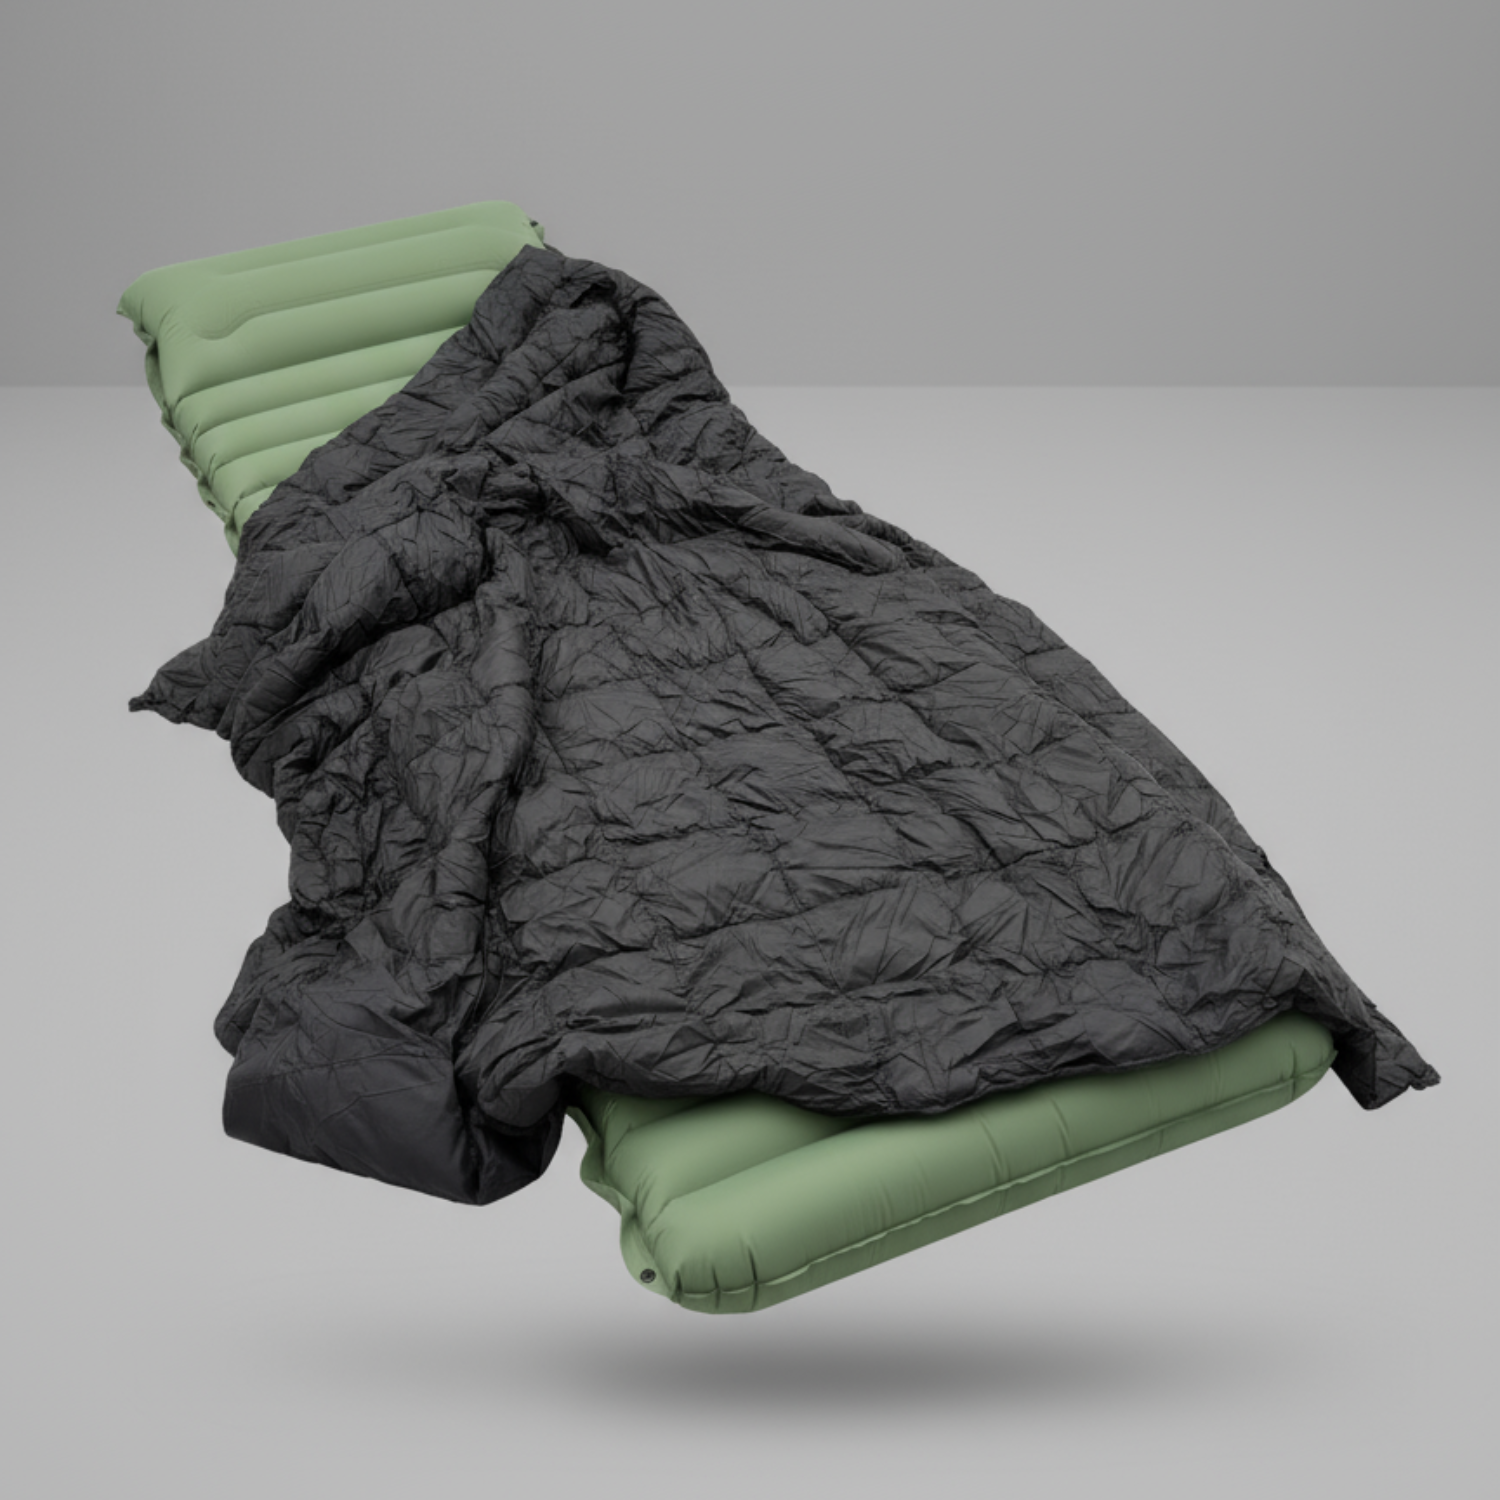
You may also like


Danish Company
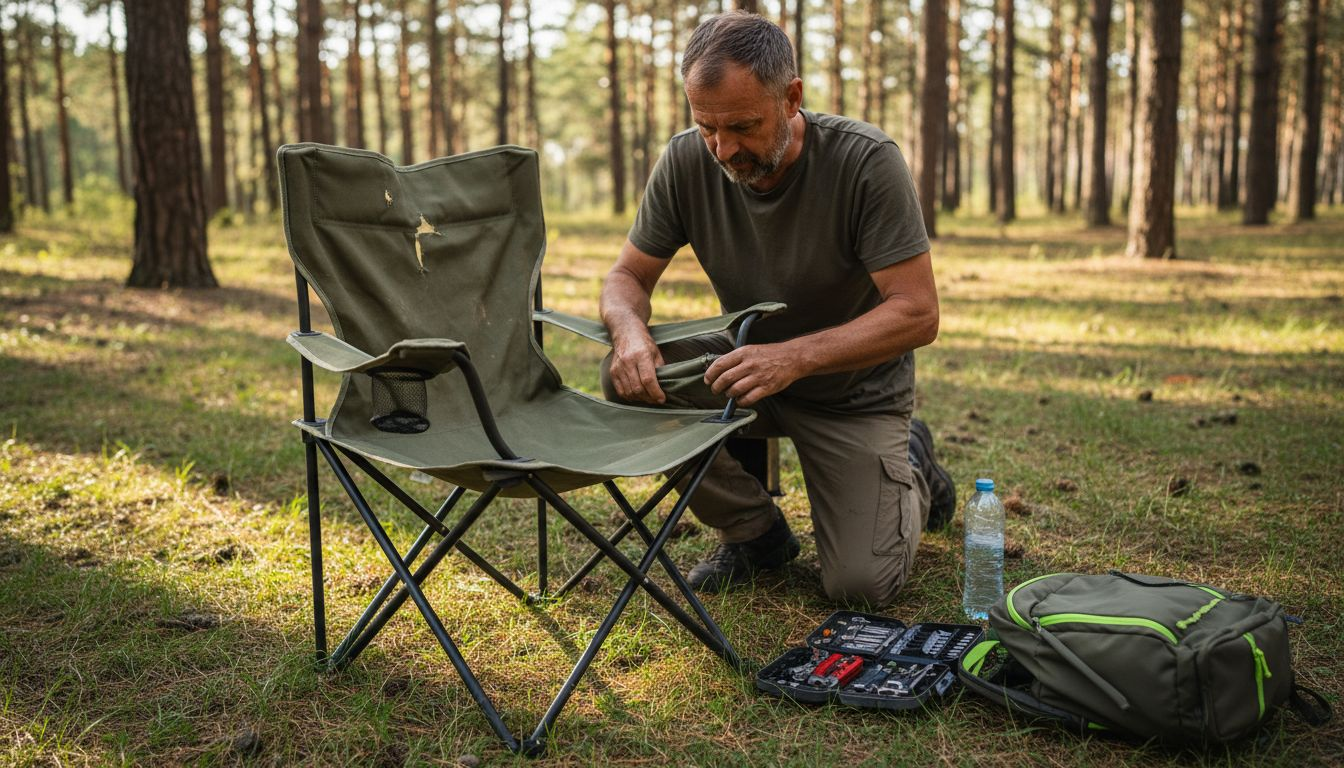
Over half of American outdoor enthusiasts admit their camp chairs rarely get a proper cleaning or maintenance. Keeping your favorite chair in top shape matters for every camping trip and picnic. An overlooked cleaning routine can shorten its life and ruin the comfort you expect. This step by step guide shows you how to prepare, clean, inspect, lubricate, and store your camp chair so it is always ready for your next adventure.
| Key Insight | Explanation |
|---|---|
| 1. Properly Disassemble the Chair | Remove detachable parts before cleaning to access hard-to-reach areas and inspect for potential damage. |
| 2. Use Gentle Cleaning Solutions | Mix warm water with mild detergent for effective cleaning, avoiding harsh chemicals unless necessary for tough stains. |
| 3. Regularly Inspect for Damage | Check components for rust, tears, and loose pieces to catch issues early and prevent more significant problems later. |
| 4. Lubricate Hinges and Joints | Apply silicone-based lubricant to moving parts periodically to ensure smooth operation and extend the chair’s lifespan. |
| 5. Store Properly to Prevent Damage | Keep the chair in a cool, dry place away from direct sunlight and ensure it’s completely dry before storage to avoid mildew. |
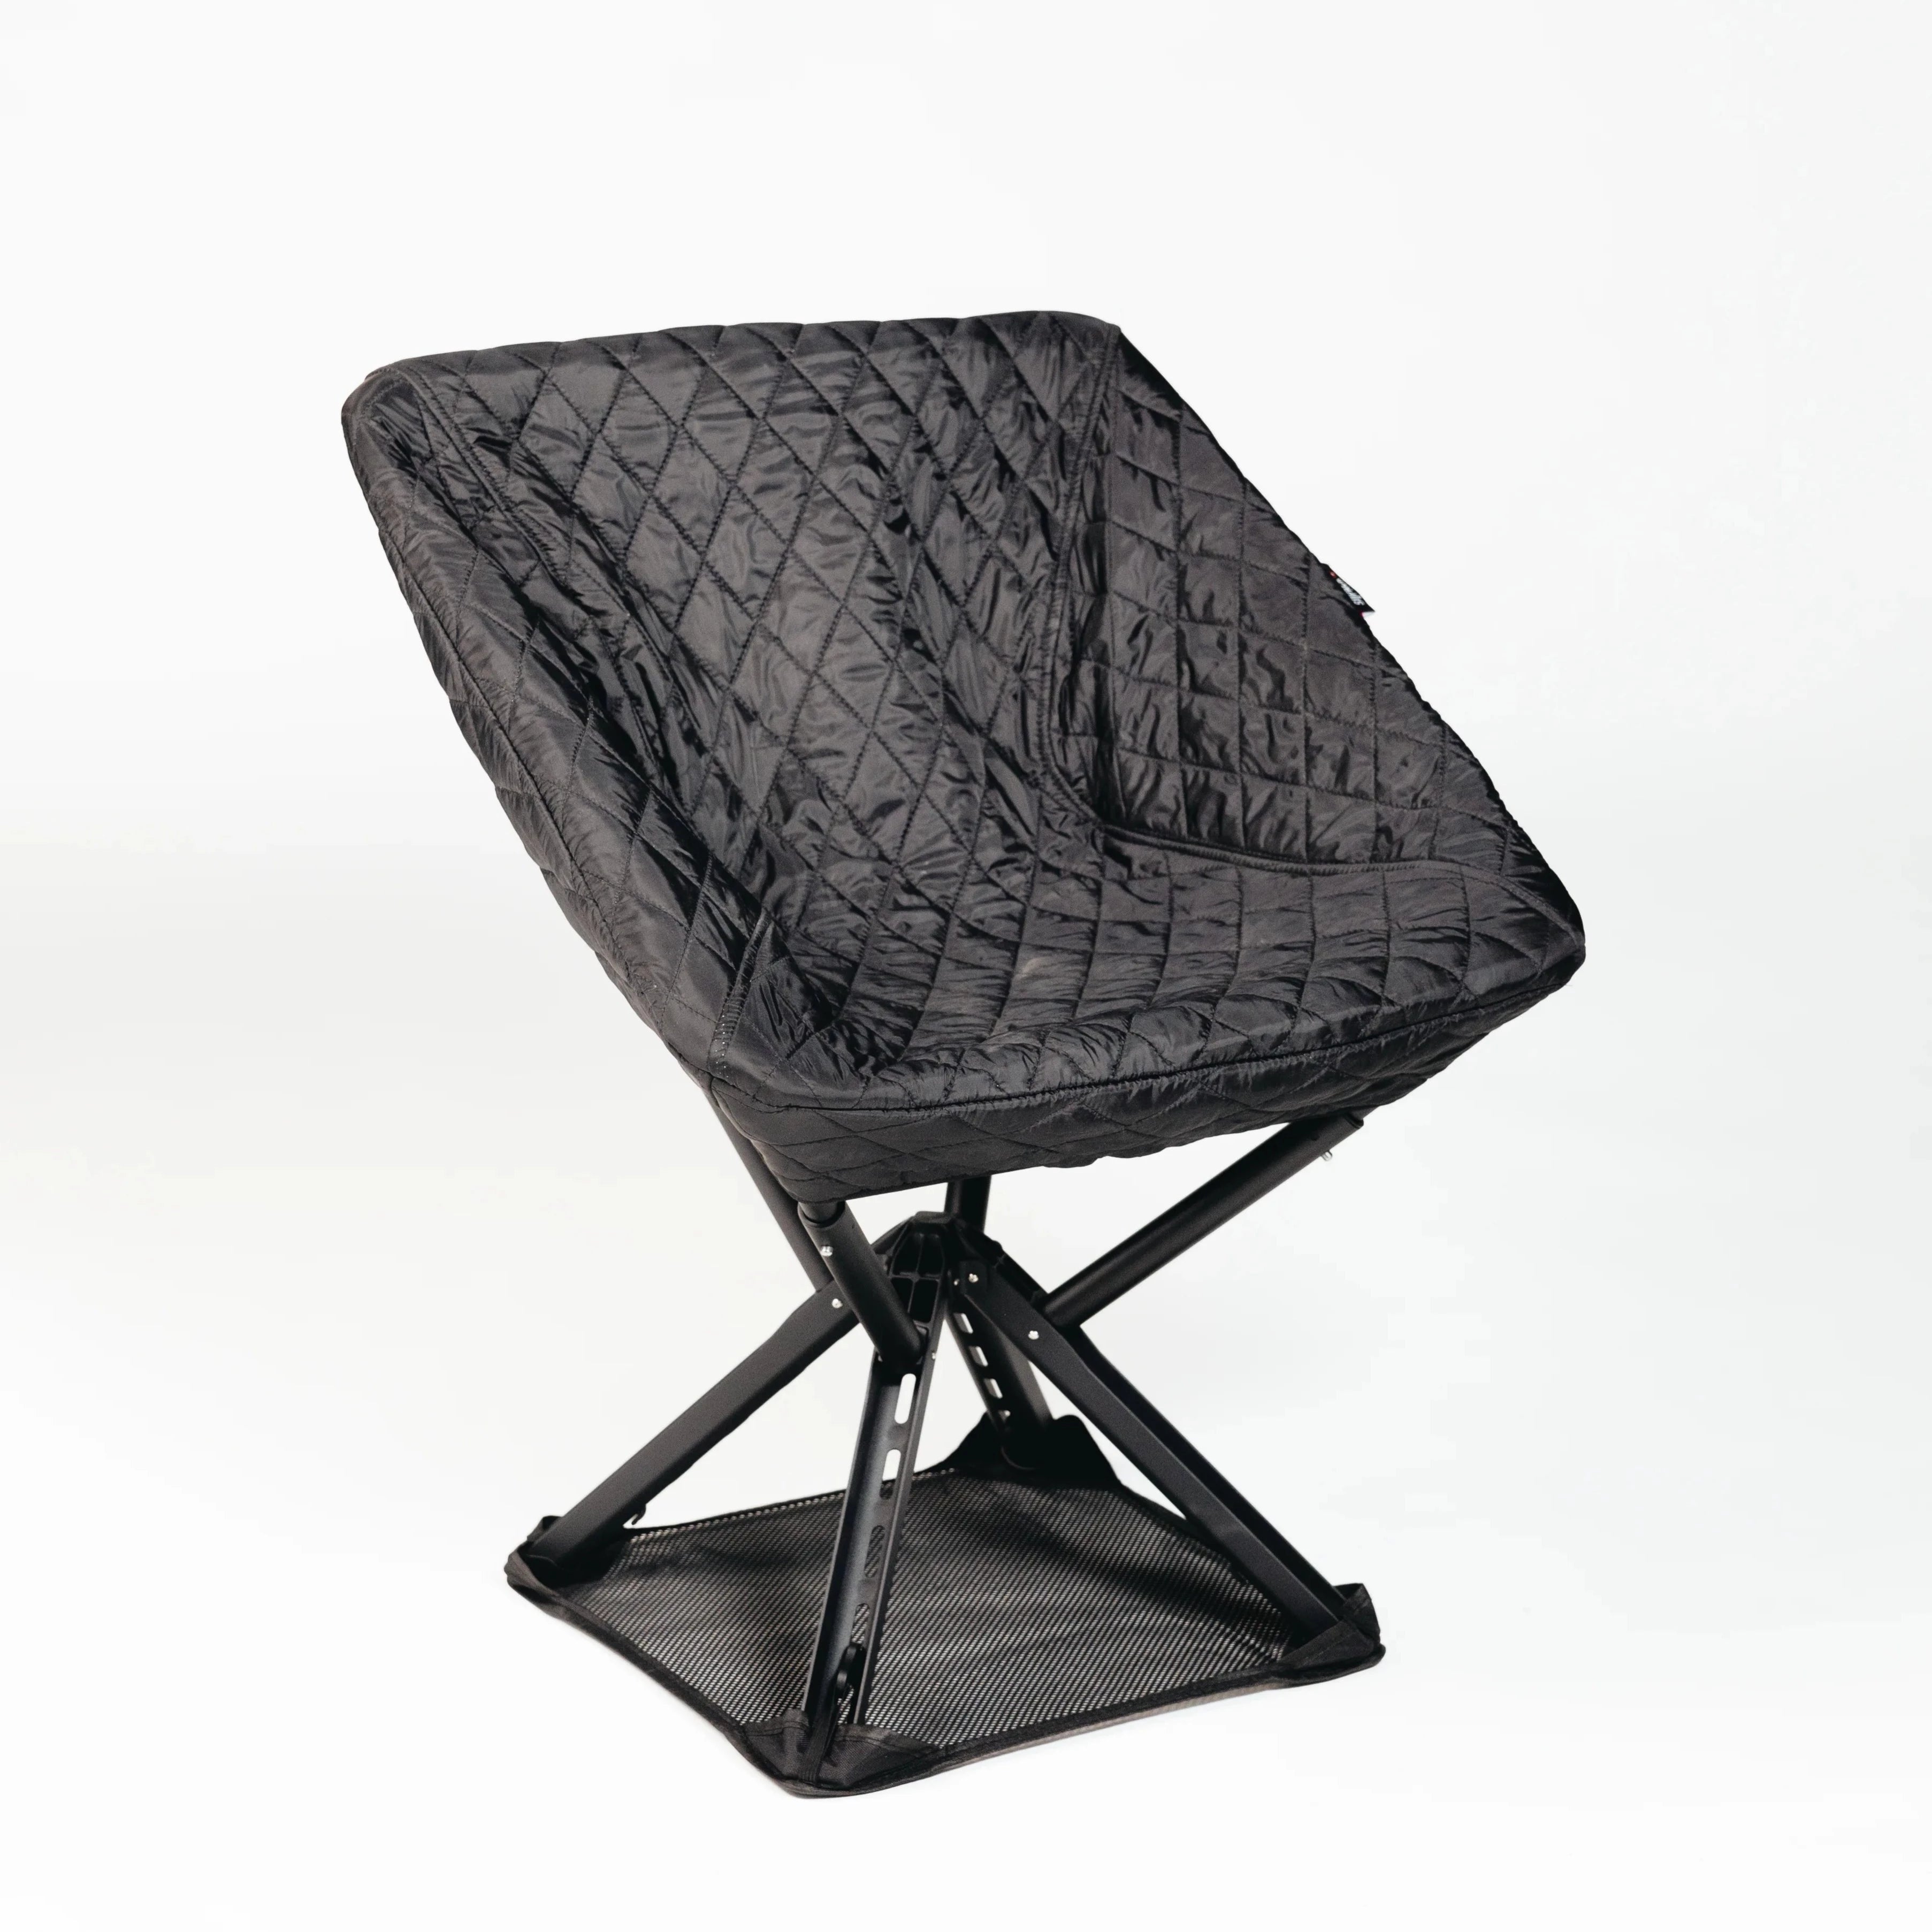
Before diving into the cleaning process, you need to properly prepare your camp chair to ensure a thorough and safe cleaning experience. Understanding how to safely remove components is crucial for maintaining your outdoor seating and preventing potential damage.
Start by carefully removing all detachable parts from your camp chair. This means taking off cushions, armrest covers, and any additional accessories that can be separated from the main frame. Gently set these components aside in a clean, dry area where they won’t get wet or dirty during the main cleaning process. Look for zippers, velcro attachments, or simple snap mechanisms that allow you to disassemble the chair without using excessive force.
Preparing your chair for cleaning is like setting up a strategic game plan. Each piece you remove allows you to access hard-to-reach areas and clean more effectively. By methodically breaking down the chair, you create an opportunity to inspect each component for wear, potential repairs, or areas that might need special attention.
Pro tip: Use a soft cloth or dry brush to preliminary dust off loose dirt and debris before starting the wet cleaning process. This initial dry cleaning helps prevent mud or loose particles from turning into a messy paste when liquid cleaners are introduced.
Now that you have carefully disassembled your camp chair, it is time to tackle the actual cleaning process. Selecting the right cleaning method for your chair’s surfaces is critical to maintaining its appearance and extending its lifespan.
Start by preparing a gentle cleaning solution using warm water and mild detergent. For most camp chair fabrics, this approach works perfectly to remove dirt and light stains without causing damage. Apply the solution using a soft cloth or sponge, working in gentle circular motions to lift away grime. When dealing with more stubborn stains, you might need a slightly stronger solution of bleach and detergent that can break down tough dirt without compromising the chair’s material.
Pay special attention to different surface types on your camp chair. Fabric sections might require a different approach compared to metal or plastic components. Rinse each section thoroughly to remove all soap residue, which can attract more dirt if left behind. Allow each part to air dry completely before reassembling to prevent moisture buildup that could lead to mildew or material degradation.
Pro tip: Always test your cleaning solution on a small, inconspicuous area first to ensure it does not cause discoloration or damage to your camp chair’s material.
Here is a summary of cleaning methods and their suitability for different camp chair materials:
| Material Type | Recommended Cleaner | Precautions | Drying Tip |
|---|---|---|---|
| Fabric | Mild detergent and warm water | Avoid bleach unless for tough stains | Air dry completely before use |
| Metal | Mild soap and water | Prevent rust; dry thoroughly | Use a towel to remove moisture |
| Plastic | Mild all-purpose cleaner | Check for discoloration with stronger agents | Wipe dry to prevent residue |
| Wood | Specific wood cleaner or diluted soap | Do not saturate with water | Dry away from direct heat sources |
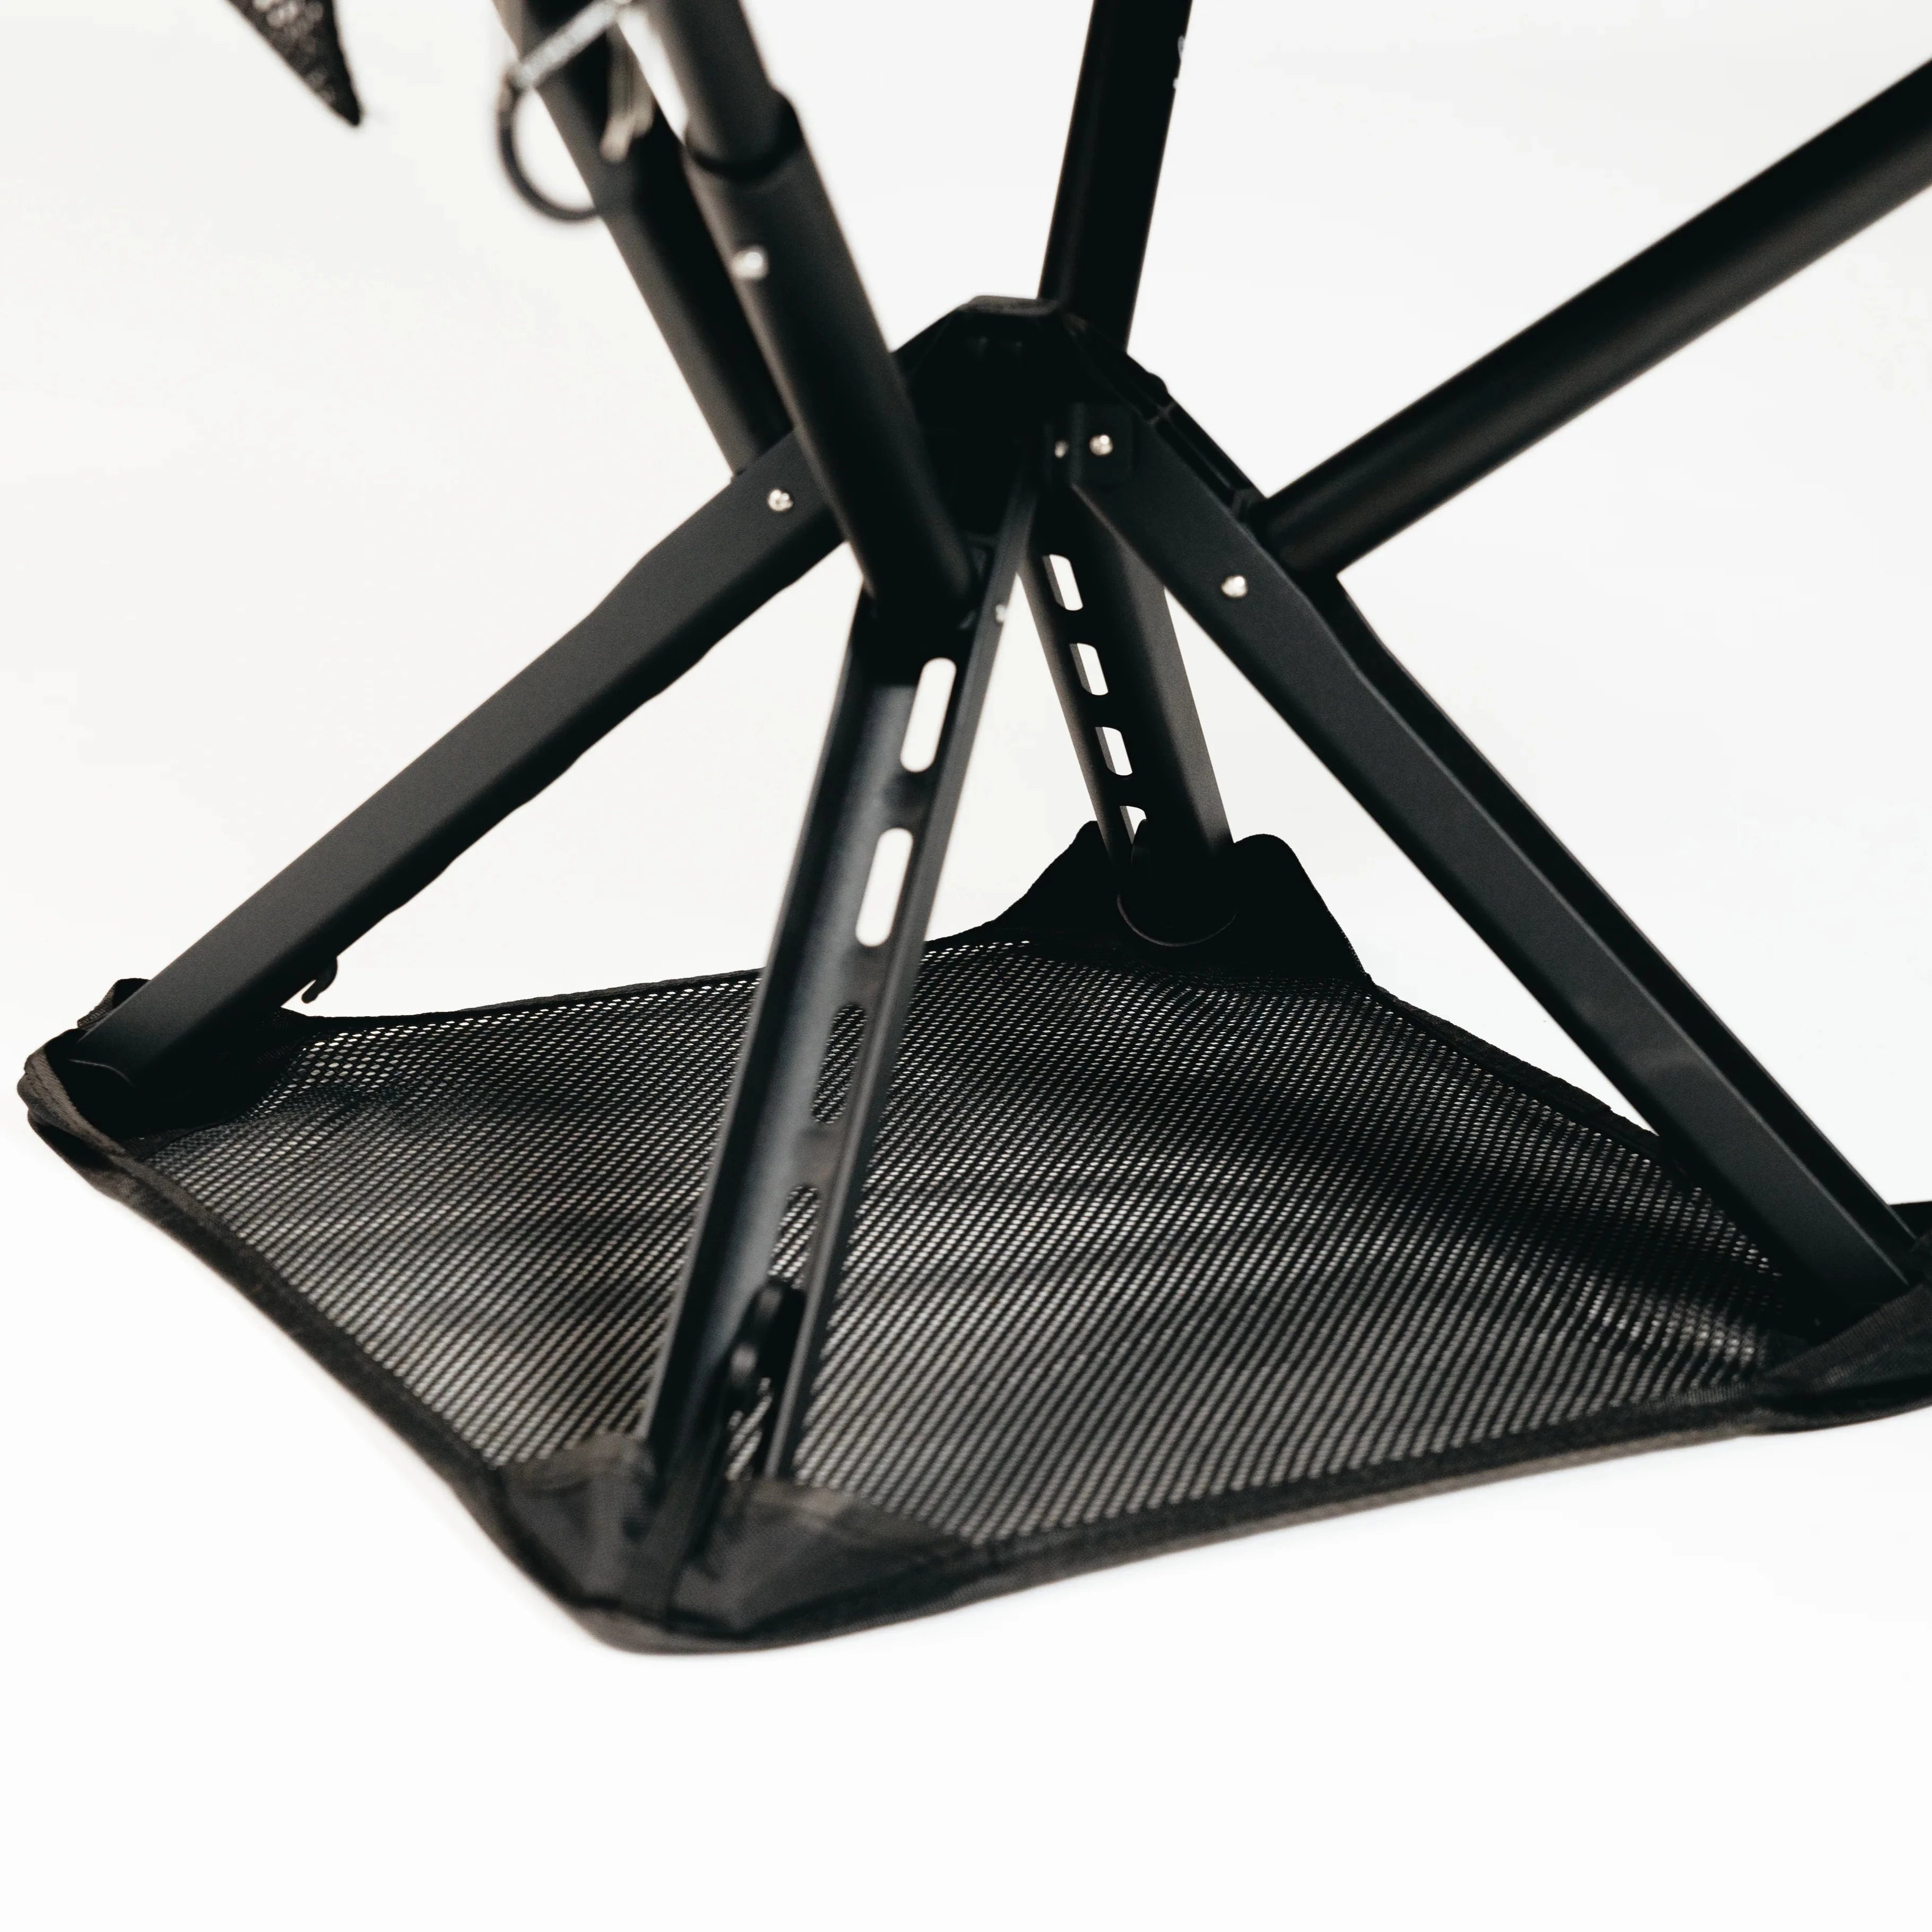
After thoroughly cleaning your camp chair, it is crucial to conduct a comprehensive inspection to identify potential issues before they become serious problems. Identifying signs of wear and tear early can save you from costly repairs or premature replacement of your outdoor gear.

Begin by carefully examining each component of your chair. Check metal frames for signs of rust, looking closely at connection points and stress areas. For fabric sections, inspect for tears, fraying, or stretched material that could compromise the chair’s structural integrity. Pay special attention to screws and bolts checking if they are loose or showing signs of corrosion. If you discover minor scratches on wooden components, you can often repair them using manufacturer recommended touch up techniques, which typically involve sanding and applying a matching stain.
Consider creating a simple maintenance log to track the condition of your camp chair over time. This approach allows you to monitor gradual changes and address potential issues before they become significant problems. Take photos of any developing wear to help you track progression and decide when professional repair or replacement might be necessary.
Pro tip: Keep a small repair kit with you during outdoor trips, including items like spare screws, fabric patch, multi tool, and a compact tube of sealant to handle minor repairs on the spot.
This table outlines common camp chair issues and suggested maintenance actions:
| Issue Detected | Possible Cause | Recommended Action |
|---|---|---|
| Rust on joints | Moisture exposure | Apply rust remover, lubricate after |
| Loose screws/bolts | Frequent movement | Tighten with hand tool |
| Frayed fabric | Material fatigue | Patch or sew small tears |
| Stiff hinges | Lack of lubrication | Apply silicone-based lubricant |
| Mold/mildew | Improper drying | Clean with diluted bleach solution |
Maintaining the moving parts of your camp chair is essential for ensuring its long term performance and smooth operation. Periodically lubricating hinges and mechanical components will dramatically extend your chair’s functional lifespan and prevent unnecessary wear.
Start by identifying all movable joints and connection points on your camp chair. This typically includes folding mechanisms, reclining hinges, and adjustable sections. Use a silicone based lubricant or specialized outdoor furniture lubricant to treat these areas. Apply a small amount directly to the moving parts, working the mechanism back and forth to ensure even distribution. Regularly tightening screws and bolts will complement your lubrication efforts and maintain the chair’s overall structural integrity. Be careful not to over lubricate, as excess product can attract dirt and potentially damage the chair’s materials.
Consider creating a maintenance schedule for your camp chair. Depending on how frequently you use the chair and the environments you expose it to, you might need to lubricate joints every few months or after particularly demanding outdoor trips. Pay special attention to chairs used in sandy, salty, or highly humid environments, as these conditions can accelerate mechanical wear.
Pro tip: Always wipe away excess lubricant with a clean cloth to prevent attracting dirt and debris to your freshly maintained camp chair.
Proper storage is the final critical step in maintaining your camp chair and ensuring its longevity. Protecting your chair during off seasons requires strategic planning to prevent weather related damage and preserve its quality for future adventures.
Select a storage location that is cool, dry, and away from direct sunlight or extreme temperature fluctuations. Indoor spaces like a garage, basement, or storage closet work best. Keep your chair away from heat sources such as radiators and fireplaces, which can warp materials and compromise structural integrity. If indoor storage is not possible, invest in a high quality waterproof cover that completely shields the chair from moisture and UV rays. When covering your chair, ensure it is elevated off the ground to prevent moisture absorption and potential mildew growth.
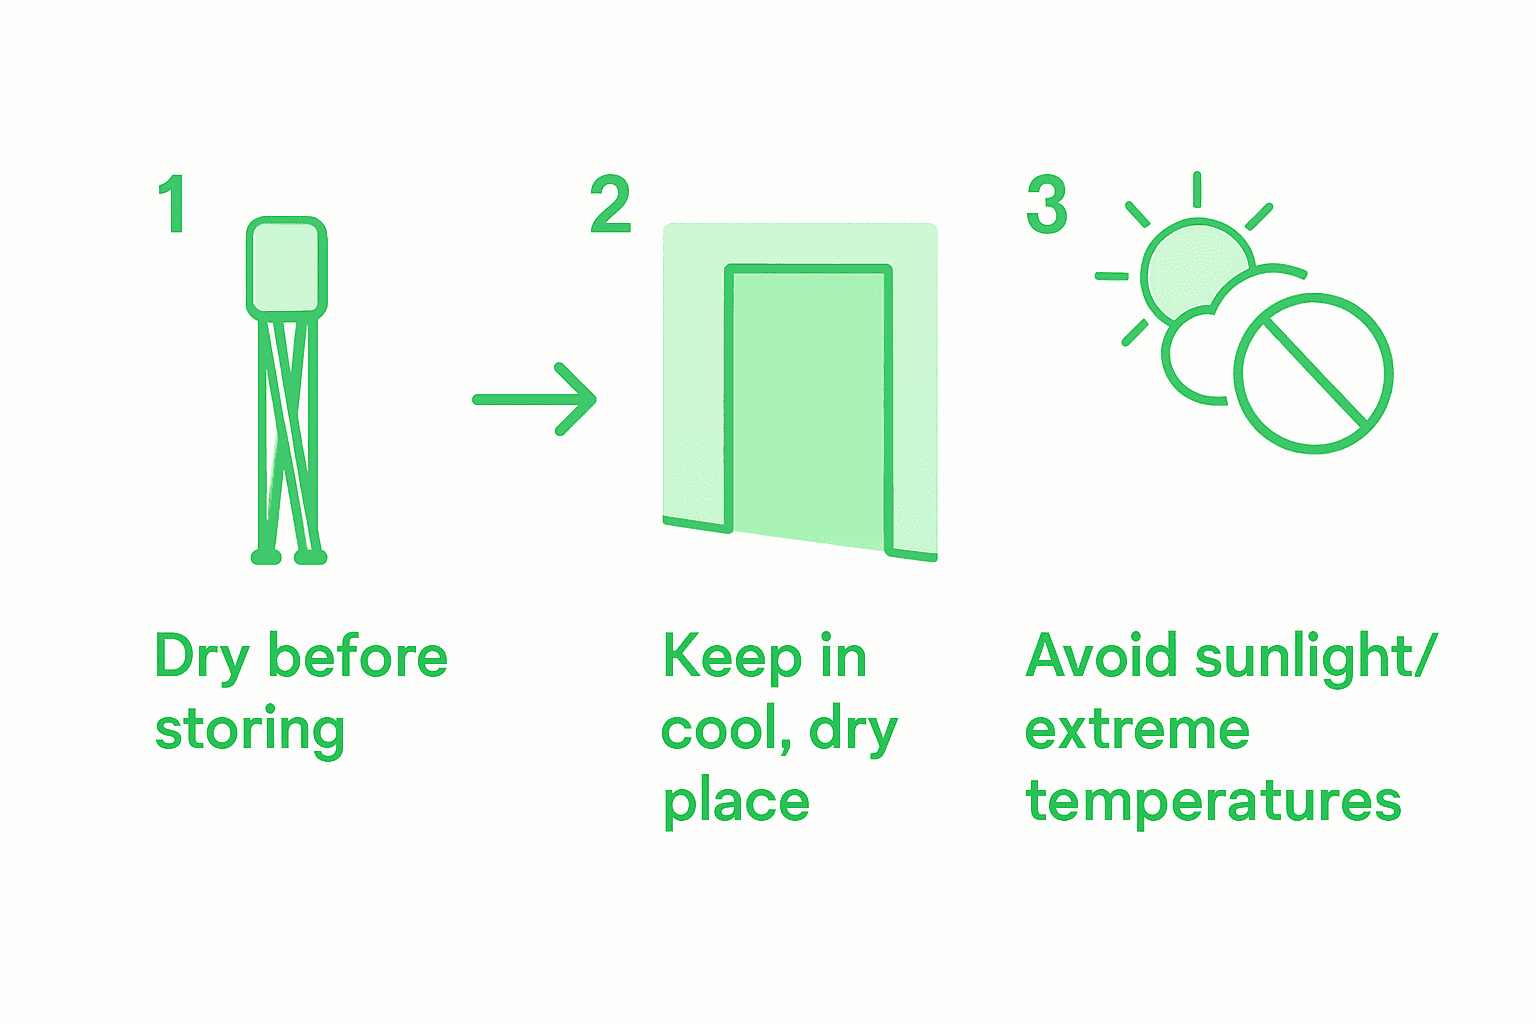
Before storing, make certain the chair is completely dry from your previous cleaning and maintenance session. Fold or collapse the chair according to manufacturer instructions, taking care not to force any mechanisms. If possible, store the chair in its original carrying bag or a breathable storage container that protects it from dust and potential punctures.
Pro tip: Store your camp chair in a vertical position to minimize stress on its joints and prevent potential warping during long term storage.
Maintaining your camp chair’s durability and comfort can be challenging after repeated use in various outdoor conditions. From cleaning delicate fabrics to lubricating hinges and avoiding wear and tear, the essential care steps outlined highlight how crucial proper maintenance is for long-term performance. If you seek a seating solution that requires less upkeep without sacrificing portability and comfort, explore innovative options designed specifically for outdoor enthusiasts like you.

Discover the lightweight, foldable chairs at Sitpack engineered for durability and effortless care. Featuring minimalist designs and eco-friendly materials, these chairs simplify your outdoor experience by reducing the need for frequent repairs and complex maintenance. Act now to upgrade your gear with smart seating solutions that offer lifetime warranties and fast worldwide delivery. Visit Sitpack today and experience the perfect blend of convenience and resilience for your next adventure.
Before cleaning, carefully remove all detachable parts from your camp chair. Set these components aside in a clean, dry area to allow for effective cleaning and to inspect for any wear or damage.
Use a gentle cleaning solution made from warm water and mild detergent for most camp chair fabrics. Apply it with a soft cloth or sponge, and rinse thoroughly to avoid soap residue that can attract more dirt.
Inspect each part of your chair for rust, tears, or loose screws. Check metal frames and fabric sections carefully to ensure that any minor issues are addressed before they become bigger problems.
Aim to lubricate the moving parts of your camp chair every few months or after particularly heavy use. Regular lubrication will keep mechanisms functioning smoothly and prolong the life of your chair.
Store your camp chair in a cool, dry place away from direct sunlight or heat sources. Ensure it is completely dry, and consider using a waterproof cover to protect it from moisture and UV damage.
Regularly inspect your camp chair for signs of damage and clean it after each use by wiping off dirt and checking for loose parts. Carry a small repair kit for minor fixes to prevent issues during your outdoor adventures.