Cart
0
Sign up and get 10$ off your order
Expected delivery
1-3 days
You may also like
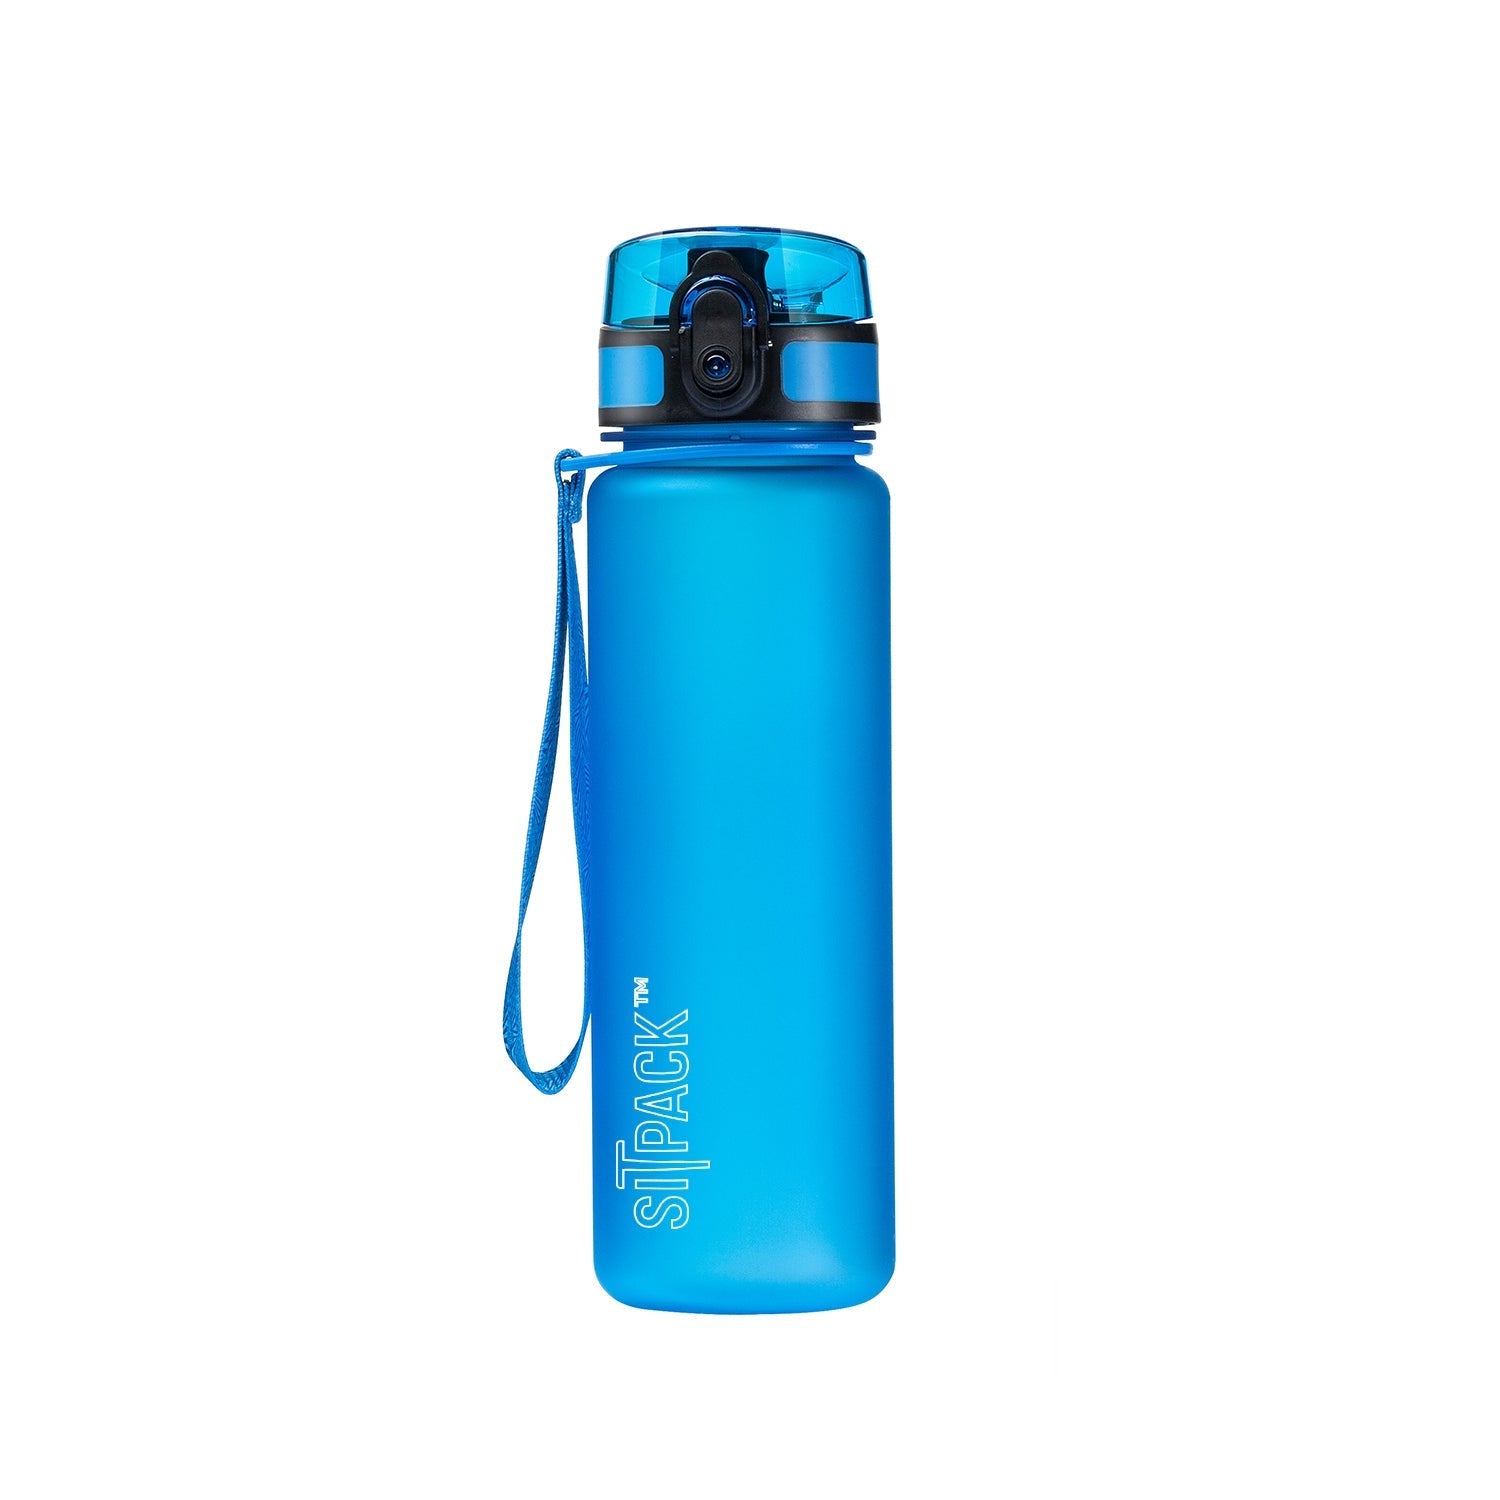
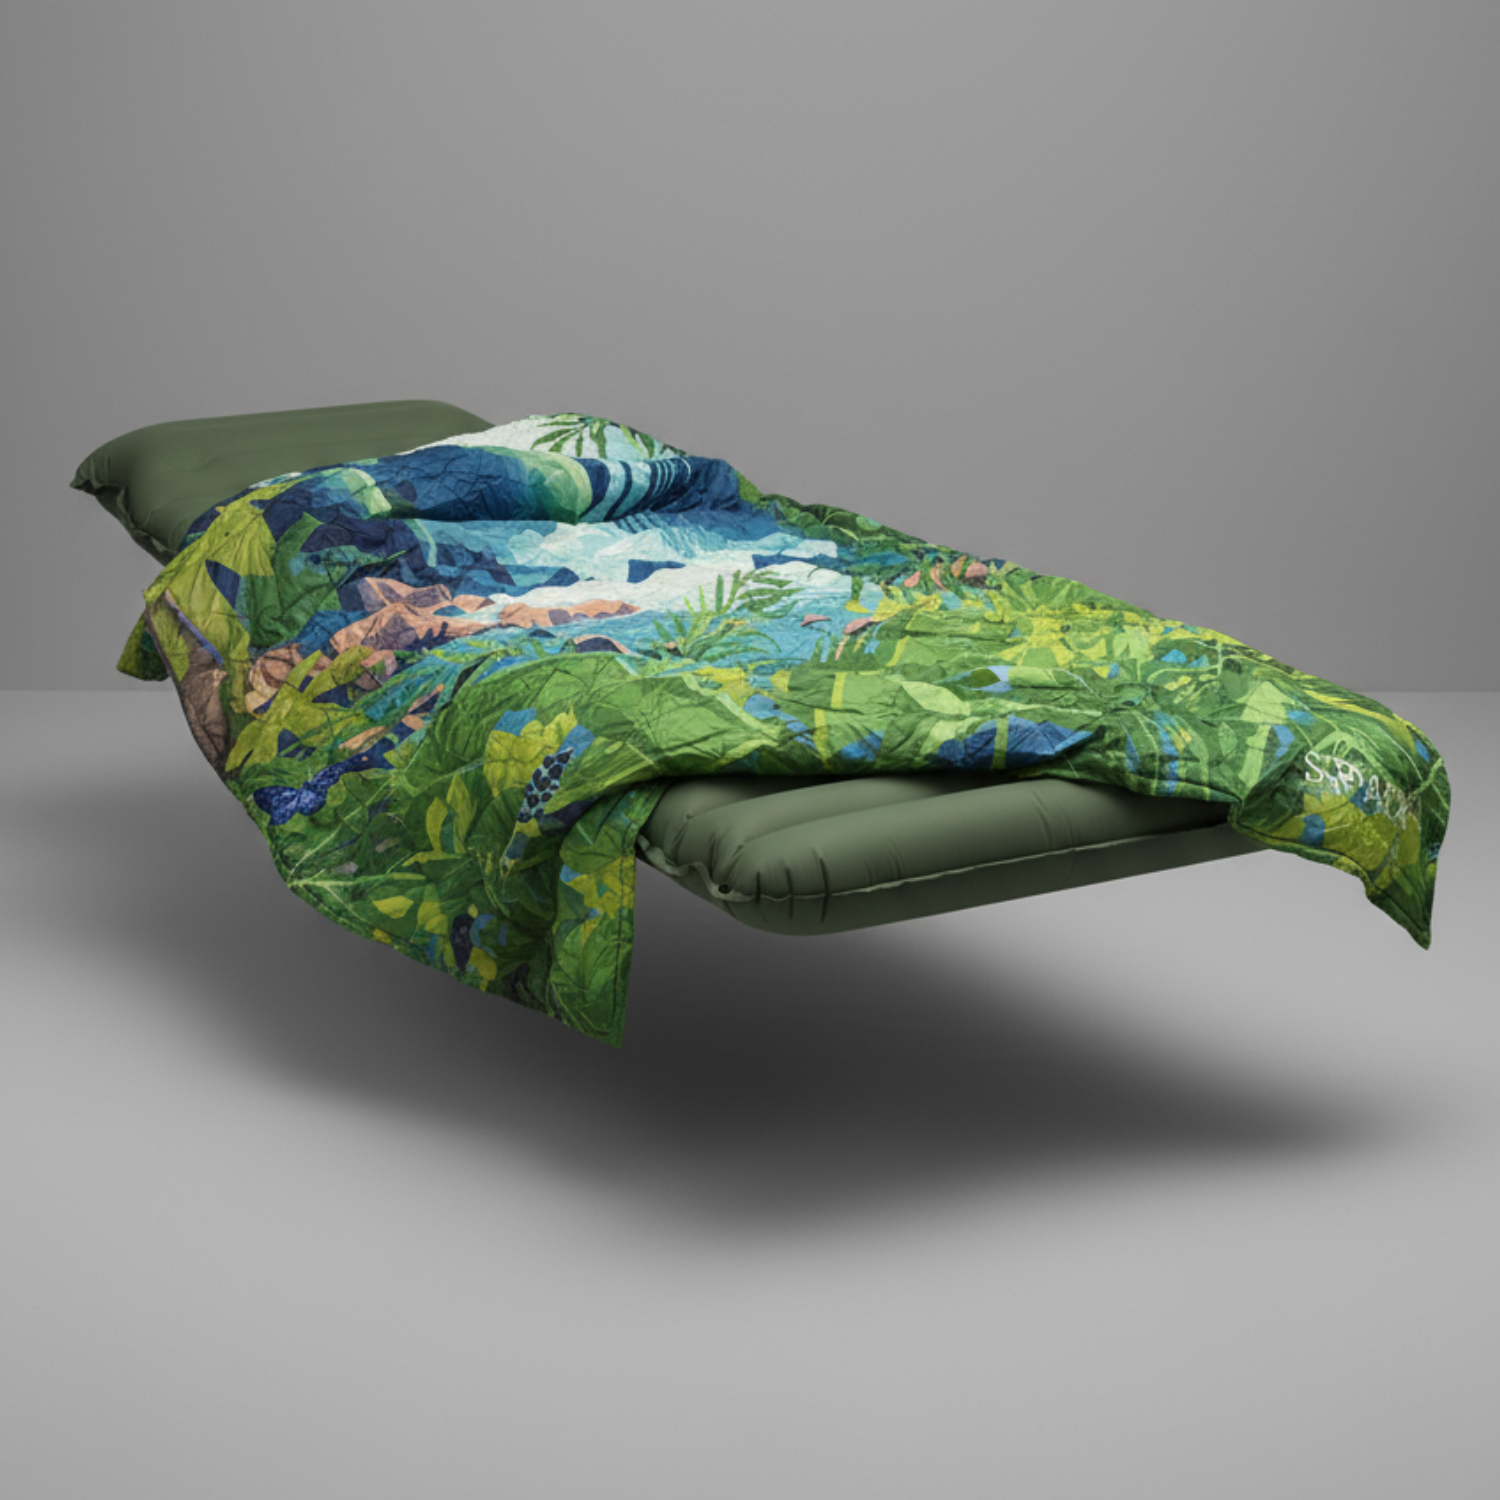
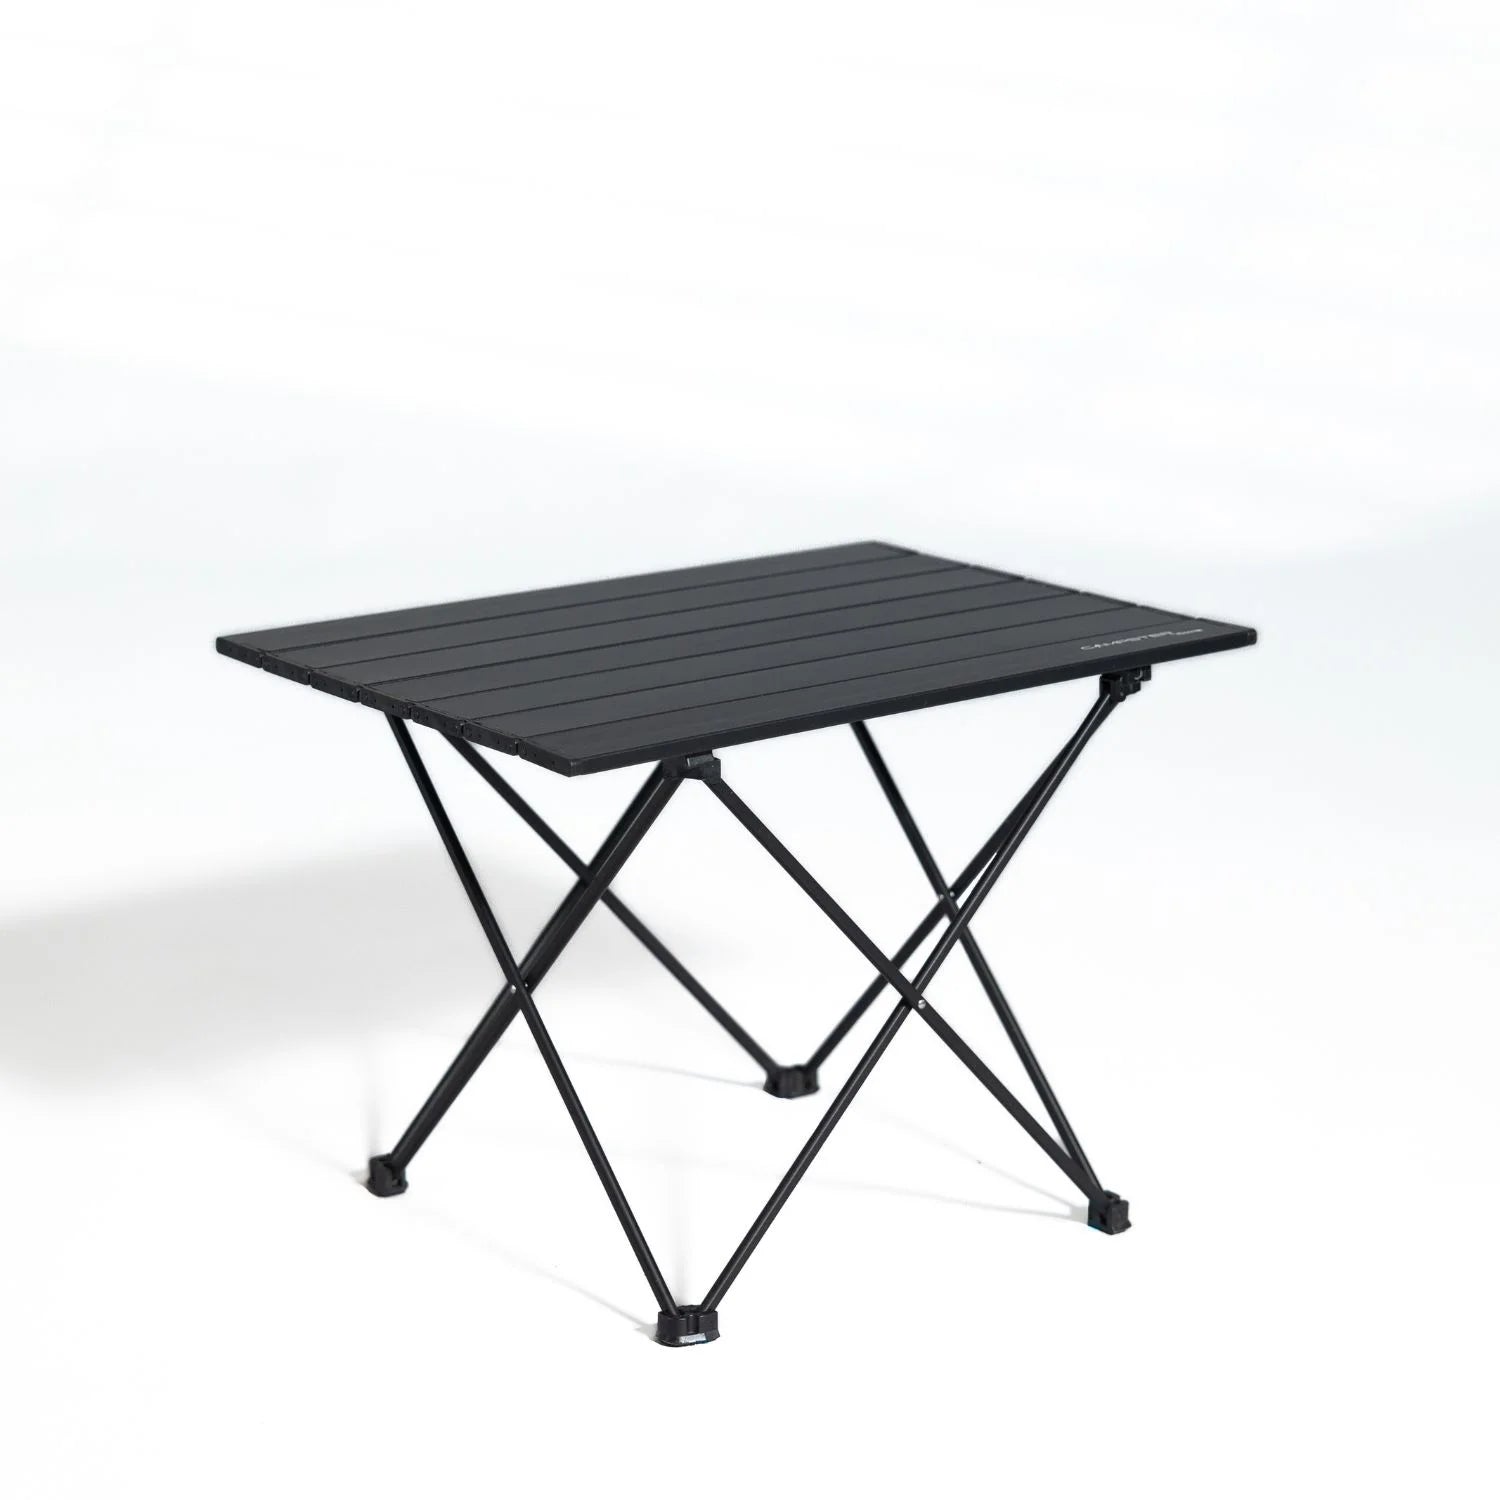
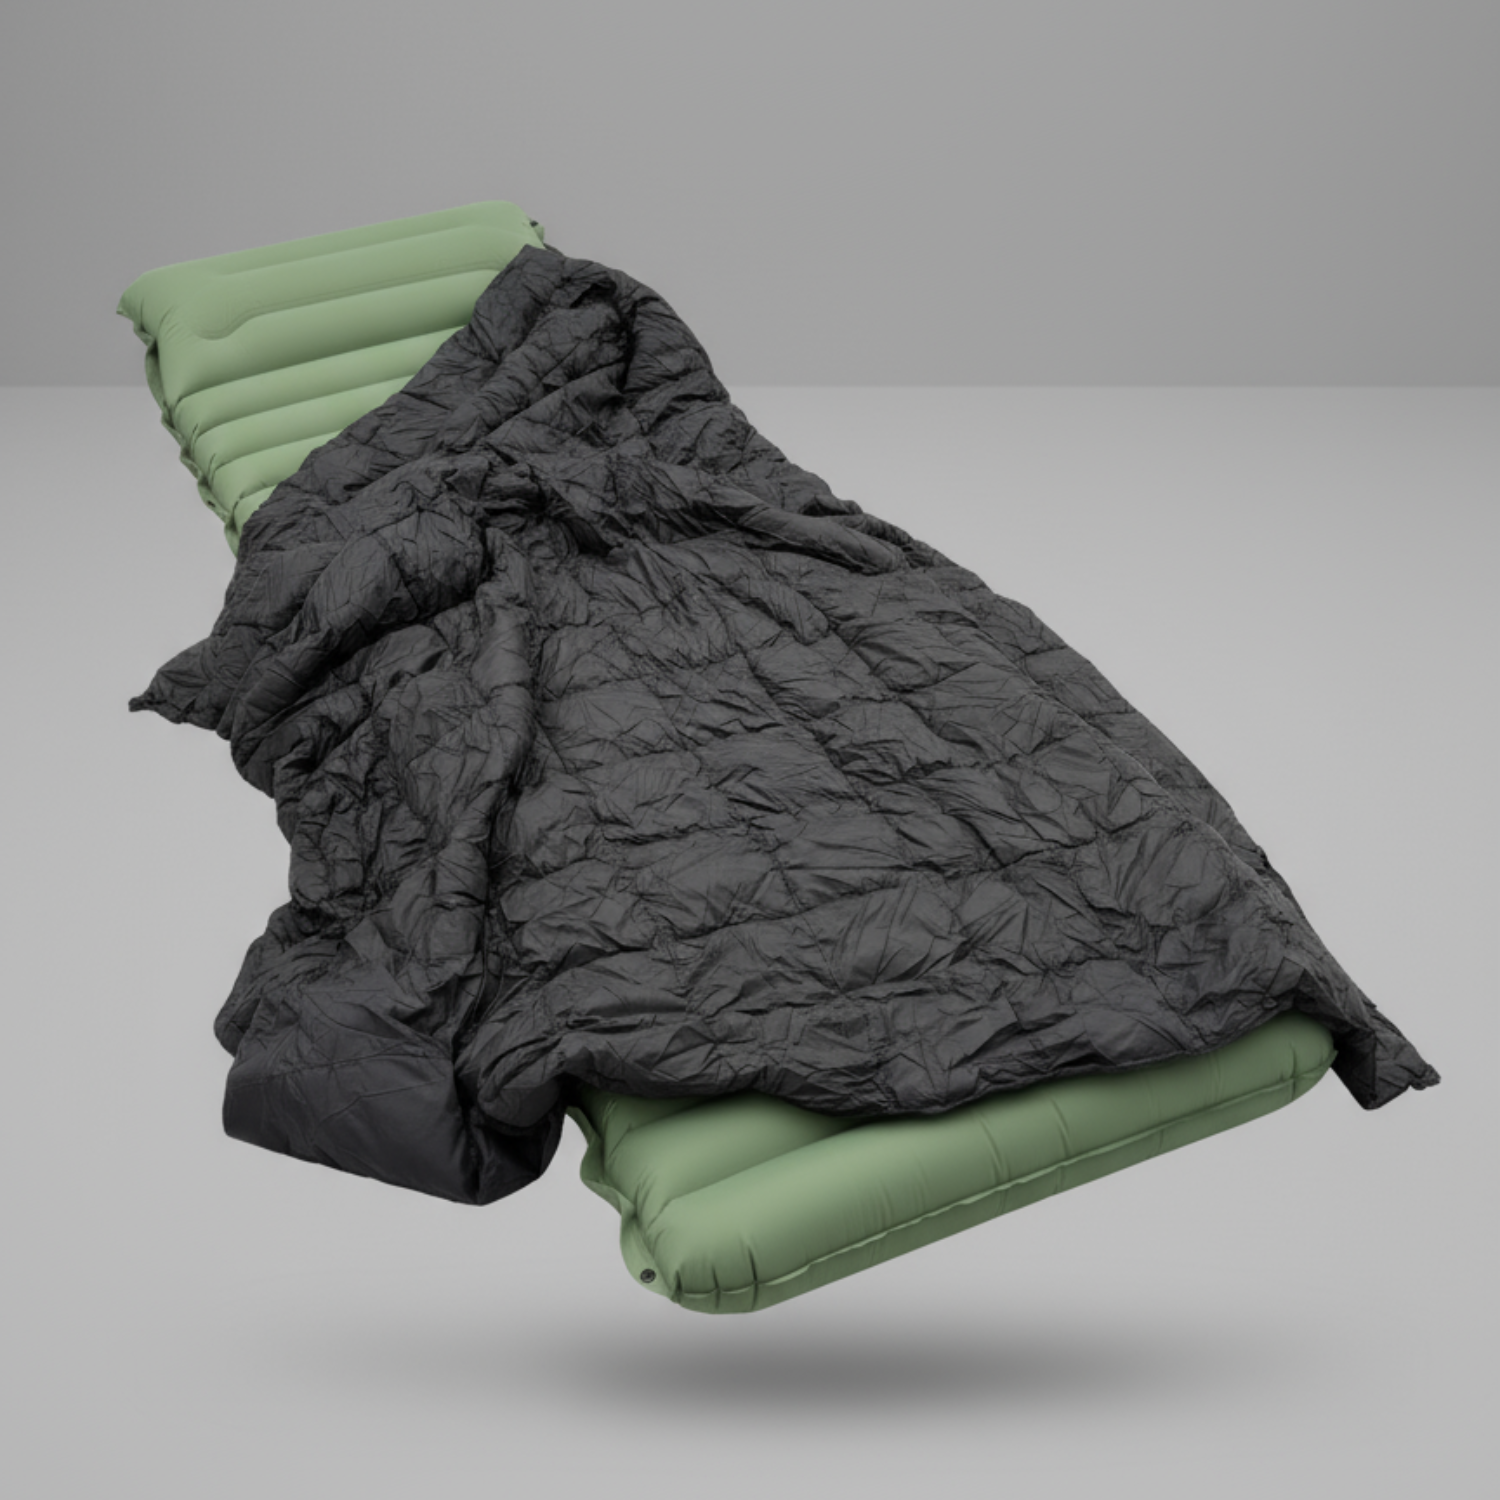


Danish Company

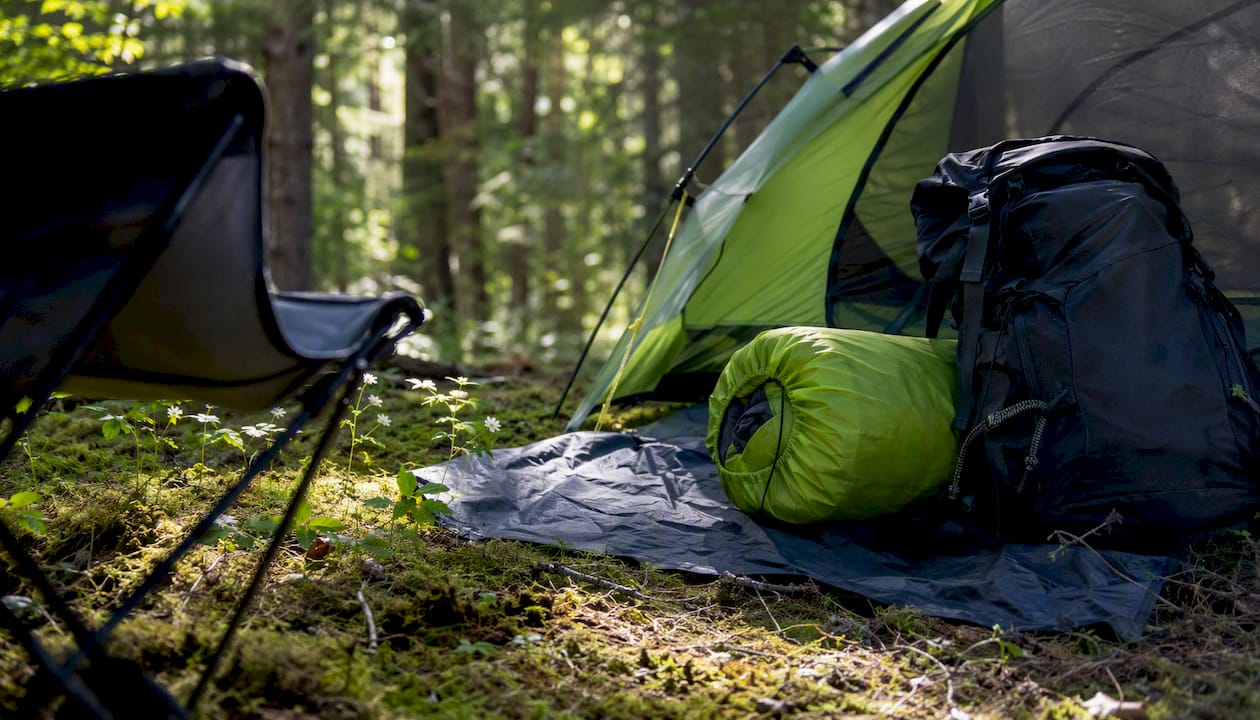
Every backpacking trip starts with the same non-negotiables: your Big Three (pack, shelter, sleep system), the Ten Essentials, water treatment, food, and a layered clothing system. The rest is tailoring.
Here’s the short version of what belongs in every pack before you leave the trailhead:
If you’re cutting weight fast, protect your sleep system first. A bad night at 30°F is a safety issue, not just a comfort problem.
The most effective backpacking packing strategy starts with the Big Three, locks in the Ten Essentials, and trims everything else to match your specific trip length, weather, and terrain.
| Point | Details |
|---|---|
| Big Three first | Pack, shelter, and sleep system drive 70% of base weight — get these right before buying anything else. |
| Ten Essentials always | Navigation, illumination, first aid, fire, and emergency shelter belong on every trip, regardless of length. |
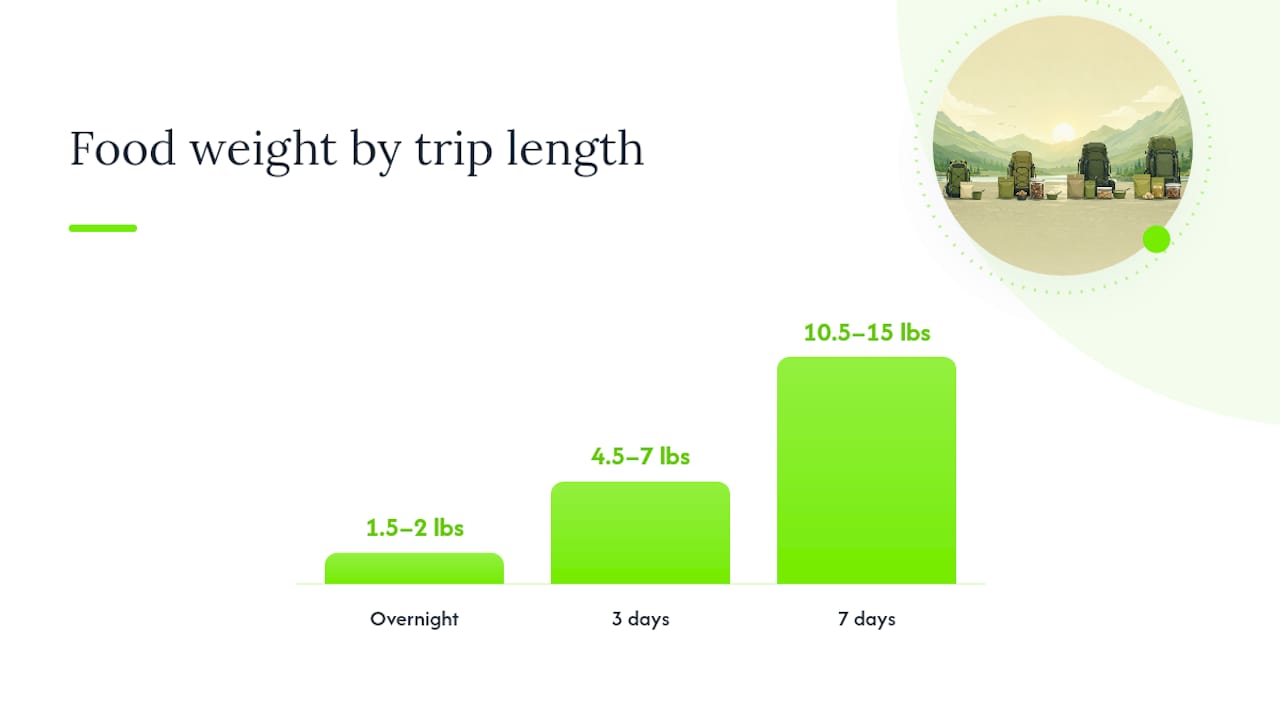
| Food and water planning | Carry 1.5–2 lbs of food per day and always bring a backup water treatment method. |
| Tailor by trip length | Overnight needs 30–40L; 7-day trips need 55–65L, a satellite messenger, and a resupply or food plan. |
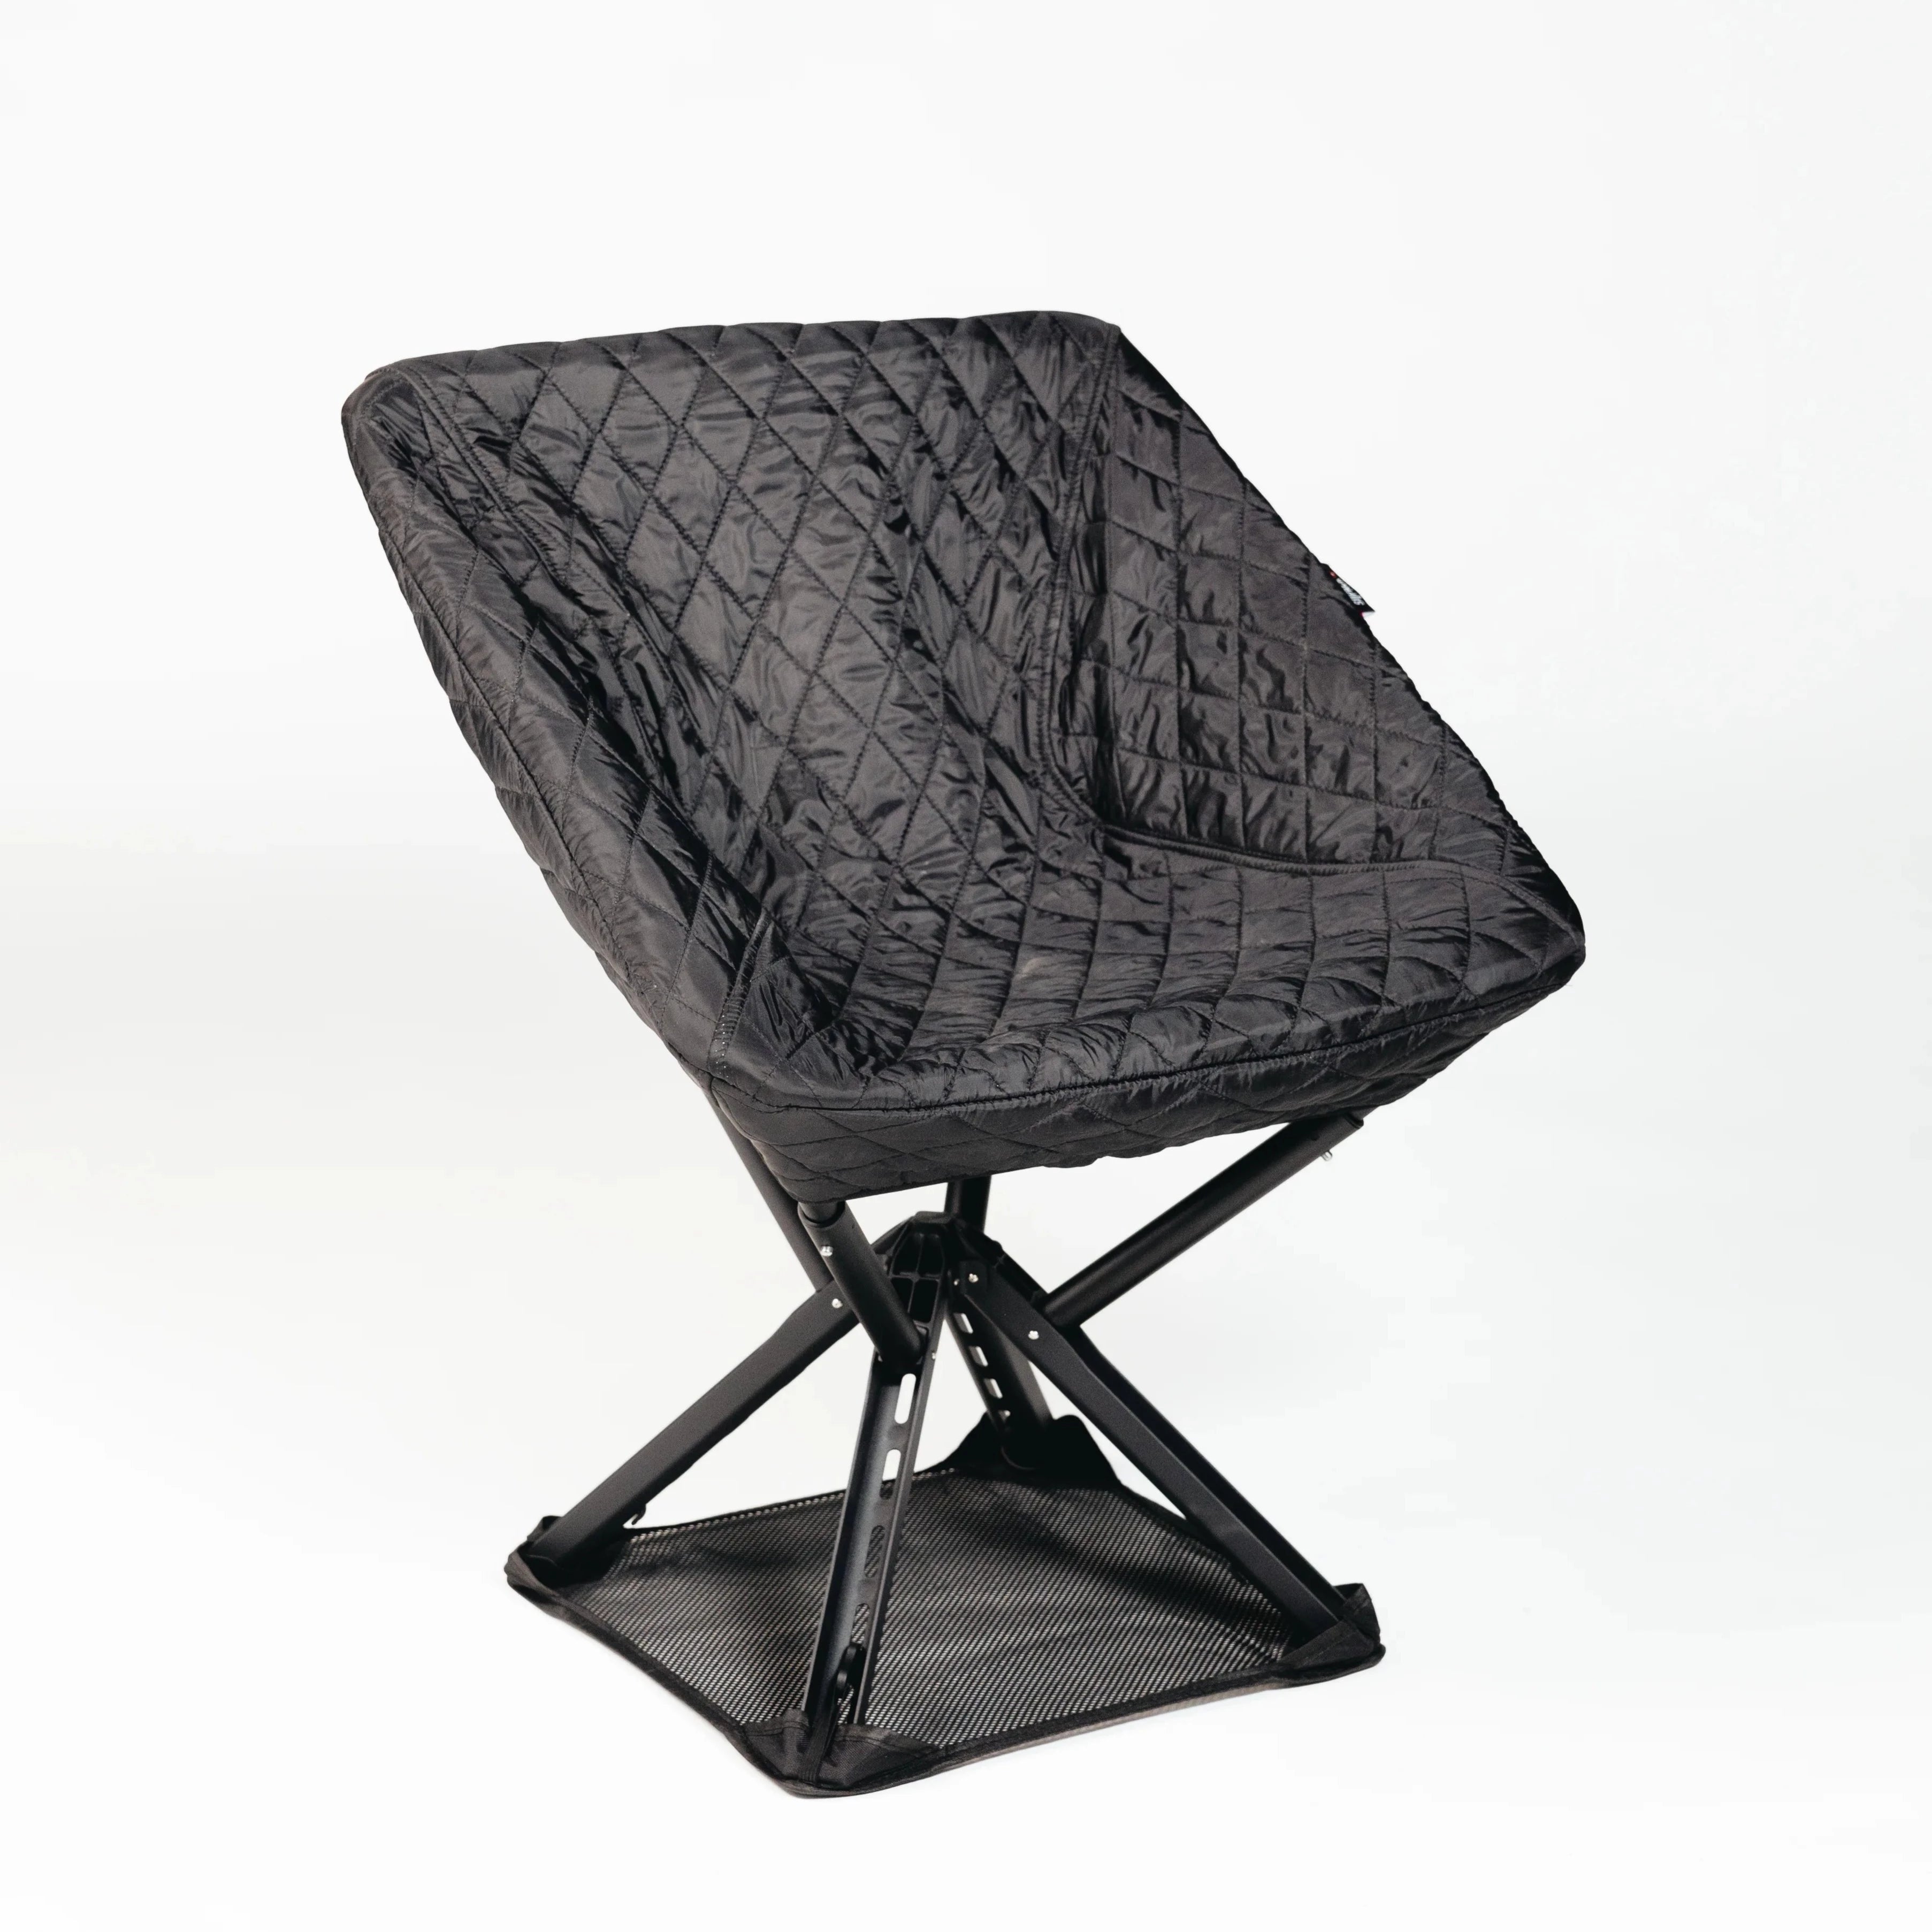
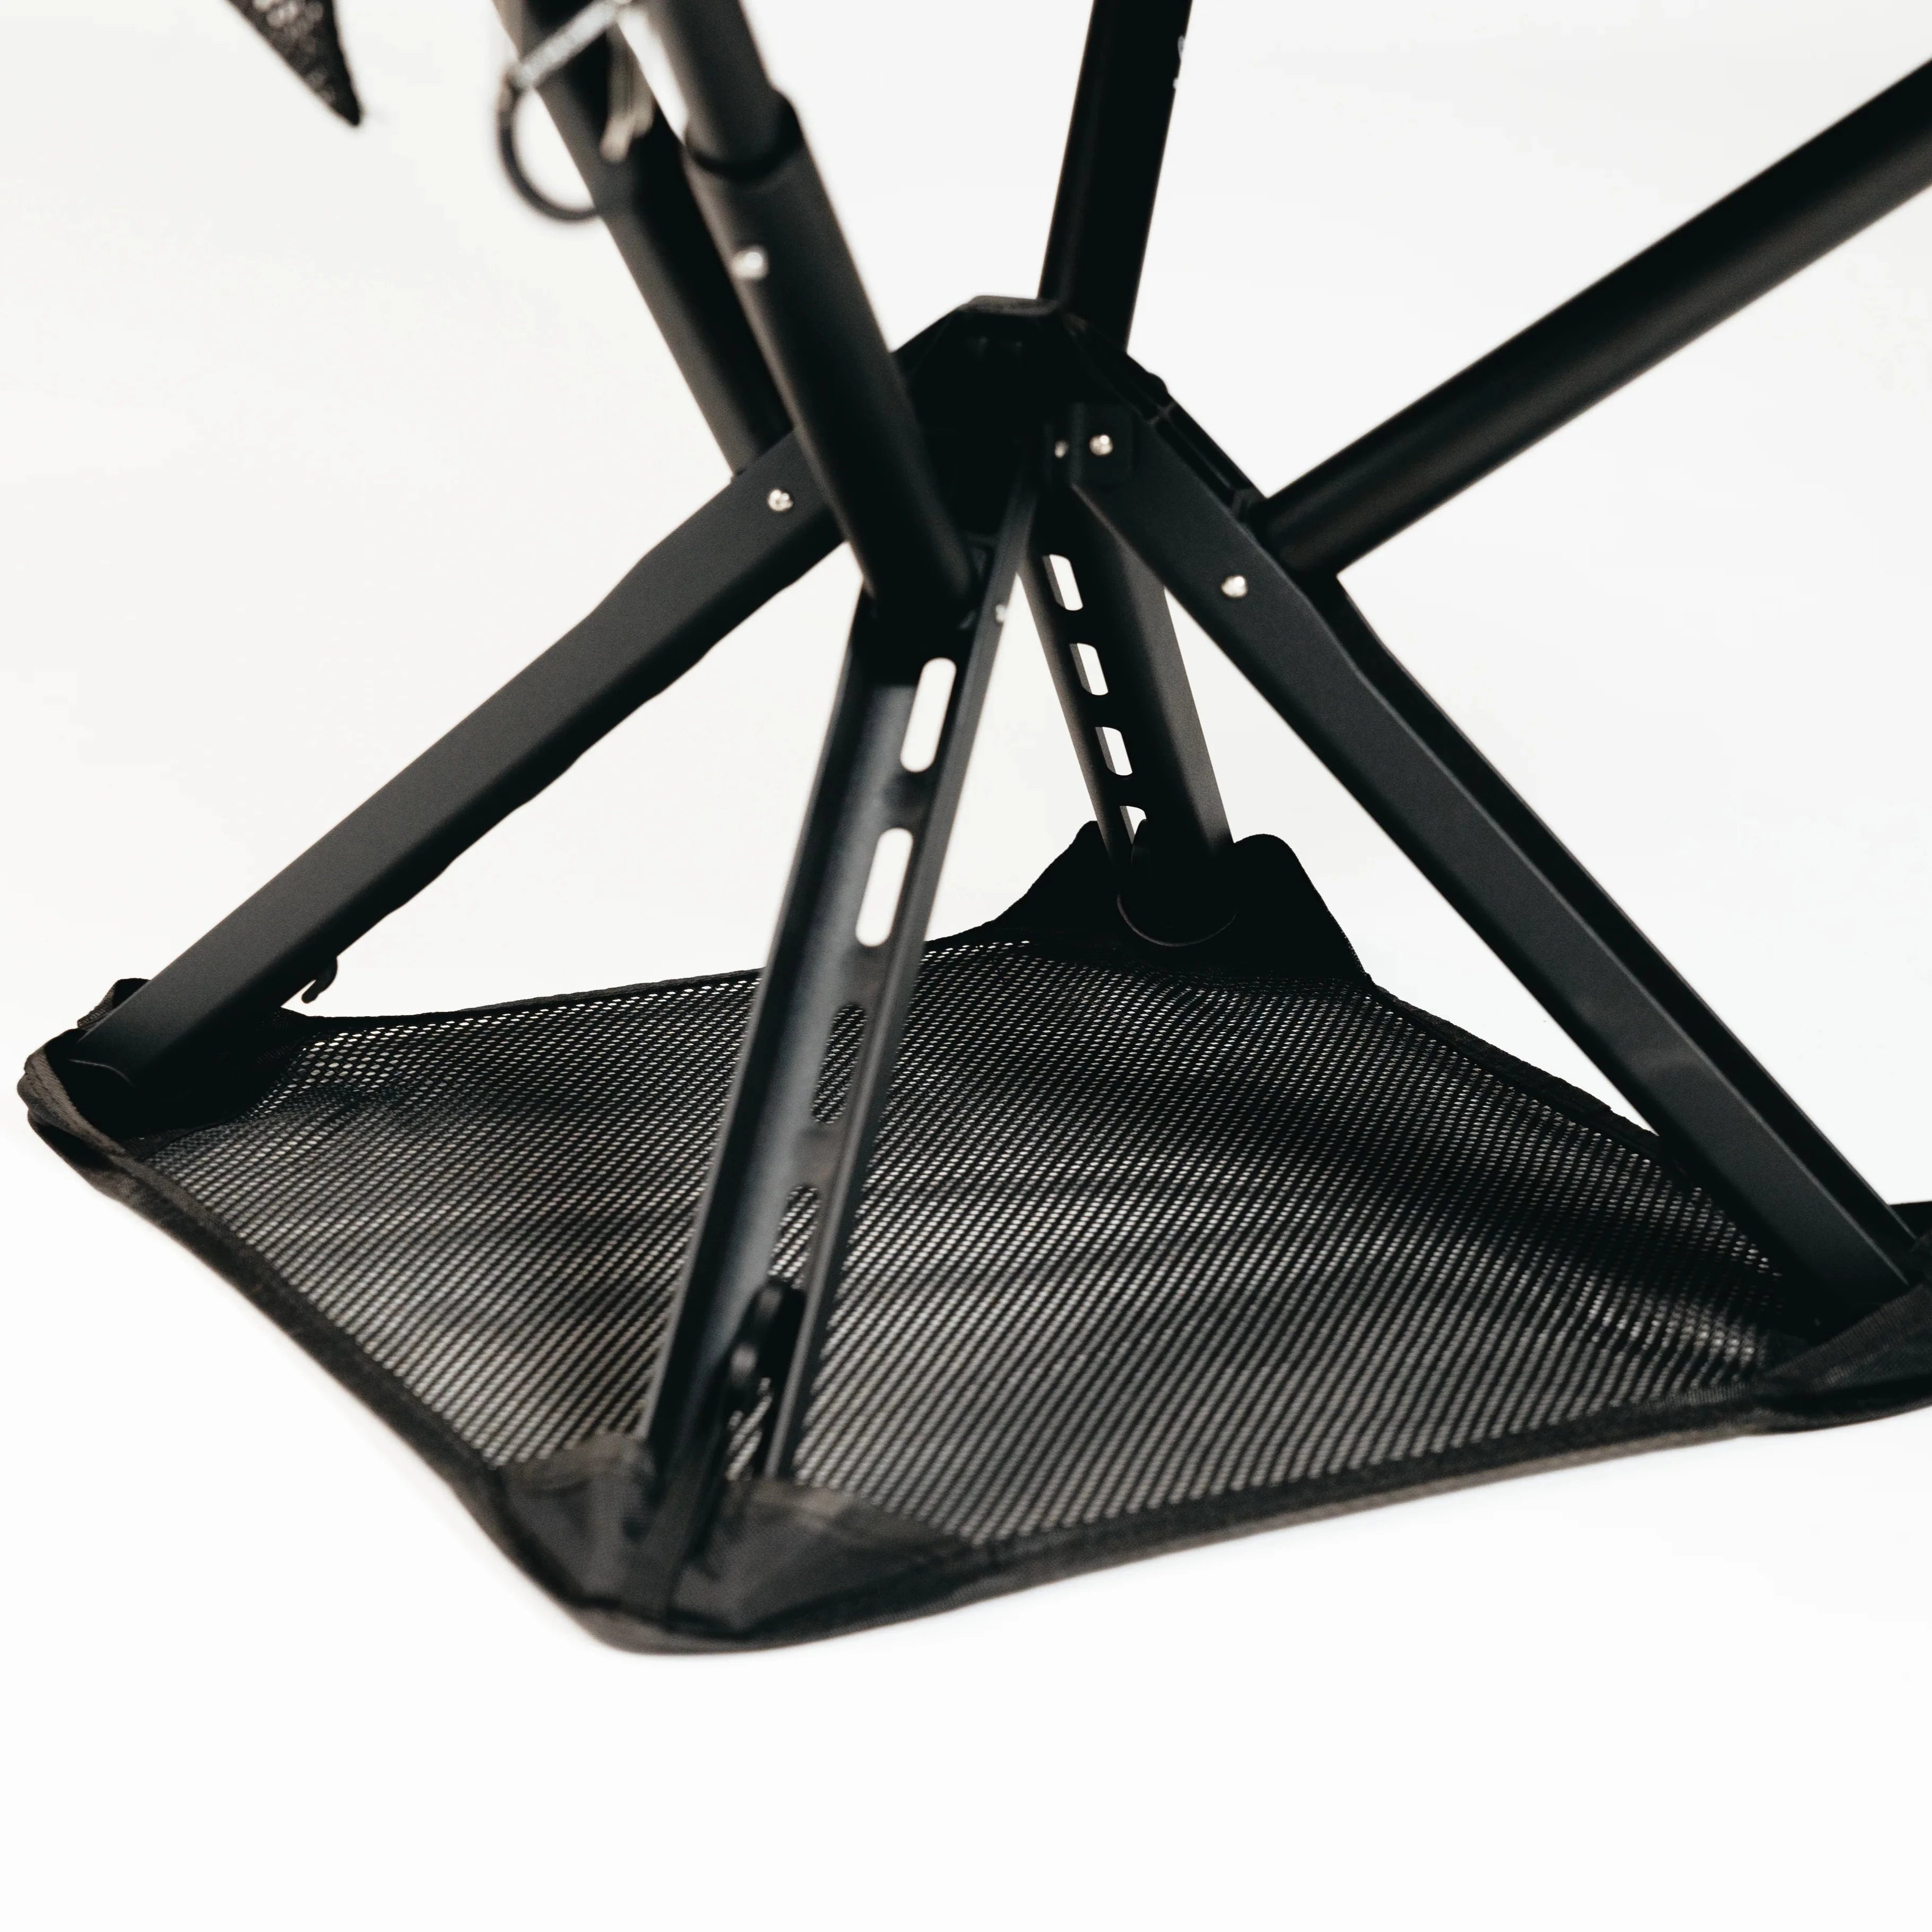
| Sitpack for camp comfort | Sitpack’s Campster II and Sitpack Zen add lightweight, durable seating to any camp setup, backed by a lifetime warranty. |
First, lock in your Big Three before touching anything else. Second, add one extra day of food beyond your planned trip length. Third, match your sleeping bag’s temperature rating to at least 10°F below the expected overnight low.
From there, ask four questions before finalizing your backpacking checklist:
Common scenario adjustments: rain adds a pack cover and gaiters; winter adds insulated boots, extra layers, and a higher R-value pad; long-distance trips with resupply points let you carry less food but require more navigation planning.
Pro Tip: Weigh your fully loaded pack at home before the trip. A reasonable base-weight target for many backpackers is a moderate weight that balances comfort and packability, including food and water. If you’re over that, start cutting from clothing and cookware, not safety gear.
Your shelter and sleep system are the highest-impact choices you’ll make, for both comfort and safety. According to Peak Gear Guide, the Big Three account for roughly 70% of base weight and around 80% of total gear cost, so getting them right first pays dividends across every trip.
Shelter selection comes down to four factors: season rating, packed weight, packed volume, and whether you prefer a freestanding tent or a trekking-pole shelter. Freestanding tents set up on any surface and are more beginner-friendly. Trekking-pole shelters (like a Zpacks Duplex or Tarptent) shave significant weight but require practice and good staking conditions. One-wall shelters are lighter still, though they can trap condensation on cold mornings — a real tradeoff worth knowing before you commit.
Sleeping bag vs. quilt: quilts run lighter and pack smaller, but they require a snug sleeping pad and some practice staying tucked in. Bags are warmer for restless sleepers. Either way, choose a temperature rating roughly 10°F colder than the lowest overnight temp you expect. A 20°F bag for a trip where nights hit 28°F is a miserable math problem.
Sleeping pad R-value matters more than most beginners realize. An R-value of 2 works for summer; R-4 or higher for shoulder season and cold nights. The pad insulates you from the ground, which pulls heat far faster than cold air above you. Check out ultralight sleeping bag picks for current tested options.
Shelter and sleep system checklist:
Stat to know: Modern ultralight tents tested by Backpacker magazine weigh under 2 lbs for a solo shelter, a figure that was nearly impossible to hit at this price point just a few years ago.
Choose pack volume by trip length: 30–40L for overnights, 40–55L for 2–4 nights, and 55–65L for trips of five nights or more. Fit matters more than color, brand, or price. A pack that sits wrong on your hips will make every mile feel like two.
The fit checklist:
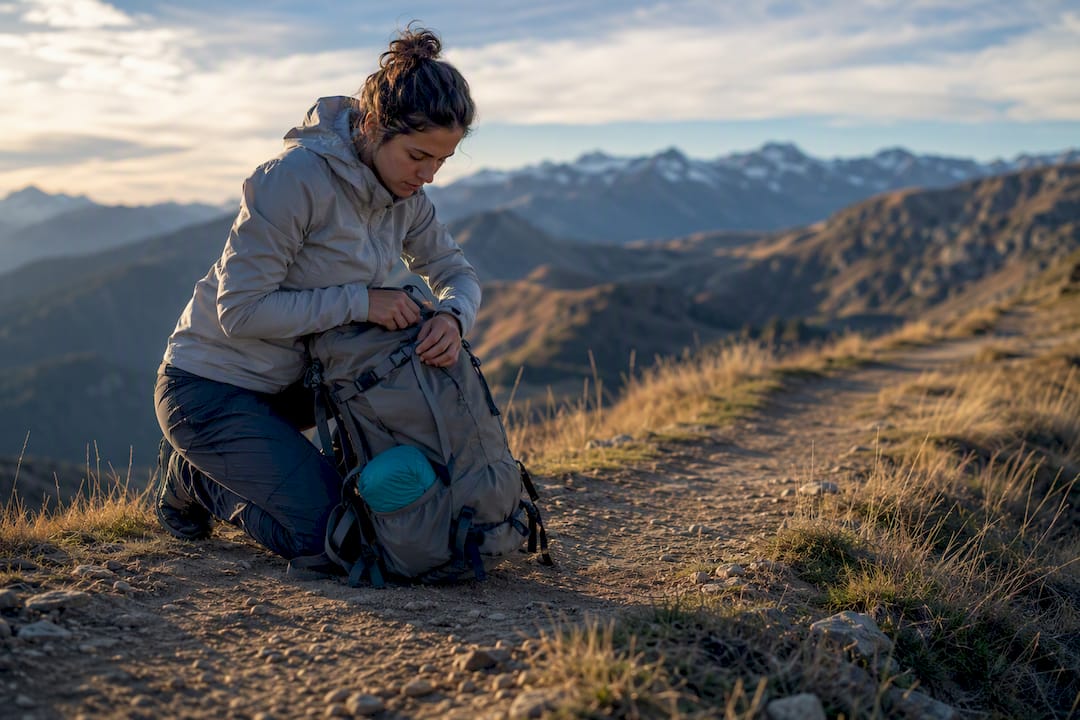
For quick-access organization, keep snacks, your map, headlamp, sunscreen, and phone in hipbelt pockets and the top lid. Heavier items (food bag, water, bear canister) go close to your back and centered vertically. Lighter, bulkier items (sleeping bag, puffy jacket) go at the bottom or outside.
Pro Tip: Use a pack liner (a trash compactor bag works perfectly) or individual dry sacks to waterproof your gear. It’s lighter and cheaper than a rain cover, and it keeps your sleep system dry even if the pack gets dunked crossing a creek.
The layering system is simple: moisture-wicking base, insulating midlayer, waterproof breathable shell. No cotton, anywhere. Cotton holds moisture against your skin, which accelerates heat loss and causes chafing. Merino wool and synthetic fabrics are your friends.
Clothing checklist:
Footwear: trail runners are lighter, dry faster, and work well on most maintained trails. Hiking boots offer more ankle support and durability on rough, rocky, or off-trail terrain. Either way, break them in before a multi-day trip. Blisters on day one are a trip-defining problem.
Pro Tip: Keep one set of dry camp clothes sealed in a dry sack and never wear them on trail. Changing into dry clothes at camp is one of the fastest morale boosts in backpacking, especially after a wet day. Rotate socks daily and air them out at lunch stops.
Pack roughly 1.5–2 lbs of food per day, targeting 2,500–3,500 calories depending on your pace and elevation gain. For a hard mountain day, you’ll want to be closer to the upper end. Choose calorie-dense foods where weight is a concern.
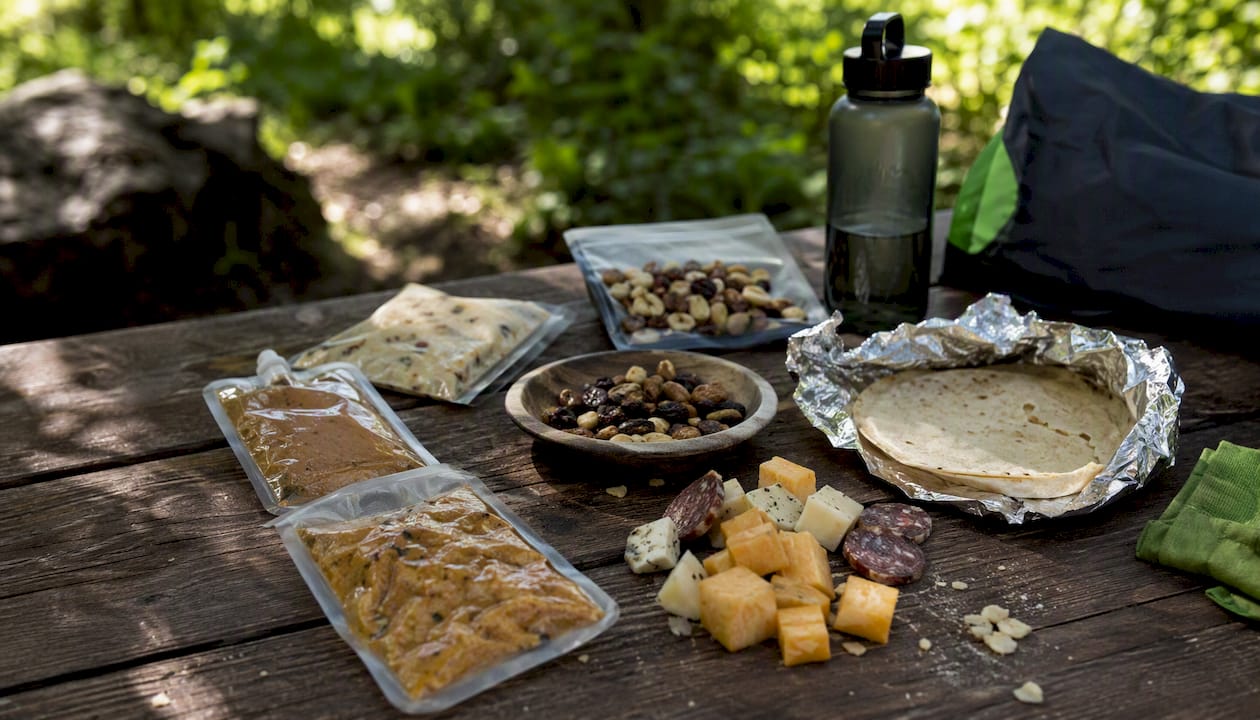
| Food type | Calories per oz | Notes |
|---|---|---|
| Nut butter packets | ~170 | High fat, no cooking needed |
| Freeze-dried meals | ~100–130 | Just-add-water convenience |
| Hard cheese | ~110–120 | Lasts 3–5 days unrefrigerated |
| Tortillas | ~80 | Versatile, crush-resistant |
| Trail mix / nuts | ~140–160 | Dense snack, no prep |
For your cook kit, a canister stove (like a Jetboil or MSR PocketRocket) plus a 750ml–1L titanium pot covers most solo needs. Add a long spoon, a lighter, and a small cutting board if you’re cooking real meals. Canister fuel is widely available at outdoor retailers; carry more than you think you need for cold weather, which burns fuel faster.
Water treatment options:
Pro Tip: Always carry a backup water treatment method. Filters can freeze, crack, or clog. A small bottle of Aquamira weighs almost nothing and has saved more than a few trips. Treat water before leaving camp when you can, so you’re never caught dry on a long dry stretch.
Carry the Ten Essentials on every trip, no exceptions. REI’s expert checklist groups them as: navigation, sun protection, insulation, illumination, first aid, fire, repair kit and tools, nutrition, hydration, and emergency shelter. That framework has been the industry standard for decades because it covers the failure modes that actually kill people.
First-aid kit for backpacking:
Emergency communication for remote trips:
A satellite messenger (Garmin inReach Mini or SPOT) lets you send an SOS from anywhere on Earth, regardless of cell coverage. A personal locator beacon (PLB) is a one-way SOS device with no subscription cost. For day hikes or trips near cell coverage, a fully charged phone with downloaded offline maps (Gaia GPS, CalTopo) is a reasonable minimum. For solo or remote sections, a satellite messenger is genuinely worth the weight and cost.
Worth knowing: OutdoorGearLab’s testing consistently finds that navigation and emergency communication are the most under-packed categories among beginners, yet they’re among the lightest items you can carry.
A tiny repair kit and basic hygiene supplies are some of the highest-value, lowest-weight items in your pack. OutdoorGearLab notes that small items like tenacious tape and spare cord can prevent a gear failure from ending a trip early.
Repair kit:
Hygiene checklist:
Leave No Trace in one sentence: pack out everything you pack in, bury human waste properly, and camp on durable surfaces at least 200 feet from water sources.
Pro Tip: Wrap a few feet of duct tape around your trekking pole handle instead of carrying a full roll. It’s there when you need it and adds almost no weight.
Organize by use frequency: items you need during the day (snacks, rain jacket, map, headlamp) stay accessible; camp-only gear (sleeping bag, camp shoes, stove) goes deeper. Andrew Skurka’s checklist philosophy is worth internalizing: every list is a template, not a rule. Customize it for your trip’s environment, duration, and personal comfort thresholds.
Realistic base-weight targets:
Weight-saving tactics:
Pro Tip: Weigh every item at home with a kitchen scale before your first trip. Most people are shocked by what the small stuff adds up to. A guide to packing light can help you find the swaps that give the biggest return per ounce.
For deeper ultralight gear comparisons, Backpacker’s 2026 ultralight gear testing covers tents, quilts, packs, and stoves across thousands of trail miles.
Optional items fall into two buckets: comfort and mission. Comfort items improve your experience but don’t affect safety. Mission items serve a specific purpose you’ve planned for (photography, journaling, hiking with a dog). Choose intentionally, not habitually.
Common extras and when they make sense:
Pro Tip: For electronics, bring only what serves navigation or safety. A fully charged phone with Gaia GPS or CalTopo downloaded offline covers most navigation needs. A small solar charger or battery bank extends your range on trips over three days.
Pack, shelter, sleep system, headlamp, first-aid kit, map/compass, fire starter, emergency shelter, 1.5–2 lbs food, water filter, 1L water capacity, base layer, insulating layer, rain jacket, 1 pair camp socks, trowel, hand sanitizer, repair kit basics, stove and fuel, cook pot, spoon, lighter.
Everything above, plus: 4.5–6 lbs food (plus one extra day), 2L water capacity, extra fuel canister, 2 pairs hiking socks, sun hat, trekking poles (optional), bear canister or hang kit (check local regulations), permit (if required).
Everything in the 3-day list, plus: 10.5–14 lbs food (or resupply plan), satellite messenger, extra batteries or solar charger, additional repair supplies, camp shoes, full hygiene kit, extra personal meds.
| Trip length | Pack volume | Food weight | Fuel | Key additions |
|---|---|---|---|---|
| Overnight | 30–40L | 1.5–2 lbs | 1 small canister | Minimal kit |
| 3 days | 40–55L | 4.5–7 lbs | 1 standard canister | Bear storage, permit |
| 7 days | 55–65L | 10.5–15 lbs | 2 canisters or resupply | Satellite messenger, solar charger |
Permits and bear canisters: many popular wilderness areas in the US (Yosemite, John Muir Trail, Enchantments) require advance permits and hard-sided bear canisters. Check Recreation.gov and the specific land management agency’s website before your trip. Some areas sell out months in advance.
Here’s the honest truth about backpacking gear: the list matters less than the mindset behind it. Most beginners overpack on their first trip and underpack on comfort items that actually affect how they feel on day three.
The sleeping pad is the most underrated item on the list. Hikers obsess over sleeping bag temperature ratings and tent weight, but a thin, low-R-value pad on cold ground will wreck your sleep regardless of how good your bag is. Prioritize R-value before you prioritize bag loft.
Pack weight directly affects daily mileage. A 35-lb pack on a 15-mile day is a different physical experience than a 20-lb pack. If you’re planning ambitious mileage, the ultralight gear guide is worth reading before you finalize your kit. The Big Three are where the weight lives, and they’re where the investment pays off fastest, as Peak Gear Guide’s checklist makes clear.
One more thing: checklists are starting points. Andrew Skurka’s approach to gear lists is the right one — treat every list as a template and edit it ruthlessly for your specific trip. The goal isn’t to bring everything on the list. The goal is to bring exactly what you need and nothing that you don’t.
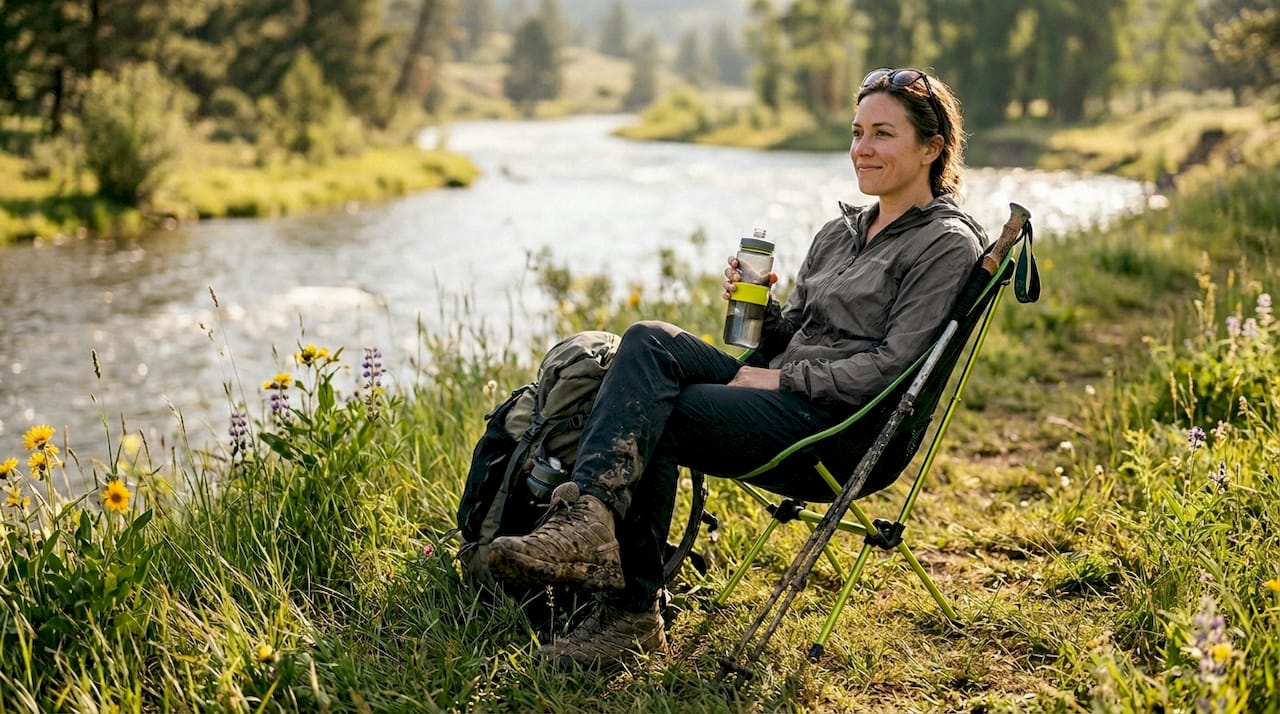
Backpacking is about moving efficiently and resting well. Sitpack’s portable seating solutions, including the Campster II and Sitpack Zen, are built for exactly the moments when you’ve earned a proper sit-down: at a summit, by a creek, or around the fire after a long day. Both are lightweight, fold flat, and back every purchase with a 45-day satisfaction guarantee and a lifetime warranty.
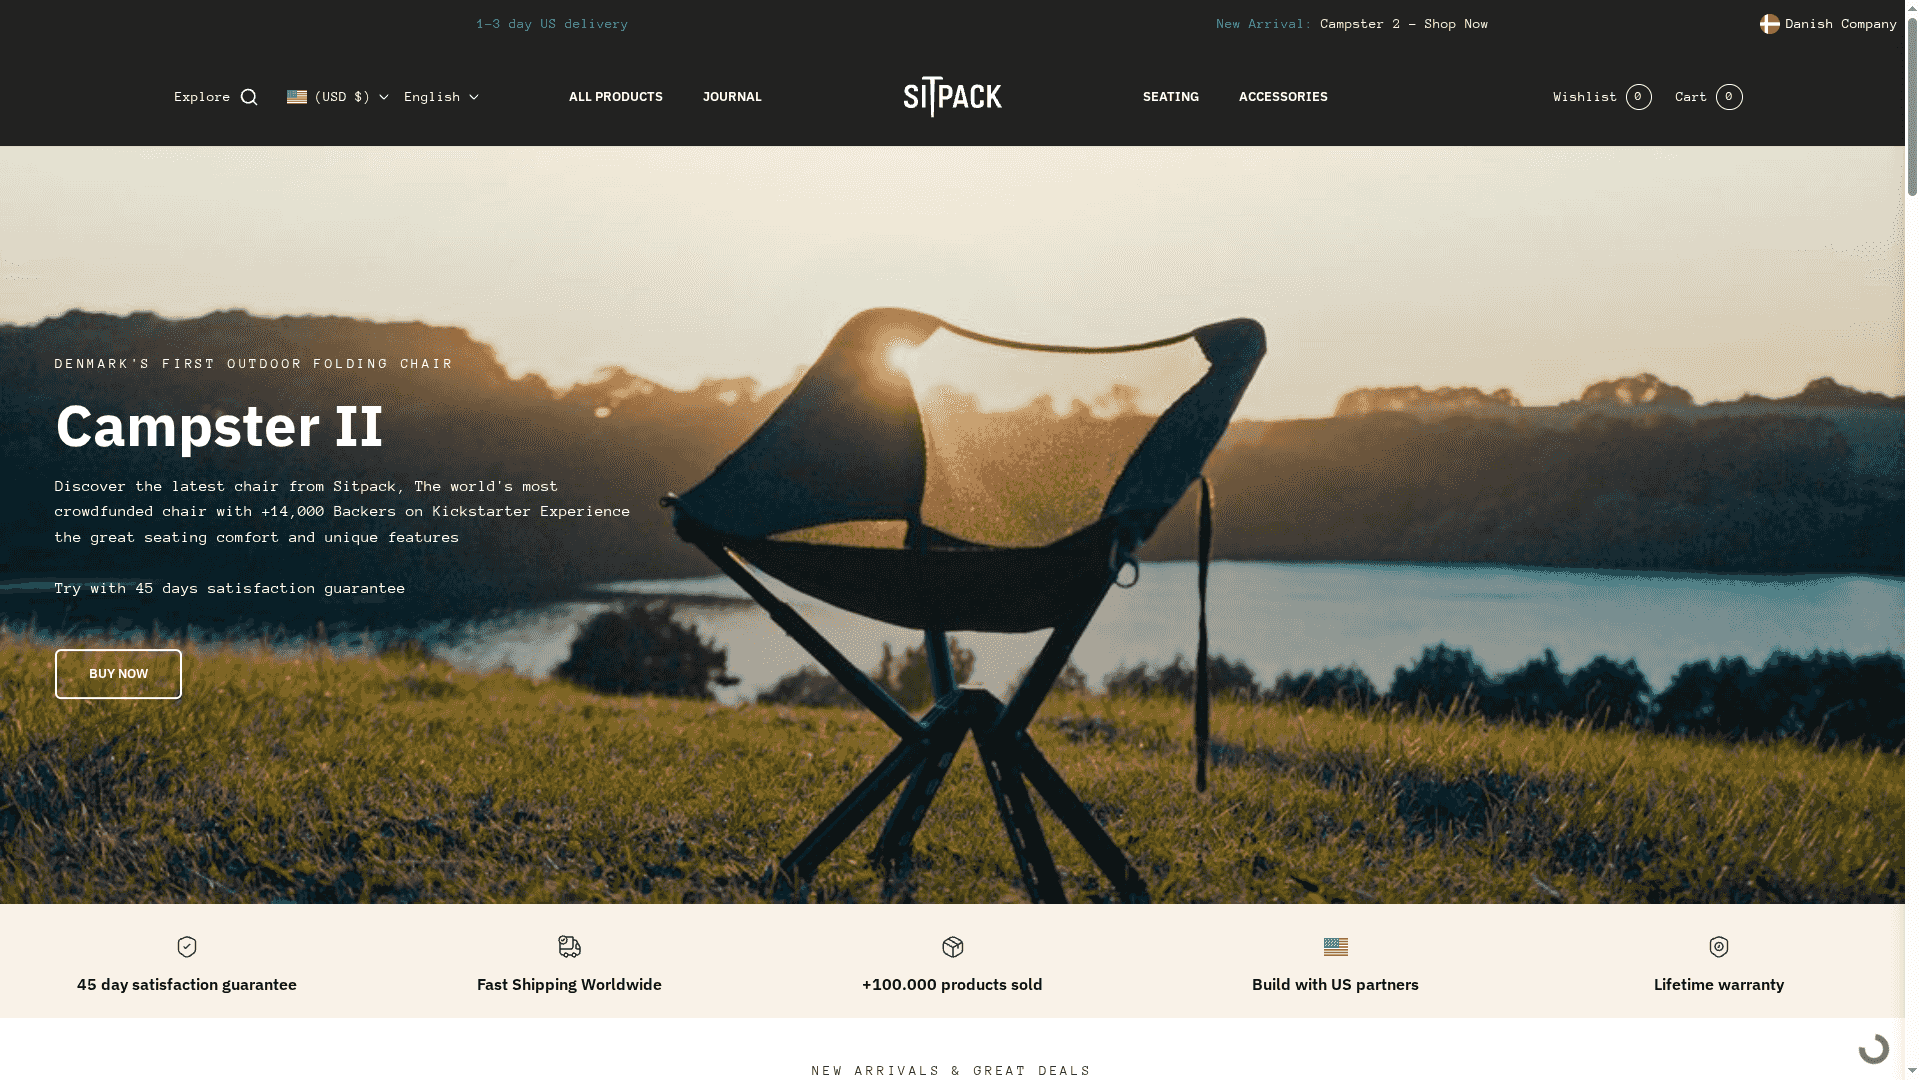
If you’re building out your camp comfort kit alongside your essential backpacking gear, Sitpack’s chairs are worth a look. They add real comfort without the weight penalty of traditional camp chairs. Browse the full range at Sitpack and find the seat that fits your trail style.
Good checklists are everywhere; great ones are tested and honest about tradeoffs. Here are the sources worth bookmarking: