Cart
0
Sign up and get 10$ off your order
Expected delivery
1-3 days
You may also like


Danish Company

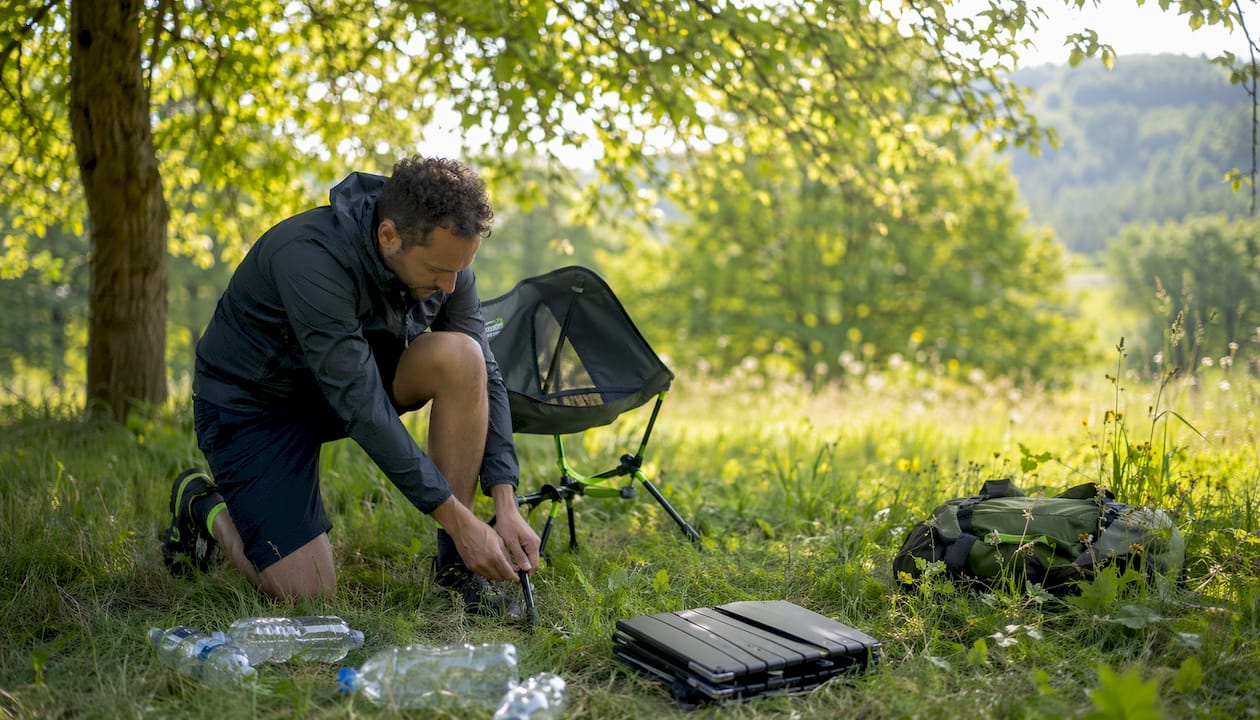
The most efficient campsite seating workflow comes down to three things: zone your site before you unpack a single chair, arrange seating in a purposeful arc facing your focal point, and keep pathways clear enough to navigate safely after dark. Get those three right, and the rest of the setup practically organizes itself.
Here’s what a solid workflow looks like in practice:
Pro Tip: Before you sit down in any camp chair, press one corner down firmly. If it rocks or sinks, adjust the feet or find a flatter patch of ground. A wobbly chair on uneven terrain is the fastest way to end a campfire evening early.
A good campsite layout starts with a five-minute site assessment, not with unpacking. Walk the site first. Note where the wind is coming from, which ground feels firm underfoot, and where the sun will hit during meal times. Those three observations shape every placement decision that follows.
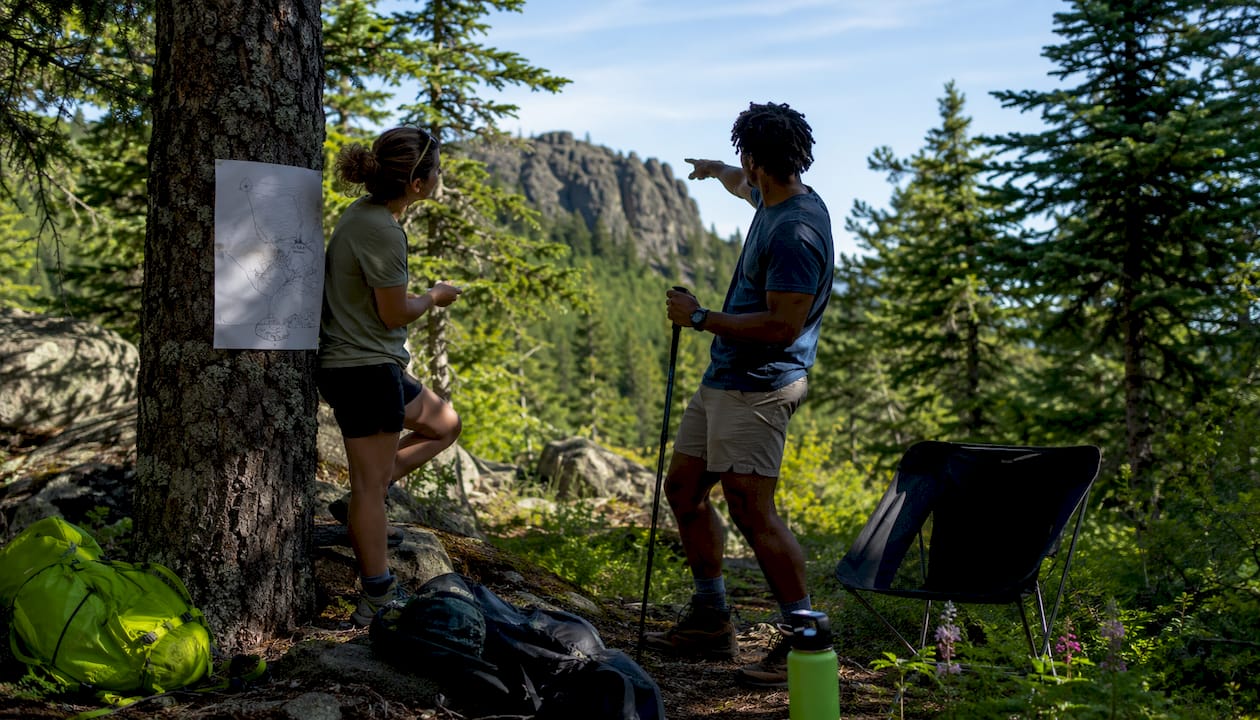
Terrain assessment before setup prevents the most common failures: wobbly tables on soft soil, chairs sinking into sand, and cooking zones that catch every gust. Press your heel into the ground to test composition. Sand needs wider footplates under chair and table legs; rock requires flat pads with non-slip backing; loam works best with screw-in pegs through leg sleeves.
Once you understand the terrain, zone deliberately:
| Zone | footprint | Key anchoring points | Buffer from adjacent zone |
|---|---|---|---|
| Cooking | 6’x6’ | Table legs, stove platform | 3 feet from dining |
| Dining | 8’x8’ | Table corners, chair legs | Shared boundary with lounge |
| Lounge | 10’x10’ | Chair bases, side tables | Open sightline to cooking |
| Entry | Doormat-sized | Gear hooks, ground mat | Just outside tent entrance |
The lounge and dining zones should share one boundary so conversation carries naturally between them. Cooking, though, needs separation. Food transport should never cross a high-traffic path.
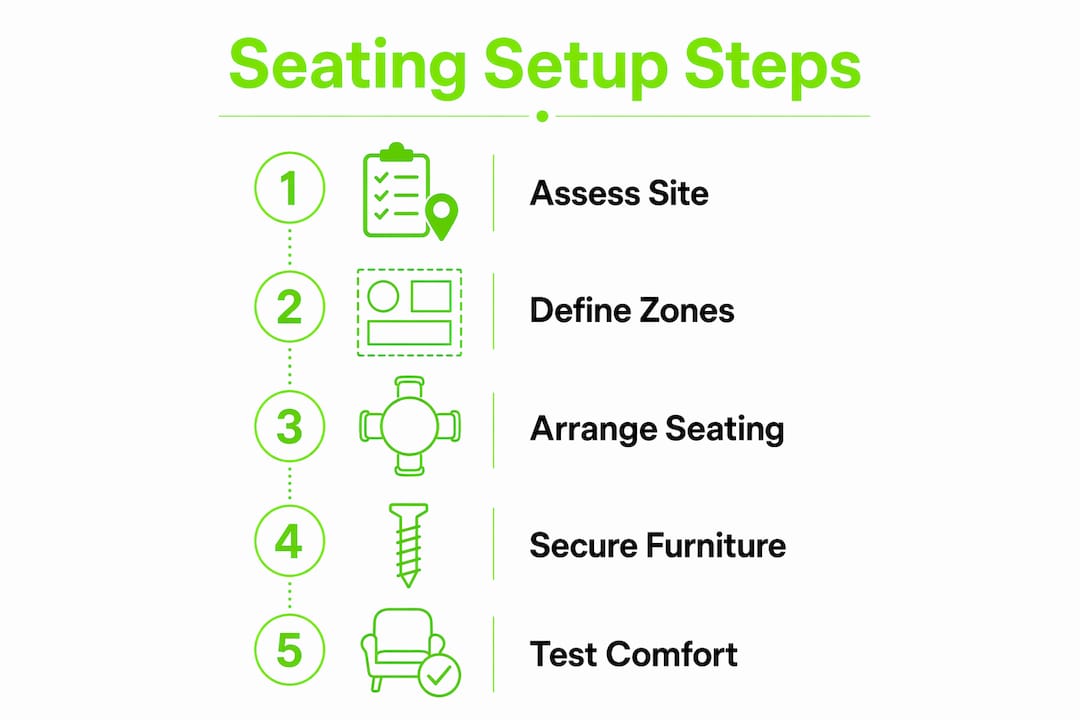
The fastest setups follow a fixed order. Improvising the sequence is how camps end up with chairs blocking the kitchen and a table in the wrong spot for the wind. Treat this as a choreography, not a checklist you can shuffle.
Pro Tip: Pack your vehicle in reverse setup order. The gear you need first, like your anchor table and tent, should be the last items loaded so they come out first at the site. This single habit can cut your setup time significantly.
Reverse packing at home is the secret weapon here. Gear grouped by function in labeled bins, with the first-needed items on top, turns a chaotic unload into a staged deployment.
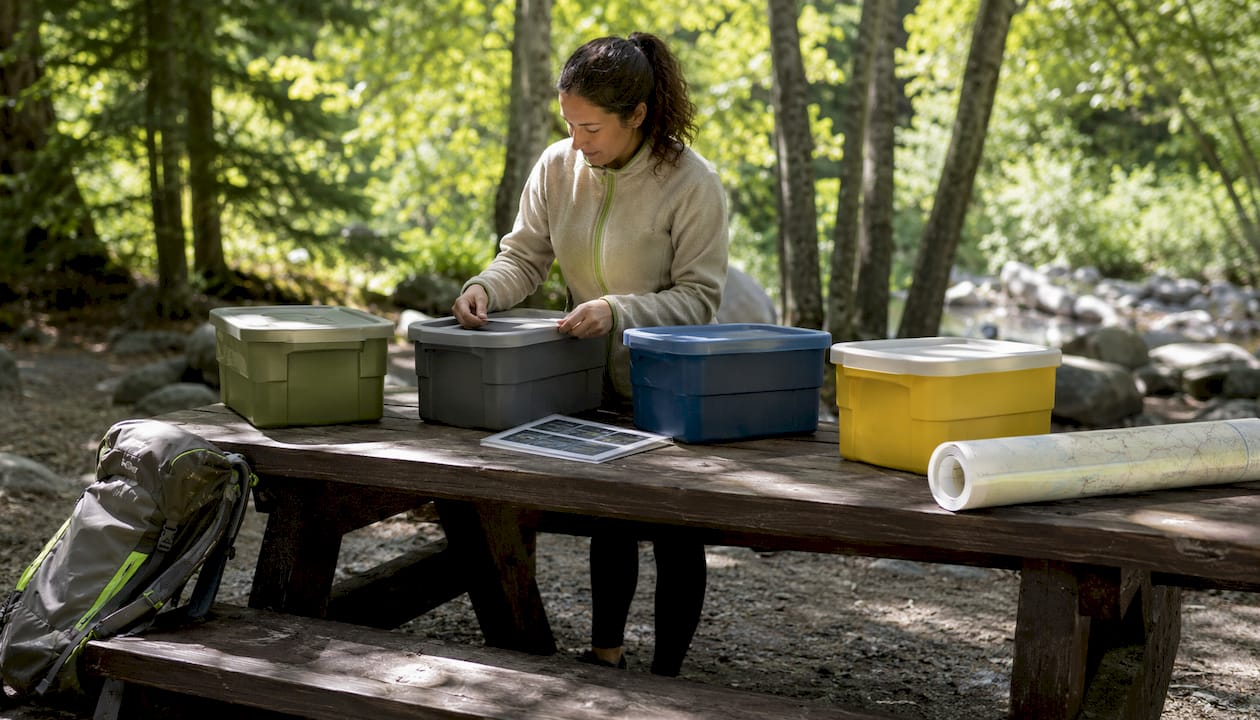
Nighttime navigation is where poorly planned campsites become genuinely dangerous. The cooking zone that looked fine at 6 PM has a chair leg sticking into the walkway by 9 PM, and nobody notices until someone trips over it.
Keep these safety principles in place from the moment you set up:
Unstable furniture is the most underestimated nighttime hazard at campsites. A folding chair with unlocked joints or a table on soft ground can collapse under a moment’s inattention. The stability test during setup, pressing down on each corner firmly, takes ten seconds per piece and catches problems before they become injuries.
Packing up in reverse setup order is the fastest and most organized way to break camp. The last thing you set up, typically the side tables and organizers, comes down first. The anchor table, which went up first, comes down last.
A solid cleanup sequence looks like this:
A simple checklist taped inside your main gear bin keeps the process consistent even when you’re tired and ready to go home. Organizing gear into labeled bins by function reduces the chance of leaving something behind and speeds up the next trip’s setup.
The way you arrange seating matters more than the chairs themselves. That’s the consistent finding from outdoor recreation research and experienced basecamp designers alike.
Treating your seating as a structural anchor rather than an afterthought is what separates a functional camp from a reactive one. When chairs go down in a consistent arc facing the focal point, every subsequent placement becomes obvious. People orient naturally. The setup guides itself.
Ergonomics matter more than most campers realize. A 9–11 inch difference between seat height and table surface is the comfortable range for dining posture. Mismatched heights cause neck strain and awkward positioning that makes meals less enjoyable. Varying chair heights within a group, lower loungers mixed with standard dining chairs, supports different activities as the day shifts from meals to relaxation.
Pro Tip: Rocking camp chairs offer a genuine physiological advantage over standard folding chairs. Vestibular stimulation from the rocking motion has documented effects on stress reduction and sleep onset speed, making them worth considering for any basecamp setup where comfort is a priority.
A solo camper and a group of eight need fundamentally different approaches to campsite seating arrangement. Getting this wrong means either wasted space or a cramped, chaotic social zone.
For solo and two-person setups, a single anchor table with two chairs facing each other or angled toward a fire is all you need. Keep the footprint small and the pathways wide. There’s no reason to sprawl across a site when two people can create a perfectly contained, comfortable space in a 10’x10’ area.
Groups of three to six work best with the classic horseshoe arrangement. Place chairs in an arc with the open end facing the fire or central focal point. This keeps everyone in easy conversation range without anyone feeling excluded from the group. Side tables between chairs prevent the constant “can you pass that?” shuffle.
Larger groups of seven or more require a different strategy. A single arc becomes too wide for comfortable conversation, so consider splitting into two smaller clusters with a shared focal point between them. Assign one cluster to dining and one to lounging, and let people migrate naturally. The key is maintaining clear pathways between clusters so the site doesn’t become a maze. For camping chair organization at scale, labeled gear zones become even more critical because more people means more gear drift.
Flat, dry ground is the exception, not the rule. Most real campsites involve some combination of slope, soft soil, exposed wind, or unpredictable weather, and your setup needs to account for all of it.
On sandy ground, standard chair legs sink and wobble. Wide footplates or 6"x6" plates beneath leg bases distribute weight and double stability. On rock, flat metal pads with non-slip rubber backing prevent sliding. On loam or soft soil, screw-in pegs through leg sleeves anchor furniture far better than stakes alone. On a slope, position tables perpendicular to the grade rather than parallel so they don’t lean into the incline.
Wind is the variable that catches most campers off guard. When gusts hit, an unsecured table becomes a projectile and a lightweight chair becomes a tumbling hazard. Cross-bracing dining tables with a paracord X-pattern between legs reduces wobble by 83% during 25+ mph gusts, according to field measurements. That’s a meaningful improvement from a piece of cord that weighs almost nothing.
In rain, the cooking zone placement becomes critical. Position it downwind and away from the tent entrance so smoke and steam don’t funnel into sleeping areas. The USDA Forest Service recommends assessing wind vectors, ground stability, and sunlight paths before placing any furniture, and that advice applies doubly in variable weather. Cold mornings call for orienting the tent entrance away from prevailing wind. Hot afternoons mean aligning the lounge zone with available shade.
The best camp seating does more than one job. A chair that folds flat for transport, holds a side pocket for a water bottle, and reclines for post-dinner lounging covers three functions that would otherwise require three separate pieces of gear.
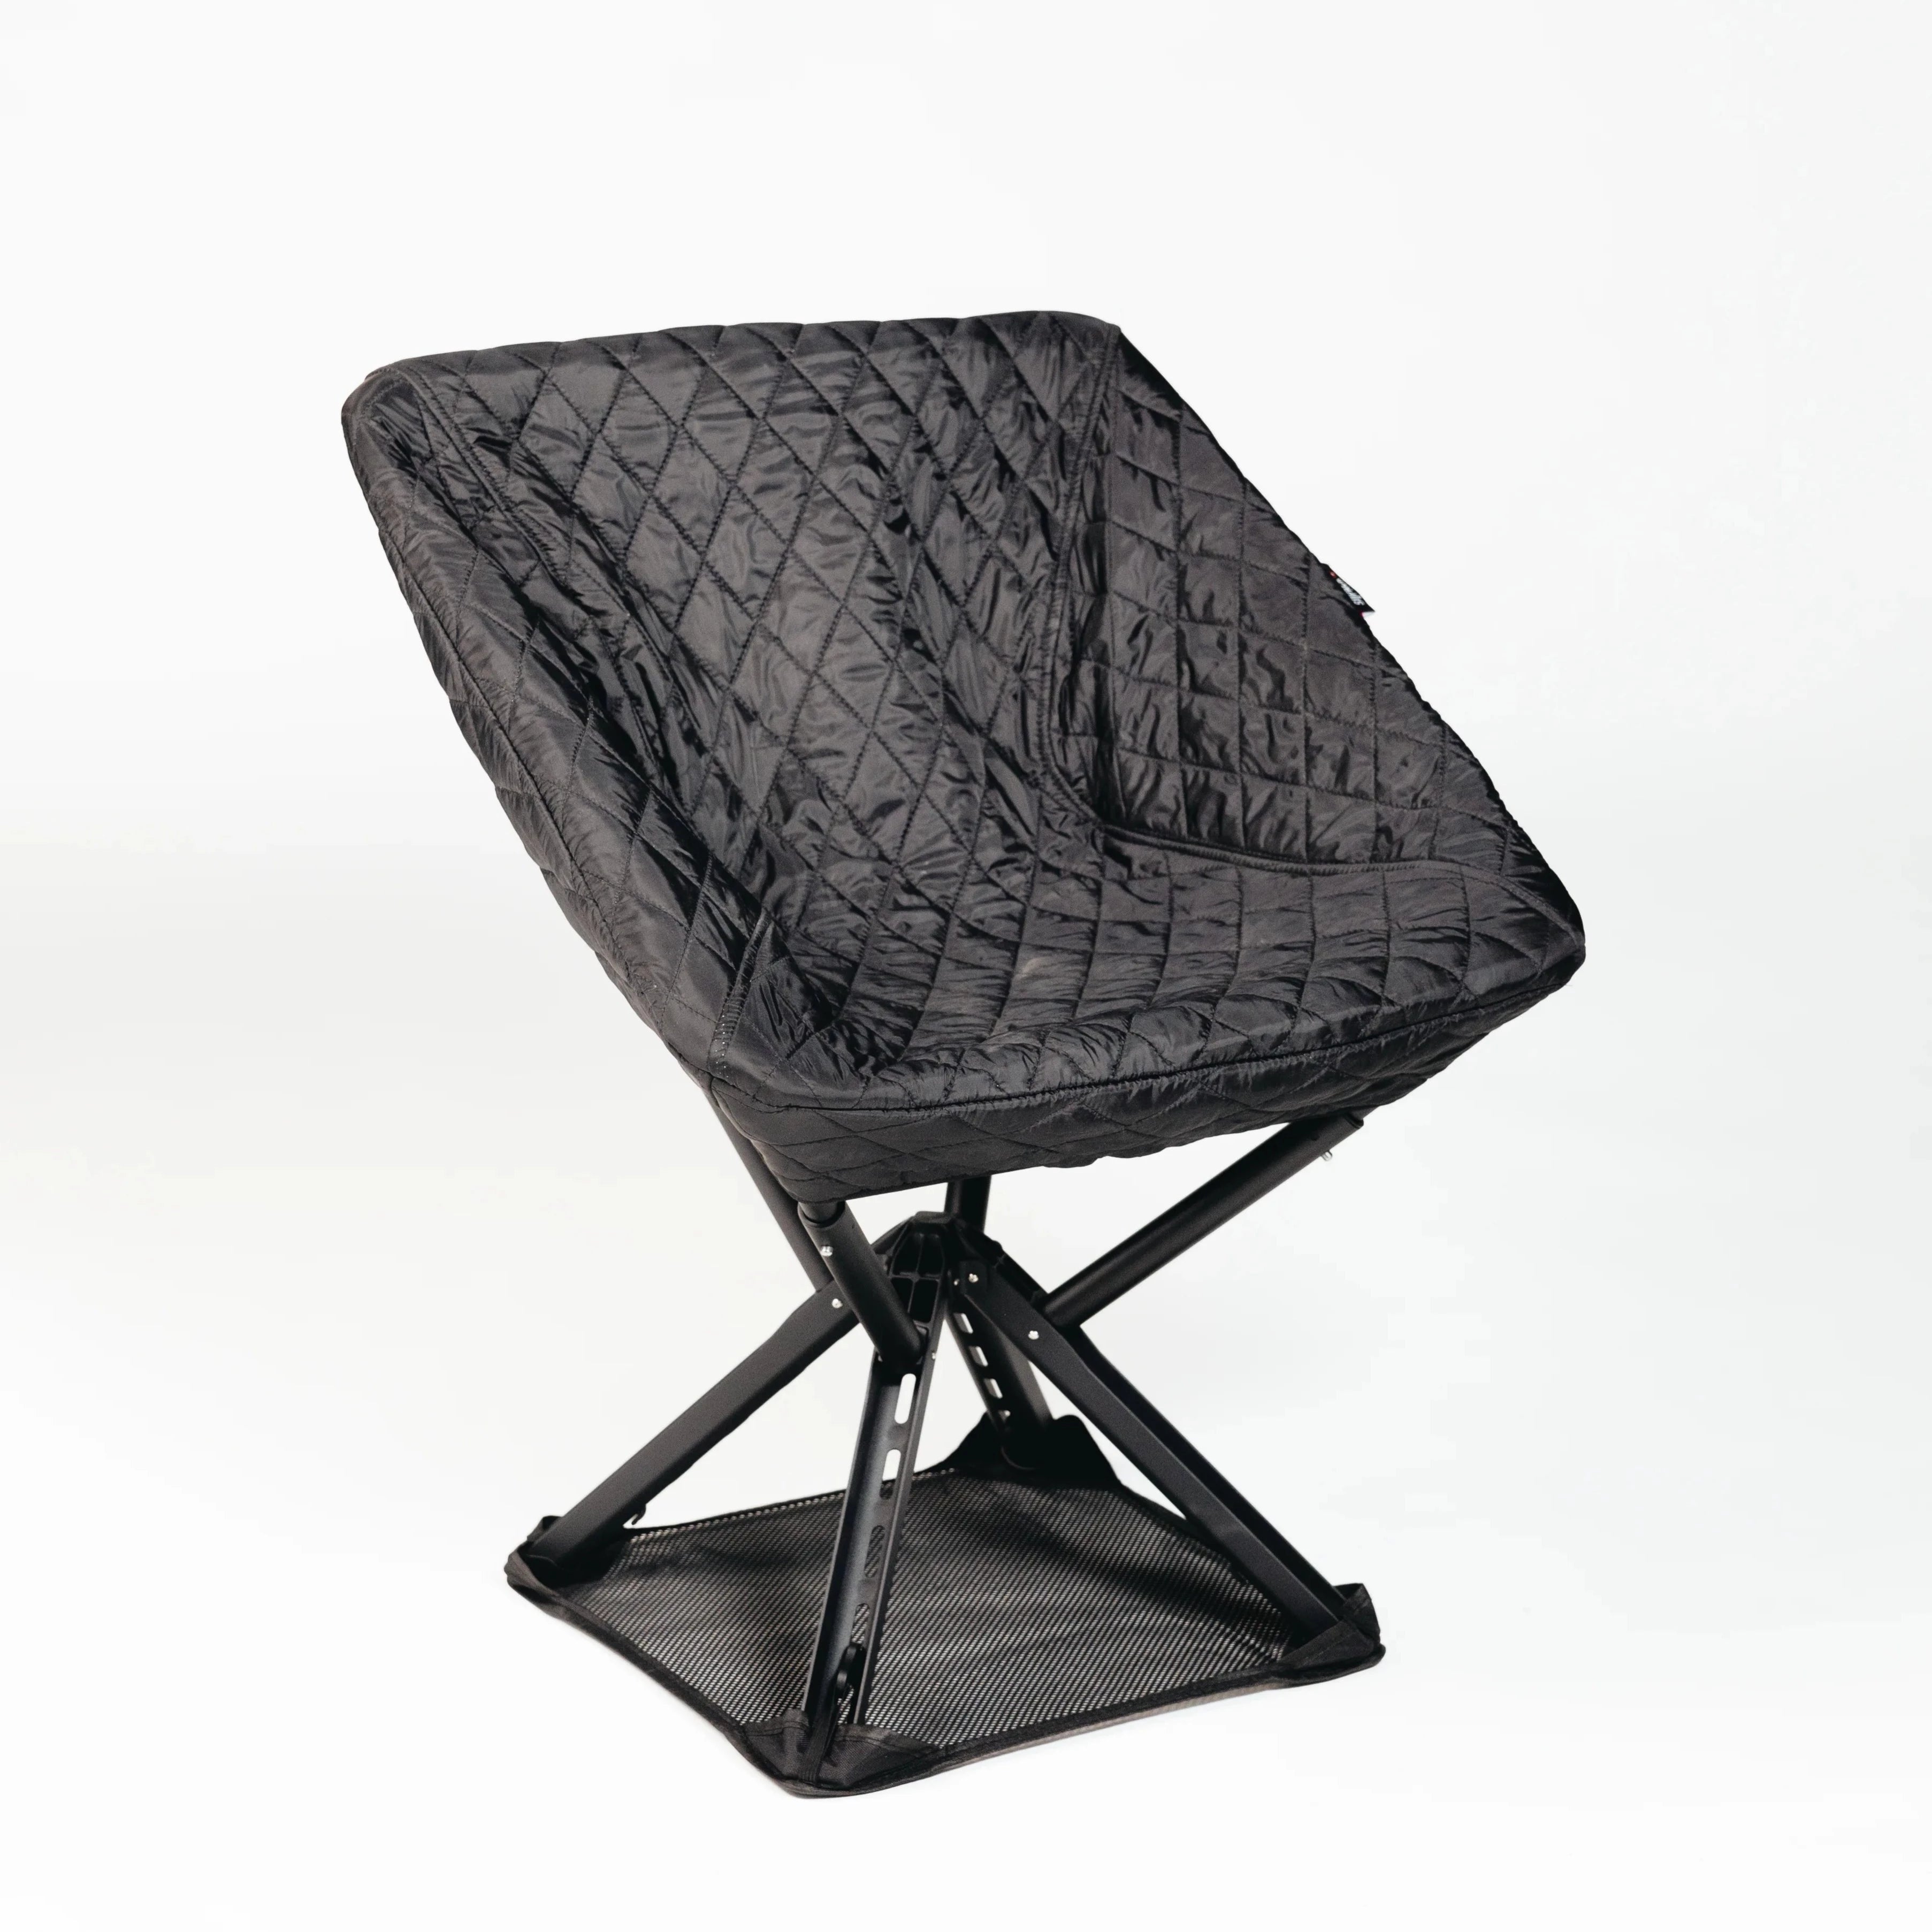
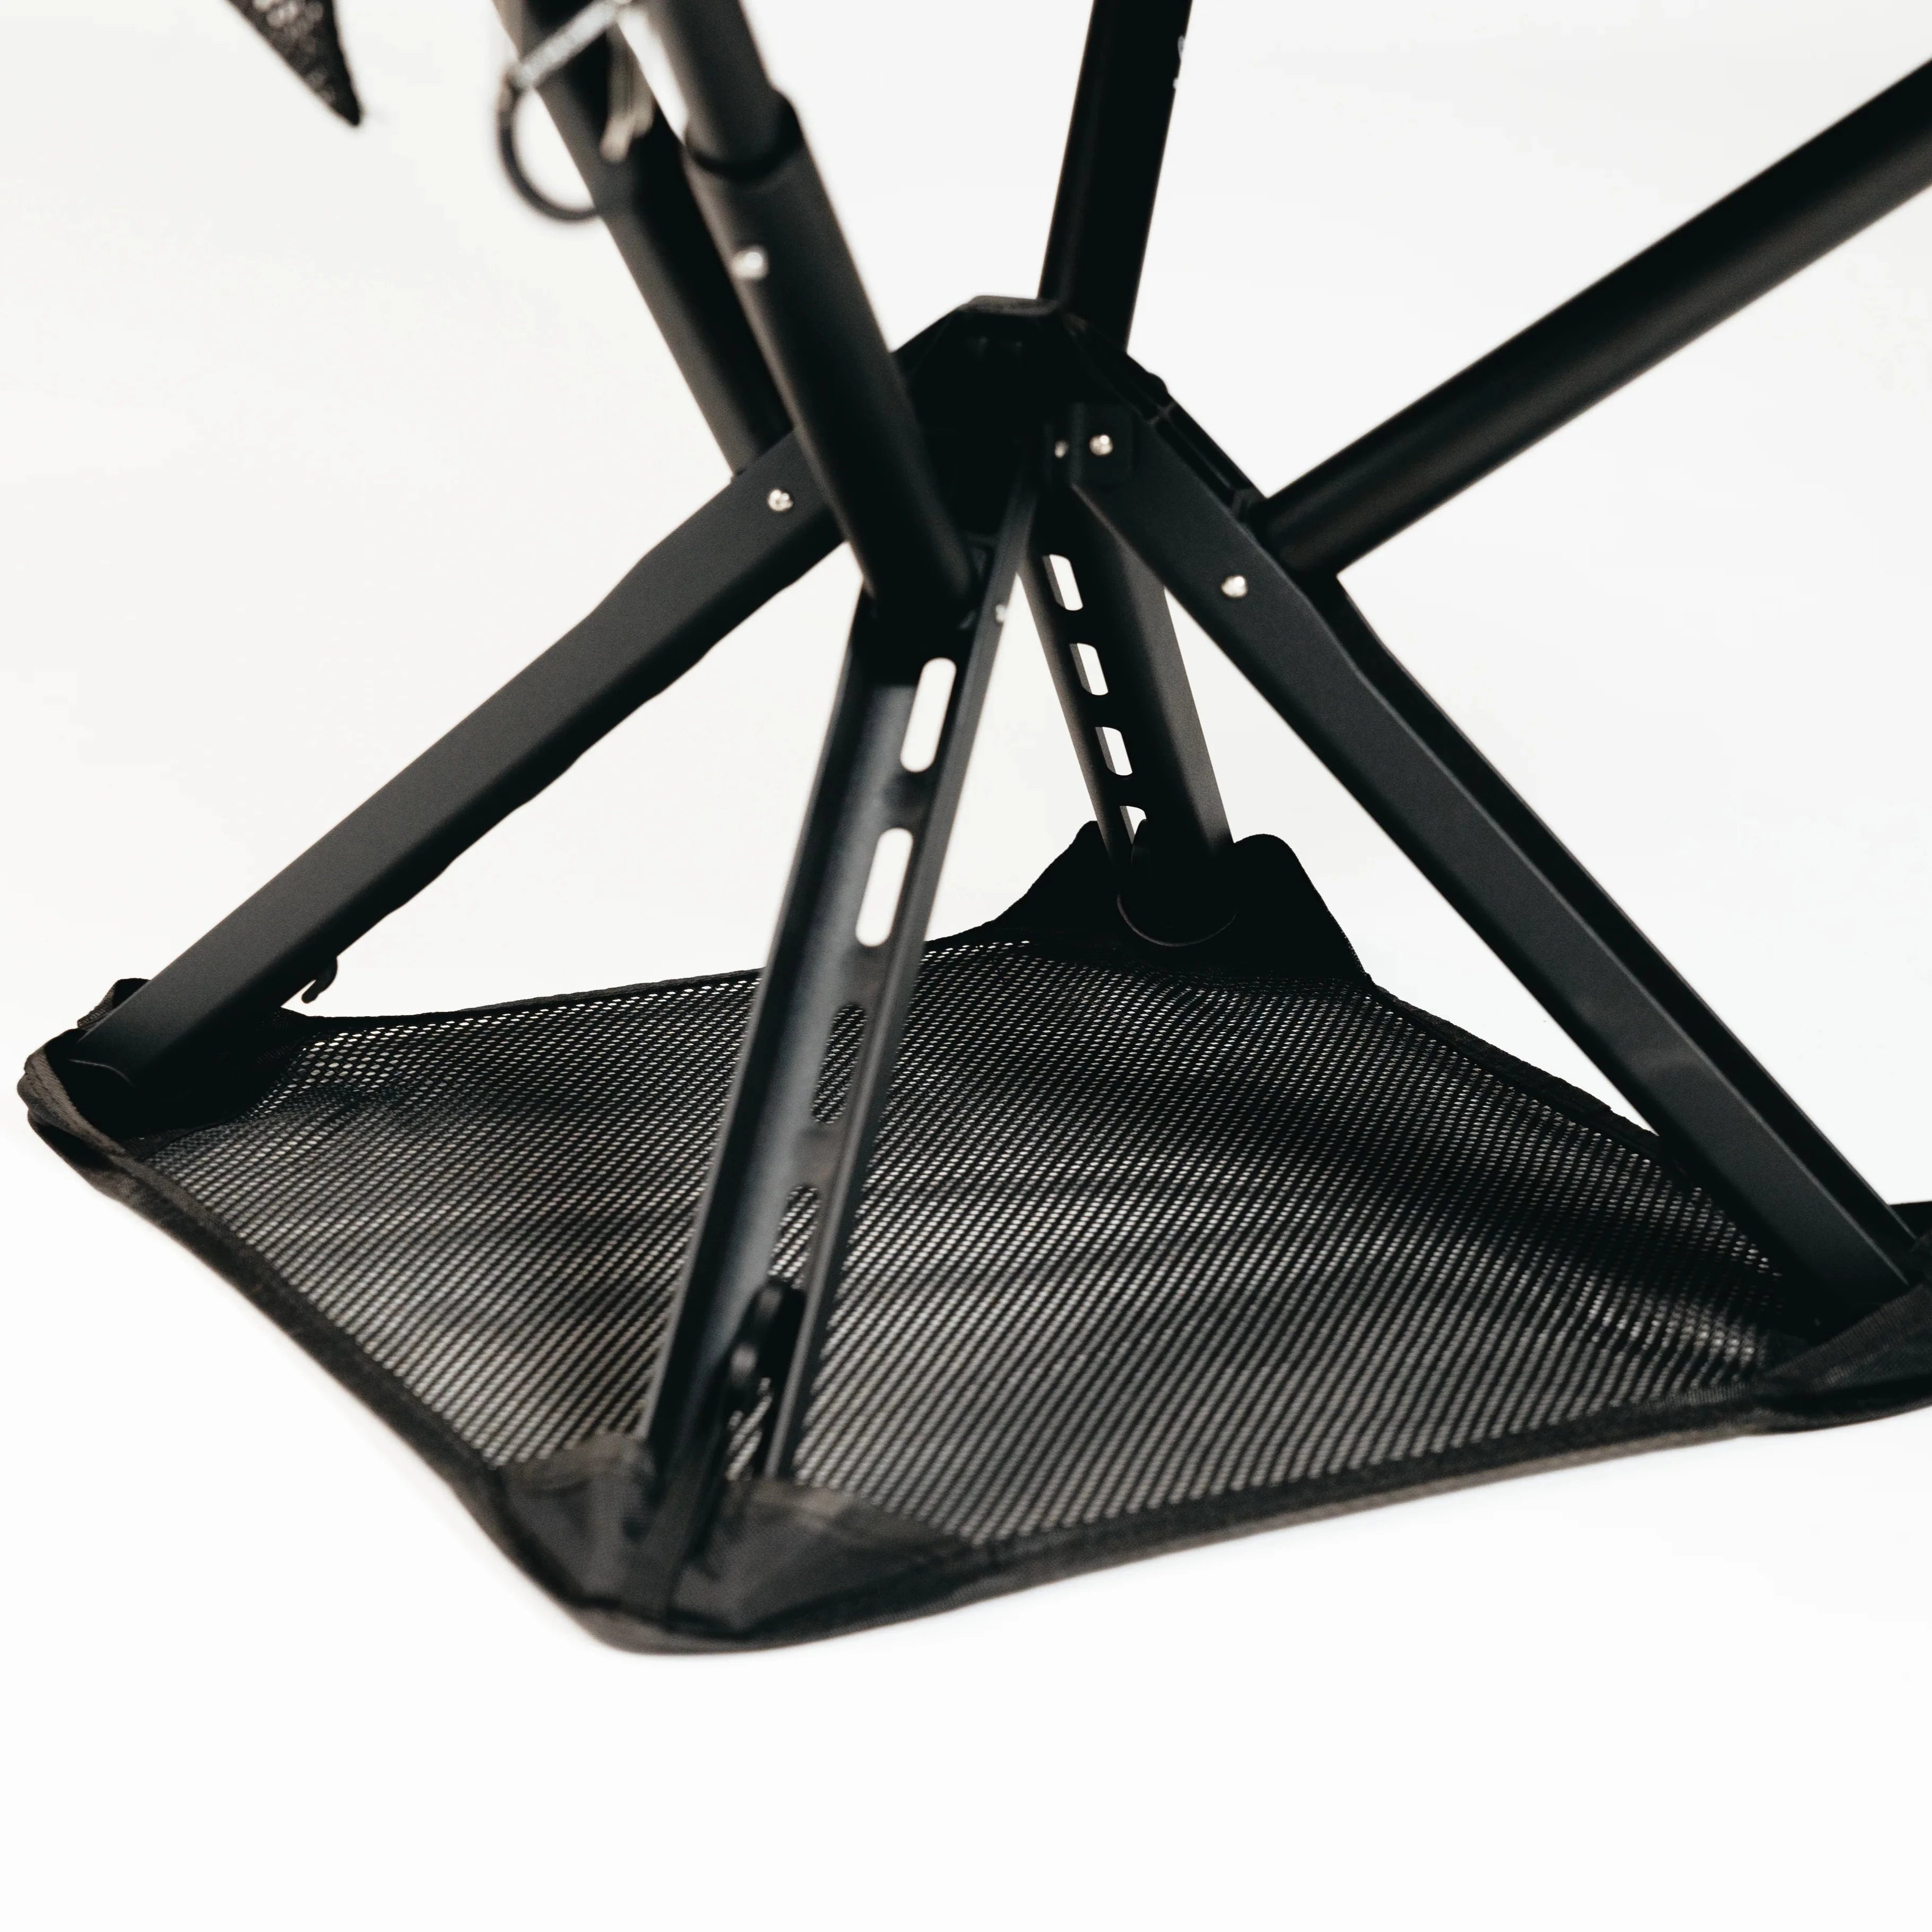
Portable, foldable chairs like the Sitpack Campster II are built around exactly this principle: lightweight enough to carry anywhere, stable enough for real use, and compact enough to pack without reorganizing your entire kit. That combination matters most when you’re working with limited trunk space or carrying gear to a site that requires a walk-in. Checking out the advantages of compact chairs before your next trip is worth the five minutes.
Cooler lids double as secondary surfaces when not in primary use. Smaller side tables positioned at 90-degree angles to the main table rather than parallel create more usable surface area without expanding the footprint. Alternating chair heights in a group creates natural conversation pits without adding any extra gear. These are the kinds of adaptations that make a modular campsite feel spacious even when it’s compact.
The fastest campsite setups happen because of decisions made at home, not at the site. How you pack determines how quickly you can deploy, and how you sequence the setup determines whether you’re sitting down in 20 minutes or still moving chairs around an hour later.
A few habits that consistently cut setup time:
Modular scaling helps here too. Build a core three-person setup as your baseline: one stable anchor table, three matched chairs, and one sleeping surface. Test it for a full weekend. Note what wobbles, what’s uncomfortable, and what needs a second surface. Then add a second module, an auxiliary table or two loungers, and integrate it into the sequence. That iterative approach builds a system you actually trust rather than a pile of gear you hope works out.
A well-planned campsite seating workflow, built on deliberate zoning, reverse-order packing, and a horseshoe seating arrangement, turns a chaotic unload into a functional, comfortable basecamp in under 30 minutes.
| Point | Details |
|---|---|
| Zone before you unpack | Define cooking, dining, and lounge areas with a 3-foot buffer between cooking and dining before placing any gear. |
| Seating placement matters | Arrange chairs in a semi-circle 5–8 feet from the focal point to create a contained social zone that reduces communication strain. |
| Reverse packing saves time | Pack gear in reverse setup order so the first items you need at the site are the last ones loaded into the vehicle. |
| Stabilize for terrain and wind | Use wide footplates on sand, flat pads on rock, and paracord cross-bracing on tables to reduce wobble by 83% during gusts. |
| Maintain 24-inch pathways | Keep obstacle-free, 24-inch-wide paths between zones for safe movement, especially after dark. |
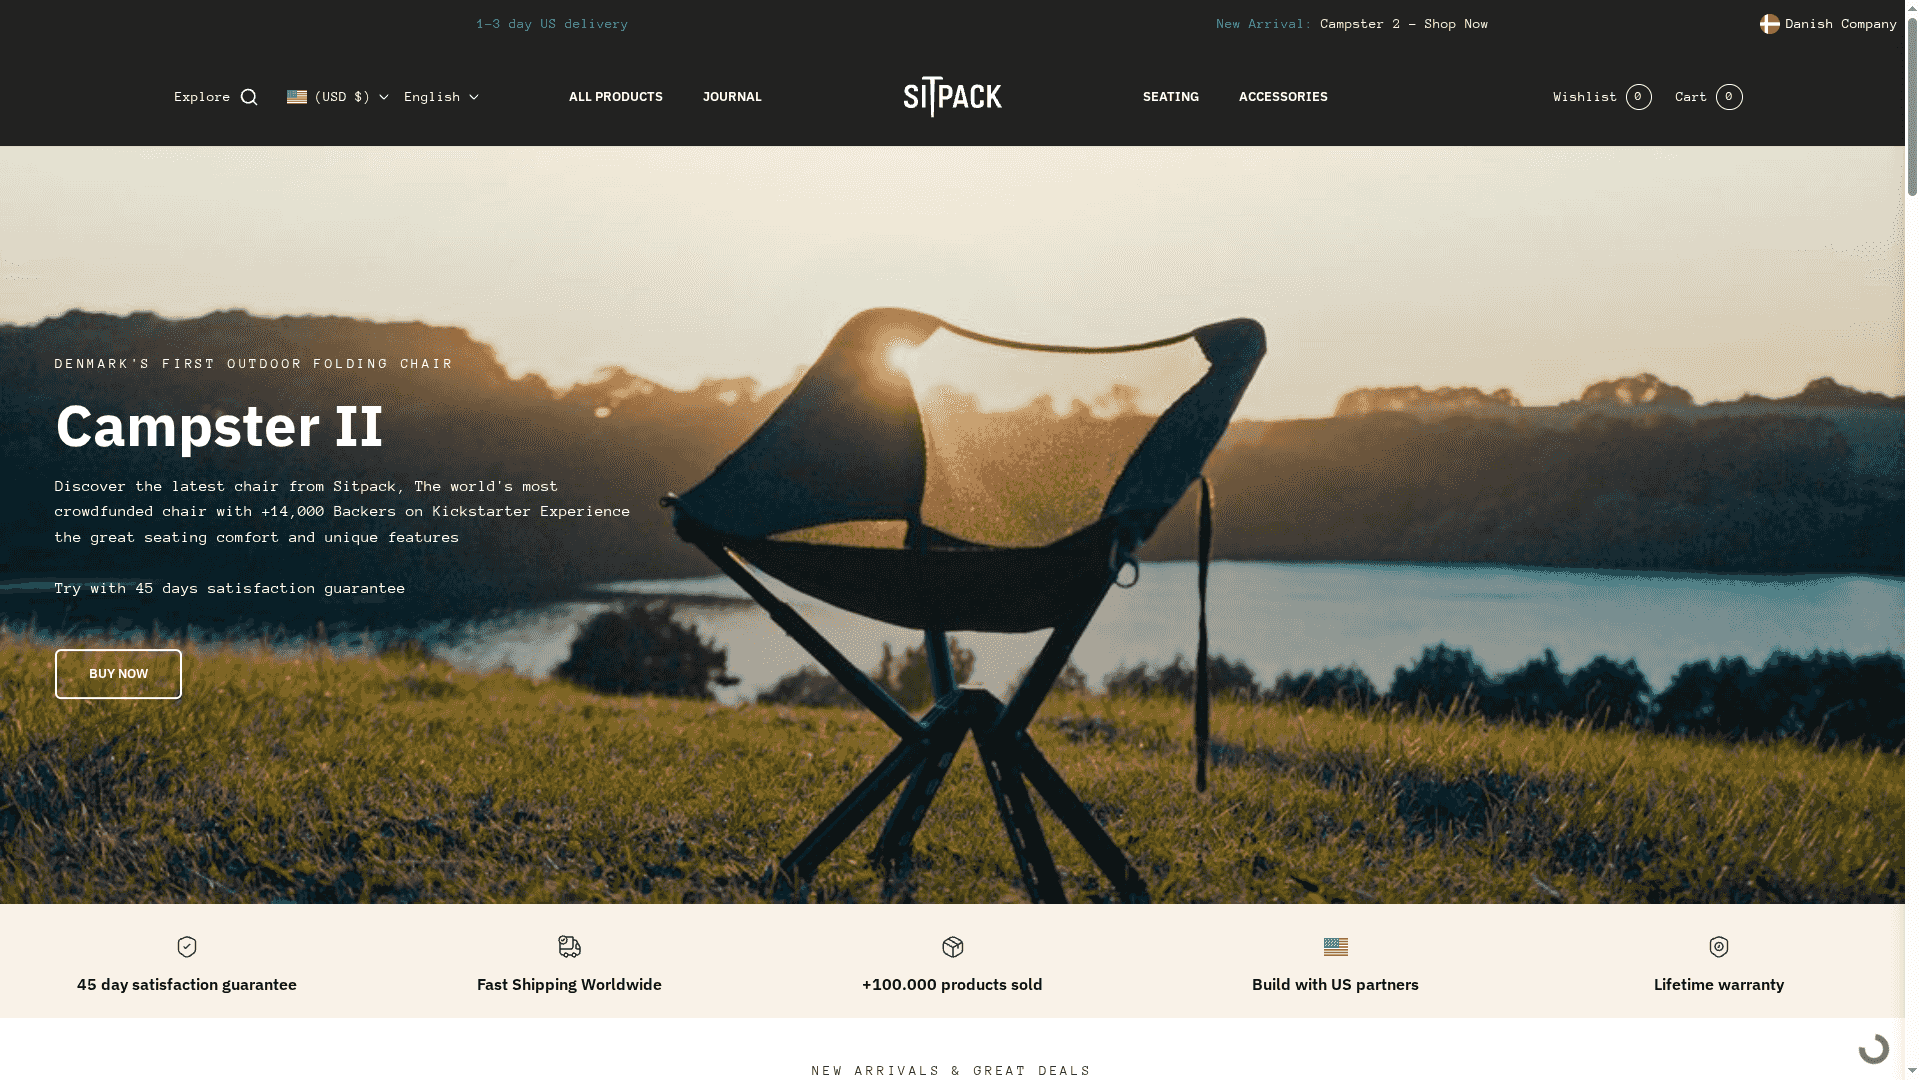
Sitpack designs portable seating built for exactly this kind of intentional setup. The Campster II and Sitpack Zen fold down small enough to pack without rethinking your kit, and they’re stable enough to anchor a social zone on uneven ground. If you’re ready to upgrade the chair situation at your next campsite, explore Sitpack’s range and see what fits your setup.