Vogn
0
Tilmeld dig og få 10% i rabat på din ordre
Forventet levering
1-3 dage
Du vil måske også kunne lide


Dansk Firma

The fastest way to stop forgetting your headlamp at home and cut your setup time in half is a repeatable system: category bins, a master checklist, and reverse packing (last item in is the first one out). Combine those three and most car campers save real time on both ends of a trip while nearly eliminating the frantic “did we bring the can opener?” moment at the campsite.
TL;DR:
- Using category bins and a master checklist with reverse packing reduces setup time and prevents forgotten items during camping trips.
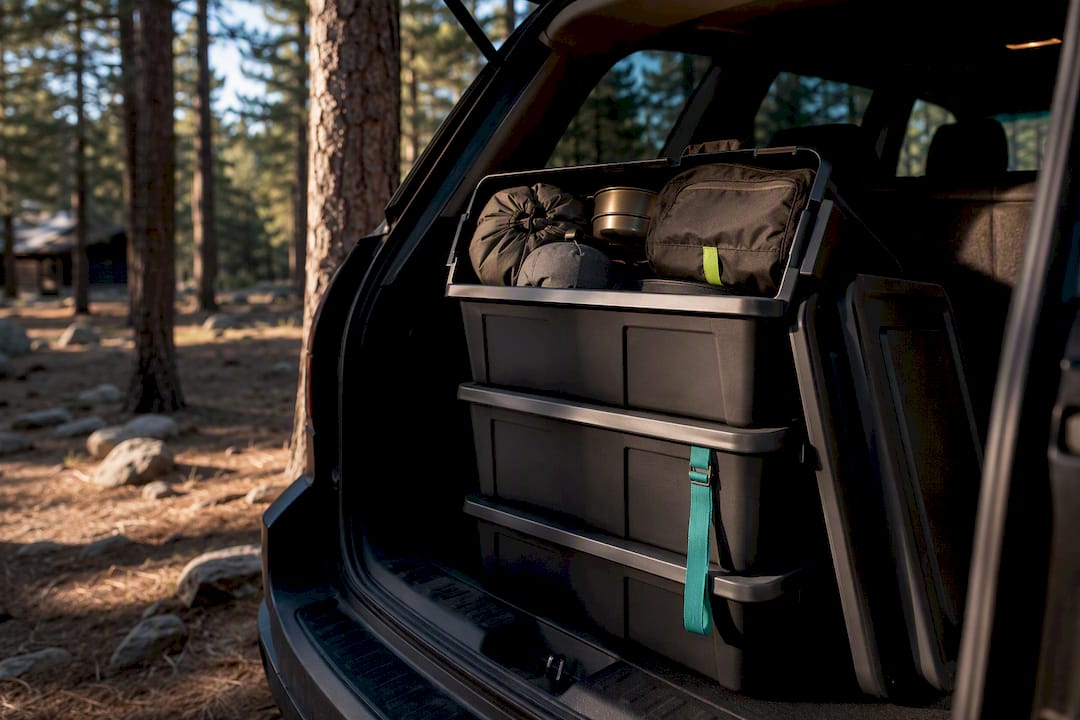
- The three-tub system simplifies gear organization by assigning specific homes for sleep, kitchen, and miscellaneous items, with clear totes for quick visibility.
- Efficient car packing involves loading gear in reverse order, with heavy items low and centered, and a dedicated grab-first bin for immediate needs upon arrival.
- Setting up the campsite with four designated zones for kitchen, sleep, activity, and central gathering prevents clutter and makes the site easier to manage.
- Compact foldable seating and pre-packed day hike bags help save space and streamline transitions from camping to excursions.
Forgets the milk crates and grocery bags. The camping organization hack that separates smooth trips from chaotic ones is a bin system, sometimes called the 3-Tub method, where every piece of gear has one home and every home has one job.
Start with several category bins: kitchen, sleep/comfort, misc/activities, food, and tools/repair. CampWithJoy’s bin system documents this approach as a way to end “morning chaos” by giving campers a fixed number of containers instead of an ever-growing pile of loose gear. The 3-Tub Method outlined by Camping Checklist simplifies this even further into three tubs (sleep, kitchen, miscellaneous) for families who want fewer containers to track.
Choose clear totes with secure lids over cardboard boxes or opaque bins. You want to glance into the trunk and know instantly which tub holds the stove without popping every lid.
The real trick is designating “resident” items, gear that lives in the bin permanently and never migrates back into the house. A dedicated camping spice kit, a cast-iron skillet that never touches your home stove, a specific first-aid kit. This single habit prevents the most common packing failure: grabbing something from the camping bin for home use and forgetting to return it before the next trip.
Pro Tip: Keep a golf pencil and a dry-erase marker taped to each bin lid so you can cross off restocked items on the spot instead of mentally noting it and forgetting by dinner.
Efficient camping packing isn’t about cramming everything in. It’s about packing in the reverse order you’ll need it, so the last thing loaded is the first thing pulled out at camp.
Gear you won’t touch until bedtime, tents, sleeping bags, camp chairs, goes in first, toward the back or bottom of the load. Items you need the moment you arrive, the cooler, the kitchen bin, camp shoes, ride on top or closest to the trunk opening. Guides on efficient car packing for camping confirm this reverse-loading logic, paired with a basic weight rule: heavy and cold items (coolers, water jugs) go low and centered over the rear axle, fragile items ride on top, and everything gets stacked in flat, repeatable layers rather than wedged into gaps.
Build a dedicated “First-Night” bin, sometimes called a grab-first bag, that never gets buried:
If you’re running a rooftop box because your trunk space is tight, reserve it for bulky, lightweight items like sleeping bags and tents, and keep anything you need mid-day inside the cabin or trunk where it’s reachable without unstrapping the whole box.
Outdoor organization ideas tend to fall apart the moment tents are up and gear is scattered across the site. The fix is treating your campsite like a small apartment with defined rooms, an idea GearJunkie’s camping checklist frames as staging your kitchen, bedroom, and living room separately instead of letting everything pool near the car.
Split the site into four zones: kitchen (stove, food bin, cooler), sleep (tents, sleeping pads), activity (chairs, games, gear for hikes), and a central zone where the fire ring or table anchors everyone together.
Some of the best camping hacks aren’t systems at all. They’re five-minute fixes that make the big system run smoother.
Compression sacks are excellent for sleeping bags and clothing in cold-weather trips where bulk is the enemy, but skip them for anything down-filled that you’re storing long-term between trips. Constant compression breaks down loft over time. For summer car camping where trunk space isn’t as tight, a compression sack is often more effort than it’s worth.
Color-code your dry bags or clothing stuff sacks by camper or by day, one color per family member, one per meal day, so nobody’s digging through four identical black bags at 7 AM. A strip of colored duct tape works just as well if you don’t want to buy matching bags.
Pro Tip: Label bins by category, not by trip name. “Kitchen” is reusable forever; “Lake Trip July 2025” is not.
Resist the urge to buy a new bin for every gear category you own. Two or three well-chosen totes beat six half-empty ones every time.
A bin system only works if the checklist behind it stays current. A living master checklist, whether it’s a shared notes app, a spreadsheet, or laminated index cards, needs to be duplicated per trip type rather than rewritten from scratch each time.
Three loadouts cover most car campers:
The step people skip is the return-to-ready reset, a short ritual Noah’s Outdoors’ no-stress system describes as essential to keeping gear usable trip after trip. Allocate time after returning to dry out tents and sleeping bags, wash cooler and kitchen gear, restock consumables, check for repairs, and log any broken items to fix before the next trip.
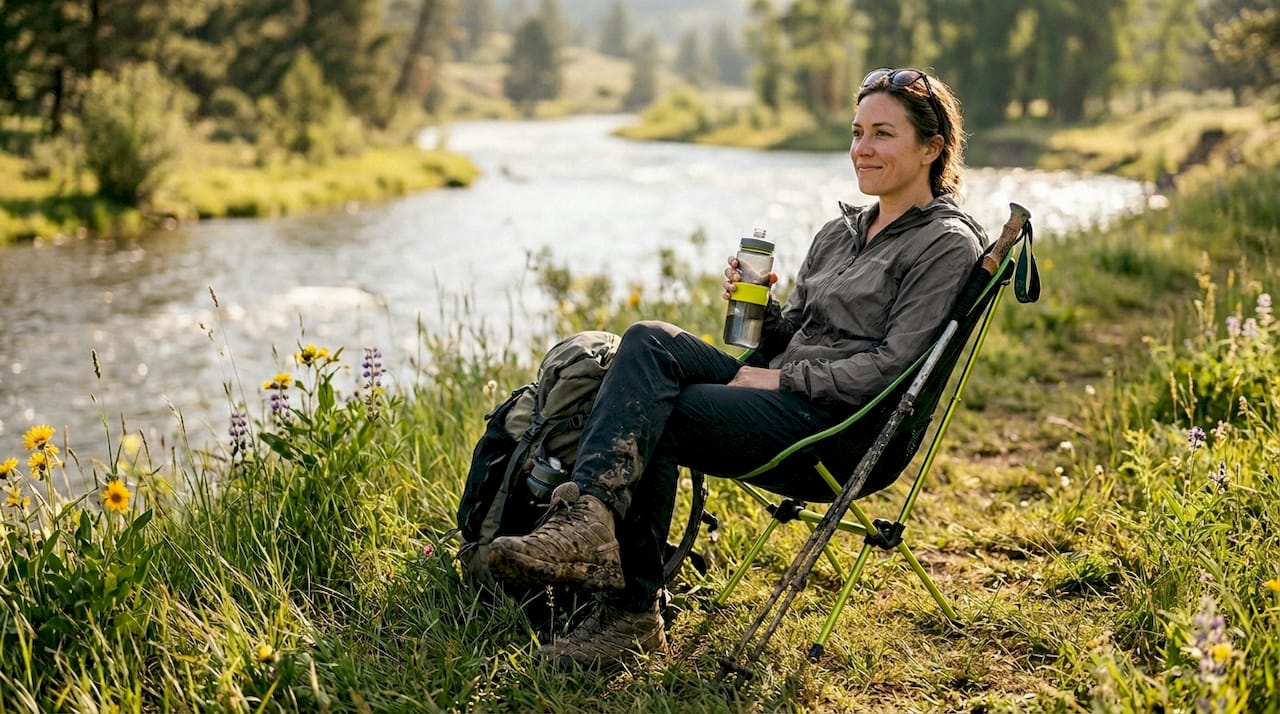
Camp chairs are notorious for becoming the one item that doesn’t fit anywhere, too long for most bins, too awkward to strap down cleanly. This is exactly the gap compact, foldable seating is designed to close. A compact foldable chair collapses small enough to live inside your comfort bin alongside sleeping pads, rather than taking up its own corner of the trunk or riding loose on top of the pile.
Store folded seating in a protective bag to prevent hinge points from catching on tent poles or cooler edges during transit. Before every trip, run a short check: confirm the protective cover is on, straps are secure, and hinges move freely with no grit buildup from the last outing.
For more on integrating accessories into a camp workflow, see this guide on optimizing your camping accessory setup.
Food organization is where most camping storage solutions either shine or fall apart by day two. The National Park Service’s guidance on what to bring camping puts food storage and water supply at the center of a safe campsite setup, not an afterthought.
Pack meals by day in individual bags or bins rather than tossing all ingredients into one loose pile. Pre-portioning breakfast, lunch, and dinner into separate labeled bags means you’re not rifling through a cooler full of mixed groceries with cold hands at dawn.
REI’s family camping checklist recommends pre-chilling your cooler the night before departure and layering contents with dense, cold items on the bottom and frequently accessed items on top. Frozen water bottles double as ice blocks that you can drink once they thaw, cutting down on wasted cooler space.
Anything scented, dry snacks, condiments, trash, needs to go in hard-sided containers or a hung bag well away from the sleep zone. Raccoons, mice, and in some regions bears will investigate anything that smells like food, including toothpaste and sunscreen. A dedicated food bin with a locking lid solves most of this on its own, and keeping the food zone separate from the sleep zone (covered earlier) does the rest.
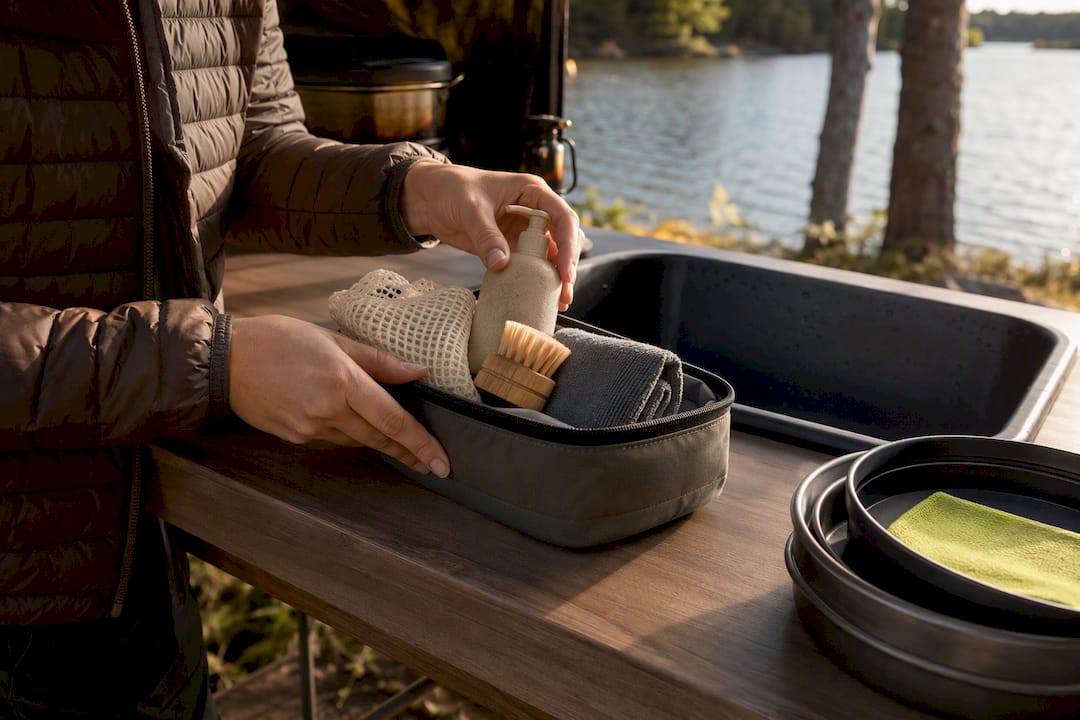
Cleaning supplies are the category campers most often throw in loose, and it’s the category that causes the most frustration when a wet sponge soaks through a bag of dry goods.
Keep a small dedicated cleaning kit: biodegradable soap, a scrub brush, a microfiber towel, and a mesh bag for drying dishes. Store it in its own zippered pouch inside the kitchen bin, never loose, so it doesn’t leak or tangle with cookware.
Repair items deserve the same treatment. A compact tools/repair bin with tent pole splints, duct tape, a sewing kit, and spare guy lines means a torn tent or a broken zipper doesn’t end your trip. This is also where a compact multitool or folding knife earns its keep. A well-made folding knife handles everything from food prep to gear repair without adding bulk.
Wet or muddy cleaning items should never go back into a sealed bin damp. Air-dry sponges and towels before repacking to avoid mildew, one of the fastest ways a camping kit starts to smell between trips. During the return-to-ready reset, this is the category to check first, since damp gear left sealed for weeks is what turns a $40 tent into a moldy one.
A first-aid kit buried under a pile of camp chairs defeats the purpose of having one. Safety gear needs a fixed, known location that every camper in your group can find without asking.
Keep the first-aid kit, a multitool, a headlamp, and any emergency items (whistle, small fire extinguisher, emergency blanket) together in one dedicated pouch or small bin, ideally the same bin that rides in your First-Night grab bag described earlier. Do not split safety gear across multiple bins; a scattered kit is a kit nobody can locate under stress.
Check expiration dates on medications and burn treatments each season, not just when you notice something’s missing. Replace batteries in headlamps and any battery-powered safety tools before each trip rather than assuming they’re charged.
Clothing chaos usually comes from packing by “days” instead of by conditions. A smarter approach: pack by layer and activity, not by outfit.
Separate clothing into three functional groups: base layers and sleepwear, activity-specific gear (hiking socks, swimwear, rain shells), and a dedicated warm layer for evenings, since campsite temperatures drop faster than most people expect. Color-coded dry bags, one per camper or one per category, solve most of the digging-through-a-duffel problem described in the space-saving section above.
Keep a separate small bag for wet or muddy clothes so they don’t contaminate the dry clothing bin mid-trip. This single habit prevents the classic problem of an entire clothing bag smelling like a damp hiking boot by day two.
Rain gear and warm layers should live near the top of the sleep bin, not buried at the bottom, since weather changes are exactly when you need fast access. A five-minute check of the forecast before departure tells you whether to swap in extra warm layers or trim the bag down for a hot-weather trip.
Not every piece of gear needs to make the trip away from camp. A separate, smaller storage solution for day hikes keeps your main bins untouched and ready when you return.
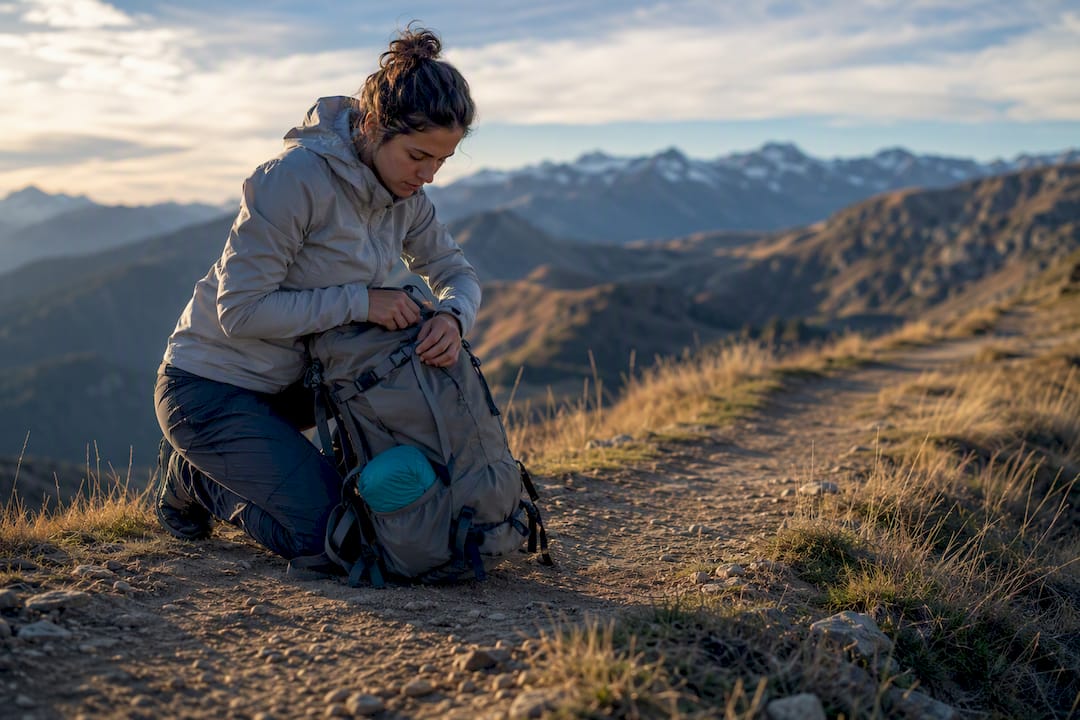
A daypack or small duffel dedicated purely to excursions should hold water, snacks, a compact first-aid pouch, sun protection, and a map or offline GPS route. Packing this bag the night before, rather than assembling it from scattered camp bins each morning, saves real time and avoids raiding your main kitchen or safety bins mid-trip.
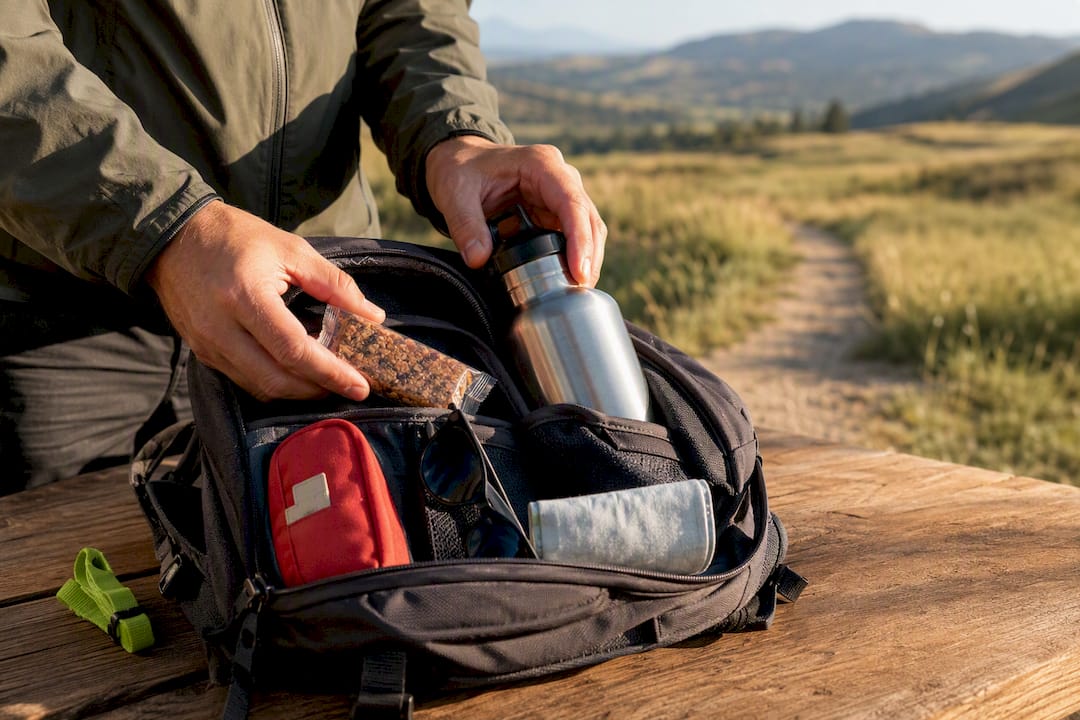
For longer day hikes, a small dry bag or hip pack keeps valuables and electronics protected from sudden weather without adding bulk. If your group splits up for different activities, kayaking versus hiking, for instance, having pre-packed activity-specific bags means nobody’s rebuilding a pack from scratch while everyone else waits in the car.
The single-bin system works because it’s repeatable, not because it’s clever. Start with one bin, kitchen or sleep, and one checklist taped inside the lid. Add the rest once that habit sticks.
Assign one role per camper, one person owns the cooler, another owns the tent bin, so the system doesn’t collapse the moment you’re tired and just want to get on the road. The return-to-ready reset matters more than any bin or label. Skip it once and the whole system starts sliding backward.
— Jonas
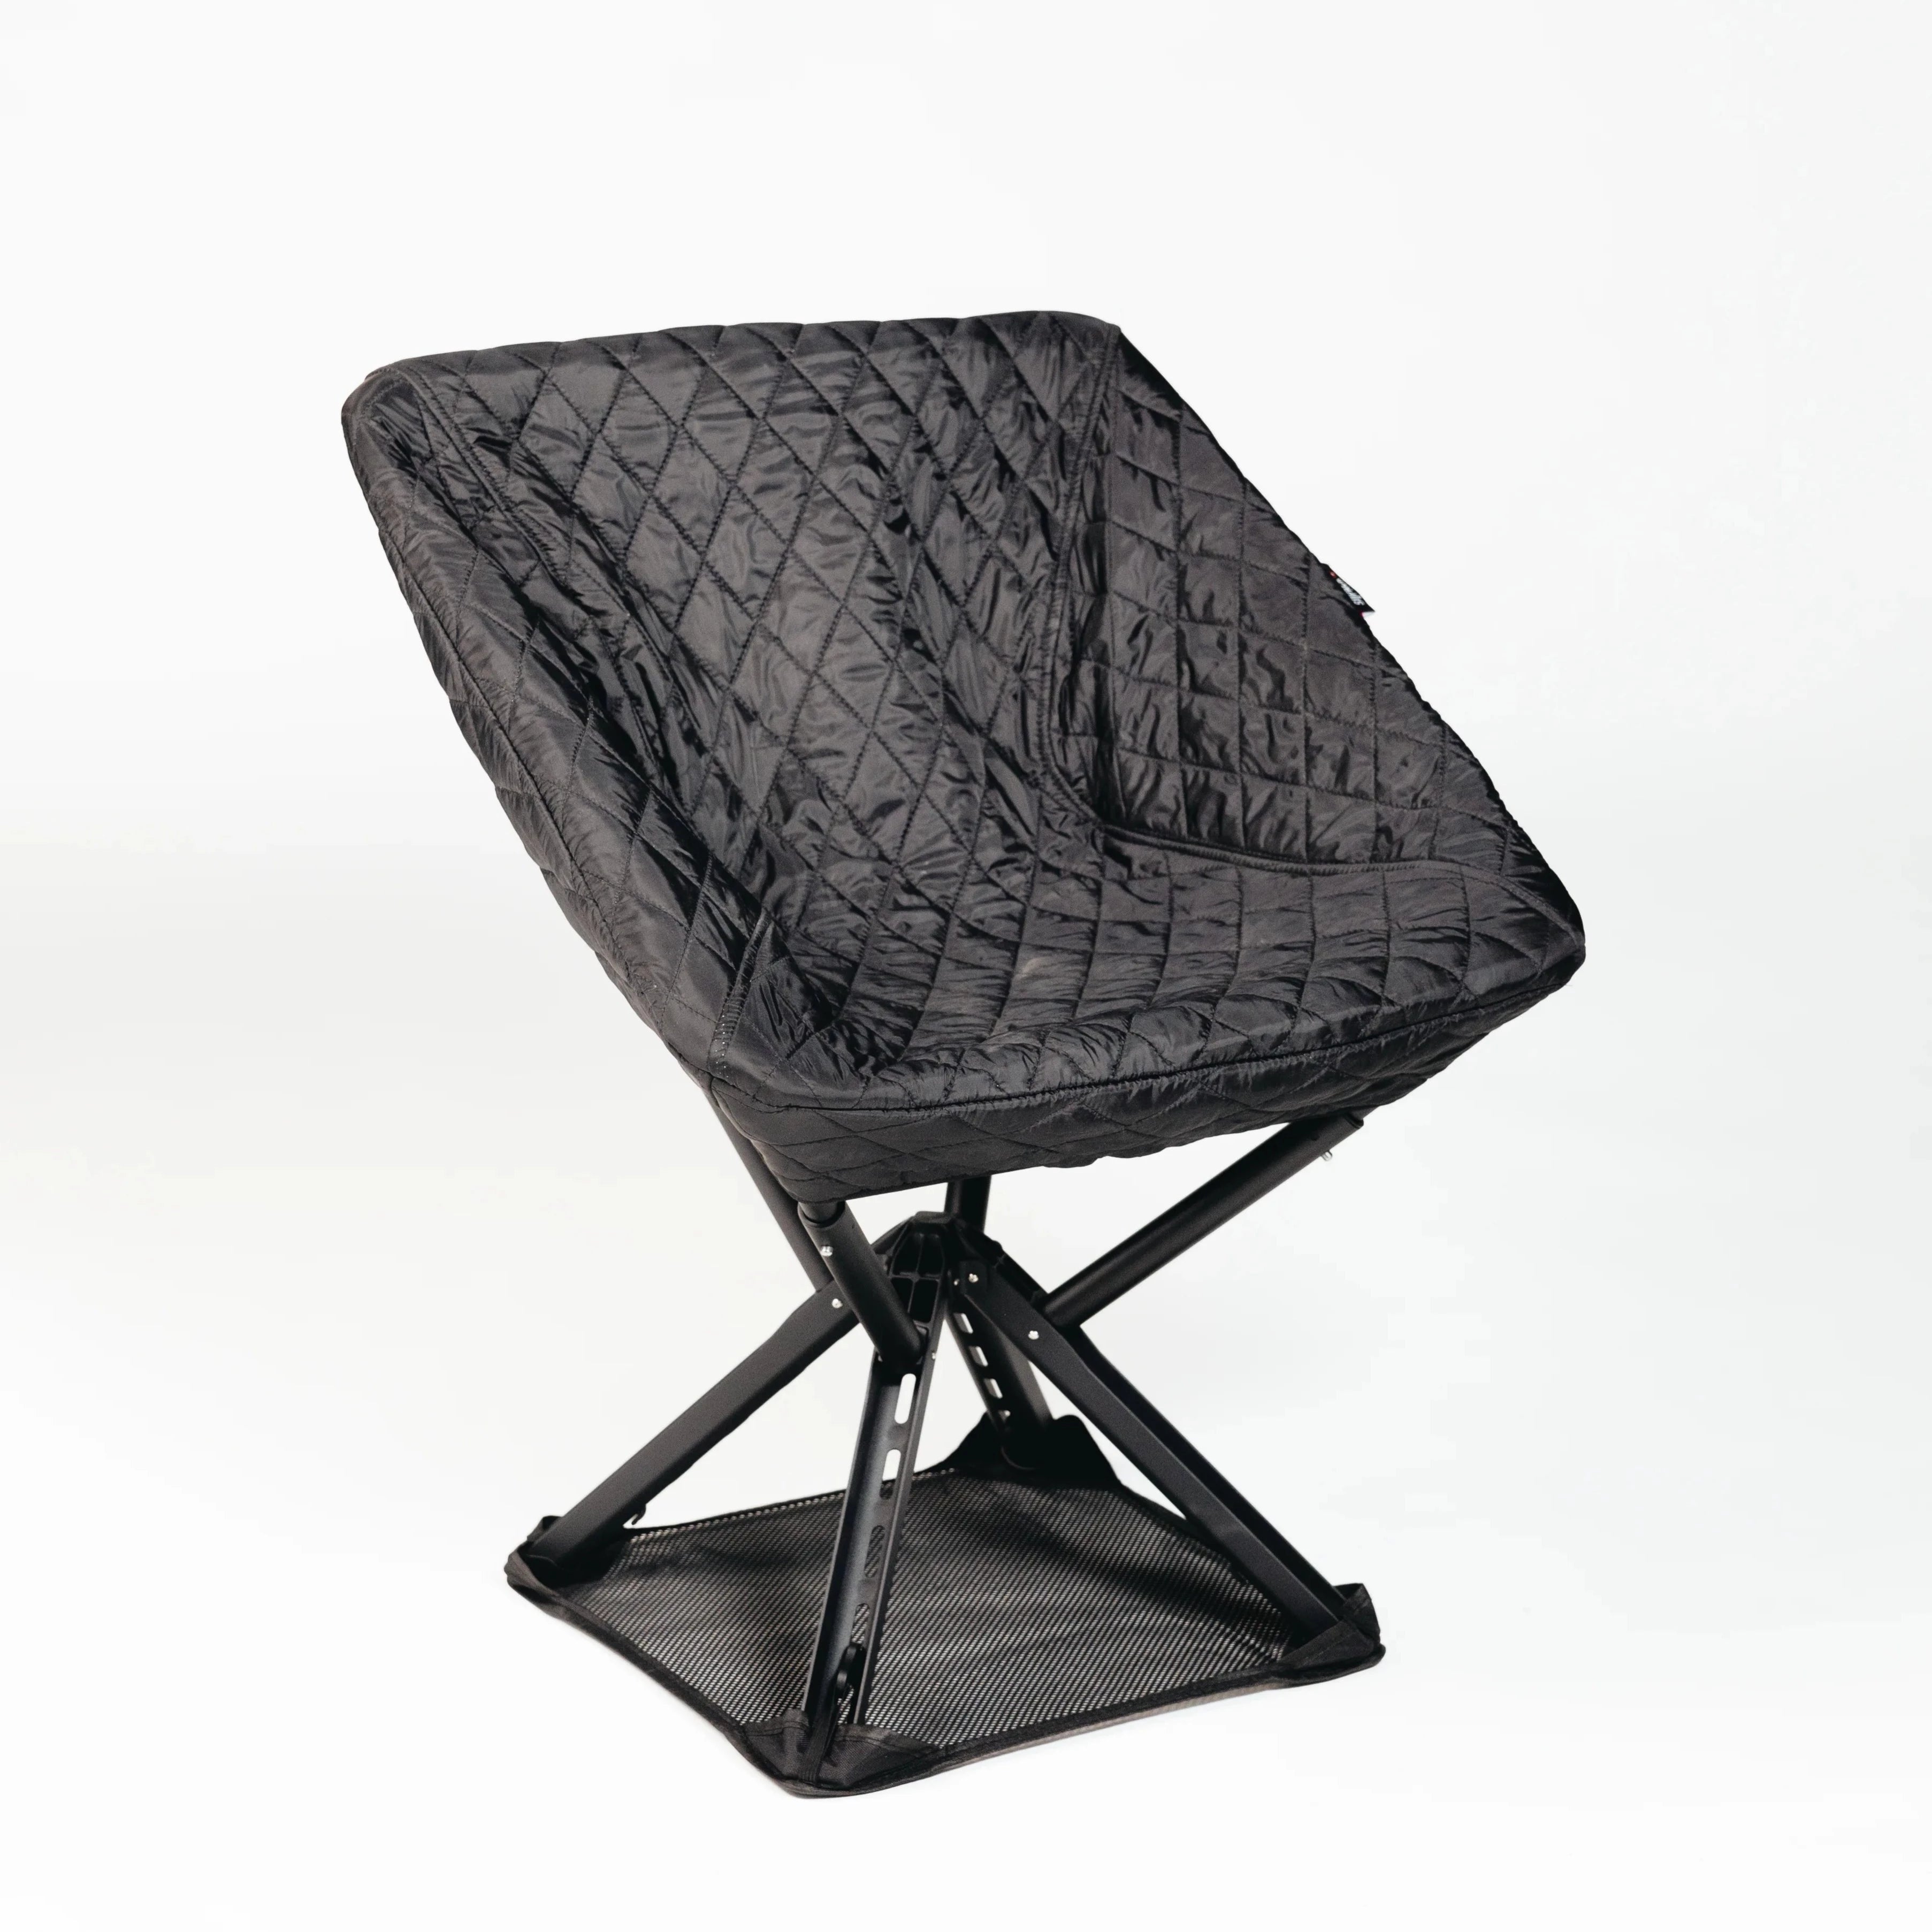
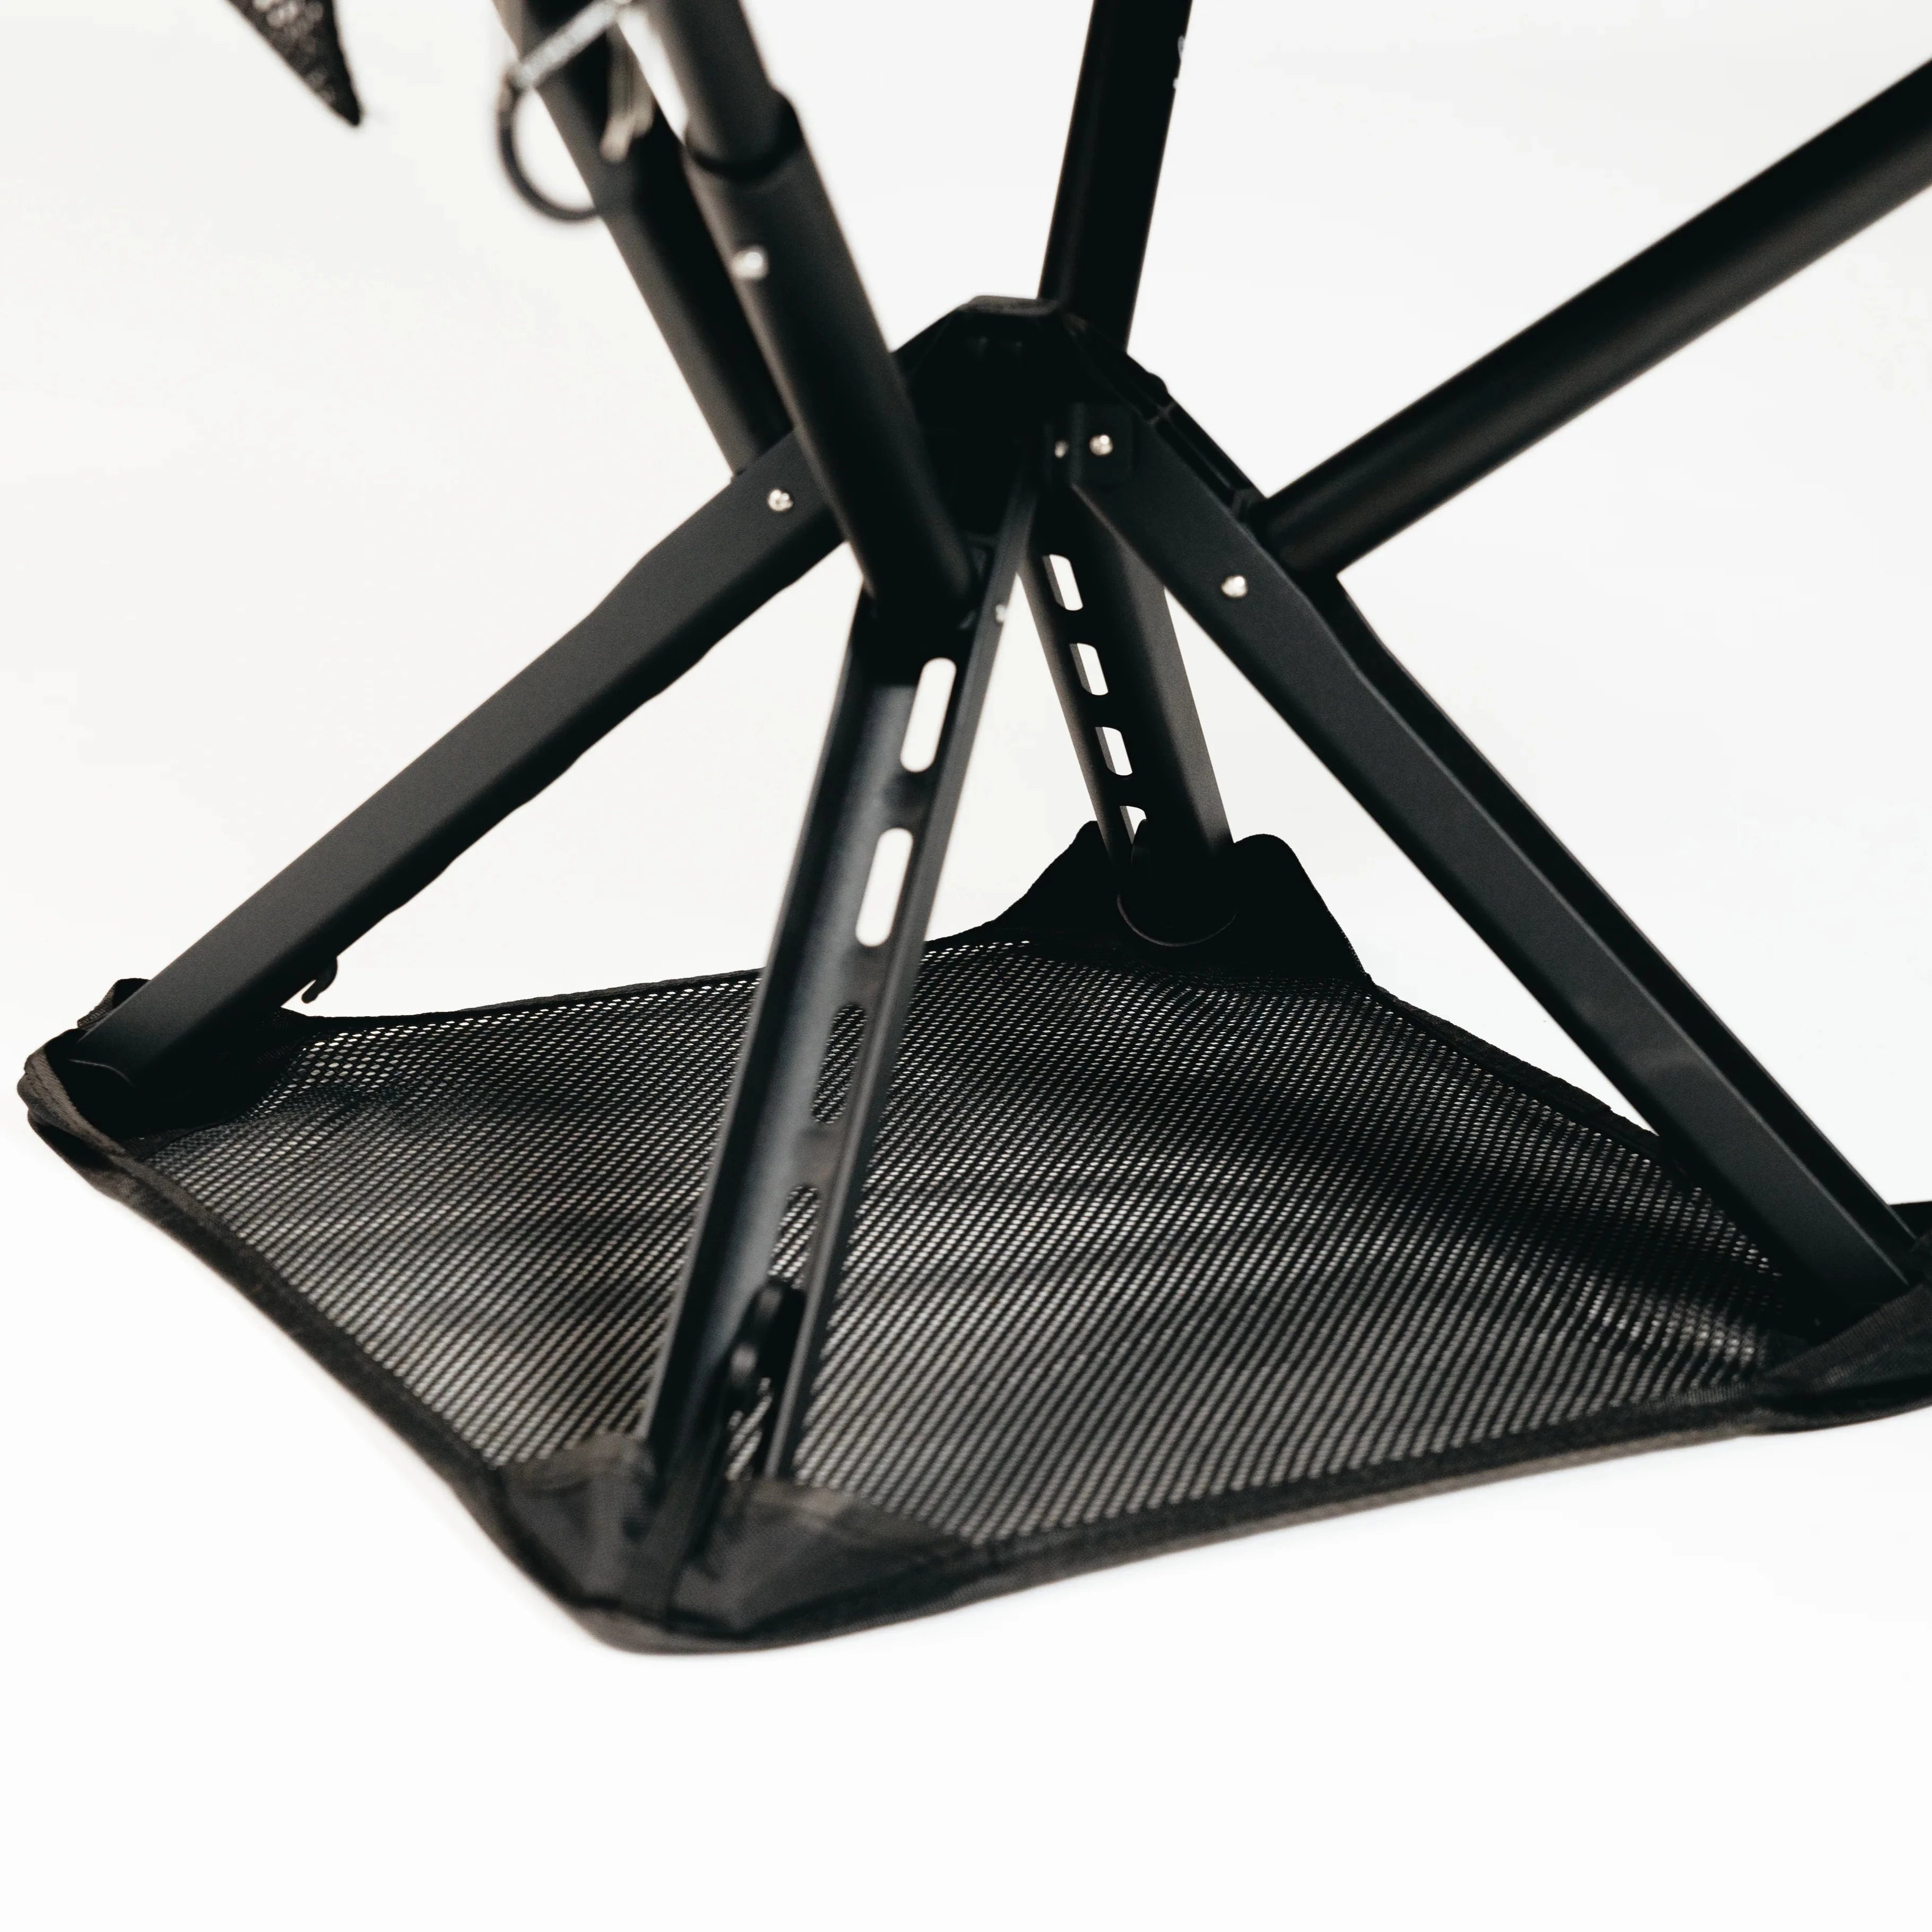
If bin organization solves gear chaos, compact seating solves the one item that never seems to fit anywhere: the camp chair. There are foldable, lightweight stools and chairs built to collapse small enough for a backpack pocket or a corner of your comfort bin instead of eating trunk space on their own.
That’s the real advantage over a bulky folding chair: no separate carrying case wedged behind the cooler, no straps fighting for space on the roof box. A compact chair rides with your sleep gear, comes out of the same bin, and packs away in seconds during a return-to-ready reset. If your current setup means wrestling an oversized chair bag into an already-full trunk, browse the full Sitpack lineup and see which folding size fits your loadout before your next trip.
The 7 C’s commonly cited by outdoor guides are cover, containers, cutting tools, cordage, combustion, cotton, and compass, a shorthand for essential gear categories rather than a strict checklist.
Headlamps and spare batteries top most campers’ forgotten-item lists, which is exactly why they belong in a dedicated First-Night grab bin rather than buried in general gear.
Color-coded dry bags, a magnetic strip for knives, and repurposed coffee cans for utensils are among the simplest camping hacks, alongside keeping one “resident” skillet that never leaves the kitchen bin.
Compact folding seating, like a Sitpack chair that collapses into a comfort bin, along with compression sacks for cold-weather sleeping bags and clear latching totes for visibility, are among the most effective space savers for car campers.