Vogn
0
Tilmeld dig og få 10% i rabat på din ordre
Forventet levering
1-3 dage
Du vil måske også kunne lide


Dansk Firma

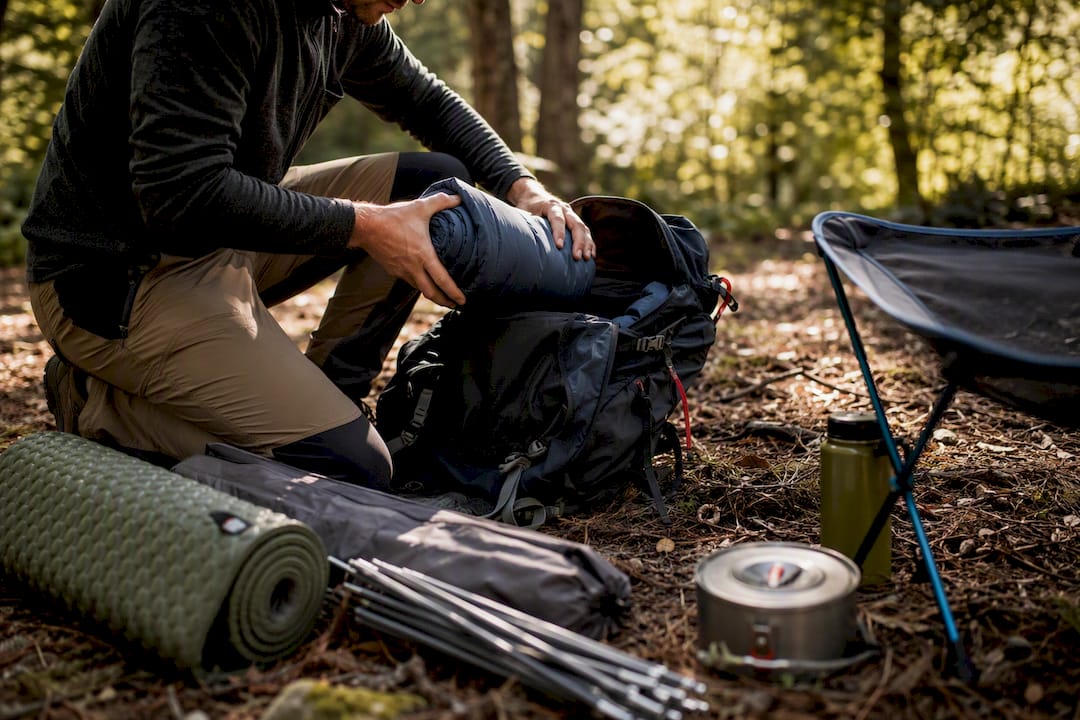
Your non-negotiables for any multiday trip: shelter, sleep system, backpack, and cooking setup, plus a water treatment method and navigation backup. That’s the Big 4 plus the two systems that keep you alive when things go sideways. Everything else on this list supports those six categories.
Print this mini version and stick it on your gear pile:
The National Park Service recommends a baseline of about 2 liters of water per day, more in heat or with heavy exertion.
Pro Tip: Pack the Big 4 first, weigh your pack, then add everything else. If you’re over budget on weight, cut from the extras pile, never the essentials.
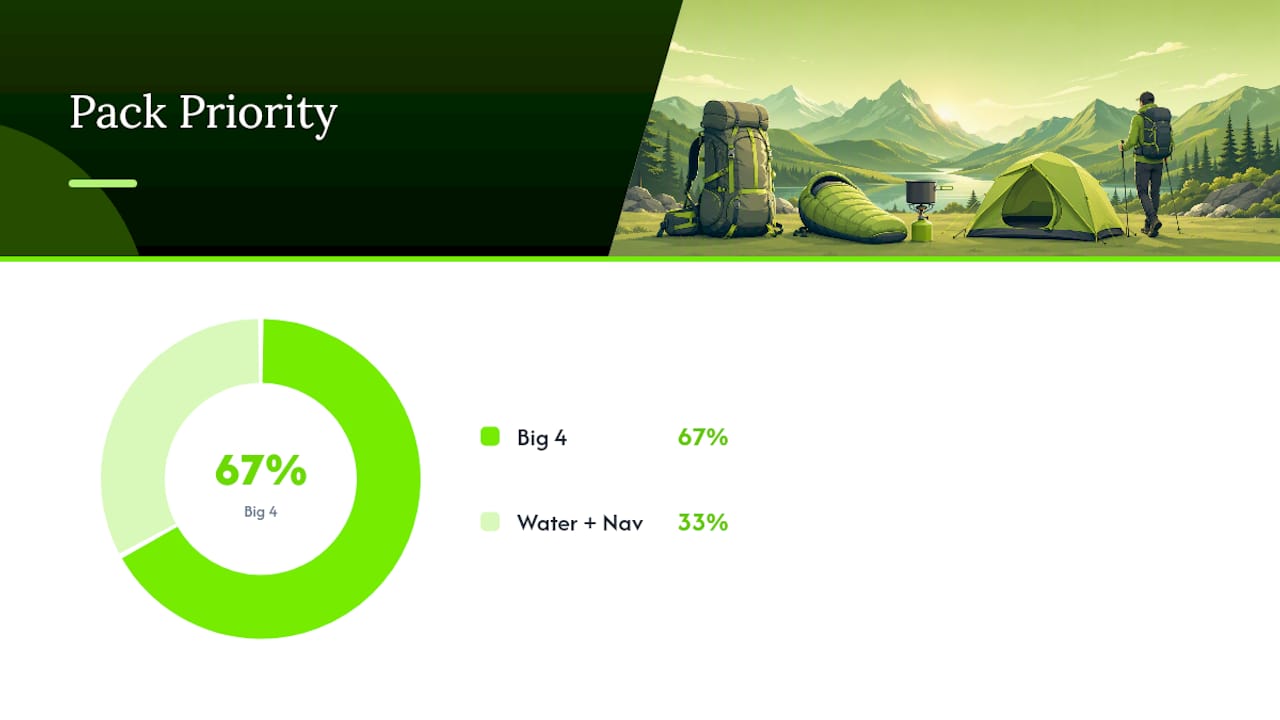
The most reliable REI backpacking list prioritizes the Big 4, shelter, sleep system, backpack, and cooking gear, before adding comfort extras.
| Point | Details |
|---|---|
| Pack the Big 4 first | Shelter, sleep system, backpack, and cooking gear determine safety and comfort more than any other category. |
| Size your pack correctly | Choose 45 to 65 liters for multiday trips, matched to torso length rather than height. |
| Treat water every time | Carry at least 2 liters daily and always filter, treat, or boil backcountry water. |
| Use the checklist as a template | Adjust items by season, trip length, and route difficulty rather than packing the same list every time. |
| Add comfort last | A packable seat like Sitpack’s Campster II is a smart upgrade once safety gear is covered. |
A checklist is a starting template, not a rulebook. Andrew Skurka’s guidance on treating gear lists as dynamic tools rather than fixed inventories applies directly here. Adjust it every trip.
Pro Tip: Treat this REI backpacking list as a spreadsheet you edit, not a printout you follow blindly. The best hikers rewrite theirs every season.
Your shelter and sleep system determine whether you’re comfortable or miserable at 2 a.m. in a storm.
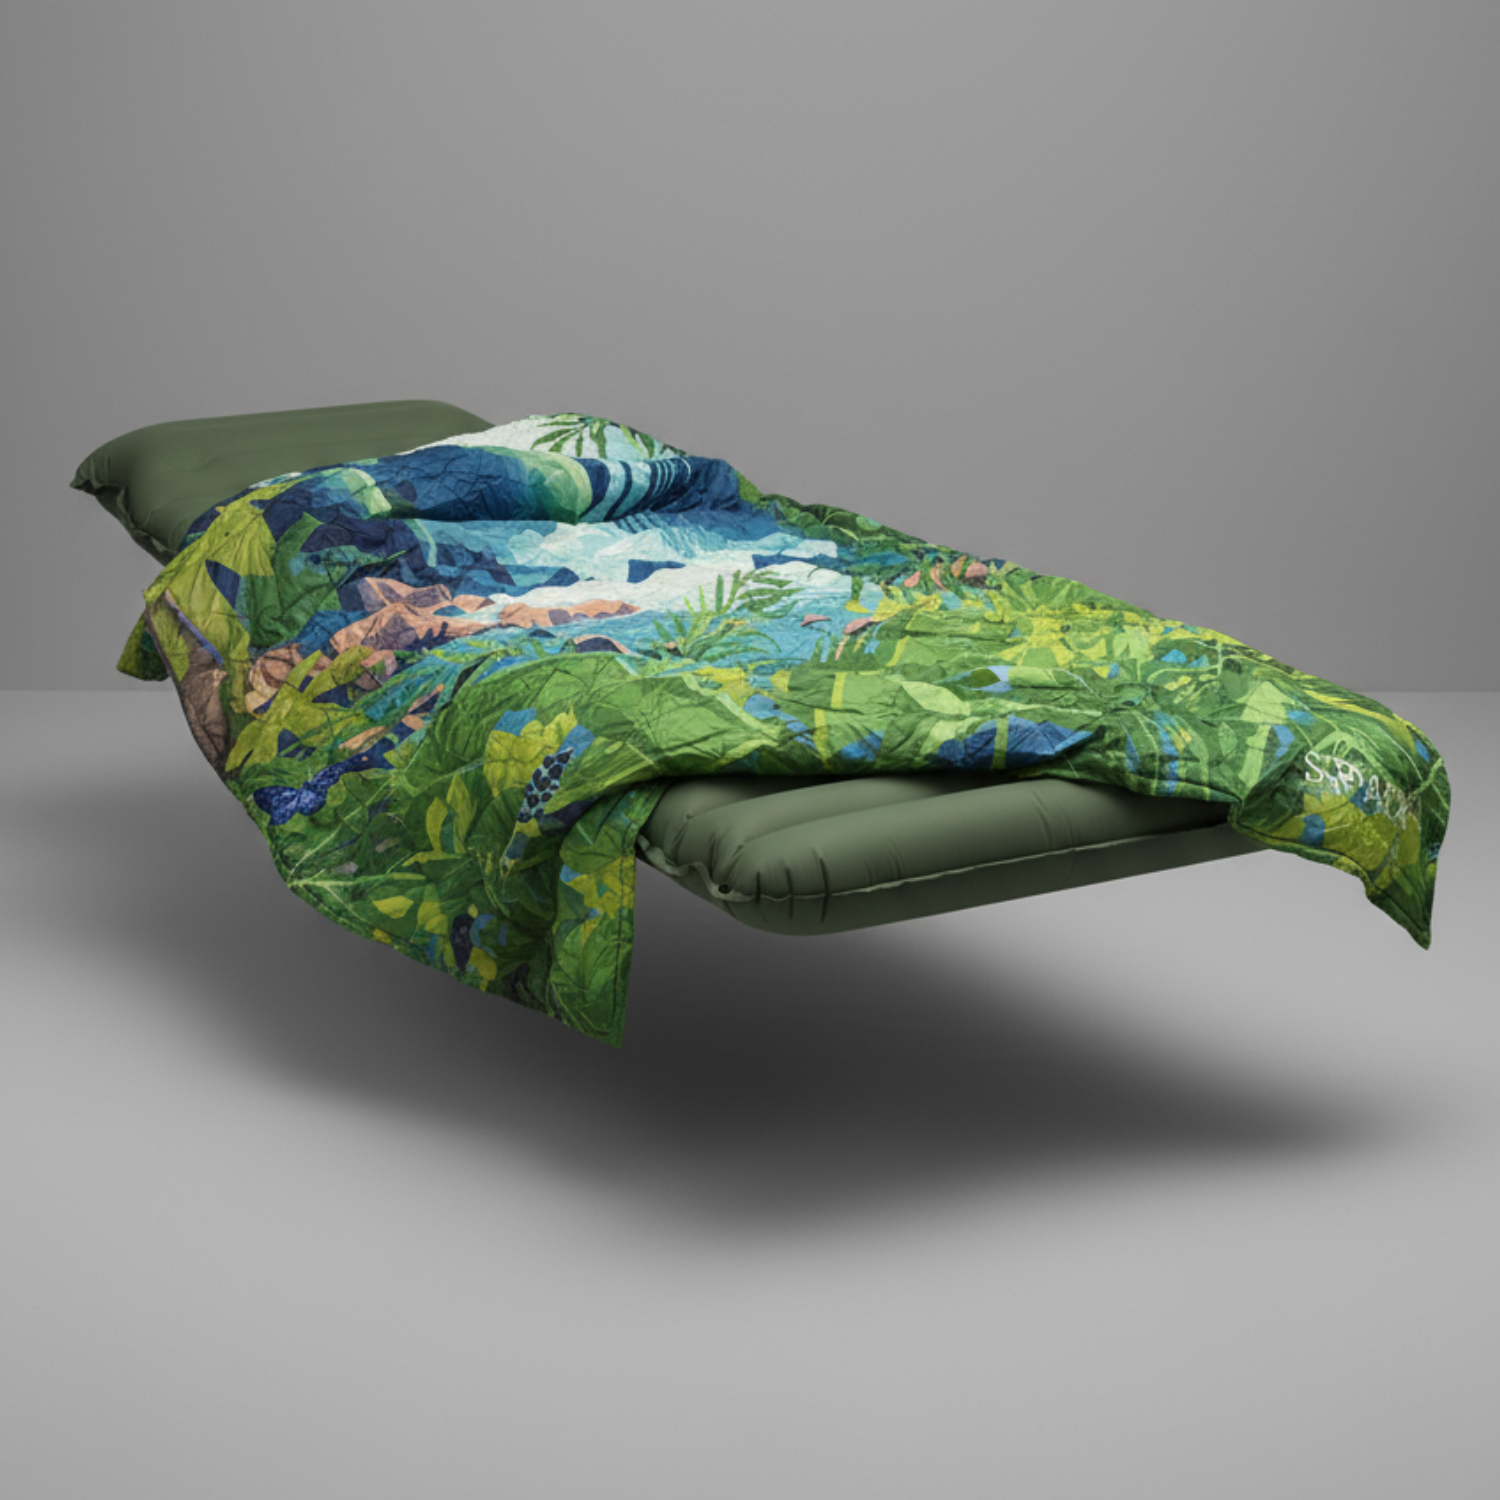
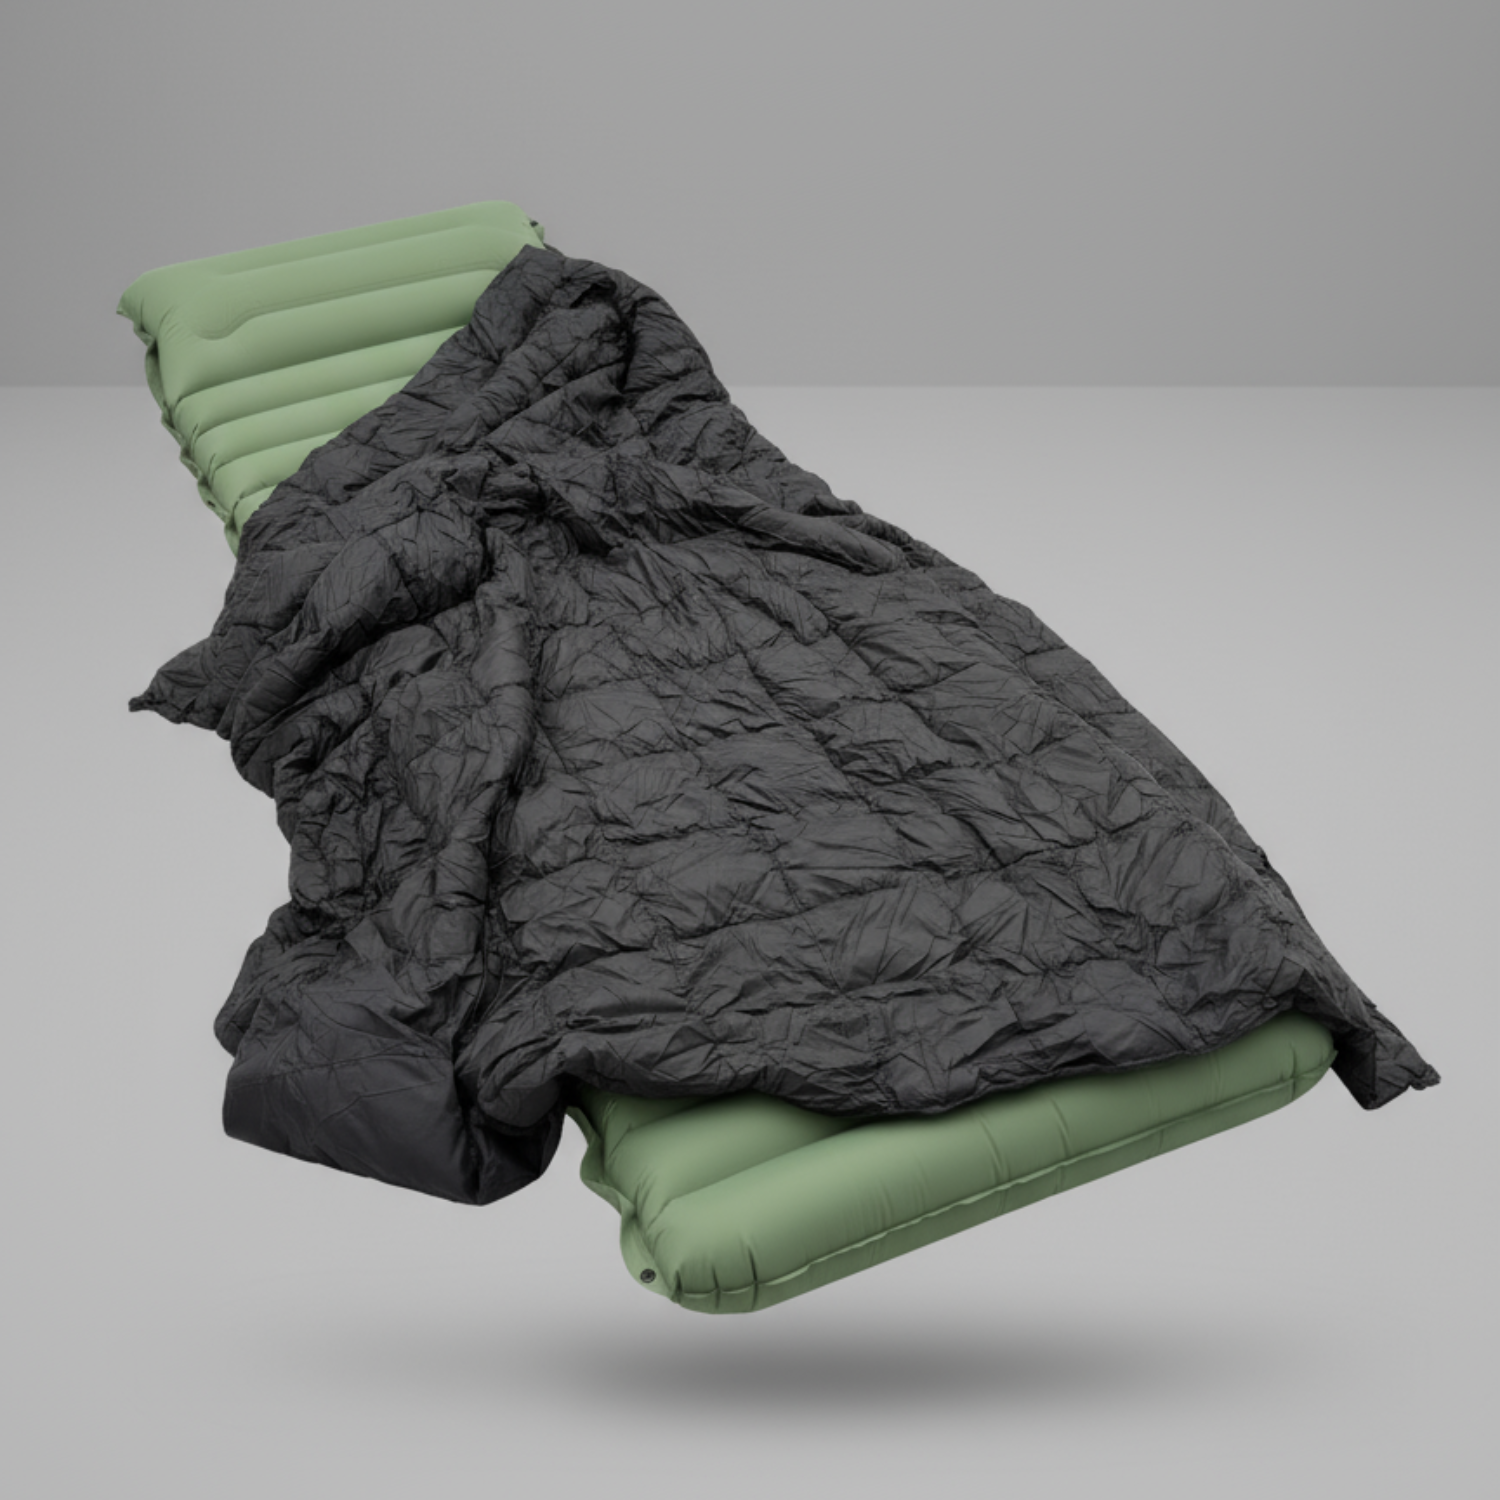
Sleeping bag choice comes down to temperature rating: buy a bag rated 10 to 15 degrees below the coldest night you expect, since manufacturer ratings tend to run optimistic. Pad selection matters just as much as the bag. R-value measures insulation from ground cold, and anything below R-3 leaves you shivering on frosty nights even inside a warm bag. Tents from brands like Big Agnes are a common reference point in gear reviews for balancing weight against livable space, which is exactly the tradeoff you’re managing here.
Pro Tip: A cheap foam pad as backup under an inflatable pad adds R-value and insurance against a puncture ruining your night.
Your cooking setup needs to match trip length and group size, not just personal preference.
Plan roughly 2,500 to 3,500 calories per day depending on mileage and elevation gain, weighted toward lightweight, calorie-dense foods like nut butters, dehydrated meals, and trail mix. Stoves from Jetboil get referenced often in gear roundups for fast boil times on multiday trips where fuel efficiency matters. Store food in a bear canister where required by land managers, and always follow posted local regulations, since rules vary by park and forest.
Pro Tip: Cook one pot meals to cut cleanup time and fuel use. Every extra pot you carry is dead weight after day one.
Carry at least 2 liters as your daily baseline, per NPS guidance, and plan for more in hot climates or on high-exertion days.
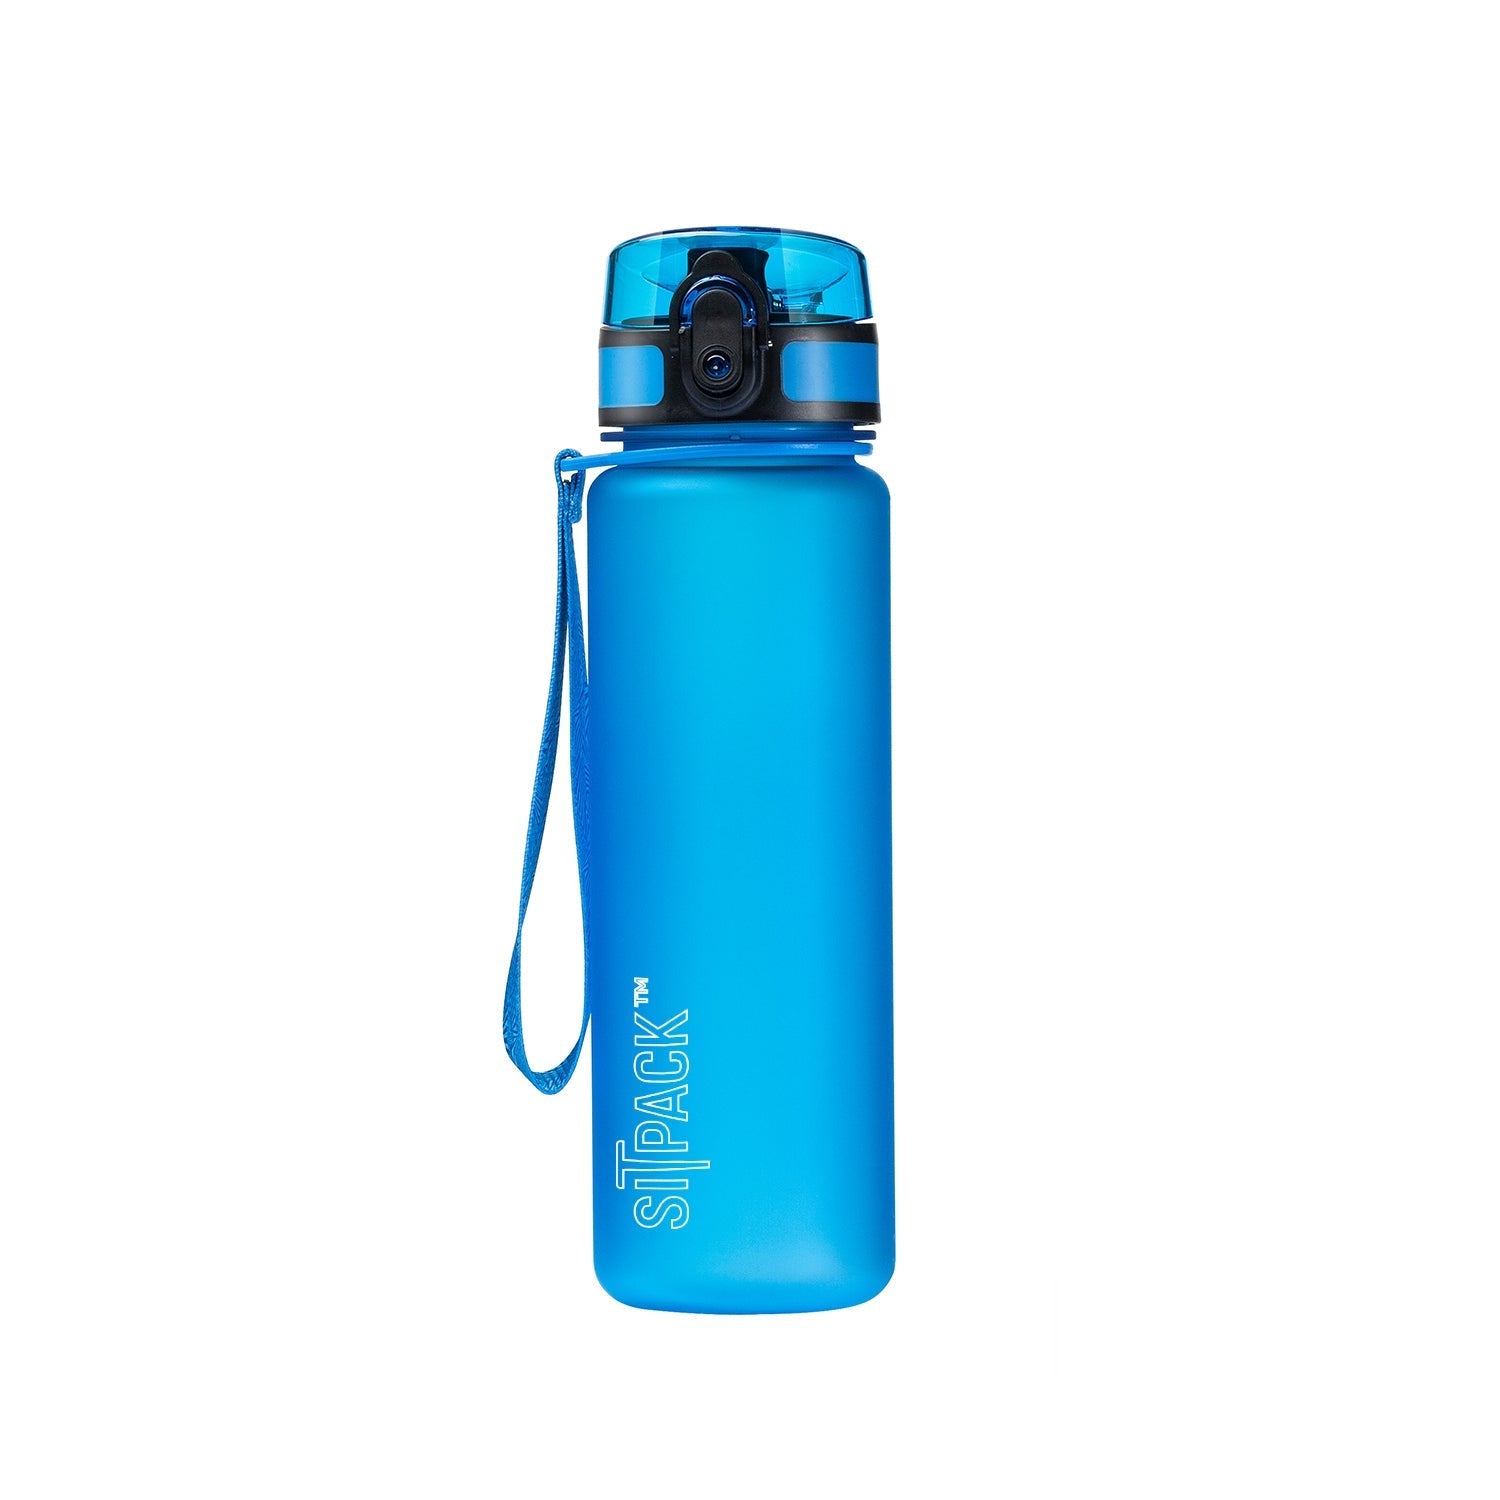
Bladders pack flatter and encourage sipping on the move; bottles are easier to monitor and refill. Always treat backcountry water, regardless of how clear it looks.
Pro Tip: Carry both a filter and a few tablets. When your filter freezes or clogs, tablets are your failsafe.
Layering keeps you warm without carrying five redundant jackets.
Wear your base and mid layers while hiking, and stash the insulating layer and shell in your pack until you stop moving or the weather turns. Trail runners work well on established trails and dry conditions; boots earn their weight on rocky terrain or with heavy packs. Break in any footwear on shorter hikes first, never on trip day one. Guides like First Rise Outfitters’ hiking apparel picks cover packable layering options if you want specific product direction.
Pro Tip: Two pairs of socks, worn together on tough terrain, cut blister risk more than any boot upgrade.
A solar panel adds redundancy on trips over five days but is dead weight on shorter ones. Never rely on a single navigation method. Phones die, apps glitch, and cell service disappears exactly when you need it most.
The Ten Essentials framework from the National Park Service anchors this category, and it’s worth building your kit around it rather than guessing.
Pack these in a dedicated, easy-access pouch, not buried at the bottom of your pack.
Pro Tip: Scale your kit to group size and known medical needs. A solo hiker’s kit looks different from a family trip with kids.
Keep this kit compact. A sandwich-bag-sized pouch covers most multiday repair needs.
Comfort extras like a book or e-reader are fine additions once your base weight is dialed in. Weigh them against the ounces they cost before they make the final cut.
Most multiday trips call for a 45 to 65 liter pack, sized to carry the Big 4 plus food, water, and clothing without overstuffing. OutdoorGearLab’s testing consistently points to pack, shelter, and sleep system as the priority purchases, since they account for most of your base weight and comfort.
To measure torso length, tilt your head forward and find the bony bump at the base of your neck. Measure straight down to the point level with the top of your hip bones. That number, not your height, determines correct pack sizing. Brands like Osprey build adjustable hip belts around this exact measurement, which matters more for comfort than any feature list.
Pro Tip: A poorly fitted hip belt will wreck a trip faster than any gear omission. Get fitted in person if this is your first pack purchase.
Bear canisters solve most food-storage problems, but they’re not always required or even the best option depending on where you’re hiking. Where canisters aren’t mandated, the traditional counterbalance hang remains a solid backup method: suspend your food bag at least 10 to 12 feet off the ground and 6 feet from the tree trunk, using a stuff sack and a length of paracord thrown over a sturdy branch. It’s fiddly in the dark, so practice at home before you actually need it in camp.
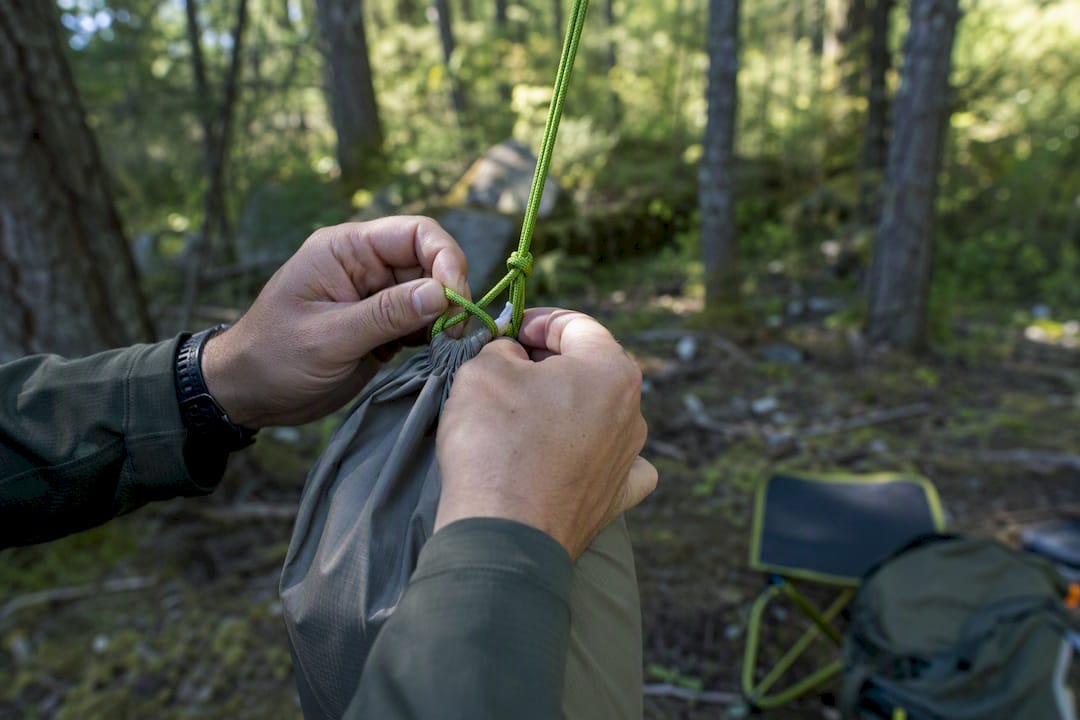
Some backcountry areas provide bear boxes or food lockers at established campsites, which beat both canisters and hanging when they’re available. Ursack-style soft-sided bags offer a lighter alternative to hard canisters in areas without strict regulations, though they don’t fully replace a hang or box where local rules specify one.
Beyond bears, smaller wildlife like mice, raccoons, and marmots cause plenty of ruined trips too. Never store food or scented items (toothpaste, sunscreen, deodorant) inside your tent, even for one night. Cook and eat at least 100 feet from your sleeping area, and pack out every scrap of food waste, including crumbs shaken from stuff sacks. Check with the local land management agency before your trip. Storage requirements vary significantly between national parks, national forests, and state land, and fines for noncompliance in bear country can be steep.
Most new backpackers overpack for comfort and underpack for skill gaps. Jonas has spent years helping first-time hikers build trip-ready gear lists, and the pattern repeats: people bring three backup layers but skip a real first-aid kit, or carry a heavy tent because they never checked the weight of lighter alternatives.
Pro Tip: Weigh comfort items against real trip risk, not against what looks impressive in a gear photo. Your checklist should flex with the trip, never the other way around.
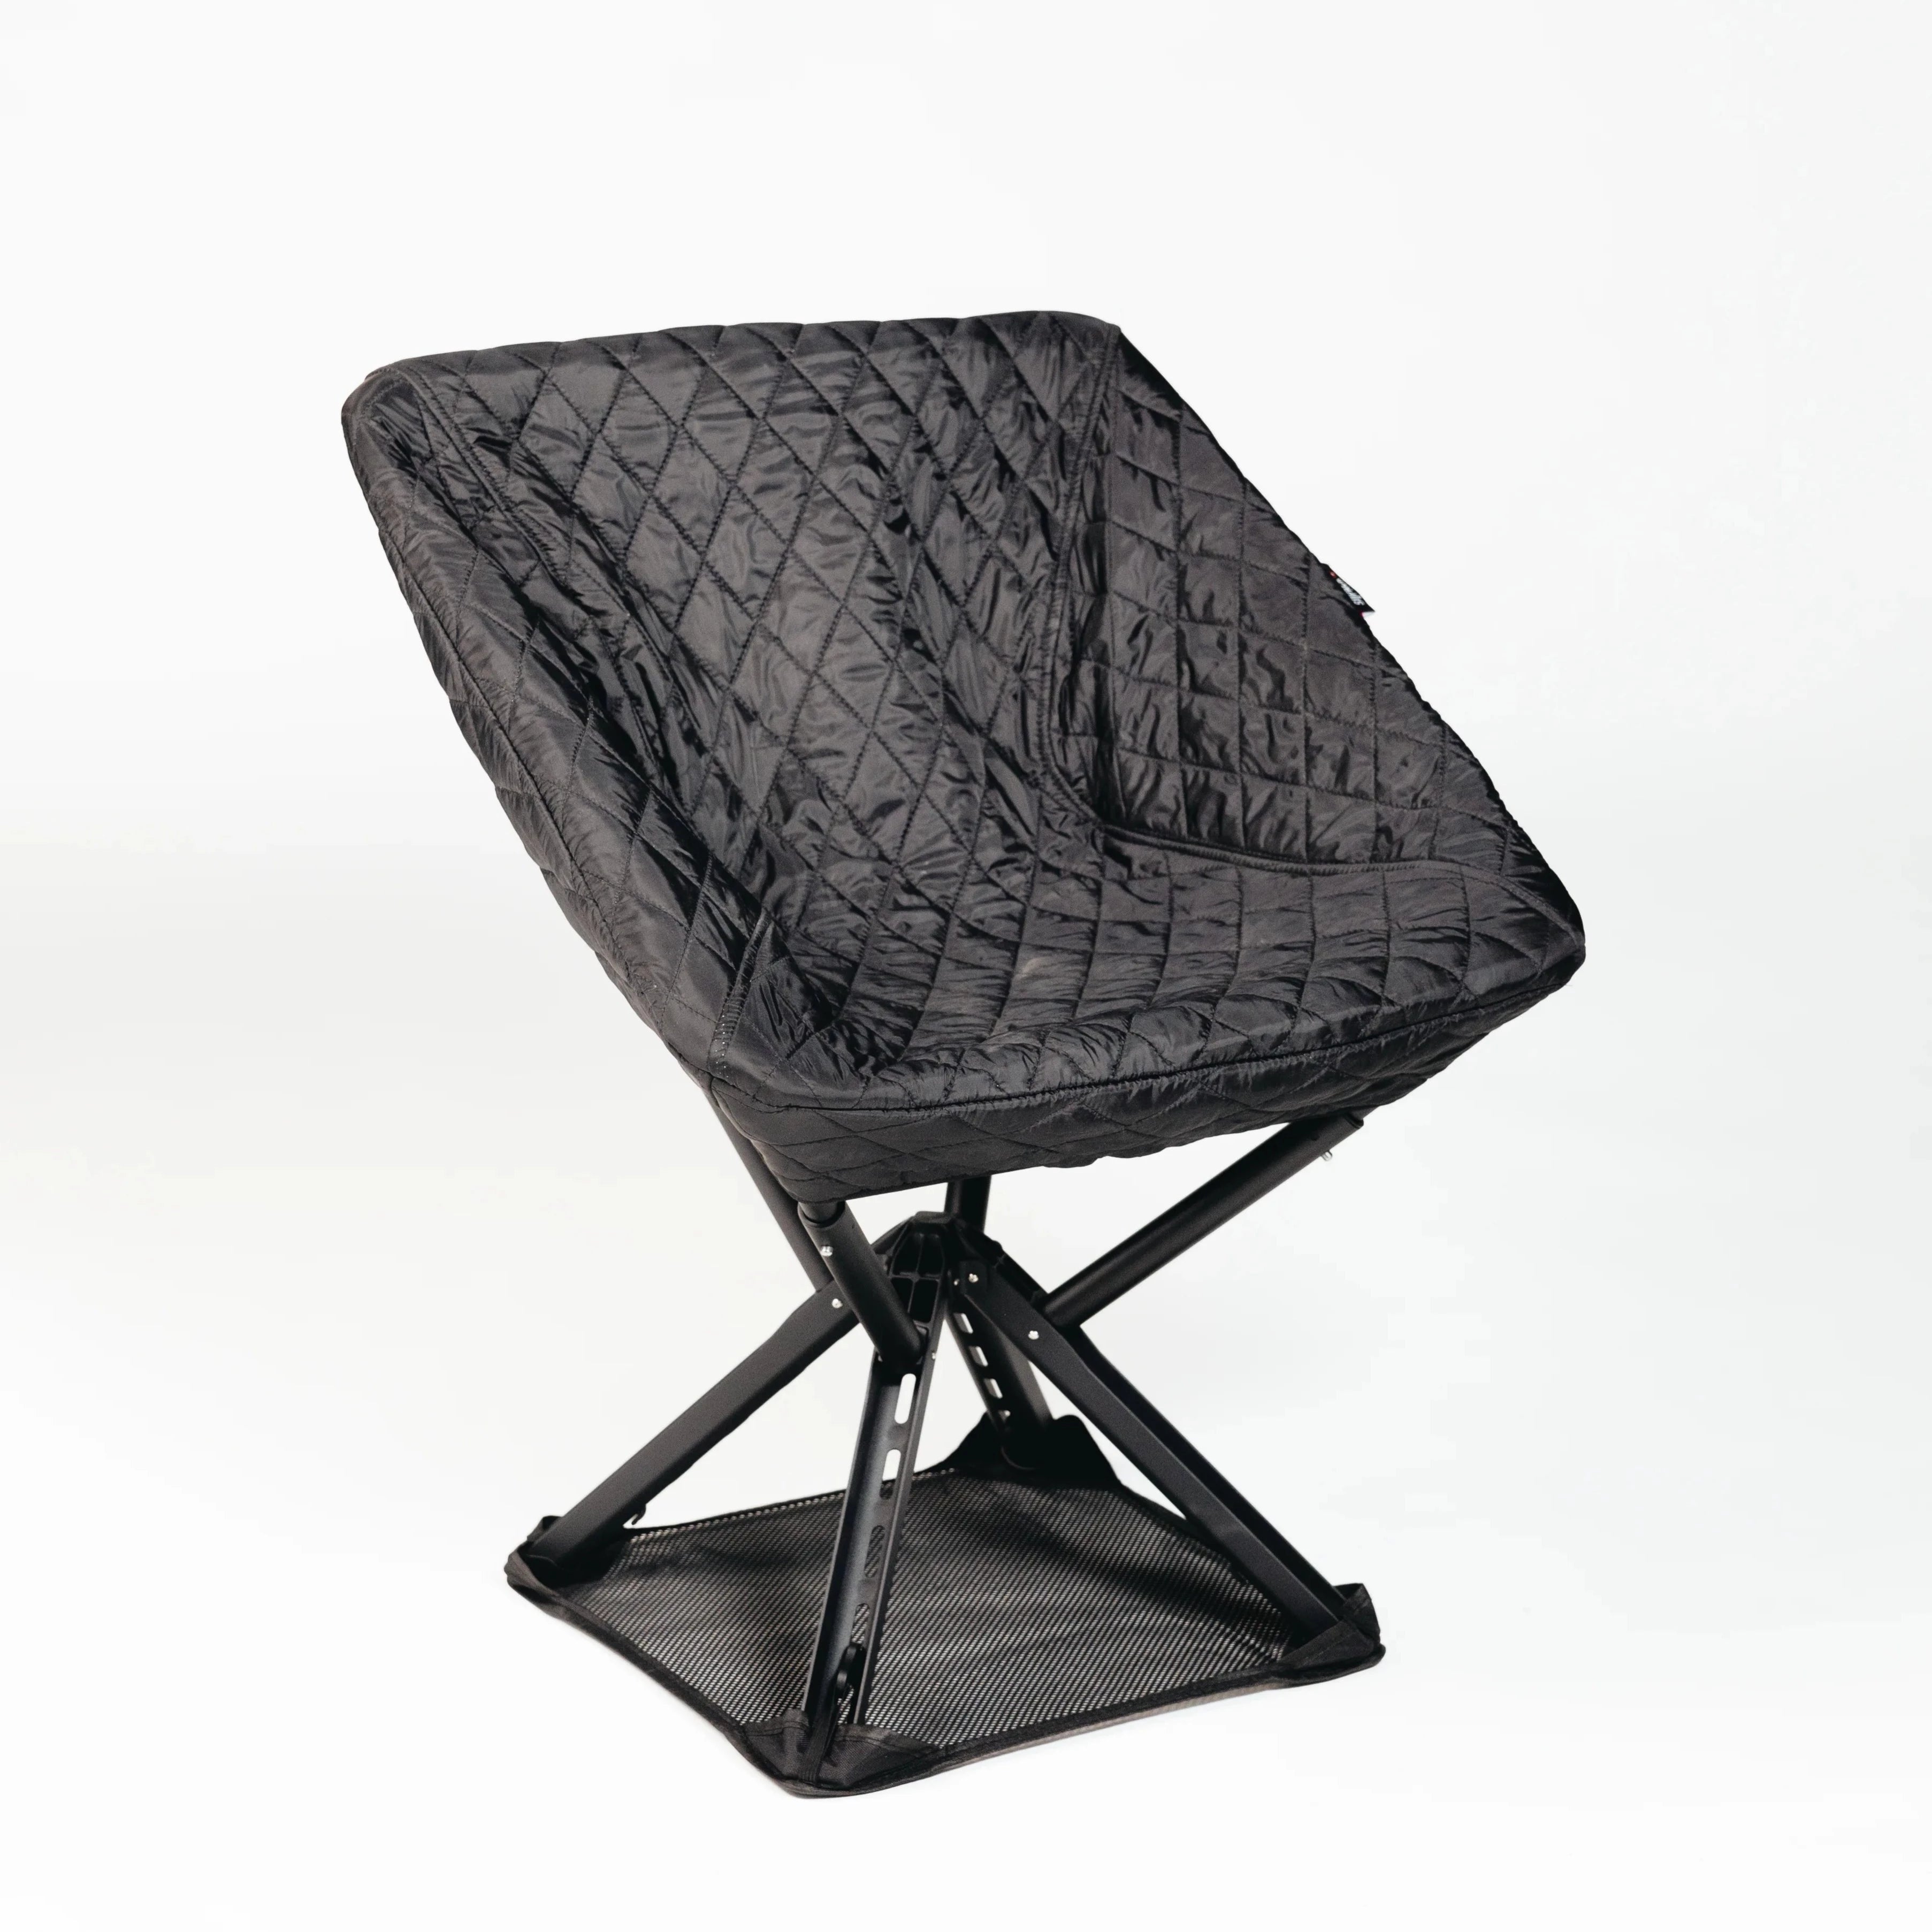
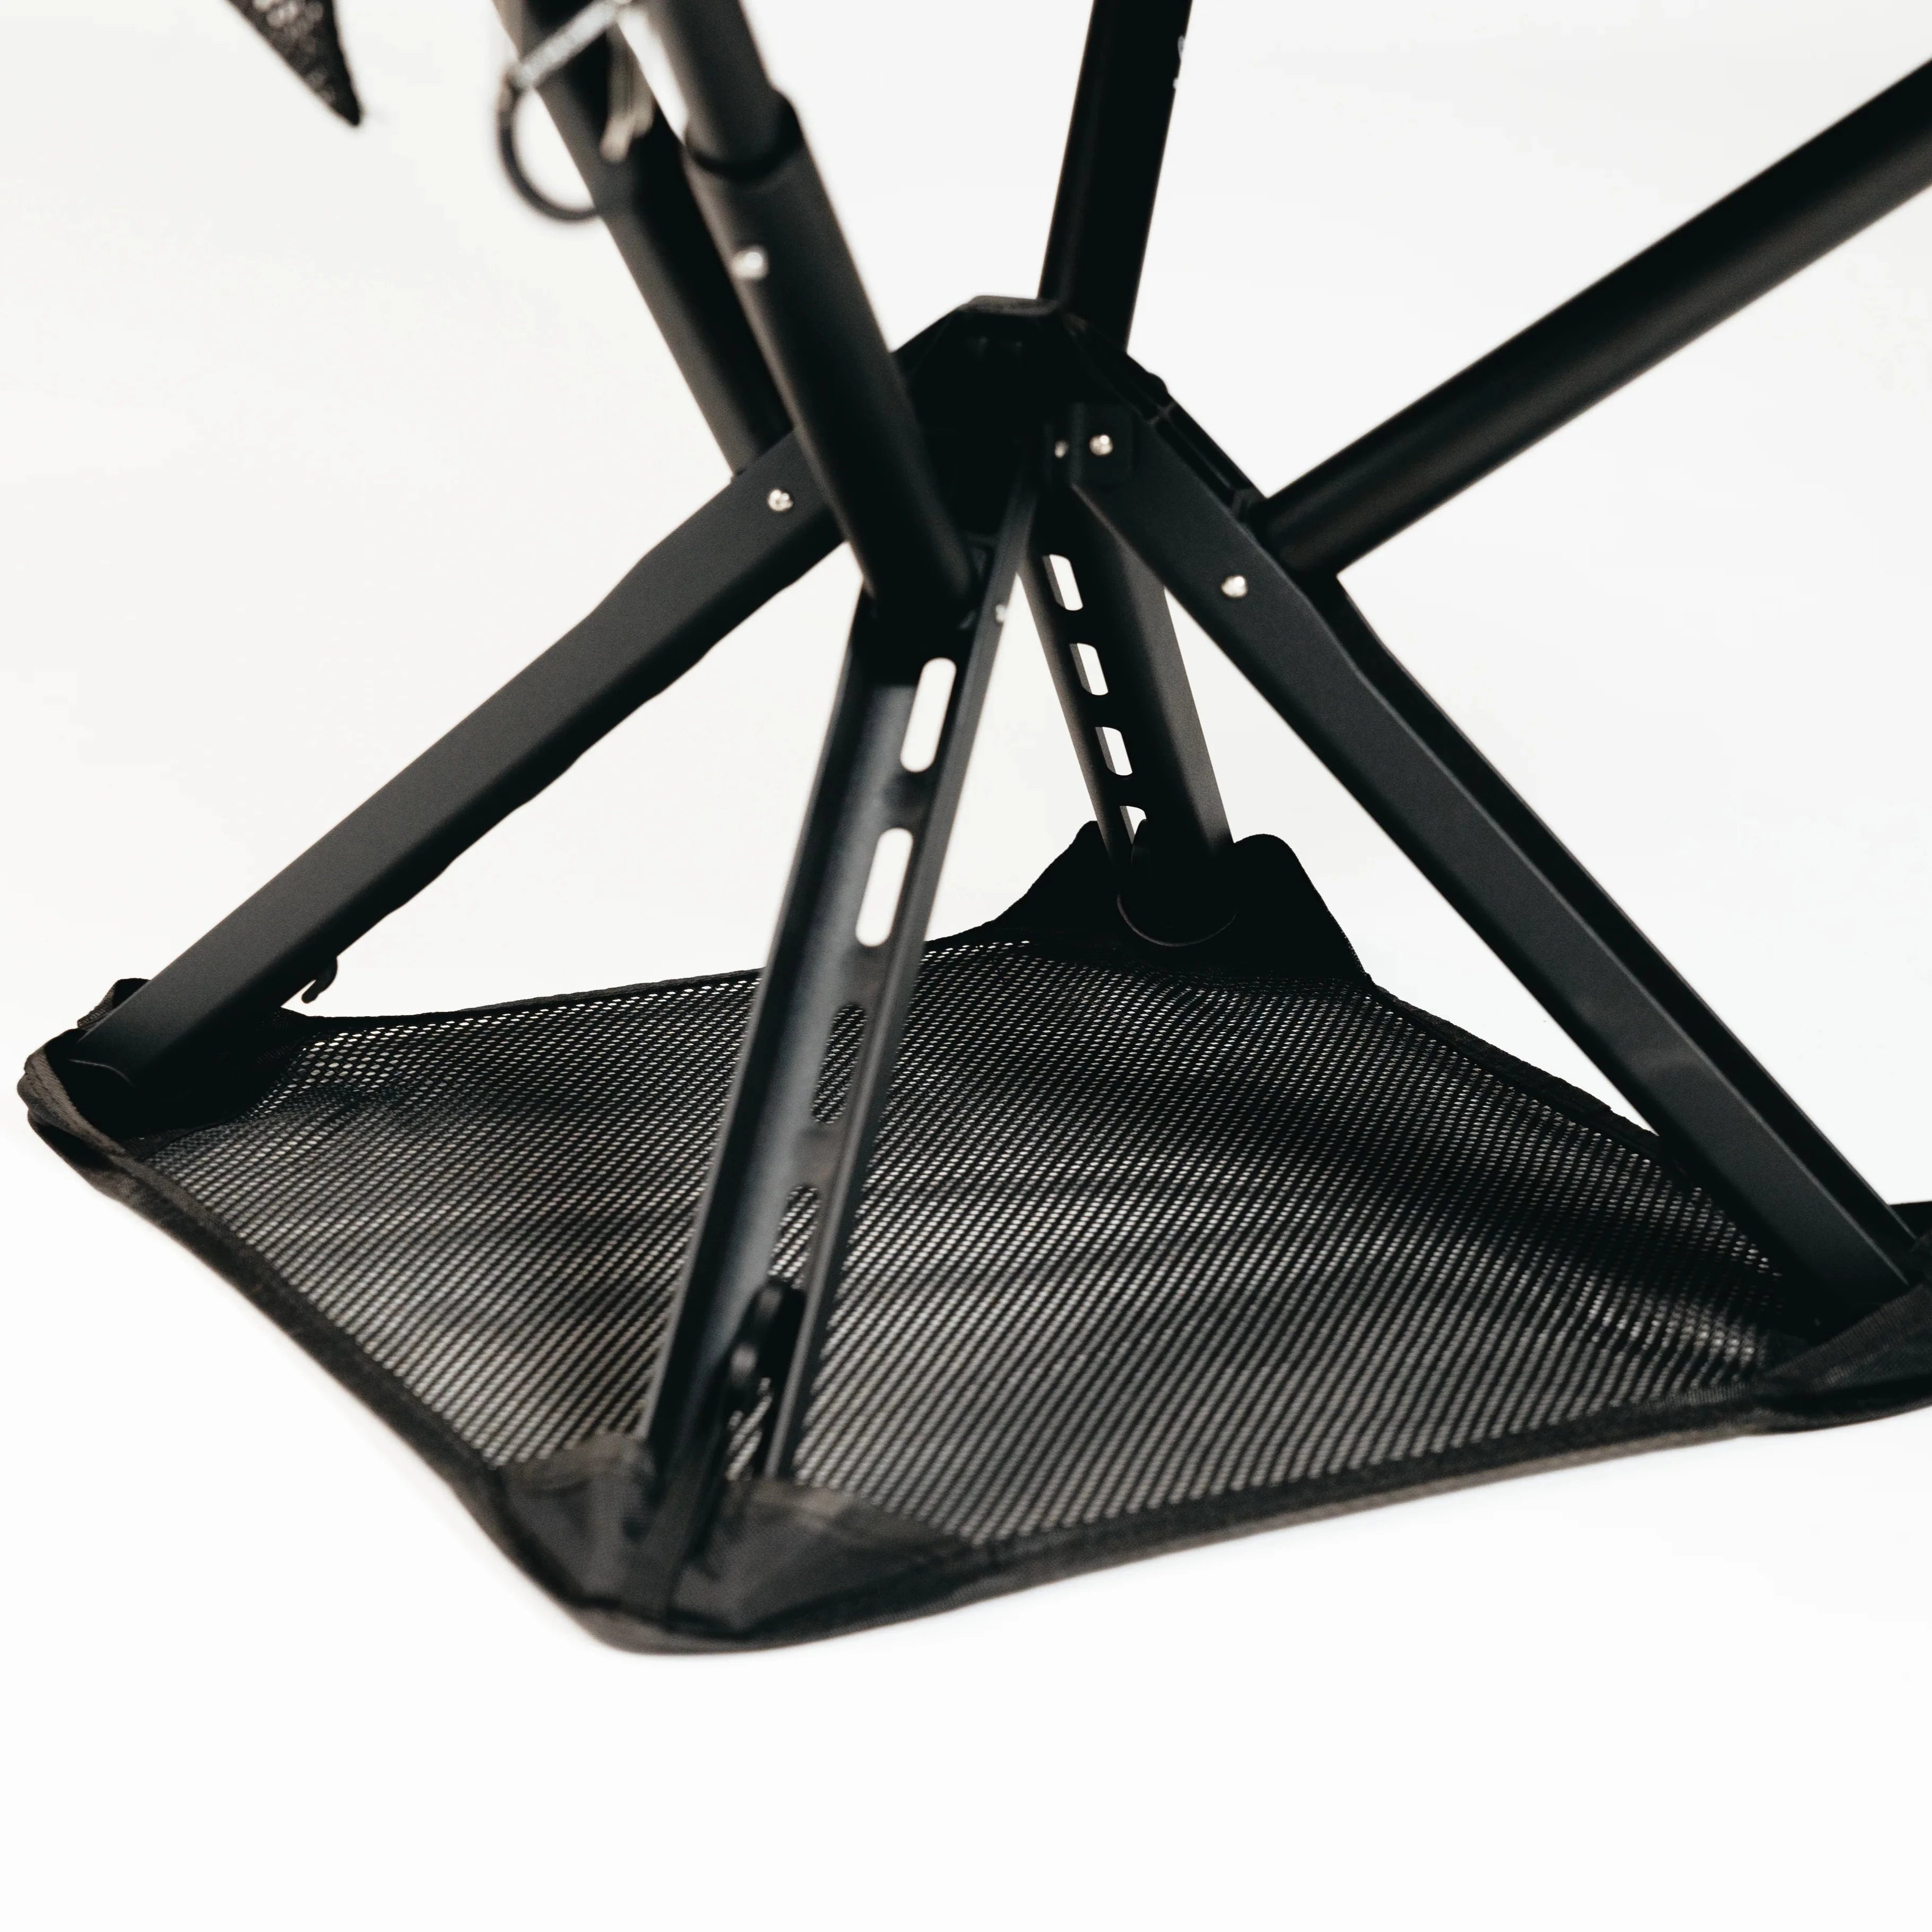
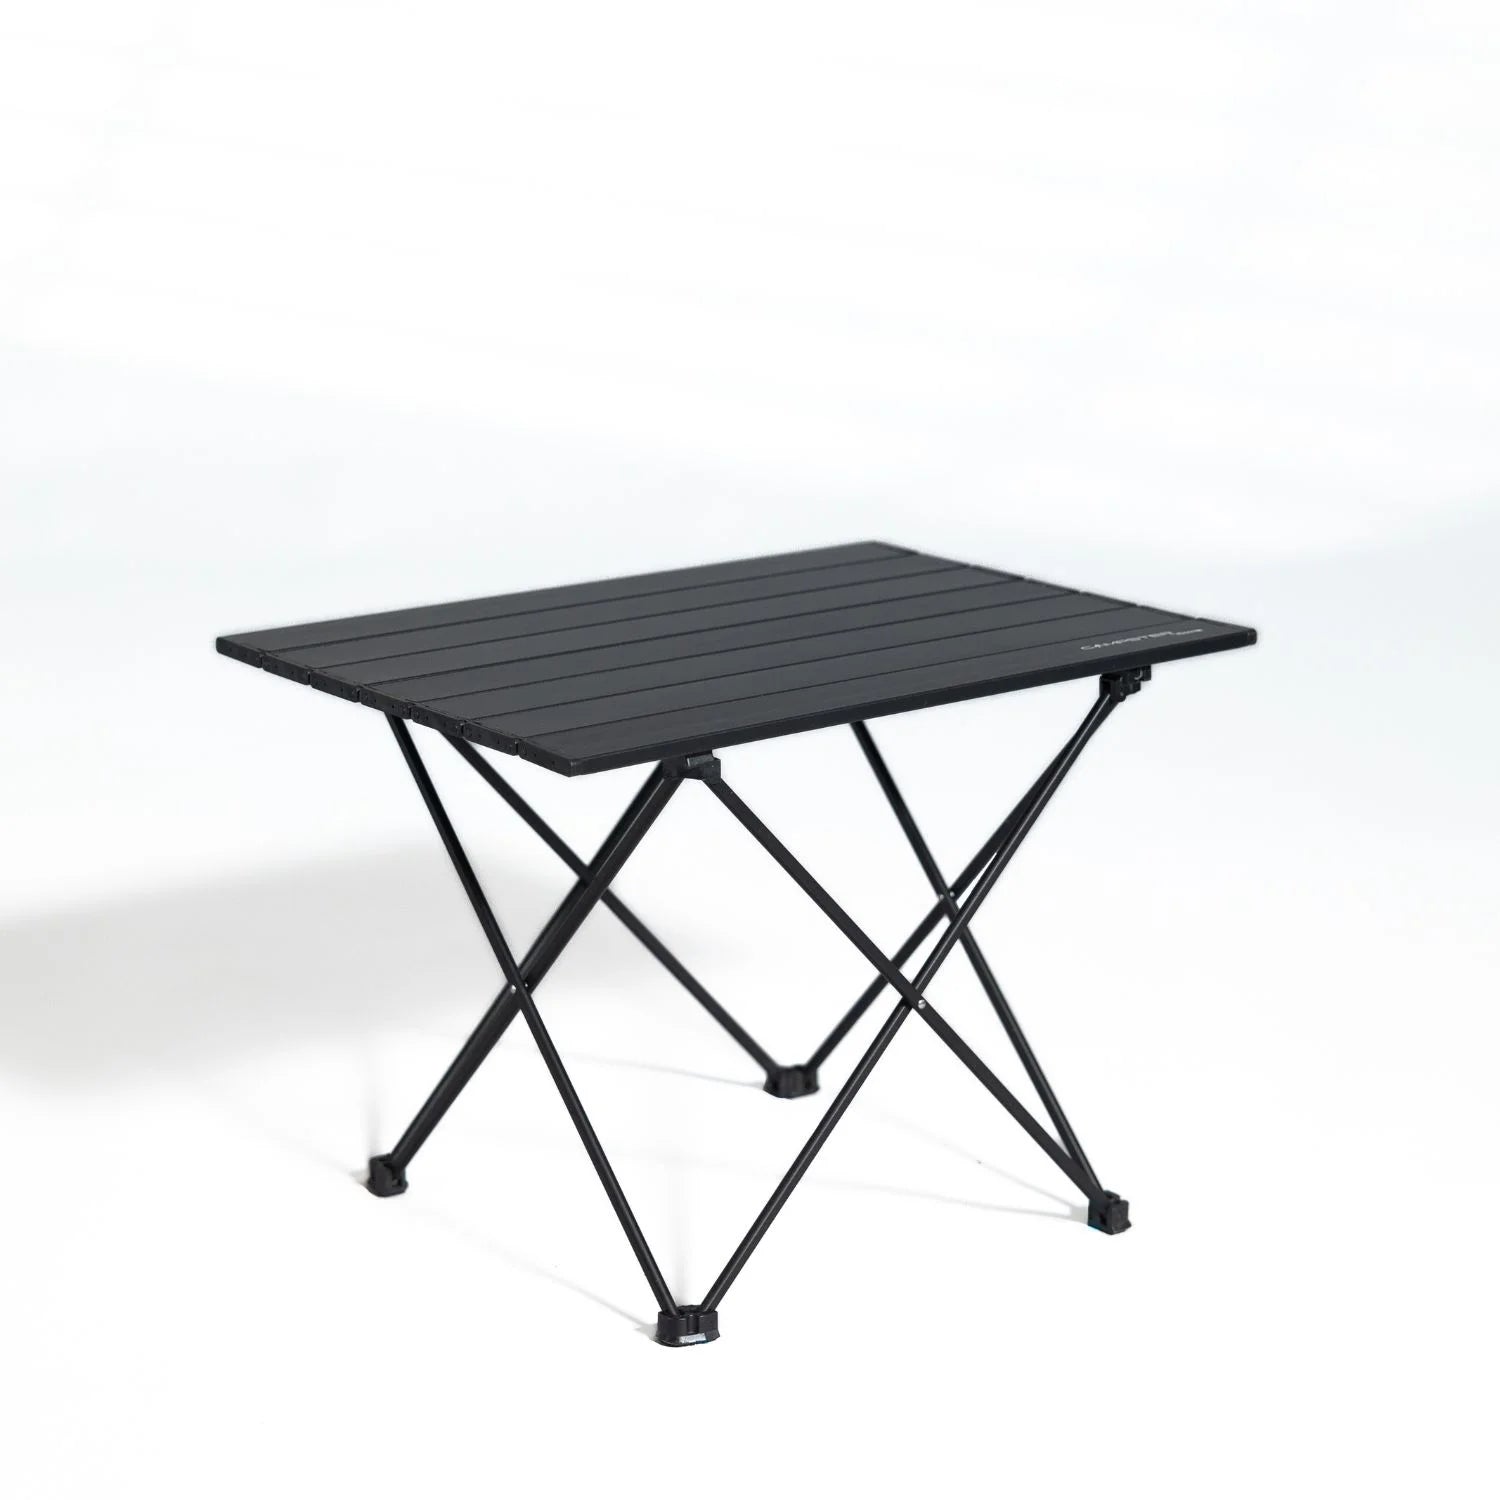
Once your Big 4 and safety gear are locked in, a lightweight seat solves a problem most checklists ignore: where do you actually sit at camp? A folded tarp or a cold rock works, but a compact folding chair like Sitpack’s Campster II packs down small enough to ride in a side pocket without eating into your weight budget for the essentials above.
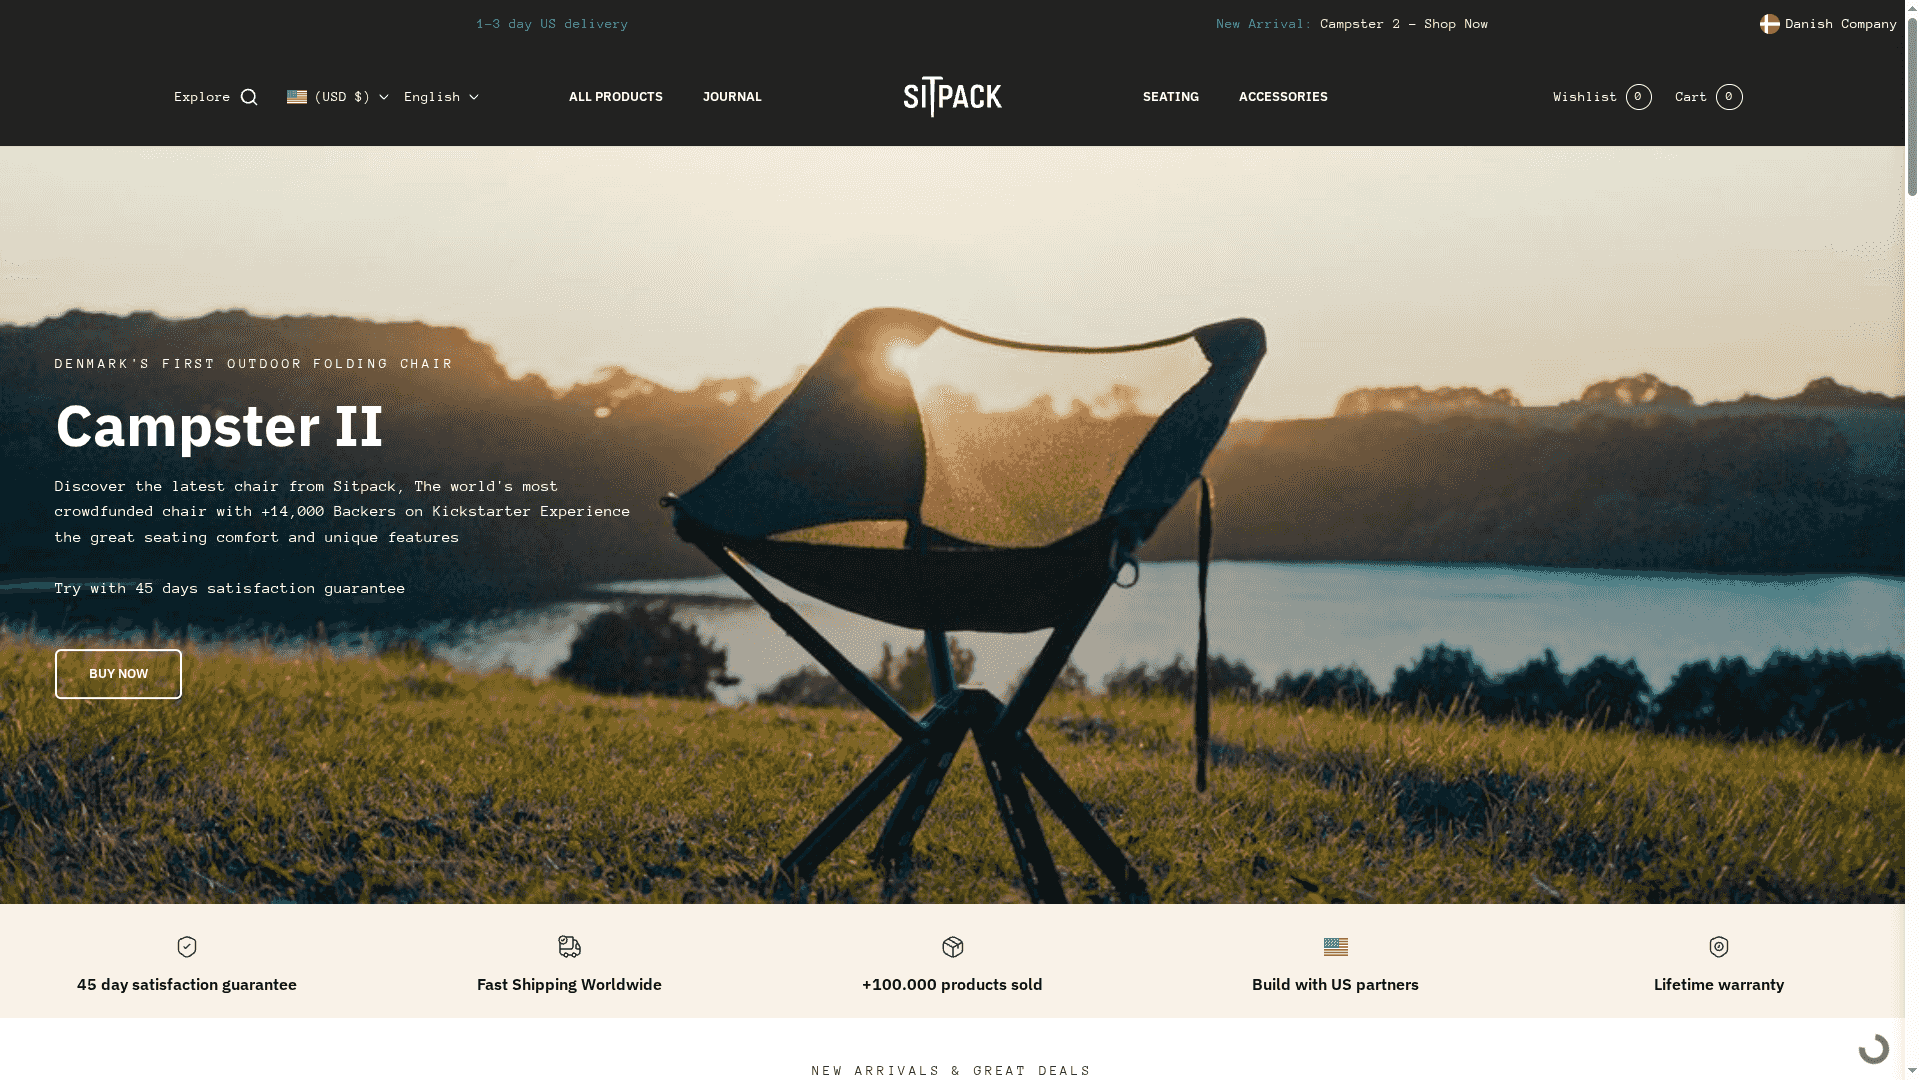
This is strictly an add-on. Shelter, water treatment, and navigation come first, always. But if your base weight has room for a few extra ounces, a portable seat turns a rock-and-log camp into somewhere you actually want to relax after a long day on trail. Check the current lineup on the Sitpack site if you’re curious what fits your pack.