Vogn
0
Tilmeld dig og få 10% i rabat på din ordre
Forventet levering
1-3 dage
Du vil måske også kunne lide


Dansk Firma

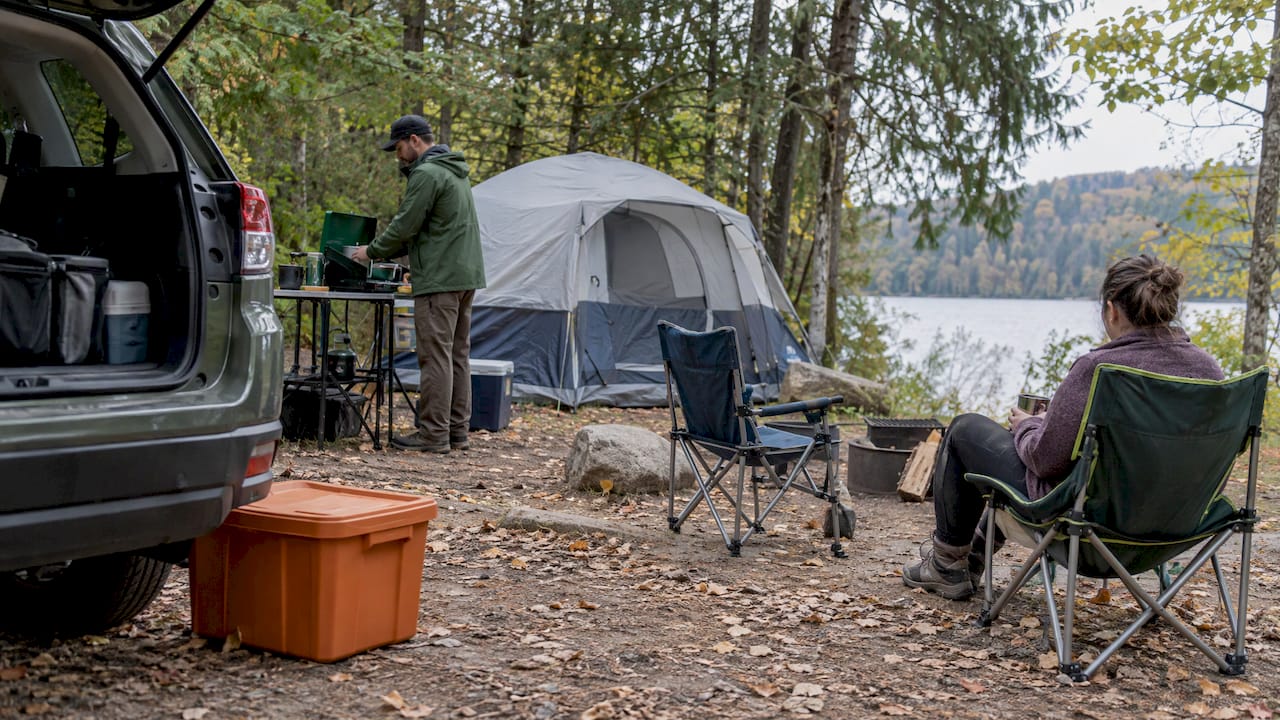
The fastest way to set up a campsite is to stop deciding things at the campsite. Pack by function at home, walk the site before you unload, then build camp in the same order every time: shelter, sleep, kitchen, light, and seating last. Run that sequence a few trips in a row and camp goes up quickly, even when you are tired, hungry, or racing the sunset.
Below is the whole workflow, from the garage to the final lap of the site on teardown day. It is written for campers, travelers and weekend adventurers who want a camp that feels like home within the hour, with a few notes on where portable seating and light fit in.
Improvised camps go wrong at the worst moment: dusk, a rain cloud, a hungry crew. One camping blog makes the case that a fixed order removes decisions when you are tired, and that repeating the same sequence can bring setup from about 40 minutes to under 20. That is one author’s experience, not a law of nature, but the logic holds up. Every choice you make once at home is a choice you do not make in the dark.
A workflow also makes packing rational. If you know the tent goes up first, it goes in the car last, within arm’s reach. If seating comes last, it rides at the bottom. Load in reverse order of need and the car itself becomes your checklist.
The quickest campsite setup starts before you leave the driveway. Three habits do most of the work.
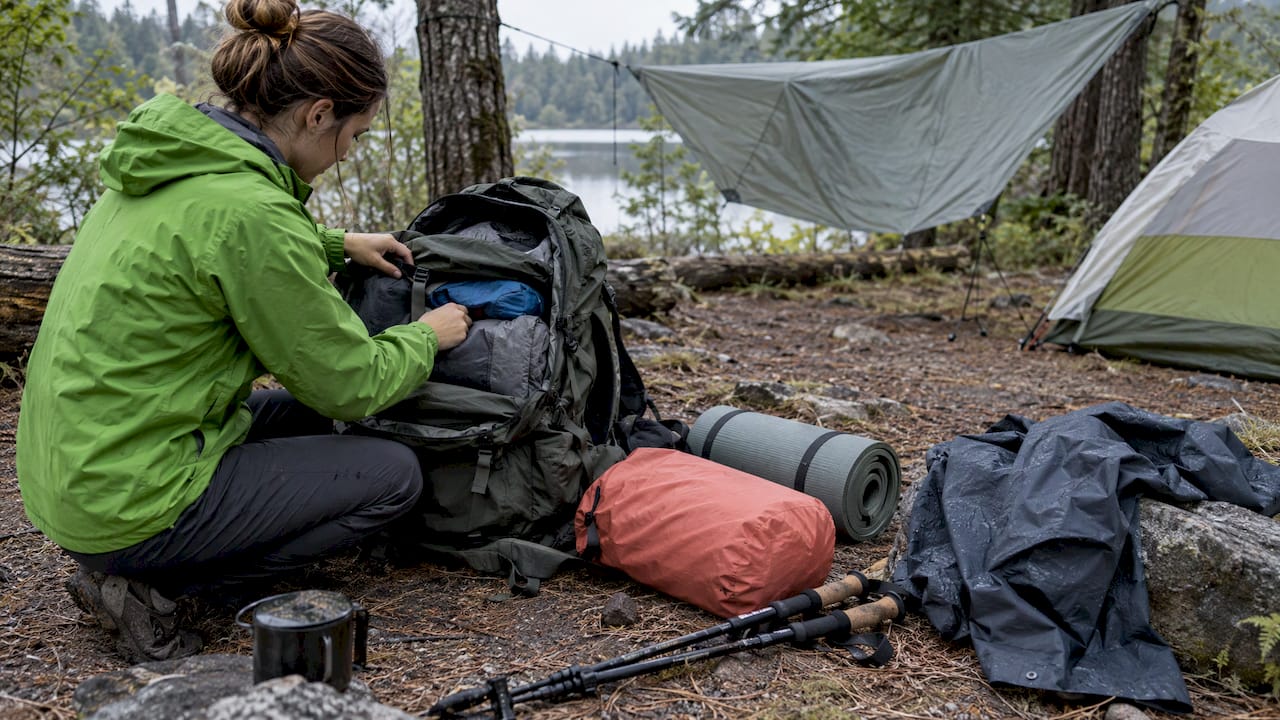
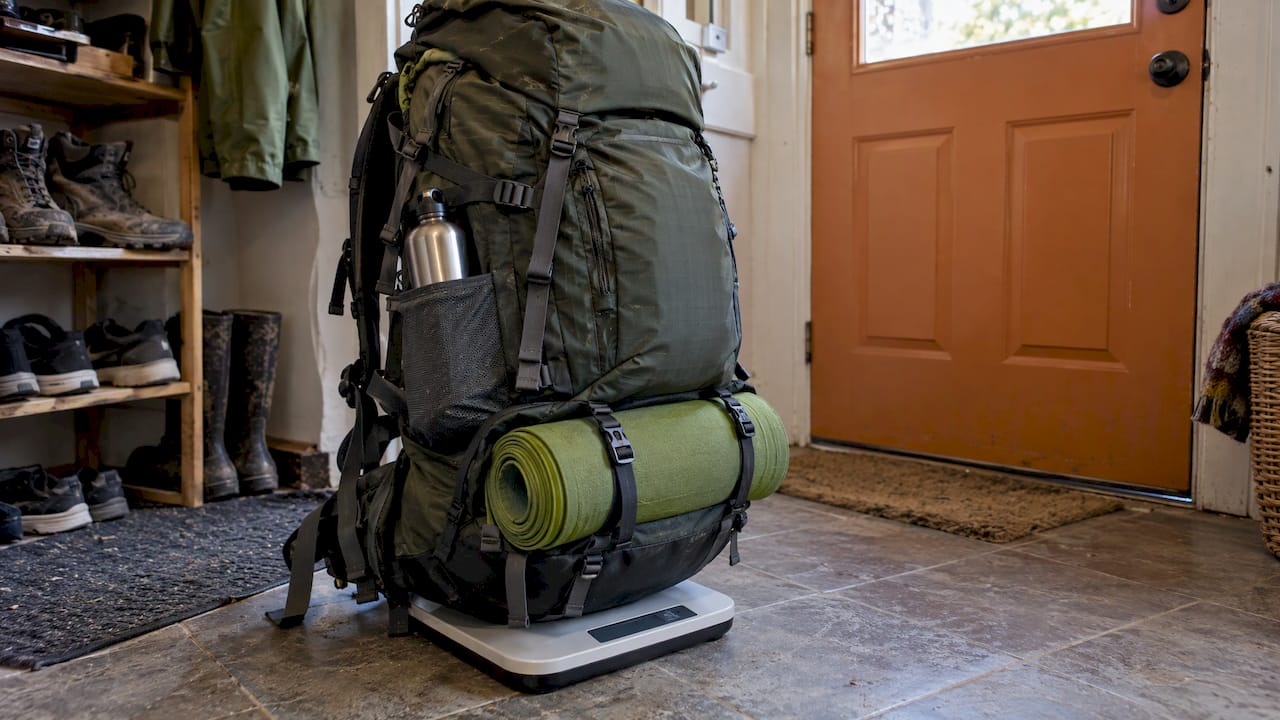
Most forgotten-gear problems come from packing by object, one item at a time. A zone-based system fixes that: sleep, kitchen, water, lighting, weather, repair, safety and personal care each get a container or a checklist. When camp is easy to build, it is because each box is one job.
For most weekend trips you can shrink that to five bins or bags:
If you want a ready-made list to build those zones from, our camping stuff to bring list and camping organization tips are good starting points.
Ontario Parks recommends setting the tent up at home before the trip to seal seams, check for rips, and confirm all the parts are there. KOA’s fast-pitching advice agrees, adding that you should pack the parts so the first-needed items are the most accessible. A practice pitch is also where you learn which pole goes where, which is exactly the knowledge you do not want to be improvising at 8 p.m.
Check arrival deadlines, quiet hours, fire restrictions and food-storage rules before you go. Ontario Parks lists familiarizing yourself with park rules before arrival among its basics. Fire and wildlife rules differ by park and by season, so the official page for your campground is the one to trust.
Here is the sequence, with realistic time targets for a two-person camp. A family of four should expect closer to 45 to 60 minutes, which is the range one published arrival order gives for that group size.
Park, but leave the trunk closed. Walk the pad. You are looking for flat, relatively high ground, away from the fire pit, free of roots, rocks and low branches, with enough room to pull tent lines tight. Ontario Parks describes the same checklist for a good tent spot. If you are camping with friends, point the tent doors toward the shared area.
While you are walking, mentally mark the zones: tent, kitchen, fire ring (if there is one), and the spot where chairs will go. The kitchen should sit away from the sleeping area. Decide now, because moving a cooler twice is how 20 minutes disappear.
Then park with the back of the vehicle facing camp, so the bins come out where they are needed.
Clear debris, and feel the ground for dampness and hardness. KOA suggests laying a tarp folded slightly smaller than the tent footprint, so rain does not funnel under the floor. Then pitch with the rainfly on, even if the sky looks friendly. Weather changes faster than setup does, and a tent with its fly on is a finished tent.

Tent first is the consensus order among camping guides for a simple reason: pitching after a full day, in the dark, is doubly exhausting. If you want to shorten this step further, a quick-pitch tent design helps. Our OCTO Quick Tent is in the range for exactly that reason.
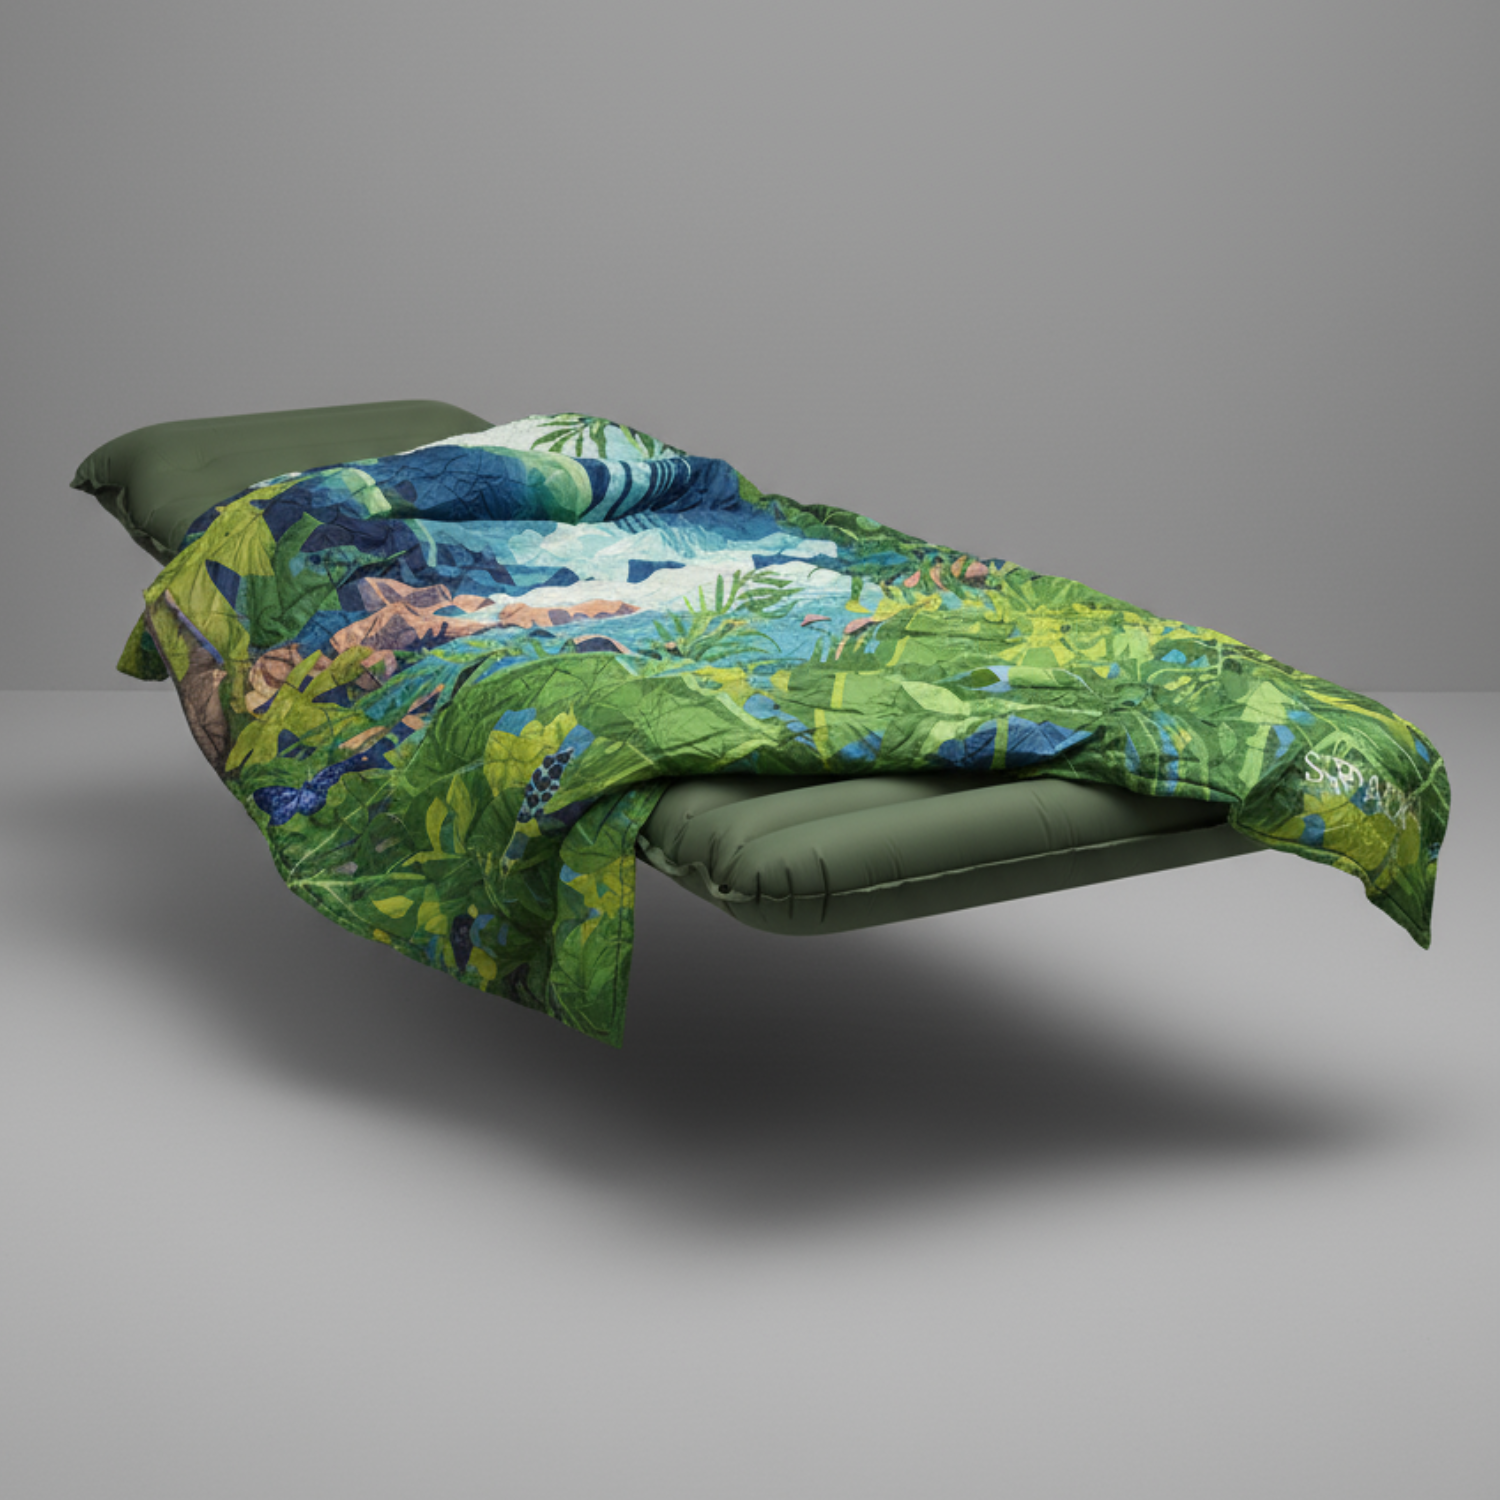
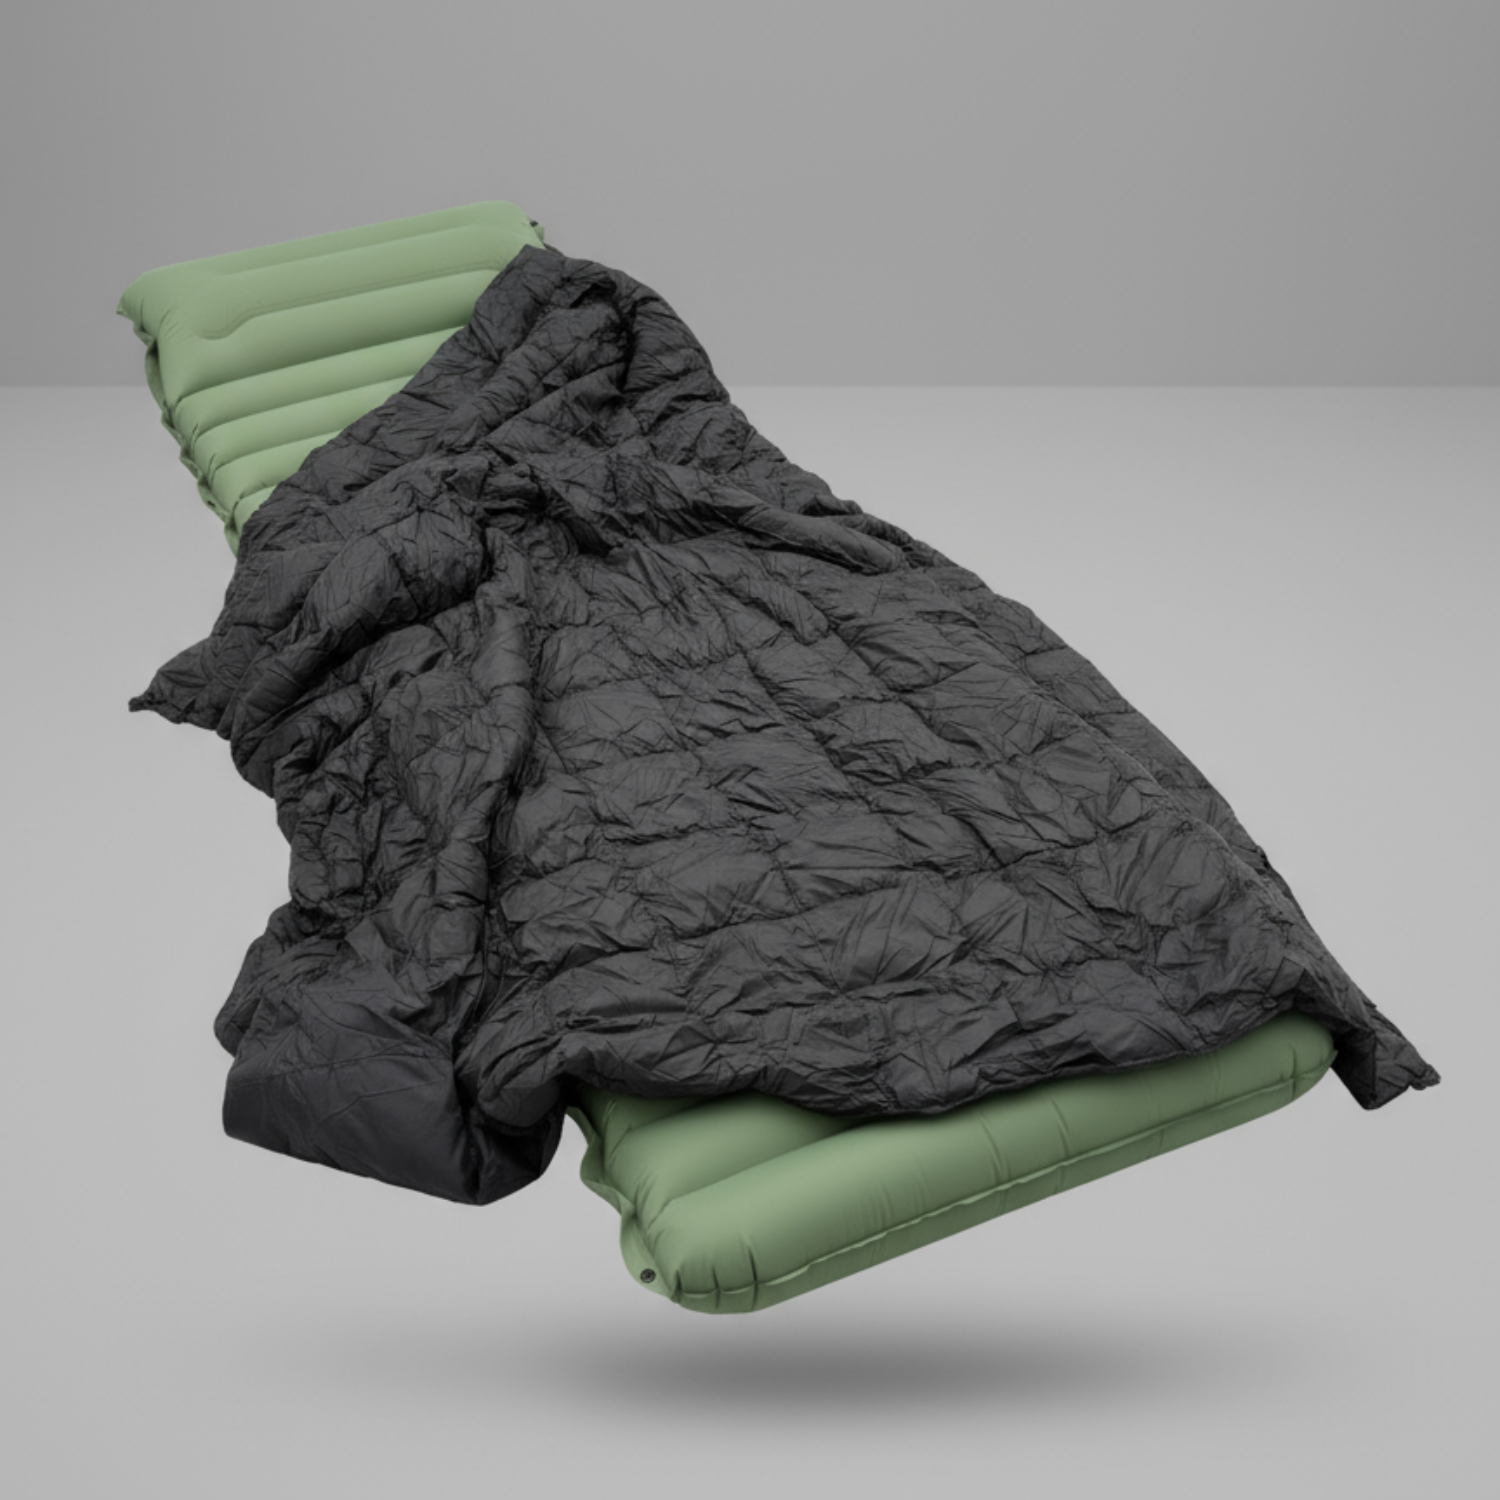
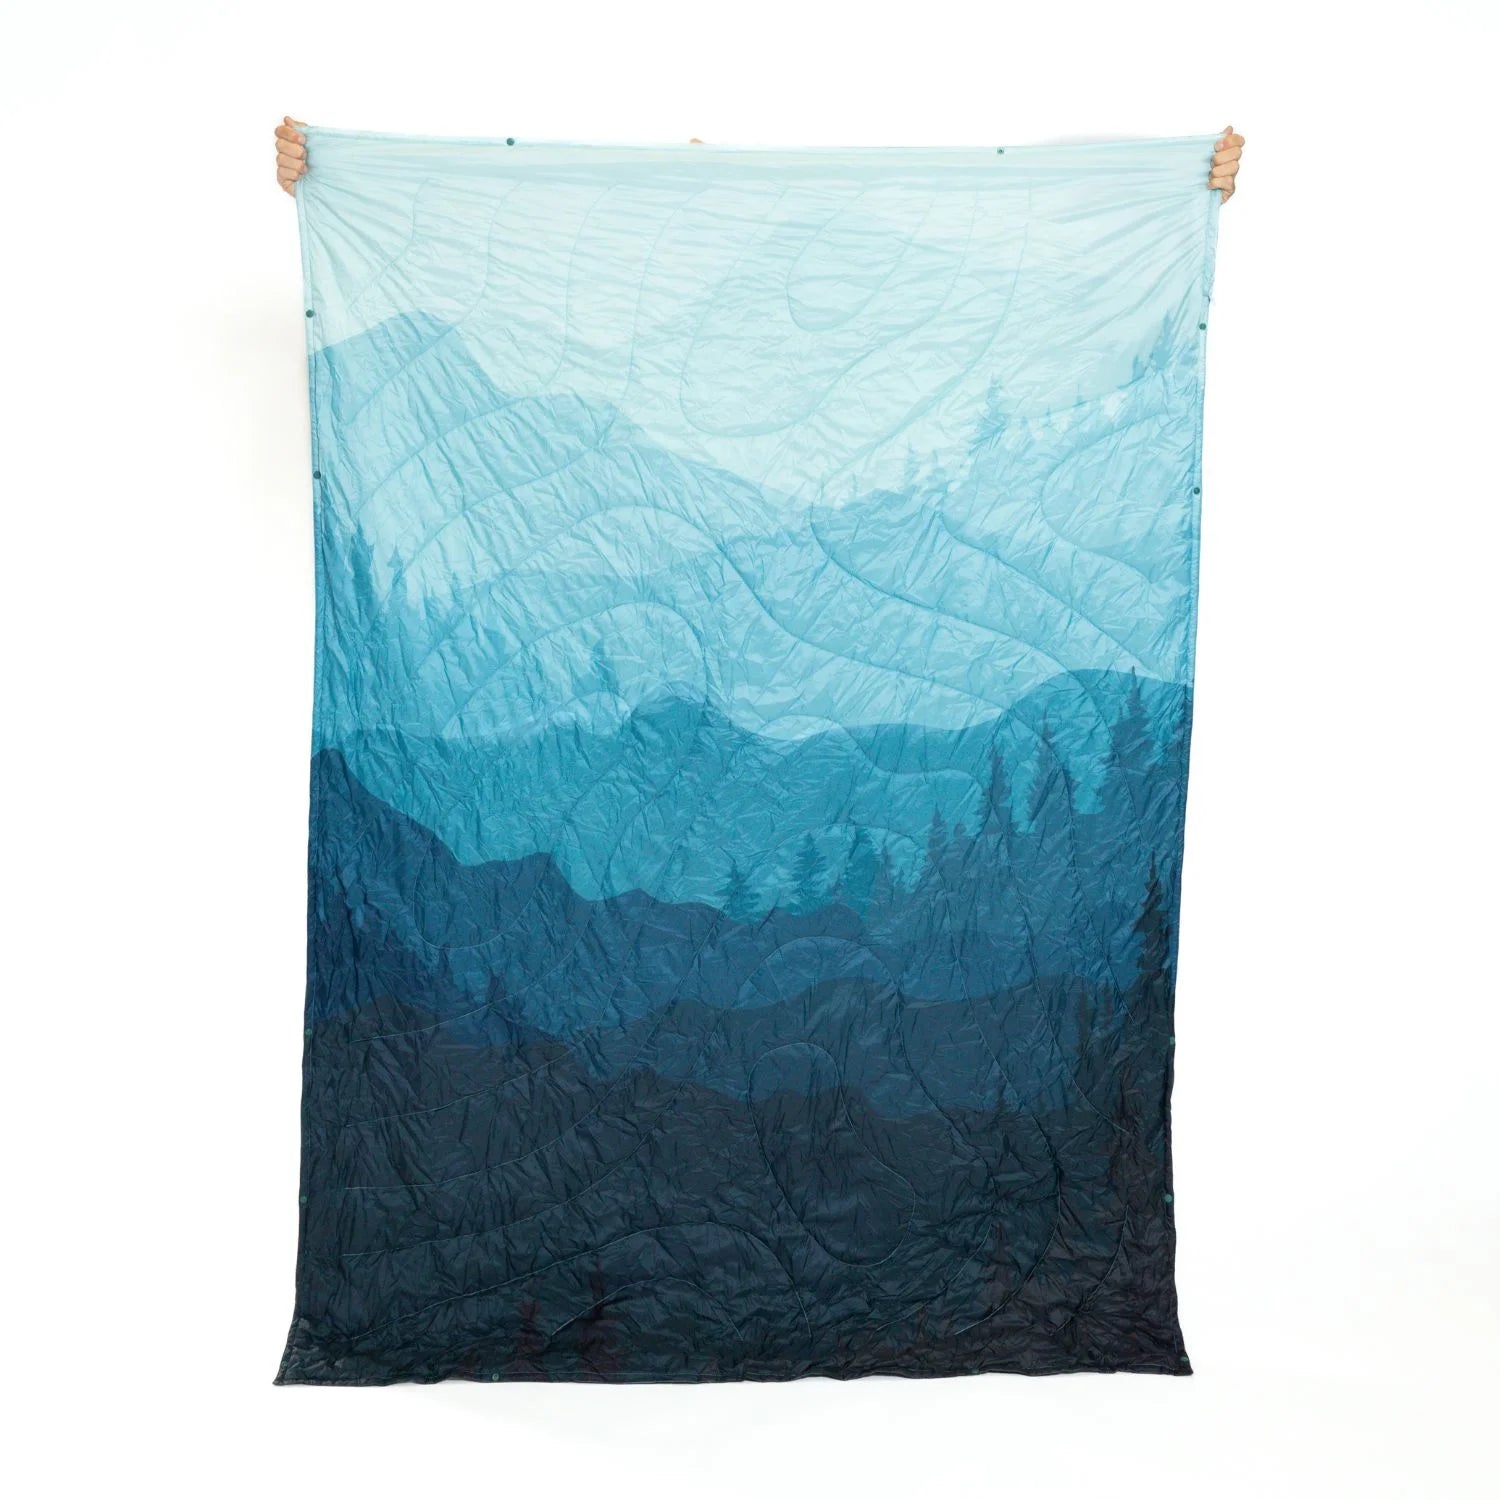
Inflate pads, unroll bags so they can loft, and put pillows and a warm layer inside. Do this before you touch food or fire. A made bed is your insurance policy: if the rain arrives early or someone gets cold, you can climb in. A packable insulated blanket, such as our Airwrap puffy adventure blanket, lives in this zone too, and it earns its keep when the evening cools.
Put the stove on the table or a stable surface, the cooler in shade, and the water jug close. Keep cooking away from the tents and from anything flammable. Parks Canada’s bear-country guidance says to cook at least 50 meters downwind from the sleeping area where possible. That is a backcountry figure, so treat it as the ideal and follow the rules your own campground posts.
Bringing a dog? Give it a feeding and water spot at the edge of the kitchen zone, and plan its meals along with yours. This guide to camping with your dog covers the food side of that.
Do it now, not at bedtime. Parks Canada explains that bears which get into human food or garbage can lose their wariness of people and become bold and aggressive, and that properly storing food, garbage and other attractants prevents this. In bear country, that means bear-resistant containers or hanging food at least 4 meters off the ground and 1 meter from the trunk. Purdue Extension’s wildlife specialist notes that in areas without bears, a locked vehicle keeps wildlife out of your food. Ask the campground which rule applies.
Hang a lantern at the kitchen, put a small light at the tent entrance, and give every adult a headlamp. That layout comes straight from Trail Gear Journal’s setup guide, and it works because the three lights do three different jobs: cook by one, find the tent by another, and keep your hands free with the third. Our OCTO Camp Light is built for the lantern role.
Fire comes last among the big jobs, because it is the one that can wait. Check fire conditions with the land manager before you go, use only provided rings or pits, keep water or a shovel nearby, and keep dry grass, leaves and overhanging twigs well clear. Those are Purdue Extension’s fire basics. You can stack tinder, kindling and fuel now and light it when dinner is ready.
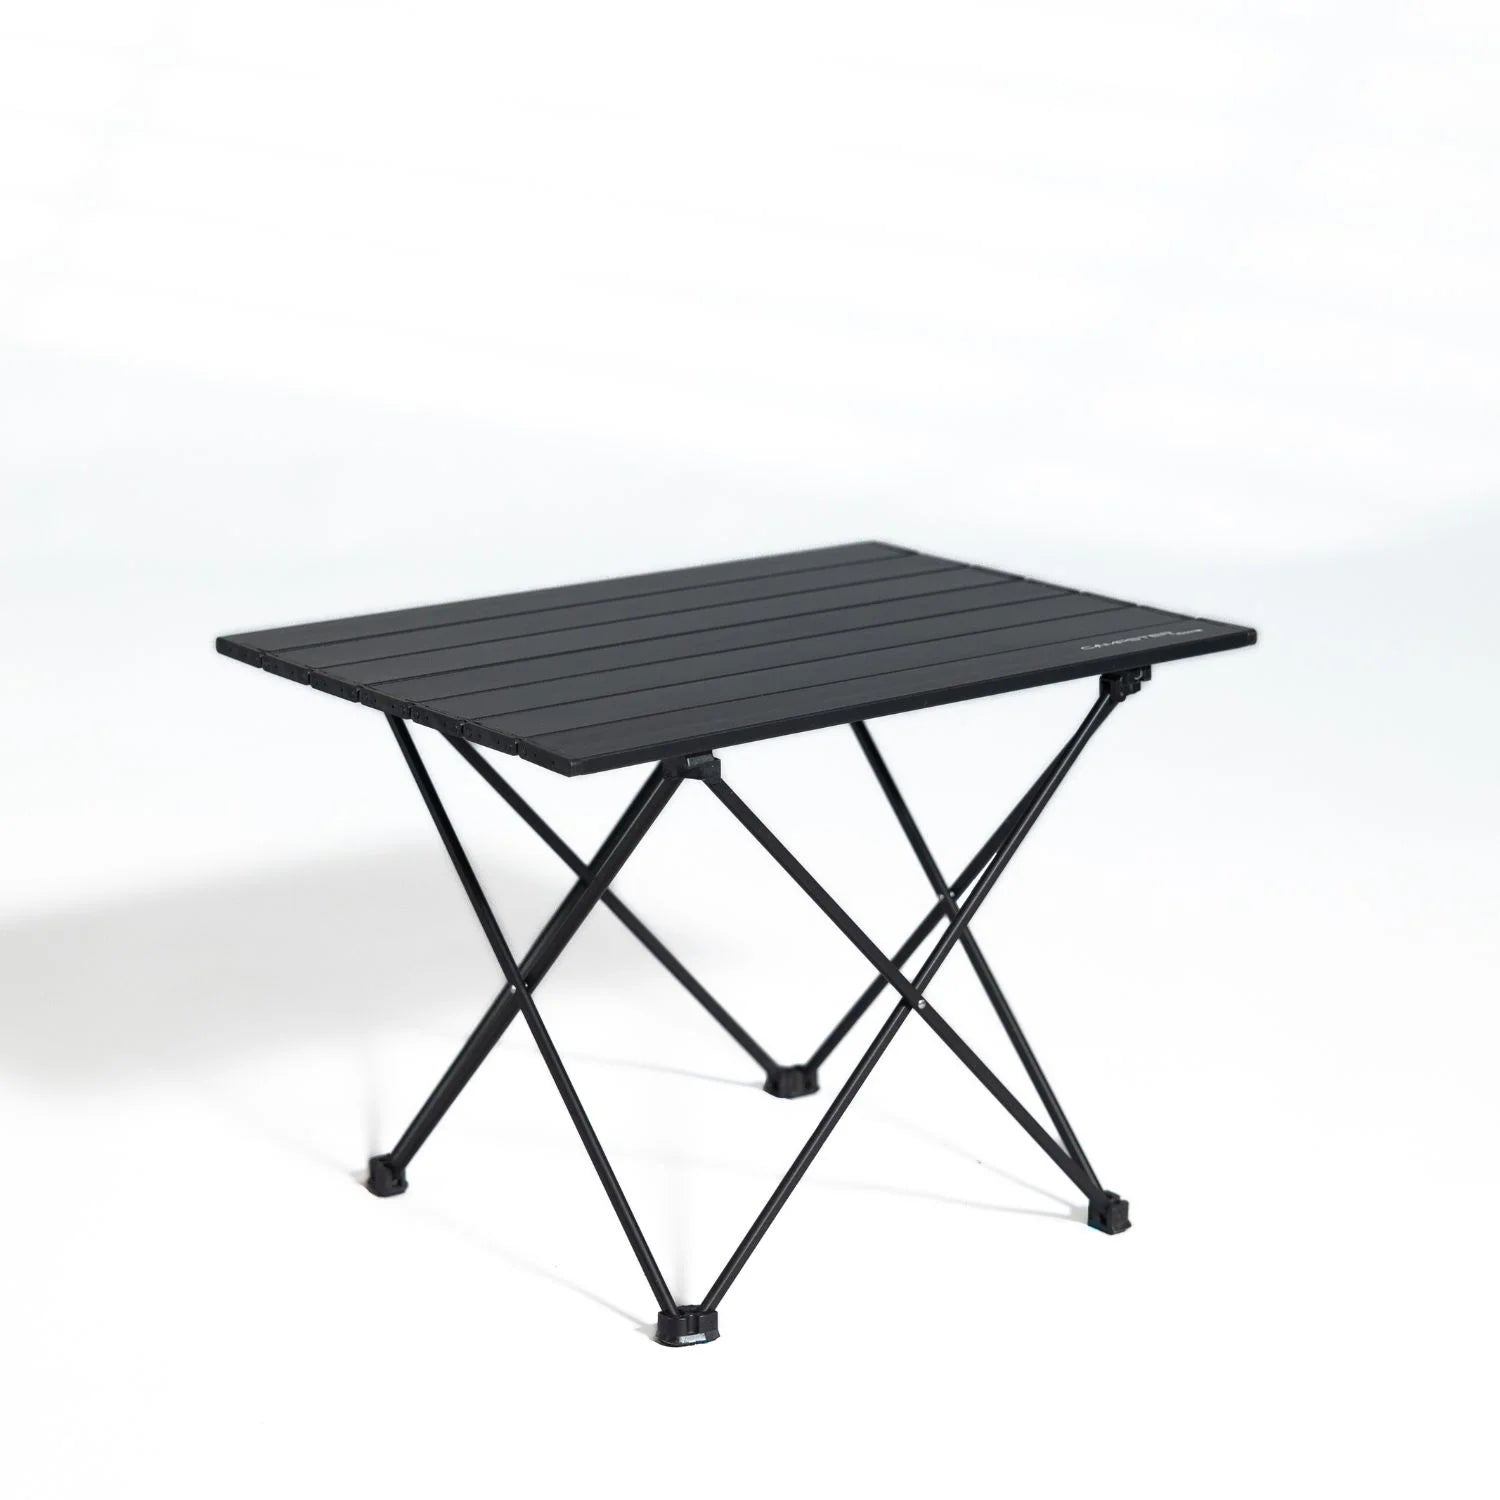
Chairs go up last, and that is a feature of the workflow, not an afterthought. Once the tent, kitchen and light exist, you know where the traffic paths run, where the fire sits, and where the best view is. Put the seats there. Add the table, the clothesline, the hand-washing station and a bin for the things you grab most often.
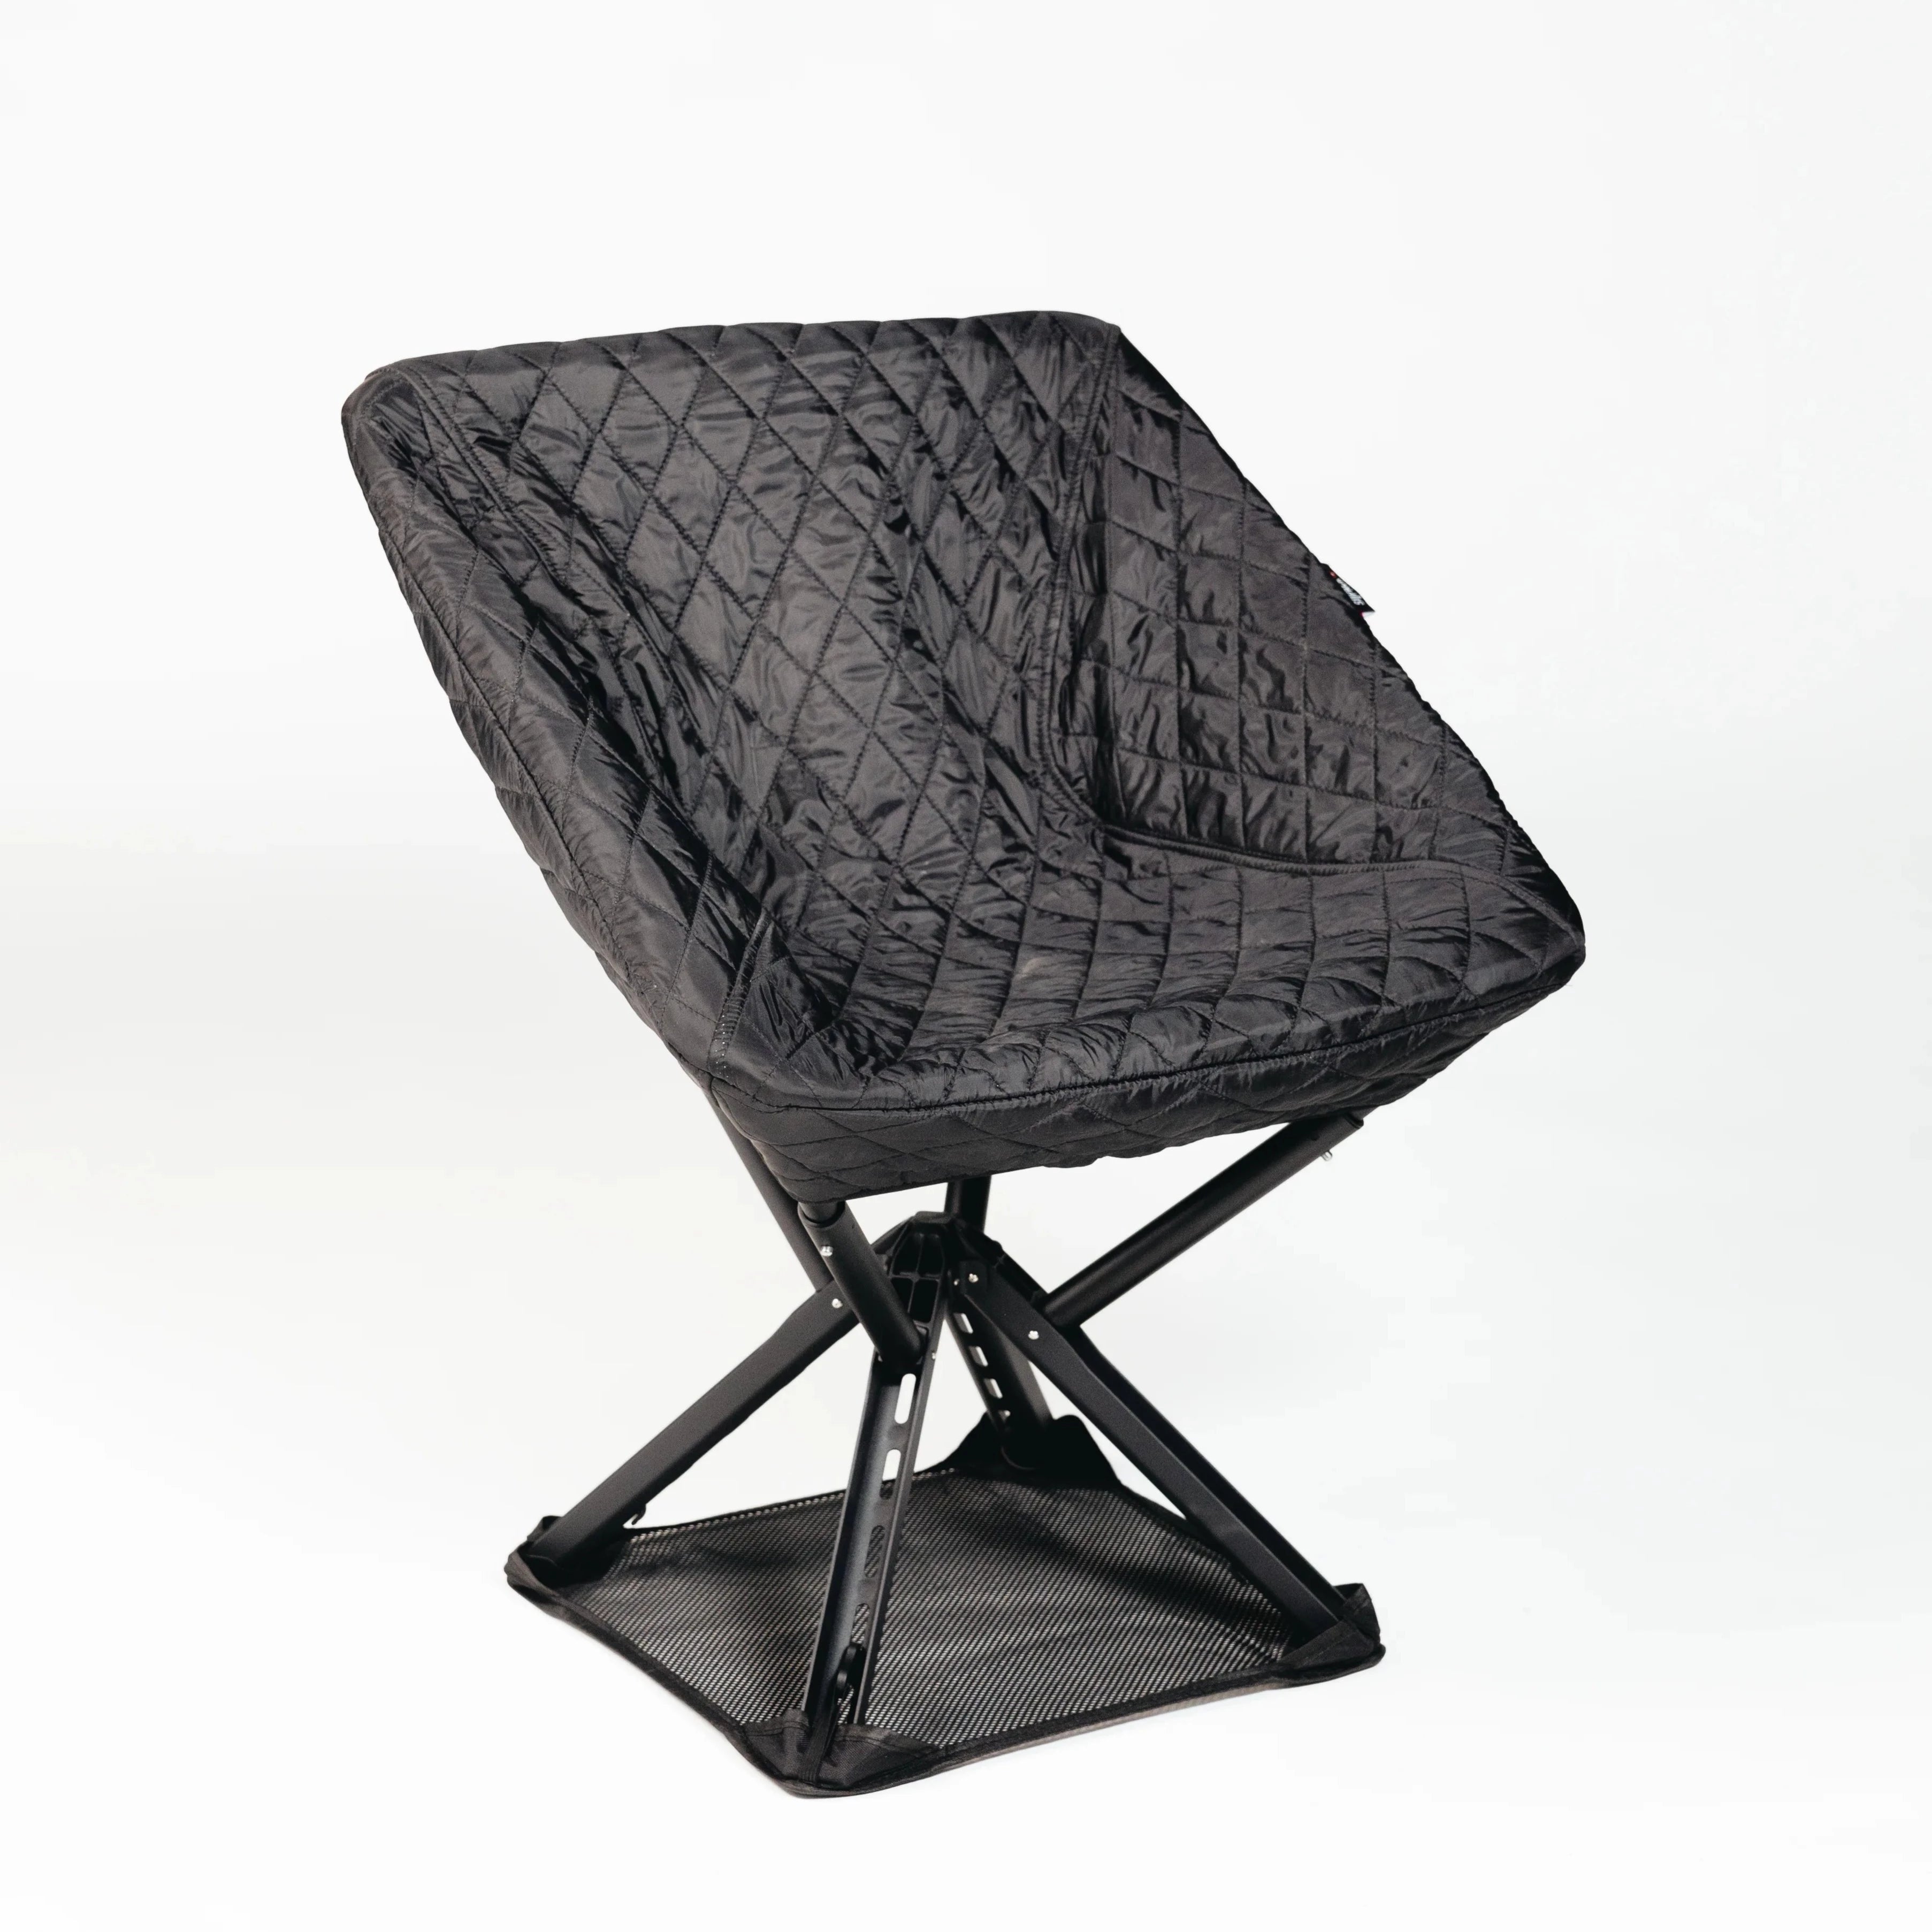
This is also the moment the day turns from work into camping. A chair that unfolds in seconds and packs small lets you sit down at the end of the sequence rather than wrestling with another set of poles. Our Campster II is made for that last step, and we go through the full seating routine in our campsite seating workflow guide.
| Order | Job | Target time | The point of doing it here |
|---|---|---|---|
| 1 | Walk the site, pick zones | 5 min | Prevents moving gear twice |
| 2 | Pitch tent with fly | 10 to 15 min | Shelter before weather or dark |
| 3 | Sleep system | 4 min | A ready bed whatever happens next |
| 4 | Kitchen and food storage | 5 to 8 min | Cooking away from sleeping area, food secured |
| 5 | Lanterns and headlamps | 3 min | Light before dusk, not during it |
| 6 | Fire stack (unlit) | 5 min | Ready when dinner is |
| 7 | Chairs, table, extras | 5 min | Placed using the layout you now know |
These times are a planning guide based on published setup orders, not a promise. Camping Frontier’s first-30-minutes plan follows the same logic in a tighter window, and a shelter, sleep, kitchen, lighting, fire order shows up in many beginner guides. Your first few trips will be slower. That is normal.
If you pull in after dark, shrink the workflow. The plan from OutdoorTrekLife’s after-dark guide is: lantern lit first, then the tent with fly and stakes, then bedding straight in, then boots, water and headlamp by the door. Then stop. Chairs, kitchen and awning wait for daylight.
Two habits make this painless:
Solo campers can use the same idea: finish one stage completely before starting the next, and save elaborate cooking and decorative extras for the morning.
Speed never beats these four:
Last up, first down. Chairs and extras go first, then the kitchen, then the tent, with sleep gear packed before it. RigFitment’s teardown ends with a slow final lap of the site with your eyes on the ground, looking for micro-trash and stakes. Purdue Extension also suggests cleaning and inspecting vehicles and gear for invasive species before you leave. Pack in the order you will unpack next time and the next setup is half done already.
Most setup guides treat chairs as an afterthought, and we understand why: the tent, the stove and the fire are the jobs. But we think of seating as the finish line of the workflow. It is the signal that the work is done and the trip has started.
That is why we design around speed and low bulk. A chair that is light, folds small and goes up without fuss fits at the bottom of the load order and the end of the setup order, which is where it belongs. The same thinking runs through the rest of our range: an insulated blanket for the sleep zone, a lantern for the kitchen zone, a quick tent for the shelter zone.
Our advice is simple. Build your camp in zones, repeat the order every trip, and put your seat down last, with a clear view of everything you just set up. If you are choosing gear to match, our step-by-step camping gear setup guide walks through it.
Jonas
If you are building or refreshing your kit around this order, our range maps onto it neatly: the OCTO Quick Tent for shelter, the Airwrap puffy adventure blanket for sleep and evenings, the OCTO Camp Light for light, and the Campster II for the finish. We ship worldwide, back orders with a 45-day satisfaction guarantee, and offer a lifetime warranty on select items. You can browse everything in the full Sitpack collection.
Walk the site, pitch the tent with the rainfly, set up your sleep system, build the kitchen and secure food, add light, then fire, then chairs. Guides from park services and camping writers converge on this shelter-first order. Repeating the same sequence each trip is what makes it fast.
A couple can aim for roughly 30 minutes with practiced gear, and a family of four should plan on 45 to 60 minutes. Your first trips will run longer. Practicing the tent pitch at home and packing in zones brings the time down.
Light first, then the tent with its fly and stakes, then bedding, then headlamp, boots and water by the door. Leave chairs, cooking and awnings for daylight. Check the campground’s latest arrival time and check-in process before you travel.
Cook away from the sleeping area and away from anything flammable. Store food the way the campground requires: bear-resistant containers or a proper hang in bear country, a locked vehicle where there are no bears. Ask the land manager which applies to your site.