Vogn
0
Tilmeld dig og få 10% i rabat på din ordre
Forventet levering
1-3 dage
Du vil måske også kunne lide


Dansk Firma
TL;DR:
- Choosing outdoor accessories involves matching gear to your activity and environment first for safety and comfort. Proper maintenance, material choice, and a tiered purchasing strategy help extend gear lifespan and optimize performance. Condition-based selection and real-world testing ensure you build a lightweight, effective outdoor kit suited to your adventures.
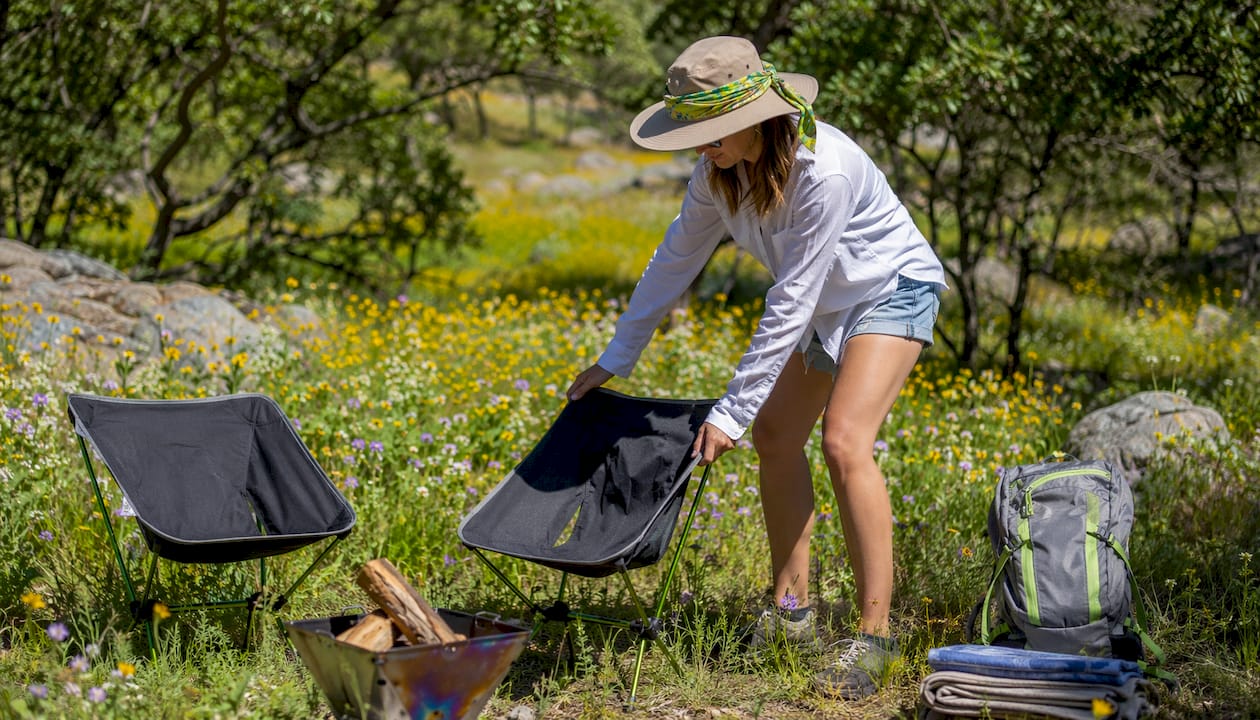
Choosing outdoor accessories correctly means matching every piece of gear to your specific activity, environment, and personal comfort needs before anything else. Get that match wrong and you end up hauling a rain jacket on a desert trail or sitting on a flimsy folding chair that collapses mid-campfire. The right gear selection process, which professionals call activity-based gear matching, starts with your conditions and works outward to materials, safety features, and budget. This guide walks you through exactly that process, from matching gear to your environment all the way to keeping your accessories in top shape for years.
The single most reliable method for selecting outdoor gear is to define your activity first, then let that definition drive every other decision. A weekend car camper and a three-day backcountry hiker both need shelter and hydration, but the weight limits, packability, and weather resistance requirements are completely different.
Start by asking yourself three questions before you spend a dollar:
Weather is the factor most beginners underestimate. Waterproof accessories need sealed seams, quick-dry fabrics, and moisture control options to actually keep you dry. A jacket labeled “water-resistant” and one labeled “waterproof with taped seams” perform very differently in a sustained downpour. Similarly, sun exposure demands UPF-rated fabrics and UV-stable materials, especially for accessories that stay outdoors for hours.
Pro Tip: Build your gear list around the failure modes your environment imposes. If wetness is the main risk, prioritize waterproofing. If cold is the threat, prioritize insulation and layering. Buying for your actual conditions beats buying for the brand name every time.
Terrain matters just as much as weather. Rocky trails demand durable boot soles and trekking poles. Sandy beaches call for rust-resistant hardware and quick-dry fabrics. Forested campsites need insect protection and good lighting. Match the gear to the ground you are standing on, not just the sky above you.
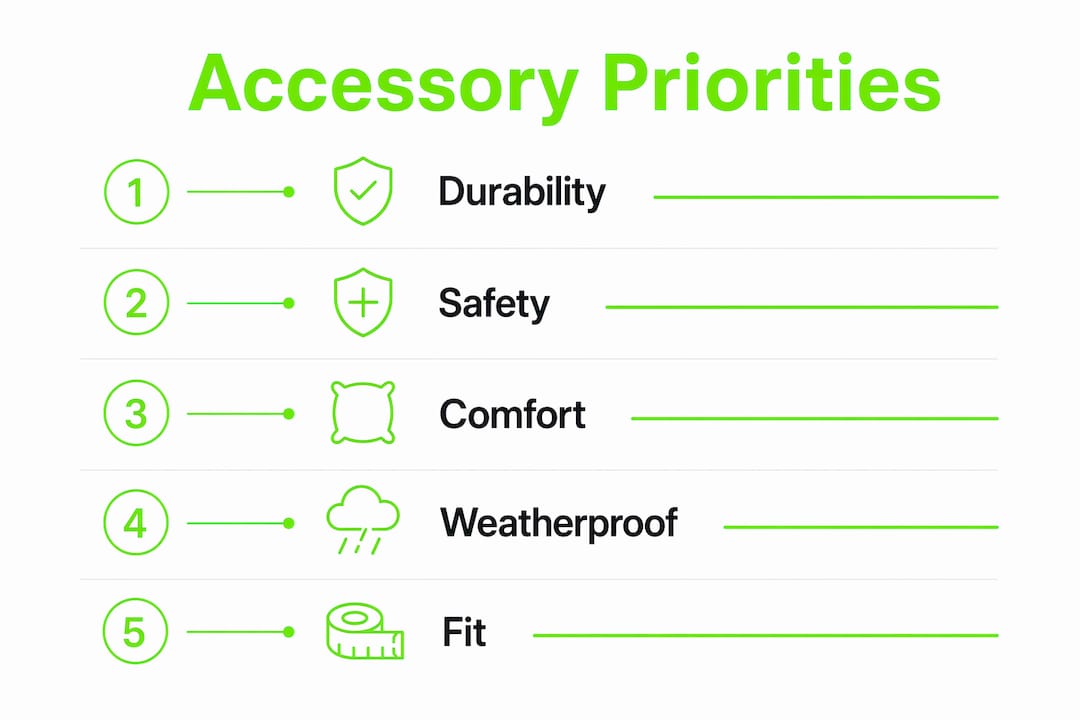
Outdoor accessories fall into five core categories: shelter, sleep systems, hydration, lighting, and personal protection. Every category has non-negotiable safety features and material standards that separate gear worth buying from gear that fails you at the worst moment.
Visibility is the most overlooked safety feature in outdoor accessories. Reflective strips on bags, bright colors on tents, and LED lighting on headlamps all reduce accident risk in low-light conditions. For water activities, flotation compatibility and quick-release buckles are non-negotiable. First aid compatibility means your pack or vest has a dedicated, accessible pocket for a kit.
Not all “outdoor fabrics” are created equal. Solution-dyed acrylic fabrics are the benchmark for UV-stable outdoor upholstery, retaining color and structural integrity for five or more years. Piece-dyed fabrics, by contrast, fade significantly faster because the pigment sits on the fiber surface rather than inside it. That distinction matters enormously for chairs, bags, and any accessory that lives in direct sunlight.
Here is a quick comparison of common outdoor fabric types:
| Fabric Type | UV Resistance | Water Resistance | Durability | Best Use |
|---|---|---|---|---|
| Solution-dyed acrylic | Excellent (5+ years) | Good with coating | High | Seating, canopies, covers |
| Piece-dyed polyester | Moderate | Moderate | Medium | Budget apparel, bags |
| Polypropylene | Good | Excellent | Medium-High | Tarps, rope, base layers |
| Nylon ripstop | Good | Moderate | High | Tents, packs, jackets |
Sun protection accessories deserve special attention. UPF 50+ fabrics block over 98% of UV rays, making them the standard for any accessory designed to provide shade or cover during extended outdoor exposure. That rating is not just marketing. It represents a measurable difference in skin protection during a full day outdoors.
Pro Tip: When checking durability on seating or apparel, apply pressure to the seams and stress points in the store. Quality stitching holds firm. Cheap stitching puckers or shifts. That five-second test has saved me from many regrettable purchases.
For comfort, fit is the deciding factor. A sleeping pad that is too narrow, a pack that sits too low, or a chair that puts your knees above your hips will ruin a trip faster than bad weather. Always test fit before committing, and check why outdoor accessories improve adventures beyond just aesthetics.
The most common beginner mistake is buying comfort upgrades before securing the essentials. A tiered purchase approach prevents this and keeps your pack weight and budget under control.
Follow this sequence:
Avoid bundles and luxury extras early on. Manufacturers love selling you a 12-piece “starter kit” that includes three things you need and nine things you will never use. Buy individual items based on your specific trip plan.
| Tier | Example Gear | Approximate Budget |
|---|---|---|
| 1: Essentials | Tent, sleeping bag, pad, headlamp, water filter | $400–$700 |
| 2: Safety | First aid kit, GPS, fire starter, emergency whistle | $100–$200 |
| 3: Comfort | Portable chair, camp table, thermal blanket | $150–$400 |
| 4: Specialty | Solar charger, hammock, camp shower | $100–$300+ |
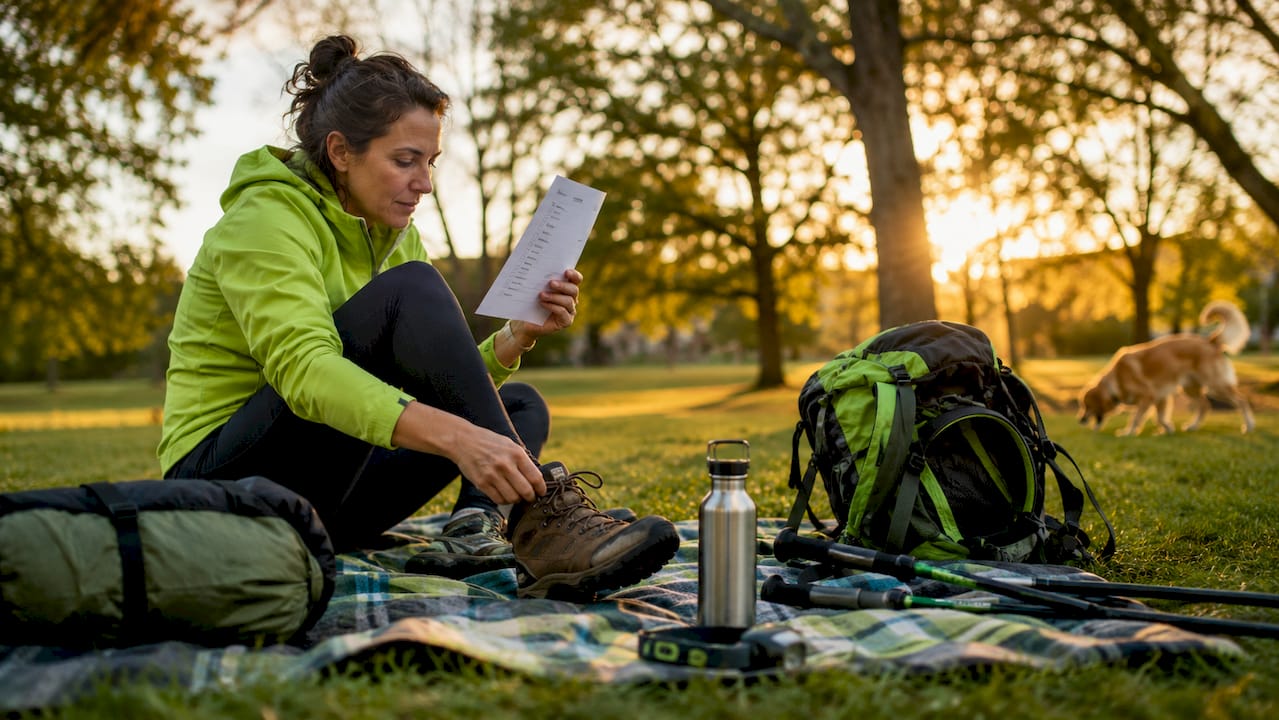
Test gear before your first real trip. Set up your tent in the backyard. Sit in your chair for 30 minutes. Wear your boots on a short neighborhood walk. Discovering a fit problem at home beats discovering it at mile eight on a trail.
For a detailed walkthrough of setting up your first camp kit, the beginner camping gear setup guide from Sitpack covers the process step by step.
Gear care is where most people leave serious money on the table. A $300 sleeping bag that lasts 15 years beats a $150 bag replaced every three years. Proper maintenance is the difference.
Key maintenance practices by category:
Pro Tip: Before storing gear at the end of a season, do a quick inspection of every seam, zipper, and buckle. Catching a small tear or a failing zipper pull in October costs you five minutes. Catching it at the trailhead in April costs you the whole trip.
Proper storage prevents mold, UV degradation, and compression damage to insulation. A little attention twice a year keeps your gear performing like new for a decade or more.
Choosing outdoor accessories well means matching gear to your activity and environment first, then building outward through safety, comfort, and maintenance.
| Point | Details |
|---|---|
| Activity match comes first | Define your activity and environment before evaluating any gear feature or brand. |
| Material quality determines longevity | Solution-dyed acrylic and UPF 50+ fabrics outperform generic “outdoor” materials significantly. |
| Use a tiered purchase strategy | Start with Tier 1 essentials ($400–$700) before adding comfort or specialty items. |
| Maintenance extends gear life | Correct stain treatment, ventilated storage, and seasonal inspections preserve performance for years. |
| Test before the trail | Always test fit and function at home before relying on gear in the field. |
I have watched plenty of people show up to a camping weekend with a cart full of gear and still be miserable. Too heavy, wrong fit, wrong conditions. And I have seen experienced adventurers have a fantastic time with a 20-liter pack and three carefully chosen pieces of kit.
The insight that changed how I approach gear selection is this: condition-matching beats brand loyalty every time. I used to gravitate toward well-known names because the marketing was convincing. Then I started asking “what does this environment actually demand?” and my choices got sharper and lighter.
The other trap I see constantly is buying for the trip you imagine rather than the trip you are actually taking. You are not summiting Denali on your first camping weekend. You need a solid three-season tent, a reliable sleeping bag, and something comfortable to sit on around the fire. Start there. Let real experience tell you what to add next.
Aesthetics matter less than you think in the field and more than you admit at the gear store. Buy gear that performs first. If it also looks good, great. But a beautiful chair that folds awkwardly or a stylish jacket with no hood is just expensive frustration. Evolve your kit based on what your trips actually teach you, not what the latest gear review says is trending.
— Jonas
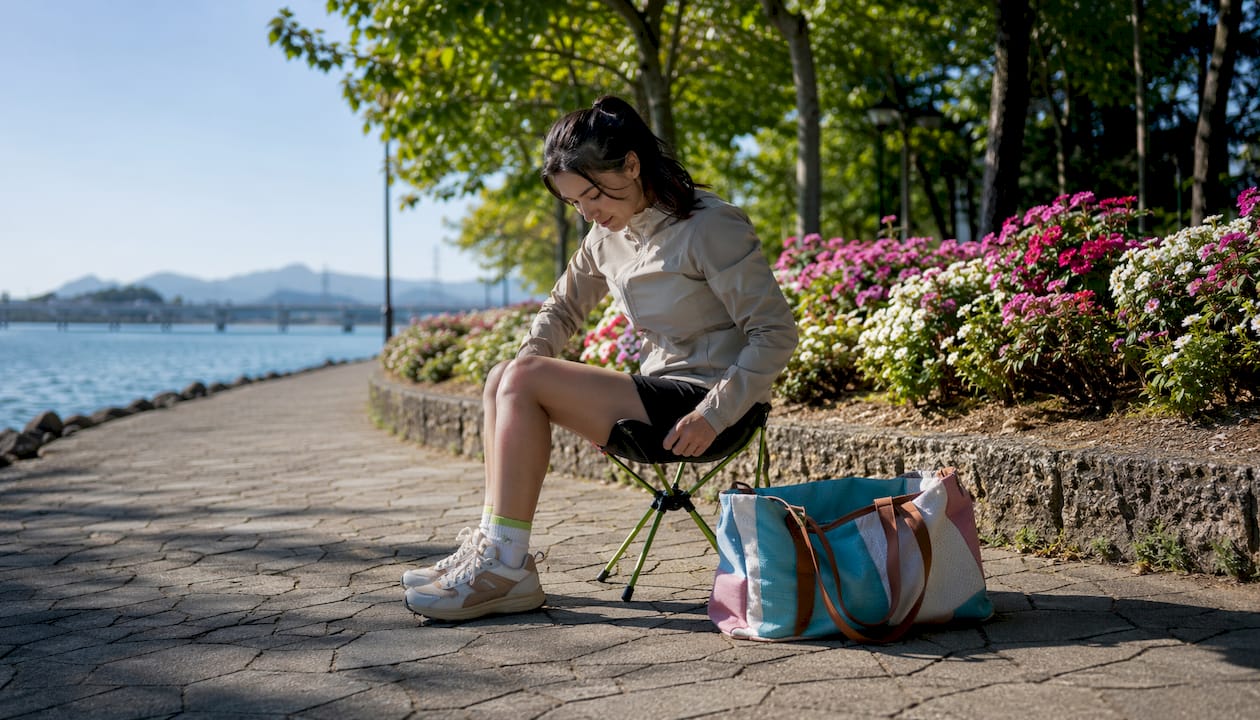
Once your Tier 1 and Tier 2 gear is sorted, comfort accessories make a real difference to how much you enjoy your time outdoors. Sitpack specializes in exactly that territory.
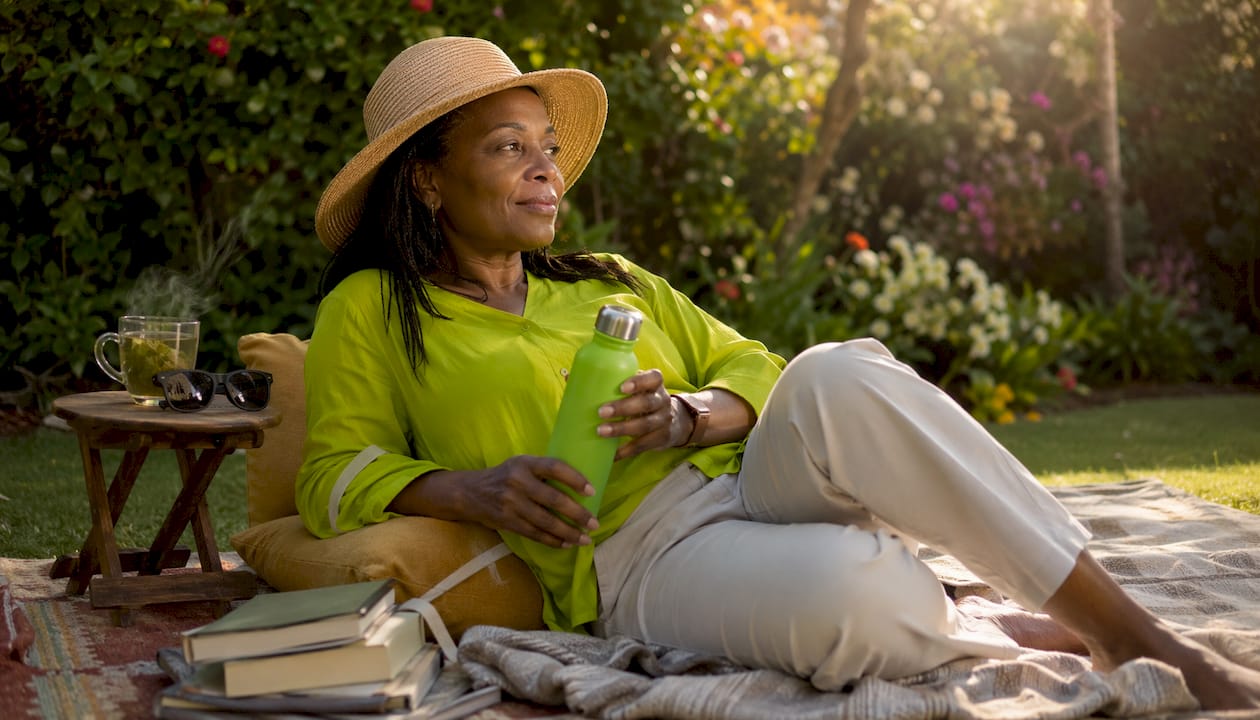
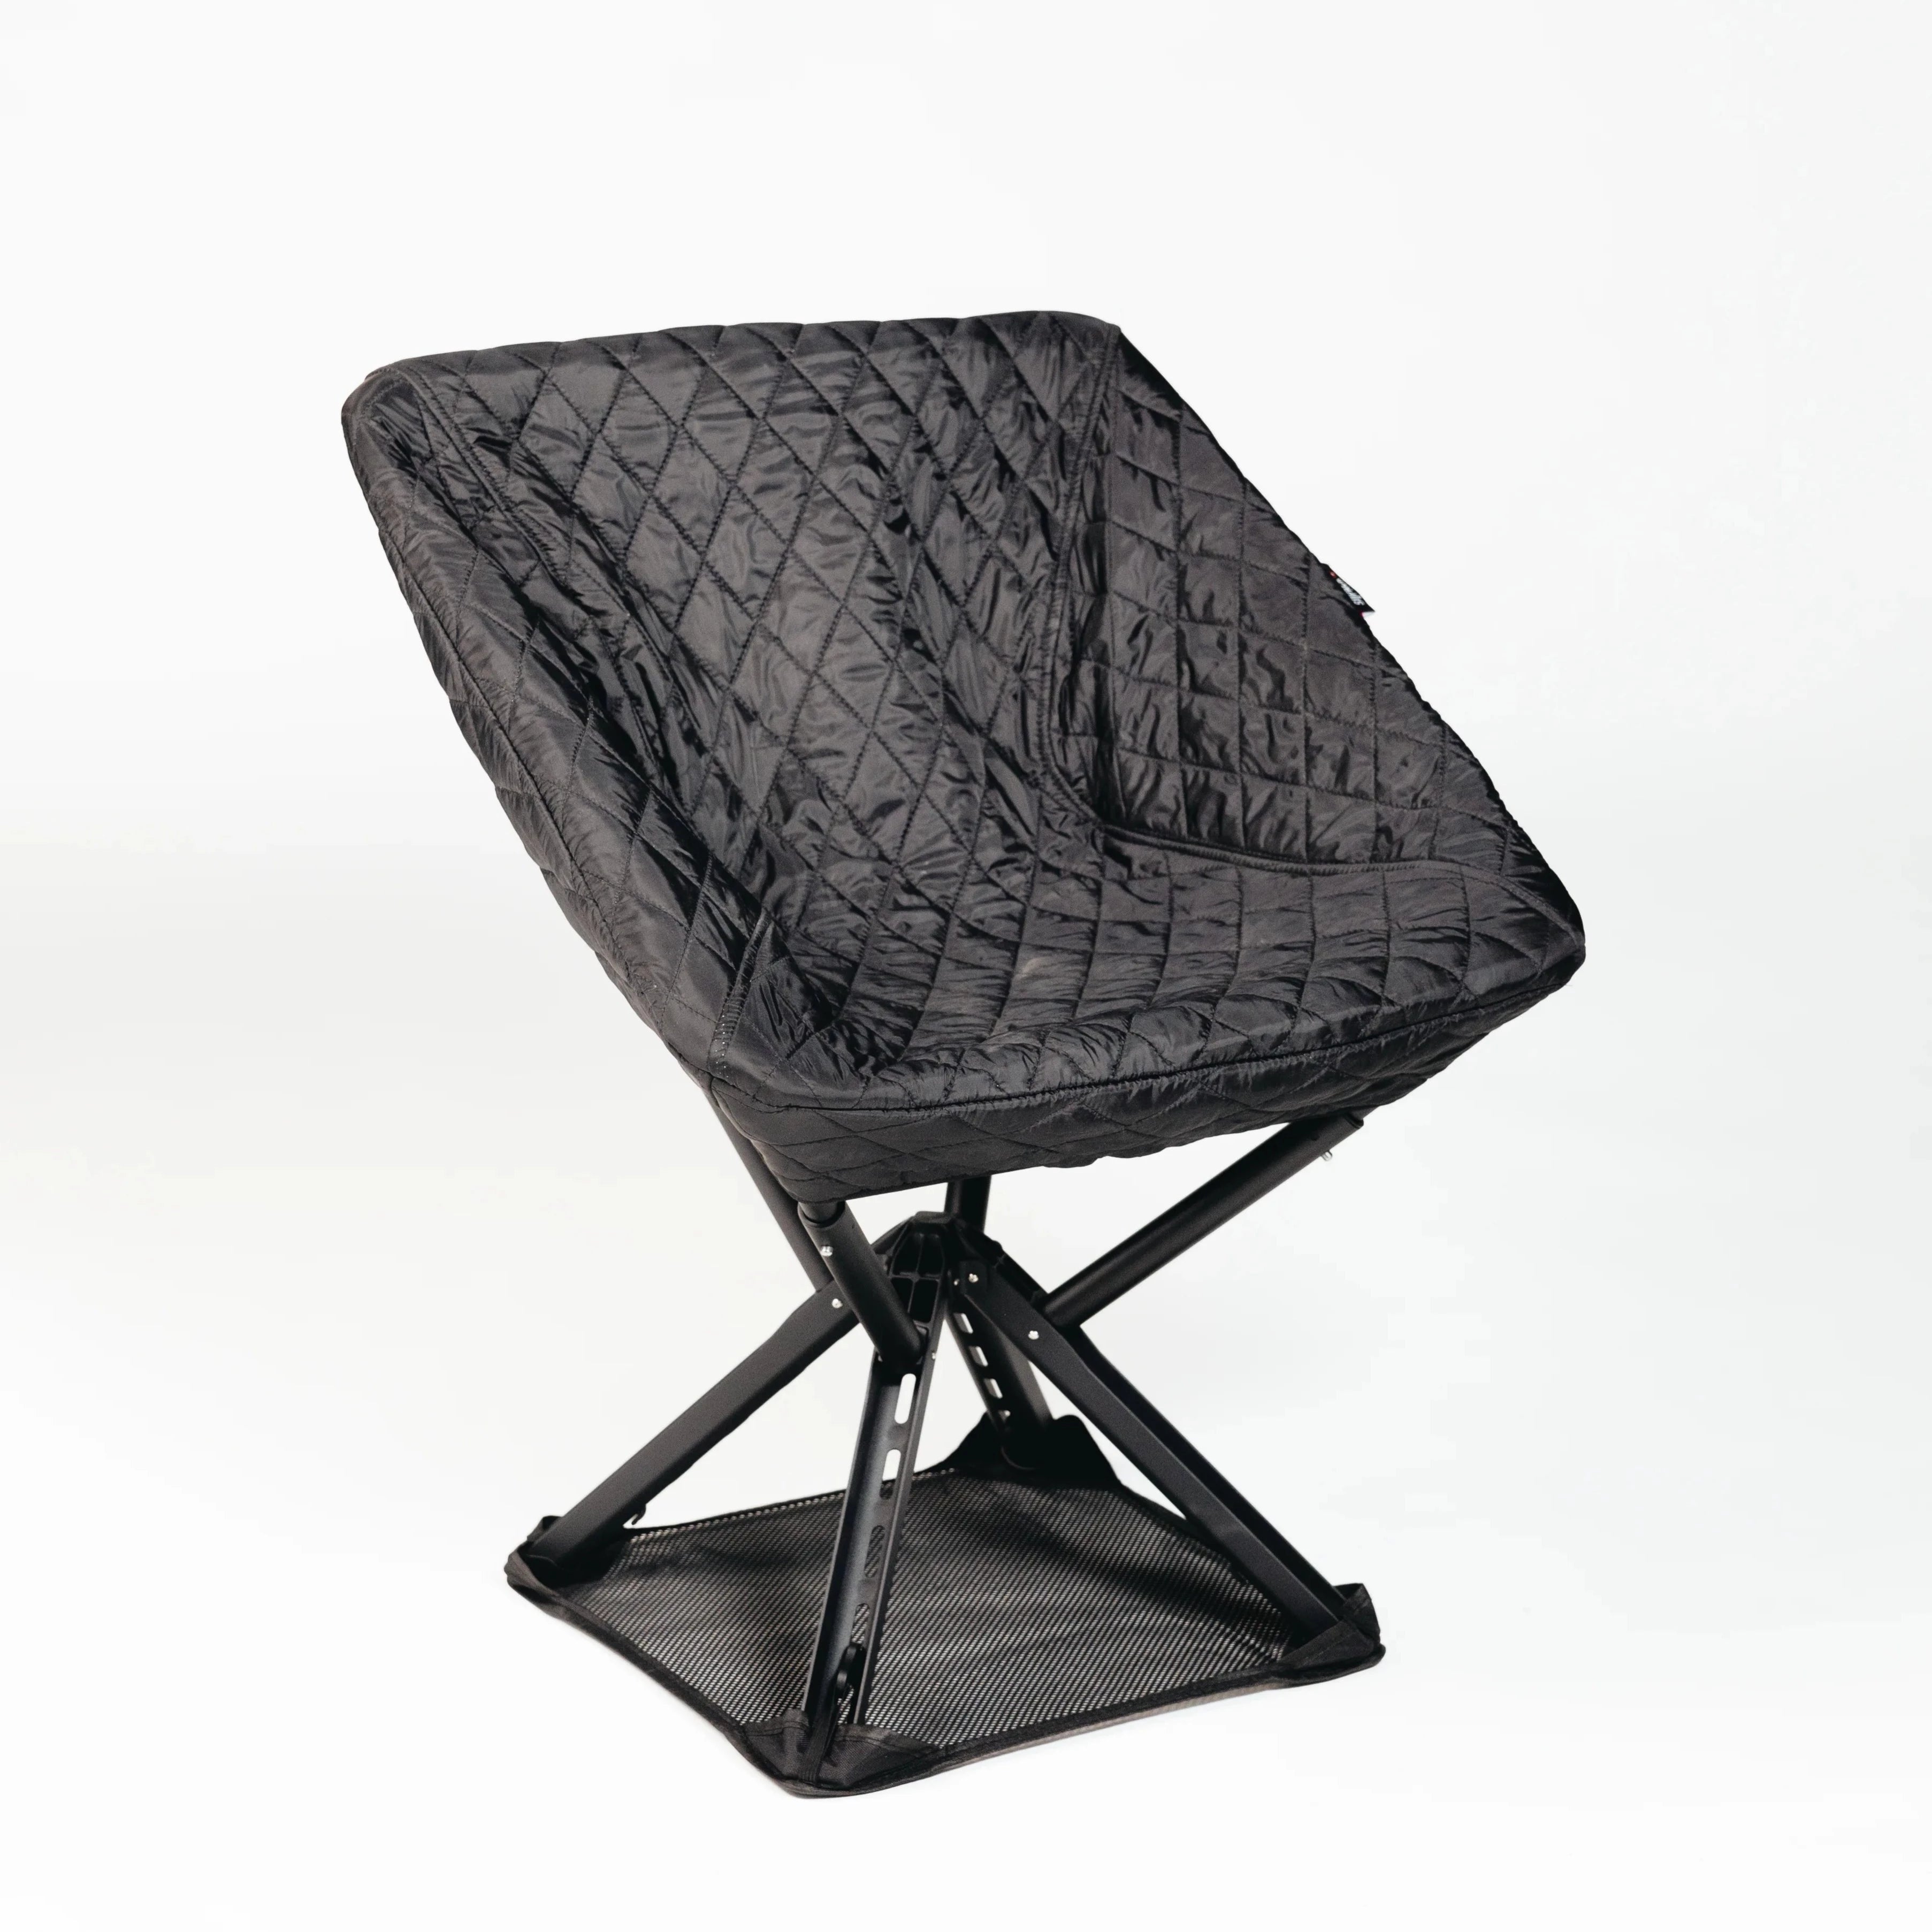
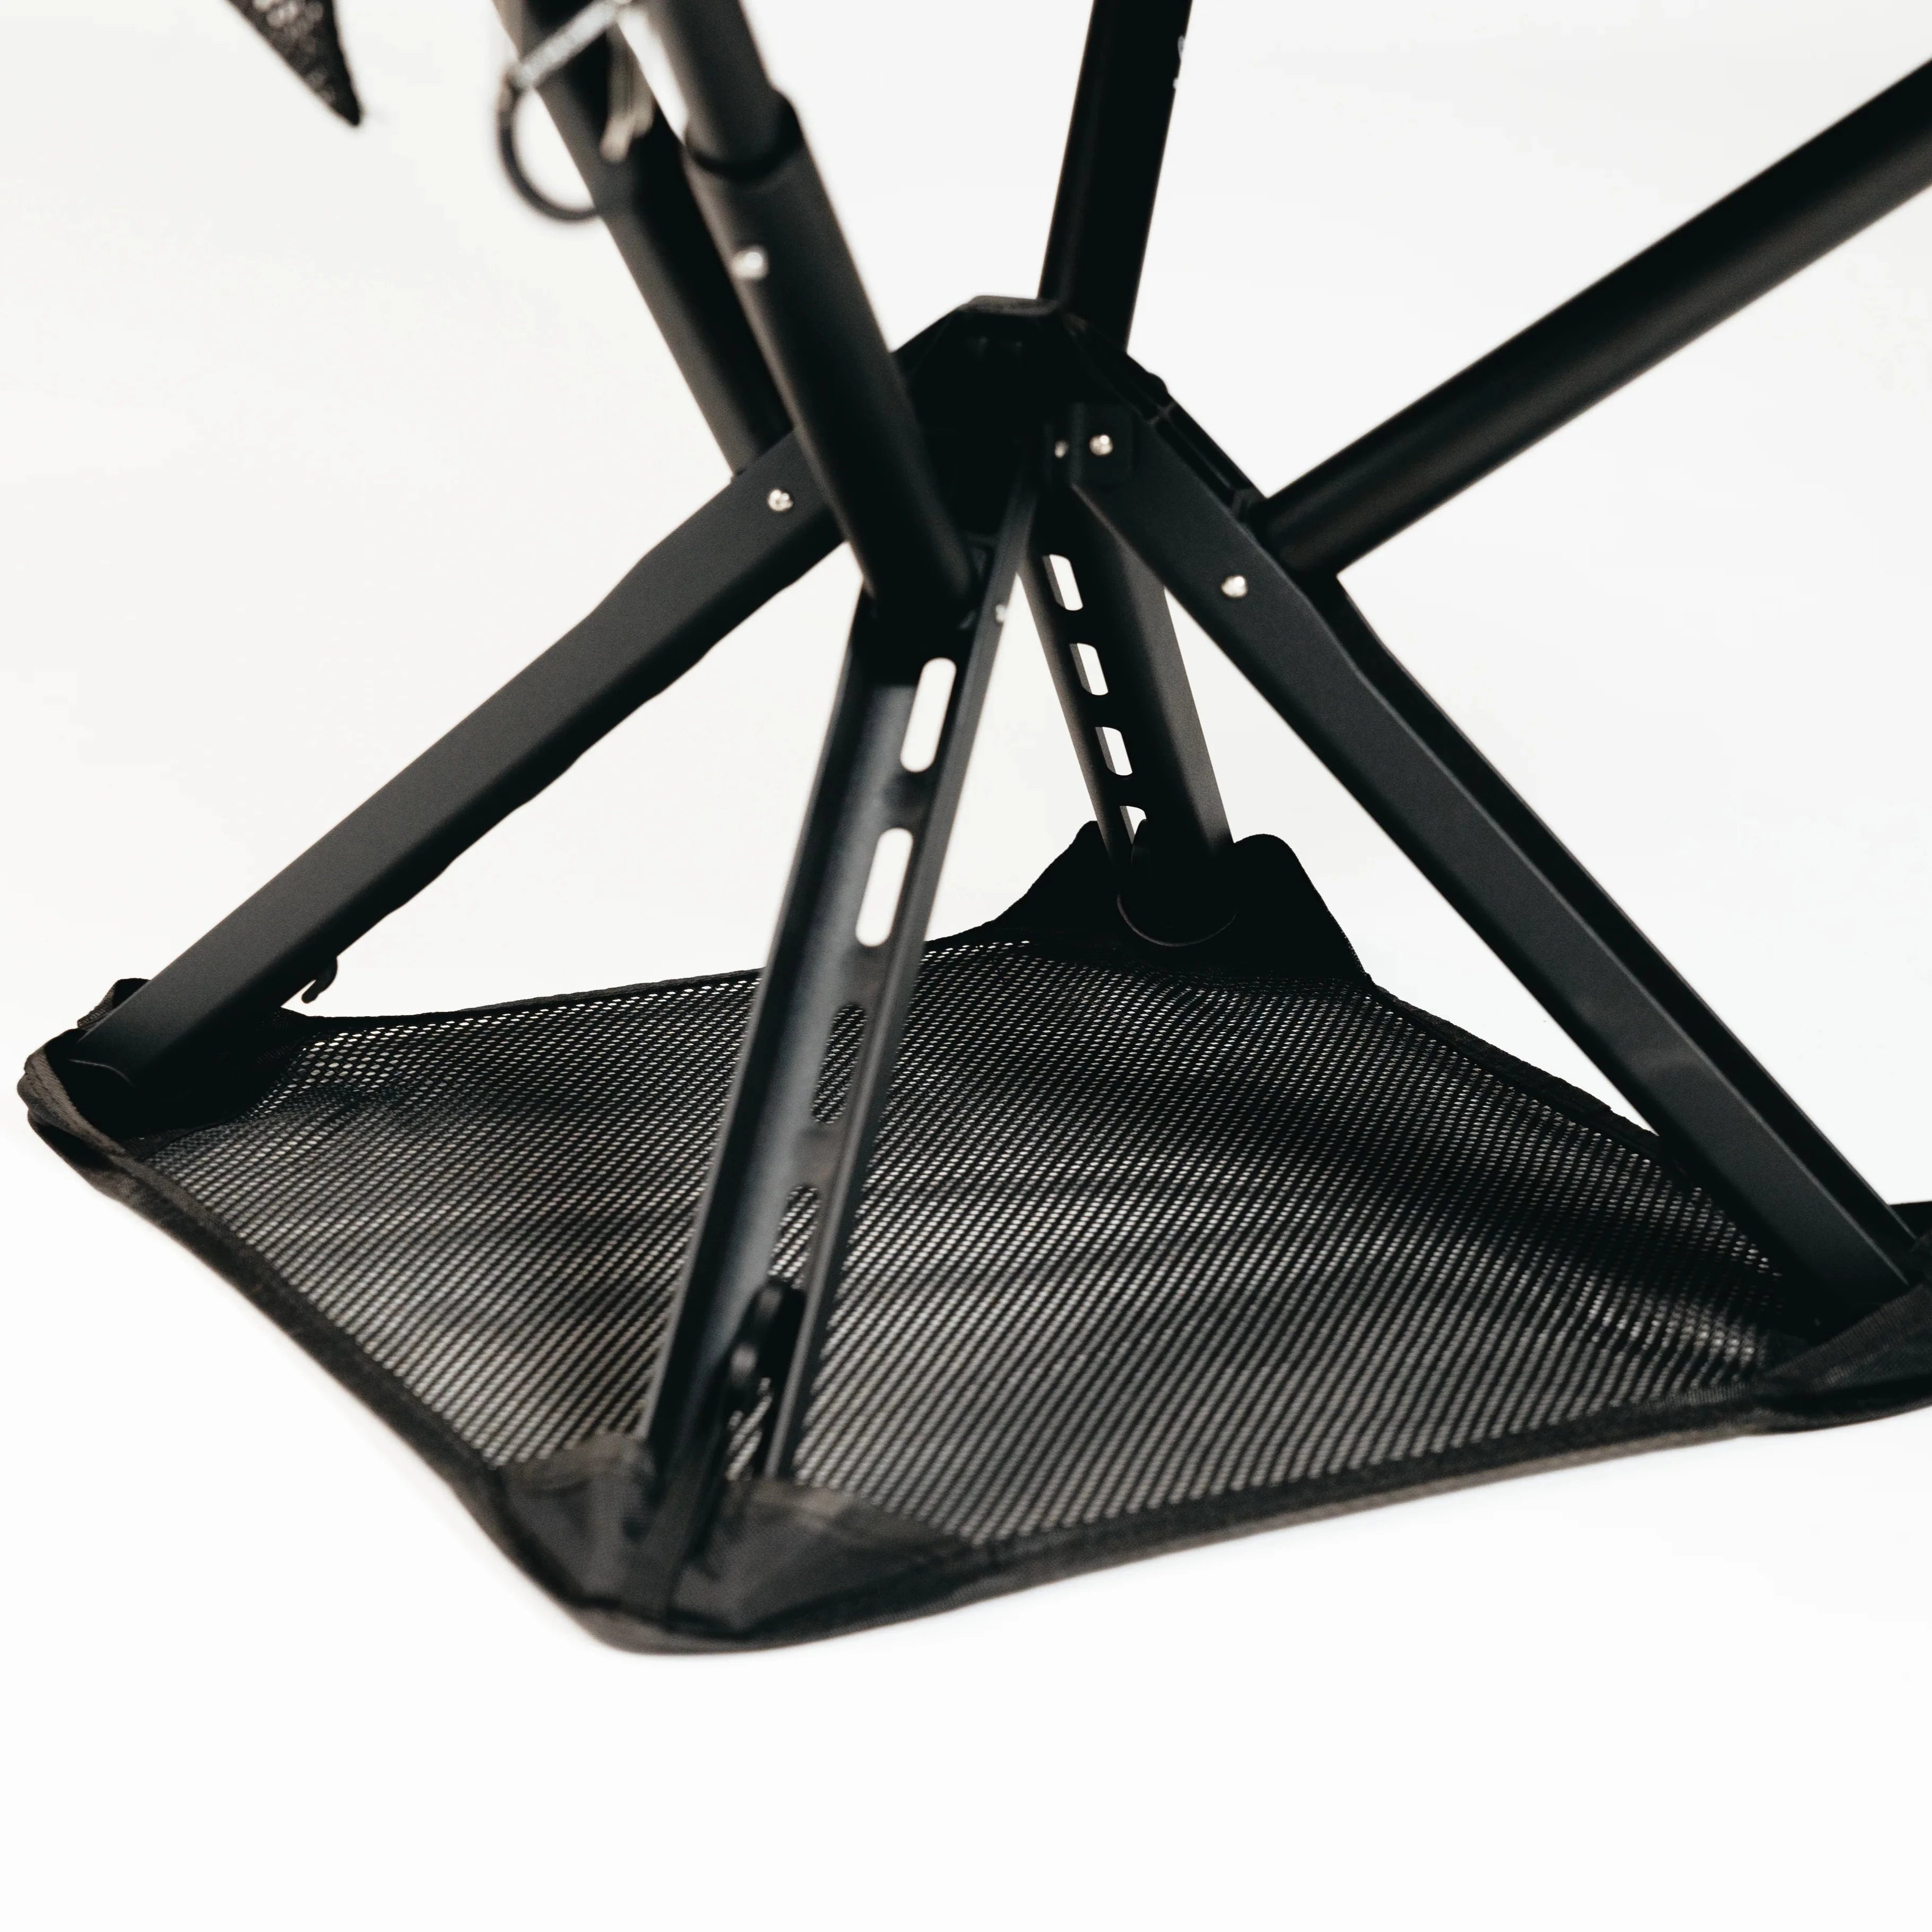
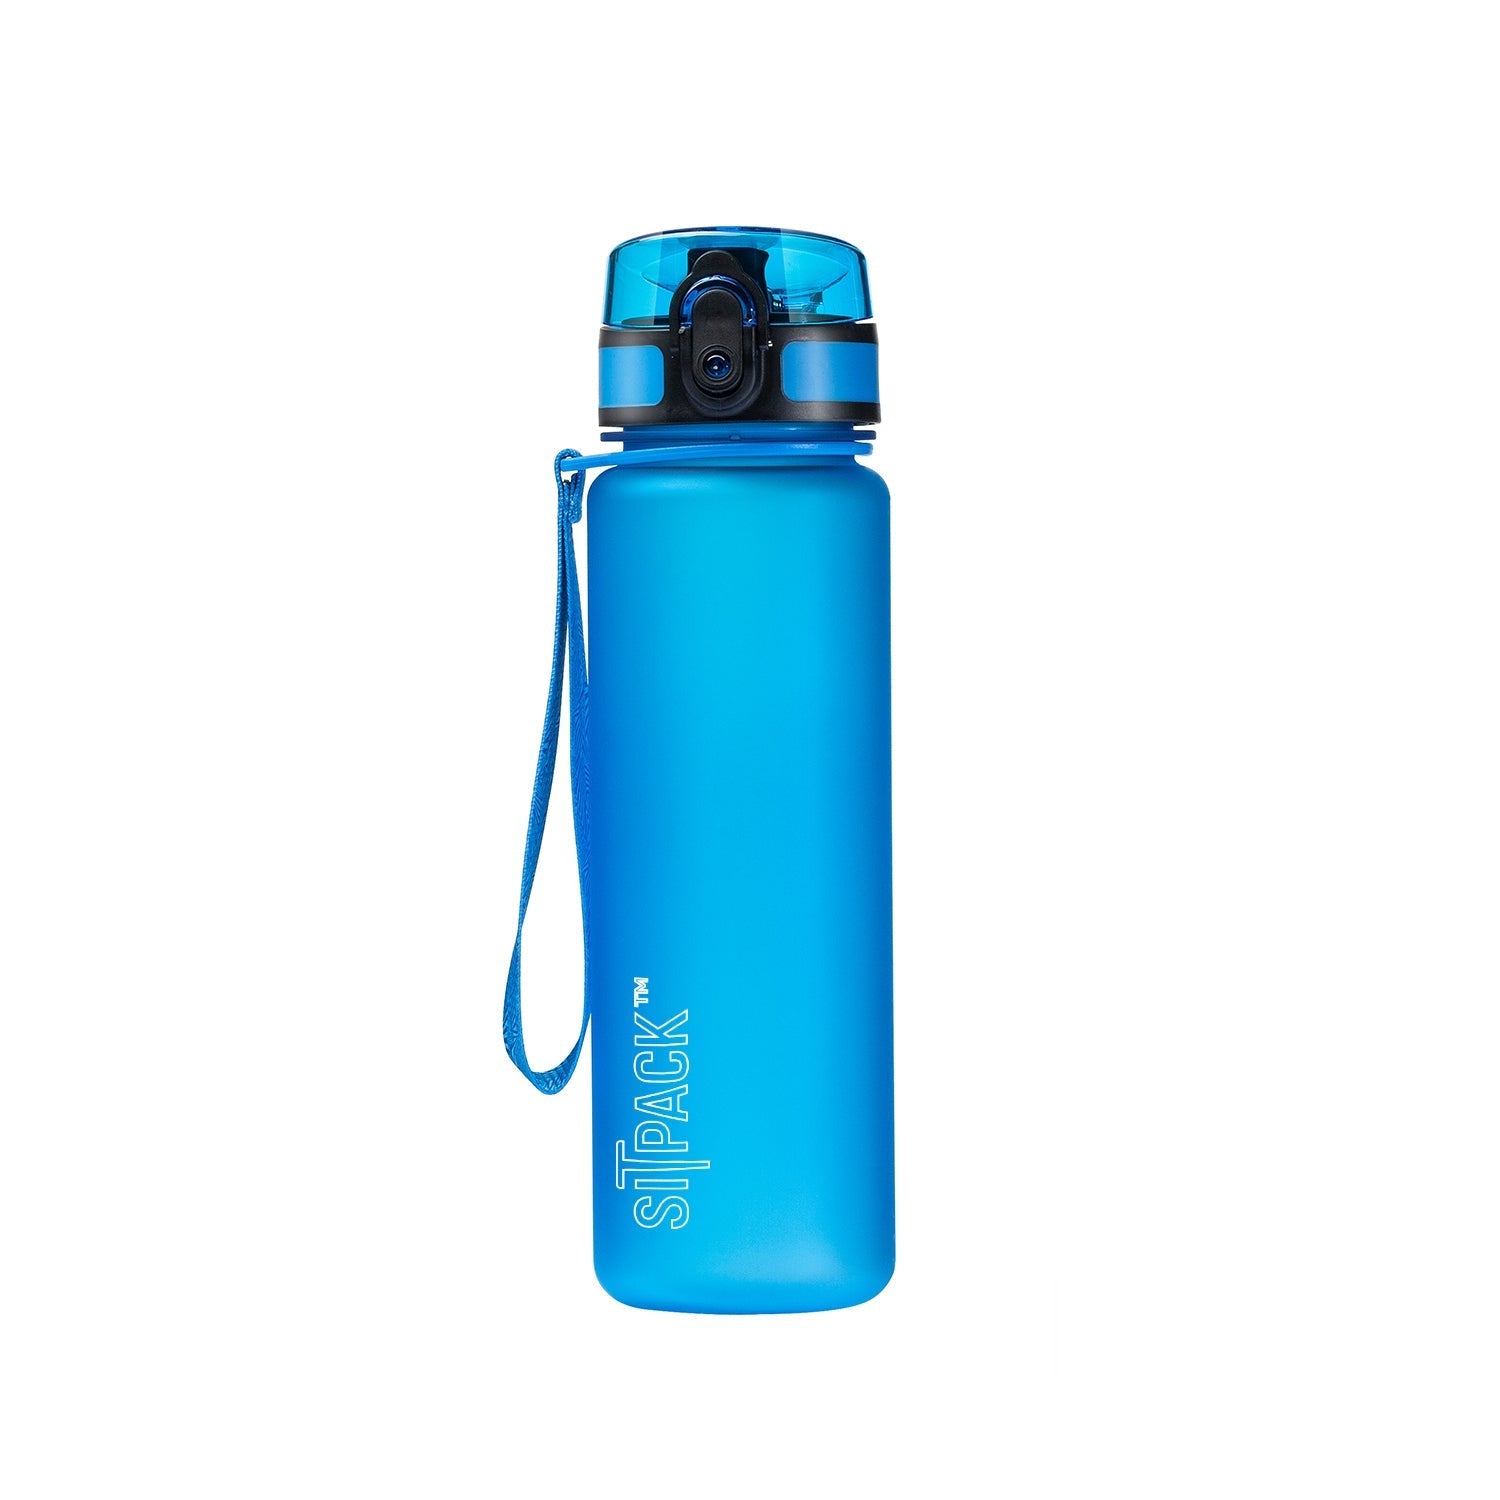
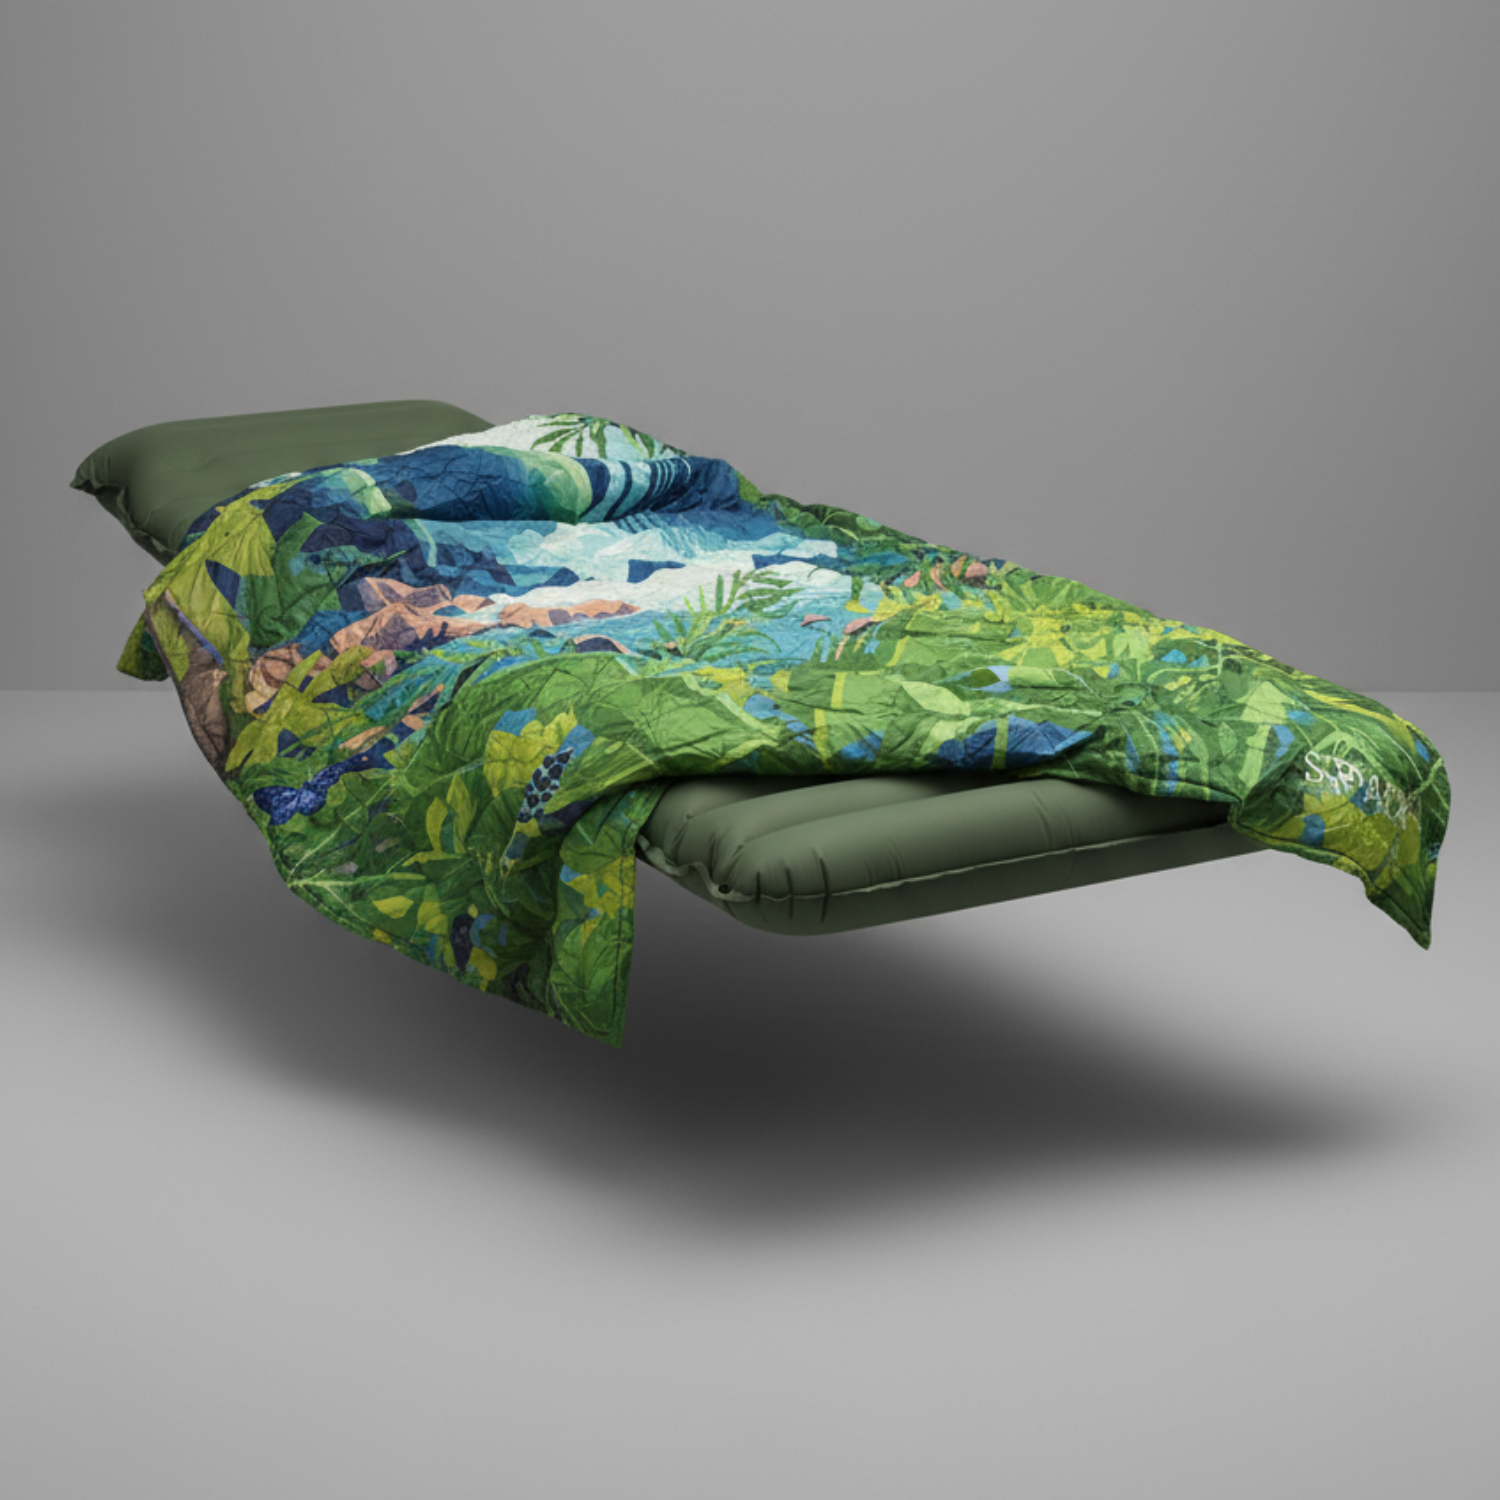
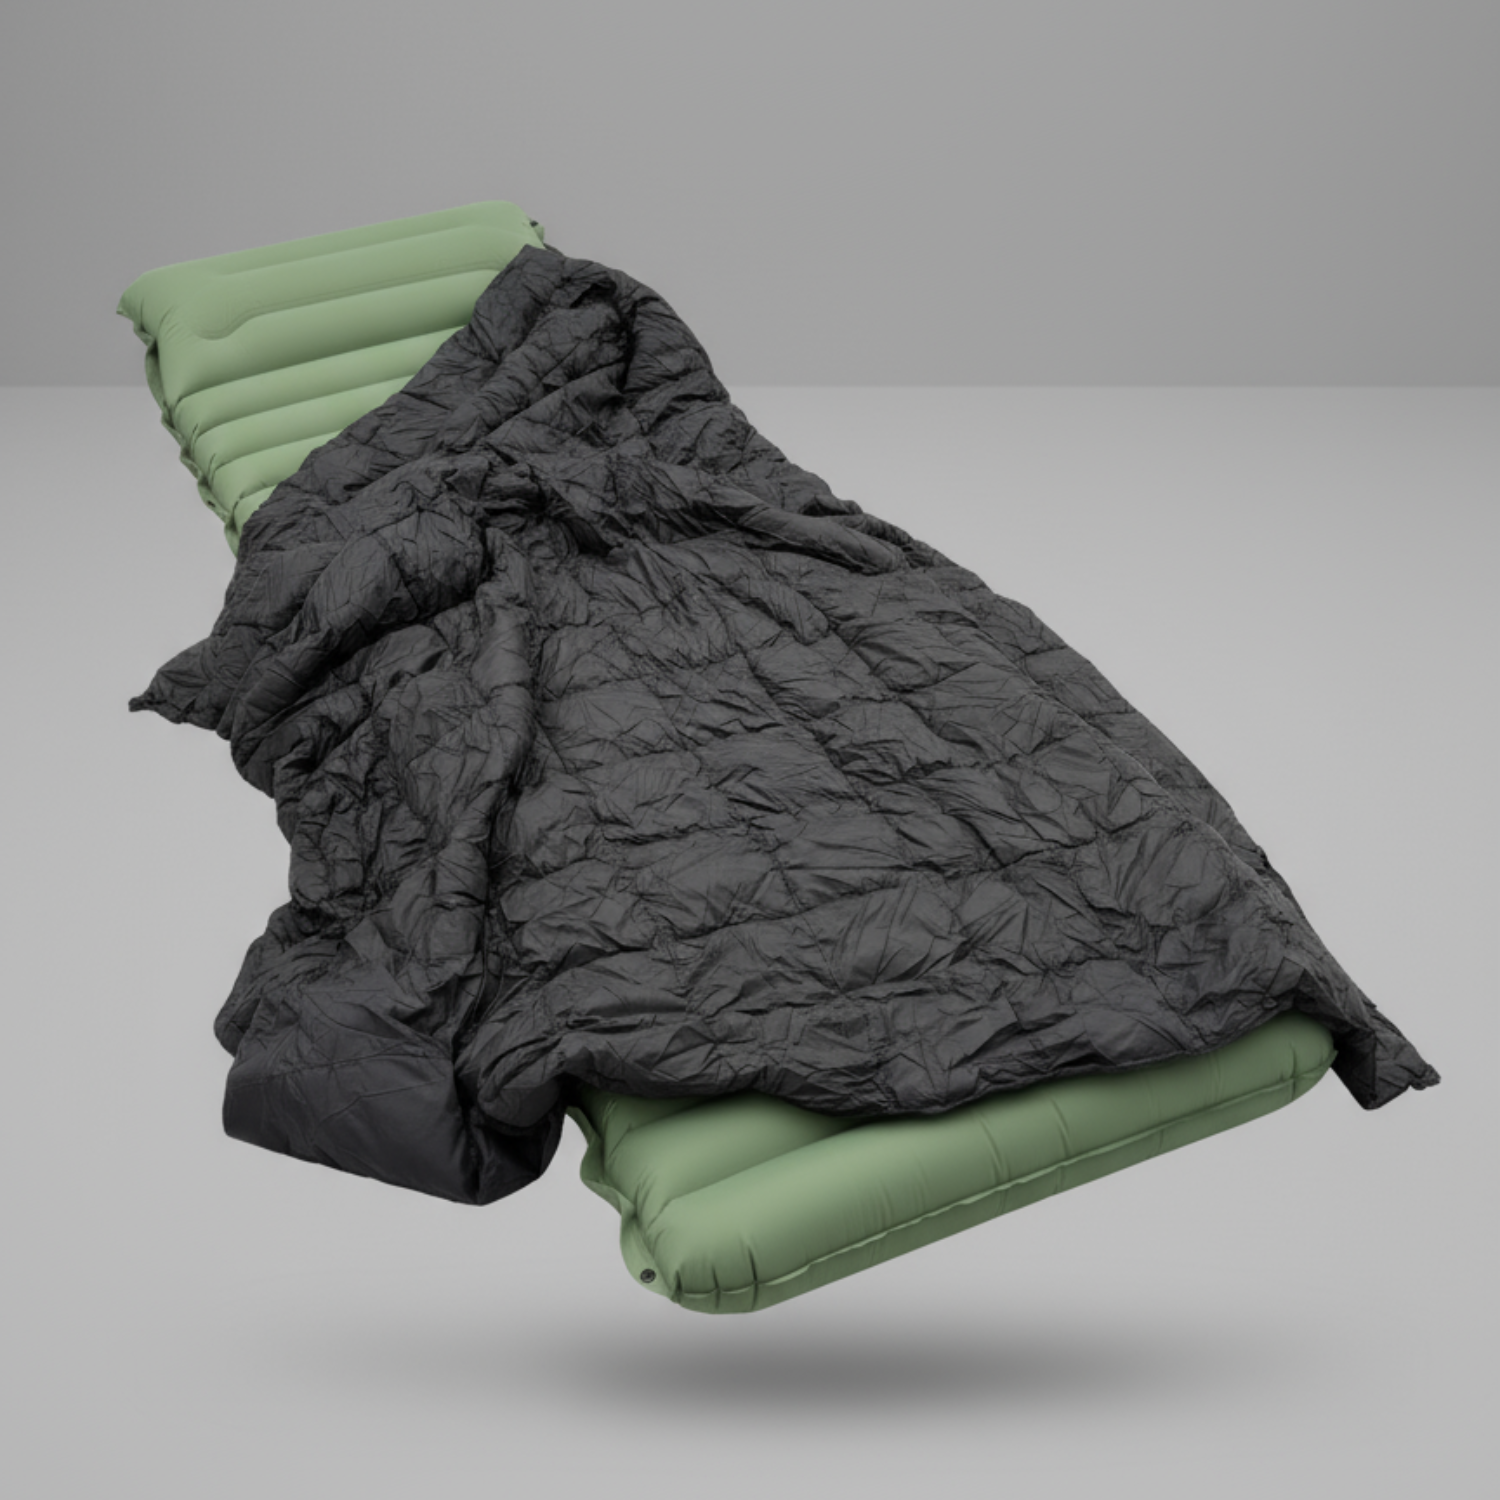
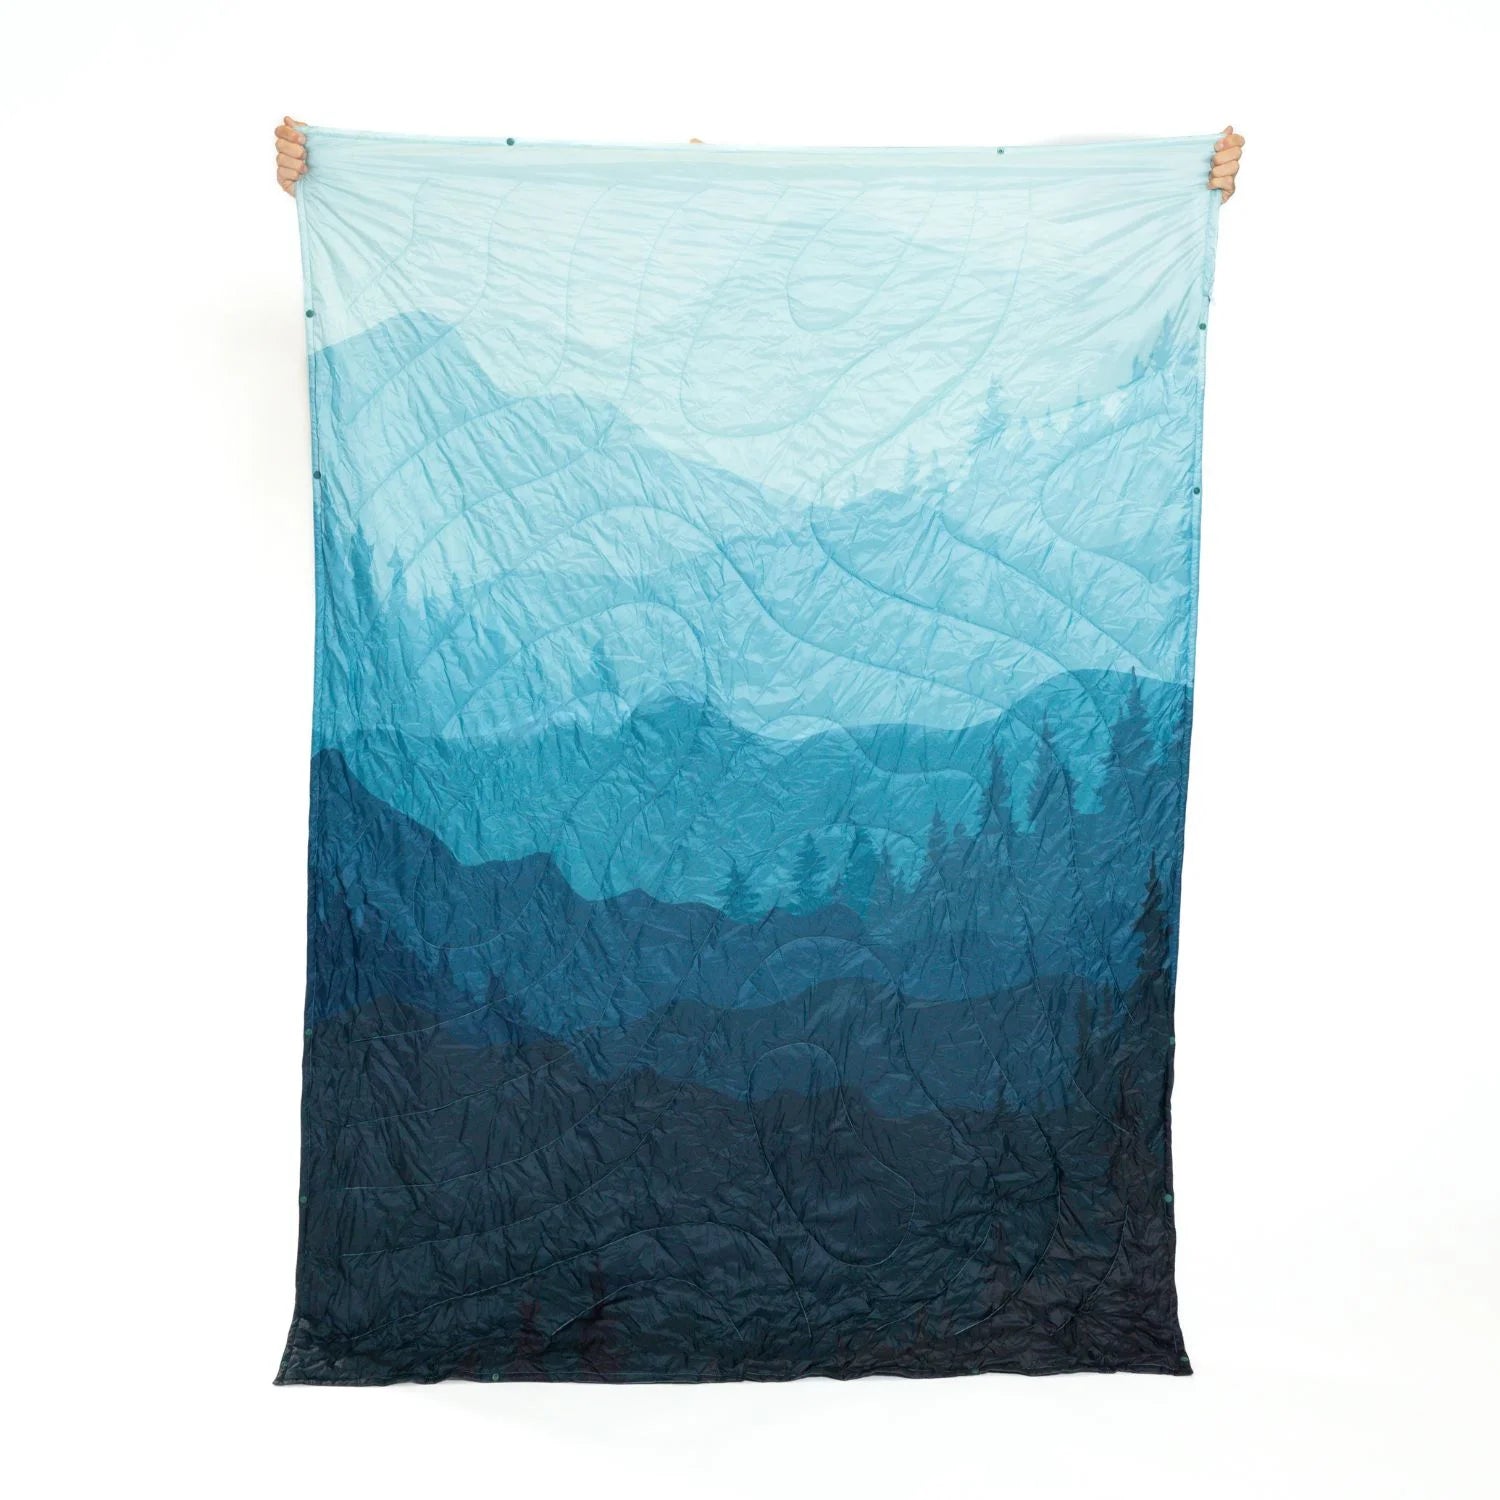
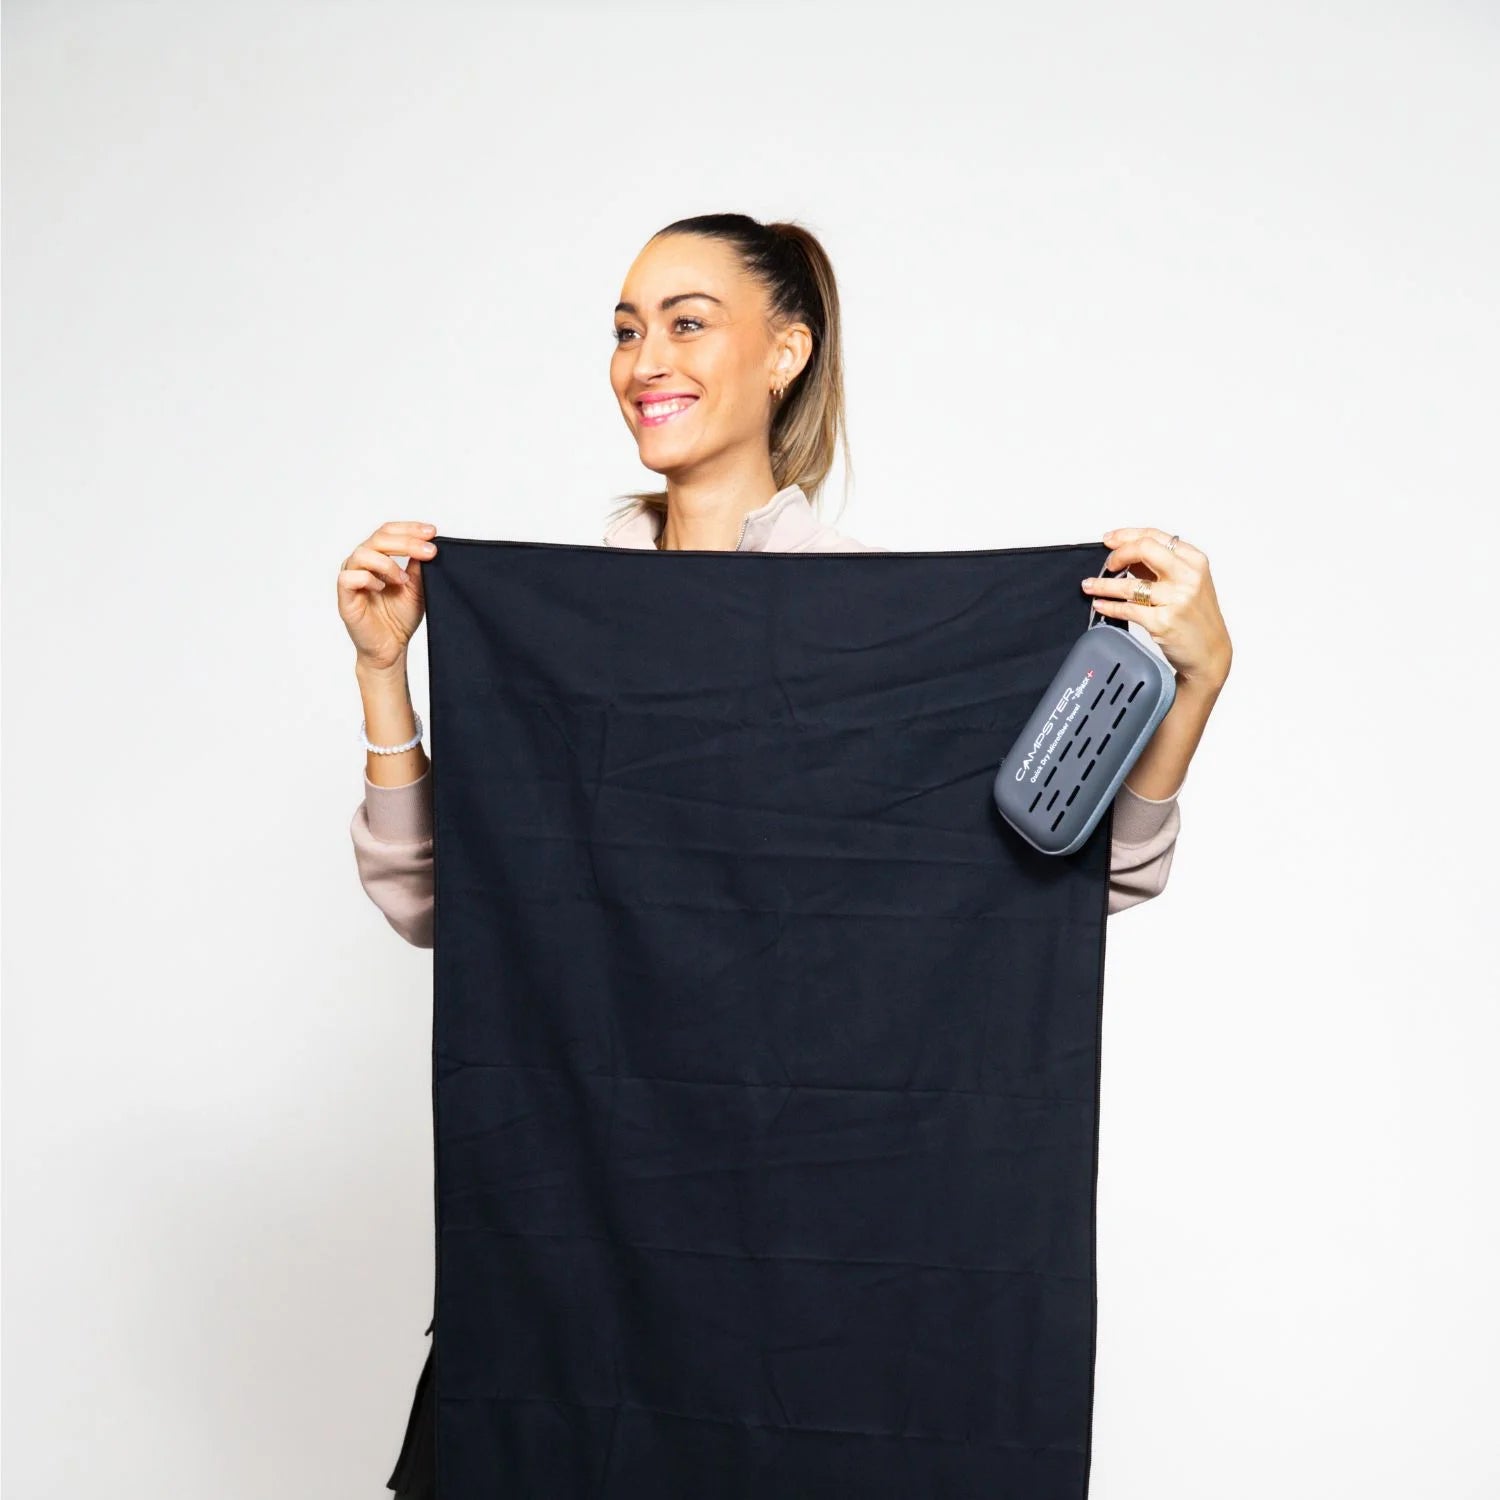
Sitpack’s portable seating lineup, including the Campster II and Sitpack Zen, is built around lightweight design, durable materials, and genuine comfort for outdoor use. These are not cheapo chairs that buckle under real use. They are engineered for adventurers who want to park their posterior comfortably whether they are at a trailhead, a festival, or a dancing campfire. Sitpack also offers thermal blankets, water bottles, travel towels, and seat warmers, all aligned with the comfort and durability standards covered in this guide. Explore the full range of portable outdoor seating and accessories at sitpack.com.
Start with a tent, sleeping bag, sleeping pad, headlamp, and water filter. These five items cover shelter, sleep, visibility, and hydration, which are the non-negotiable foundations of any safe camping trip.
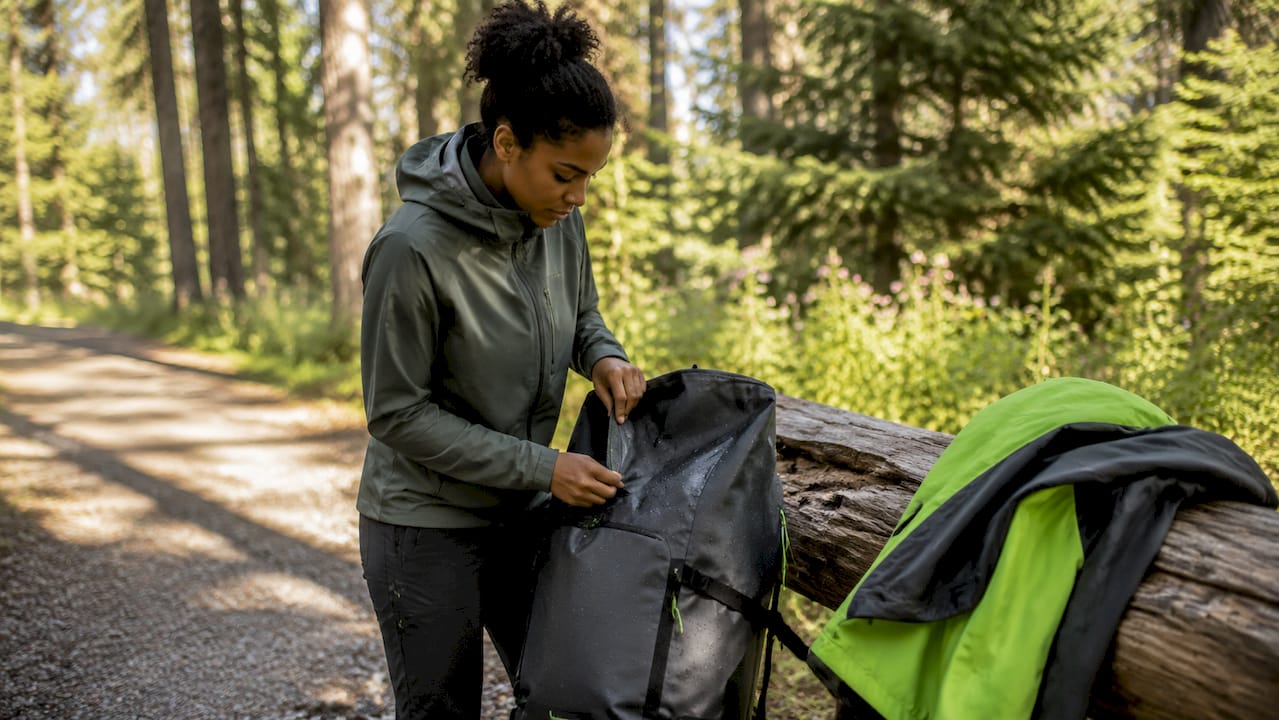
Choose accessories with sealed seams, waterproof coatings, and quick-dry fabrics. Dry storage bags and waterproof jackets are the core items for wet weather gear selection.
Solution-dyed fabric embeds pigment inside the fiber, making it far more resistant to UV fading and lasting five or more years outdoors. Piece-dyed fabric applies color to the surface and fades significantly faster under sun exposure.
A solid three-season essential kit runs $400–$700 for a beginner. That covers a quality tent, sleeping bag, sleeping pad, headlamp, and water filter without unnecessary extras.
Treat stains immediately using the correct cleaner for the stain type, apply a protective coating after cleaning, and store fabric accessories clean and dry in breathable bags away from direct sunlight.