Vogn
0
Tilmeld dig og få 10% i rabat på din ordre
Forventet levering
1-3 dage
Du vil måske også kunne lide


Dansk Firma
TL;DR:
- Starting with the Big Three—your backpack, shelter, and sleep system—is essential, as they comprise most of your backpack’s weight and foundation. Proper planning includes organizing gear by priority, practicing setup at home, and accurately estimating food and water needs for safety and comfort. Beginners should focus on durable, well-fitting gear, start with short trips, and gradually refine their system to build confidence and experience.
Backpacking essentials are the core gear and planning steps every beginner needs to stay safe, comfortable, and confident on the trail. The step by step backpacking essentials framework starts with three items: your backpack, shelter, and sleep system, collectively known as the “Big Three.” Experts at Peak Gear Guide and REI consistently point to these as the foundation of any solid backpacker kit list. Get these right, and everything else falls into place. Skip the planning process, and you’ll be the person at mile three wishing you’d packed differently.
The Big Three — backpack, shelter, and sleep system — account for 60–70% of your total base weight. That single fact should drive every gear decision you make. Spending money on a premium trekking pole while skimping on your sleeping bag is the wrong order of operations.
Think of your gear as an interconnected system rather than a collection of separate purchases. Your sleeping bag’s temperature rating affects which shelter you need. Your shelter’s packed size affects which backpack volume you choose. Everything talks to everything else.
Beyond the Big Three, your backpacking item list breaks into four supporting categories: clothing system, navigation and safety, hygiene and first aid, and camp comfort. The clothing system follows a three-layer principle: a moisture-wicking base layer, an insulating mid layer, and a waterproof shell. Each layer serves a specific function, and skipping one creates a gap in your protection.
The Ten Essentials framework, originally developed by The Mountaineers, defines the minimum safety and self-sufficiency requirements for any backcountry trip. It covers navigation, sun protection, insulation, illumination, first aid, fire starting, repair tools, nutrition, hydration, and emergency shelter. Think of it as your non-negotiable floor, not a ceiling.
| Gear Category | Key Items | Priority Level |
|---|---|---|
| Sleep System | Sleeping bag, insulated pad | Highest |
| Shelter | Tent, tarp, or bivy | High |
| Backpack | Fitted pack, rain cover | High |
| Clothing System | Base layer, mid layer, shell | Medium |
| Navigation and Safety | Map, compass, headlamp, first aid kit | Medium |
| Camp Comfort | Stove, cookpot, utensils, camp seat | Lower |
Pro Tip: Start your camping gear checklist with the sleep system, then shelter, then the backpack. Buying in that order prevents you from choosing a pack that’s too large for your actual gear volume.

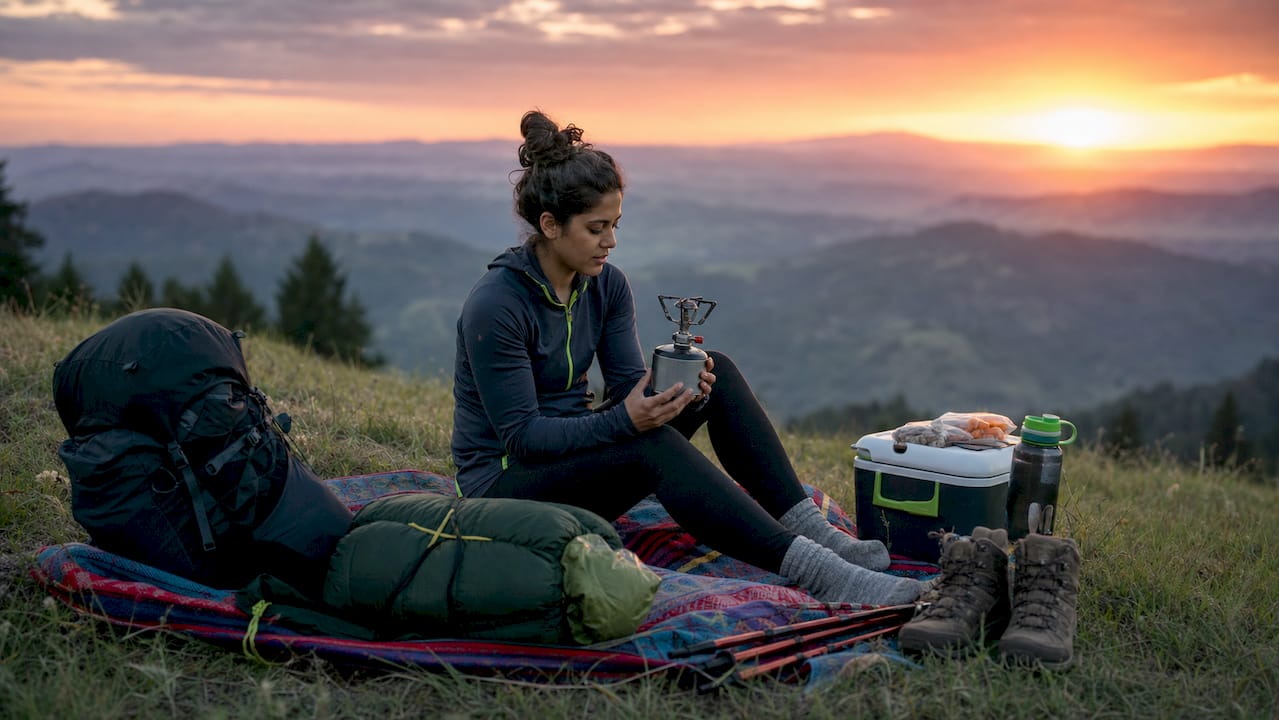
Food and water planning is where most beginners underestimate the work involved. The math is straightforward: target 1.5–2 lbs of food per day and aim for 2,500–3,000 calories to fuel moderate activity. That calorie target matters because trail miles burn significantly more energy than a desk job, and bonking at mile six is a miserable experience.
For beginners, freeze-dried meals from brands like Mountain House or Backpacker’s Pantry are the most practical choice. They’re lightweight, require only boiling water, and pack predictable calories. Round out your backpacking trip packing list with trail mix, nut butter packets, jerky, and energy bars like Clif or RX Bar for snacks between meals.
Water is the more serious planning challenge. Use mapping apps like Gaia GPS with offline topographic maps to identify water sources along your route before you leave the trailhead. Always carry at least 2 liters between known sources, and never assume a clear mountain stream is safe to drink untreated.
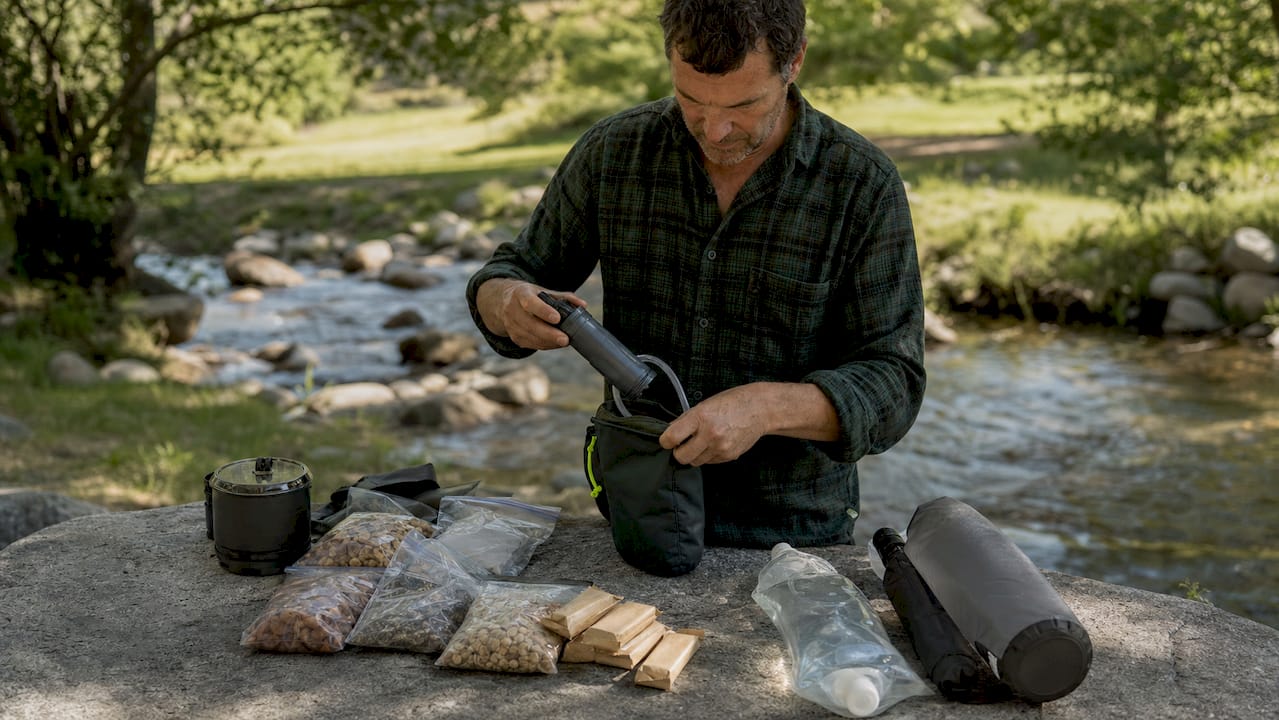
Filtration is mandatory on any backcountry trip. Giardia symptoms can appear weeks after contamination, meaning you might not connect your illness to that “clean-looking” stream you drank from. The Sawyer Squeeze filter is the most popular beginner choice because it’s lightweight, affordable, and reliable. Always carry backup purification tablets like Aquatabs or Potable Aqua in case your filter clogs or freezes in cold conditions.
Here’s your core food and water checklist:
Pro Tip: Pack your snacks in a dedicated “snack sack” clipped to your shoulder strap or hipbelt pocket. Accessible snack storage means you eat consistently without stopping to dig through your pack, which keeps your energy steady and your pace honest.
Packing order is not a preference. It’s a system that directly affects your safety and comfort on the trail. Organize your pack by priority: survival essentials first, sleeping gear second, food third, and extras last. Items you need in an emergency should never be buried at the bottom under three days of food.
Here’s the step-by-step packing sequence:
Before you ever hit the trail, run through this pre-trip preparation checklist:
| Checklist Category | Key Actions |
|---|---|
| Shelter Setup Practice | Set up your tent at home including stakes and guylines before your trip |
| Weather Check | Review a 72-hour forecast and pack layers for the coldest expected temperature |
| Permit and Route Confirmation | Download offline maps via Gaia GPS and confirm any required permits |
| Gear Weight Audit | Weigh your loaded pack; beginners should target under 30 lbs total |
| Leave No Trace Review | Know your waste disposal rules and campsite regulations for the area |
Common mistakes that derail first trips include choosing a pack that’s too large (which encourages overpacking), skipping a weather check, and failing to practice shelter setup. Rehearsing tent setup at home, including stakes and guylines, prevents the miserable experience of fumbling with unfamiliar poles in the dark after a long day on trail.
Pro Tip: Do a full shakedown overnight in your backyard or a local campground before your first real trip. You’ll discover every comfort gap and gear problem in a safe environment where the fix is a short walk to your car.
Choosing the right Big Three gear starts with your sleep system, not your backpack. Buy your sleep system first, then shelter, then backpack. This order prevents the classic beginner mistake of buying a 65-liter pack and then filling every cubic inch with gear you don’t need.
Here’s what to focus on for each item:
Sleep System
Shelter
Backpack
Pro Tip: Visit a specialty outdoor retailer like REI to get your torso measured and try packs loaded with weight before buying. A pack that feels fine empty can feel terrible with 25 lbs in it.
A successful backpacking trip requires prioritizing the Big Three, planning food and water precisely, and packing in a deliberate order before you ever leave the trailhead.
| Point | Details |
|---|---|
| Big Three First | Backpack, shelter, and sleep system make up 60–70% of base weight; prioritize quality here. |
| Buy in the Right Order | Purchase sleep system first, then shelter, then backpack to avoid oversizing your pack. |
| Food and Water Math | Target 1.5–2 lbs of food and 2,500–3,000 calories per day; always filter water and carry backup tablets. |
| Pack by Priority | Survival essentials go on top, sleeping gear at the bottom, with snacks accessible on straps. |
| Practice Before You Go | Set up your shelter at home and do a shakedown overnight to catch gear problems early. |
I’ll be honest: my first backpacking trip was a comedy of errors. I borrowed a 70-liter pack, stuffed it with gear I never used, and showed up at the trailhead with a load that would have impressed a pack mule. My shelter went up sideways in the dark because I’d never practiced. I drank unfiltered water from a “pristine” alpine stream and spent the next two weeks regretting it.
The biggest mistake beginners make isn’t choosing the wrong gear. It’s skipping the preparation steps that make gear work. Practicing shelter setup at home sounds tedious until you’re trying to read instructions by headlamp in the rain. Borrowing or renting gear before buying is genuinely smart, not just budget advice. It lets you test real-world comfort before committing hundreds of dollars to something that doesn’t fit your body or your style.
My honest recommendation: resist the ultralight obsession until you have at least five or six trips under your belt. Ultralight gear is often less forgiving of mistakes, and beginners make mistakes. Start with gear that’s durable and comfortable, then shave weight as you learn what you actually use. A lightweight packing approach becomes much more effective once you know which items you reach for and which ones stay buried at the bottom.
For your first trip, Peak Gear Guide recommends starting with a 1-night trip of 5–7 miles and less than 1,500 feet of elevation gain. That scope is not a limitation. It’s the right size to learn everything you need to know without the consequences of a longer trip when something goes sideways.
— Jonas
Getting your backpacking camping list dialed in is half the battle. The other half is finding gear that actually pulls its weight without adding any.
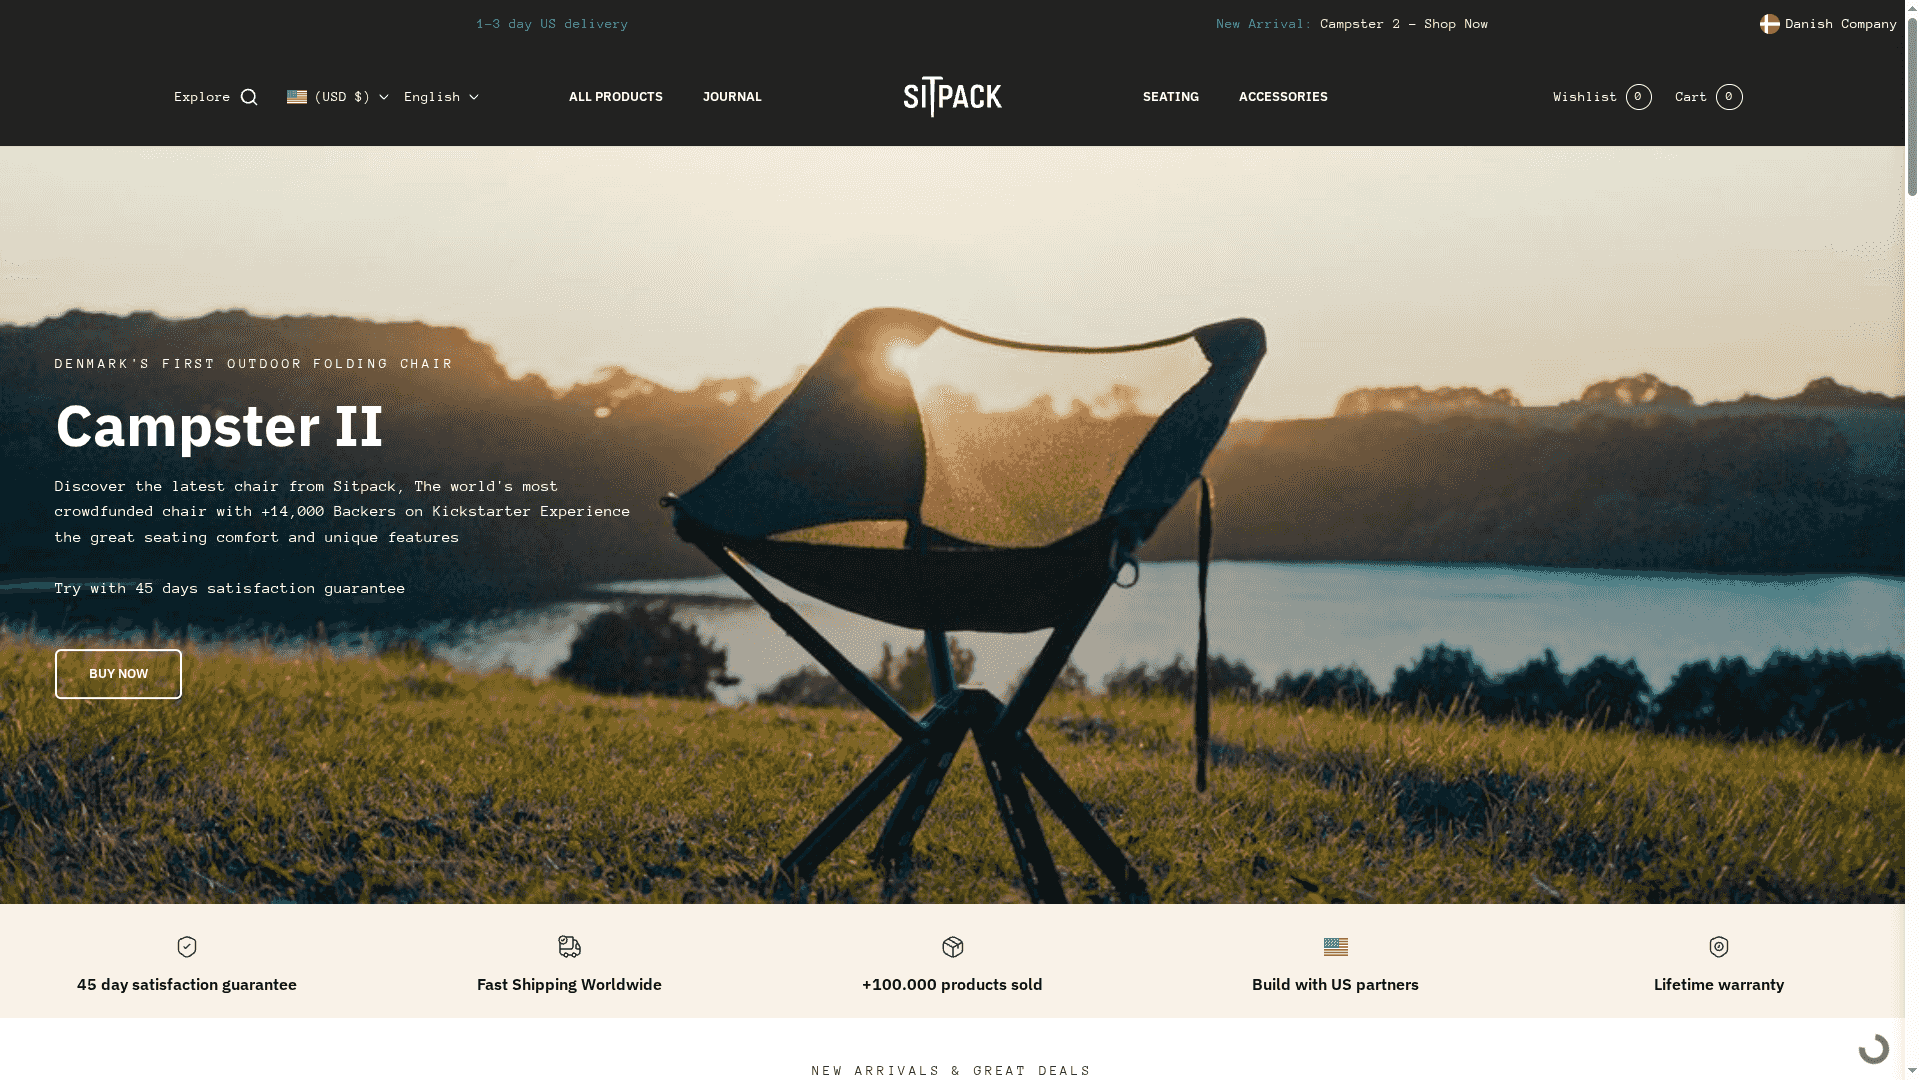
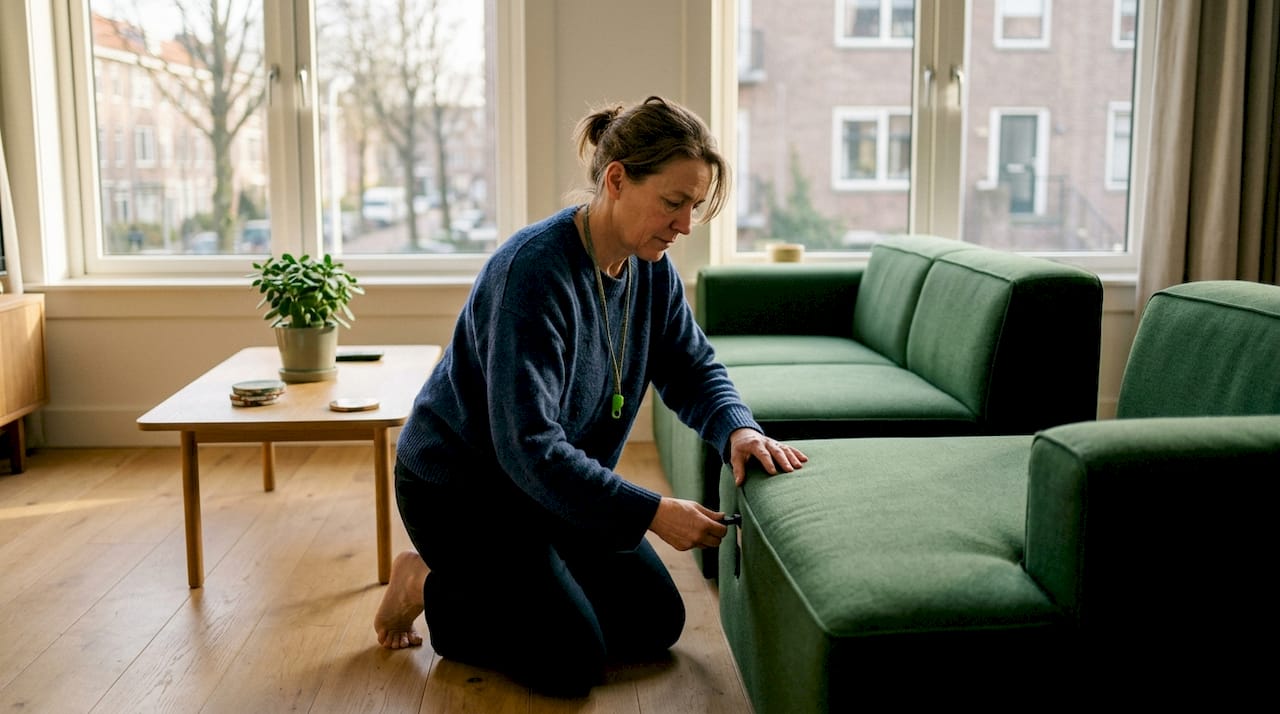
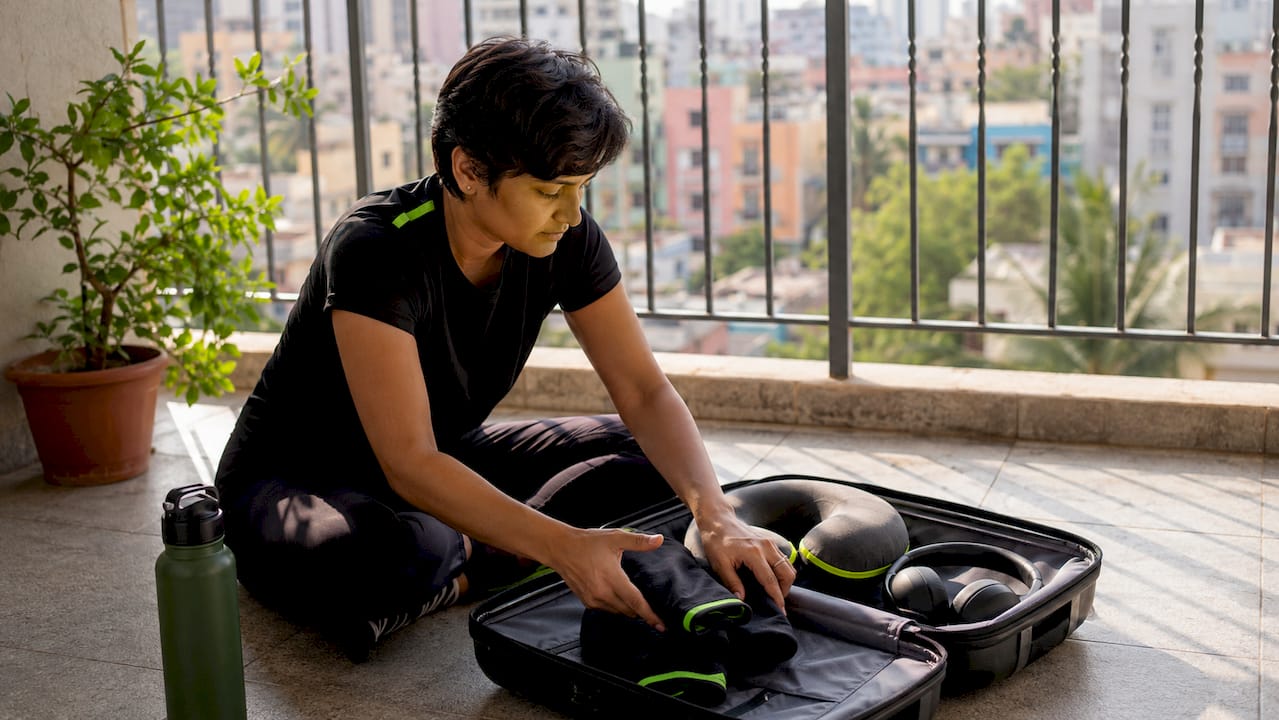
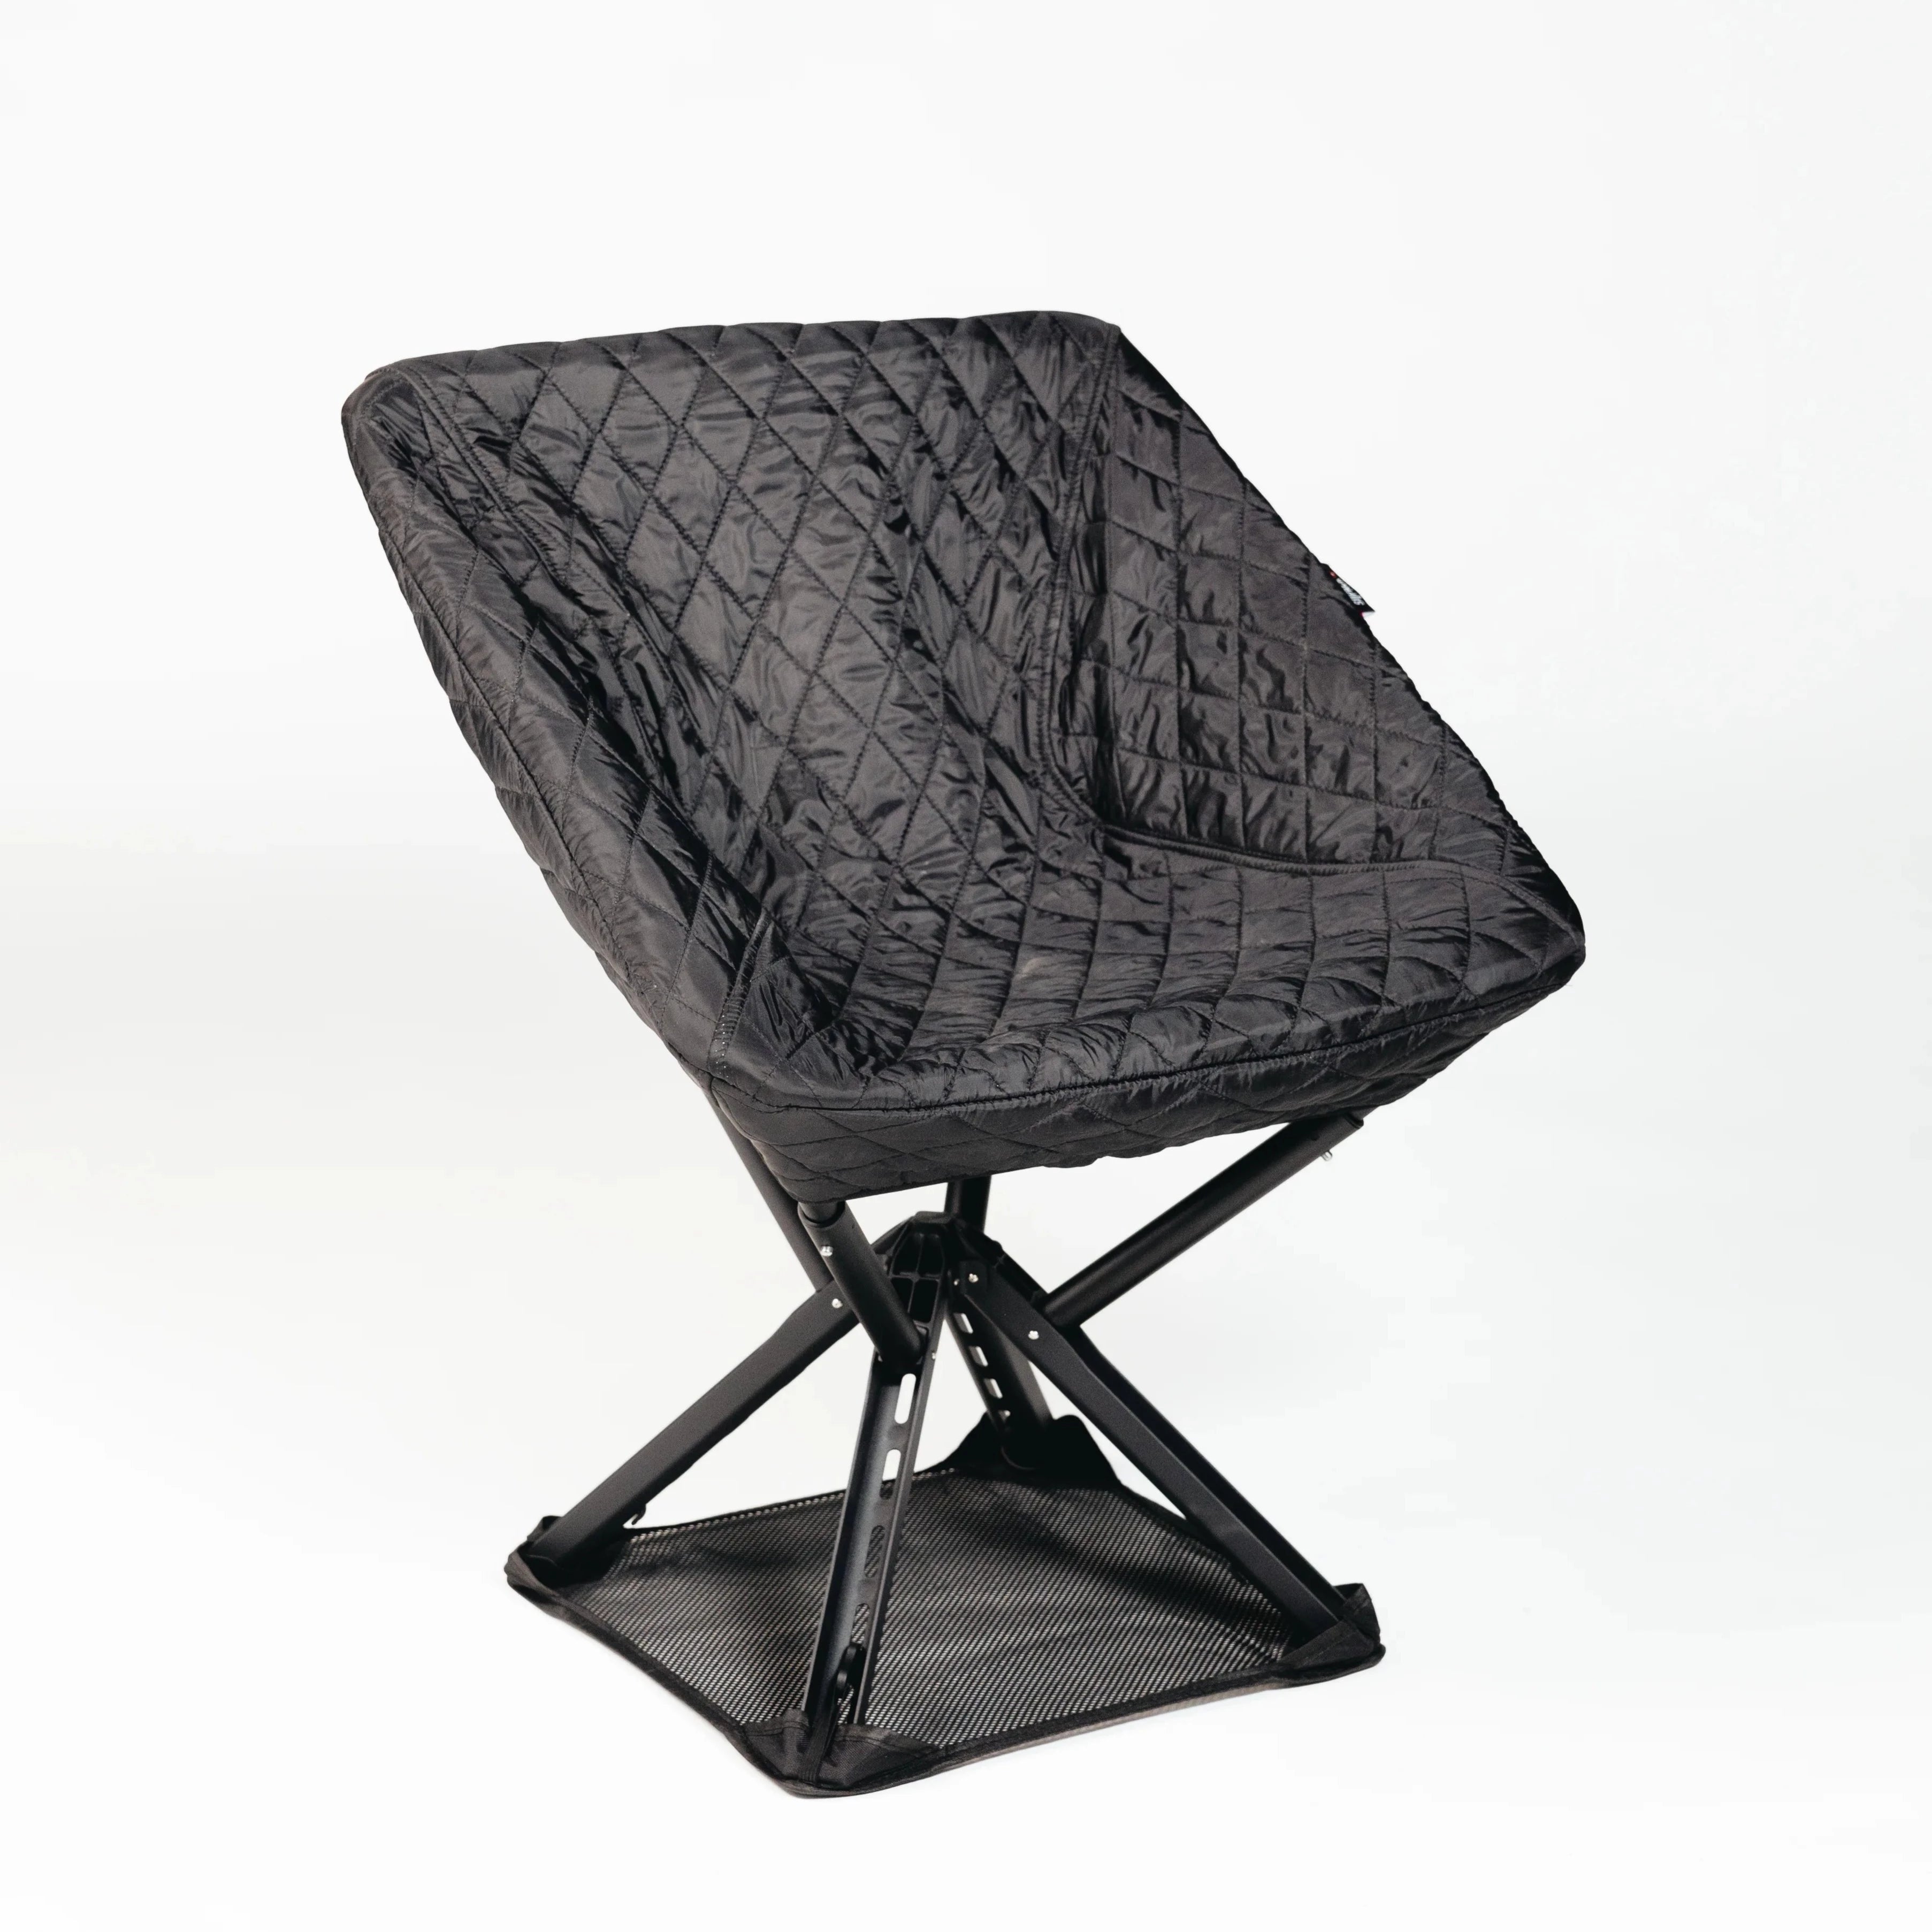
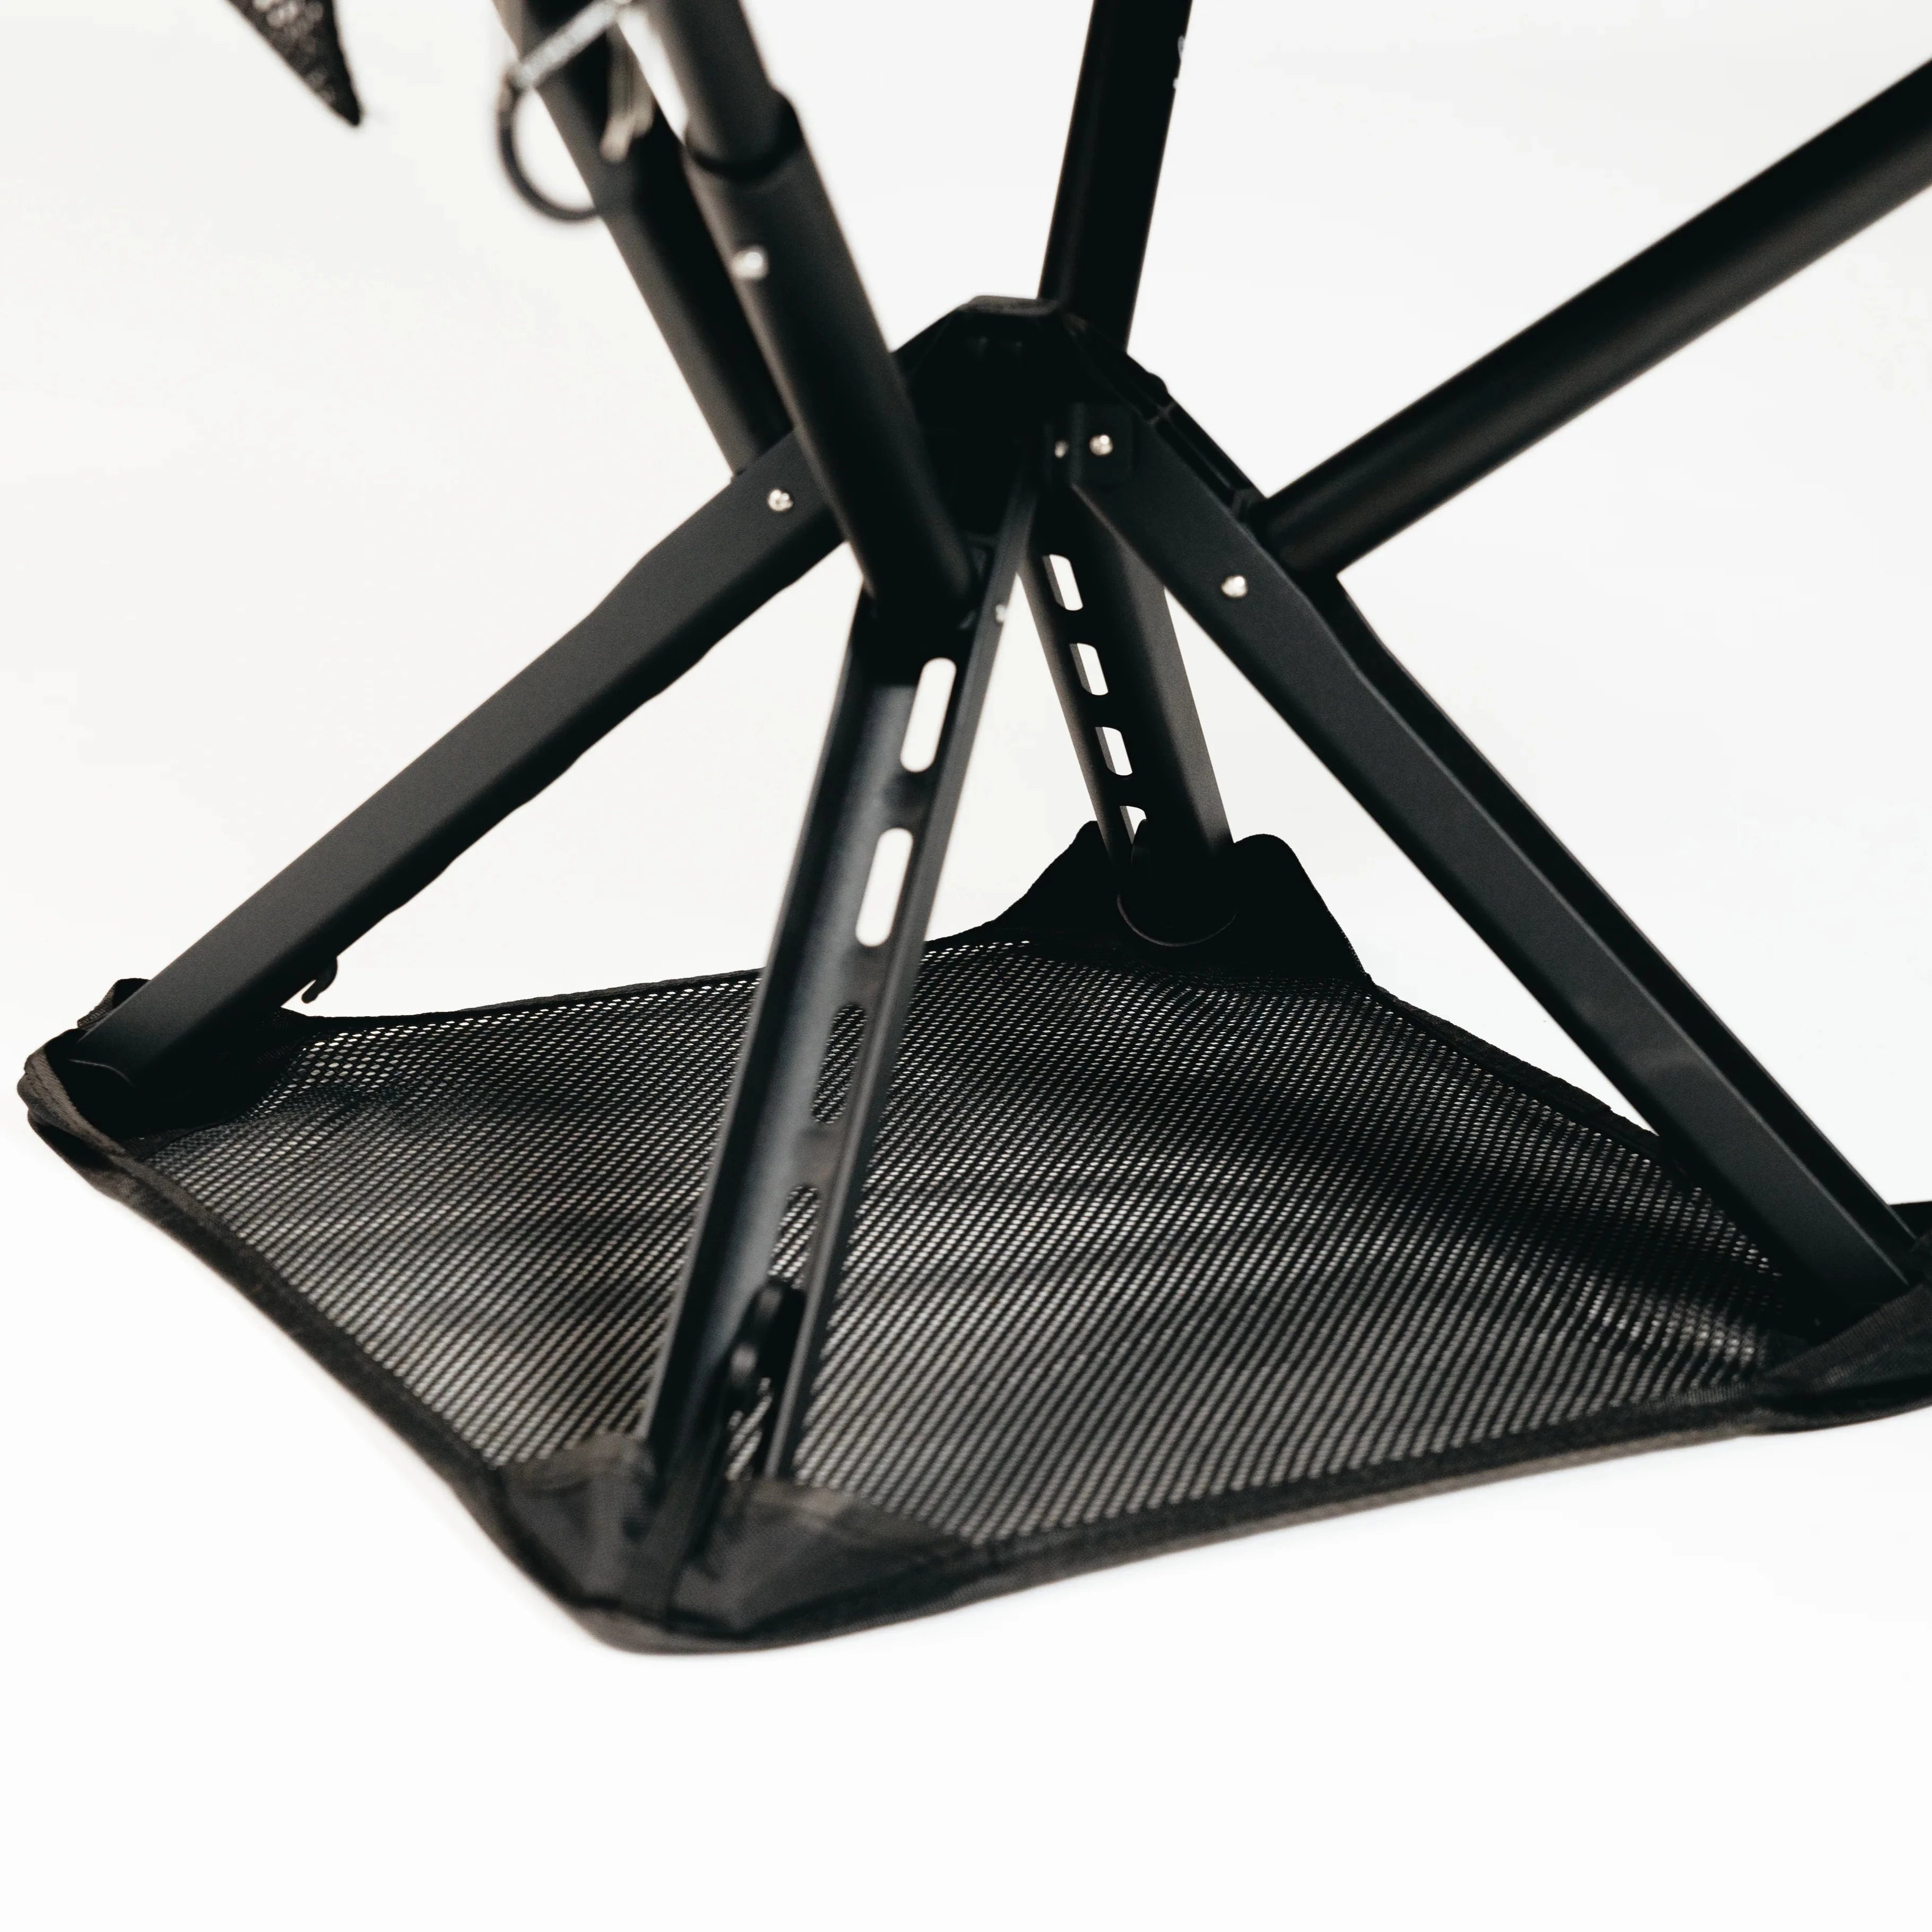
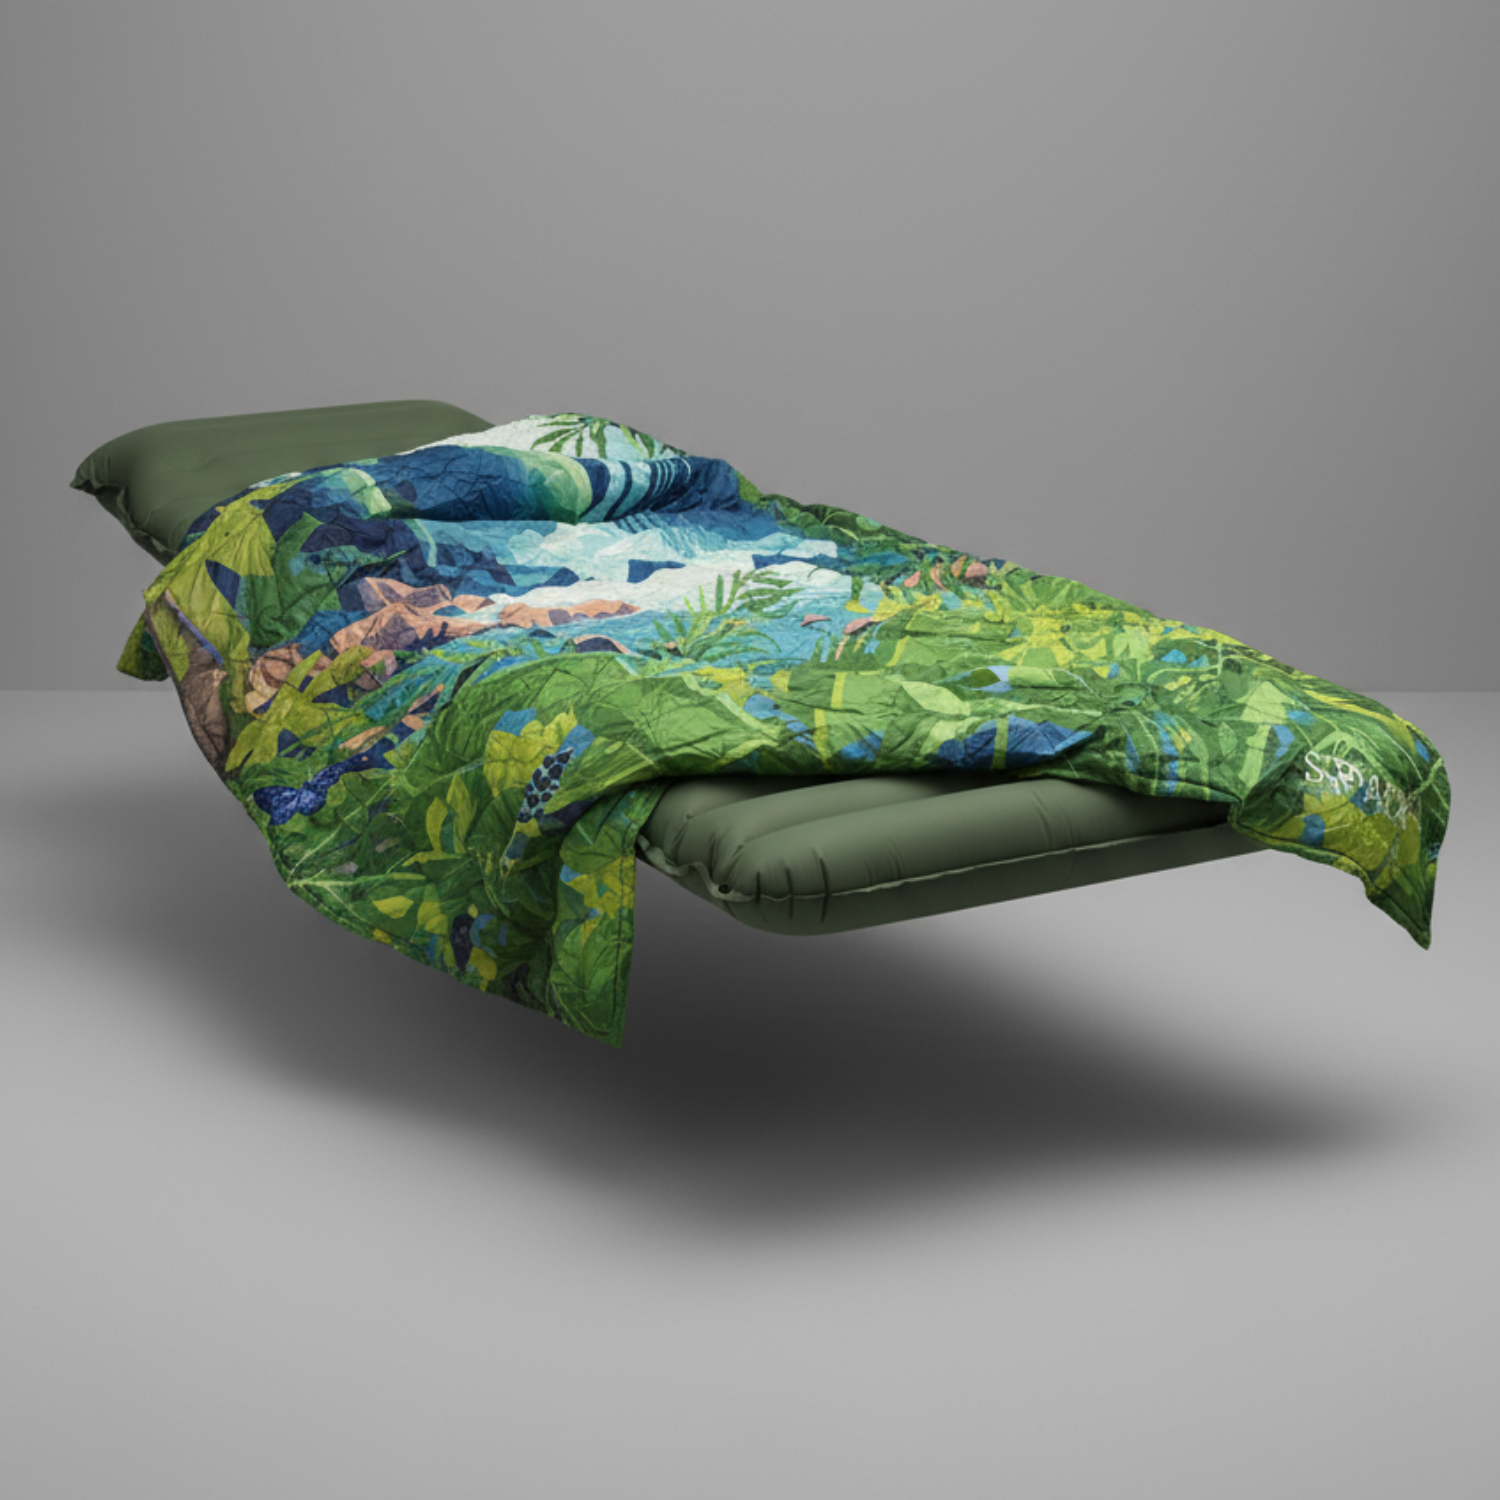
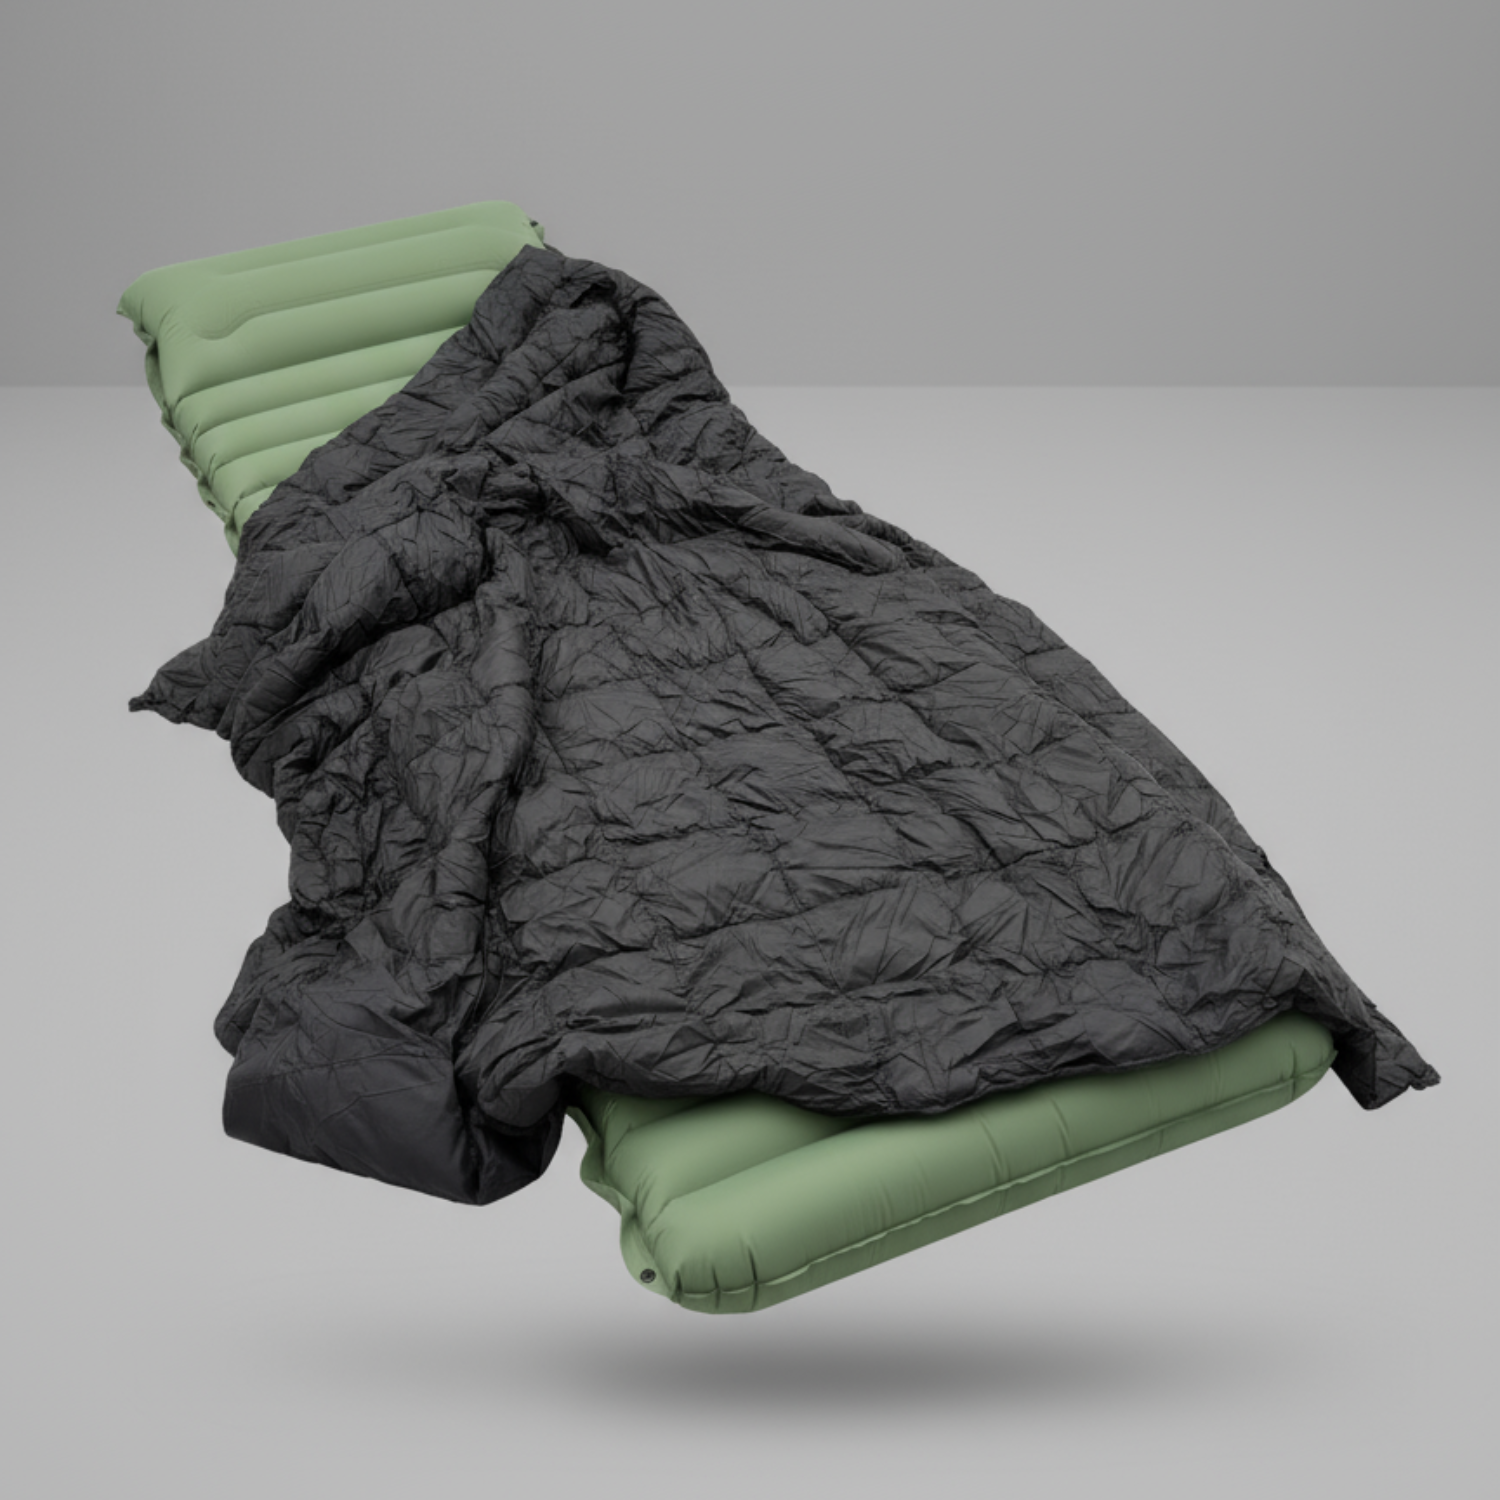
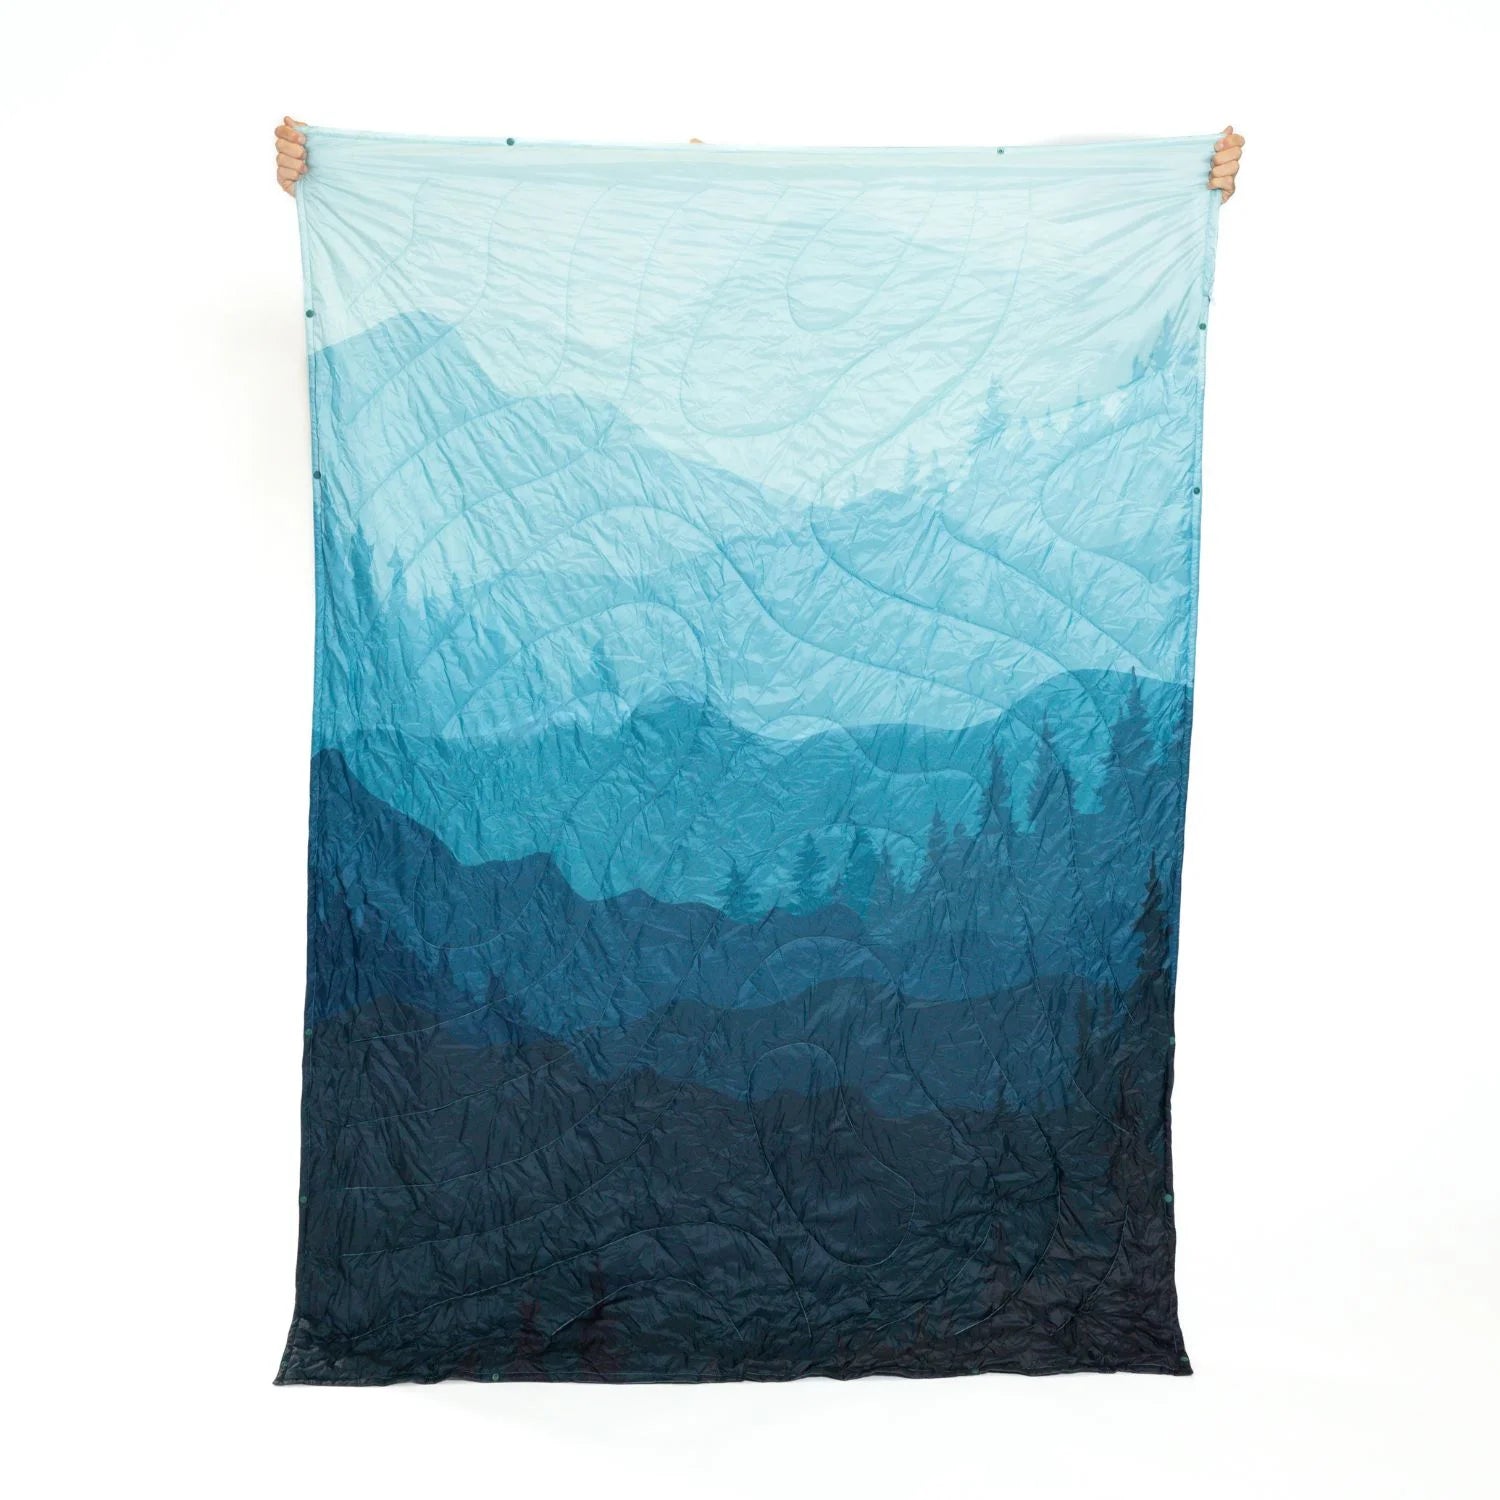
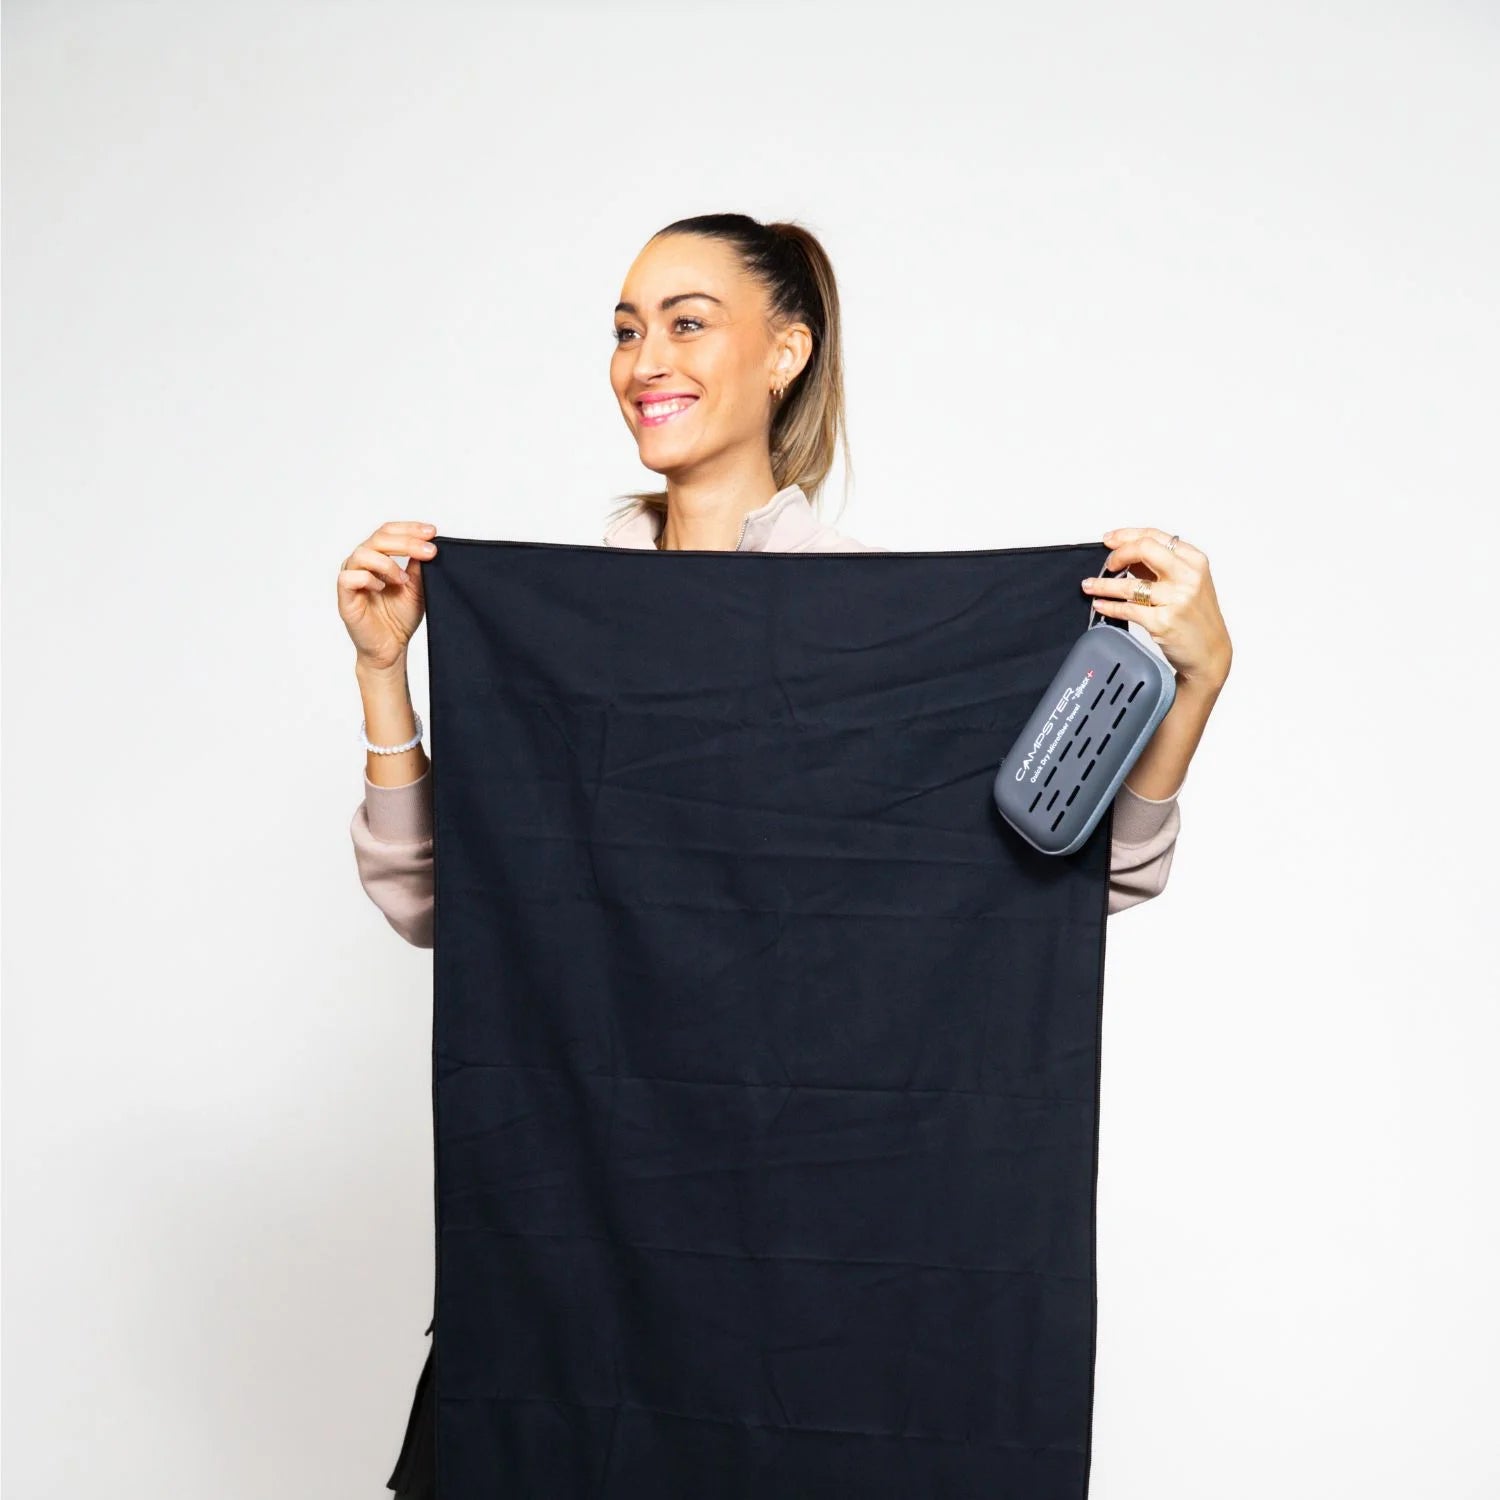
Sitpack specializes in lightweight, packable outdoor accessories designed for people who take their comfort seriously without sacrificing pack space. The Campster II and Sitpack Zen are built for exactly the kind of trail breaks and camp evenings where parking your posterior on a rock just doesn’t cut it. Sitpack also offers thermal blankets, water bottles, and travel towels that fit neatly into any step-by-step camping setup. Browse the full range at Sitpack and find the pieces that round out your kit without blowing your weight budget.
The Big Three are your backpack, shelter, and sleep system. They account for 60–70% of your base weight, so these items deserve the most attention and budget.
Plan for 1.5–2 lbs of food per day, targeting 2,500–3,000 calories to support moderate trail activity. Freeze-dried meals, trail mix, and energy bars are the most practical choices for beginners.
Yes, always filter water from natural sources regardless of how clean it looks. Giardia and other pathogens are invisible, and symptoms can appear weeks after exposure, so carry a Sawyer Squeeze filter and backup purification tablets.
A 40–55 liter pack covers most 2–4 night trips for beginners. Torso fit matters more than volume, so get measured at a specialty retailer before buying.
Buy your sleep system and shelter before choosing your pack, then select a pack that fits your actual gear volume. Weigh your loaded pack before your trip and aim to keep total weight under 30 lbs.