Vogn
0
Tilmeld dig og få 10% i rabat på din ordre
Forventet levering
1-3 dage
Du vil måske også kunne lide
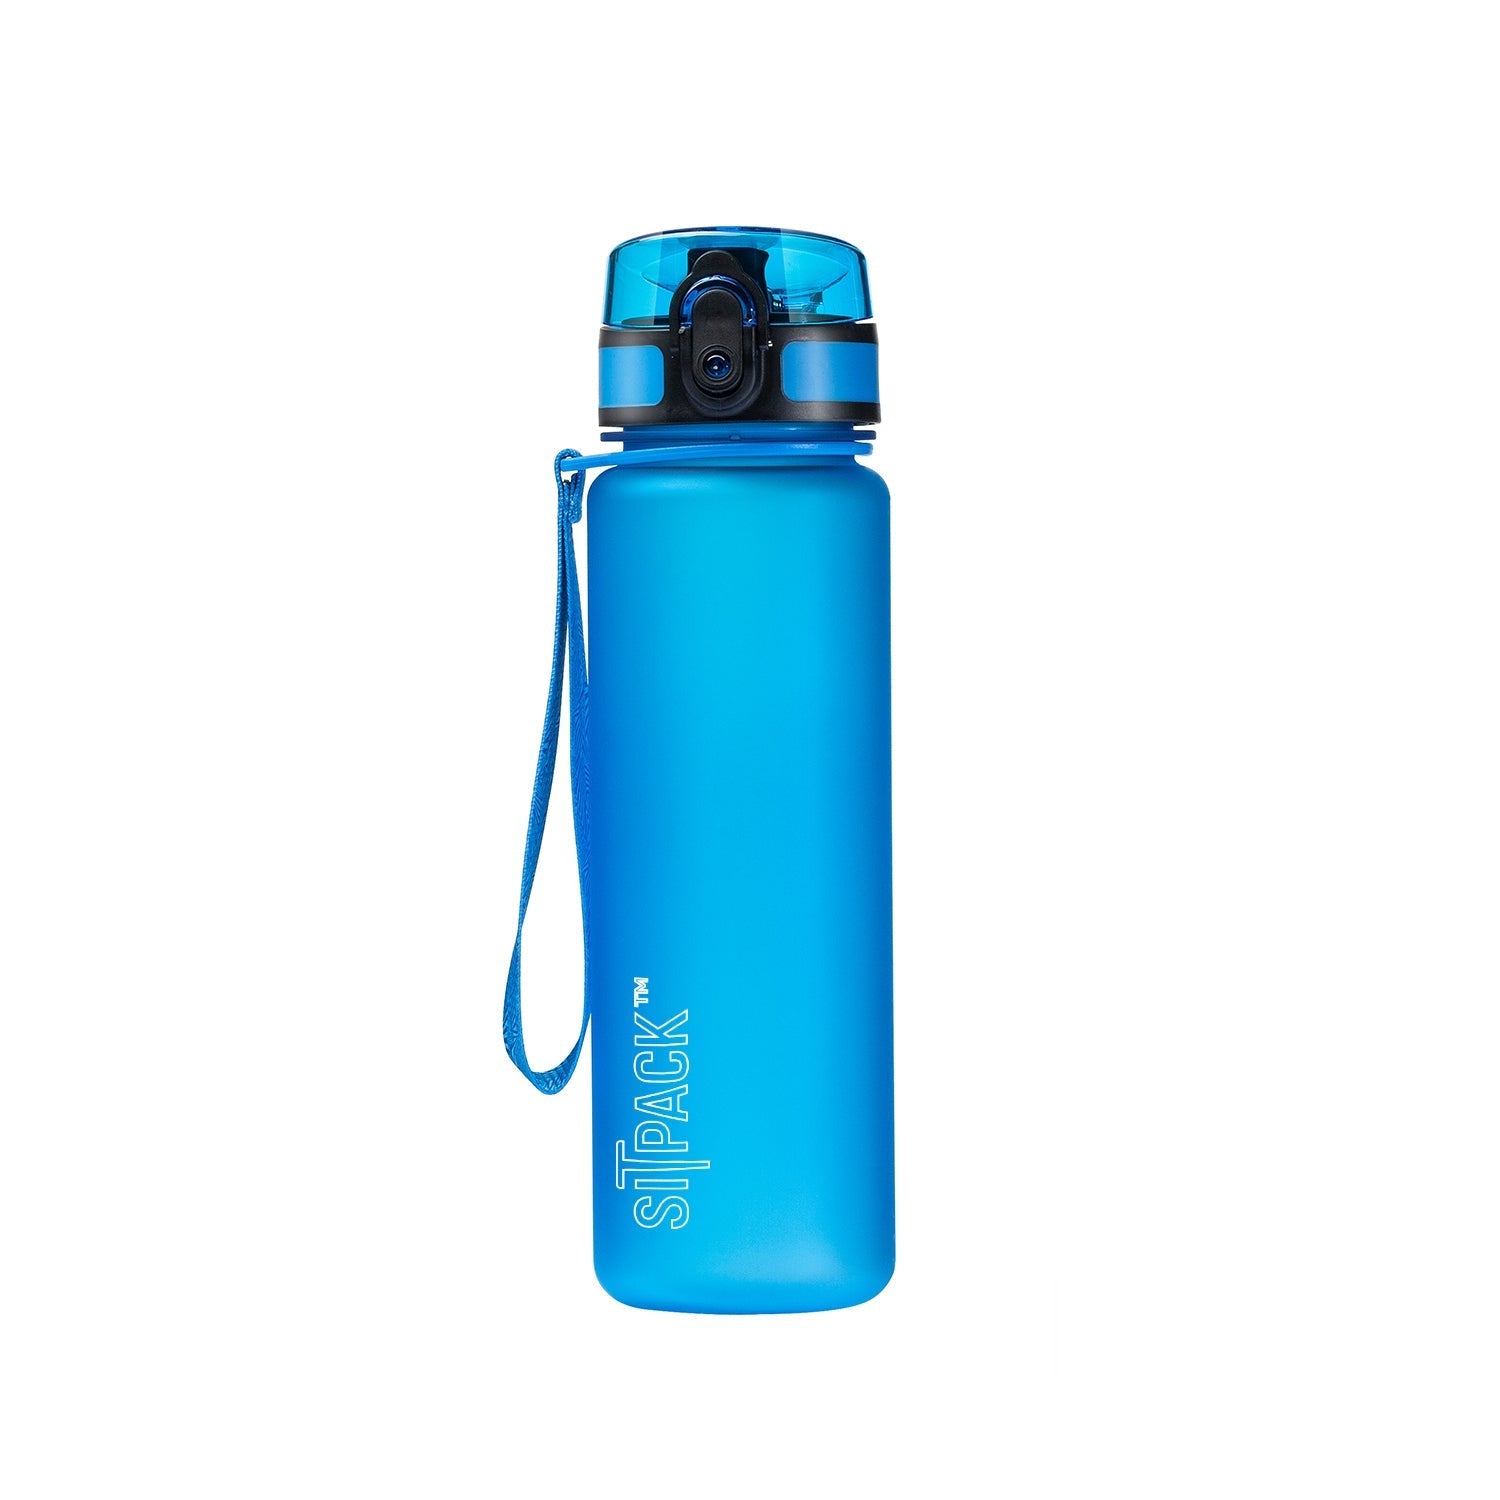
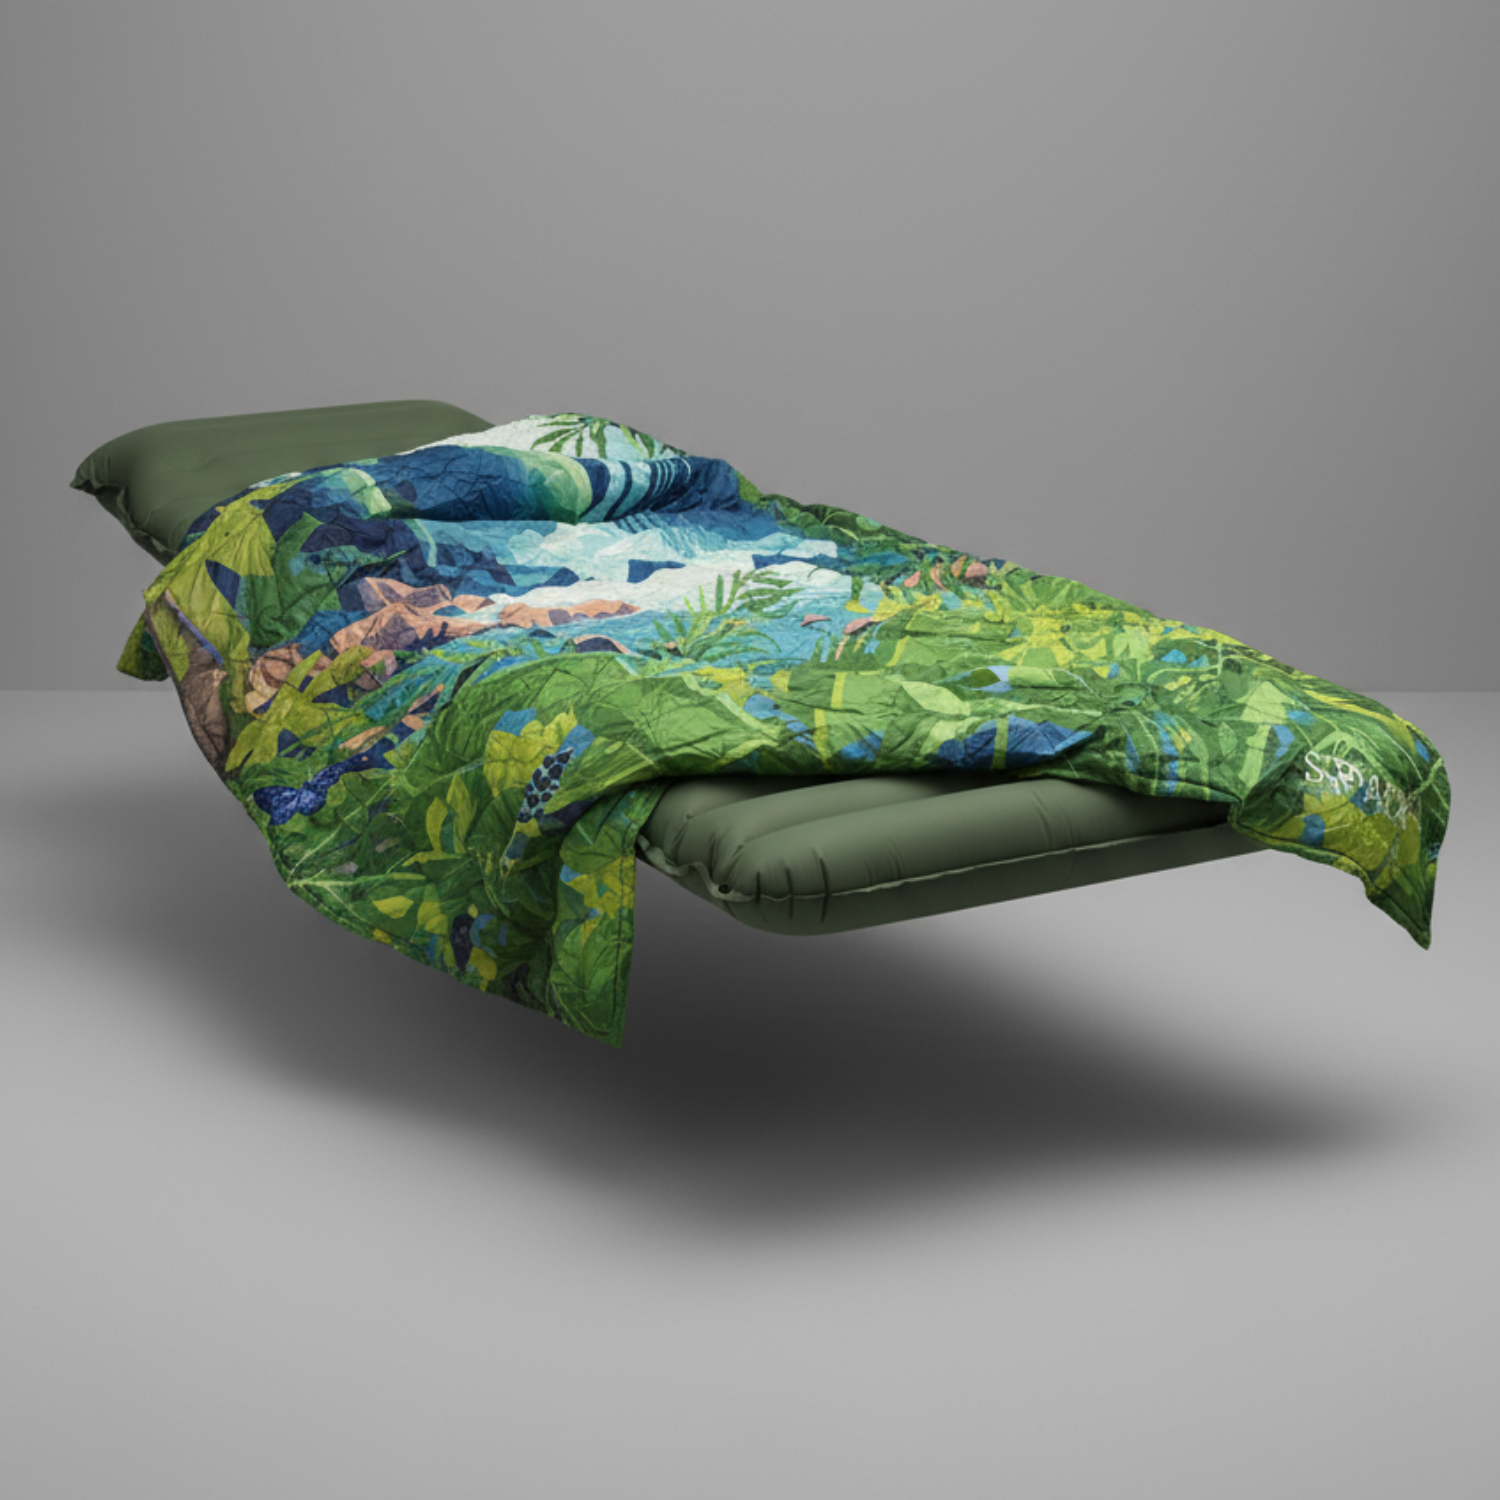
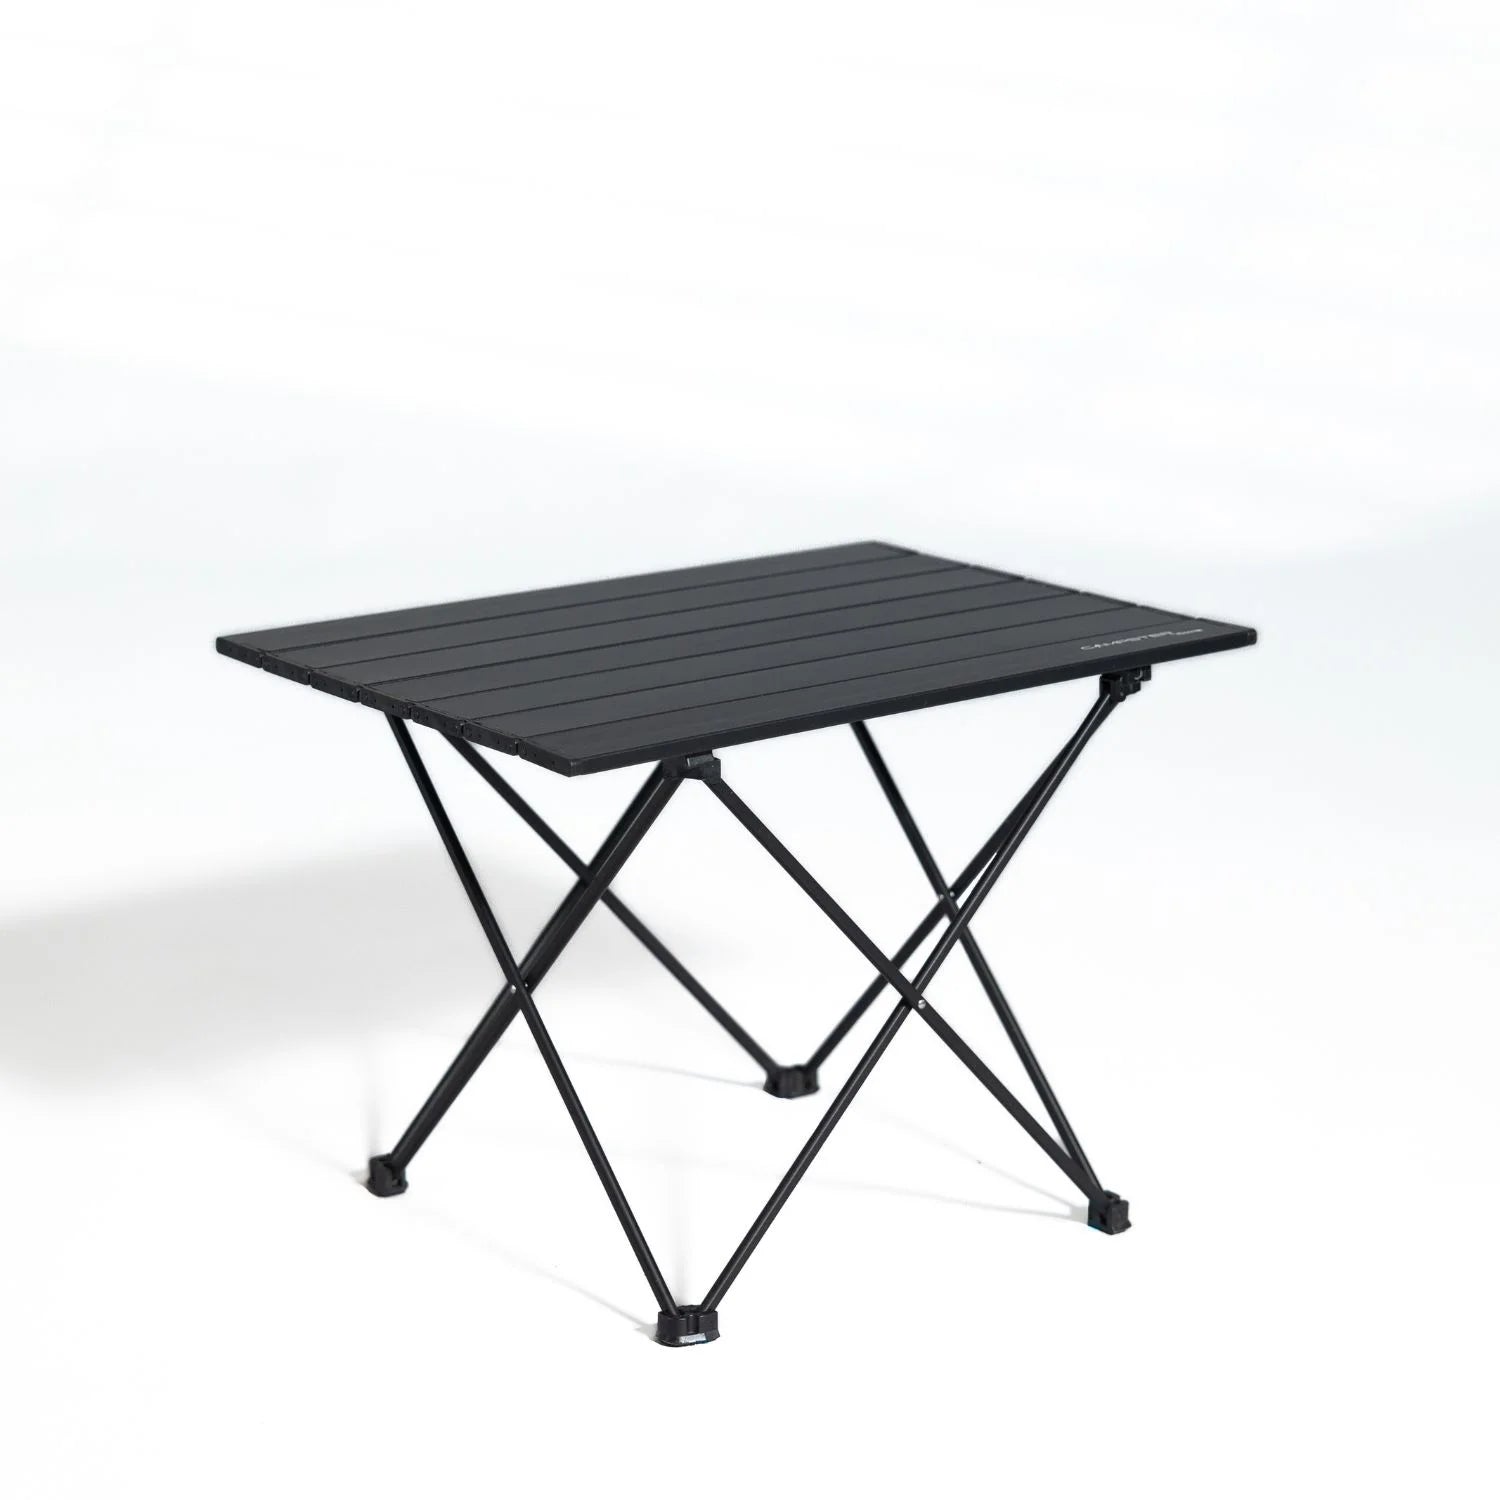
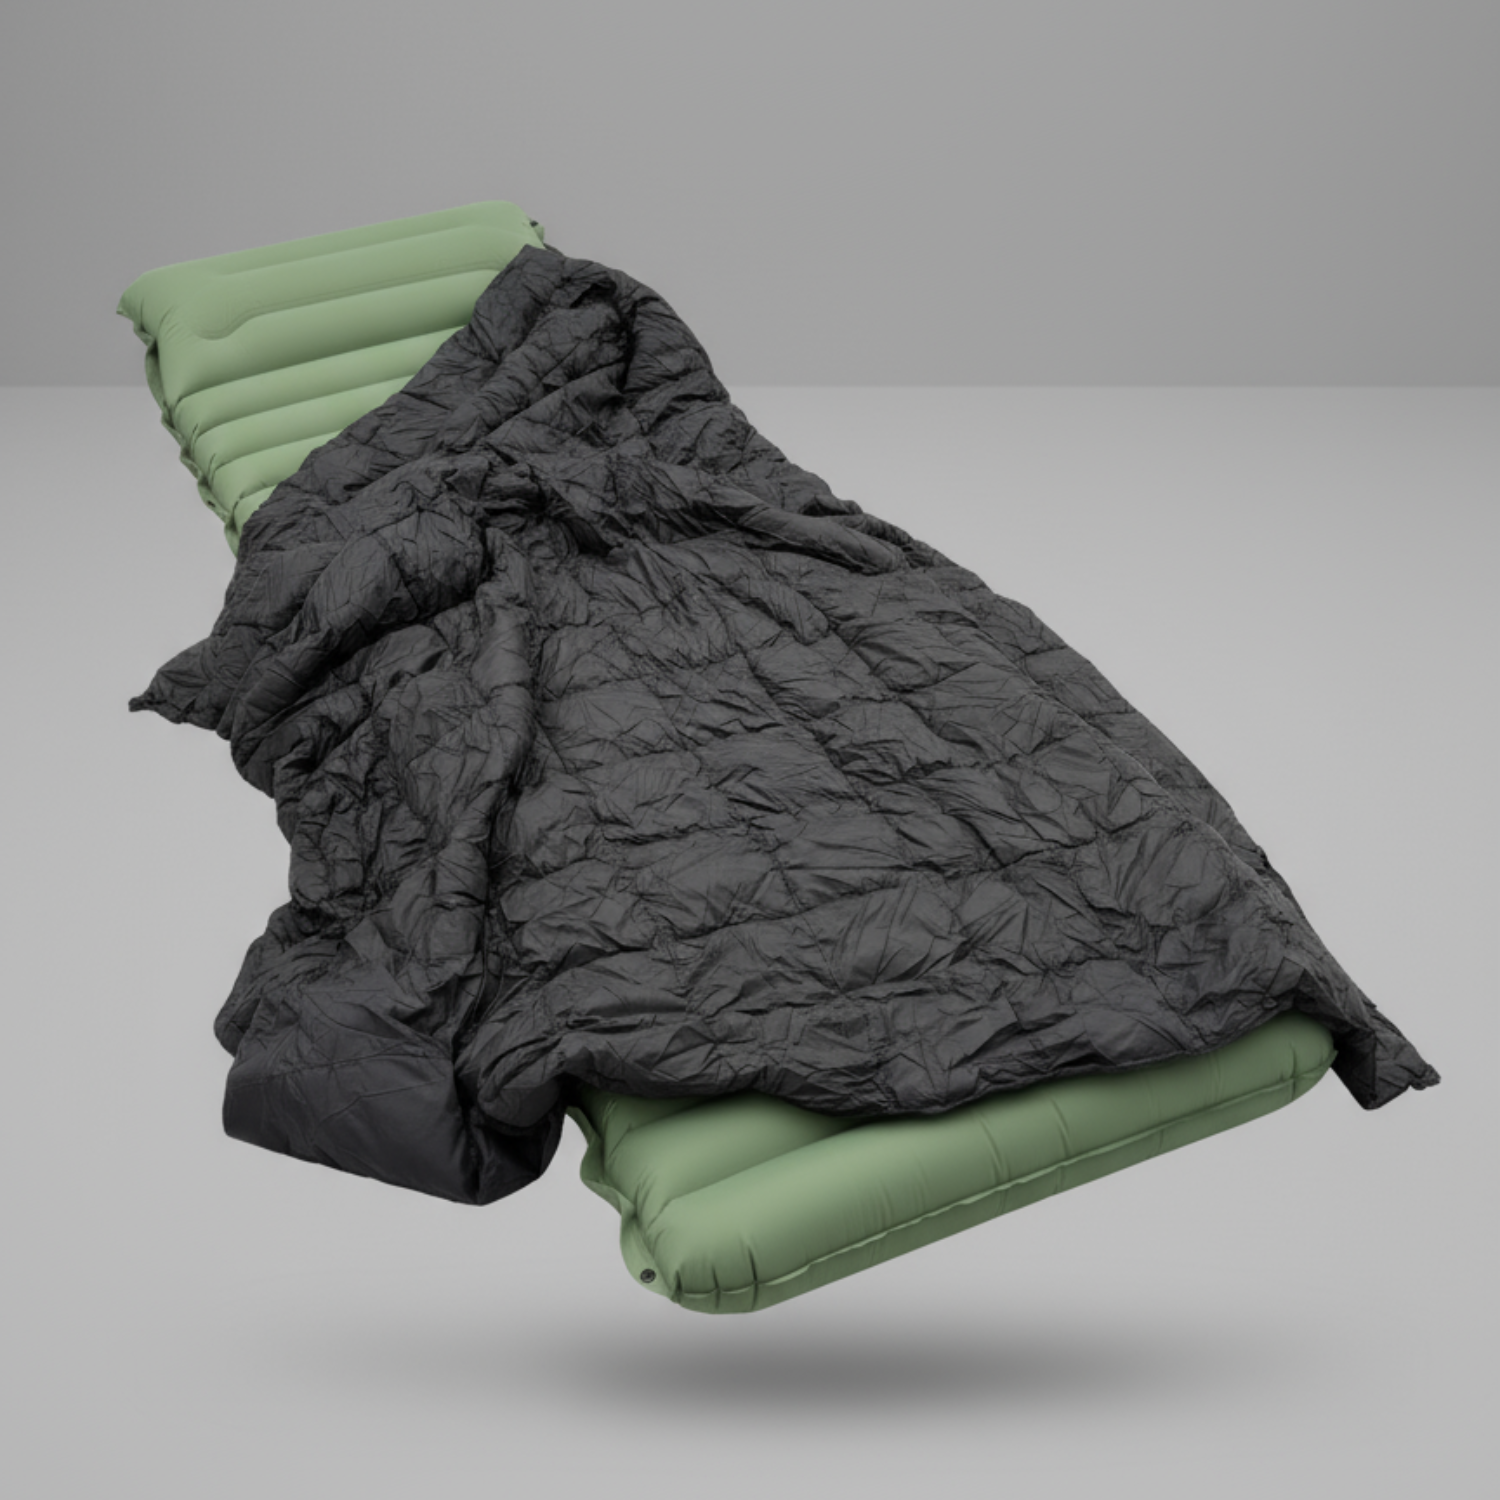


Dansk Firma

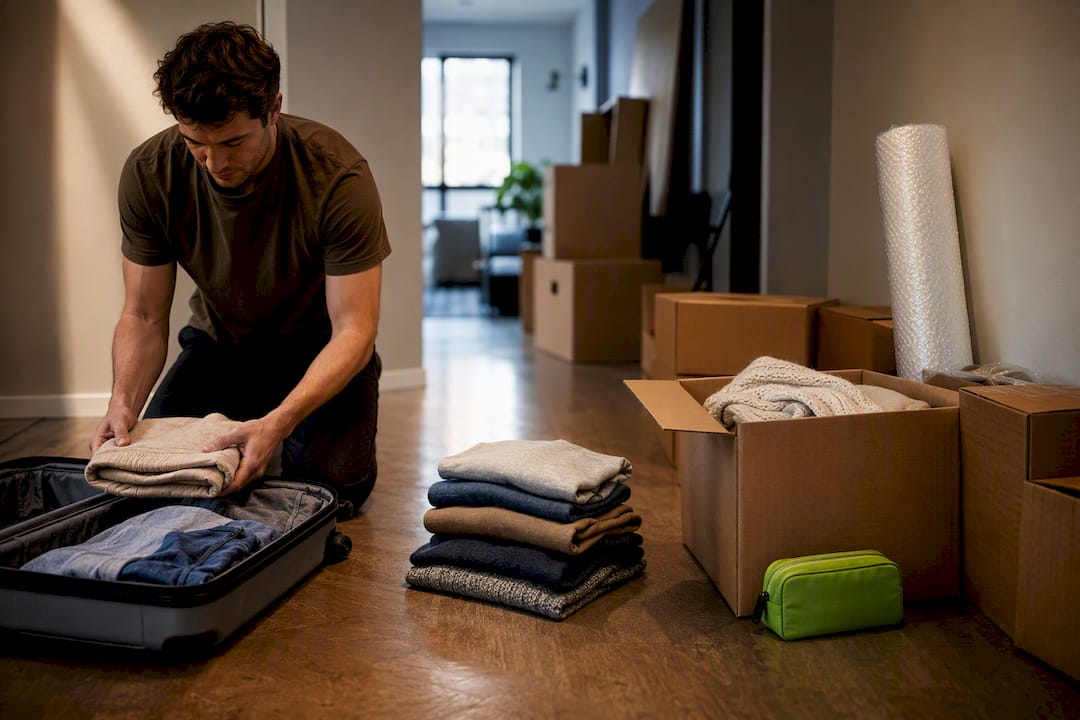
Start six to eight weeks out if you’re moving, or a few days out if you’re traveling: declutter first, gather real supplies (not just leftover grocery bags), pack room by room, protect anything fragile, label every box on two sides, and keep a labeled essentials bag within arm’s reach until the very last minute. That’s the whole plan. Everything below just fills in the timeline and the details so you don’t have to guess at any step.
TL;DR:
- Packing should be spread over weeks, starting six to eight weeks before the move to reduce stress and improve organization.
- Use a hybrid of rolling soft clothing and folding structured items to maximize space and protect delicate fabrics during transport.
- Pack storage and rarely used rooms first, reserving the kitchen and daily-use rooms for last to ensure functionality until moving day.
- Wrap fragile items individually with padding and double-box delicate electronics to prevent breakage during handling and transit.
- Label boxes on multiple sides with room and contents details, and keep essential items and an essentials box accessible throughout the move.
The single biggest mistake people make is treating packing as one task instead of six smaller ones spread over weeks. Movers who start packing six to eight weeks out and work room by room finish faster and with fewer last-minute boxes shoved together at midnight. Here’s the breakdown that actually works:
Rolling and folding aren’t competing methods, they’re tools for different fabrics. Rolling soft, wrinkle-resistant items like t-shirts, athletic wear, and knits saves real space and works well in a suitcase or moving box alike. Folding protects structured pieces, blazers, dress shirts, and anything with a defined shape, from deep creases that rolling would cause. Most experienced packers run a hybrid: roll the soft stuff, fold the stiff stuff.
Packing cubes earn their reputation here. Zone them by category, one cube for tops, one for bottoms, one for anything you’ll need fast at security or during a layover, and you stop unpacking your entire suitcase to find a phone charger. Vacuum bags are a different tool entirely: save them for bulky seasonal items like winter coats or comforters where compression matters more than quick access, since combining rolling with the right compression method consistently beats using one technique alone.
Load order matters as much as folding technique:
Pro Tip: A portable luggage scale costs less than most airlines’ overweight fees, and weighing your bag at home means you find out about the problem before you’re standing at check-in.
Pack storage areas and rarely used rooms first, and save the kitchen for last since you’ll need it functioning until moving day. Box size should match weight, not just what’s convenient:
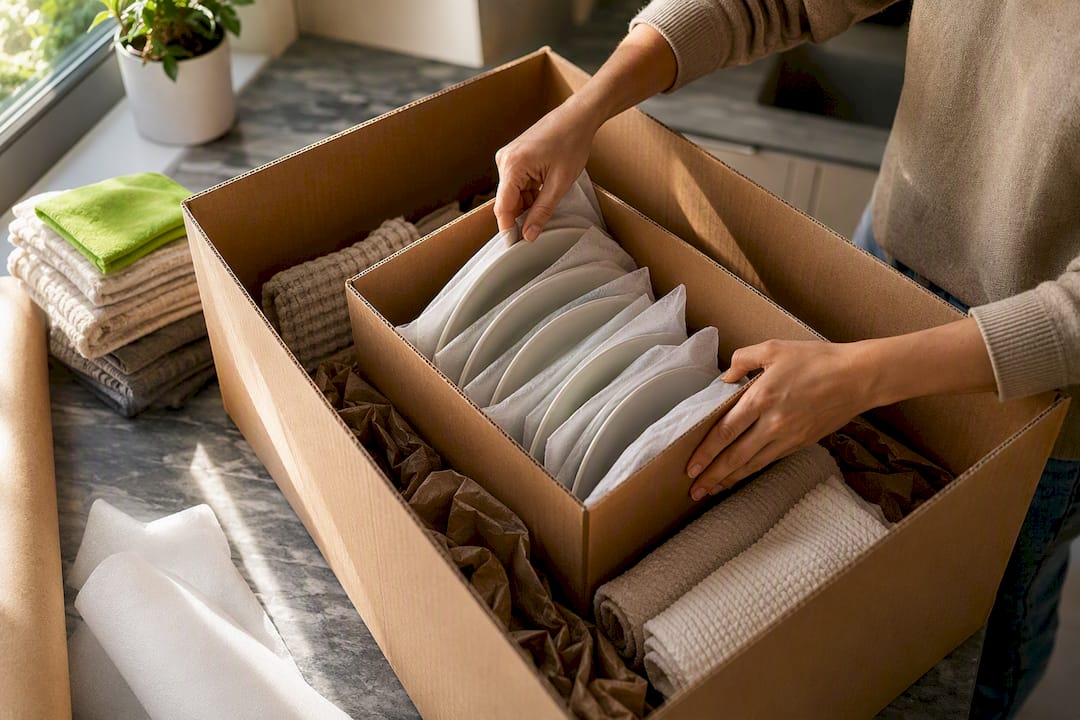
One trick that saves both money and materials: use towels, blankets, and linens as padding around dishes or electronics instead of buying extra bubble wrap. You’re packing two rooms’ worth of items at once and cutting your supply bill in the process.
Wrap every fragile item individually, no exceptions, even ones you think are sturdy. Plates should stand on their edge, vertically, like records in a crate, never stacked flat where the weight concentrates on the bottom piece. For anything genuinely delicate, mirrors, glass tabletops, expensive electronics, the double-box method (a wrapped item inside a smaller box, cushioned inside a larger one) adds a real buffer against drops.
Tape your boxes in an H-pattern across the bottom seams, reinforcing the center where weight concentrates, and give every sealed box a shake test before it goes on the truck. If you hear movement, open it back up and add padding, using clothing or towels as free cushioning instead of buying more materials.
Keep a supplies checklist on hand: bubble wrap, packing paper, box tape, permanent markers, a range of box sizes, and colored dot labels for your room system.
The TSA’s 3-1-1 rule is non-negotiable: liquids, gels, and aerosols must be 3.4 ounces (100 ml) or smaller per container, and all of them need to fit inside one clear, quart-sized, zip-top bag. Anything larger goes in checked luggage or gets left behind at security.
Beyond liquids, your carry-on should carry everything you can’t afford to lose or replace at your destination:
Pro Tip: Weighing your bag at home with a portable luggage scale takes thirty seconds and can save you from a $50 to $100 overweight fee at the counter.
Label every box on at least two sides, not just the top, since boxes get stacked and you’ll want to read labels without unstacking a tower. Each label should include the destination room, a quick contents summary, and a priority flag for anything marked “OPEN FIRST.”
Before you hand over keys, walk every space one more time, including the ones people forget: attic, garage, closets, and behind large appliances. Check that nothing got left in a cabinet or wedged behind a washing machine.
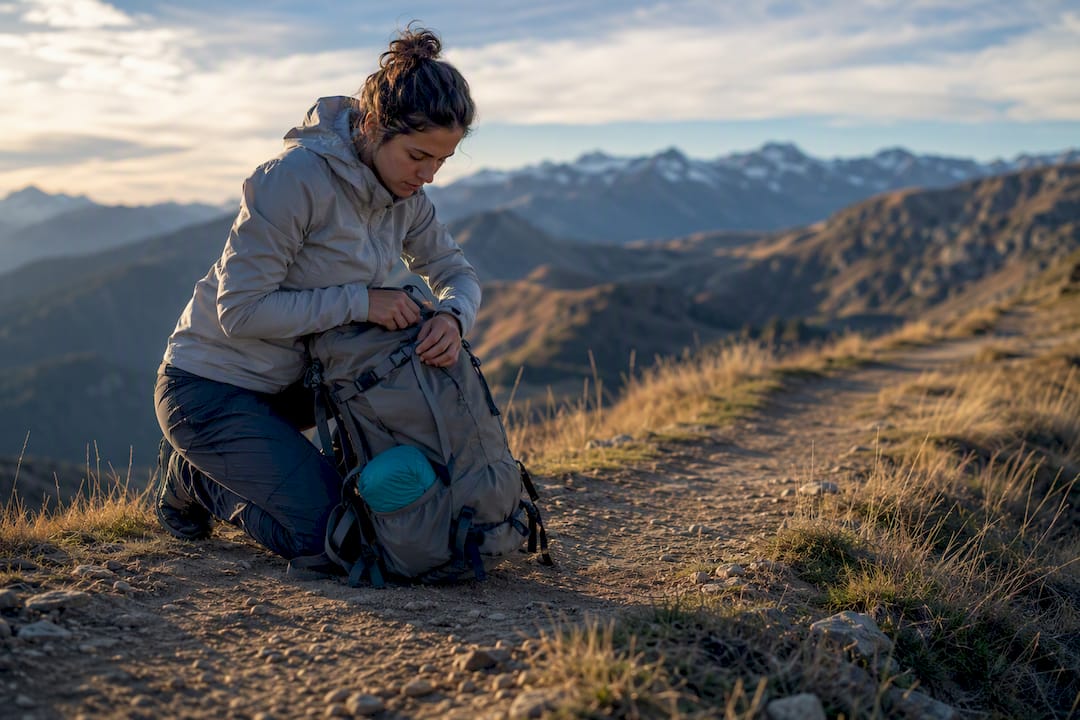
Portable seating needs its own small routine, since a folded stool or chair can shift around in a duffel bag and dent softer items nearby. Fold it fully, secure it with its strap or closure if it has one, and slide it into a padded pouch or dedicated cover before it goes anywhere near your other gear.
Lightweight, minimalist design isn’t just a comfort feature, it’s a packing advantage: a chair that folds small and weighs little takes up less negotiating room in your bag than bulkier alternatives.
Pro Tip: A lifetime warranty on your gear means you can pack it a little more casually on short trips. It’s built to survive the wear that comes with being crammed into a backpack pocket for years.
The people who pack well aren’t more organized by nature, they just started earlier. Planning your laundry cycle so clothes are clean and ready a few days before a trip, instead of scrambling the morning of, quietly shrinks how much you even need to pack. Volume goes down when timing goes up.
That’s really what the timeline-first approach buys you: fewer decisions made under pressure, fewer boxes taped shut in a panic, fewer things forgotten because you were rushing. Tonight’s actionable step is small. Pull out one box or one bag and pack the stuff you know you won’t touch for weeks. That’s the whole system starting to work in your favor.
— Jonas
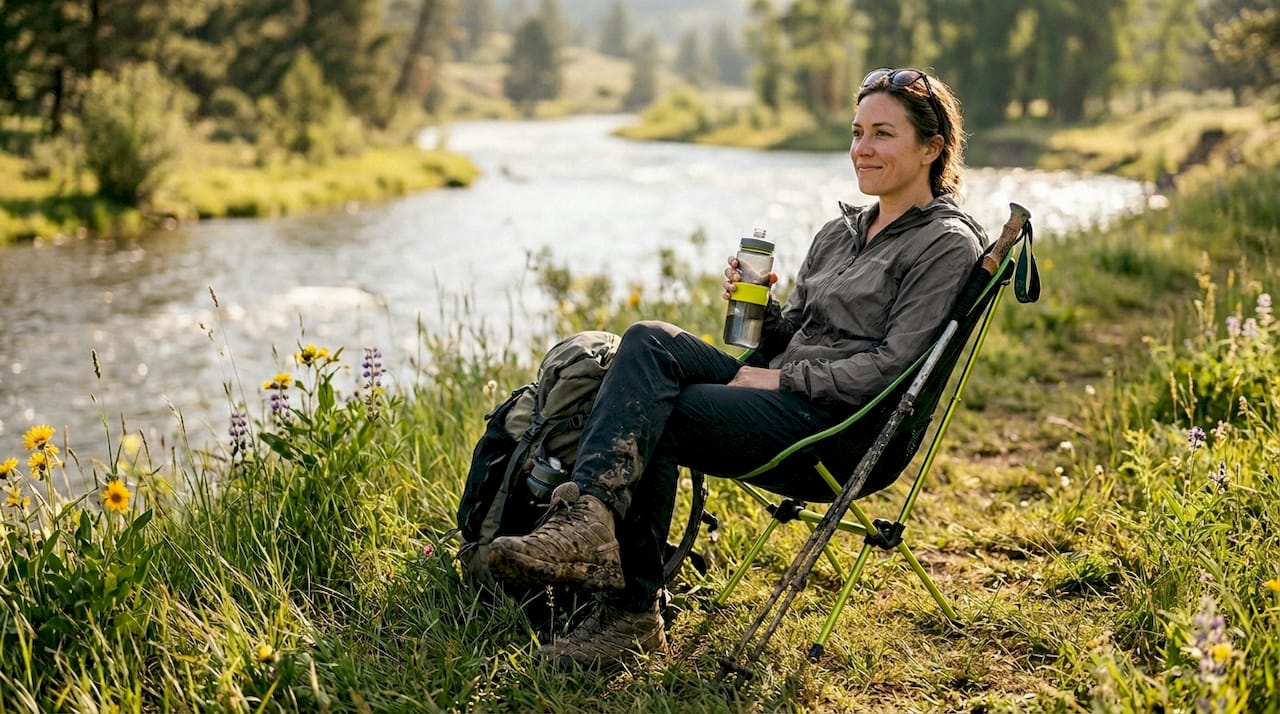
Whether you’re standing in a security line, waiting out a layover, or setting up camp for the night, having somewhere to sit that doesn’t take up half your pack changes the trip. Sitpack builds foldable, lightweight seating designed to disappear into a bag until you actually need it, then pop open in seconds when your legs give out before your patience does.
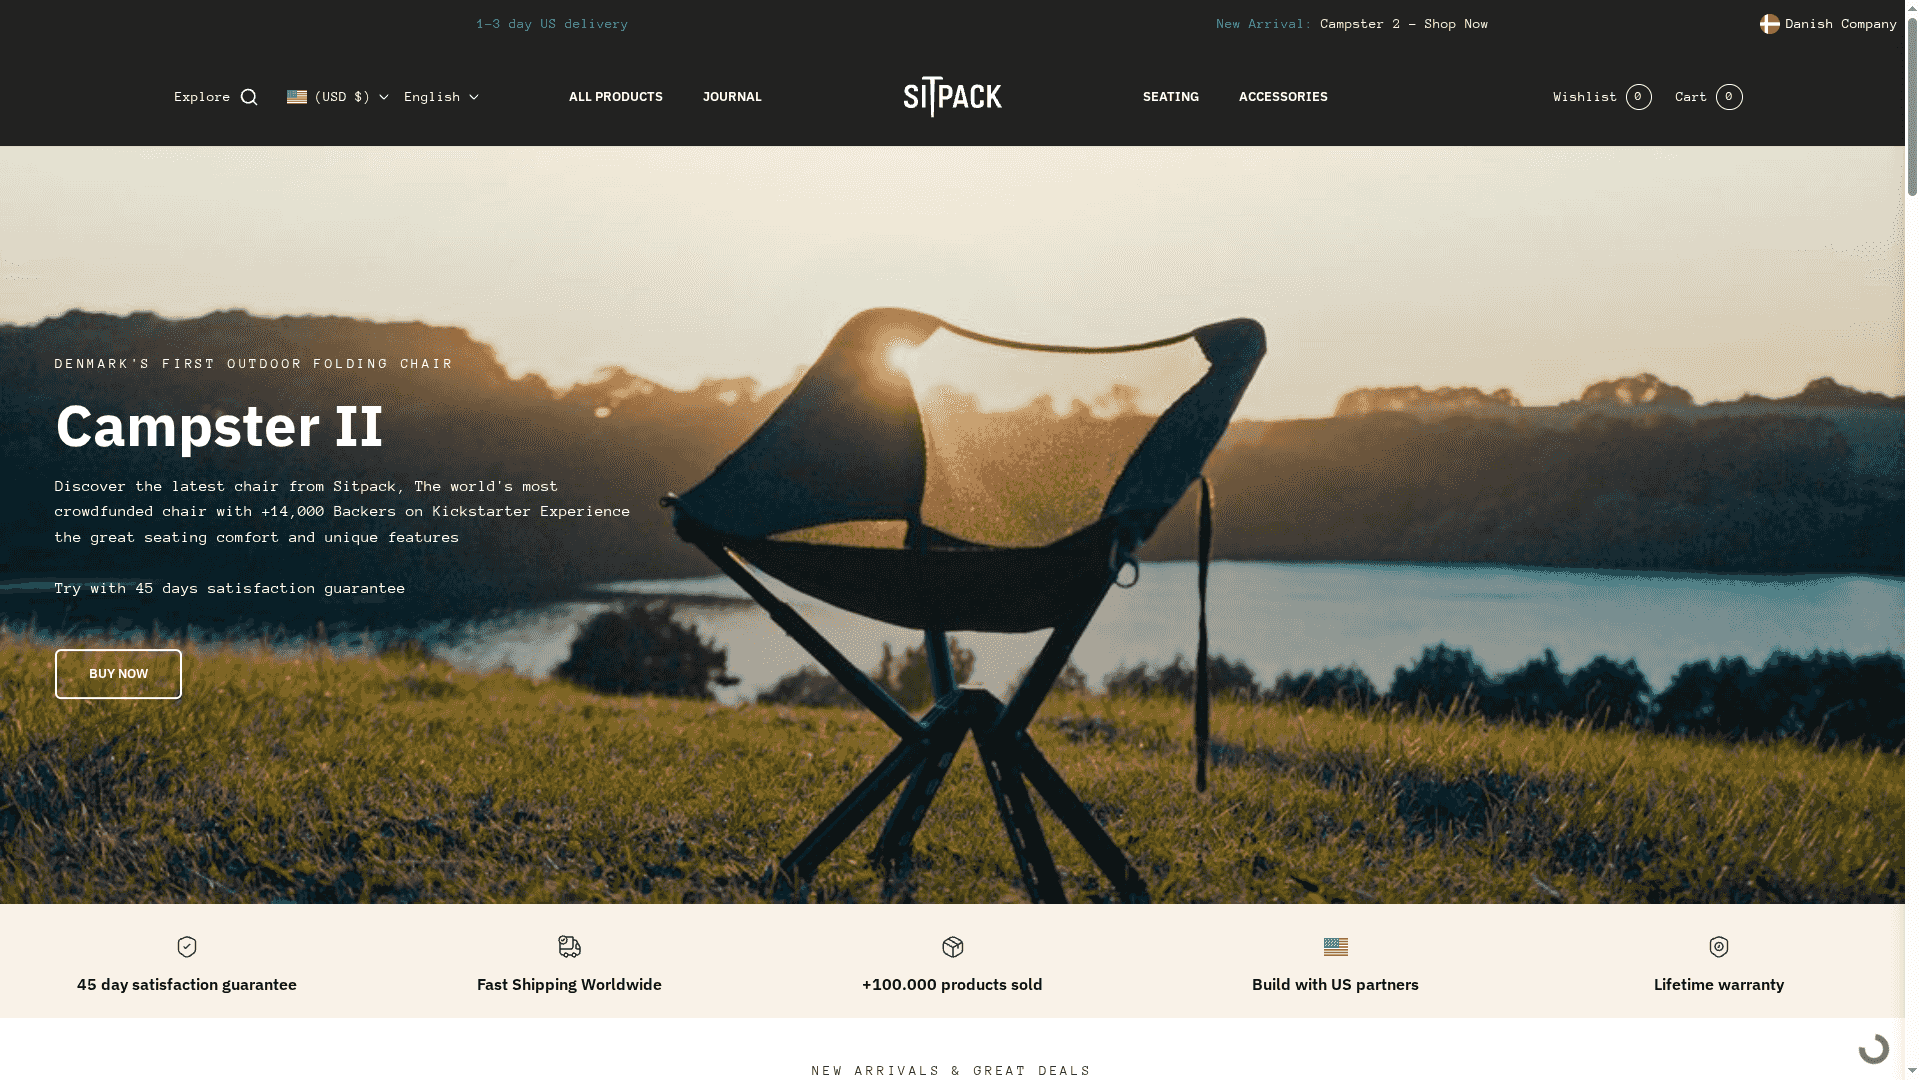
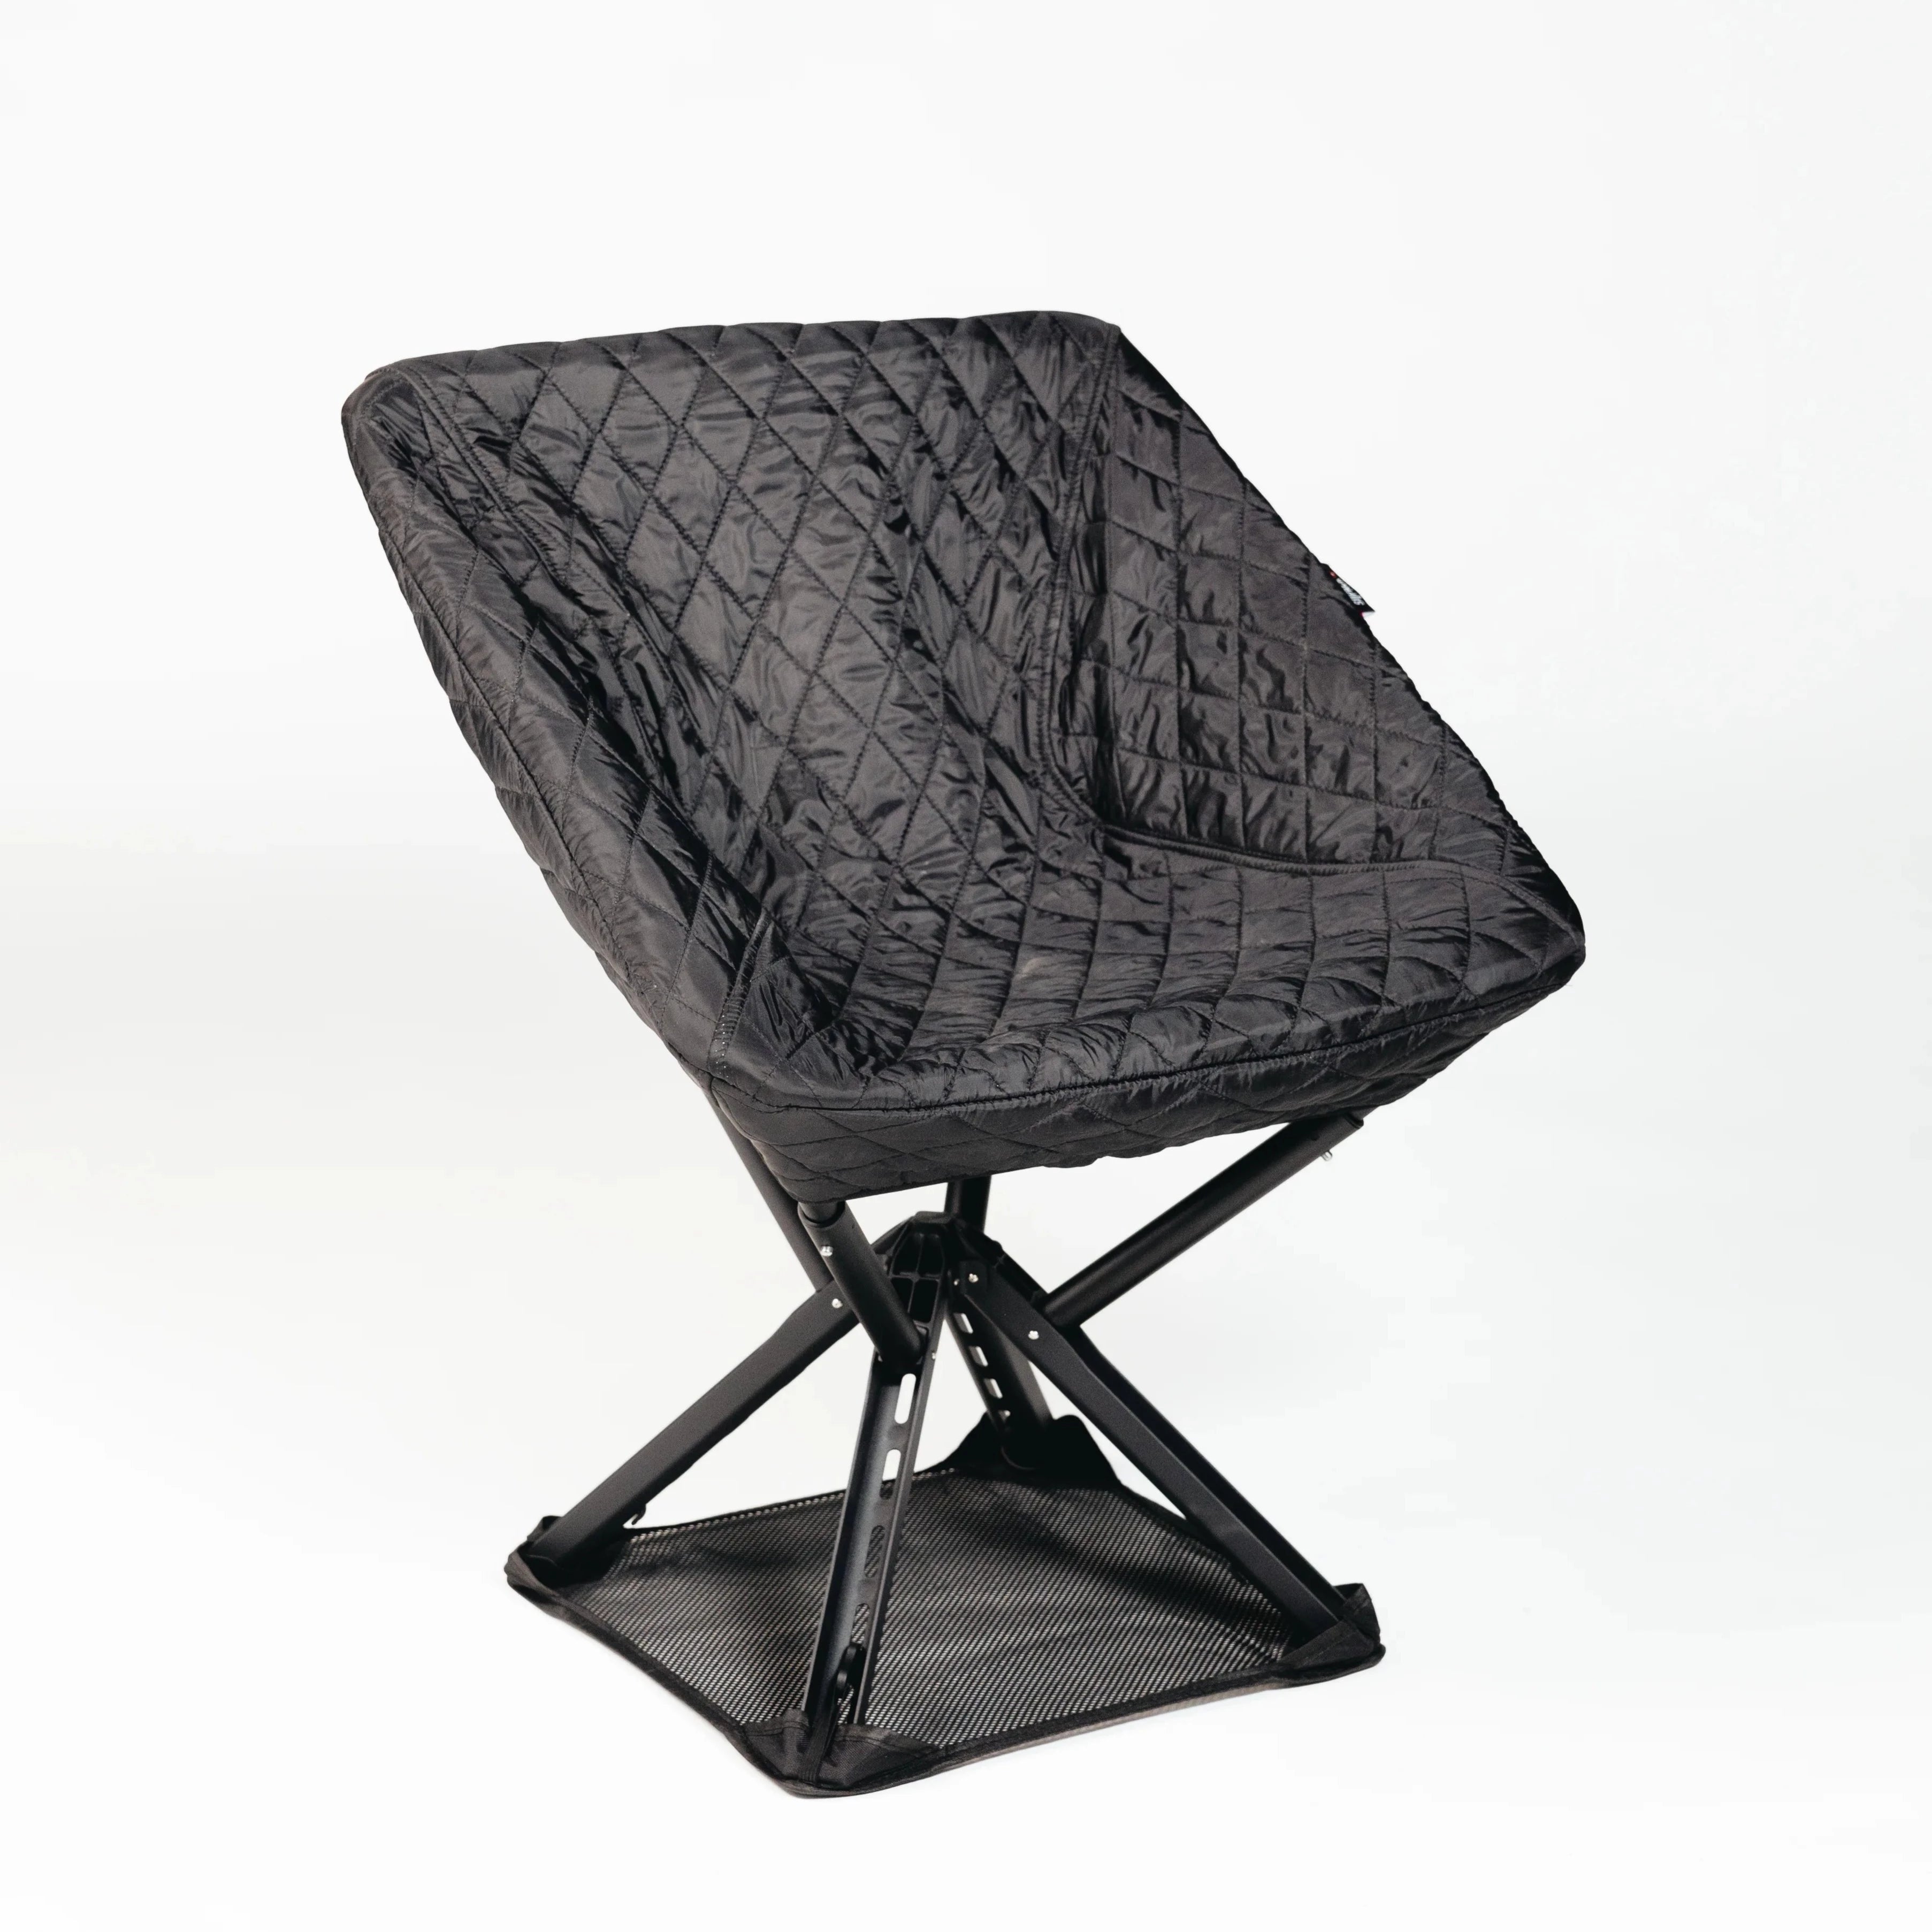
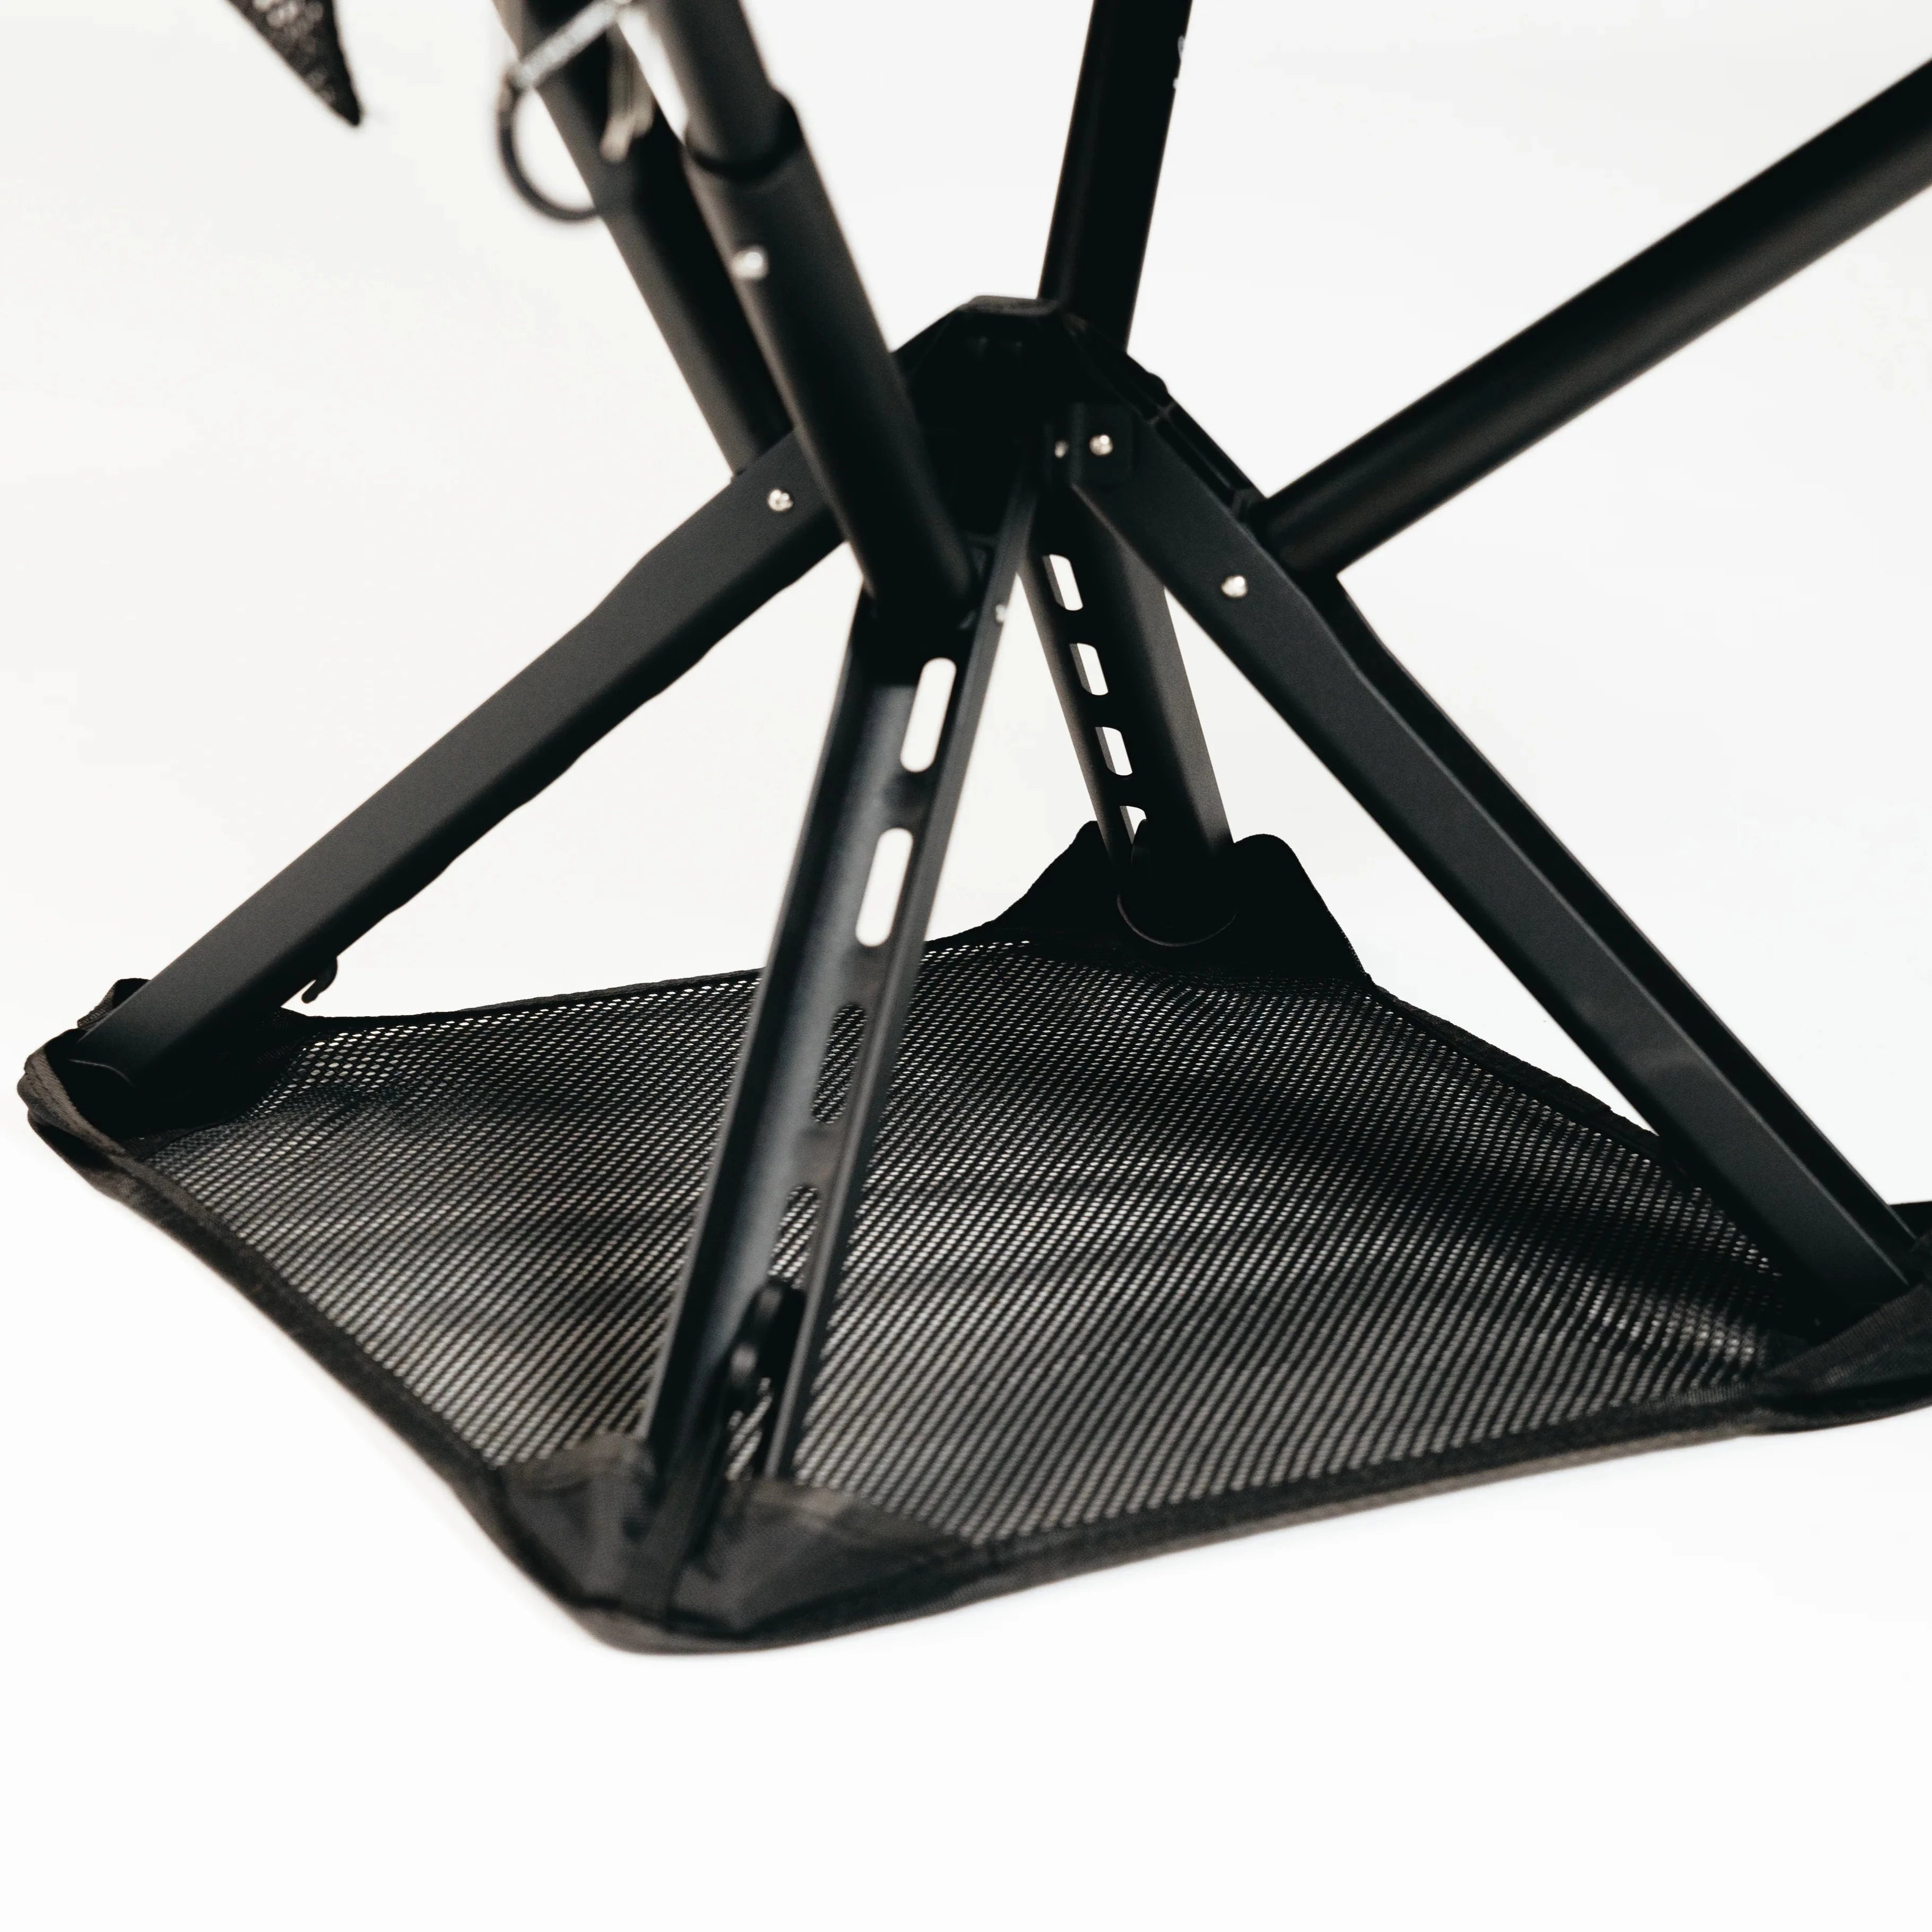
The Campster II and Sitpack Zen both fold down small enough to slot into carry-on luggage or a backpack side pocket, built from eco-conscious materials and backed by a lifetime warranty so you’re not replacing gear every season. If you already pack light for camping trips or backpacking runs, a compact seat is one of the few additions that earns its space rather than eating it. Check sizes and current stock on the Sitpack product lineup before your next trip.