Cart
0
Sign up and get 10$ off your order
Expected delivery
1-3 days
You may also like


Danish Company
TL;DR:
- Heavy, disorganized packs impair both physical and mental trail experiences but can be improved through a lightweight packing process.
- Reducing base weight enhances mobility, reduces fatigue, and allows for quicker, more confident trekking by prioritizing multi-use gear and iterative refinement.
- Proper load mechanics and continuous adjustment ensure comfort, stability, and efficiency, helping adventurers enjoy outdoor experiences with less strain.
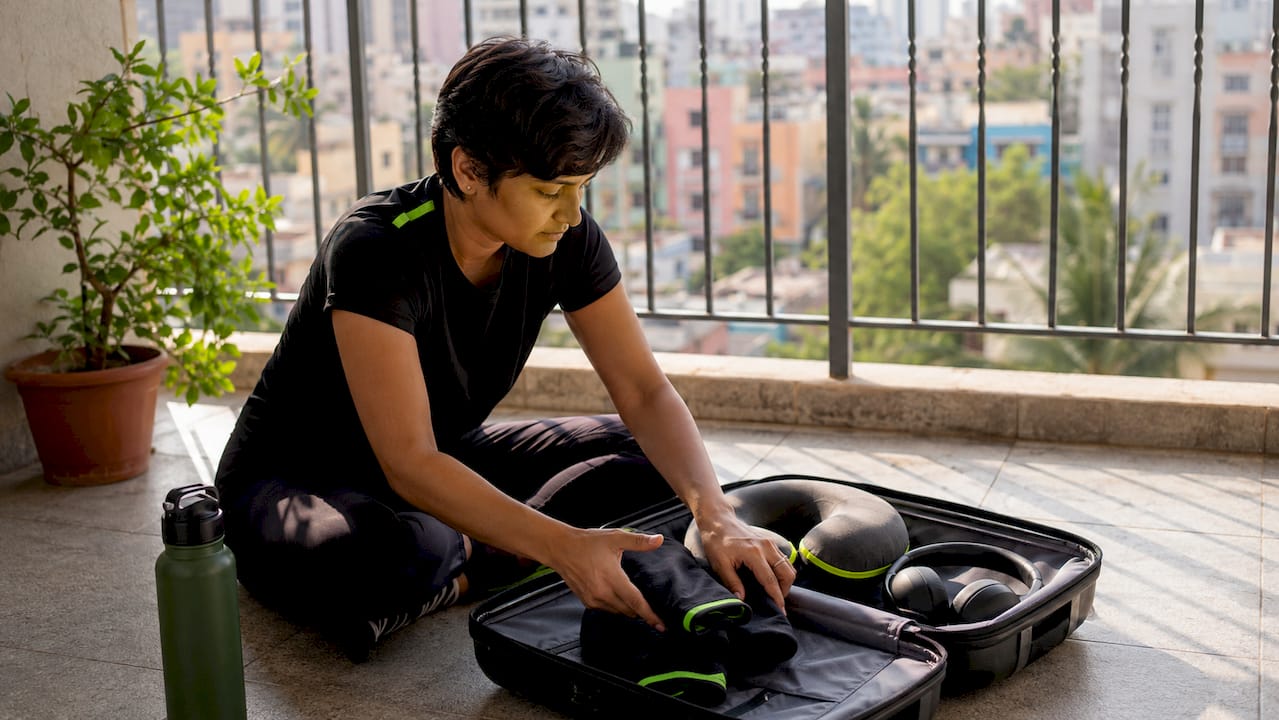
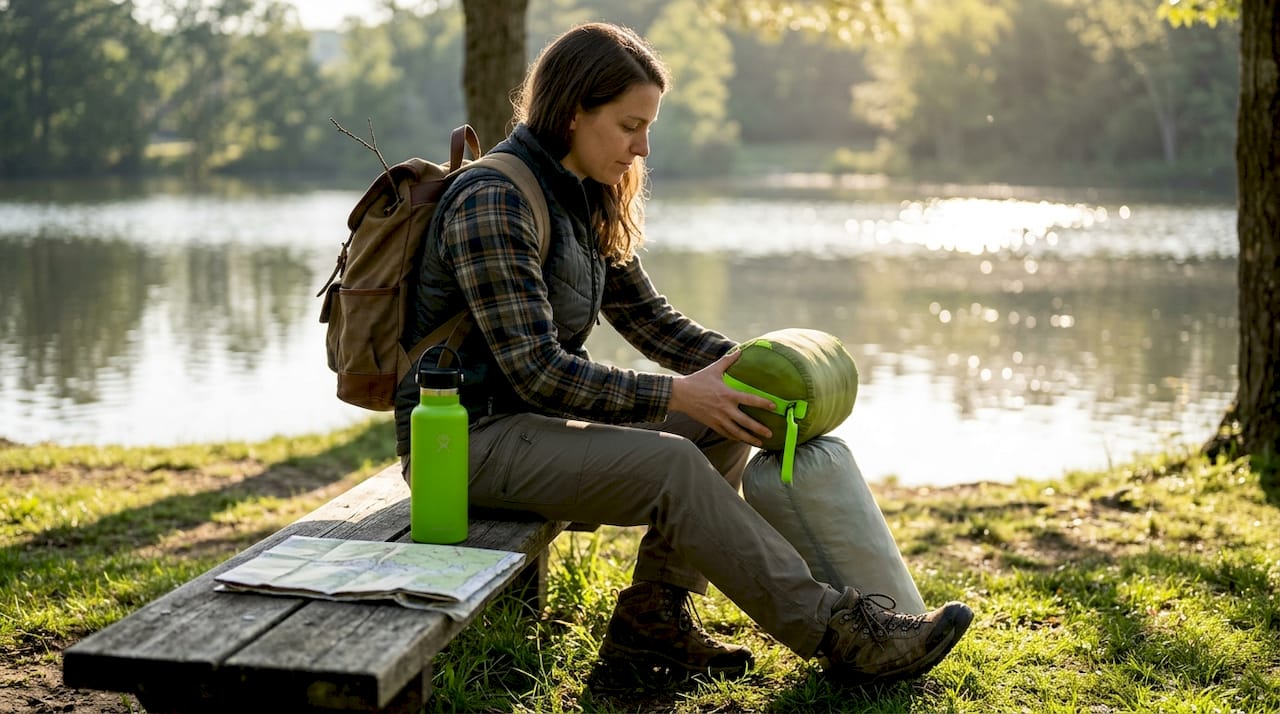
There’s nothing quite like that sinking feeling three miles into a trail when your shoulders are screaming, your hip belt is digging in like a vice, and you’re already regretting packing that “just-in-case” cast iron skillet. Sound familiar? Heavy, chaotic packs don’t just slow you down physically; they drain your mental energy and chip away at the joy that got you outdoors in the first place. The good news: a smart, repeatable packing process can flip that whole experience around. This guide walks you through what to bring, how to load it, and how to keep refining your system until every trip feels almost effortless.
| Point | Details |
|---|---|
| Base weight focus | Exclude consumables and aim for under 20 lb to simplify your packing for most trips. |
| Iterate packing choices | Refine your gear list after every trip to remove unnecessary items and improve convenience. |
| Pack for stability | Arrange heavy items close to your back for better balance and reduced fatigue. |
| Prioritize access | Keep essentials like snacks and first aid within arm’s reach to avoid constant unpacking. |
| Balance minimalism | Being lightweight is smart, but never compromise on essentials like safety and comfort. |
Before diving into checklists and comparisons, it helps to get clear on what “lightweight” actually means. The outdoor community uses a specific measurement called base weight to evaluate and compare packing setups. According to the TrekNtrails Ultralight Backpacking Guide, base weight is the total weight of your gear excluding consumables such as food, water, and fuel. This keeps comparisons honest, since water weight varies wildly depending on your route.
Here’s how the major categories break down:
| Category | Base Weight | Typical User |
|---|---|---|
| Ultralight | Under 10 lbs | Experienced minimalists |
| Lightweight | 10 to 20 lbs | Intermediate hikers |
| Traditional | Over 20 lbs | Beginners or comfort-focused campers |
Reducing your base weight pays off in very real ways. Your pace picks up, fatigue hits later in the day, and your knees will quietly thank you come morning. When you’re carrying less dead weight, you also move more confidently on technical terrain. Even shaving two or three pounds off a traditional setup can shift a brutal slog into an enjoyable outing.
Key benefits of going lightweight include:
If you’re new to this, checking out essential lightweight gear is a solid starting point before you start swapping out gear. For travel-specific packing ideas, women’s travel essentials also offers some genuinely useful perspective on prioritizing compact, versatile items.
Now that you understand the framework, let’s talk about the gear-selection process, because this is honestly where most people trip up. The instinct to pack for every conceivable scenario is deeply human and deeply counterproductive. A good packing strategy asks one simple question about every single item: does this item earn its weight?
The Ultralight Trekker’s base weight reduction guide makes the case for iterative packing, meaning you weigh and prune between trips, adjusting priorities for shelter, insulation, and fast access as you learn what you actually need in the field. That’s the key word: actually. Not “might need.” Not “could be useful.” Actually used.
Here’s a quick comparison to get your mental sorting cap on:
| Essentials (always earn their weight) | Often-skipped items (usually don’t) |
|---|---|
| Shelter (tent, tarp, or bivy) | Full-size camp pillow |
| Insulating layer | Duplicate cooking utensils |
| Rain jacket | Heavy camp shoes |
| Sleeping bag or quilt | Multiple books or heavy entertainment |
| Navigation tool (map, compass, GPS) | Full-size toiletry bottles |
| First aid kit (trimmed down) | “Just-in-case” tools you’ve never used |
| Water filtration | Bulky camp chairs (unless lightweight!) |
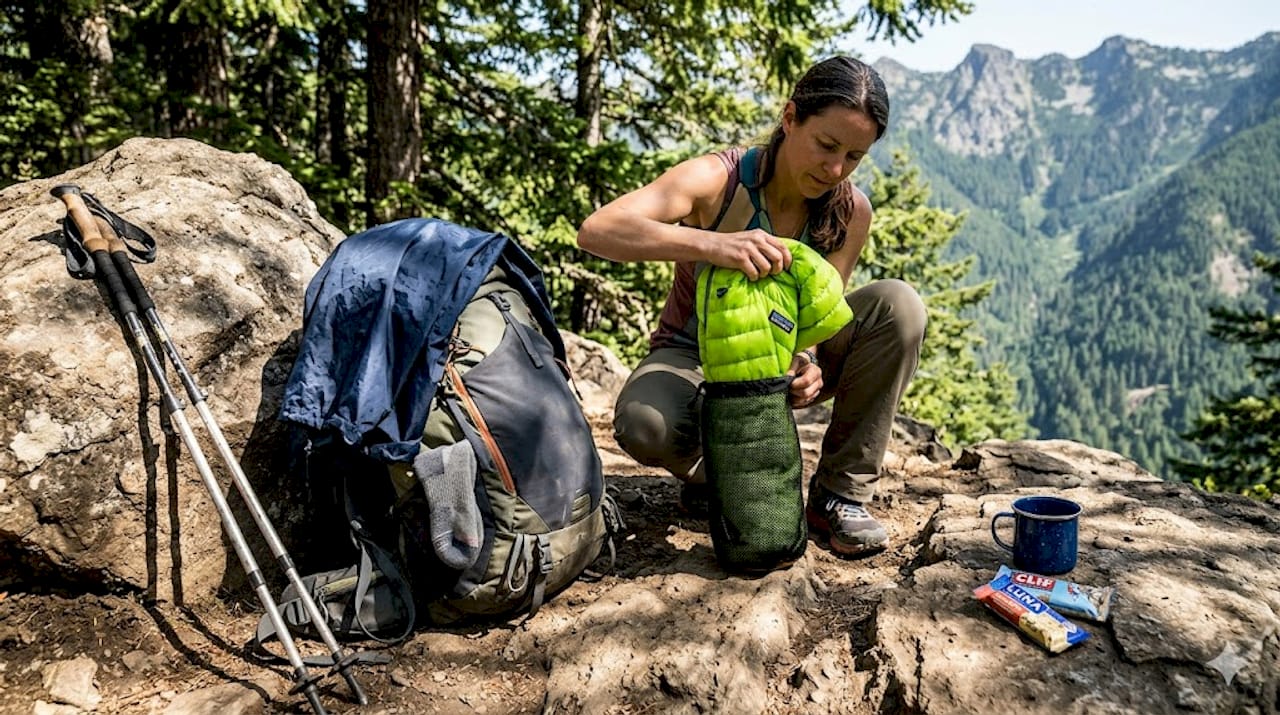
Items that serve multiple roles are your best friends here. A puffy jacket doubles as a pillow stuff-sack. A rain poncho can cover your pack and your back. Trekking poles provide stability on terrain and serve as tent poles for many ultralight shelters. Multi-use gear is the secret weapon of experienced lightweight packers.
To prioritize comfort in packing, think about what makes the biggest difference to your actual experience on the trail, not just the theoretical worst-case scenario. And if you’re evaluating new bags, choosing the right pack can influence how well your whole system performs.
Pro Tip: Focus first on your “Big Three”: shelter, sleep system, and pack itself. These categories typically represent 60 to 70 percent of your total base weight, so upgrading or trimming here gives you the biggest return on effort.
After every trip, go through your unused items ruthlessly. If that headlamp backup battery sat untouched for three outings in a row, it’s time to reconsider its spot in your kit.
Gear selection is only half the story. How you load your pack can be the difference between floating down the trail and stumbling under a lopsided, swaying torture device. Load mechanics matter.
The guiding principle from Hikematic’s packing guide is clear: place dense and heavy items close to your back and near the center for stability, and keep quick-access items in side and hip pockets. This keeps the center of gravity tight against your body, reducing the pendulum effect that causes sway and fatigue on uneven ground.
Here’s a practical step-by-step loading process:
“A poorly loaded pack can make premium lightweight gear feel just as punishing as a bargain-bin monster. Your body doesn’t care about brand names; it responds to weight distribution.”
For wet weather, stash your dry base layer last in the top of the main compartment so you can grab it fast without dumping your entire kit on a wet trail. That one habit alone can save you from a miserable night.
Check out these hiking mobility tips for more ways to keep your load trail-friendly. If you’re evaluating a 2-compartment backpack, that structure naturally supports this layered packing approach.
Pro Tip: After loading, put your pack on and shift your weight side to side. If it sways noticeably, something heavy is sitting too far from your back or too low. Repack until the sway disappears.
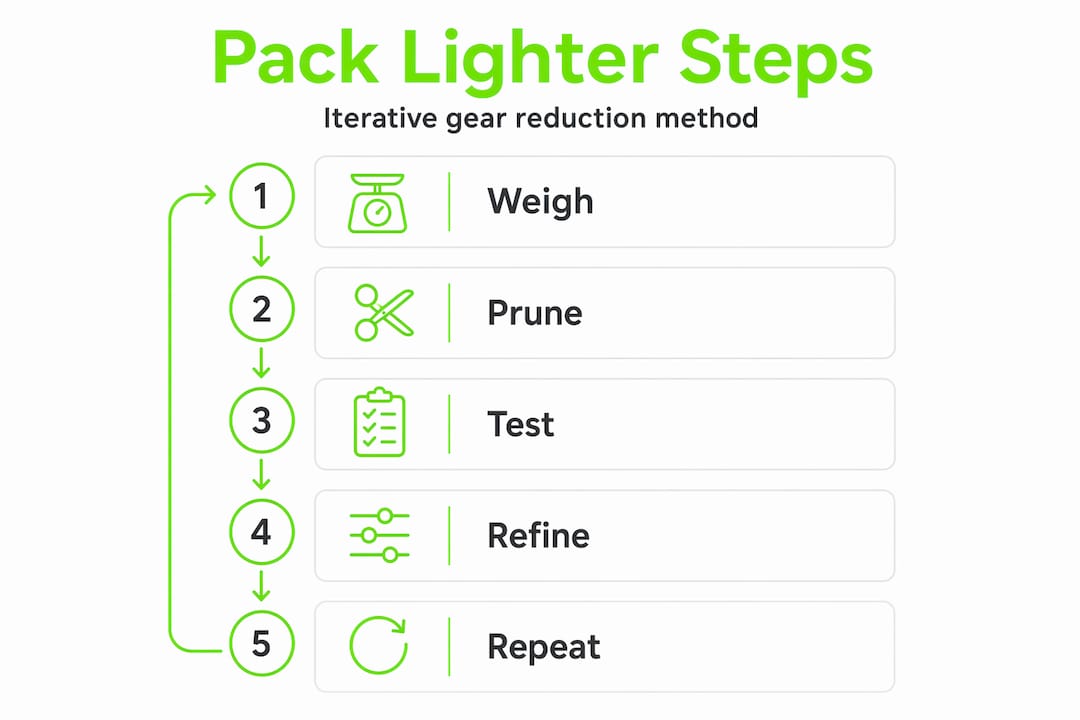
Here’s what separates the occasional camper from the confident, fast-moving wilderness traveler: iteration. Every trip is a data point. Every trip teaches you something your pre-trip planning couldn’t predict. The best lightweight packing process, as the Ultralight Trekker guide puts it, is iterative: weigh, prune, validate in real conditions, then adjust for next time.
Here’s a simple post-trip review process to build into your routine:
Tools and strategies to help you track your gear accurately:
For specific inspiration on packing iteration strategies, there’s genuinely useful content covering what experienced packers do differently season to season. For toiletry-specific streamlining, exploring compact toiletry solutions can cut surprising weight from a category many people overlook.
The ongoing benefits of this iterative approach are real and cumulative. Your pack gets meaningfully lighter over time. You move more nimbly. You stop dreading the approach trail. And perhaps best of all, you stop second-guessing yourself mid-hike because you’ve already validated your system through experience.
Even seasoned packers make the same mistakes, usually under the pressure of trip excitement or the anxiety of “what if.” Let’s walk through the most common traps and how to sidestep them.
Why over-packing happens:
Signs of poor weight distribution:
Ways to improve item access and organization:
As Hikematic’s guide points out, mechanical efficiency in your load setup is as important as owning lighter gear. Spending thousands on ultralight equipment and then loading it chaotically is the outdoor equivalent of buying a sports car and driving it in first gear the whole time.
“Gear swaps made impulsively between trips, without tracking what you changed, are a fast way to end up less organized than when you started. Change one thing at a time, test it, and then decide.”
When something feels off on the trail, don’t wait until camp to fix it. Stop, take five minutes, and adjust. Shifting a single heavy item closer to your back can transform the next three miles. For more ideas on how to maximize outdoor comfort, small adjustments add up to big differences. And if your current pack isn’t cutting it, checking out travel bag recommendations might point you toward a better-suited option.
Let’s get honest for a second, because the ultralight world can sometimes feel like an arms race where grams matter more than good judgment. I’ve watched incredibly experienced hikers walk into trouble because they shaved too much from their kit in the name of minimalism. A flimsy emergency bivy is not the same as a proper rain layer when the weather turns genuinely ugly.
The Carryology ultralight crossover piece makes this point well: ultralight packing is not just about gear weight, it’s a mindset tradeoff toward efficiency and self-reliance. That’s an important nuance. Going ultralight demands that you really know your skills, your terrain, and your likely conditions. A beginner pushing into the sub-10-pound territory without the experience to back it up is rolling the dice with safety.
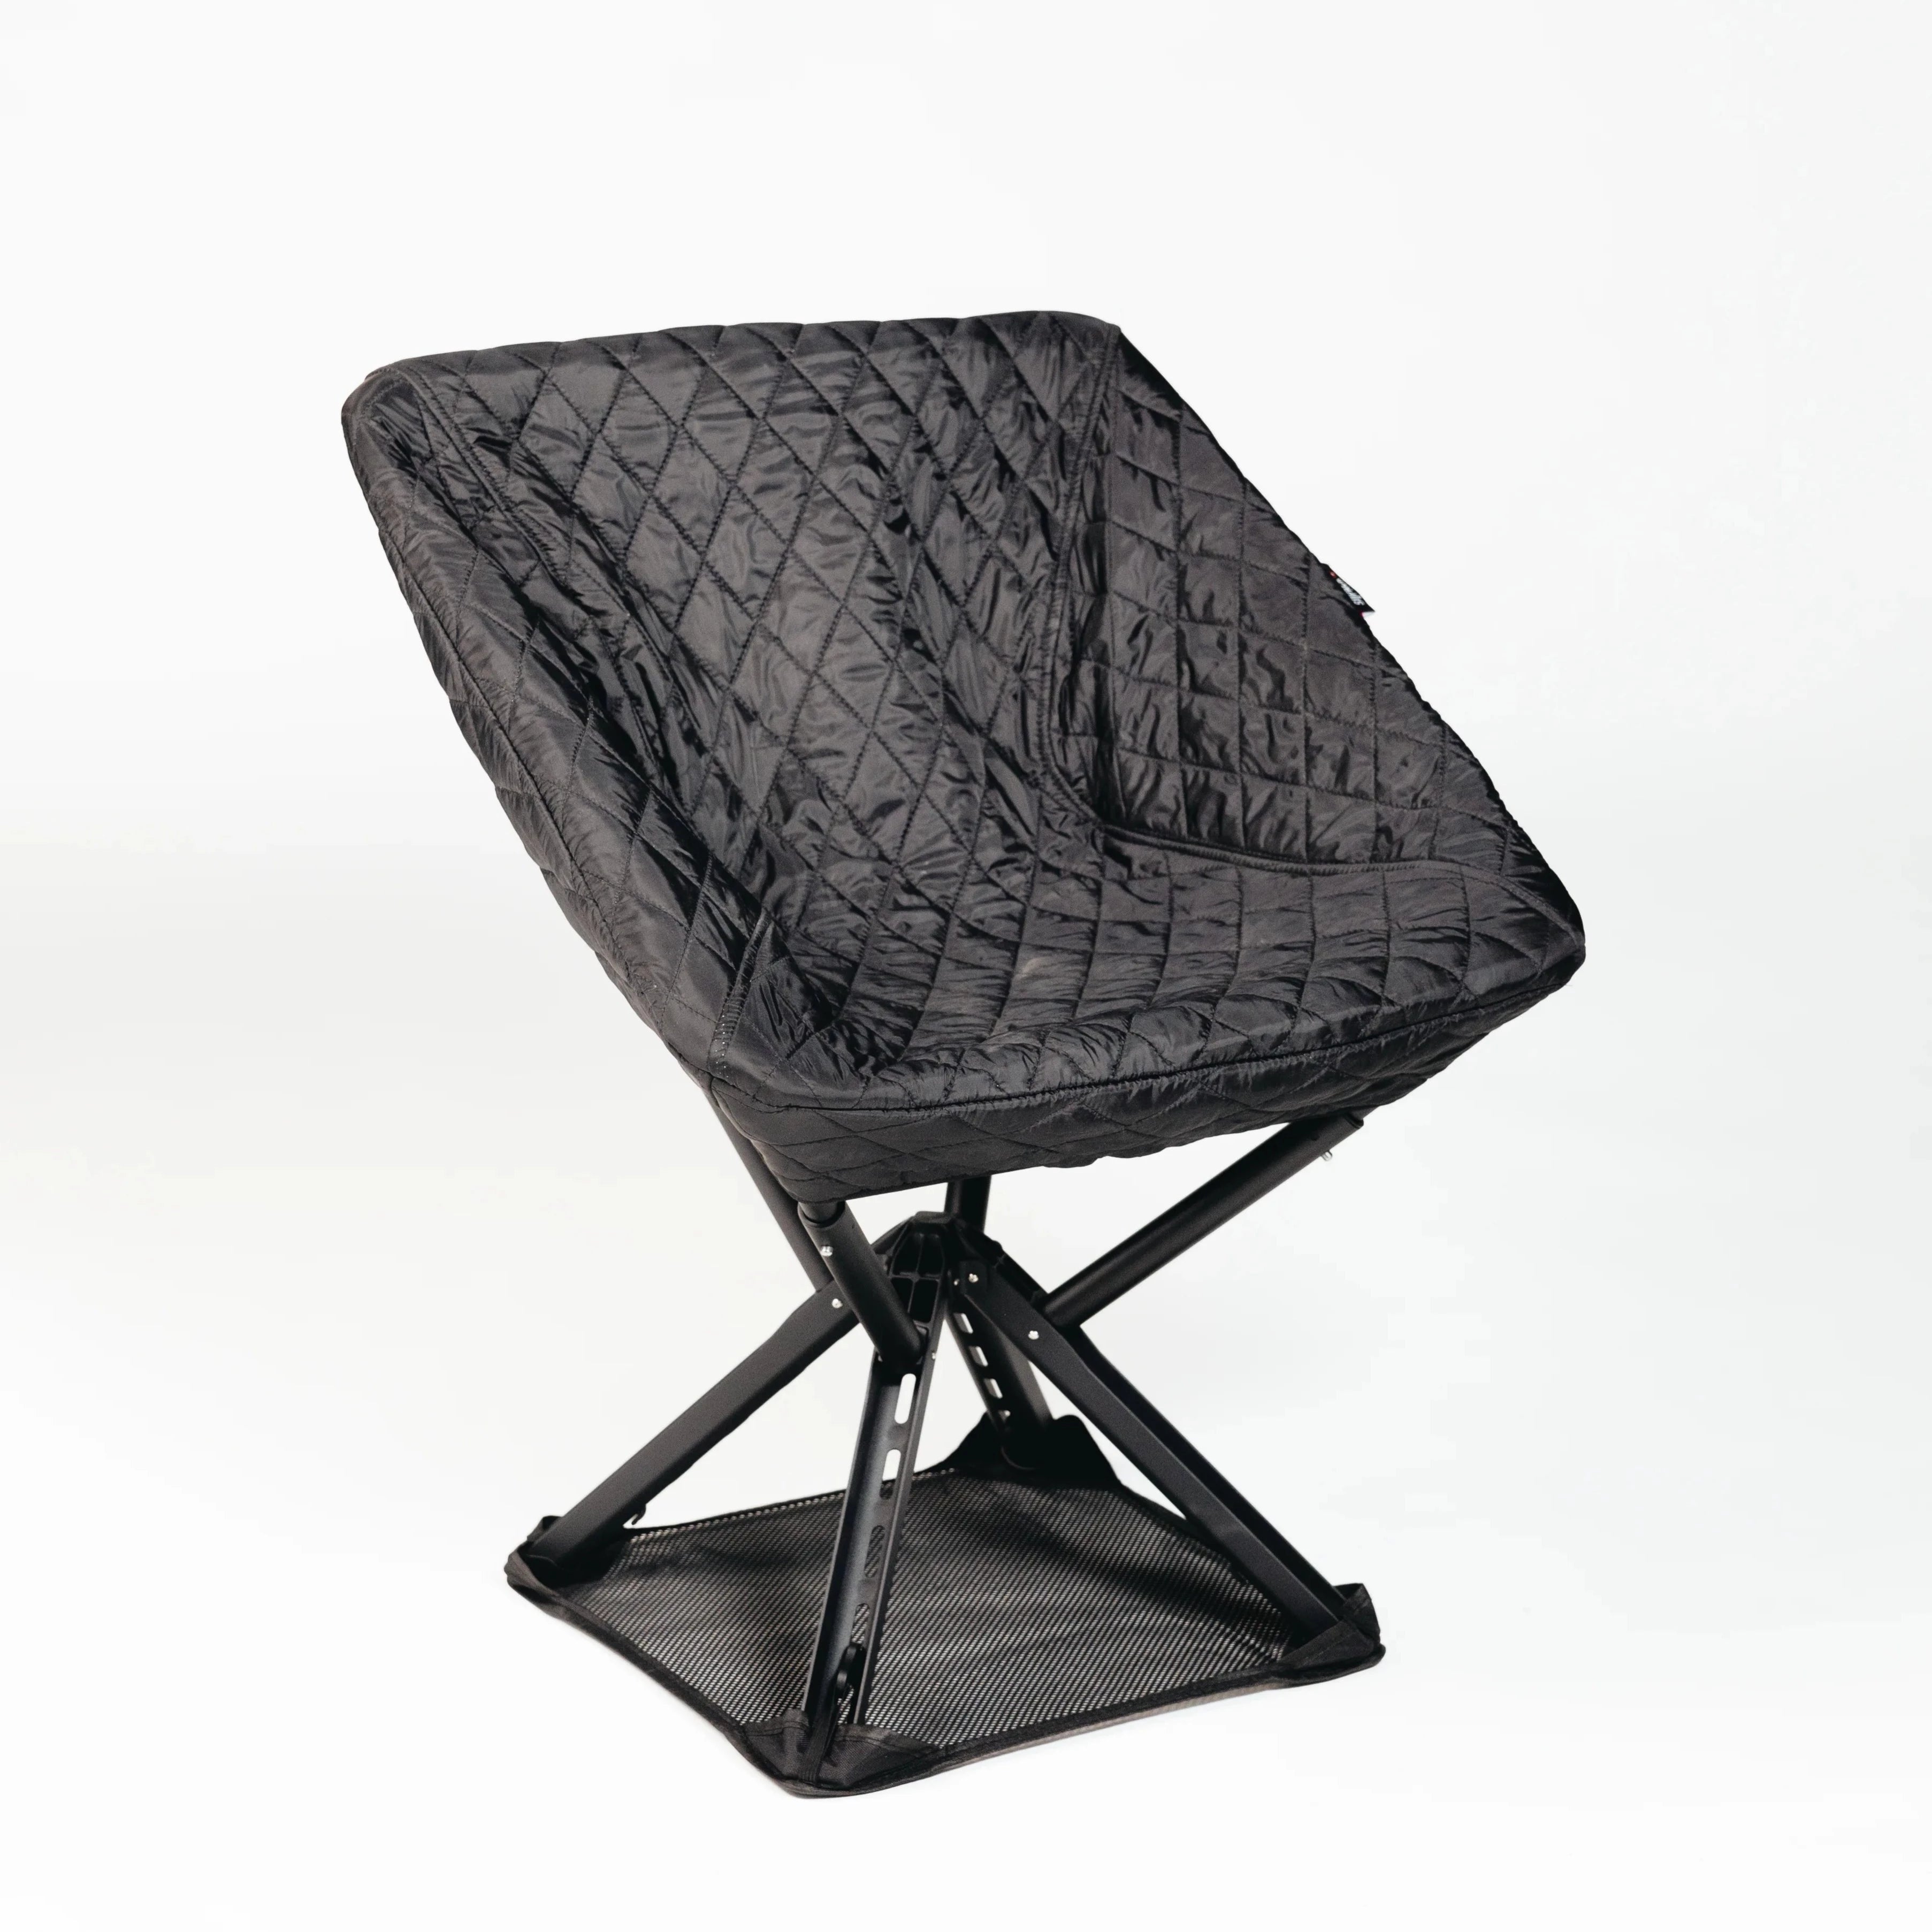
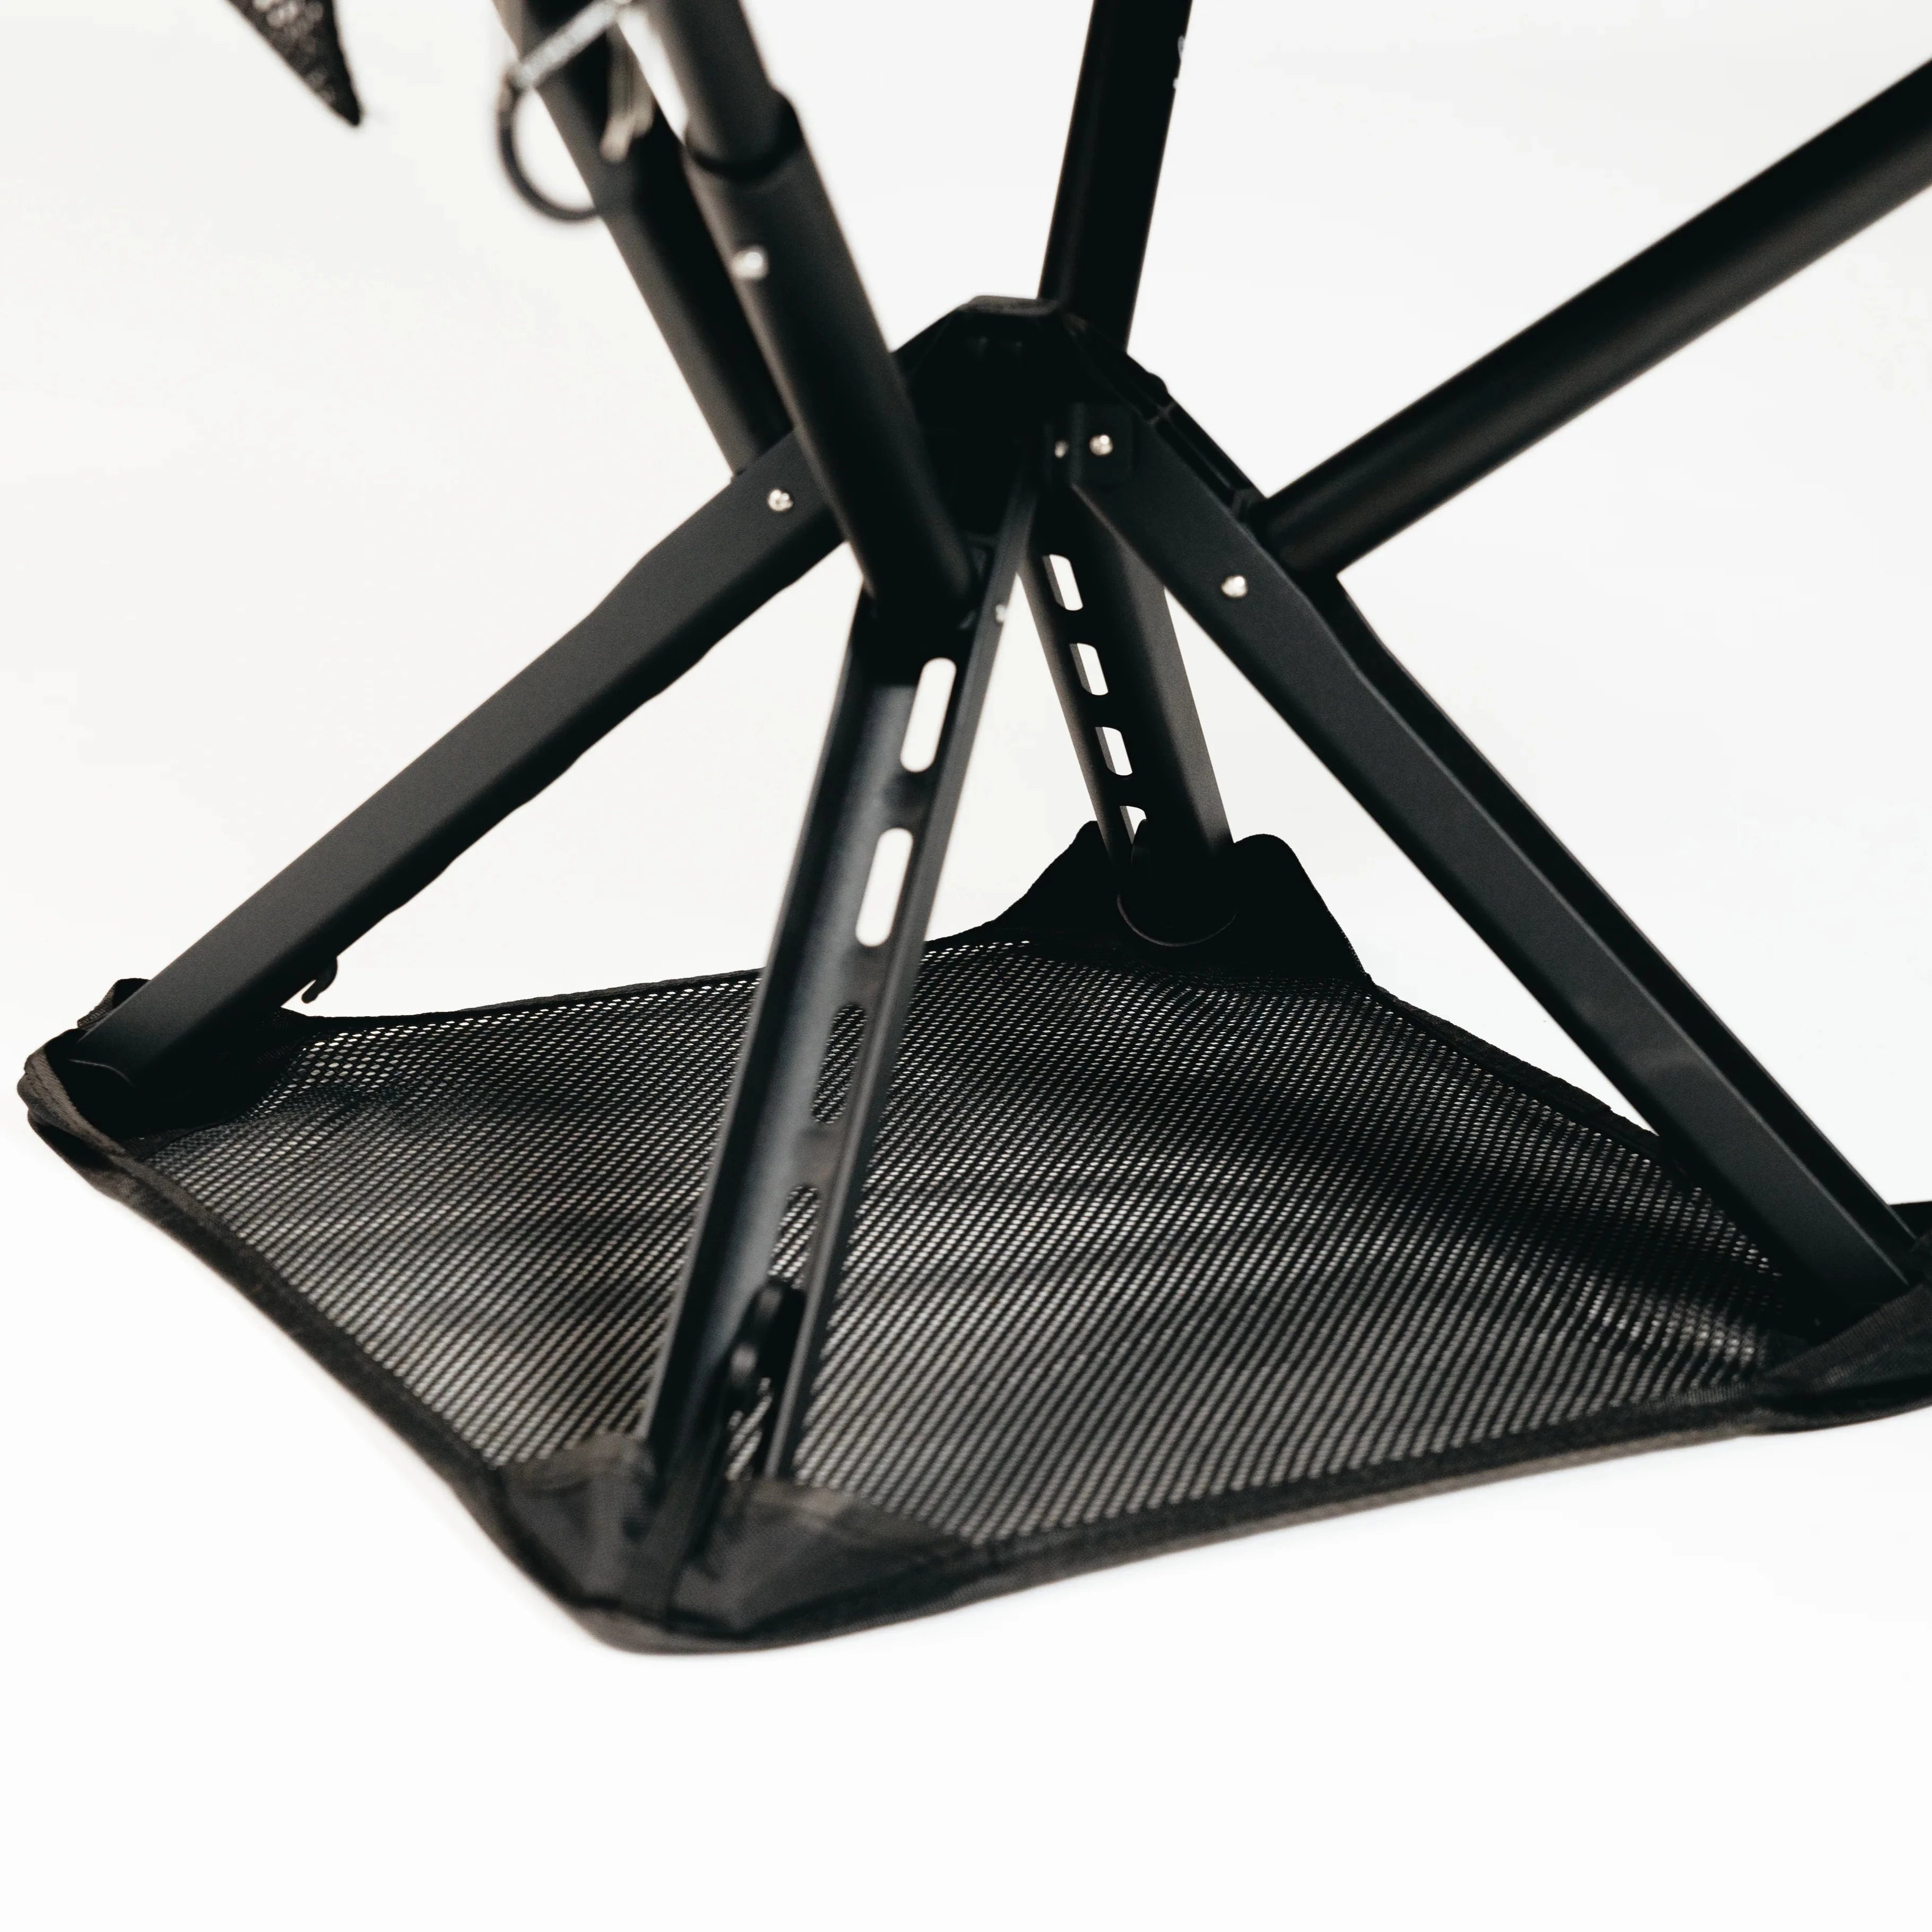
Here’s the honest take: sometimes the extra half-pound insulated jacket is absolutely worth it. Sometimes the backup headlamp battery earns its place. Sometimes your camping experience is vastly improved by a lightweight portable seat rather than perching awkwardly on a root all evening. The goal isn’t minimalism for its own sake. The goal is a pack that supports a great experience outdoors without punishing you.
Experiment freely, but use your early trips as learning experiences rather than showcases. Check out real-world packing lessons from people who’ve already made the expensive (or exhausting) mistakes so you don’t have to.
Pro Tip: Know your needs before you follow any packing philosophy rigidly. If you’re camping in shoulder-season mountains, go heavier on insulation. If you’re day-hiking in summer, go minimal. Let the conditions dictate the system, not the other way around.
You’ve got the strategy, the framework, and the mindset. Now it’s time to match that knowledge with gear that doesn’t weigh you down. At Sitpack, we’ve built our entire product line around the belief that outdoor comfort and minimal weight aren’t mutually exclusive. Every item we design is meant to earn its place in your pack.
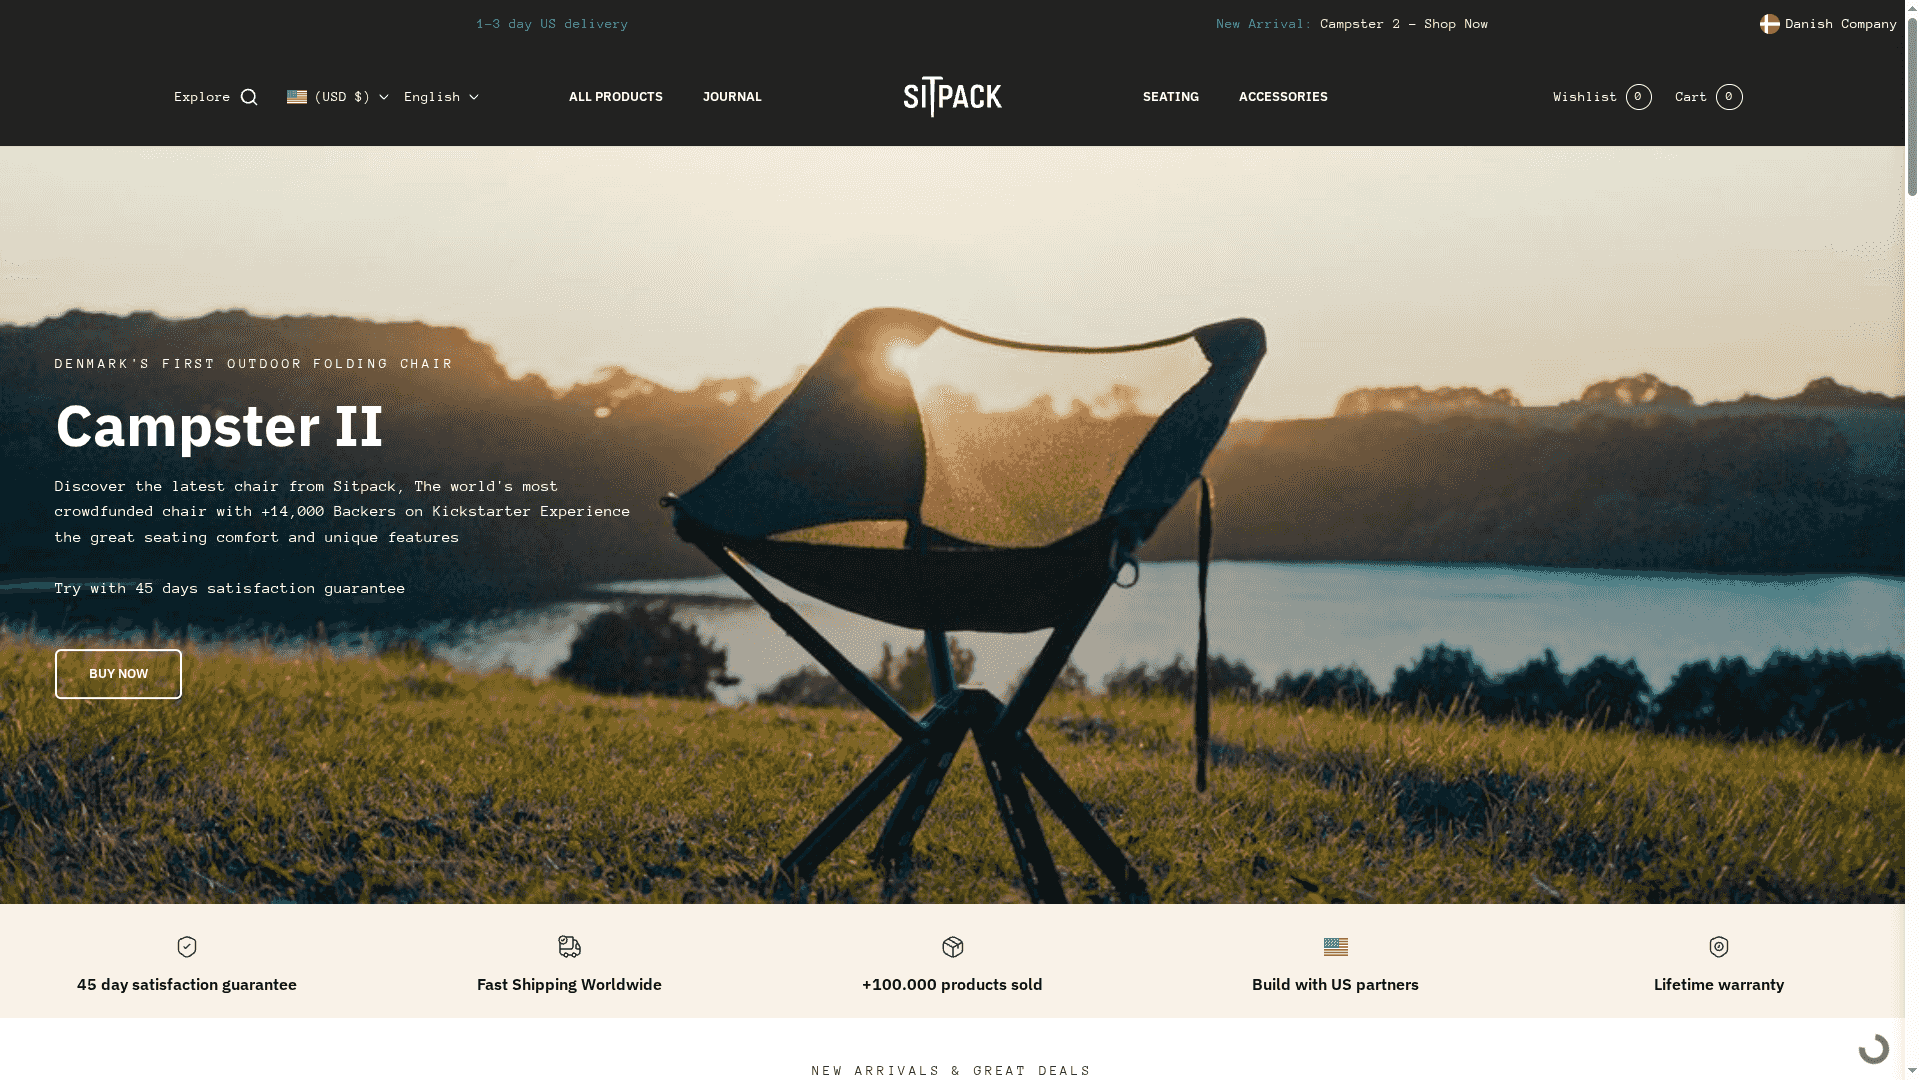
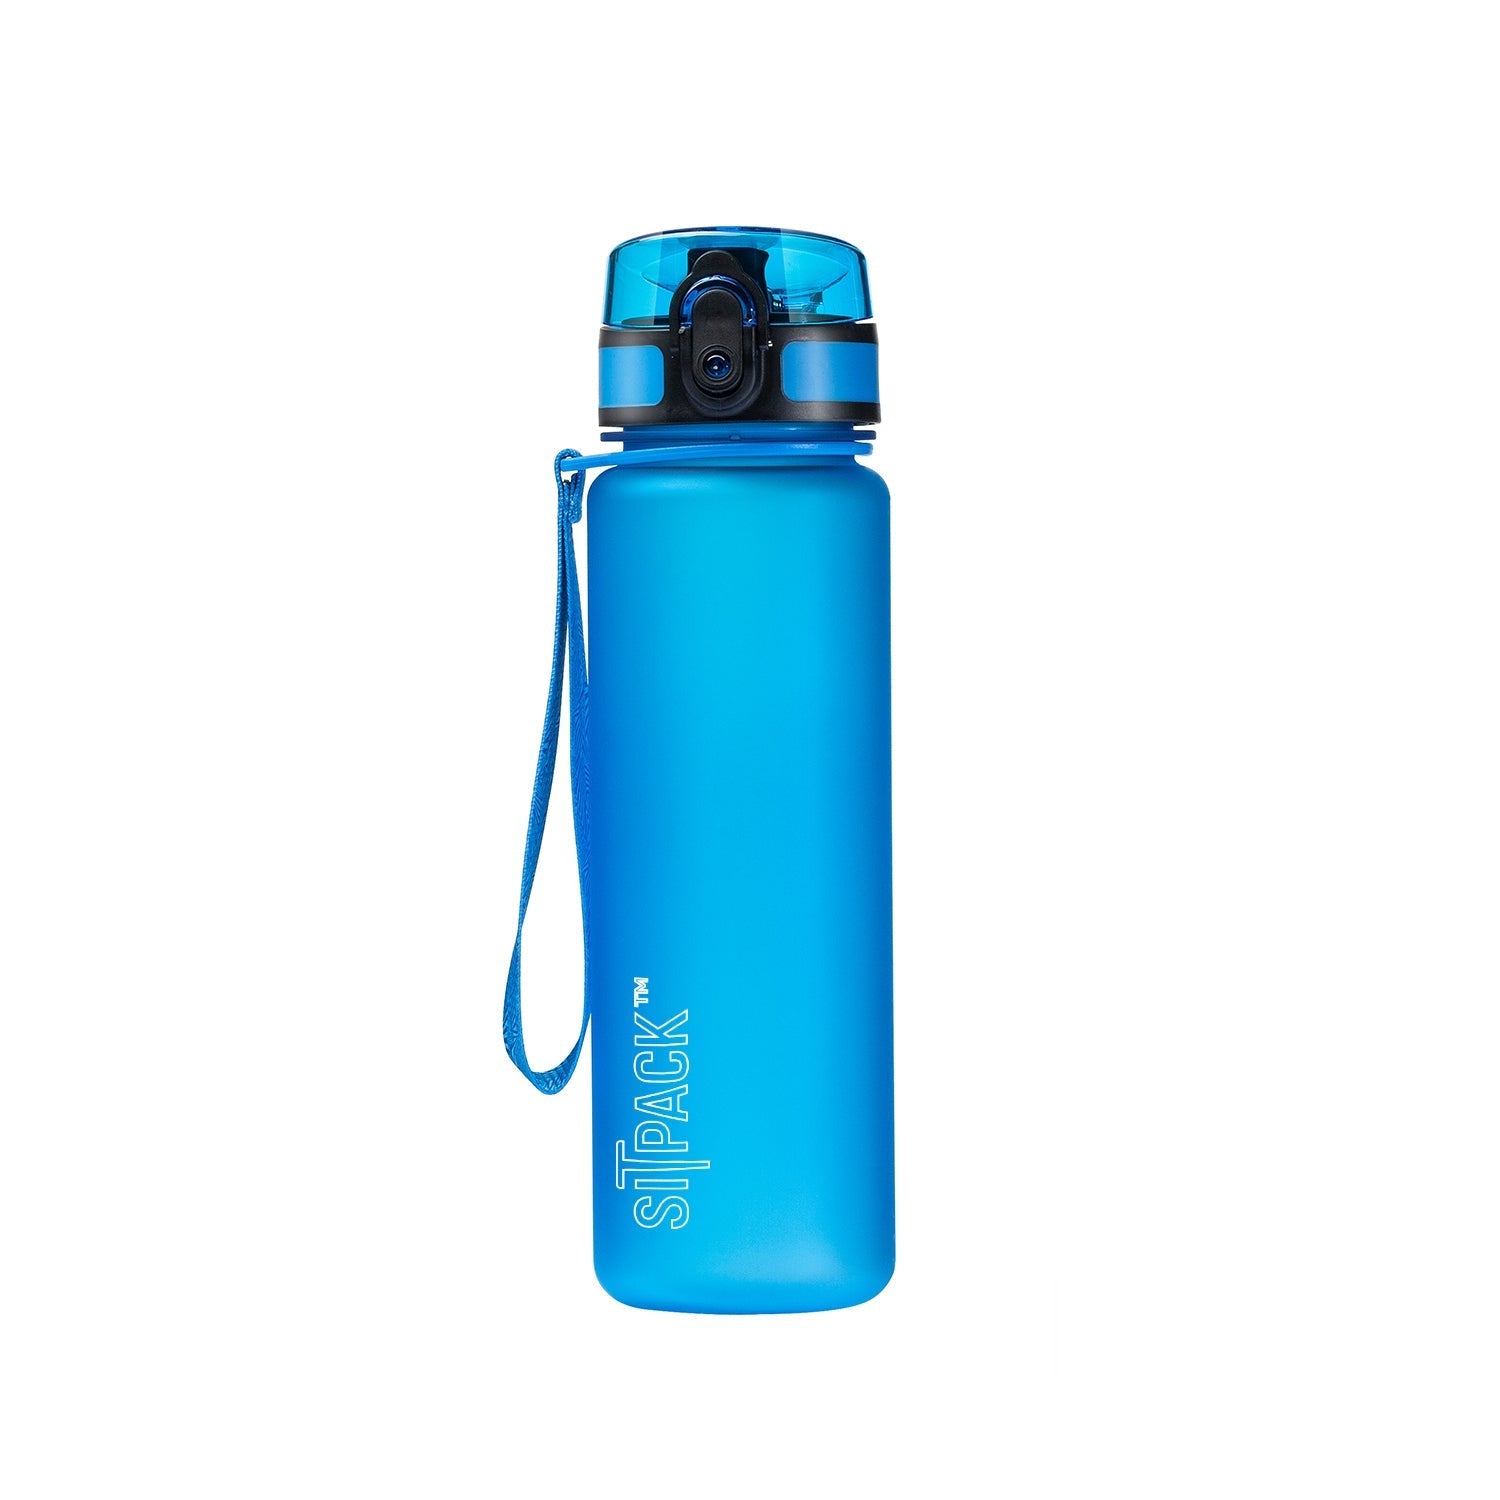
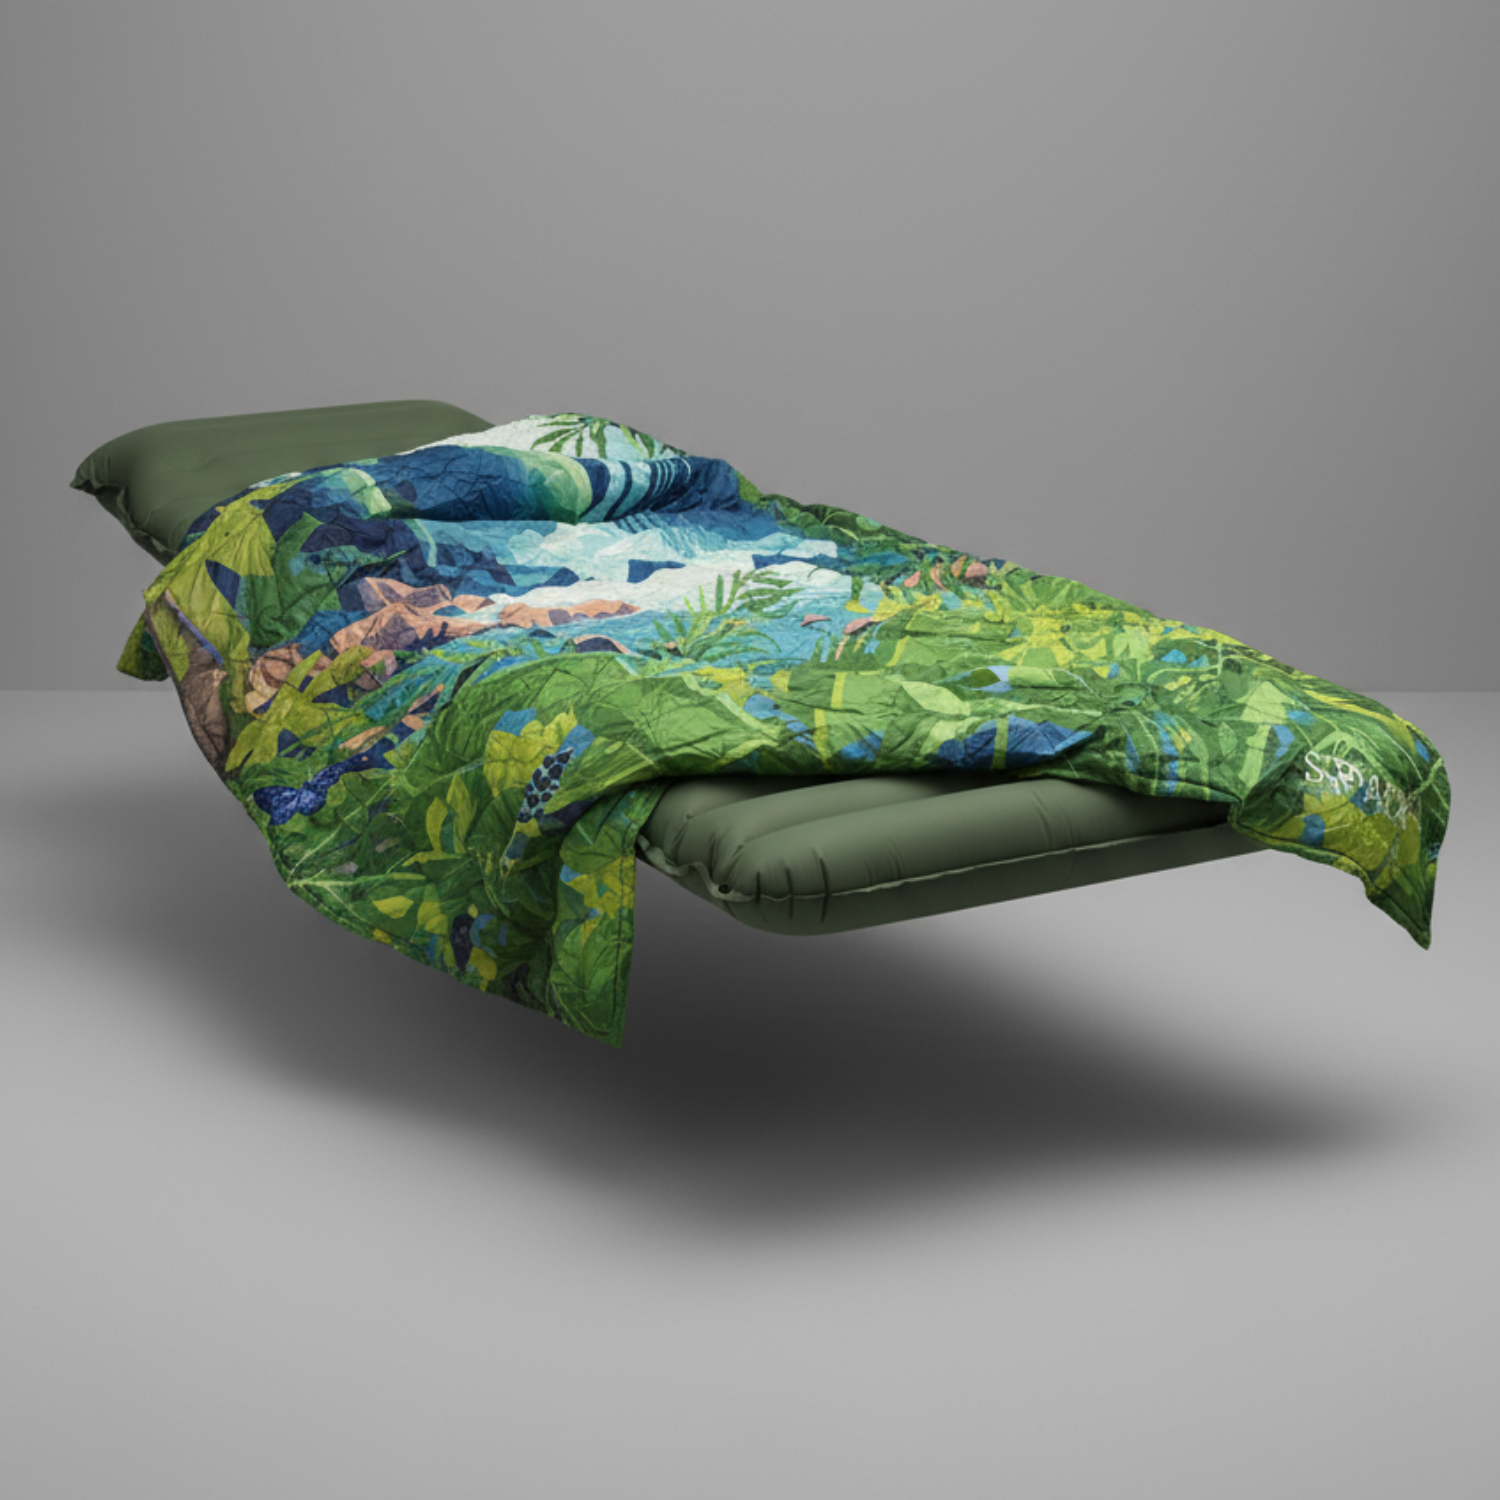
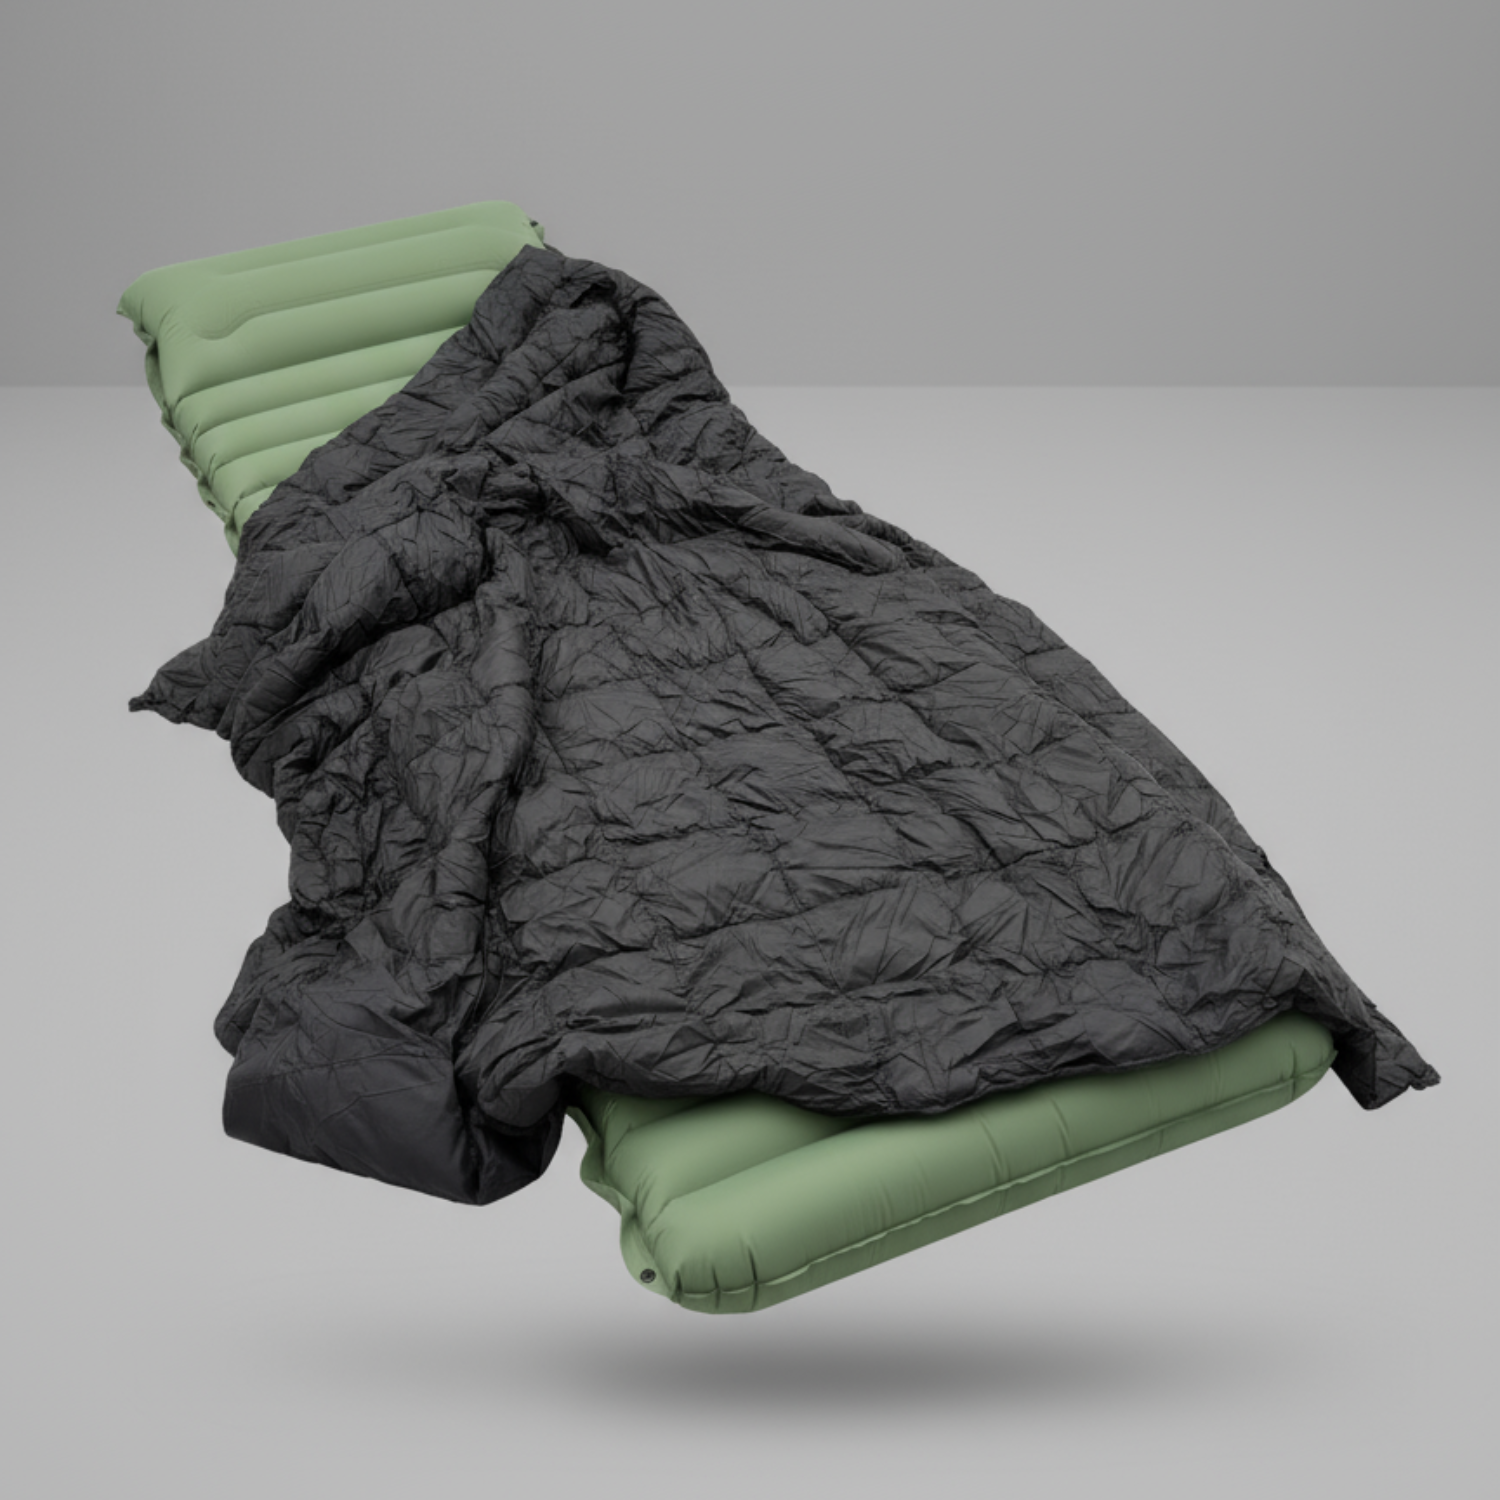
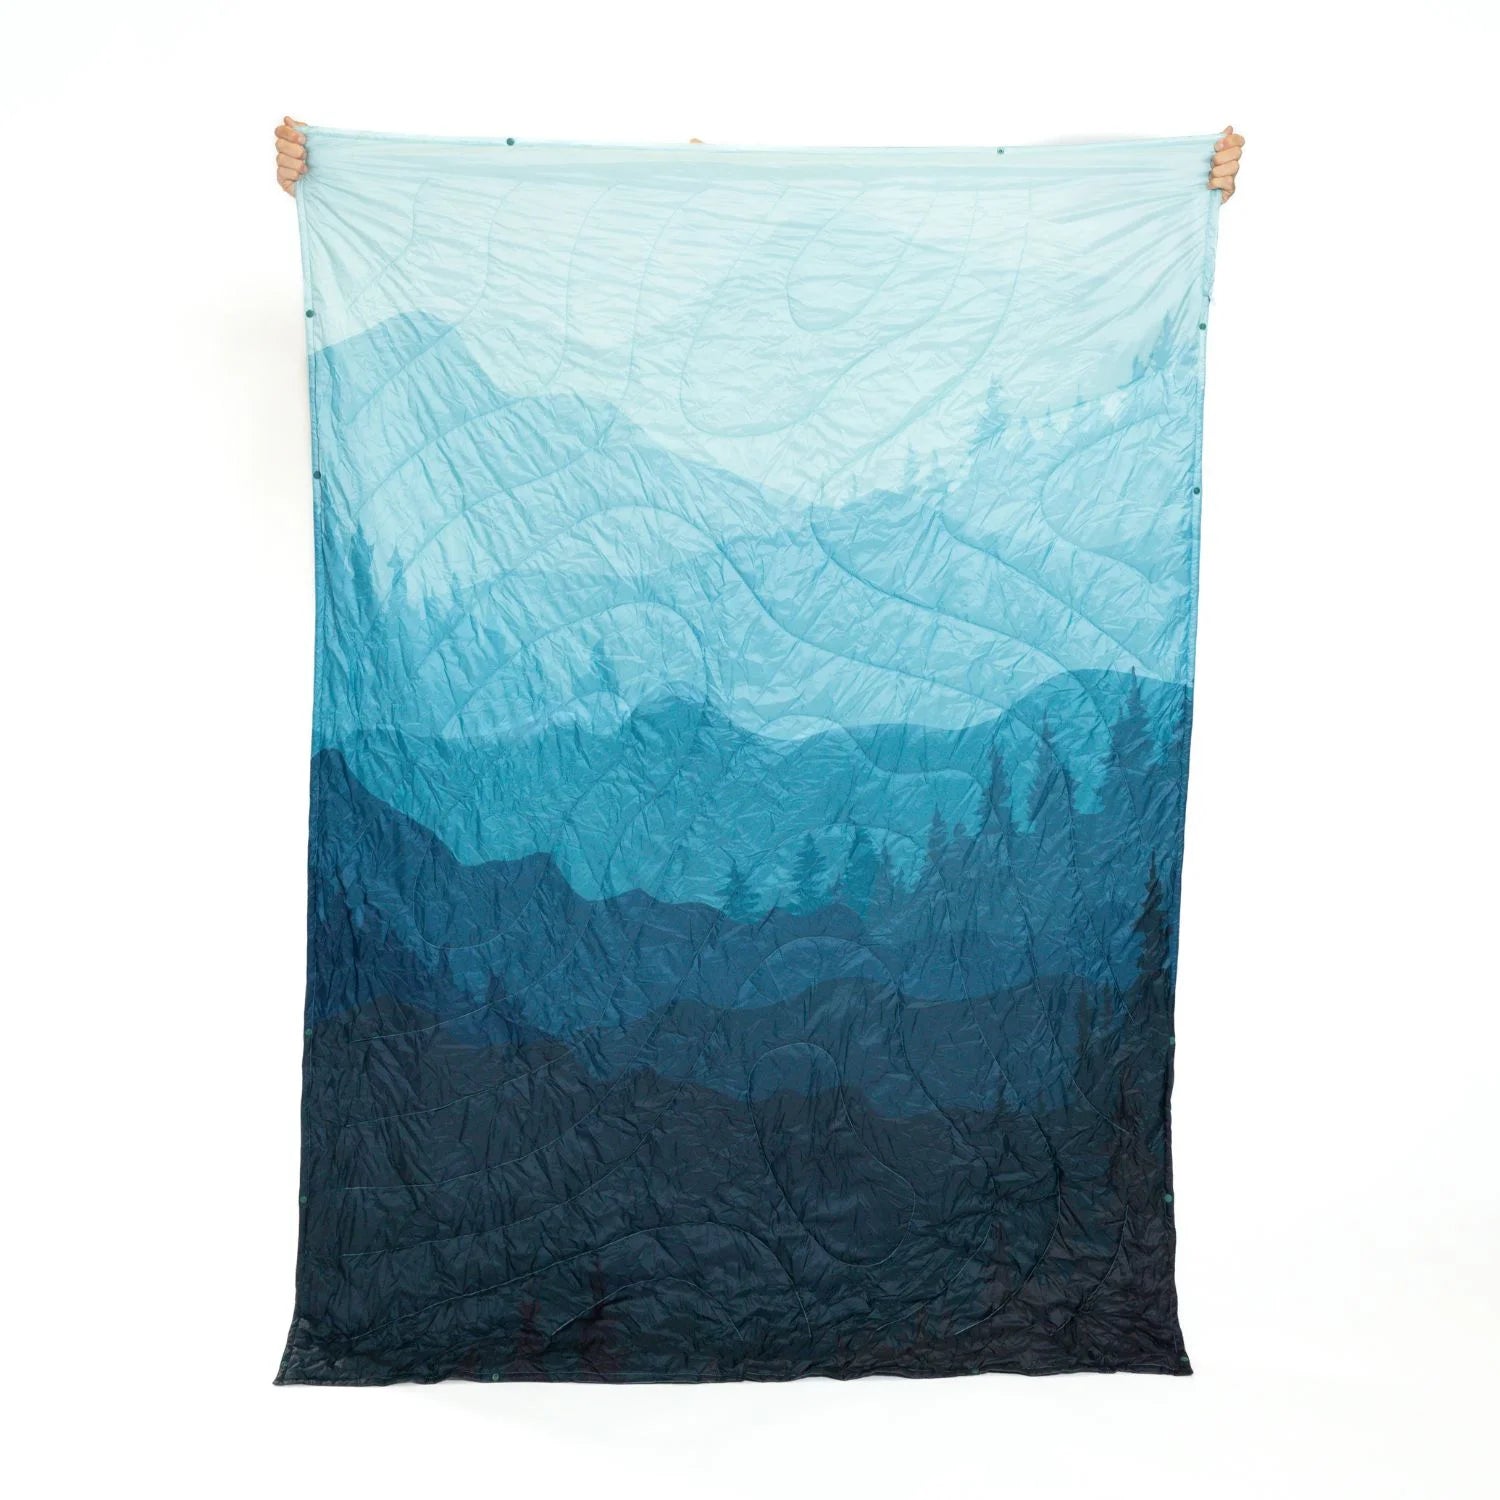
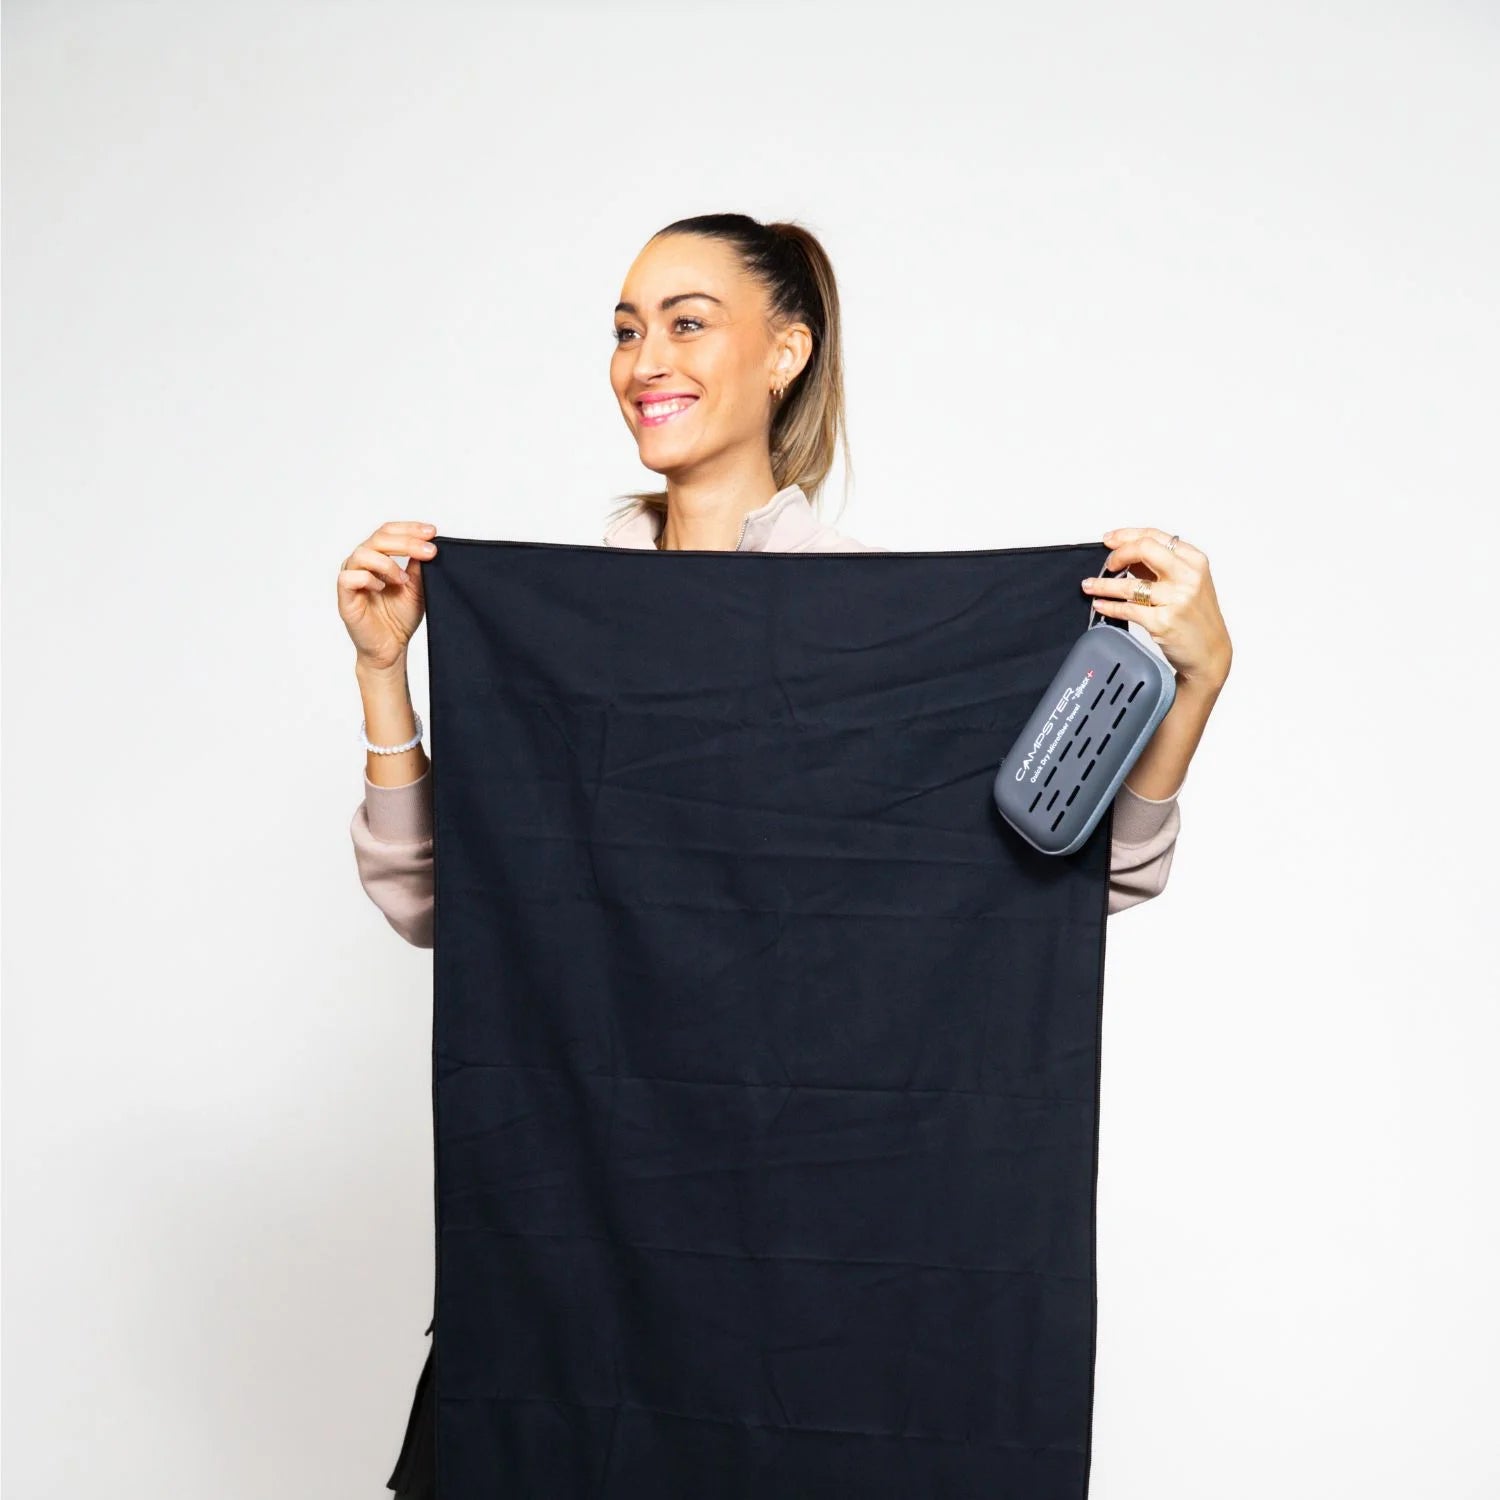
From the Campster II portable chair that parks your posterior comfortably at camp without the bulk, to thermal blankets, travel towels, and water bottles designed for the weight-conscious adventurer, Sitpack outdoor gear is worth a browse before your next outing. We back everything with a 45-day satisfaction guarantee and fast worldwide delivery, so you can gear up with confidence. Your next trail awaits. Make sure your pack is ready for it.
Base weight is the total of your pack minus consumables like food, water, and fuel, letting you compare gear setups accurately. The TrekNtrails Ultralight Backpacking Guide uses this definition as the standard benchmark for categorizing lightweight and ultralight setups.
Skip items you rarely use, prioritize multi-use gear, and review what you didn’t use after each trip to refine your list. As the Ultralight Trekker guide explains, iterative packing means you weigh and prune between trips, adjusting priorities as you learn what actually earns its place.
Pack heavier or dense items close to your back and centered to reduce sway and increase stability on the trail. Hikematic’s guide confirms that placing dense items close to your back and near the center is the gold standard for comfort and stability.
Ultralight packing focuses not just on gear weight but on efficiency, self-reliance, and smart organization across every aspect of your kit. Carryology frames it as a mindset tradeoff toward efficiency and self-reliance, not simply a gear-weight competition.
The most common mistake is over-packing or poor load arrangement that causes discomfort and slows access to necessities mid-hike. Per Hikematic, mechanical efficiency in your setup is just as important as owning genuinely lightweight gear in the first place.