Cart
0
Sign up and get 10$ off your order
Expected delivery
1-3 days
You may also like


Danish Company

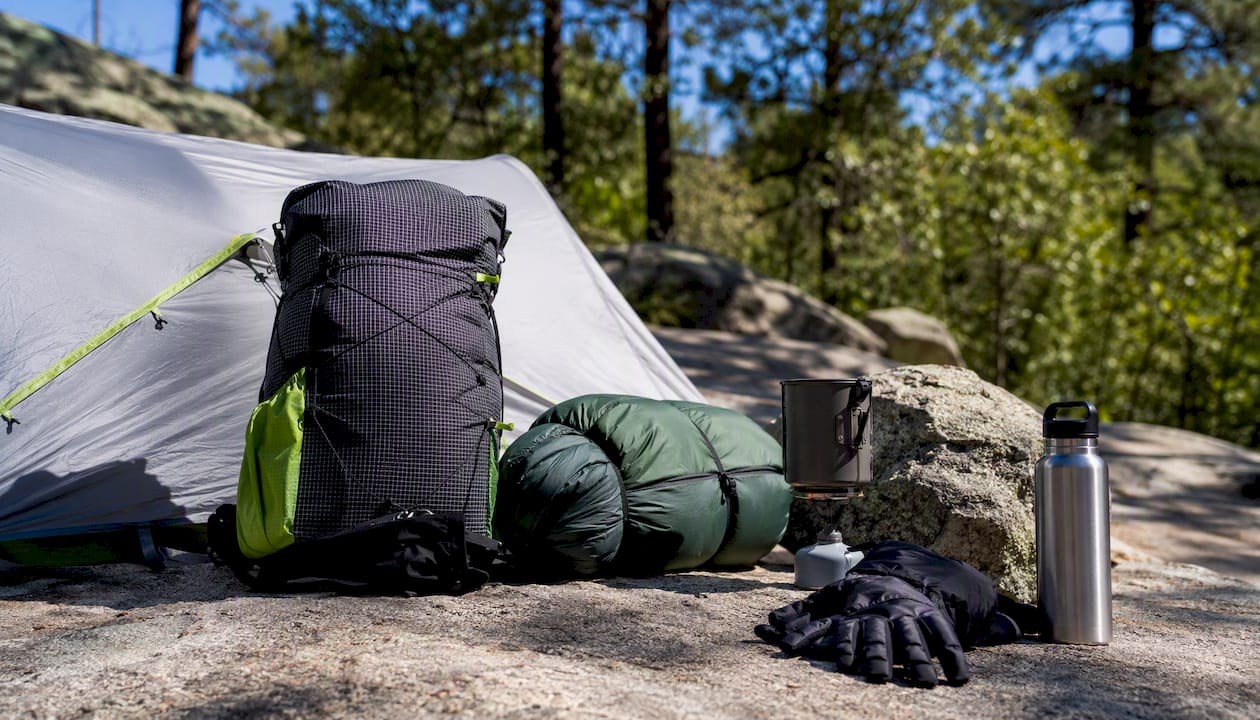
This is a ready-to-use REI-style backpacking checklist organized by essentials first, optional items flagged, and prioritized around the Big 4 and your pack’s base weight. Whether you’re heading out for one night or a full week, this list tells you exactly what to grab, what to borrow, and what to leave at home.
Essentials (never leave without these):
Optional (situational or comfort items):
A solid backpacking kit starts with the Big 4, uses a 10°F bag buffer, and keeps base weight in the lightweight-to-traditional range until you know your preferences well enough to upgrade intentionally.
| Point | Details |
|---|---|
| Big 4 first | Prioritize shelter, sleep system, pack, and cooking before any other gear category. |
| 10°F bag buffer | Choose a sleeping bag rated 10°F lower than your expected nighttime low for real comfort. |
| Rent before buying | First-timers can rent a complete kit for roughly $50–$80 per weekend to test configurations. |
| Upgrade Big Three for weight savings | Swapping pack, shelter, or sleep system delivers more weight reduction than any accessory change. |
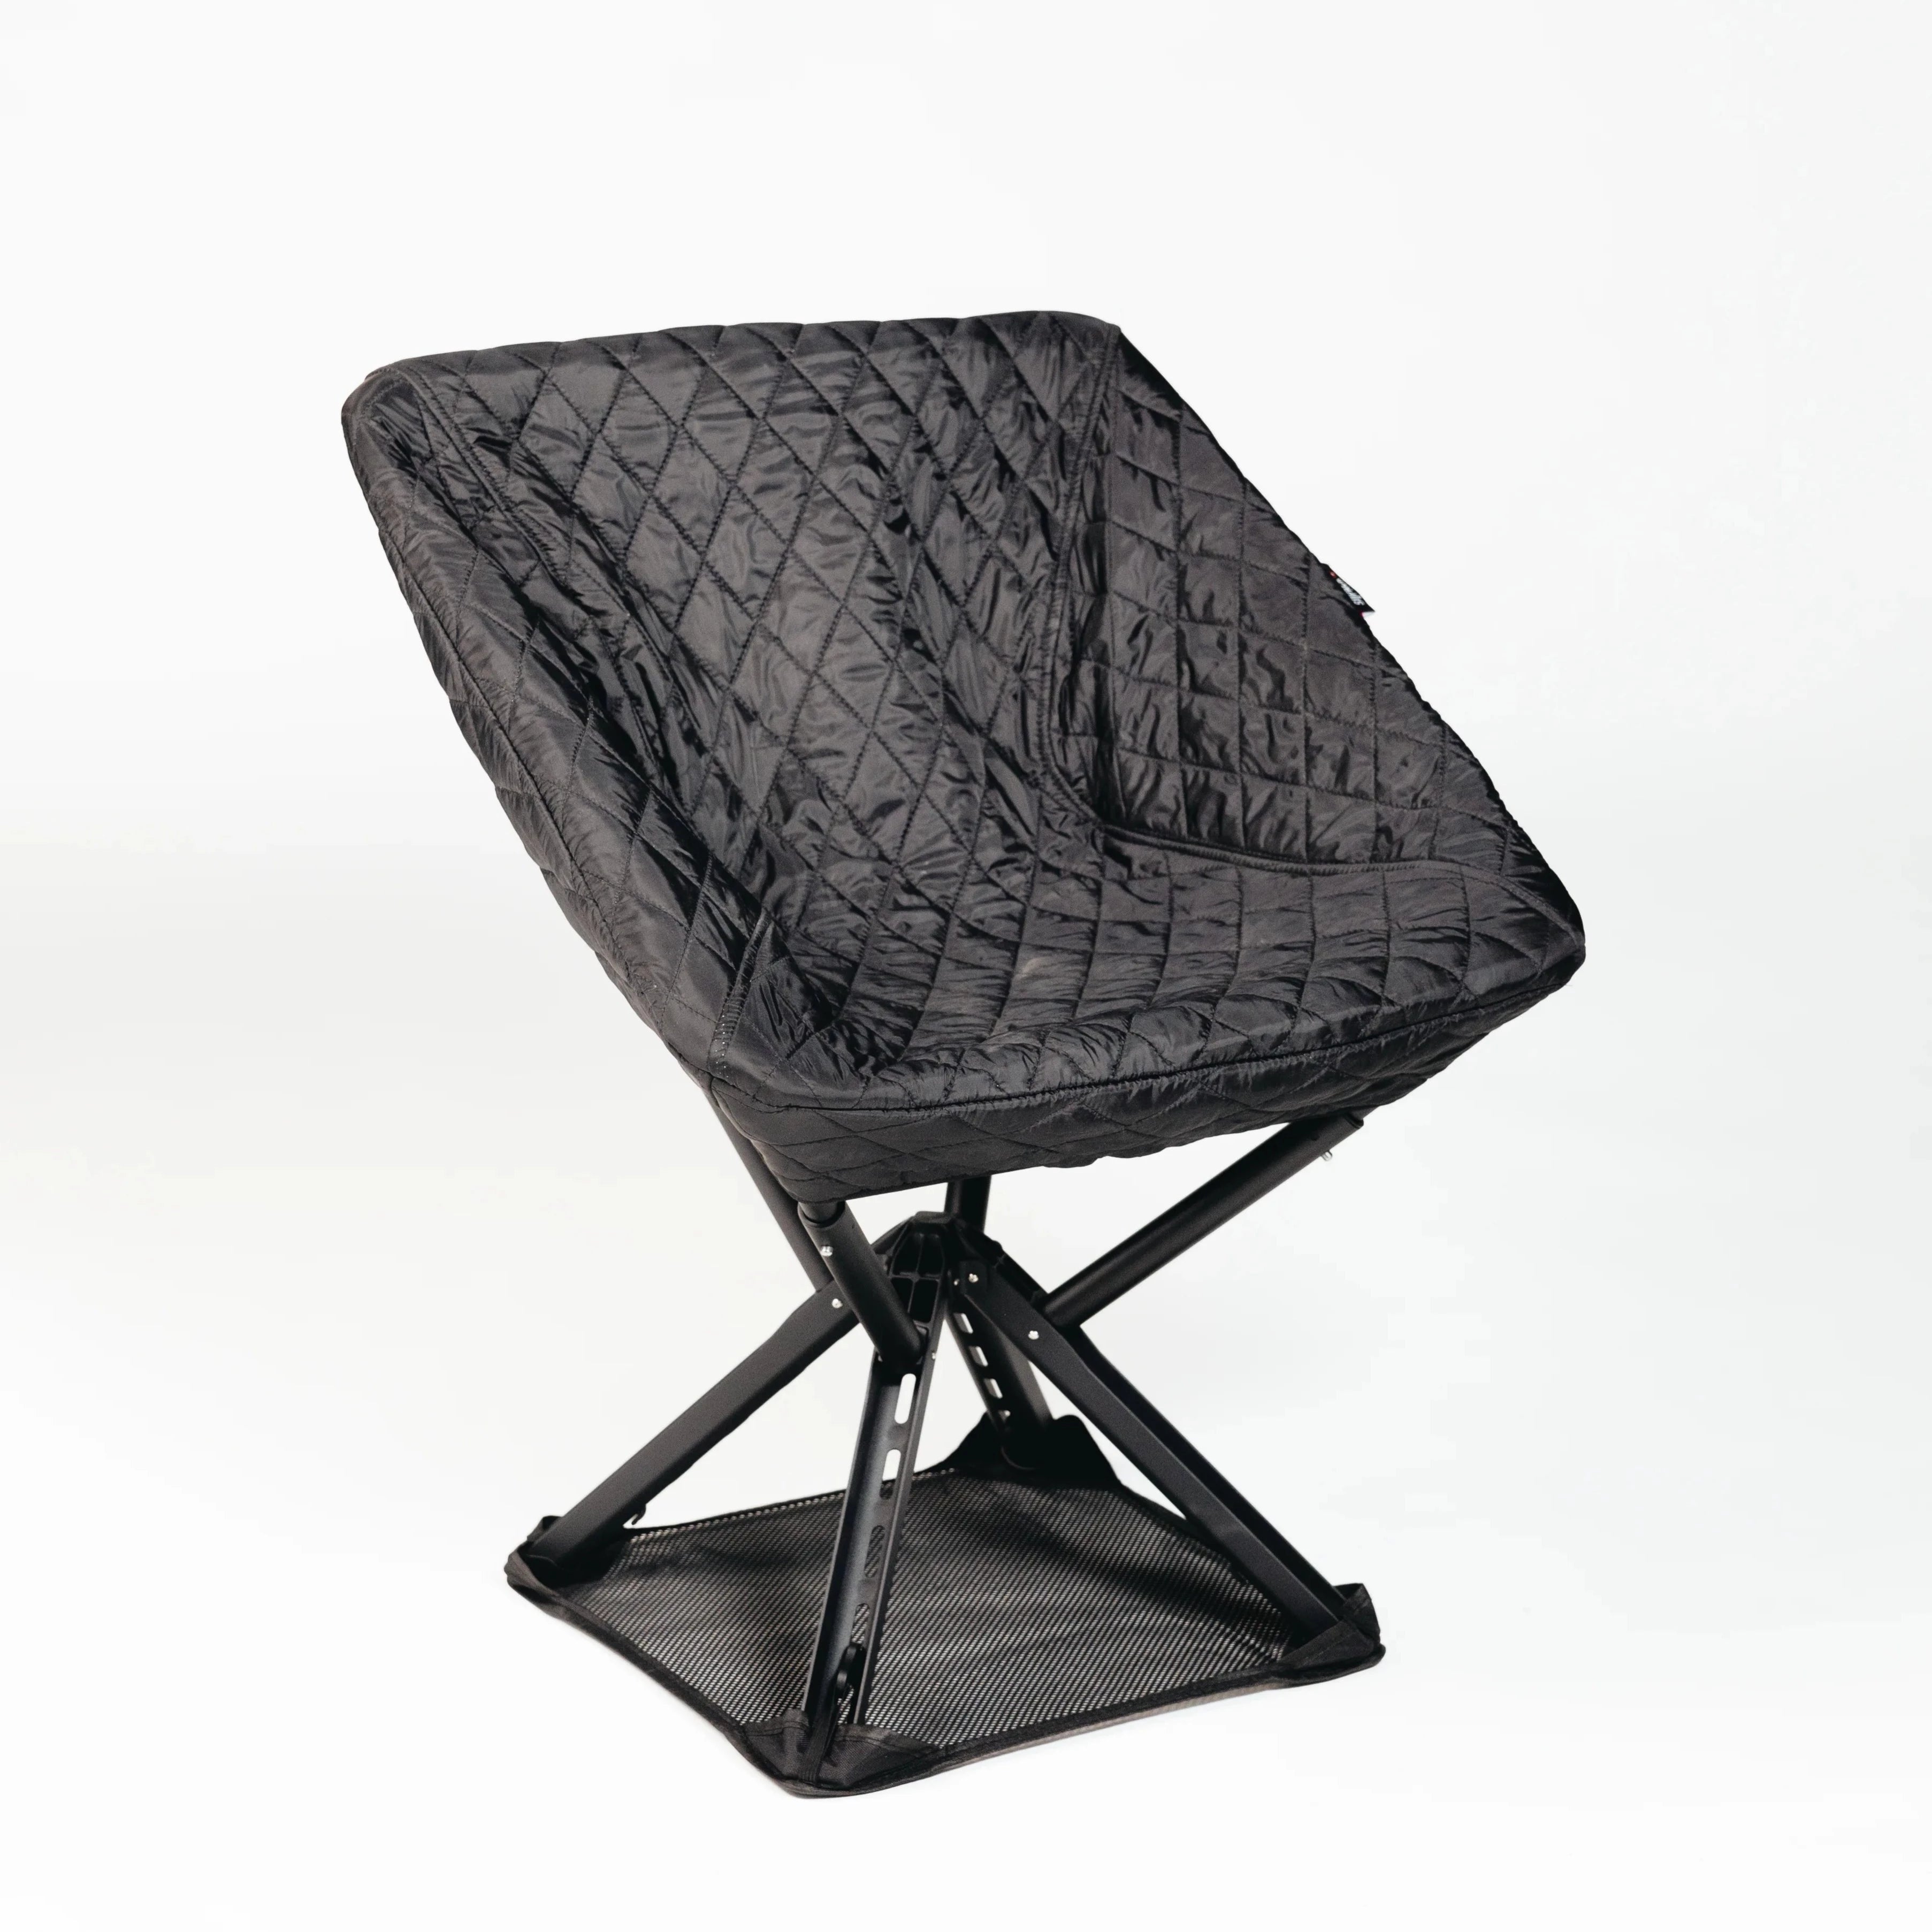
| Sitpack for camp comfort | Sitpack’s packable seats add trail-weight comfort without the bulk of a traditional camp chair. |
Not every trip needs every item on that list, and packing the same kit for a two-night summer loop and a five-day shoulder-season traverse is how you end up either dangerously under-prepared or hauling a 50-pound pack up a switchback.
Two prioritization rules cut through the noise fast:
Here’s how the checklist shifts by trip type:
Cost and timeline note: If this is your first trip, rent before you buy. REI and similar outfitters rent complete kits (pack, tent, sleeping bag, pad, stove) for roughly $50–$80 per weekend. That’s a smart way to test configurations before committing to gear that might not suit your style.
Pro Tip: Print two versions of this checklist: one stripped down to essentials only for weekend trips, one full-length for longer routes. Checking off gear the night before departure catches more forgotten items than any mental walkthrough.
These four categories determine most of your pack weight and nearly all of your comfort on trail. Get them wrong and no amount of clever accessory choices will fix the trip.
According to the Peak Gear Guide backpacking checklist, gear falls into six groups with base-weight tiers running from ultralight (under 10 lb) to traditional (15–20 lb). The Big 4 live at the center of that weight budget.
A three-season freestanding tent from a brand like MSR (the Hubba Hubba NX is a perennial favorite) gives you the most versatility. Tarps and trekking-pole shelters save significant weight but demand more setup skill. Key specs to check: season rating (three-season handles most conditions), packed weight, and footprint dimensions relative to your campsite options. Hammocks work beautifully in forested areas but add an underquilt to your kit for anything below 50°F.
Your sleeping bag or quilt paired with an insulated pad is your life-safety system in cold conditions. Switchback Travel’s checklist guidance recommends a 10°F buffer: choose a bag rated 10 degrees lower than the coldest nighttime temperature you expect. A pad’s R-value matters as much as the bag. R-2 works for summer; R-4 or higher for shoulder seasons and cold desert nights.
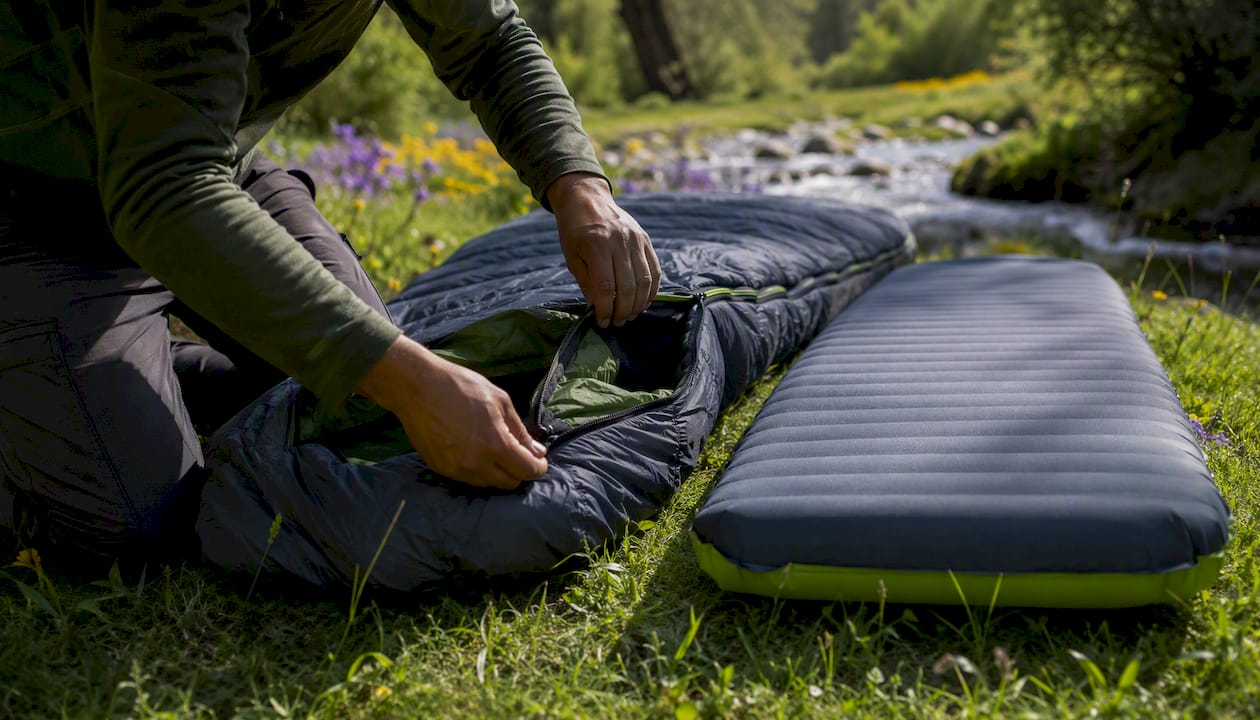
For most three-season trips, a 45 to 65-liter pack covers you. Osprey’s Atmos AG series and the REI Co-op Flash 55 are two well-regarded options in this range, both offering solid hip belt load transfer and ventilated back panels. Buy your pack last, after you’ve assembled your other gear, so you can test actual fit with real weight.
| Stove type | Best for | Fuel | Weight |
|---|---|---|---|
| Canister (e.g., MSR PocketRocket) | Most three-season trips | Isobutane/propane | Very light |
| Alcohol stove | Ultralight summer trips | Denatured alcohol | Ultralight |
| Wood gasifier | Fuel-free travel | Sticks/debris | Light, no fuel carry |
| White gas (e.g., MSR WhisperLite) | Winter, high altitude | White gas | Heavier, reliable |
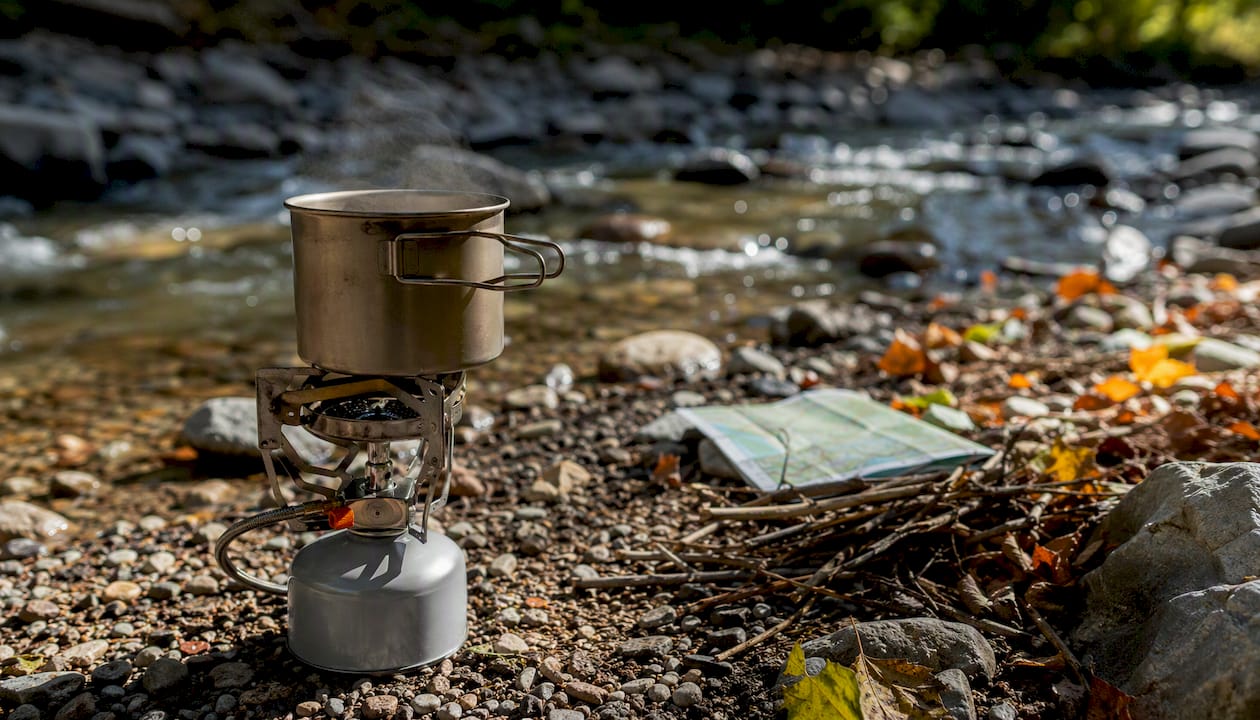
A canister stove like the MSR PocketRocket 2 is the default for good reason: fast boil, reliable ignition, and minimal fuss. Pair it with a single titanium pot and a long-handled spork and you’re done.
Food and fuel planning is where a lot of first-timers either over-pack (carrying a full kitchen) or under-plan (running out of fuel on day three). Neither is fun.
Fuel planning formula: For a canister stove, budget roughly 15–20 g of fuel per person per day for boiling water and simple meals. A standard 100 g canister covers one person for about five days of simple cooking. Two people on a four-day trip need at least one 230 g canister, ideally two.
A one-pot cooking approach is the most reliable way to save both weight and cleanup time. Freeze-dried meals, instant oatmeal, ramen, couscous, and nut butter packets all work in a single pot with no extra dishes. Aim for 1.5–2 lb of food per person per day, skewing toward calorie-dense options (nuts, olive oil, hard cheese, salami) to hit 2,500–3,500 calories without the bulk.
Food storage rules by area:
Pro Tip: Pack one extra day of food beyond your planned trip length. Weather delays, wrong turns, and slow days happen. That extra bag of trail mix has saved more than a few trips.
The layering system works because it’s modular. You’re not packing for one temperature; you’re packing for the range of temperatures you’ll move through in a single day.
Three-season base kit:
For clothing selection guidance that covers durability and layering for extended outdoor use, PreparednessMama’s breakdown is worth a read alongside this checklist.
Footwear: Trail runners (like Hoka Speedgoat or Salomon Wildcross) work well for lighter loads on maintained trails. They’re lighter, dry faster, and reduce fatigue on long days. Boots (like Salomon Quest or Merrell Moab) make more sense for heavy loads, off-trail travel, or terrain with significant ankle-roll risk. Whatever you choose, break them in before the trip.
Camp shoes: A pair of lightweight Crocs or Teva sandals weighs about 6–8 oz and makes camp life dramatically more comfortable. Situational, but worth it on trips longer than three nights.
Clean water is the one thing you cannot improvise your way around. The good news is that modern filtration options are light, fast, and reliable.
Treatment options:
Capacity: Carry two to three liters total between bottles and a hydration bladder. Soft flasks (like Sawyer’s included bag or Hydrapak Speedcup) pack flat when empty. A hydration bladder (Osprey Hydraulics or Platypus) keeps you drinking on the move without stopping. Many hikers run both: a bladder for trail use and a hard bottle for camp.
Calorie and food planning: For multi-day trips, 1.5–2 lb of food per person per day is the standard target. Front-load heavier, more calorie-dense food for days one and two, then shift to lighter freeze-dried options as the trip progresses and your pack naturally lightens.
Navigation and safety gear appear on every serious checklist for a reason: they’re the items you need most when everything else goes sideways.
Navigation kit:
Emergency communications:
First-aid essentials:
Size your kit to your group and trip length. A solo overnight needs far less than a five-person week-long expedition.
A small repair kit weighs almost nothing and has saved countless trips from early exits.
Core repair kit:
Multi-tool vs. knife: A full multi-tool (Leatherman Squirt PS4) adds versatility but weight. For most trips, a lightweight folding knife (Opinel No. Bring the multi-tool if you’re leading a group or heading somewhere genuinely remote.)
Trekking poles: Leki Makalu or Black Diamond Trail Ergo Cork poles reduce knee strain on descents and double as shelter poles for trekking-pole tents. For backpack selection guidance that covers compatibility with pole-supported shelters and load transfer, PreparednessMama’s pack guide is a useful companion resource.
Leave No Trace principles aren’t just good ethics; in many areas they’re the law. Packing the right hygiene kit keeps both the wilderness and your campmates happy.
Packable hygiene kit:
Human waste:
Menstrual products: Reusable menstrual cups (DivaCup) are the lightest, lowest-waste option for multi-day trips. Disposable options work fine but require pack-out in a sealable bag. Never bury or burn either.
Human waste management is one of the most impactful Leave No Trace practices a backpacker can adopt. The Leave No Trace Center for Outdoor Ethics publishes specific guidelines by terrain type, and checking them before a trip to a new area takes about three minutes.
Base weight is the weight of your pack without consumables (food, water, fuel). It’s the number that tells you whether your kit is working for you or against you.
Community base-weight tiers break down as follows:
| Tier | Base weight | Pack class |
|---|---|---|
| Ultralight | Under 10 lb | Frameless or minimal-frame |
| Lightweight | 10–15 lb | Lightweight framed |
| Traditional | 15–20 lb | Standard framed |
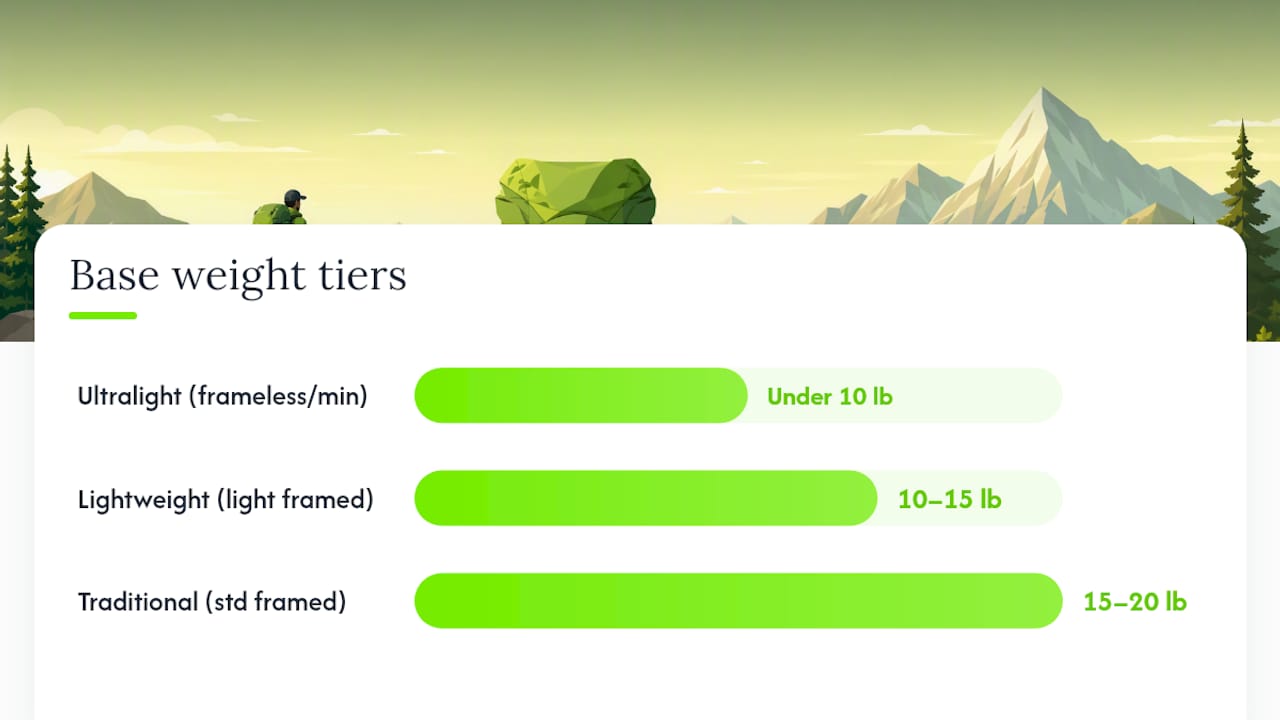
Most beginners land in the traditional tier. That’s fine. The goal isn’t to hit ultralight numbers on your first trip; it’s to understand where your weight is going so you can make intentional upgrades over time.
Practical weight-reduction tactics:
The highest-leverage upgrades come from the Big Three: pack, shelter, and sleep system. Swapping a 6 lb tent for a 2 lb trekking-pole shelter saves more weight than replacing every small accessory combined. Quilts instead of mummy bags, frameless packs, and Dyneema shelters are the ultralight path, but they come with trade-offs in durability and cost.
For a deeper breakdown of lightweight packing tactics that can cut pack weight significantly, the Sitpack guide on lightweight hiking covers the most impactful swaps in plain language.
Pro Tip: The three swaps that save the most weight for the least money: (1) switch from a mummy bag to a down quilt, (2) replace a heavy camp pillow with a stuff sack filled with your puffy jacket, (3) ditch the camp towel for a small PackTowl. Combined, those three moves often shave 1.5–2 lb with minimal cost.
A checklist only works if you actually use it while your gear is spread across the floor, not after you’ve already zipped the pack.
What a complete printable checklist includes:
How to use it on mobile while packing:
Quick tip: Print one checklist per person on group trips. Each person owns their gear list, which eliminates the “I thought you packed the water filter” conversation at the trailhead.
For a beginner-friendly gear overview that pairs well with this checklist, the Sitpack backpacking essentials guide walks through categories in a logical buy-or-borrow order.
There’s a gap between what most checklist articles tell you and what experienced backpackers actually do. After years of writing about gear for Sitpack and testing kits across a range of conditions, a few rules have proven consistently true.
The 10-degree buffer is real. Choosing a sleeping bag rated 10°F below your expected nighttime low sounds conservative until the night you need it. Temperature ratings on bags are survival ratings, not comfort ratings. A bag rated to 20°F keeps most people alive at 20°F; it keeps them comfortable at around 30°F.
Buy your pack last. Every experienced packer says this, and almost every beginner ignores it. Your pack’s volume and fit depend on what’s going inside it. Buy the tent, bag, and pad first, then choose a pack that fits both the gear and your torso.
The Big Three rule is the fastest path to a lighter kit. Spending $30 on a lighter spork when your tent weighs 6 lb is the wrong order of operations. Upgrade shelter, sleep system, and pack first. Everything else is marginal.
For more of Jonas’s backpacking gear thinking, the Sitpack guide on what to bring for 1–7 night trips covers the rent-vs.-buy decision in more depth.
Most backpackers skip a camp chair entirely because traditional camp chairs are bulky, heavy, and take up half a stuff sack. That’s a reasonable trade-off when you’re counting ounces. But there’s a middle ground worth knowing about.
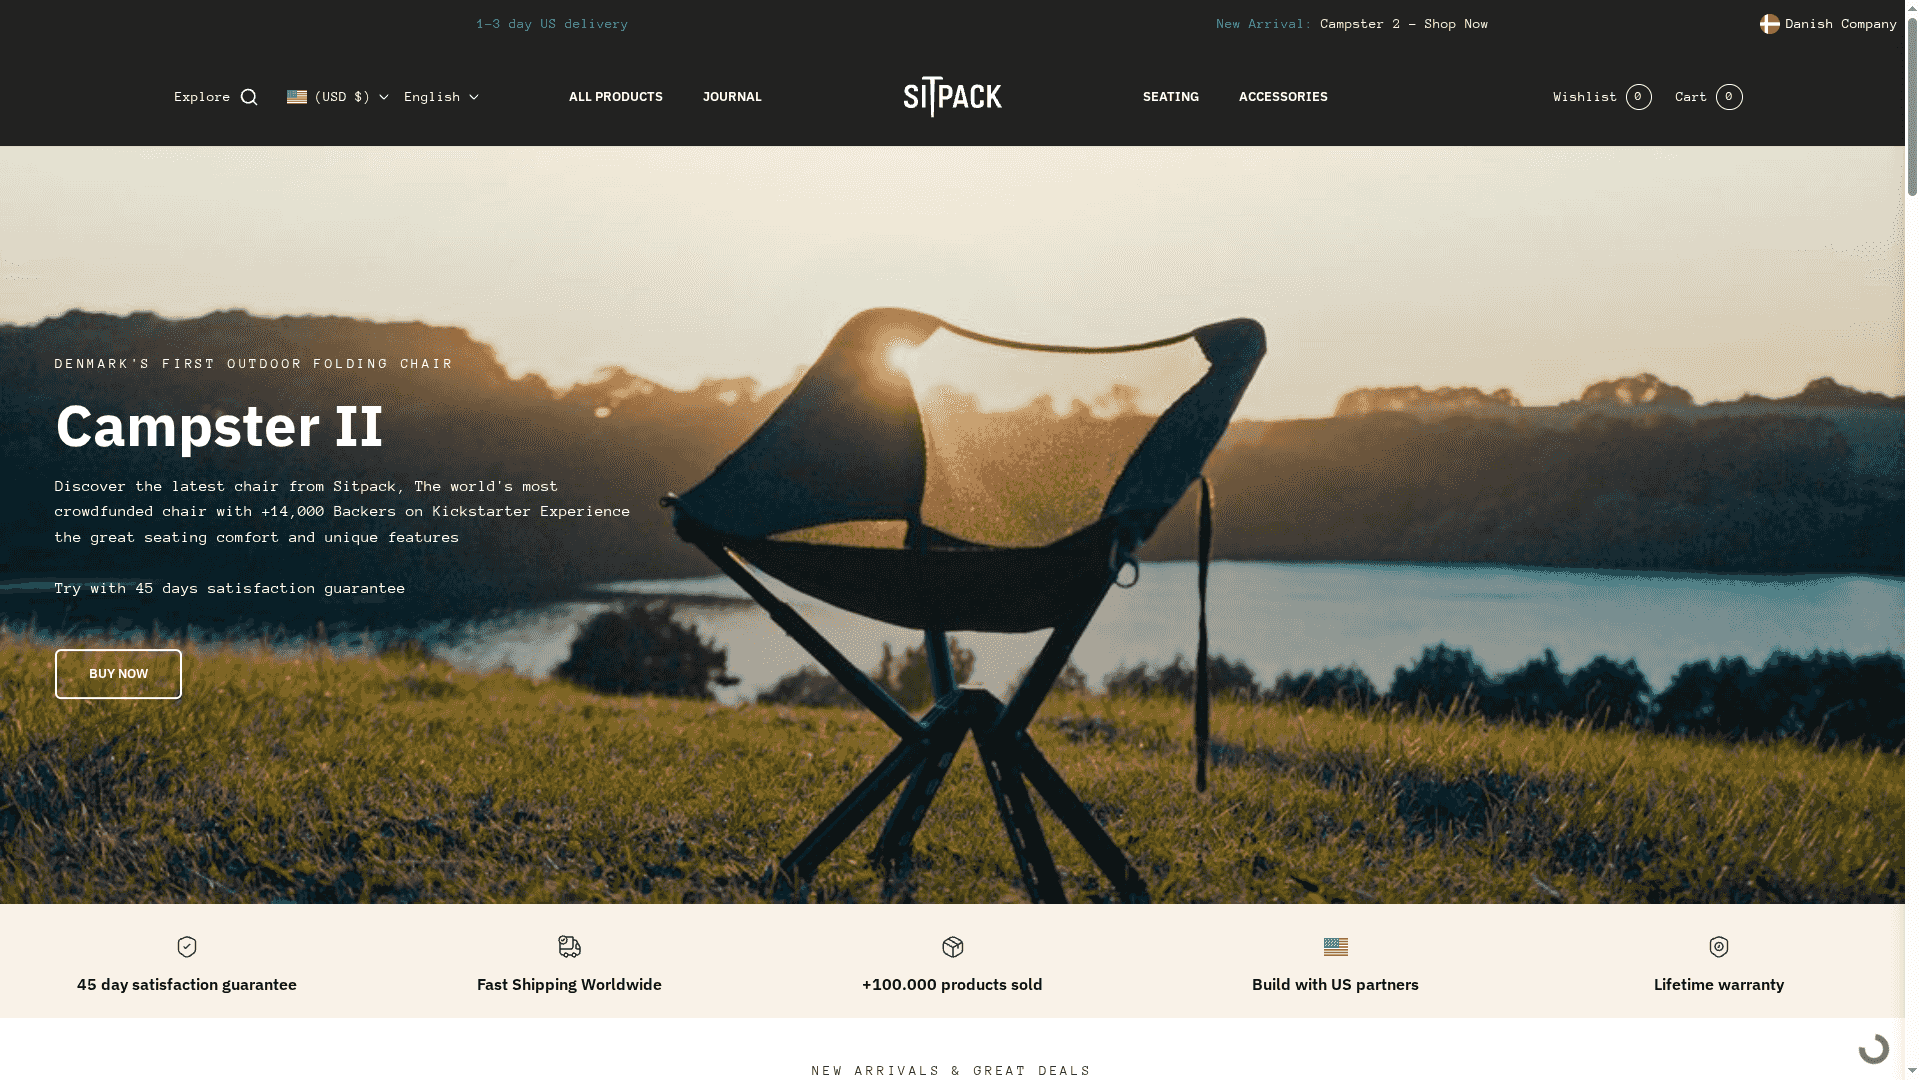
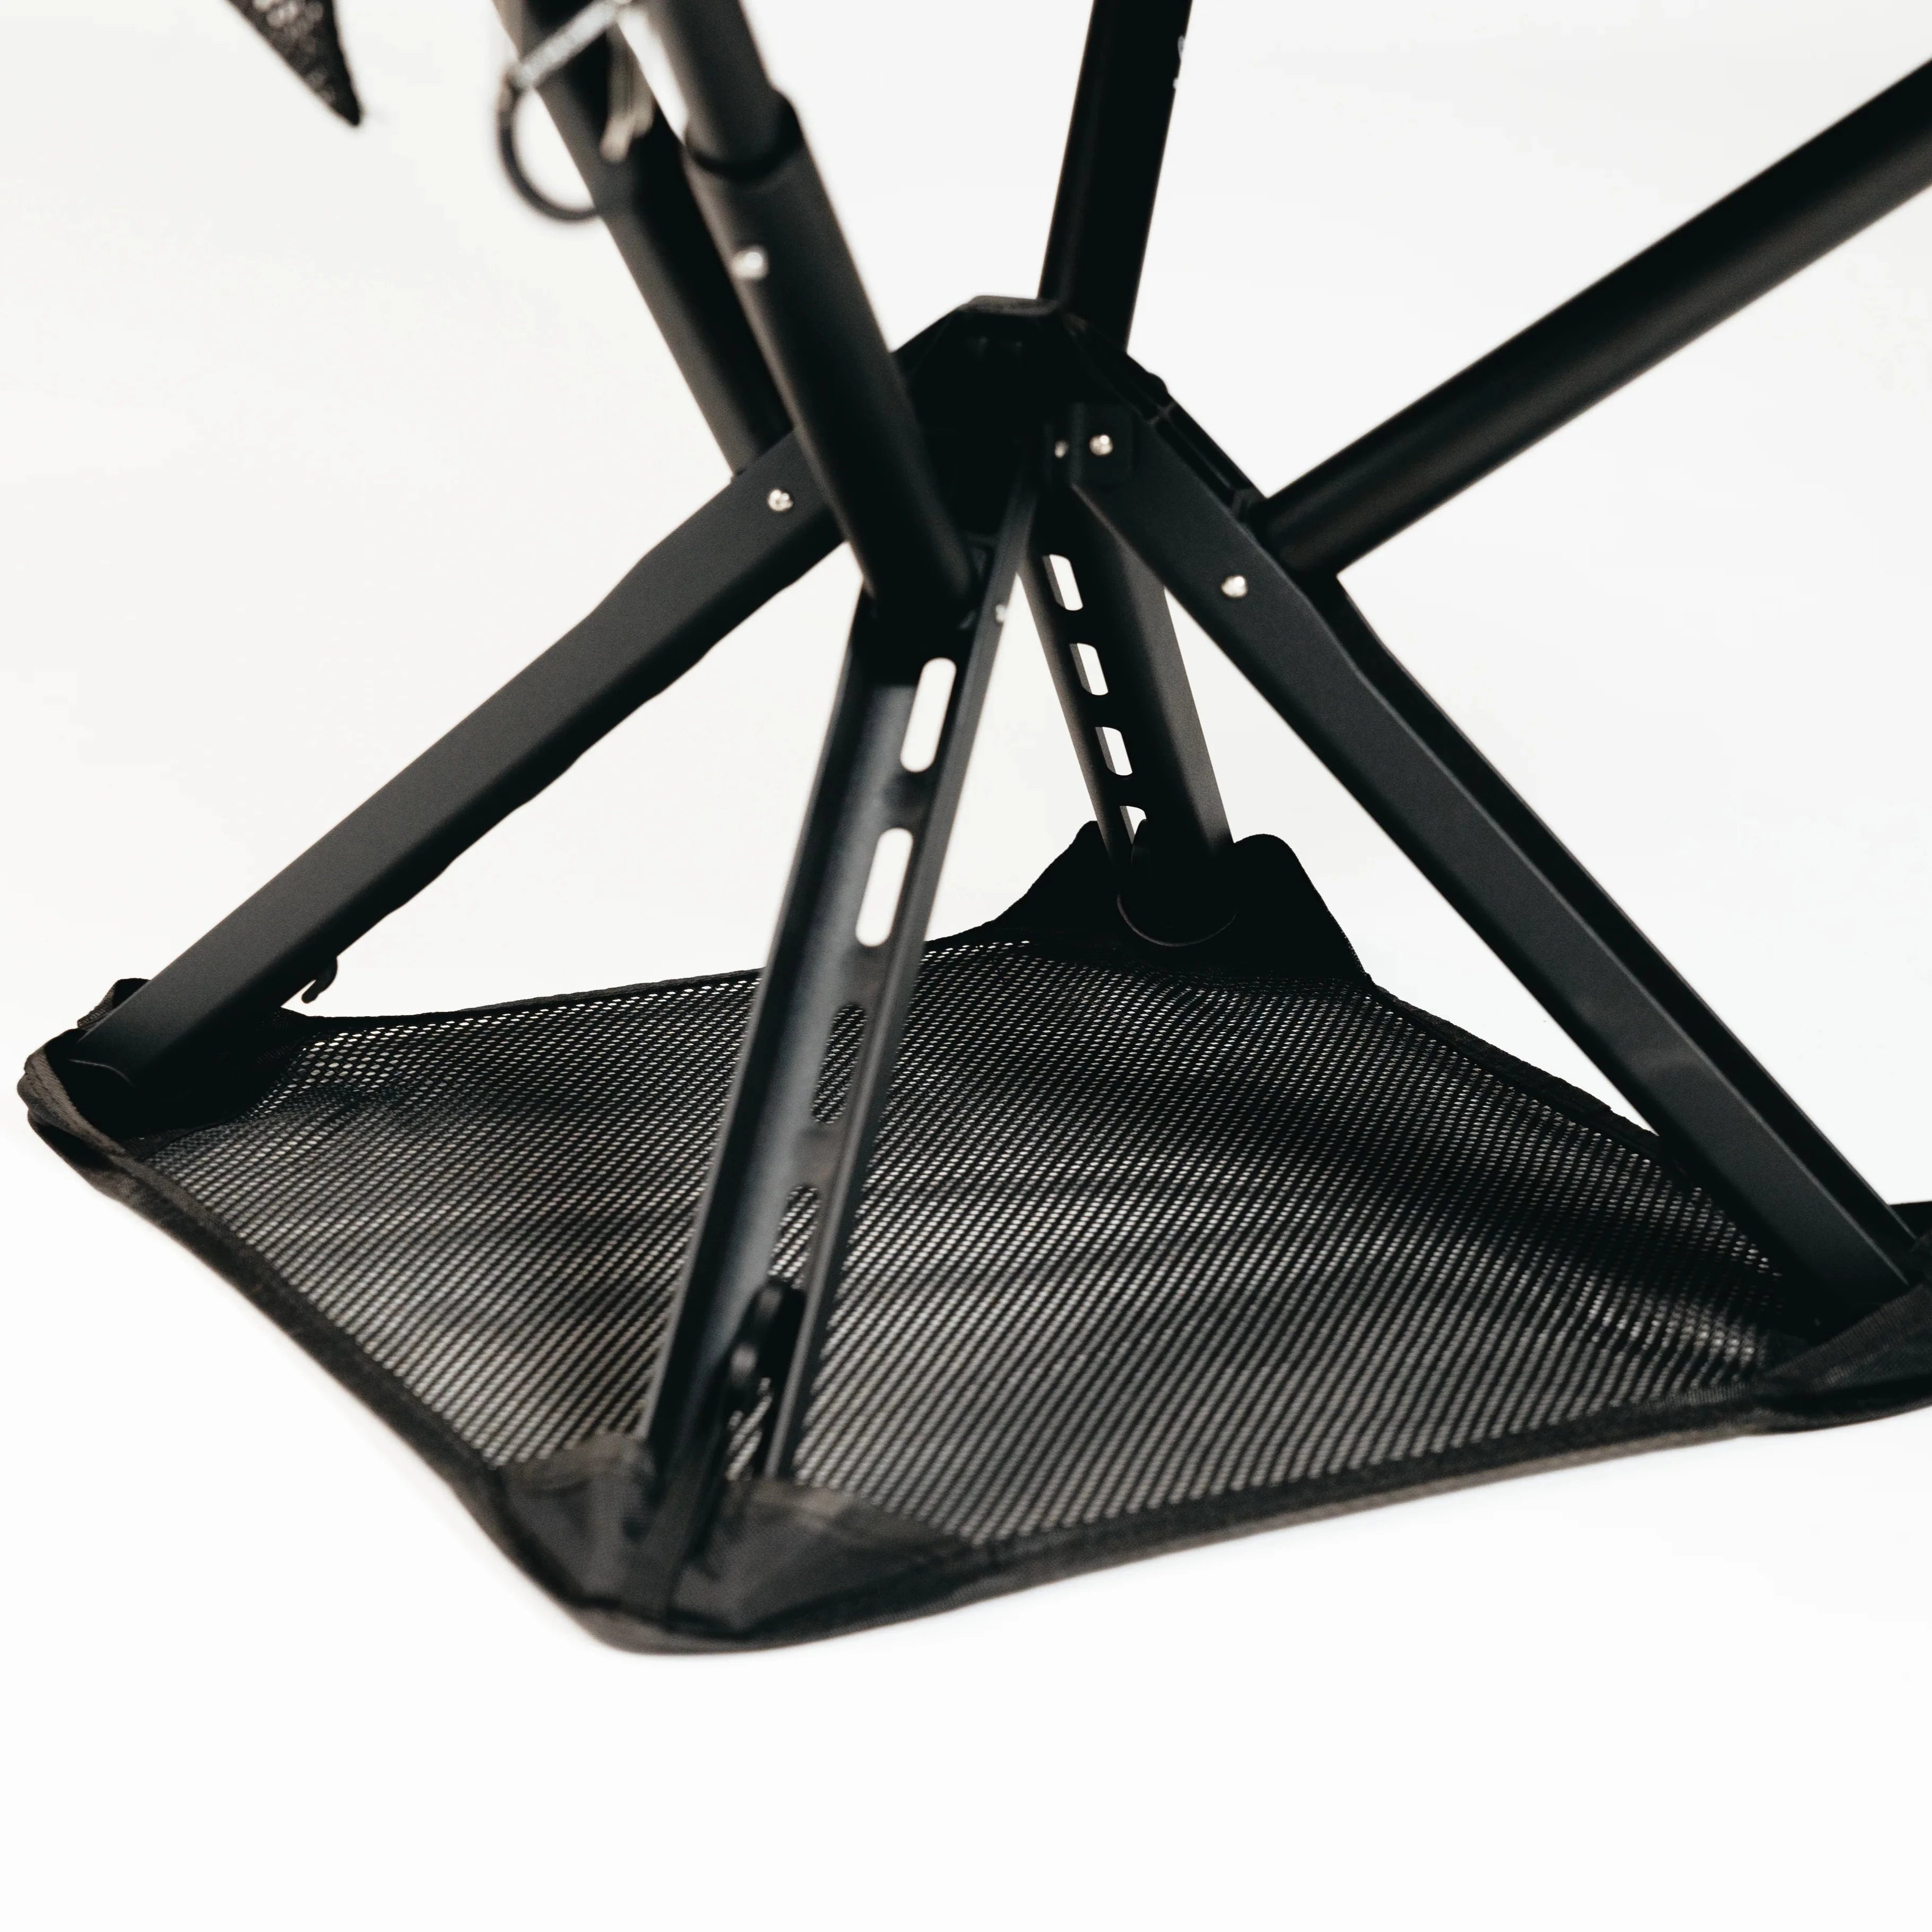
Sitpack’s portable seating solutions are built for exactly this situation: packable, lightweight, and designed to take up minimal space in a loaded pack. The Campster II and Sitpack Zen both fold down small enough to strap to the outside of an Osprey Atmos or tuck into a side pocket, and they’re built from materials that hold up to repeated outdoor use. For backpackers who want to sit comfortably at camp without parking their posterior on a wet log or a sharp rock, this is the kind of comfort upgrade that earns its weight.
If you’re putting together your kit and want to see what packable seating actually looks like at trail weight, check out the full range at Sitpack.com.
These are the sources used to build this checklist, each worth bookmarking for deeper research:
Check local land management agency websites (National Park Service, Forest Service, BLM) for area-specific regulations on bear canisters, fire restrictions, and permit requirements before any trip.