Cart
0
Sign up and get 10$ off your order
Expected delivery
1-3 days
You may also like


Danish Company
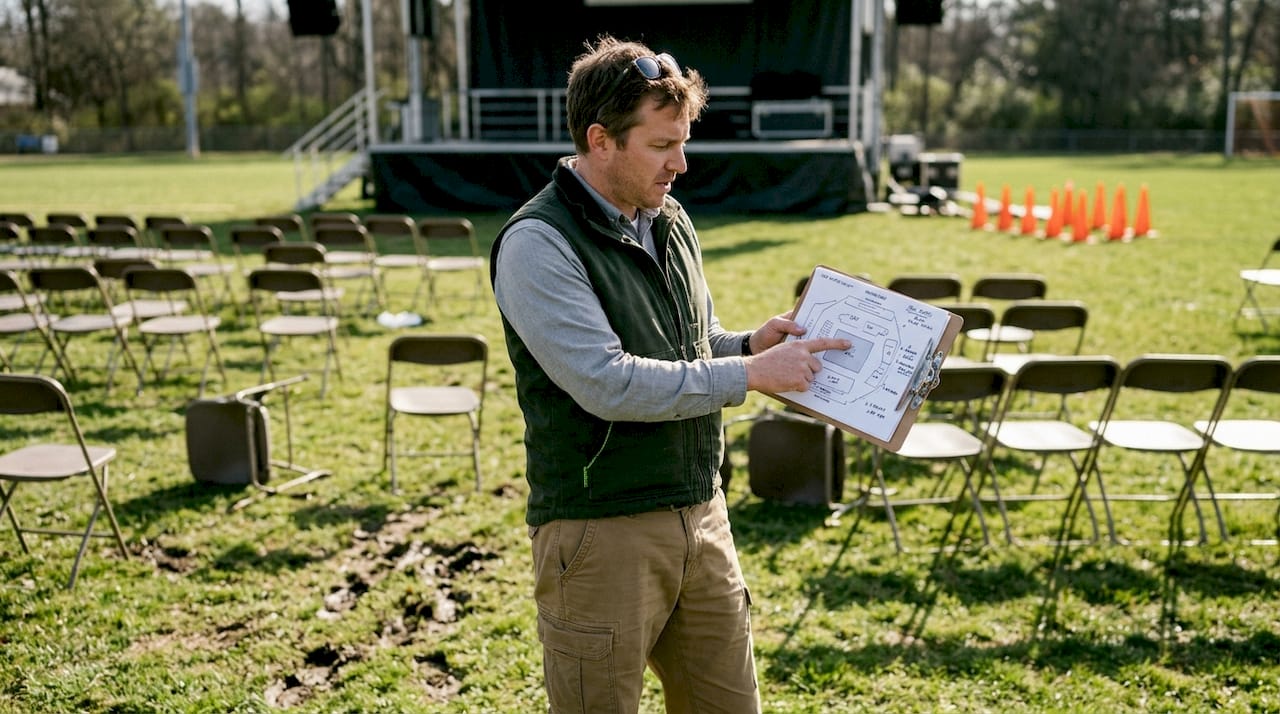
Outdoor event seating presents unique challenges in comfort, portability, and logistics. Event planners juggle audience expectations, venue constraints, and tight timelines while ensuring safety compliance and optimal sightlines. Efficient workflow is essential for smooth setup and audience satisfaction. This guide walks you through a proven, expert-informed seating workflow covering planning, site preparation, setup execution, and post-event review to help you deliver exceptional outdoor events with confidence and ease.
| Point | Details |
|---|---|
| Early planning shapes outcomes | Assess audience needs, event format, and venue terrain before selecting seating type and layout strategy. |
| Site prep ensures safety | Level ground, anchor seating, and comply with fire codes including 4-foot aisles and maximum 14-20 seats per row. |
| Efficient setup saves time | Folding chairs install at 30-50 per worker-hour while bleachers require professional crews and extended periods. |
| Post-event review refines process | Collect feedback, analyze incidents, and document lessons to continuously improve future seating workflows. |
Outdoor event seating workflow begins with early planning: assess audience needs, event format, venue terrain, and capacity requirements to select seating type. Your first task is identifying the event format and audience profile. Concerts demand different seating than conferences or festivals. A standing-room concert might need minimal seating for VIP areas, while a corporate conference requires comfortable chairs with table access. Understanding your audience helps you prioritize comfort, accessibility, and viewing angles.
Next, analyze venue terrain to determine seating suitability. Flat, paved surfaces simplify setup and allow standard folding chairs. Uneven or sloped terrain requires specialized solutions like tiered bleachers or platforms to maintain levelness and stability. Walk the venue beforehand to identify drainage issues, soft ground, or obstacles that could complicate installation.
Calculate capacity considering spacing guidelines of 7-12 sq ft per person. This range balances comfort with efficient space utilization. For seated events, aim for the higher end to allow personal space and ease of movement. High-density standing areas can use the lower end but require careful crowd management.
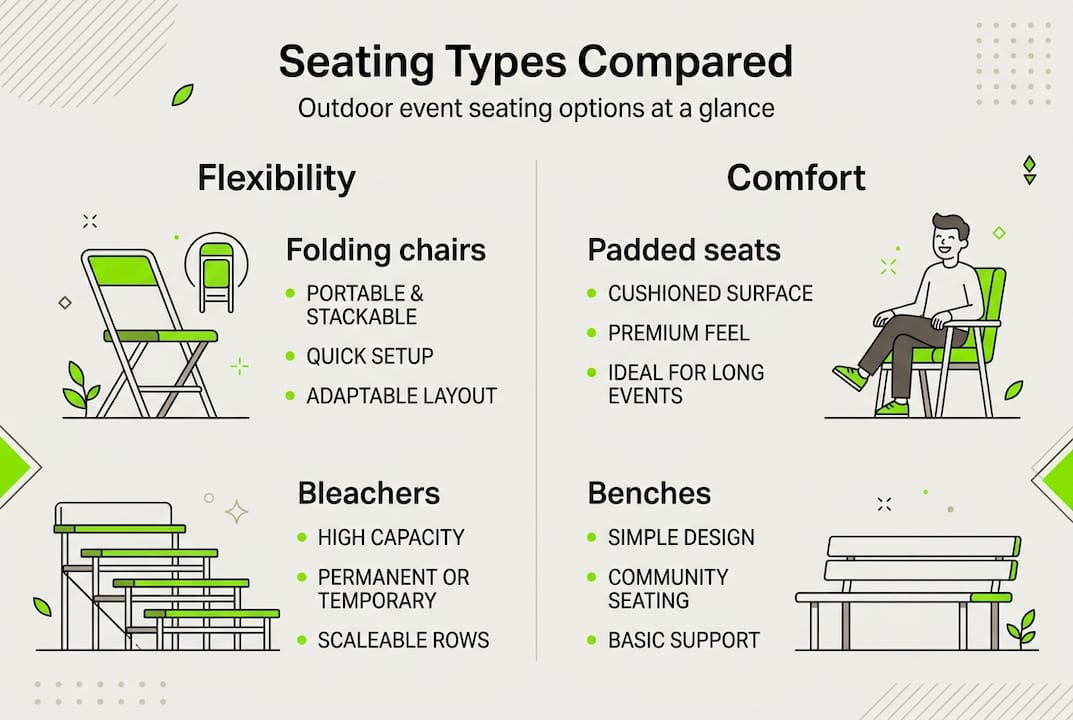
Select seating type based on your analysis. Folding chairs offer portability and flexibility for small to mid-sized events. They’re easy to transport, quick to set up, and adaptable to various layouts. Bleachers provide tiered viewing for large crowds, maximizing sightlines and capacity but requiring professional installation and longer setup times. Consider hybrid approaches for complex events.
| Seating Type | Capacity | Portability | Comfort | Setup Complexity |
|---|---|---|---|---|
| Folding chairs | 50-500 | High | Moderate | Low |
| Bleachers | 500-5000+ | Low | Moderate | High |
| Portable stools | 20-200 | Very High | High | Very Low |
| Bench seating | 100-1000 | Moderate | Low | Moderate |
Pro Tip: Prioritize audience comfort by testing sample seating options during planning. Sit in each chair type for 15-20 minutes to evaluate ergonomics and identify potential issues before committing to hundreds of units.
For more insights on choosing the right seating, explore outdoor event seating tips for comfort and portability.
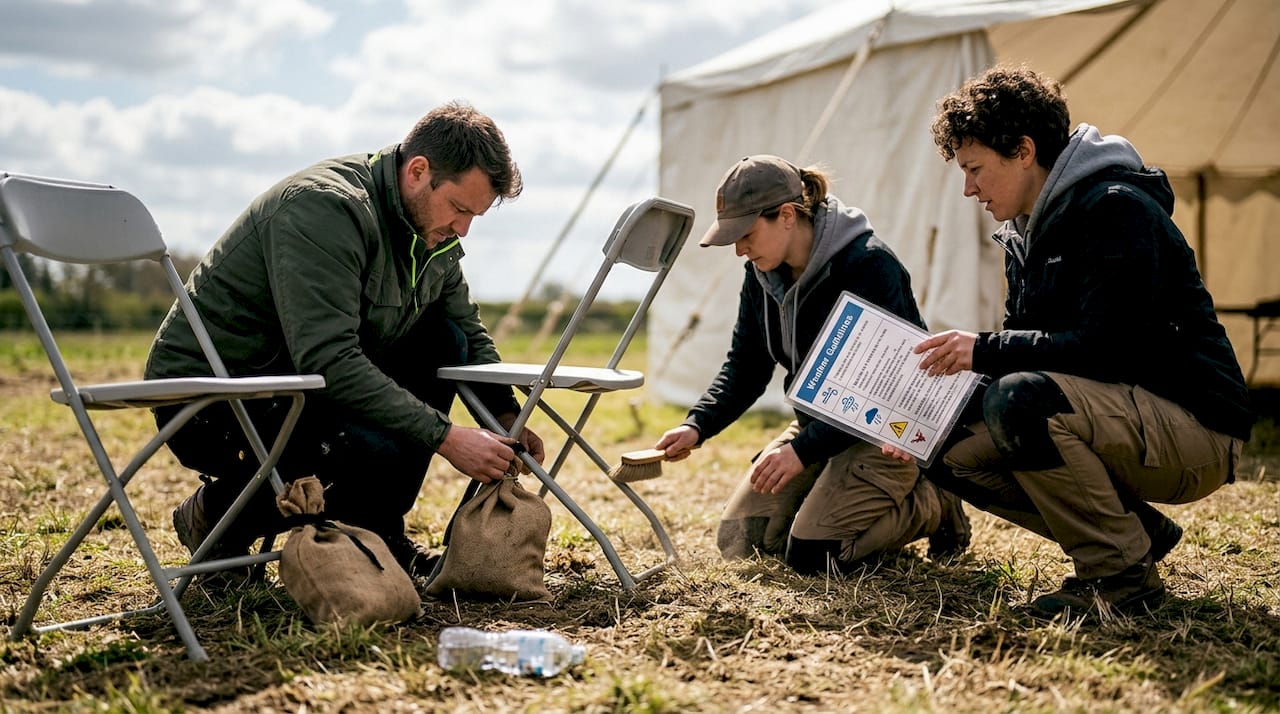
Key mechanics include site preparation with level ground and anchoring, layout design prioritizing sightlines through staggered rows and tiered risers, and fire code compliance. Site preparation begins with leveling and stabilizing the ground. Uneven surfaces create safety hazards and discomfort. Use platforms, plywood sheets, or gravel to create stable foundations, especially on grass or dirt. This step prevents chairs from sinking or tipping during the event.
Anchor seating securely, especially in windy conditions. Lightweight folding chairs can become projectiles in strong gusts. Use sandbags, stakes, or weighted bases to secure rows. Bleachers require professional anchoring systems that meet local building codes. Never skip this step, even for short events.
Design layout with staggered rows and tiered risers to improve audience sightlines. Staggered seating places each person between two seats in the row ahead, eliminating blind spots. Tiered risers elevate back rows progressively, ensuring clear views of stages or screens. Calculate riser heights based on audience eye level and stage elevation.
Comply with fire codes requiring minimum aisle widths of 4 feet and limiting seats per row between 14-20. These regulations ensure safe egress during emergencies. Wider aisles accommodate wheelchairs and emergency personnel. Limiting row length reduces evacuation time and prevents bottlenecks.
Implement capacity zoning using the recommended 7-12 sq ft per person guidelines. Divide your venue into zones based on seating type and density. VIP areas might use 12 sq ft per person for premium comfort, while general admission uses 8 sq ft. Mark zones clearly to guide setup crews and prevent overcrowding.
| Layout Option | Setup Ease | Sightline Quality | Regulatory Compliance |
|---|---|---|---|
| Theater style (rows) | Moderate | Good | High |
| Staggered rows | Moderate | Excellent | High |
| Tiered bleachers | Low | Excellent | Very High |
| Cluster seating | High | Variable | Moderate |
Pro Tip: Conduct a chair test on-site to verify sightline and spacing before final setup. Place a few chairs in key positions and have team members sit while someone stands at the stage or presentation area. This reveals blind spots and spacing issues you can fix before installing hundreds of seats.
Learn more about optimizing your portable seating workflow for outdoor comfort.
Setup benchmarks show 30-50 folding chairs installed per worker-hour while bleachers require professional crews and full-day installations for large setups. Plan labor allocation based on these productivity rates. For 500 folding chairs, expect to need 10-17 worker-hours. A crew of four can complete setup in 3-4 hours under good conditions. Bleachers demand specialized teams with rigging and construction experience, often requiring 6-12 hours for complex installations.
Allocate dedicated teams for stable installation and verifying safety standards. Assign one team to chair placement, another to anchoring and stability checks, and a third to sightline validation. This division of labor prevents bottlenecks and ensures quality control at each stage. Designate a safety officer to conduct final inspections before opening to attendees.
Handle weather contingencies proactively by using weights and anchors for wind, providing shade structures or heaters as needed. Wind speeds above 20 mph require additional anchoring and may necessitate postponing setup of lightweight furniture. Rain creates slippery surfaces and can damage certain seating materials. Have tarps ready to protect chairs during sudden downpours. Extreme heat demands shade canopies or misting stations to keep attendees comfortable.
Address uneven terrain via platforms or risers to maintain seating levelness. Portable decking systems create flat surfaces over grass, gravel, or slopes. Adjustable leg levelers on individual chairs compensate for minor variations. For significant slopes, invest in tiered riser systems that transform the challenge into an advantage by creating stadium-style viewing.
Common pitfalls to avoid:
Pro Tip: Use post-event feedback loops from audience and staff to continuously improve workflow. Distribute brief surveys asking about comfort, sightlines, and ease of movement. Debrief with your crew to identify setup challenges and brainstorm solutions for next time.
Safety reminder: Stability and compliance in setup prevent accidents and legal liability. Never compromise on anchoring, aisle widths, or capacity limits, even under time pressure. A safe event protects attendees and your reputation.
Explore additional comfort and portability tips to enhance your seating strategy.
Perform a final walkthrough inspecting sightlines, spacing, and stability before opening to attendees. Walk every aisle, sit in seats throughout the venue, and view the stage from multiple angles. Check that all chairs are level, anchors are secure, and no obstructions block sightlines. This inspection catches last-minute issues that could diminish the attendee experience.
Verify fire code and safety compliance with aisle widths and maximum row lengths. Measure aisles with a tape measure to confirm they meet the 4-foot minimum. Count seats per row to ensure you haven’t exceeded the 14-20 limit. Document your compliance with photos and measurements in case of inspection or incident.
Evaluate audience comfort through observation and informal feedback during the event. Watch for attendees struggling with seating, standing when they should be seated, or complaining about views. Station staff members in different sections to gather real-time feedback. This qualitative data reveals issues that numbers alone miss.
Practitioners favor practical guides emphasizing logistics and safety over peer-reviewed air quality models, but integrate both for robust planning. While academic research on seated density of 0.5m² per person provides health benchmarks, field experience teaches you how weather, terrain, and audience behavior affect outcomes. Balance theoretical models with practical wisdom.
Post-event review steps:
Incorporate benchmarks on seated density and air quality to balance capacity with health safety. The empirical standard of 0.5m² per person translates to roughly 5.4 sq ft, which falls below the 7-12 sq ft range recommended for comfort. Air quality models suggest limiting density to 1.98-2.36 people per m² for health, equivalent to 4.5-5.4 sq ft per person. Use these figures as minimum thresholds, not targets, to prioritize attendee wellbeing over maximum capacity.
Plan workflow refinements based on feedback and observations to improve next events. If setup took longer than expected, identify bottlenecks and adjust crew size or training. If attendees complained about sightlines, experiment with different stagger patterns or riser heights. Continuous improvement transforms good events into exceptional ones.
Discover more about optimizing your portable seating workflow for consistent results.
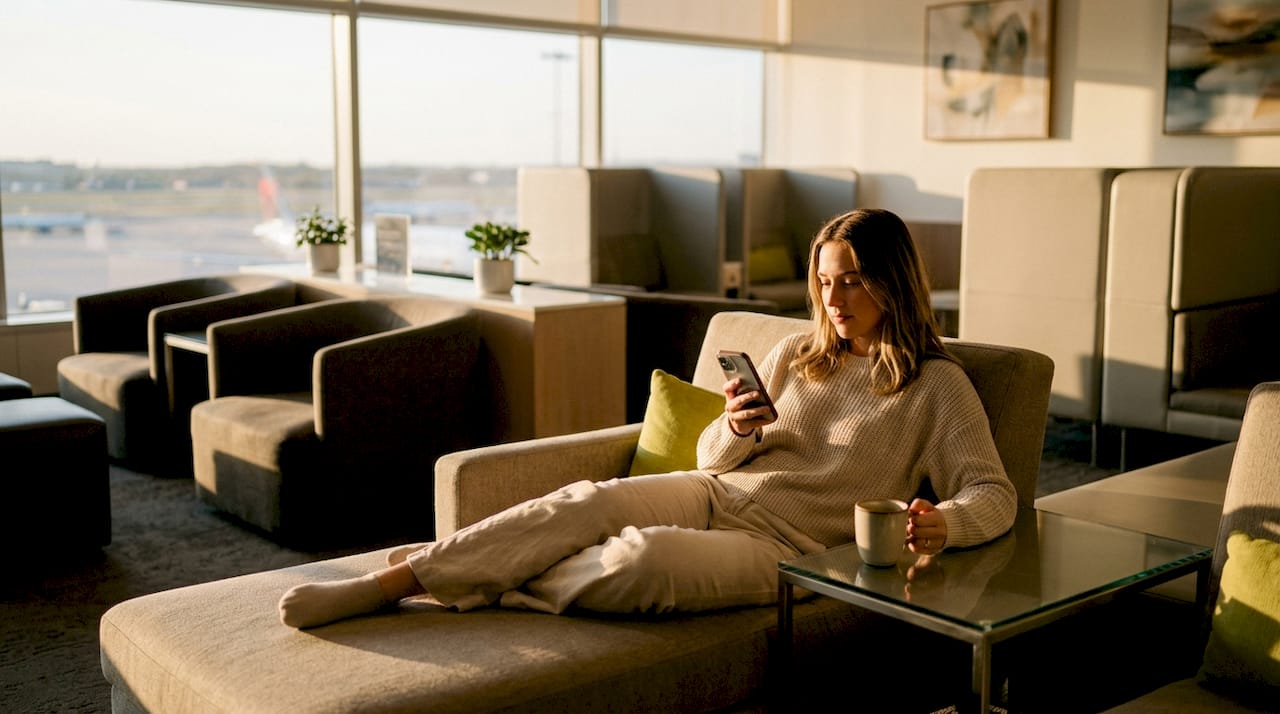
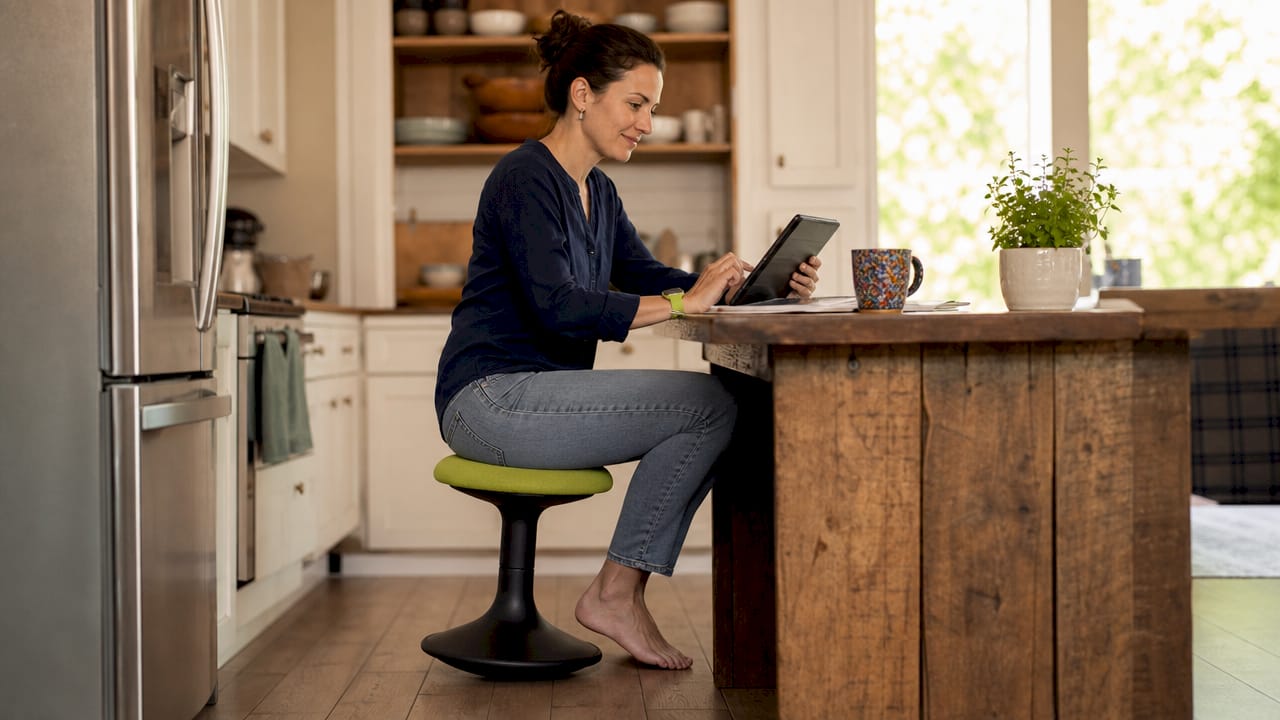
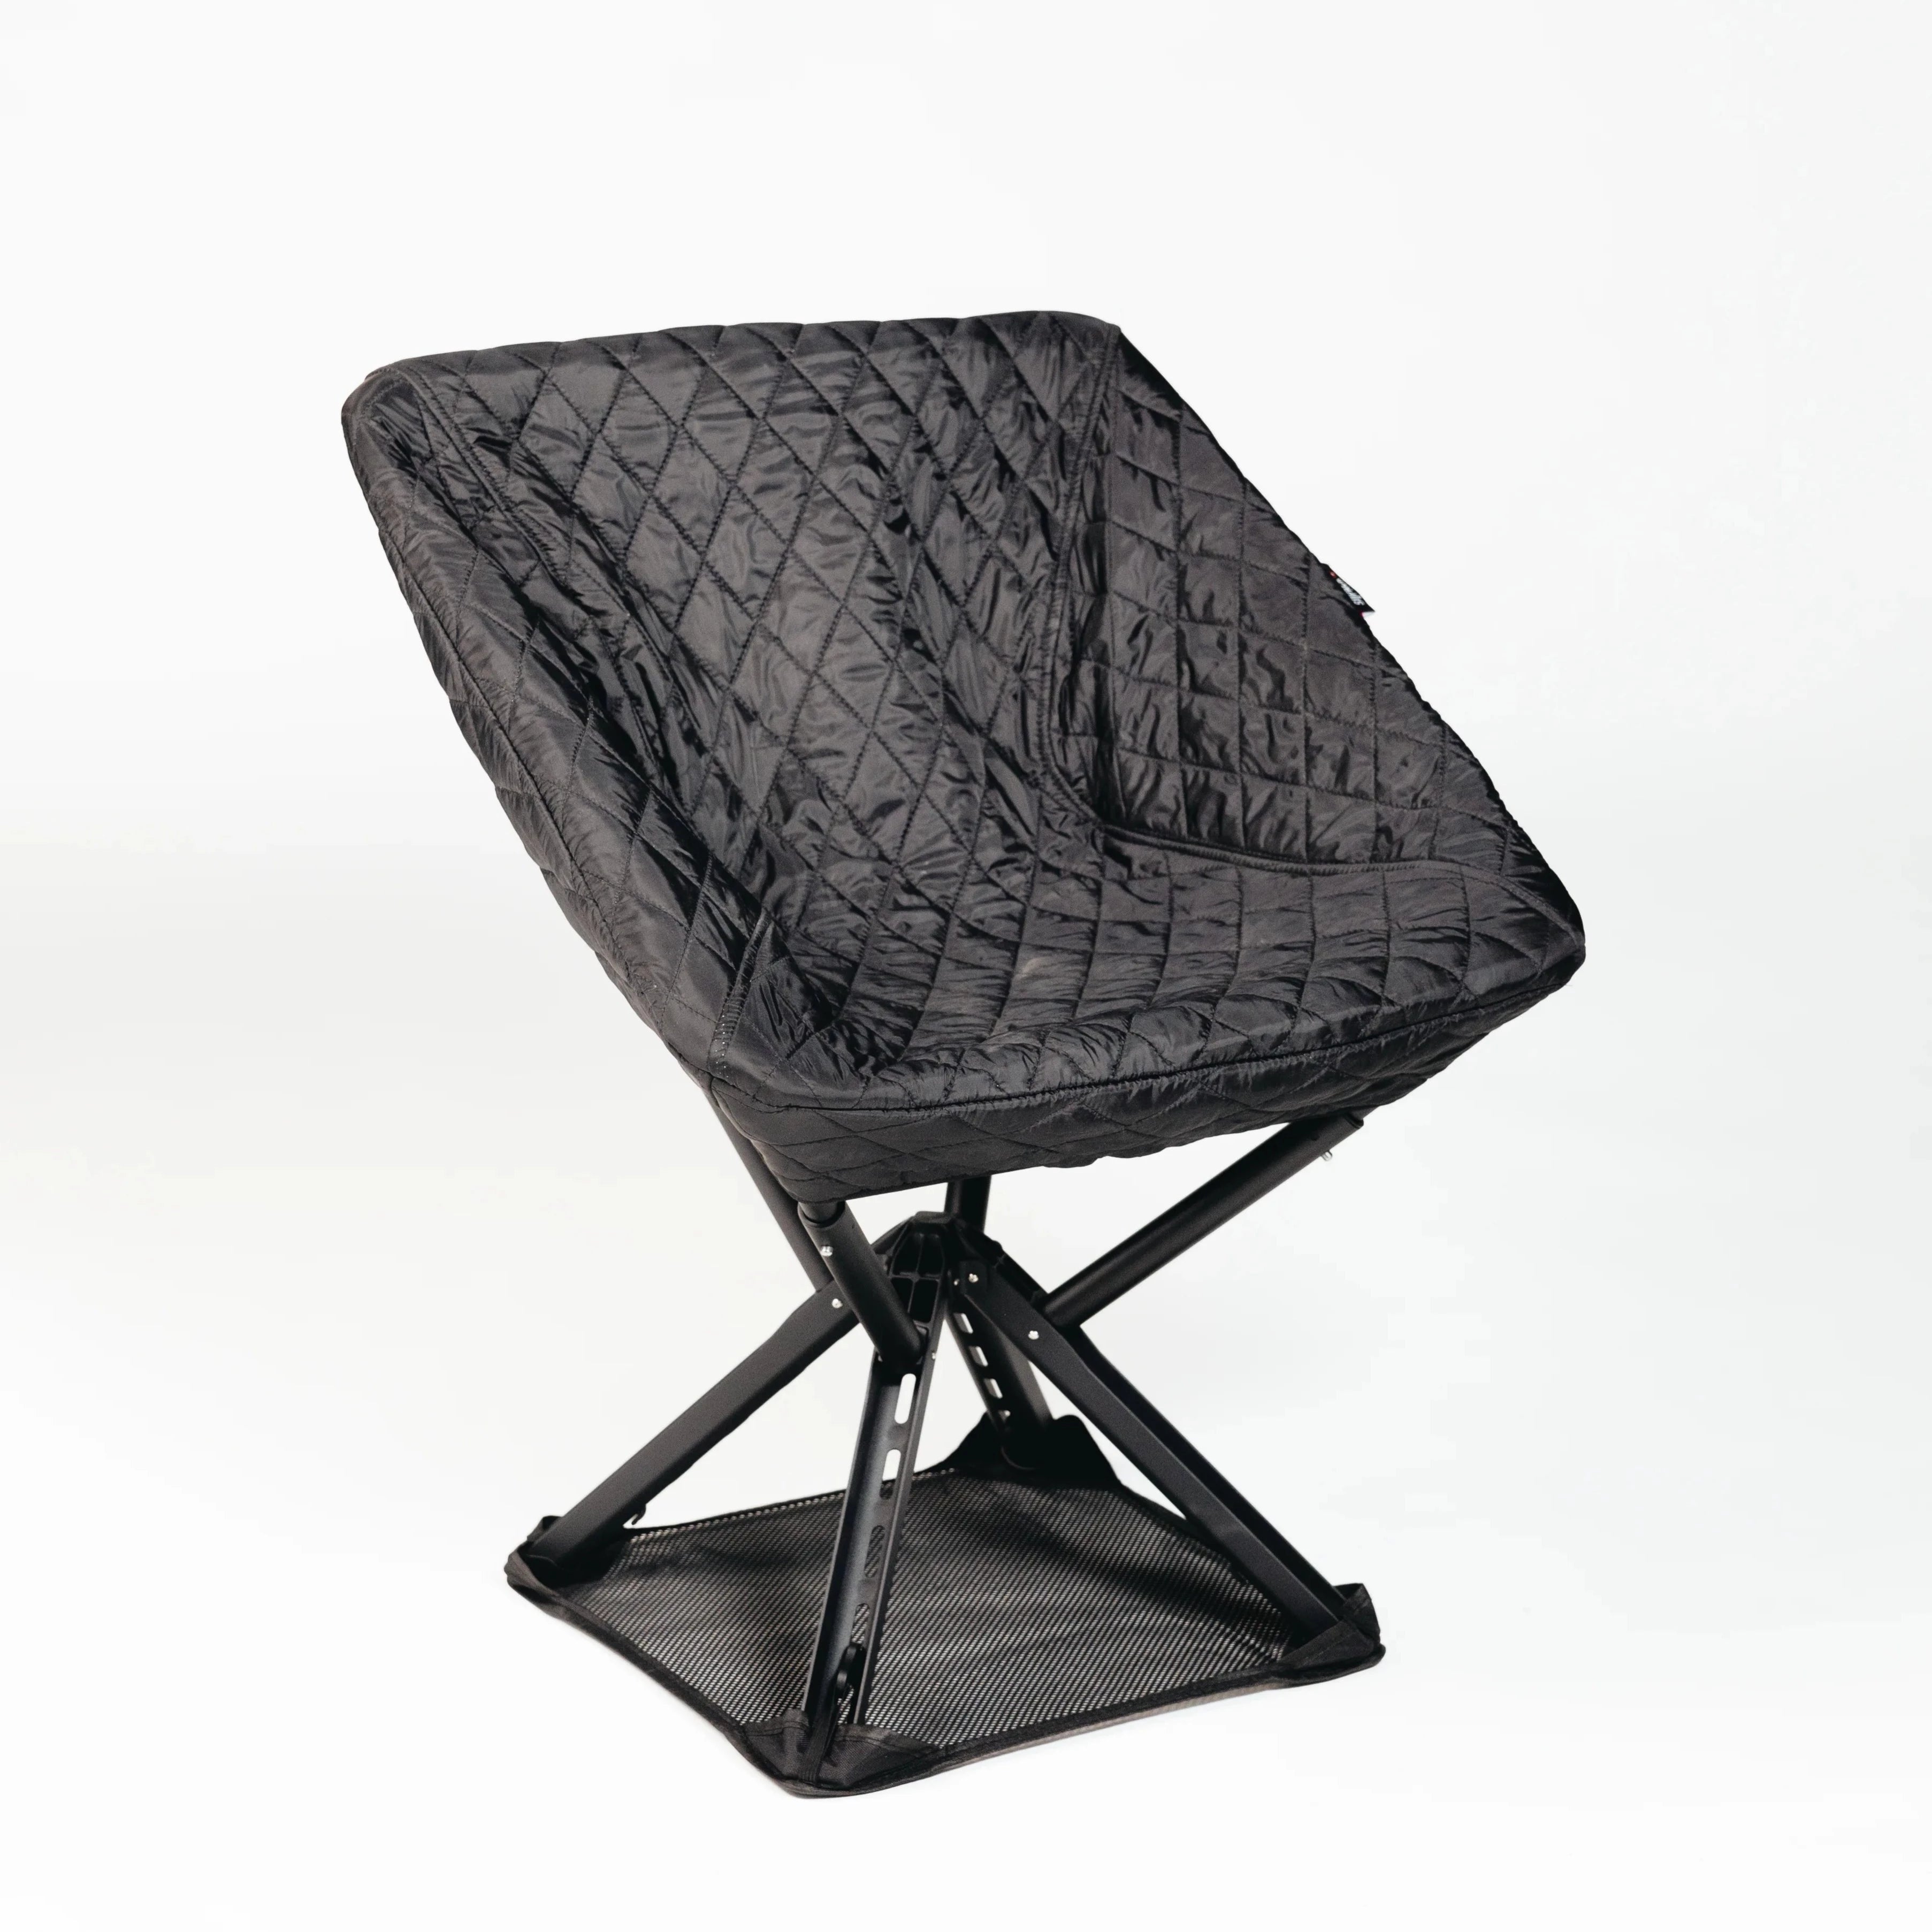
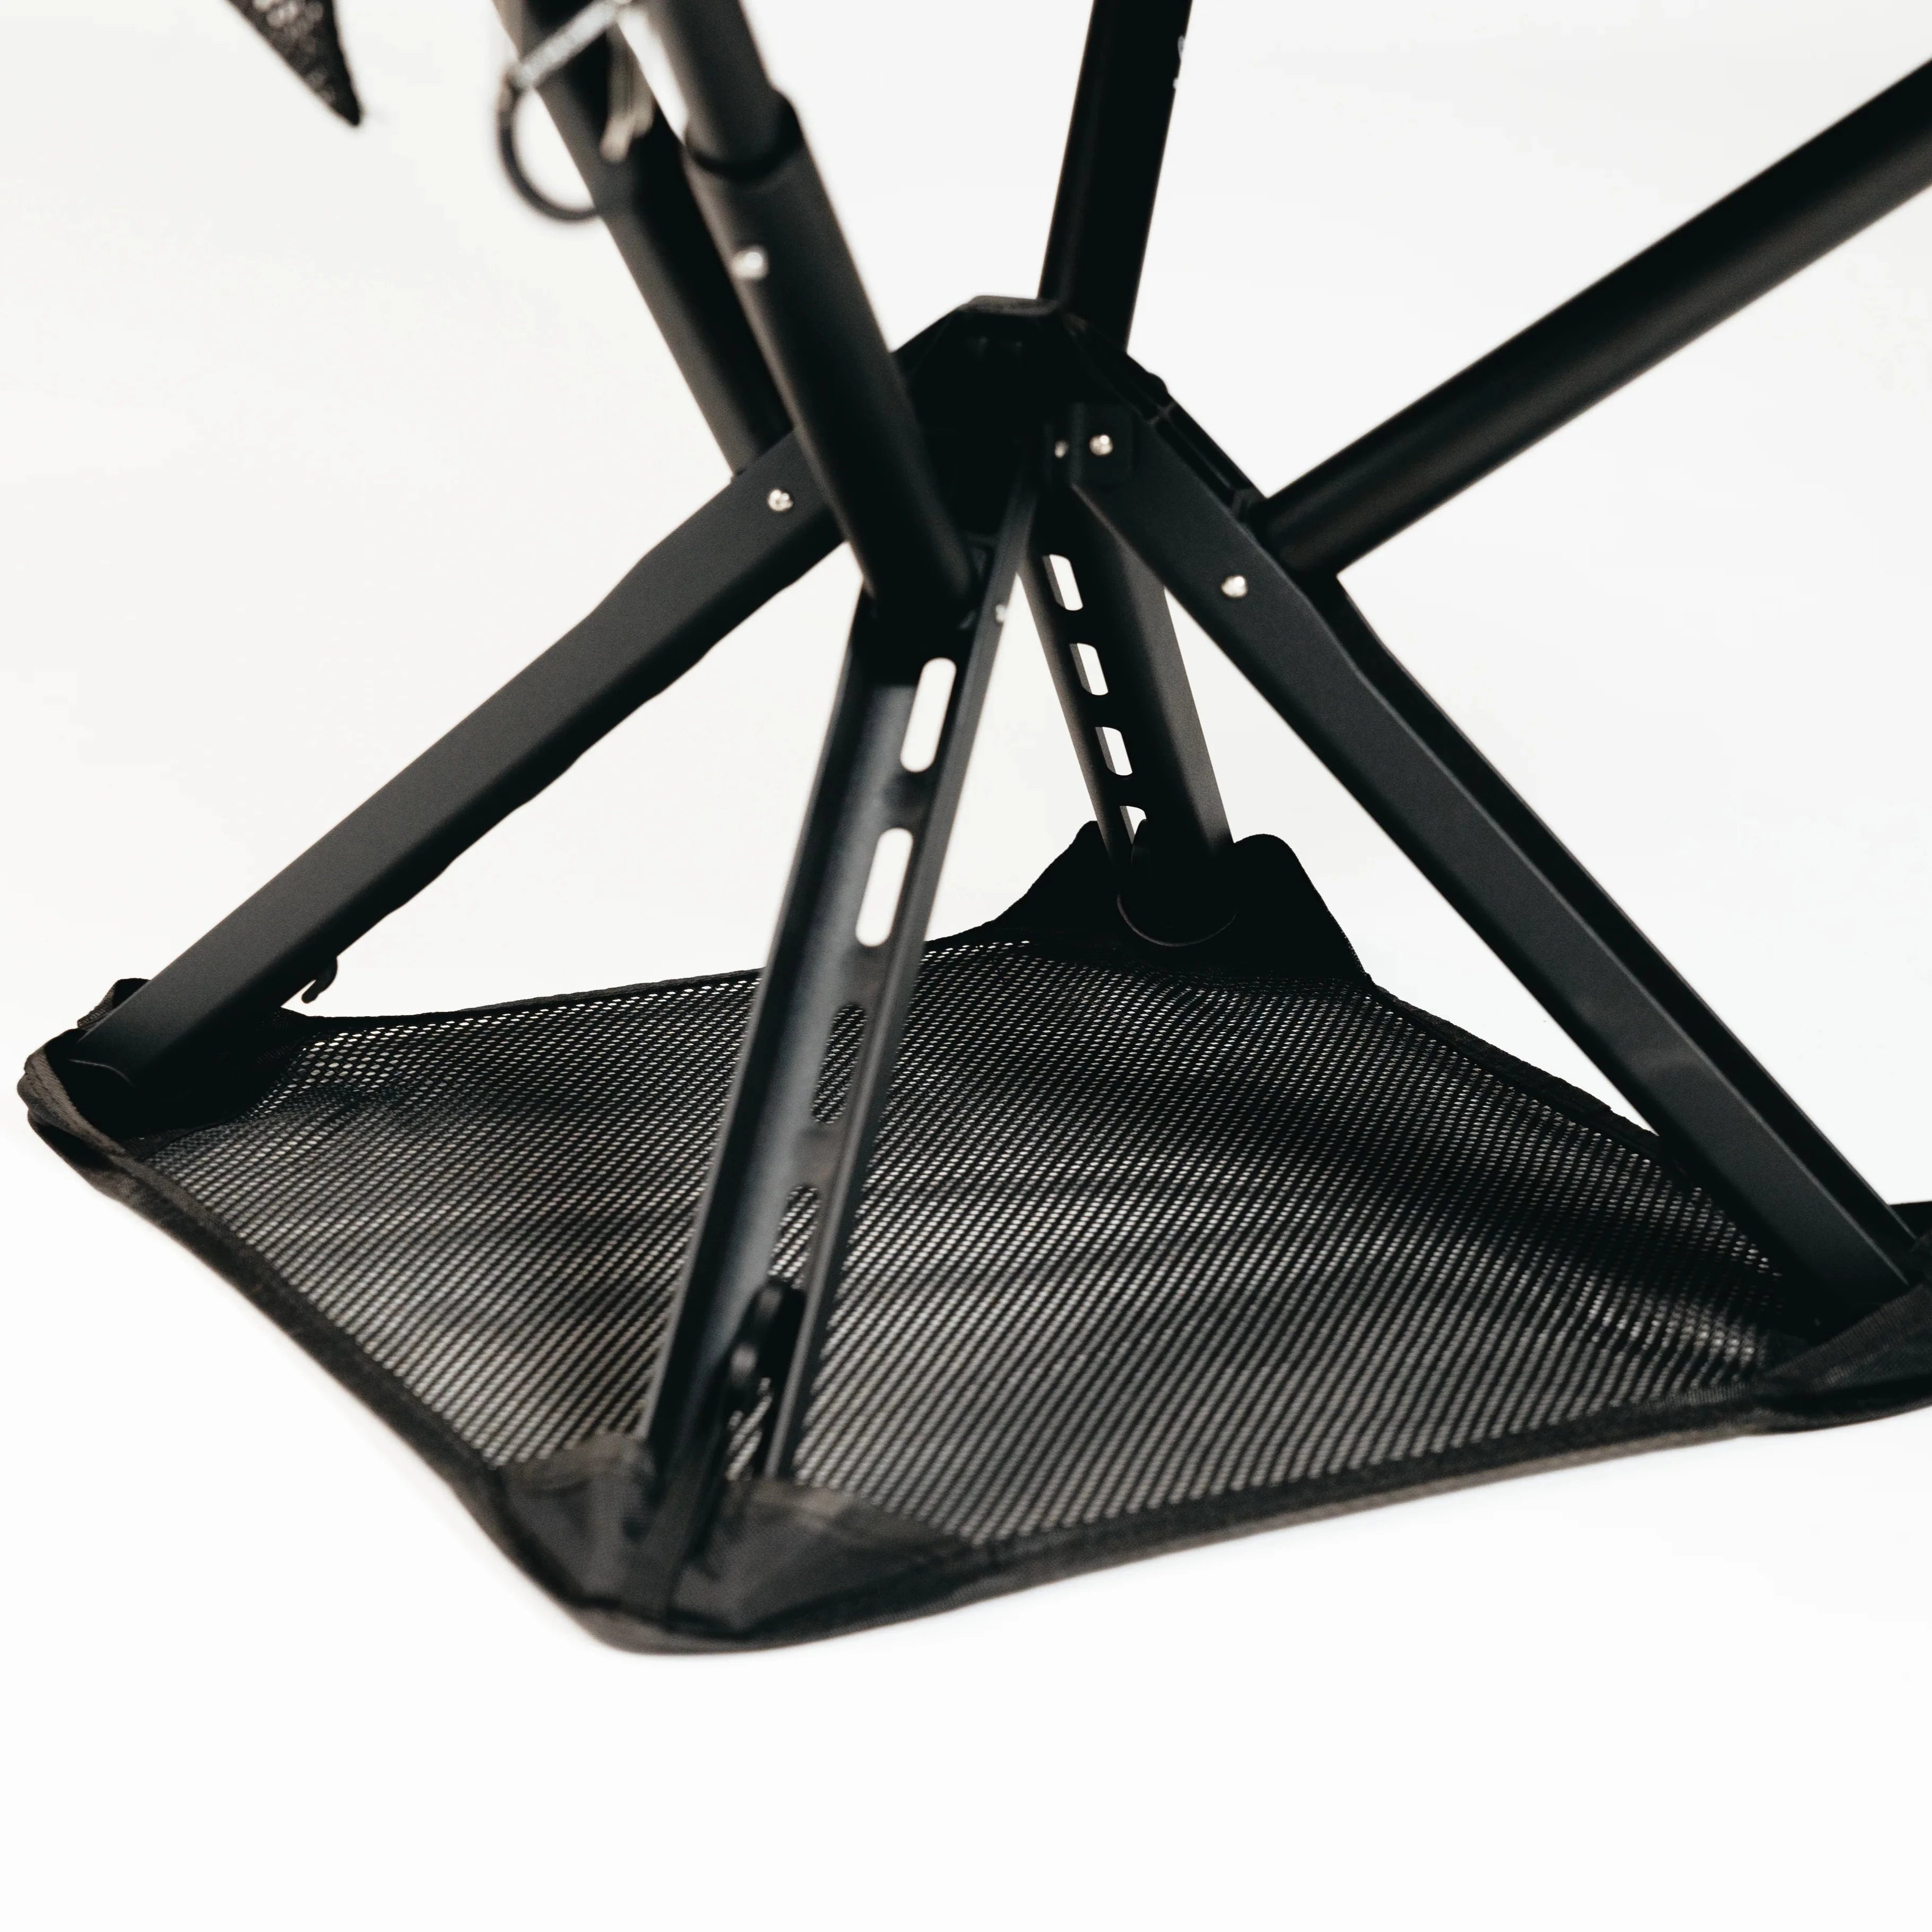
Streamlining your outdoor event seating workflow becomes easier with the right equipment. Sitpack offers portable, ergonomic seating ideal for quick setup and exceptional comfort. Their range of lightweight, durable seats is designed specifically for outdoor event environments where portability and user experience matter most. The Campster II and Sitpack Zen combine minimalist design with practical functionality, making them perfect for event planners who need reliable seating that attendees will appreciate.
Sitpack solutions reduce labor time significantly compared to traditional folding chairs. Their intuitive design allows for faster deployment and breakdown, cutting setup hours and letting your team focus on other critical tasks. The ergonomic features ensure attendee satisfaction, reducing complaints and improving overall event ratings. With eco-friendly materials and lifetime warranties, Sitpack products represent a smart long-term investment for professional event planners.
Pro Tip: Integrating Sitpack’s portable seating into your workflow can improve attendee satisfaction scores by 15-20% while reducing setup labor costs. Their compact storage also saves on transportation and warehouse space.
Explore outdoor seating comfort and portability tips on the Sitpack website for detailed guides and product options that fit your specific event needs.
Folding chairs work well for flexibility and small to mid-sized groups, offering easy transport and quick setup. Bleachers suit large crowds but require professional installation and longer setup periods. Portable stools like Sitpack offer ergonomic comfort and fast deployment, ideal for events where mobility and attendee experience are priorities.
Maintain minimum aisle widths of 4 feet and limit seats per row to 14-20 to meet fire code requirements. Ensure clear egress paths from all seating sections and verify stability of all seating units through physical testing. Document your compliance with measurements and photos for inspection purposes.
Folding chairs typically see 30-50 chairs installed per worker-hour under normal conditions. Bleachers need professional crews and can take a full day for large installations. Weather conditions like wind or rain slow installation significantly and may require additional anchoring or protective measures.
Use portable platforms or plywood sheets to create level surfaces over grass or dirt. Adjustable leg levelers on individual chairs compensate for minor ground variations. For significant slopes, invest in tiered riser systems that transform the terrain challenge into improved sightlines through stadium-style elevation.
Allocate 7-12 sq ft per person for seated events, with higher values providing better comfort and easier movement. VIP sections benefit from 12 sq ft per person while general admission can use 8-10 sq ft. Never go below 7 sq ft to maintain safety and attendee satisfaction.