Cart
0
Sign up and get 10$ off your order
Expected delivery
1-3 days
You may also like



Danish Company

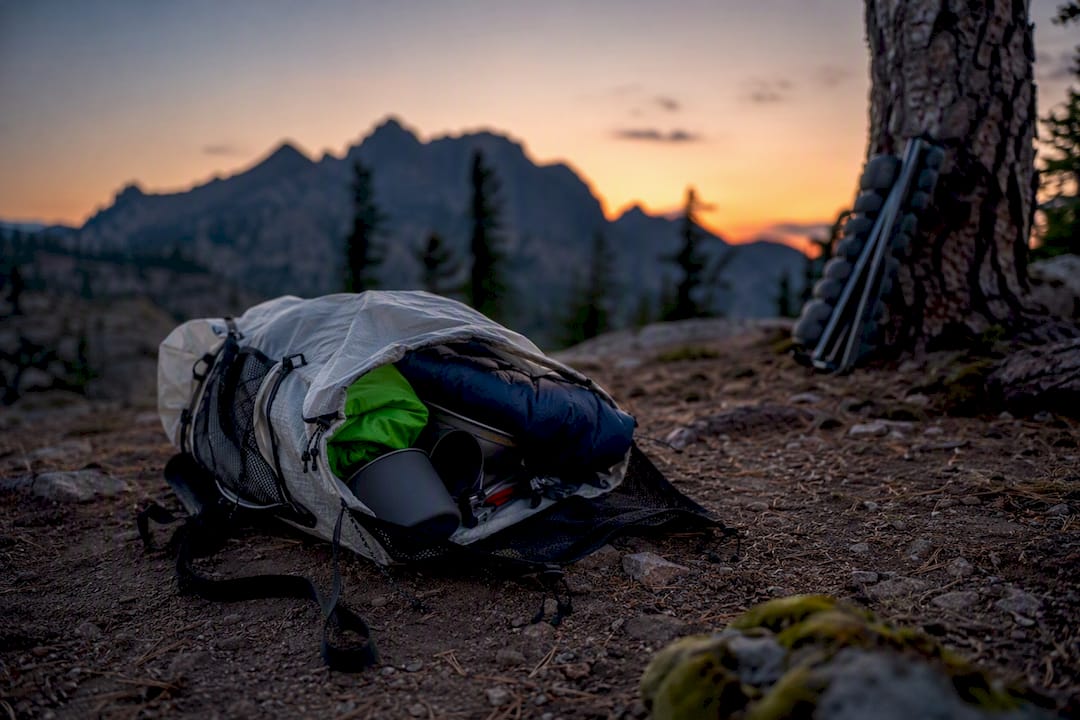
You can cut pounds off your pack by focusing on ten changes: the Big Three, your food and water math, and how you pack the rest. Do these first, before you buy a single new piece of gear:
Base weight targets vary by trip type, but reasonable ranges generally provide lighter packs for longer, more experienced hikes, with weekend trips heavier than thru-hike setups and multi-day trips in between. None of that includes food, water, or fuel. One quick caveat before you get excited about hitting single digits: don’t go stupid light. Cutting your first aid kit or skipping a backup light source to save two ounces isn’t ultralight hiking, it’s just risk with better marketing. We’ll get to exactly where that line sits later on.
Cutting pack weight comes down to prioritizing the Big Three, tightening food and water math, and packing with discipline, while keeping every genuine safety item on board.
| Point | Details |
|---|---|
| Attack the Big Three first | Pack, shelter, and sleep system offer the largest combined ounce savings before any other gear swap. |
| Track calories per ounce | Focus on calorie-dense foods to cut food weight without cutting energy. |
| Pack heavy items near your spine | Center your heaviest gear between your shoulder blades to reduce fatigue over miles. |
| Weigh everything, always | Log every item’s weight in a spreadsheet to catch ounces hiding across your whole kit. |
| Never cut safety redundancy | Keep backup navigation, light, first aid, and water treatment regardless of your base-weight goal. |
Your pack, shelter, and sleep system usually account for more combined weight than everything else in your bag put together. That’s why gear nerds call them the Big Three, and it’s why Trailwise Gear recommends attacking these three items before you obsess over your spork. A traditional internal-frame pack often weighs several pounds empty. An ultralight frameless or minimal-frame pack is notably lighter. Similarly, standard two-person backpacking tents tend to be heavier than single-wall ultralight shelters or trekking-pole tents, while traditional sleeping bags usually weigh more than quilts from makers like Enlightened Equipment that offer comparable temperature ratings.
Pro Tip: Don’t sell your gear closet and rebuy everything at once. Replace whichever of the Big Three gives you the most ounces per dollar first, usually the pack or the shelter, then upgrade the rest as your budget allows.
A few tradeoffs worth weighing before you swap anything:
Calories per ounce is the metric that matters here, and it’s the single most overlooked lever in ultralight packing. Trailwise Gear points out that food and water are usually the heaviest consumables you carry, and dialing in your calorie density can shave a full pound or more off a multi-day carry. Aim for foods that deliver a high number of calories per ounce, such as nut butters, olive oil packets, dried fruit, and calorie-dense trail mix, rather than heavier canned goods or fresh produce.
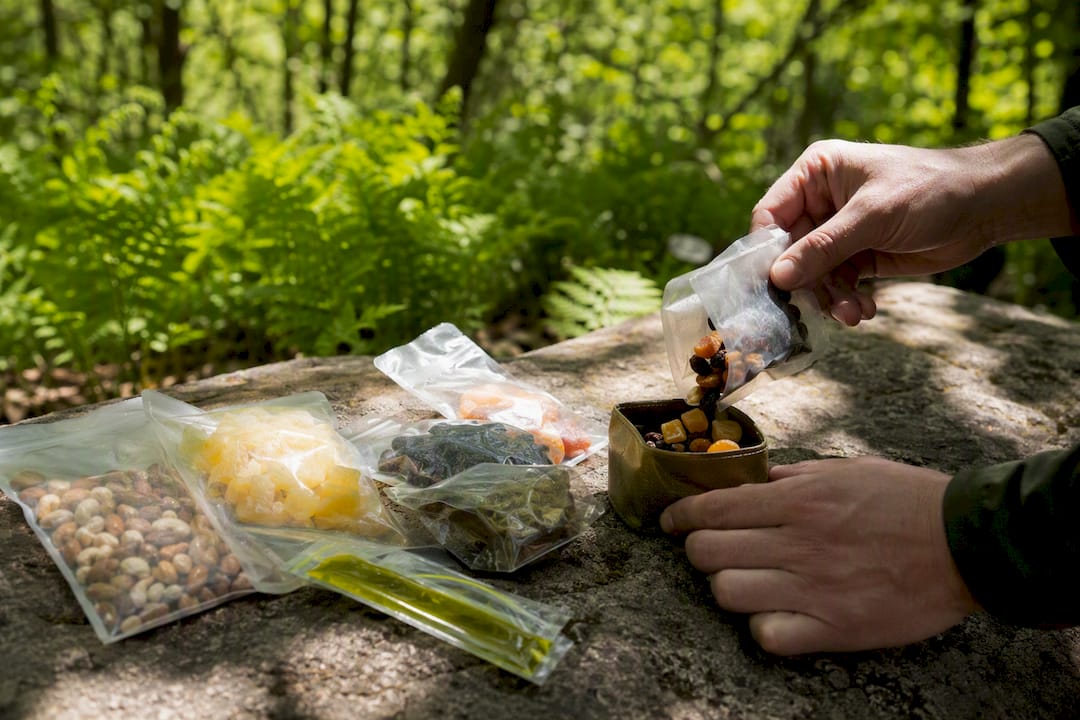
Resupply planning matters just as much. Carrying five days of food when you’ll hit a town at day three is dead weight riding on your back for no reason. Map your route, know your resupply points, and pack tight margins instead of buffer days “just in case.”
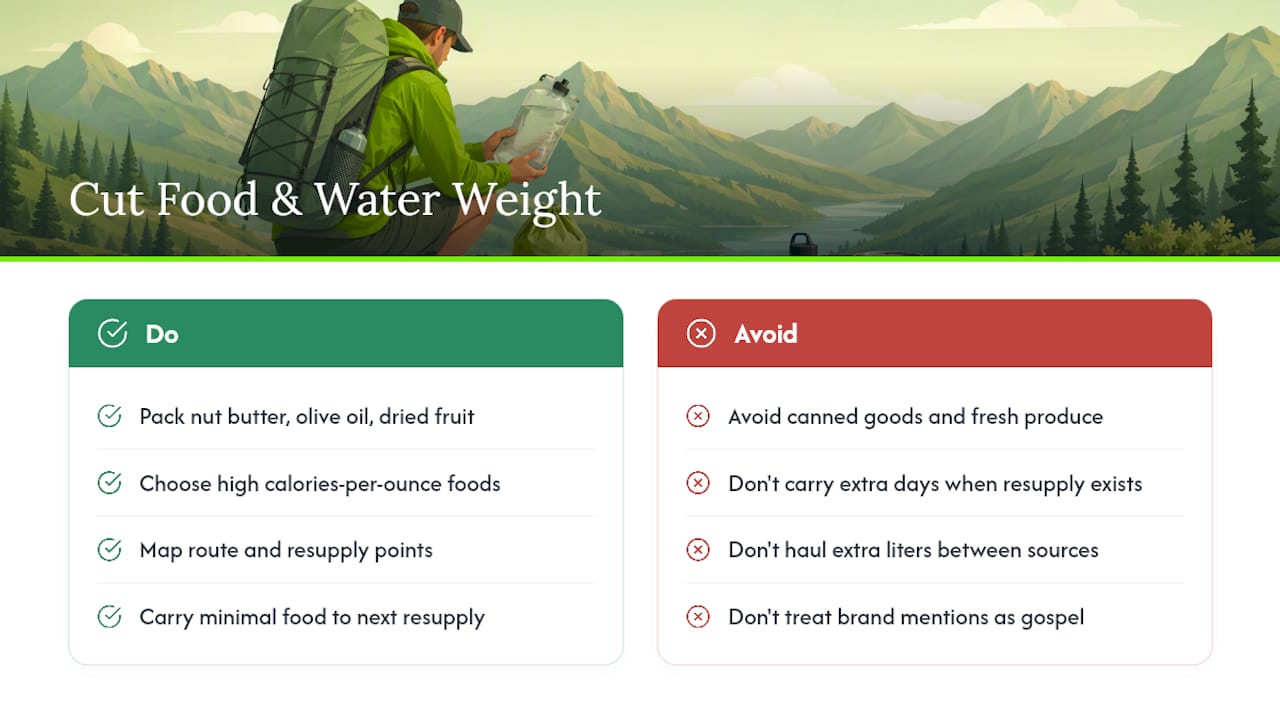
Water strategy follows a similar logic: carry the minimum needed to reach the next reliable source, then “camel up” by drinking heavily at that source instead of hauling extra liters between them. This only works if you’ve actually researched your water sources ahead of time, using something like the FarOut app to confirm flow status and distances before you commit to a low-carry strategy.
A quick note on brand mentions: gear like the Sawyer Squeeze, Smartwater bottles, Jetboil stoves, or Snow Peak and MSR products show up constantly in ultralight circles because they’re common and lightweight, not because any one of them is the only correct choice. Treat these as reference points, not gospel.
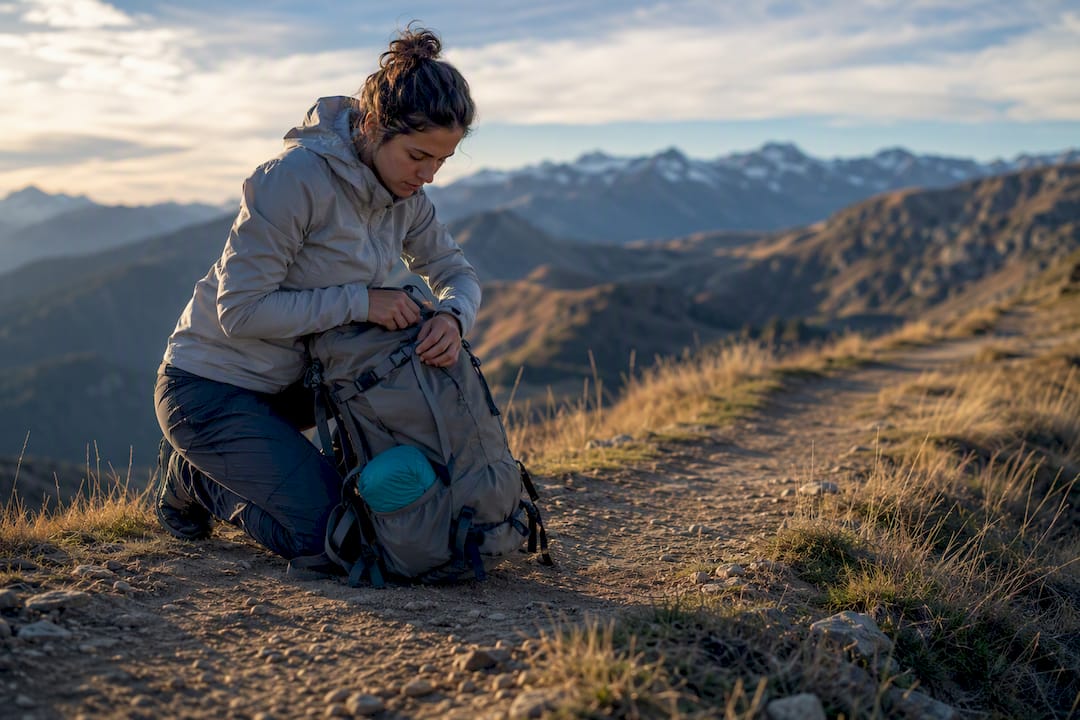
How you pack matters almost as much as what you pack. Switchback Travel explains that heavy items belong close to your spine and between your shoulder blades, not riding low or bouncing away from your back. A pack loaded wrong can feel ten pounds heavier than the same pack loaded right.
Here’s a packing order that works for most overnight and multi-day trips:
If you’re using a bear canister, keep it centered and low rather than top-heavy, since its rigid shape doesn’t compress and shifting it wrong throws off your balance on switchbacks.
Pro Tip: Frameless packs need the load itself to create structure, so pack a rolled sleeping pad against your back as a makeshift frame before adding anything else. Framed packs are more forgiving here, but both benefit from cinching compression straps tight enough that nothing shifts when you jump in place.
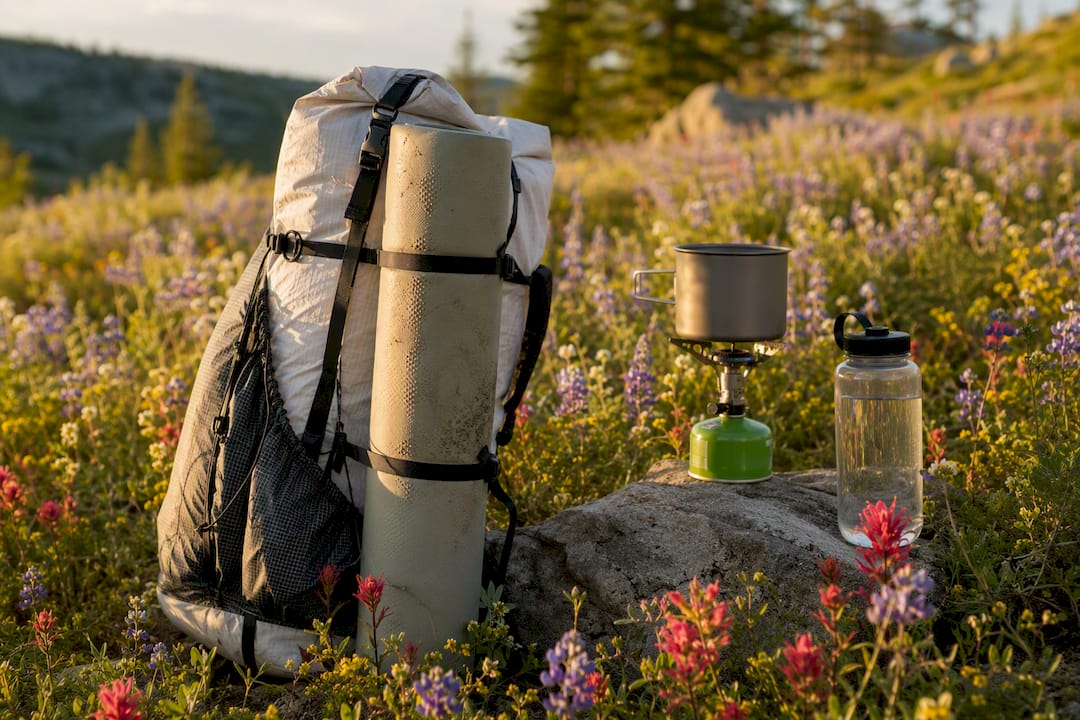
Multi-use gear is where ultralight hiking gets genuinely clever instead of just expensive. A few swaps deliver real ounces without asking you to give anything up:
Material choice matters just as much as function. Titanium costs more but resists dents and lasts years under hard use. Aluminum splits the difference on weight and price but dents more easily. Plastic is cheapest and lightest for some items, like spoons or bowls, but it cracks in cold temperatures and doesn’t hold up to years of abuse the way titanium does.
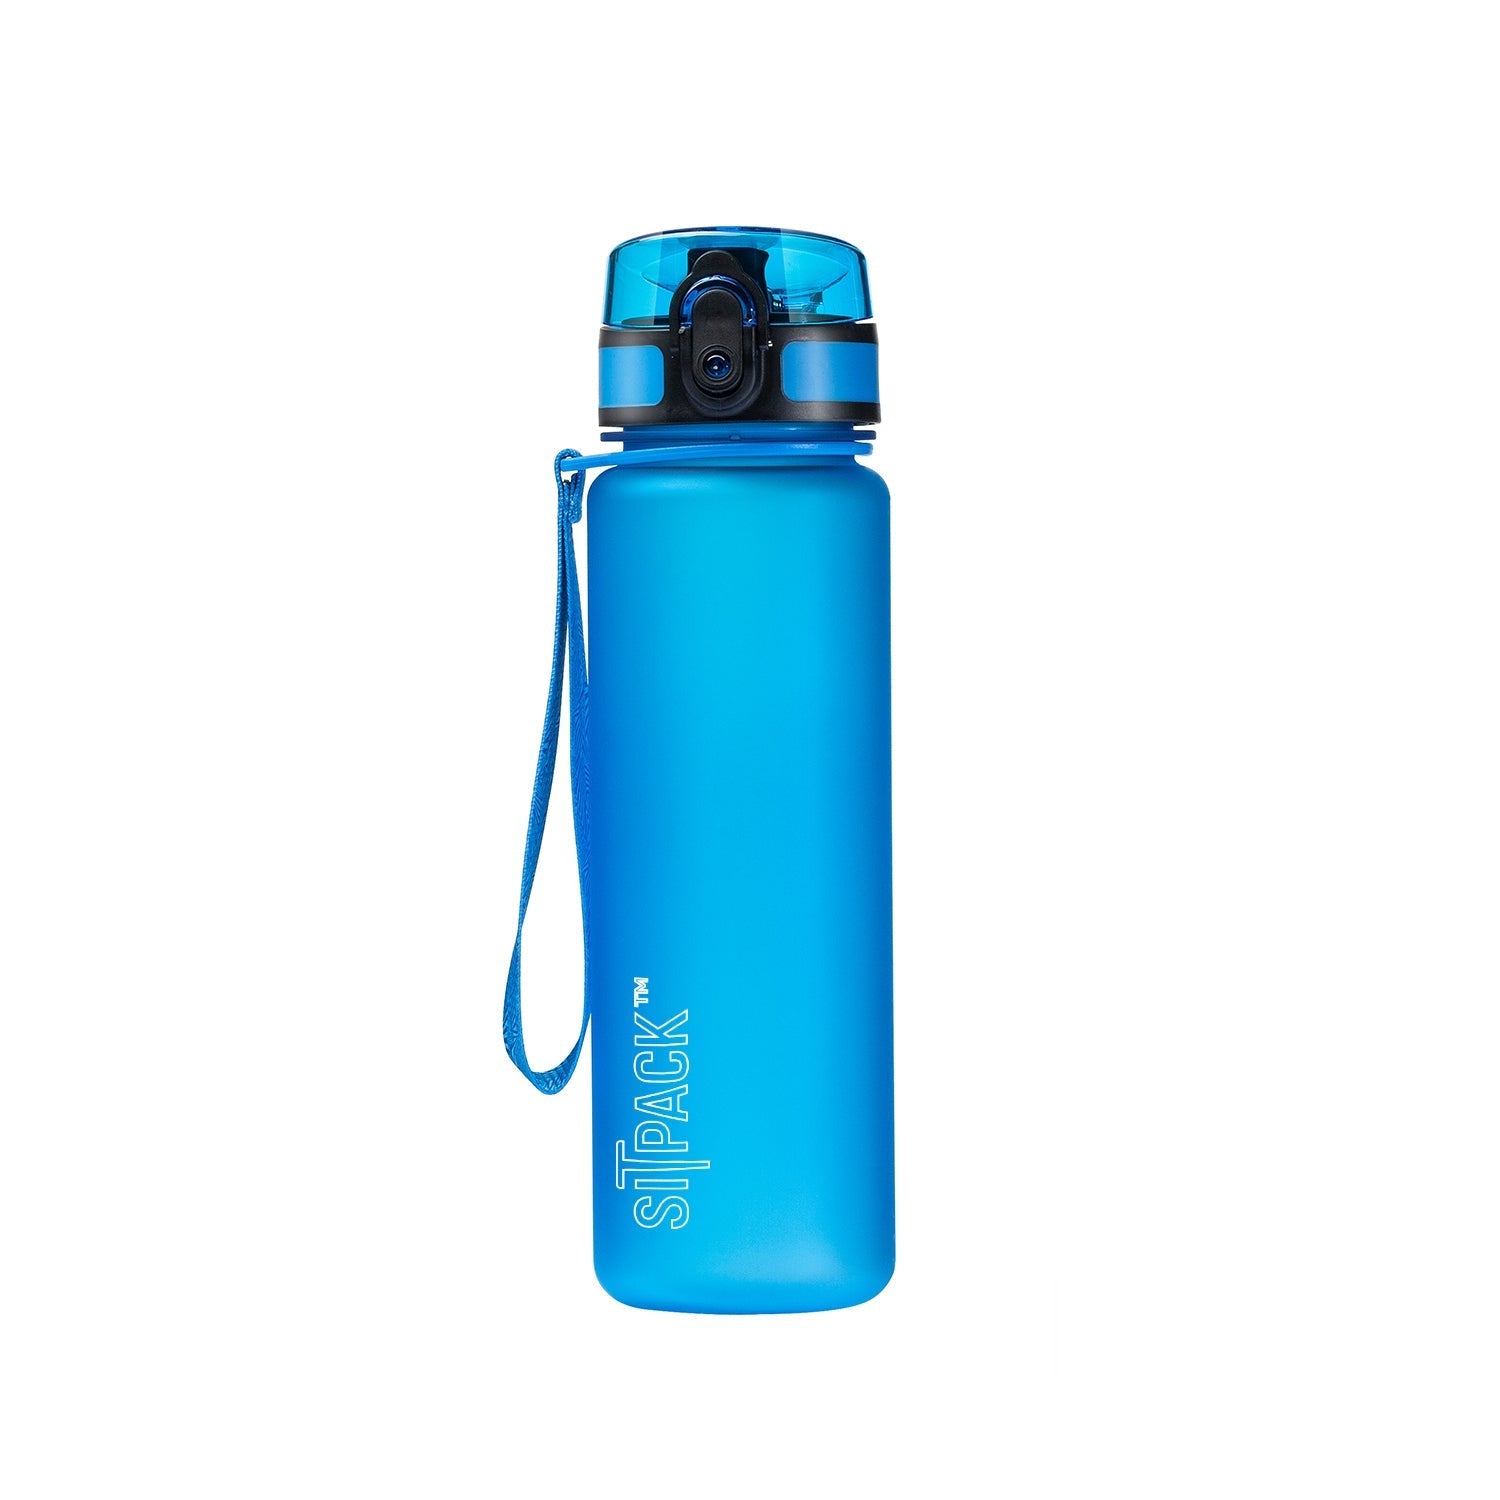
Repackaging is one of the cheapest weight-loss tricks available to any hiker. GearJunkie recommends stripping retail packaging off food and toiletries, decanting into zip bags, and swapping a heavy hard-sided water bottle for a disposable Smartwater bottle, which weighs a fraction as much and holds up fine for a season of use.
Some of the most effective ultralight moves cost nothing at all: a trash-compactor bag liner, a Tyvek groundsheet cut to size, or simply leaving the extra camp pillow at home. The gear budget isn’t the bottleneck for most hikers. The habit of asking “do I actually need this” is.
That said, DIY ultralight has limits. A homemade alcohol stove or a cuben-fiber wind screen taped together in your garage might save an ounce, but if it fails in the field with no backup, you’ve traded weight for risk. Save the fragile DIY solutions for fair-weather trips close to civilization, not for remote routes where gear failure becomes a real emergency.
Your shelter and sleep choice depends heavily on where and when you’re hiking, but the ounce differences between options are dramatic enough to matter for every trip type.
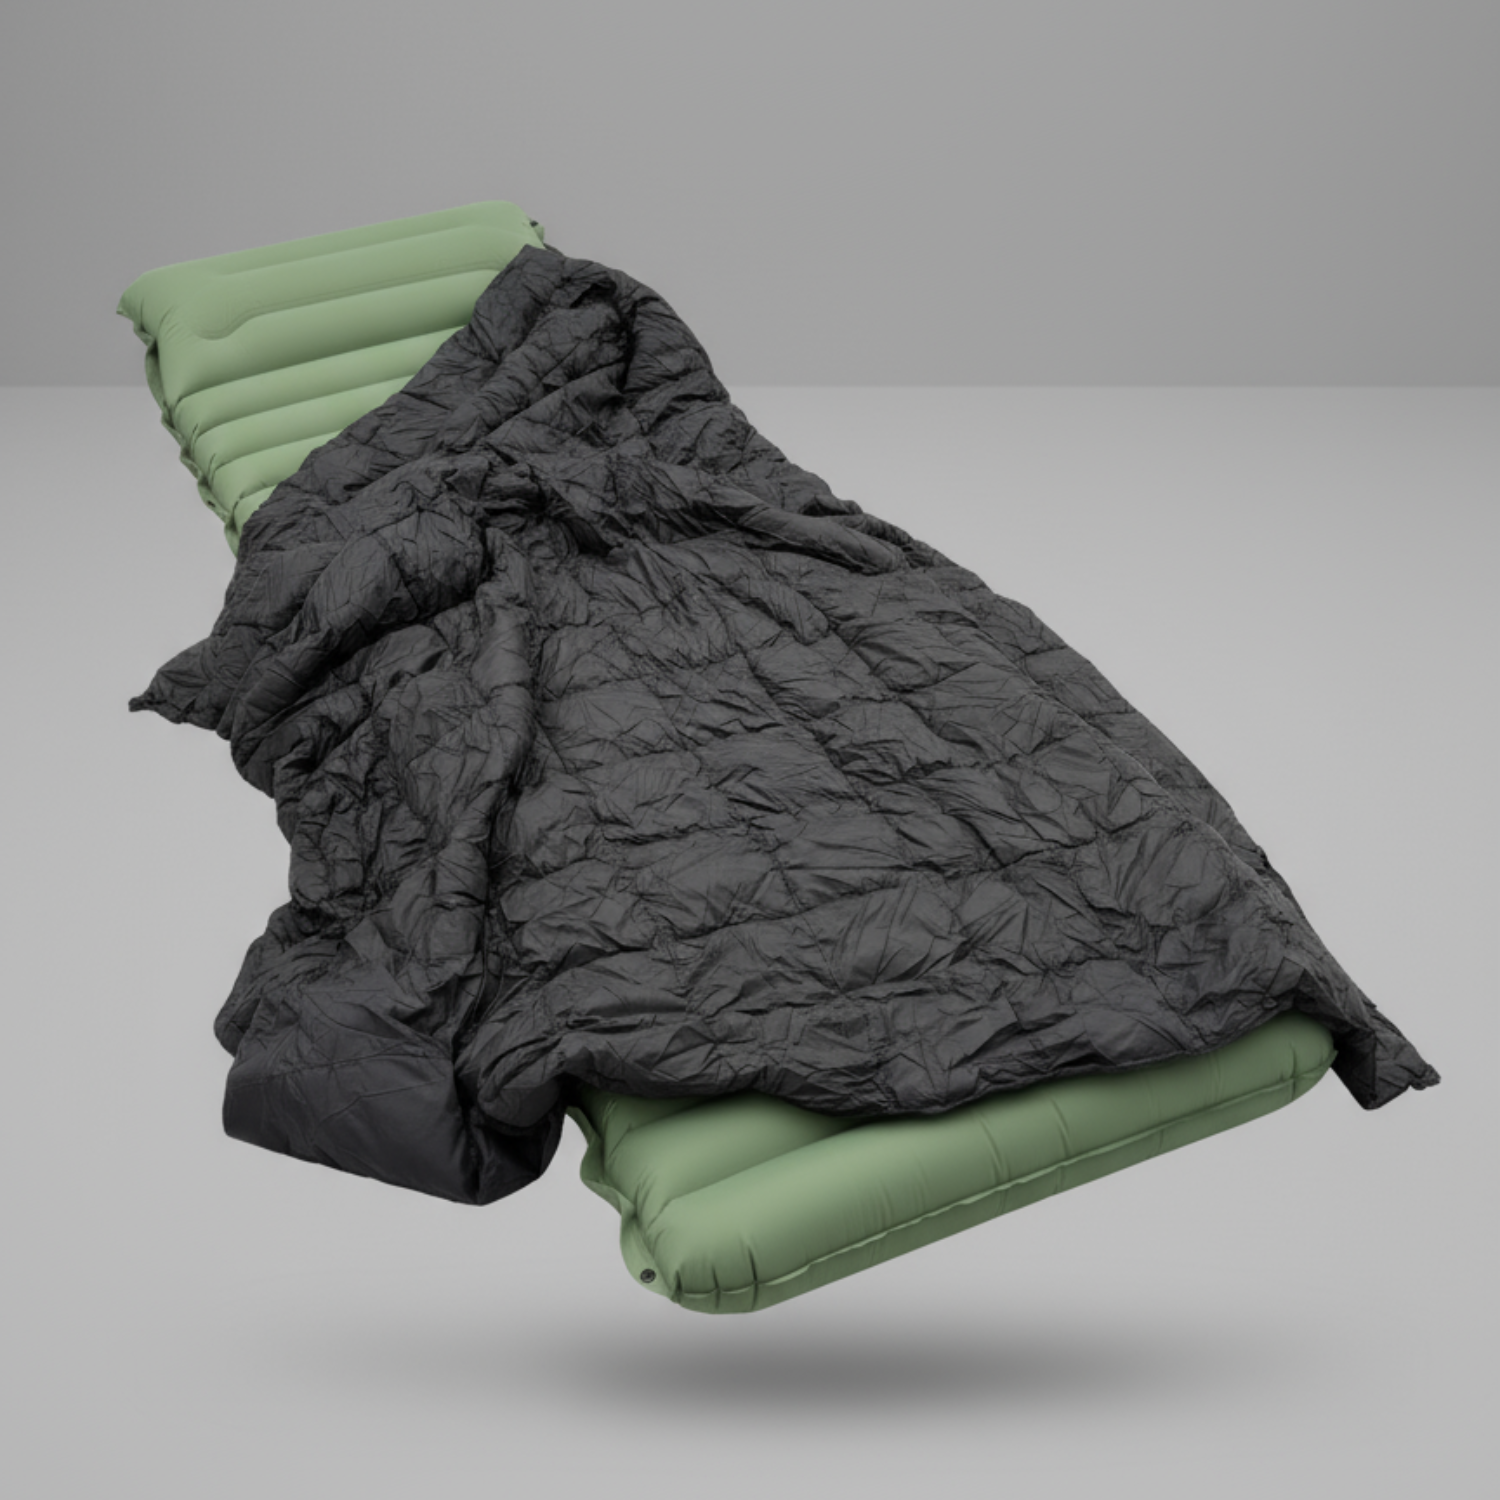
Quilts make sense as an ultralight swap for most three-season hikers because they skip the zippers, hood, and back insulation a mummy bag carries, insulation you’re compressing under your body weight anyway and getting little benefit from. A quilt from a maker like Enlightened Equipment paired with a short, torso-length pad instead of a full-length one can save you a combined pound or more over a traditional mummy bag and full pad setup.
Cowboy camping, sleeping without any shelter at all, is a legitimate ultralight technique in dry, bug-free, low-risk conditions. It’s a bad idea in bear country or anywhere weather can turn fast, so check your forecast and local wildlife activity before committing to zero shelter.
Most ultralight hikers run a two-outfit system: one hiking set you sweat in during the day, and one dry sleep set you never wear while moving. That’s it. Add a rain shell and one insulating layer, and you’re covered for most three-season conditions without a suitcase of backup clothes.
The trail runner conversation deserves a beat of nuance: boots offer more ankle support and protection on technical terrain, but for most maintained trails, trail runners reduce fatigue simply by weighing less per step, and they dry out in hours instead of days after a creek crossing.
Cold-soaking, skipping the stove entirely and rehydrating meals in a jar or bag with cold water, eliminates your stove, fuel, and pot weight in one move. GearJunkie covers this as one of the highest-impact cuts available, though it does mean 20 to 30 minute soak times and a narrower food selection built around instant rice, couscous, and dehydrated meals that rehydrate well cold.
If you’re not ready to give up hot food, canister stoves like the Snow Peak LiteMax or MSR PocketRocket 2 weigh around 2 to 3 ounces and boil water fast, while an all-in-one system like a Jetboil trades a bit of weight for wind resistance and fuel efficiency.
Buy the smallest fuel canister that covers your trip length instead of defaulting to the largest size out of habit.
A gear spreadsheet turns guesswork into decisions you can actually defend. Bearfoot Theory recommends weighing every single item you own, logging it, and using that data to spot the ounces hiding in your pack.
Useful fields: item name, category, weight in ounces, cost, and a “worth it” column you fill in after your next trip. A template tool like LighterPack handles this automatically and lets you share your list for feedback.
Pro Tip: Before every resupply, dump your food bag and audit what’s left. Uneaten snacks and excess packaging pile up fast, and catching that pattern early saves real weight on your next stretch.
Cutting weight has limits, and crossing them doesn’t make you a better hiker, it just makes you unprepared. Keep these non-negotiable, regardless of your base-weight goal:
Red flags that mean you’ve gone too light: no redundancy on any critical system, gear rated for solo emergency use only when you’re in a genuinely remote area, or insulation that doesn’t match your forecasted overnight lows. Rules of thumb shift by season, a summer alpine trip and a shoulder-season canyon trip need very different insulation minimums, so validate any new ultralight setup on a short shakedown hike near home before trusting it on a real trip.
Where you put weight in your pack changes how your body processes that weight, and it’s not a minor effect. Switchback Travel notes that heavy items placed high and close to your spine keep your center of gravity near your body’s natural balance point, which reduces the muscular effort needed to stay upright with every step. Weight riding low or away from your back forces your core and shoulders to compensate constantly, and that adds up over ten or fifteen miles.
A simple field test works before you ever leave the trailhead: put the loaded pack on, buckle the hip belt, and do a few squats and side-to-side lunges. If the pack pulls backward or sways heavily to one side, your load is off. Adjust until the pack moves with you instead of against you.
Pro Tip: If a hot spot starts forming on your hip or shoulder, stop and adjust immediately rather than pushing through it. A five-second strap tweak beats a blister that ruins the next three days.
The single biggest change I made wasn’t a fancy tent or a $400 quilt. It was swapping a 6-pound framed pack for a 2-pound frameless one on a three-day ridge trip, saving roughly 4 pounds before I touched anything else. My legs felt noticeably fresher by mile twelve on day two, something I didn’t expect from one swap. But that pack also forced me to repack more carefully every single morning, since a sloppy load rides terribly without a frame. Ultralight hiking isn’t a purchase you make once. It’s a skill you build one trip, one shakedown, and one honest gear audit at a time.