Vogn
0
Tilmeld dig og få 10% i rabat på din ordre
Forventet levering
1-3 dage
Du vil måske også kunne lide




Dansk Firma


Pack the 10 Essentials, share a clear plan with someone who isn’t coming, and practice basic survival and first-aid skills before you go. That’s the whole game. Everything else, the fancy gear, the perfect boots, the color-coded packing cubes, is optimization on top of a foundation most people skip.
TL;DR:
- Carry enough water for your route and include a filter or tablets as backup treatment, especially in high-heat or high-altitude environments.
- Book permits and transportation three to six months in advance for popular routes, and start fitness and skills prep six to eight weeks before departure.
- Share your itinerary with a trusted contact and include check-in times, backup communication devices, and signaling tools like mirrors and whistles.
- Practice navigation skills with map and compass, download offline maps, and carry a satellite communicator for routes beyond cell coverage.
- Test all gear through full pack hikes and drills before the trip, focusing on essential items, repair tools, and comfort gear like portable seats for faster recovery.
The National Park Service’s 10 Essentials framework has survived decades of trial and error for a reason: it forces you to plan for the trip you’re taking and the emergency you hope you’re not. Here’s the priority order that matters most:
Cold or wet climates push insulation and fire redundancy higher on the list; desert routes push water capacity higher. Day trips can trim volume but never cut a category entirely, and groups should split weight, not skip items, since everyone still needs personal access to shelter and first aid if the group separates.
Pro Tip: Build a base kit that never leaves your pack, then add trip-specific items on top. You’ll stop forgetting things because half the list is already zipped in.
Booking timeline matters more than most people realize, especially for popular routes with permit systems. A rushed trip is where corners get cut.
Treating trip one as a pilot, per that same planning guidance, means simplifying the itinerary and leaving slack rather than packing the schedule tight.
An unshared itinerary is a plan that doesn’t exist. Give a trusted contact your route, expected return time, and a fail-safe trigger: what time they call for help if you’re not back or haven’t checked in.
The American Red Cross stresses that these skills only work if you’ve practiced them before you need them. A satellite messenger sitting unused in a pack is dead weight; one you’ve actually tested at home is a lifeline.
Start with at least 2 liters of water per day as your baseline, according to guidance the National Park Service uses, and increase significantly for heat, altitude, or high exertion. Don’t rely on carrying it all: pack a filter, purification tablets, or the ability to boil as backup.
Food planning works best around calorie density. Nuts, dried fruit, jerky, and energy bars pack more fuel per ounce than anything requiring a stove. Follow the extra-day rule: bring one full day of food beyond your planned itinerary, and keep some of it no-cook in case a stove fails or conditions turn.
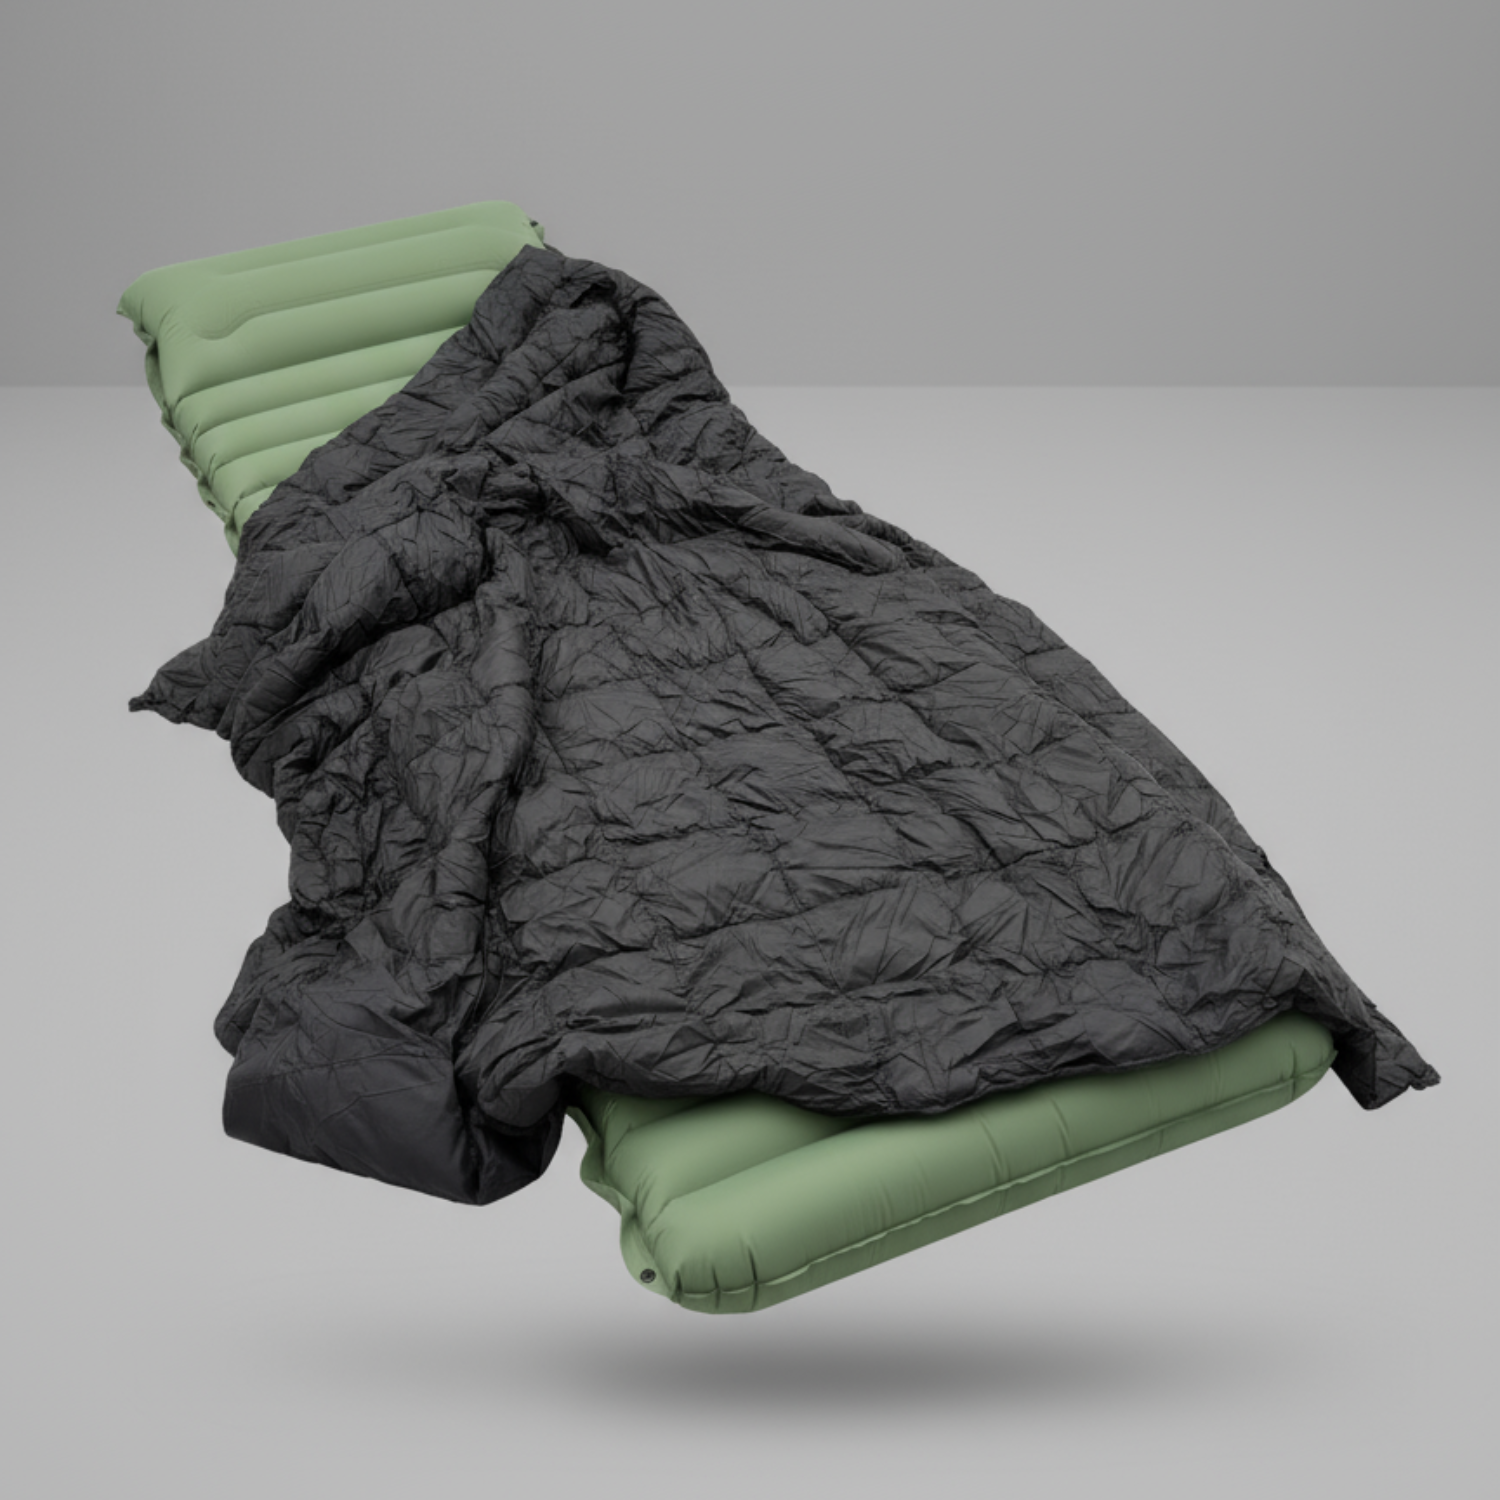
A tarp, bivy sack, or emergency blanket weighs almost nothing and solves the single biggest short-term survival problem you might face.
Phones die. Screens crack. Batteries drain faster in cold weather than the manufacturer’s estimate ever suggests. That’s why map and compass skills stay non-negotiable even in the age of GPS.
Redundancy here isn’t paranoia. It’s the difference between a minor inconvenience and a search party.
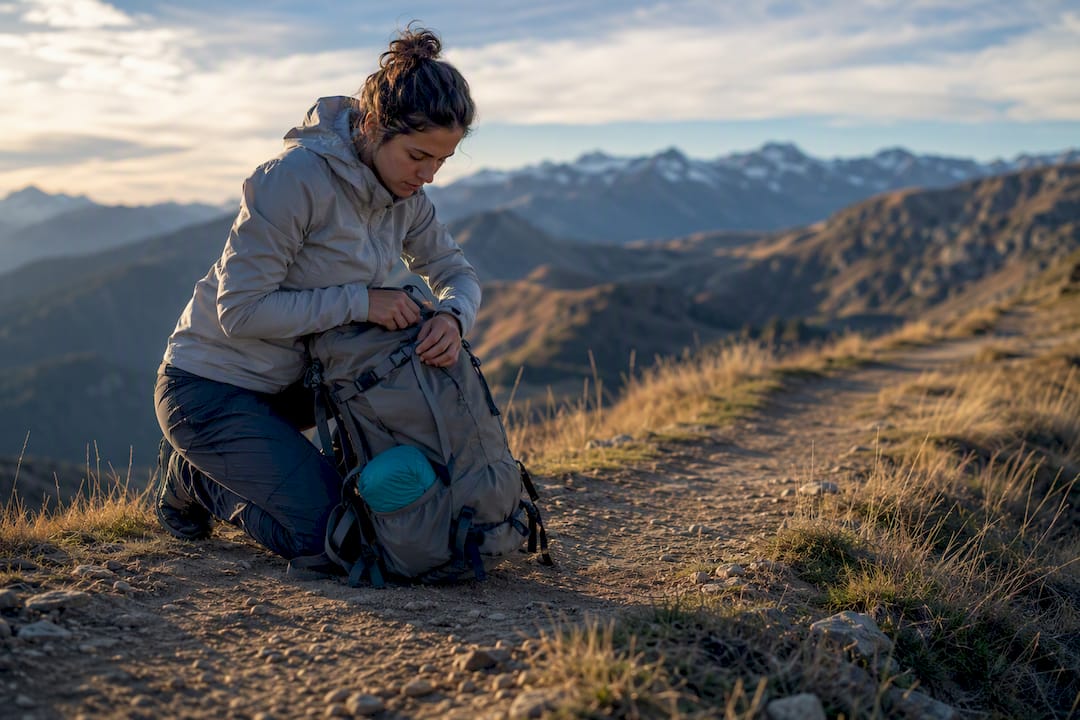
Gear that’s never left the store shelf is a liability disguised as preparation. A full-pack shakedown hike before departure catches problems while you can still fix them.
Knowledge you haven’t practiced tends to evaporate under stress. The S.T.O.P. method, Sit, Think, Observe, Plan, gives you a structured pause instead of a panic spiral the moment something goes wrong. Pair it with the Rule of Threes that FEMA’s survival guidance outlines for triage priorities: minutes without air, hours without shelter in harsh conditions, days without water, weeks without food.
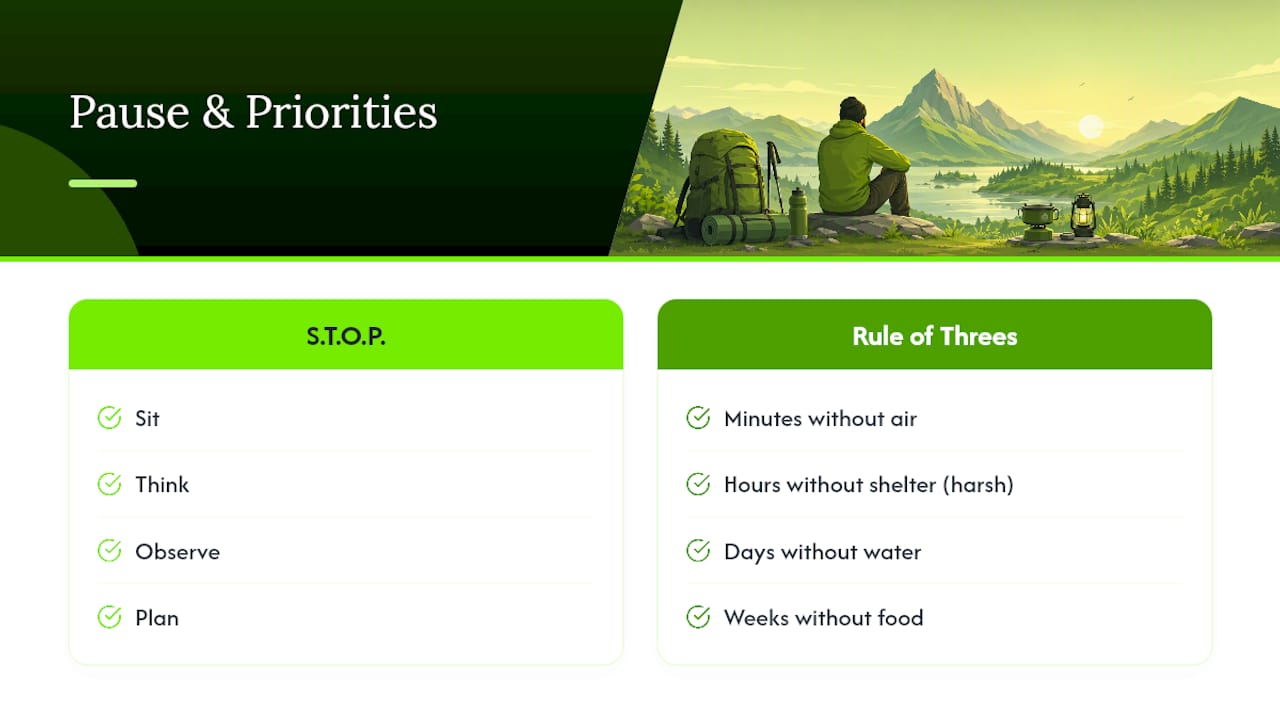
A short wilderness first-aid or CPR course pays for itself many times over. At home, run small drills: pitch your tarp in the rain, navigate a short route by map alone, and practice starting a fire with your actual kit, not a lighter you’ll conveniently forget to pack. Repetition is what turns a checklist item into a reflex.
Preparation isn’t only about your own safety. It’s also about the ground you’re walking on. Leave No Trace principles fold directly into your gear and route decisions, not as an afterthought tacked onto the end of a trip but as part of how you pack in the first place.
Plan to pack out everything you pack in, including food scraps and toilet paper. Choose durable surfaces, established trails, and existing campsites over trampling fresh ground. Camp at least 200 feet from water sources to protect fragile riparian zones and keep your own water source cleaner. If you’re building a fire, use existing fire rings where available and only burn what the site allows; in dry or restricted areas, skip fire entirely and rely on your stove.
Food storage matters as much for wildlife as for you. A bear canister or proper hang keeps animals from associating campsites with easy meals, which protects both future hikers and the animals themselves. Pack a trowel for human waste disposal in areas without facilities, and bury it well away from water and trails.
None of this requires extra gear beyond what’s already on your checklist. It requires a mindset shift: every choice, where you step, where you camp, what you burn, what you carry out, either preserves the place for the next visit or degrades it a little more. Good trip planning treats environmental stewardship as inseparable from safety planning, not a separate virtue layered on top.
Endurance activities burn through calories faster than most people budget for, and running low on fuel mid-trip affects judgment before it affects energy. That’s a dangerous combination on technical terrain or in changing weather.
Plan meals around a mix of fast-burning and slow-burning fuel. Simple carbohydrates, dried fruit, energy chews, give quick energy for climbs or tough stretches. Fats and proteins, nut butters, jerky, cheese, digest slower and keep you fueled through longer gaps between meals. Most multi-day hikers aim for calorie-dense foods that pack a lot of energy into a small, light package, since carrying enough calories in bulky, low-density food adds unnecessary pack weight.
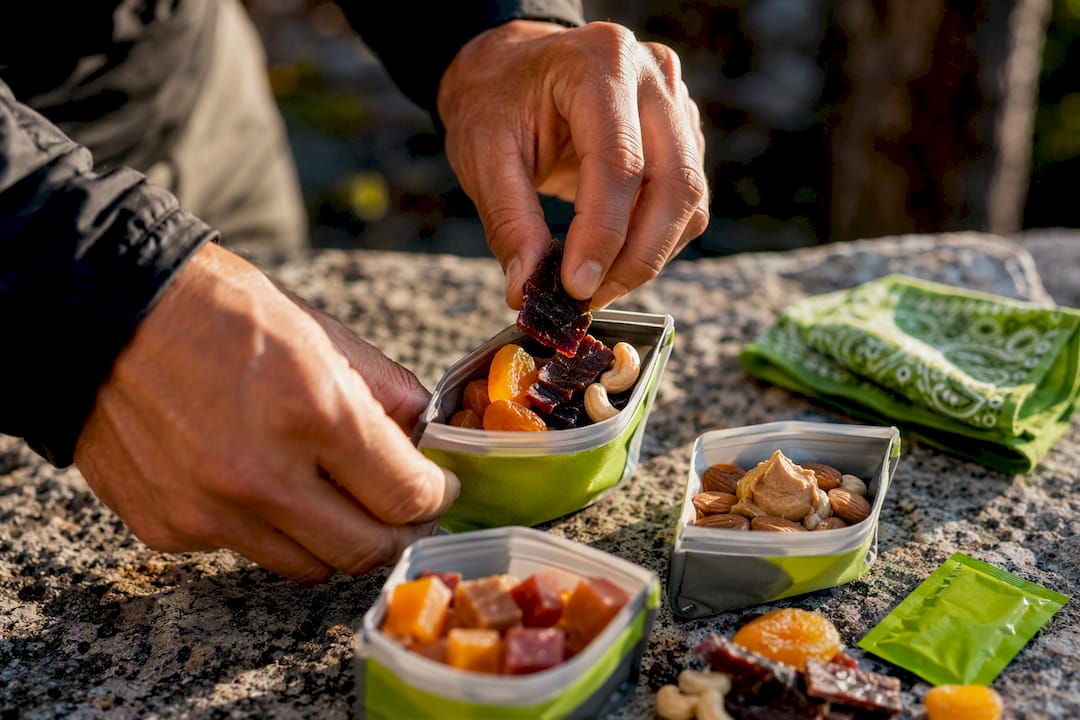
Pre-trip meal prep saves decision fatigue on the trail. Portion breakfasts, lunches, and dinners into daily bags before you leave home so you’re not rationing guesswork three days in. Include electrolyte replacement, tablets or powder, for hot conditions or high-exertion days, since water alone doesn’t replace the sodium and potassium lost through sweat.
Build in the same extra-day food buffer mentioned earlier in your packing list, and make sure part of it requires no cooking. A stove failure or fuel shortage shouldn’t mean an emergency. Test your planned trail meals at home before the trip. The moment to discover you hate a dehydrated dinner is not on night two of a five-day trip with nothing else to eat.
Physical readiness gets most of the attention, but the mental side often determines how a difficult situation actually plays out. Fatigue, discomfort, and unexpected setbacks are near guarantees on any real adventure. How you respond to them is the variable that’s actually in your control.
Visualize the hard parts before you go, not just the summit photo. Picture the third hour of rain, the steep unexpected climb, the moment you realize you’re behind schedule. Mentally rehearsing discomfort in advance takes some of its power away when it actually shows up.
Break big days into small, achievable chunks rather than fixating on the total distance or elevation. “Get to the next water source” is a more manageable goal than “finish 14 miles,” even though they’re the same hike. This same chunking approach helps during a genuine emergency: the S.T.O.P. method works precisely because it interrupts panic with small, sequential actions instead of an overwhelming whole.
Stress narrows attention and impairs decision-making, which is exactly why practiced skills matter more than fresh ones in a crisis. Basic breathing techniques, slow inhale, slower exhale, help regulate the nervous system enough to think clearly when something goes wrong. Build tolerance for discomfort gradually through training hikes in less-than-ideal weather rather than hoping you’ll rise to the occasion untested. Confidence built through repetition is far more reliable than confidence built through optimism.
Weather is the variable most likely to turn a good trip into a bad one, and it’s also the variable most people underestimate. A clear forecast the night before means very little in mountain or coastal environments where conditions shift on their own schedule.
Check multiple forecast sources before departure, and check them again the morning of if you have signal. Mountain weather, in particular, can defy general regional forecasts entirely, so look for point forecasts specific to elevation and terrain where available. Once you’re moving, watch the sky directly: building cumulus clouds by early afternoon often signal afternoon thunderstorms, a fast pressure drop typically precedes a system moving in, and wind shifts frequently announce a change before temperature does.
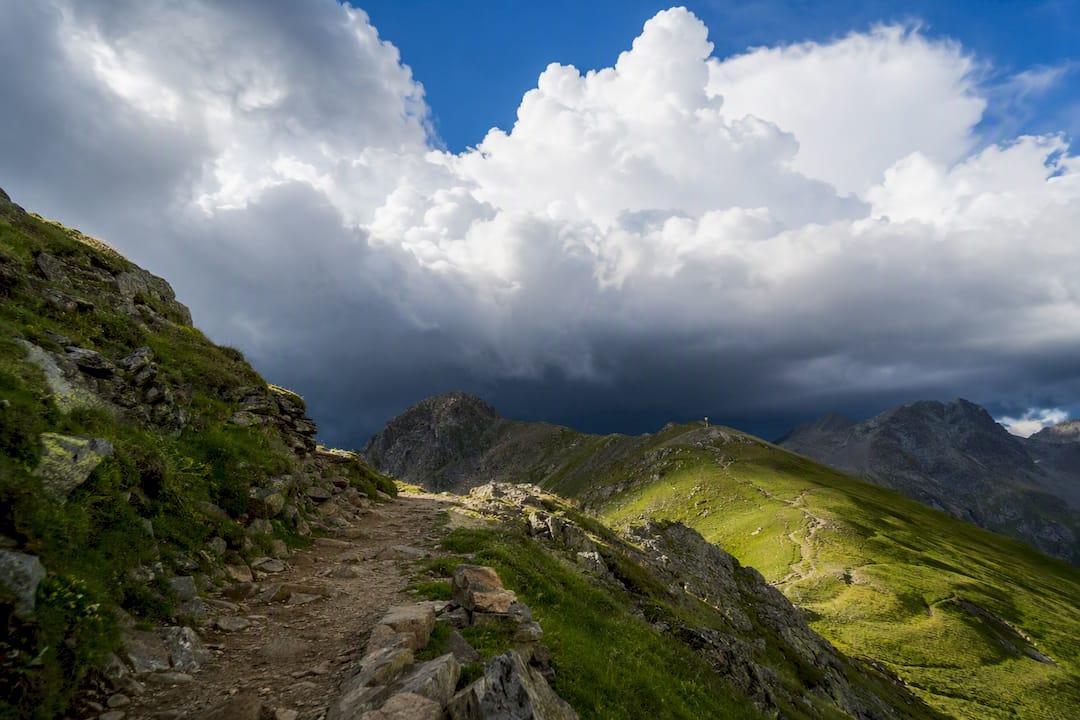
Build weather windows into your itinerary rather than a fixed schedule. If a route has an exposed ridge or an alpine crossing, plan to be past it by late morning, before typical afternoon storm buildup, and have a bailout point identified in case timing slips. Layering, covered earlier in gear prep, exists precisely for this unpredictability: you should be able to add or shed insulation in minutes without stopping to dig through your pack.
When weather turns genuinely dangerous, lightning, whiteout, flash flood risk in a canyon, the right move is almost always to stop advancing and reassess, applying the same S.T.O.P. framework used for other emergencies. Pushing forward to “beat” a storm is one of the most common judgment errors in outdoor incidents. Turning back or waiting it out rarely costs more than a few uncomfortable hours; the alternative can cost much more.
Most wildlife encounters end without incident because most wild animals want distance from you as much as you want distance from them. The risk comes from surprise encounters, food-conditioned animals, or protective behavior around young.
Make noise on trails with limited visibility, dense brush, blind corners, so animals have time to move away before you’re close. Store food and scented items properly every night, in a bear canister or hung well away from your sleeping area, since a single incident of easy access can condition an animal toward humans for years afterward. This matters for the animal’s survival as much as yours; food-conditioned wildlife is often eventually relocated or destroyed.
Know the specific wildlife risks for your actual route rather than generic advice. Bear country calls for different precautions than snake country, and coastal trips carry different considerations than alpine ones. If you do encounter large wildlife at close range, back away slowly, avoid direct eye contact with predators, and never run, which can trigger a chase response in animals that otherwise had no interest in pursuing you.
Keep dogs leashed where required, both for wildlife protection and your own safety, since an off-leash dog can provoke a defensive response from an animal that would have otherwise ignored a human alone. Give any wildlife you spot a wide berth and never approach for photos. The animals that make an adventure memorable are almost always safer, and more impressive, observed from a distance.
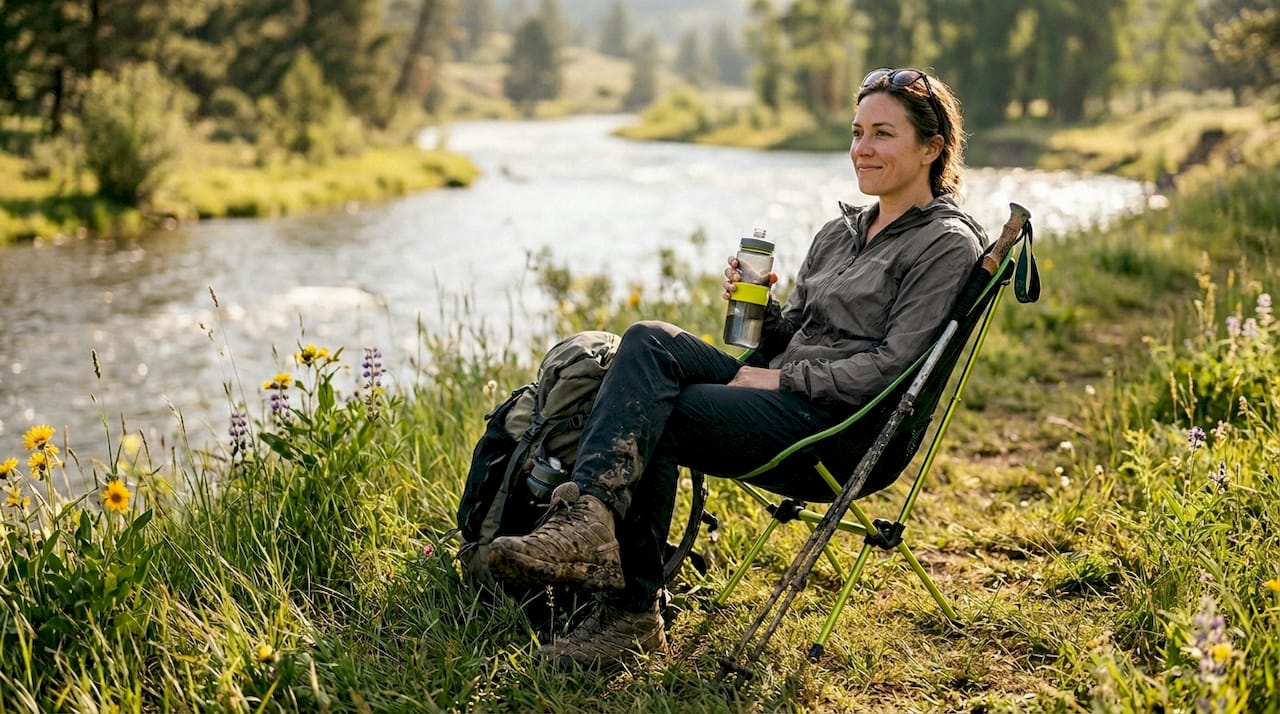
The gap between surviving a trip and enjoying it often comes down to small recovery habits people dismiss as luxuries. Getting off the cold, wet, or uneven ground during breaks preserves energy you’ll need later, and decision-making tends to sharpen once you’re not perched awkwardly on a rock. Compact, insulating gear you’ve actually tested at home, not gear you’re using for the first time on day one, tends to earn its weight in the pack fast.
— Jonas
A compact seat does something small but real on the trail: it gets you off cold, wet, or uneven ground during breaks, which matters more than it sounds like when you’re managing energy over a long day. Less ground exposure means faster recovery during rest stops and a warmer, drier body when you’re back on your feet.
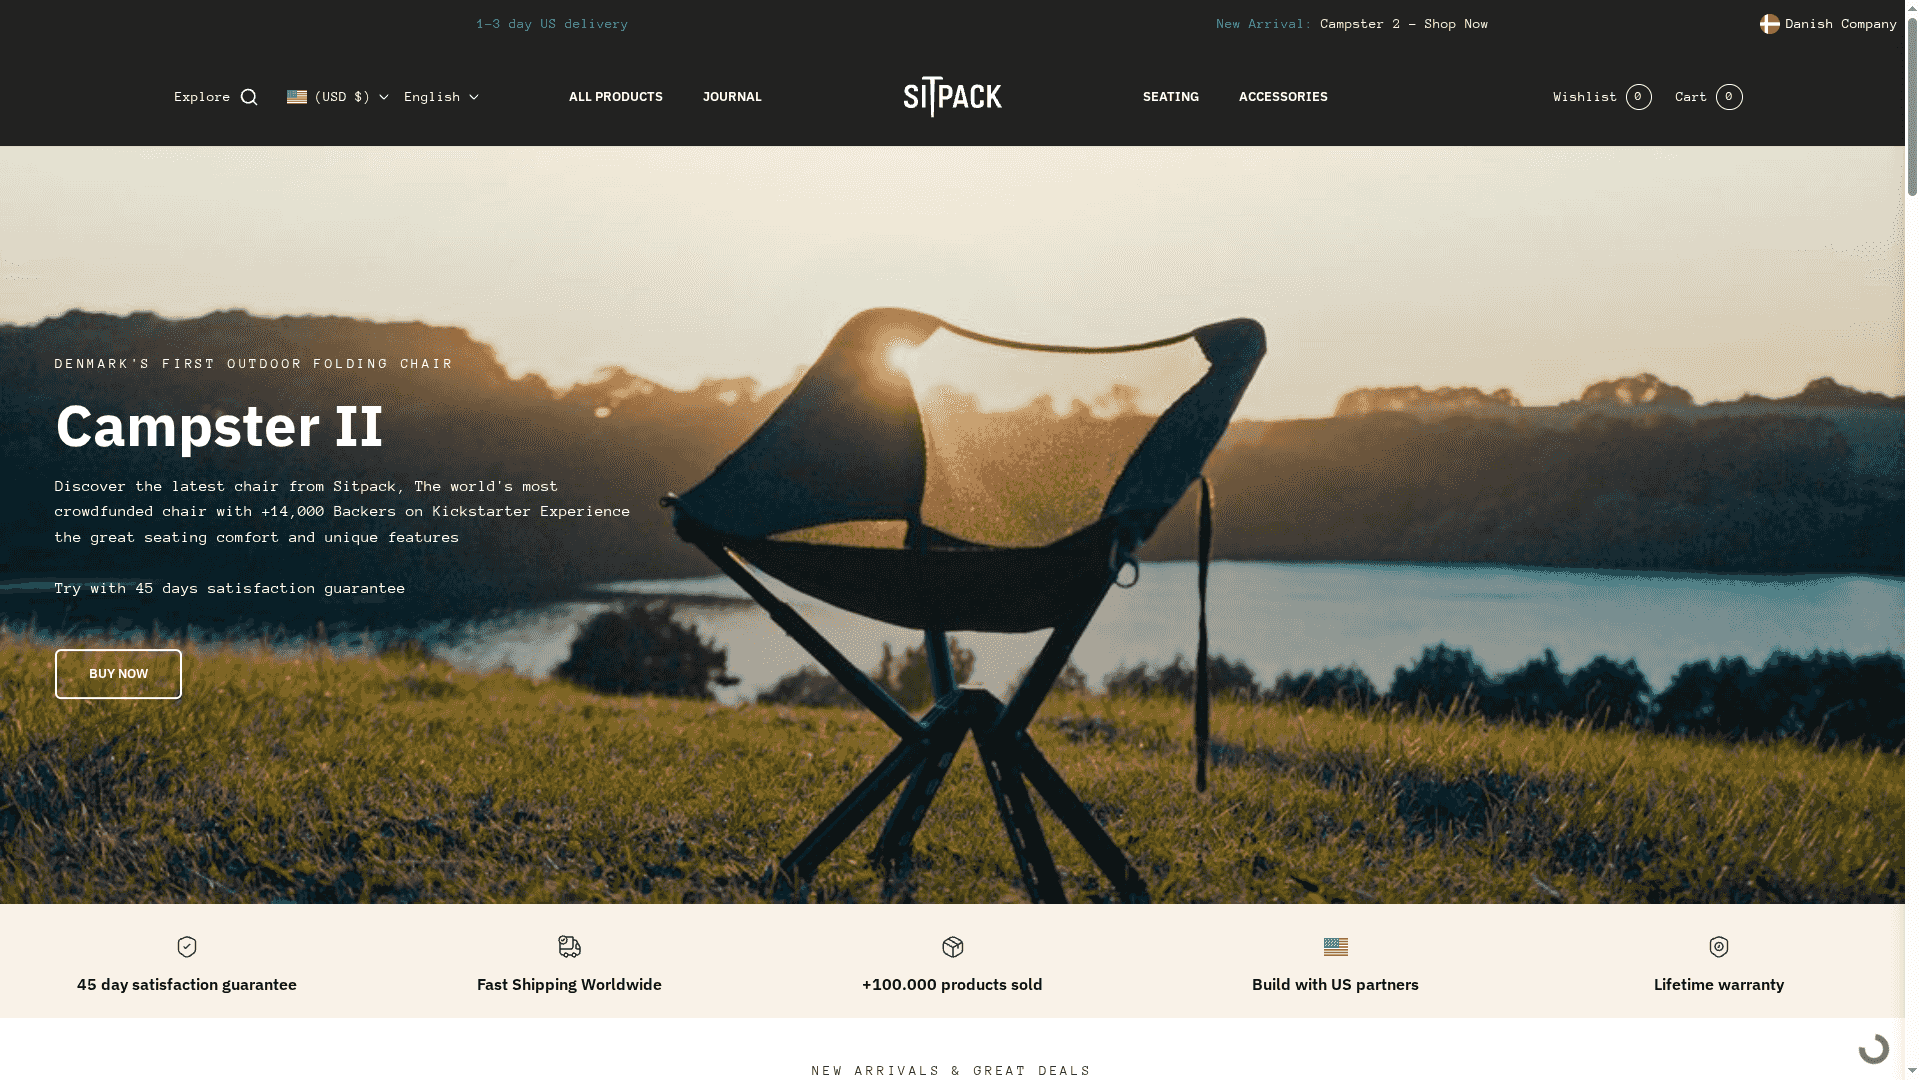
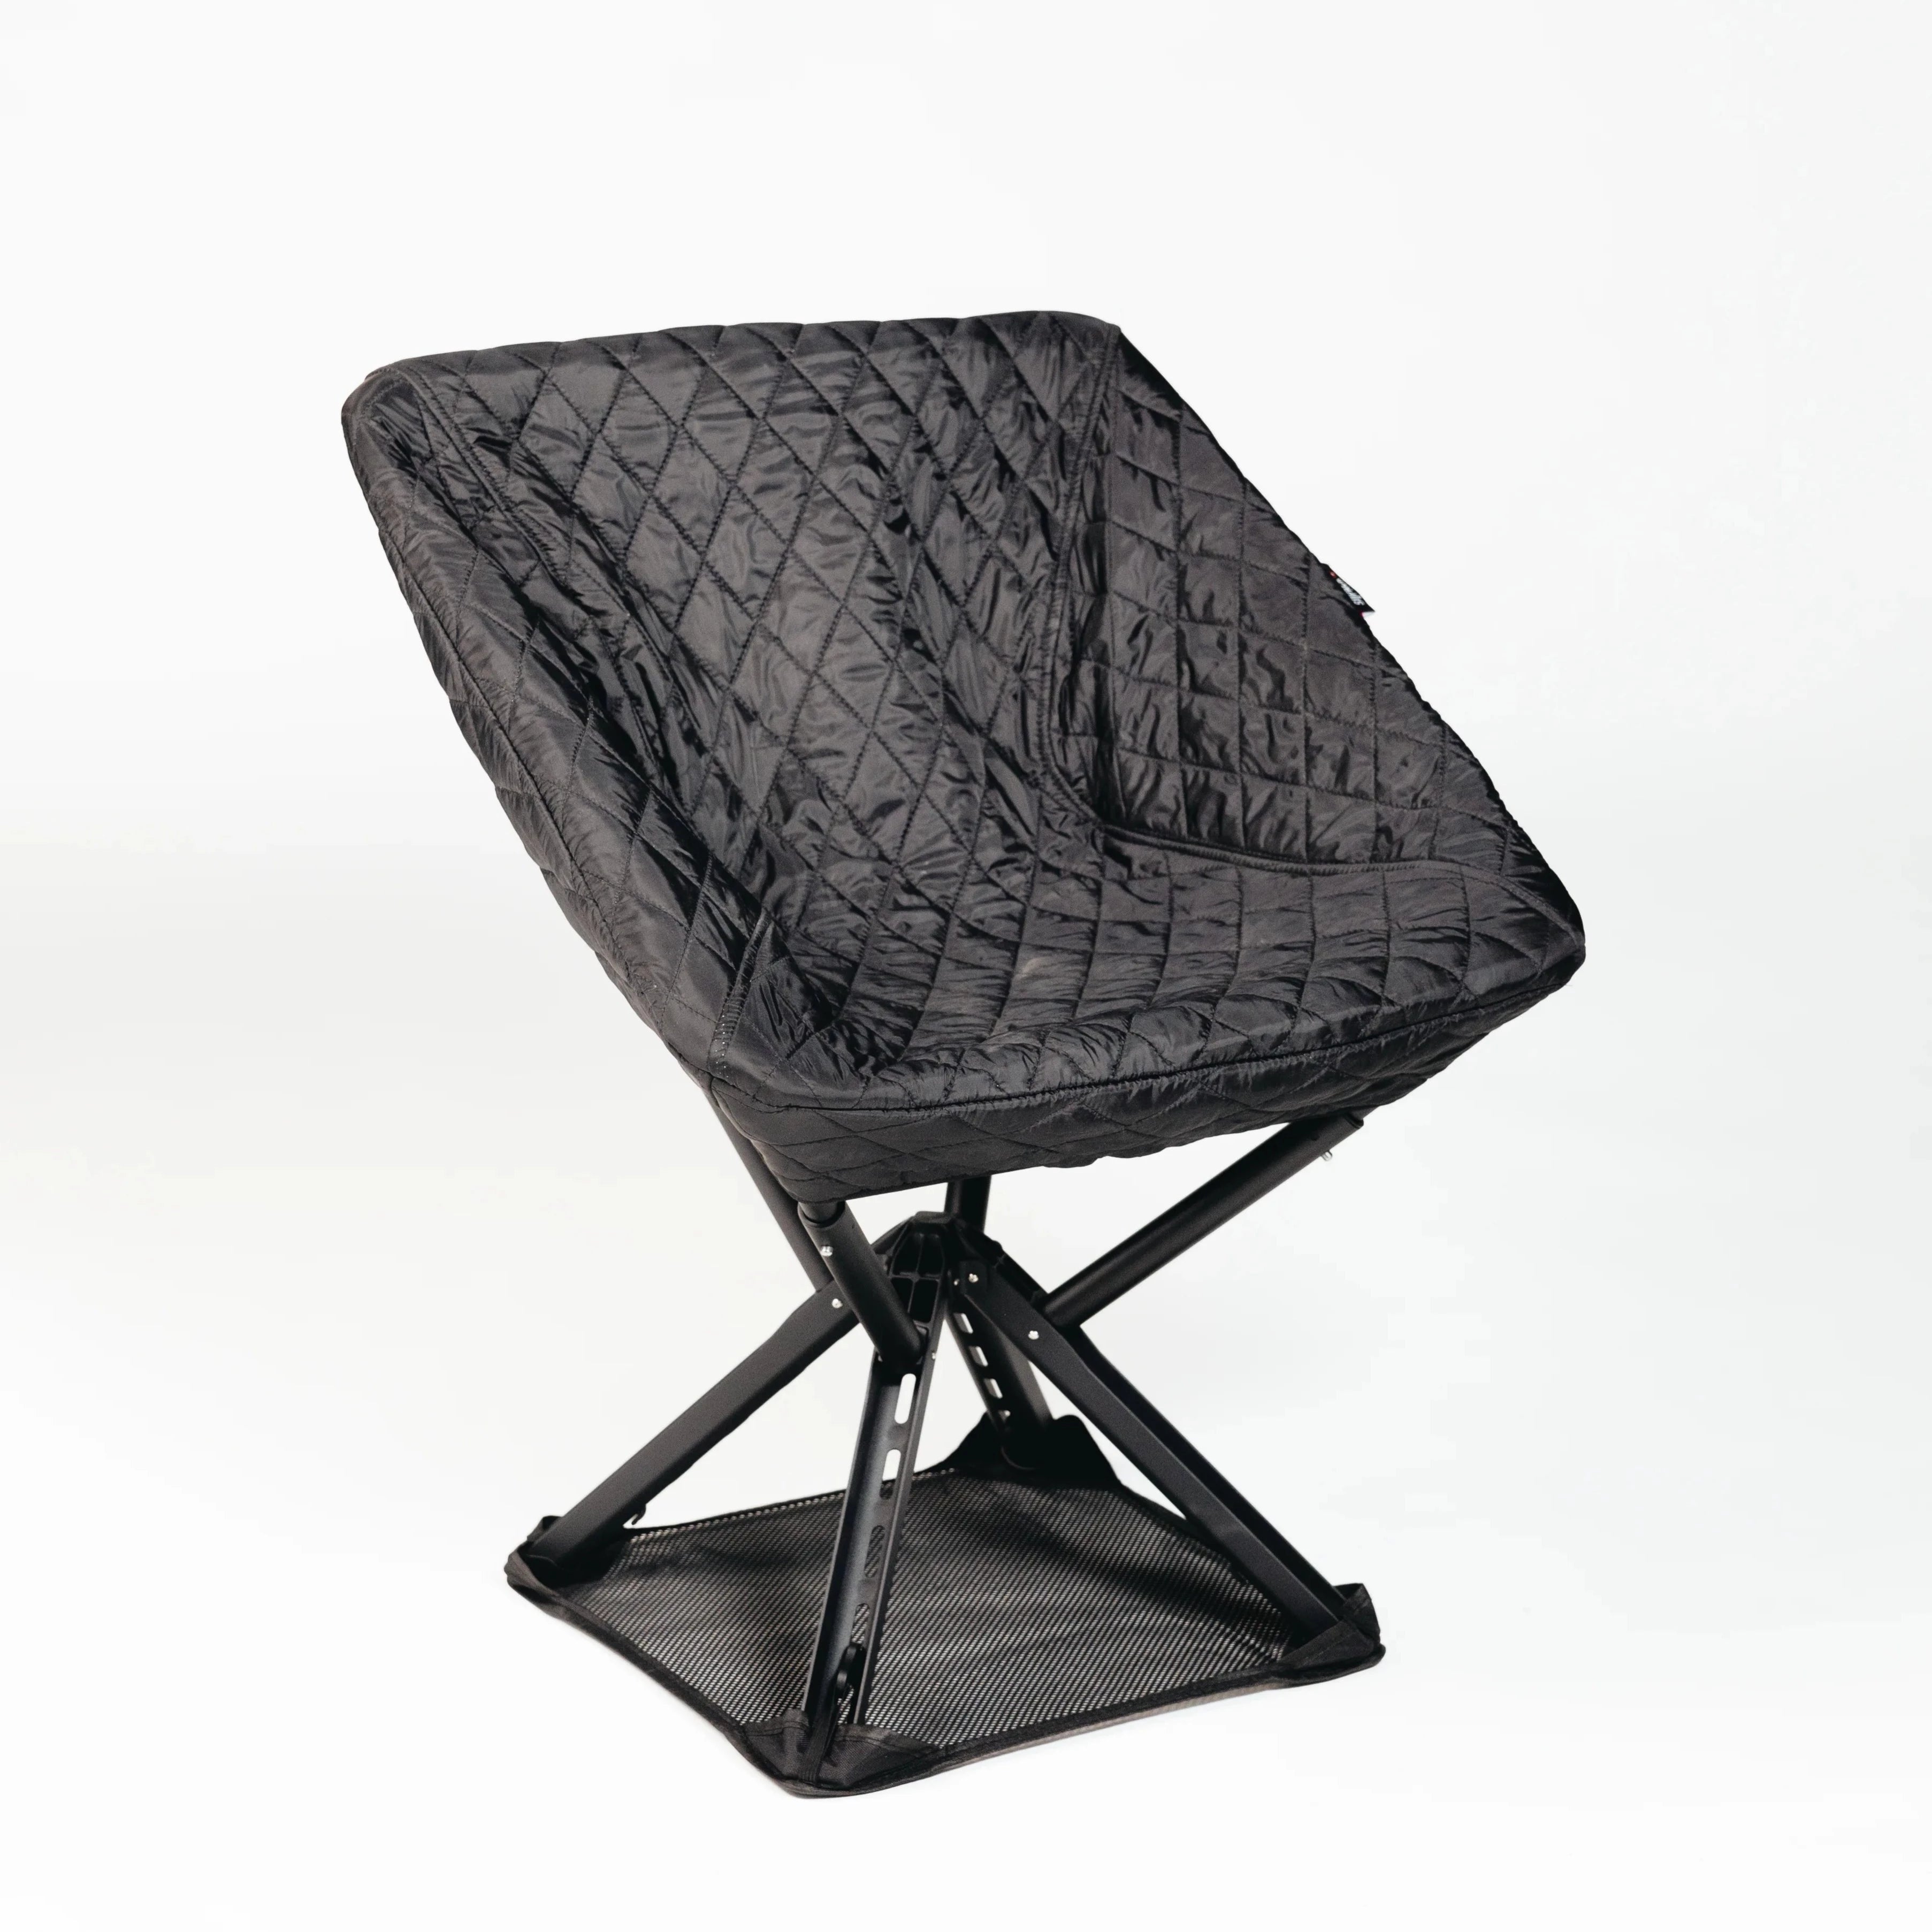
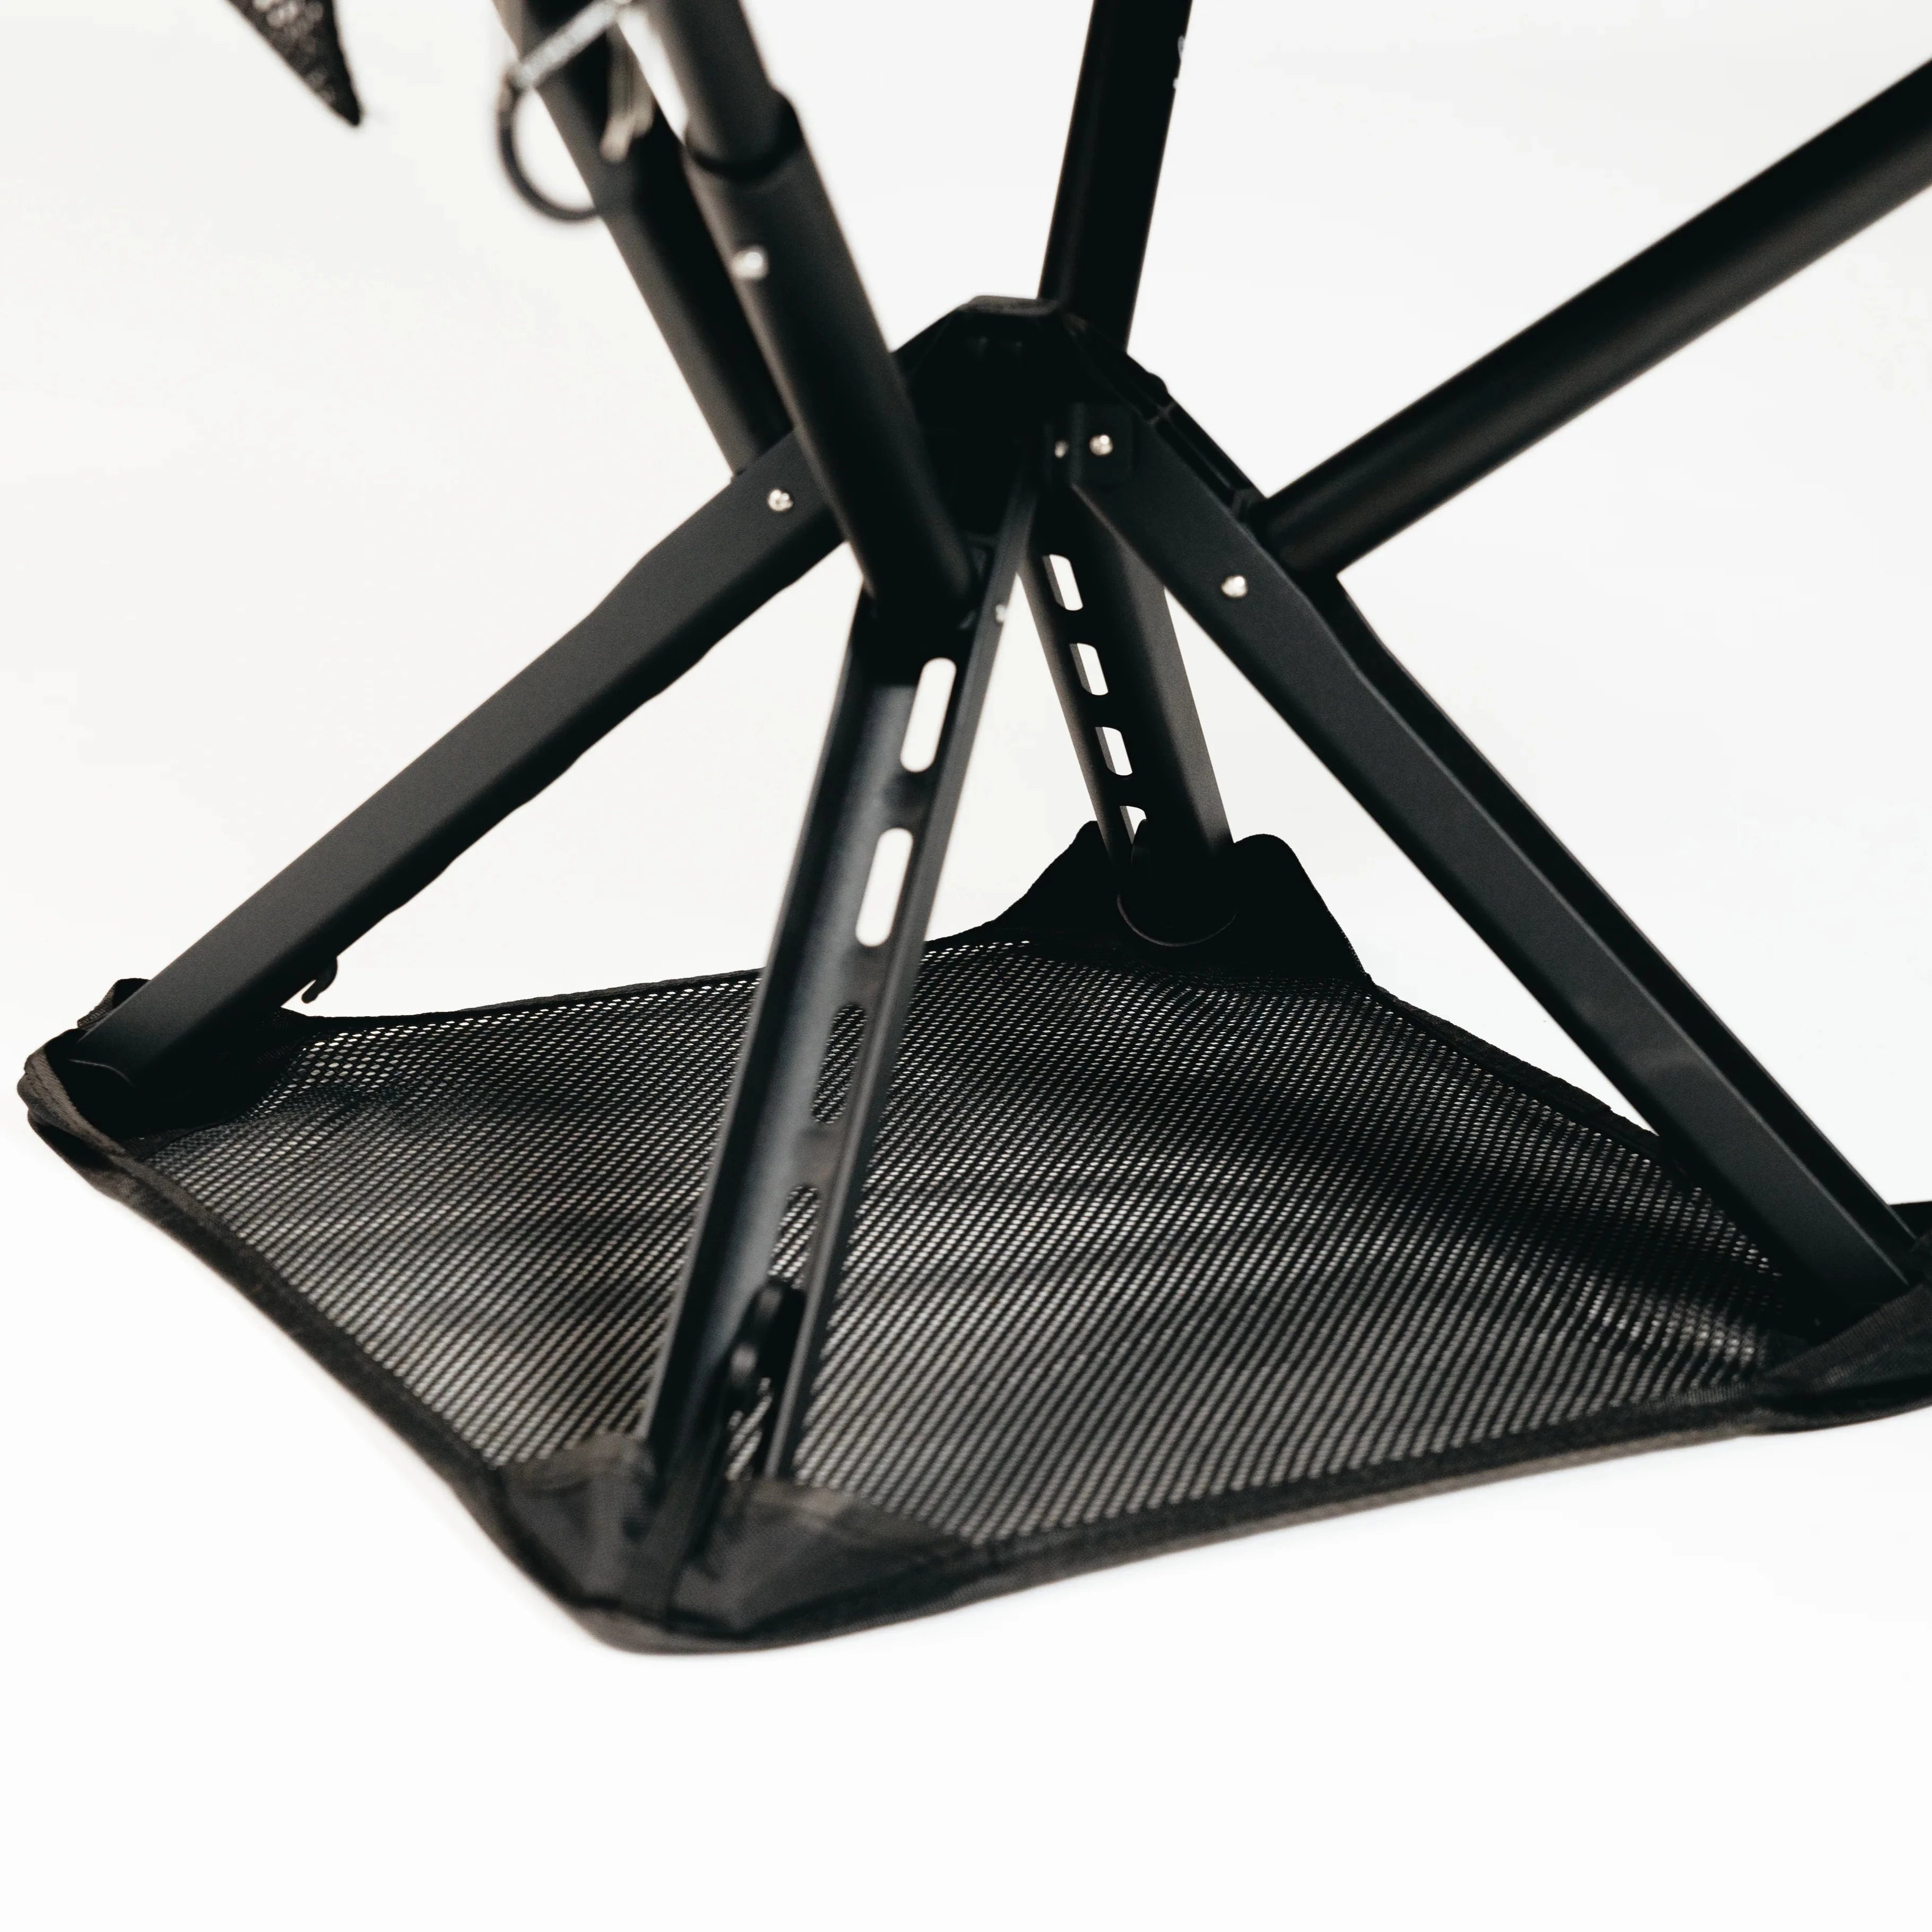
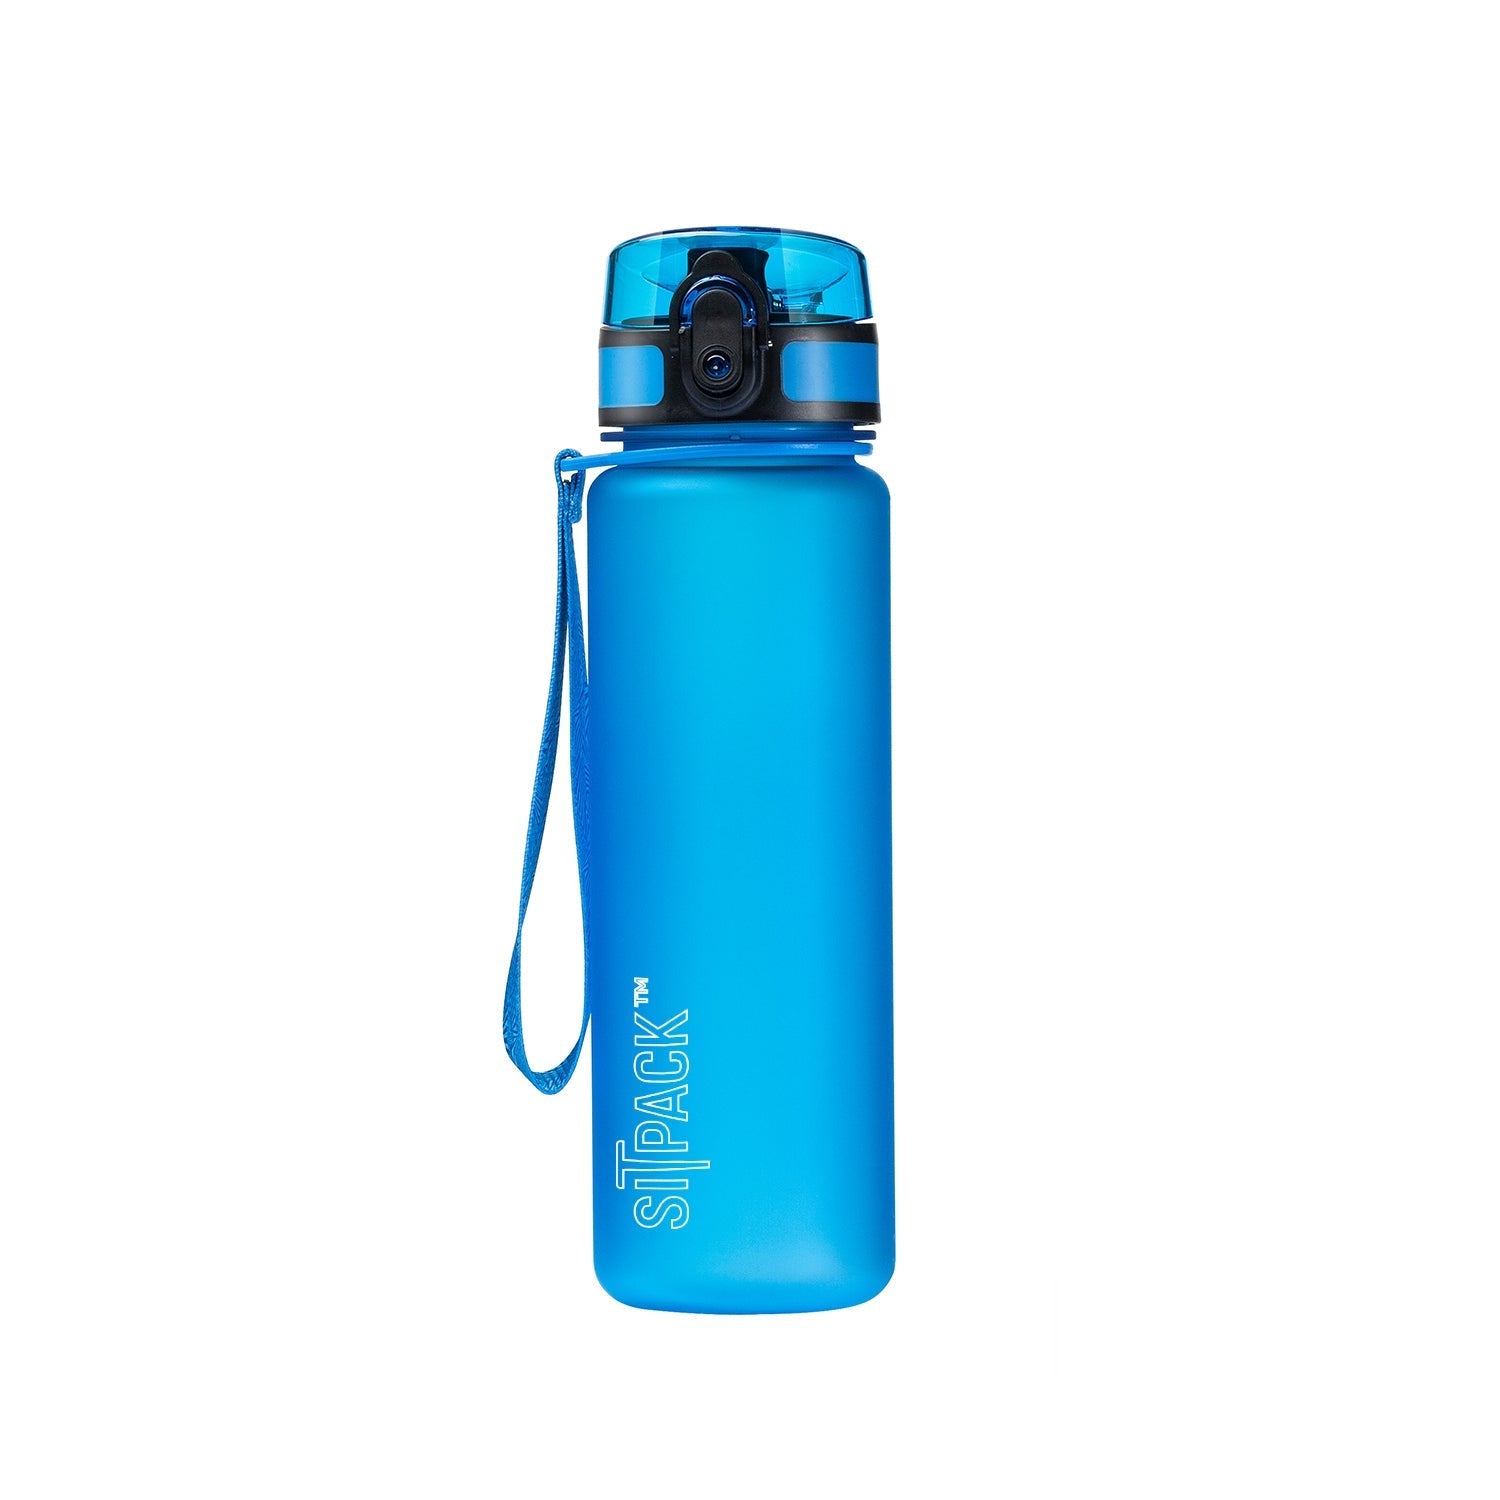
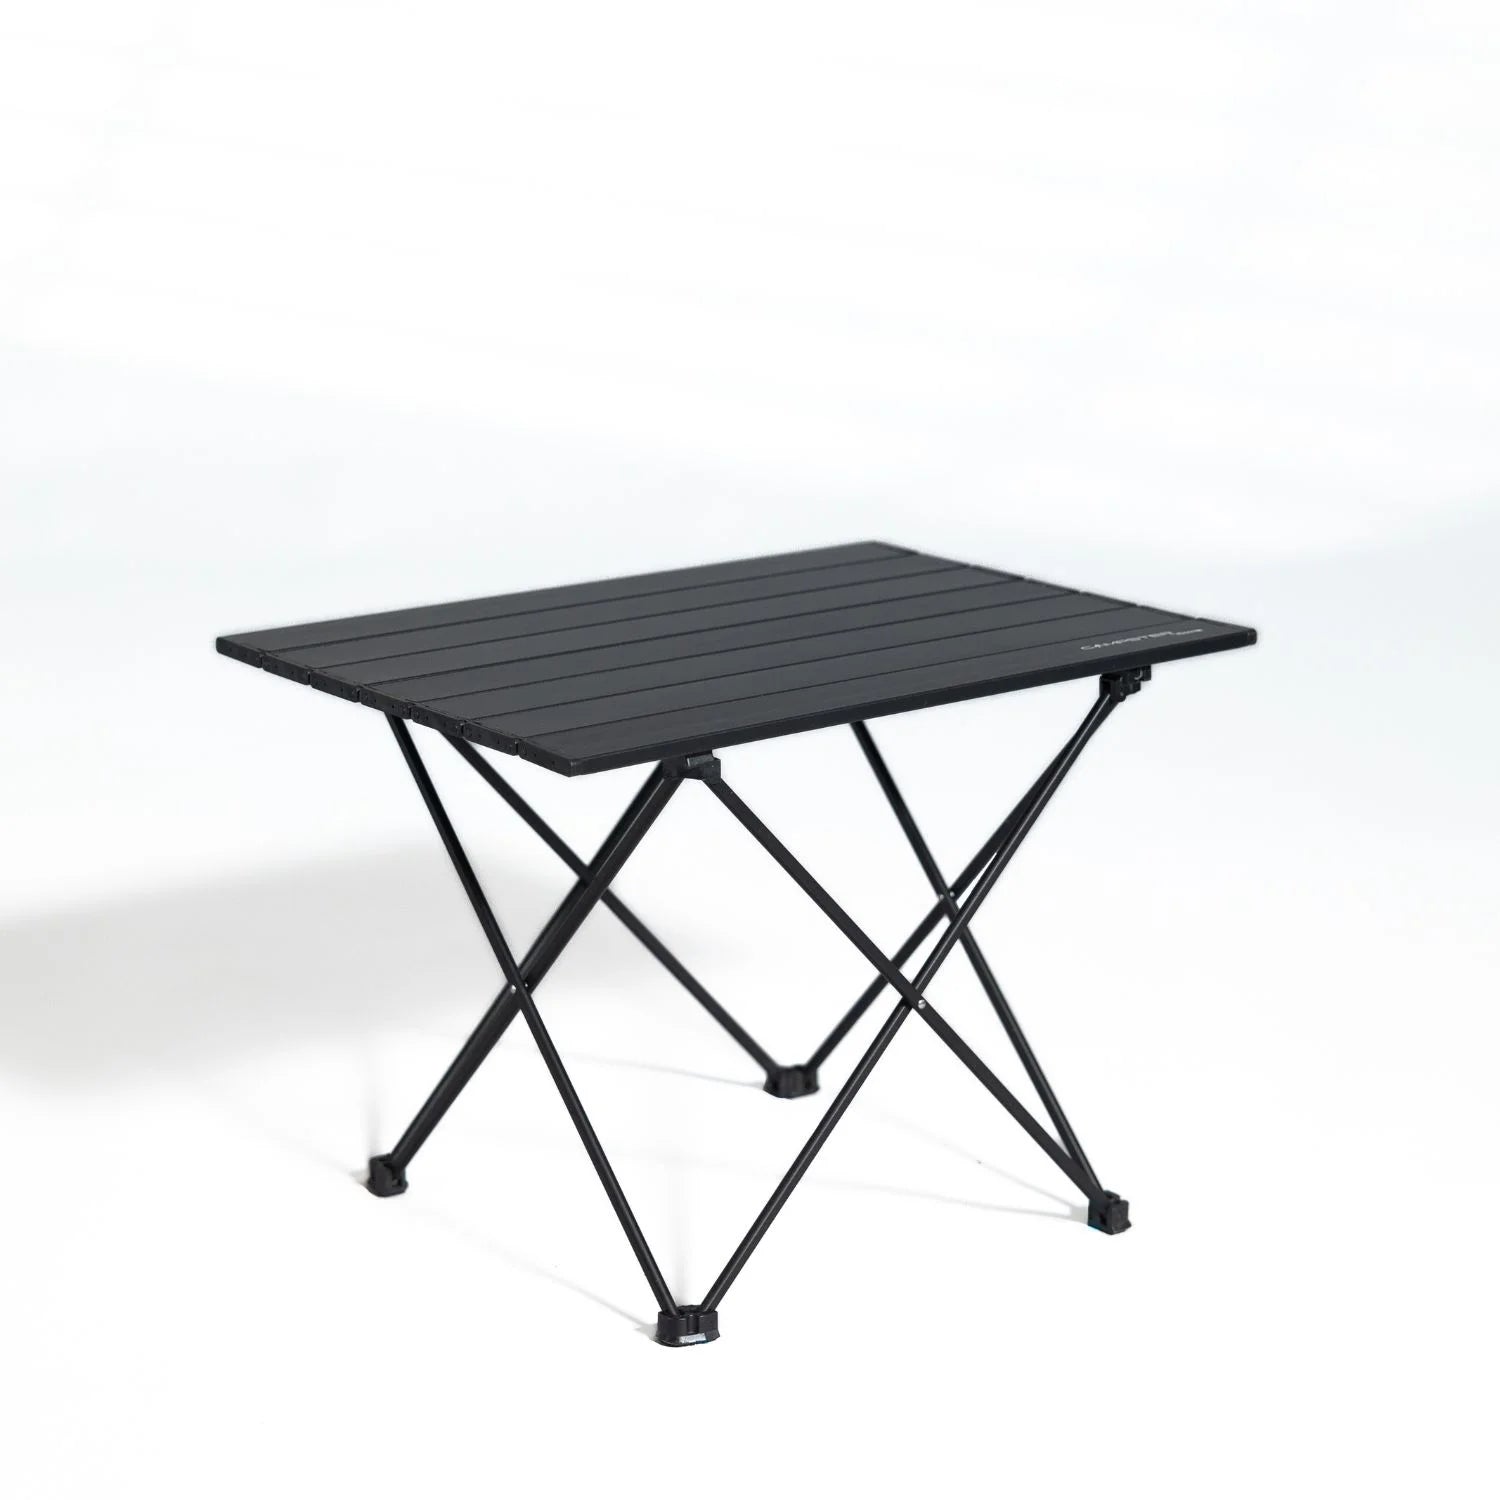
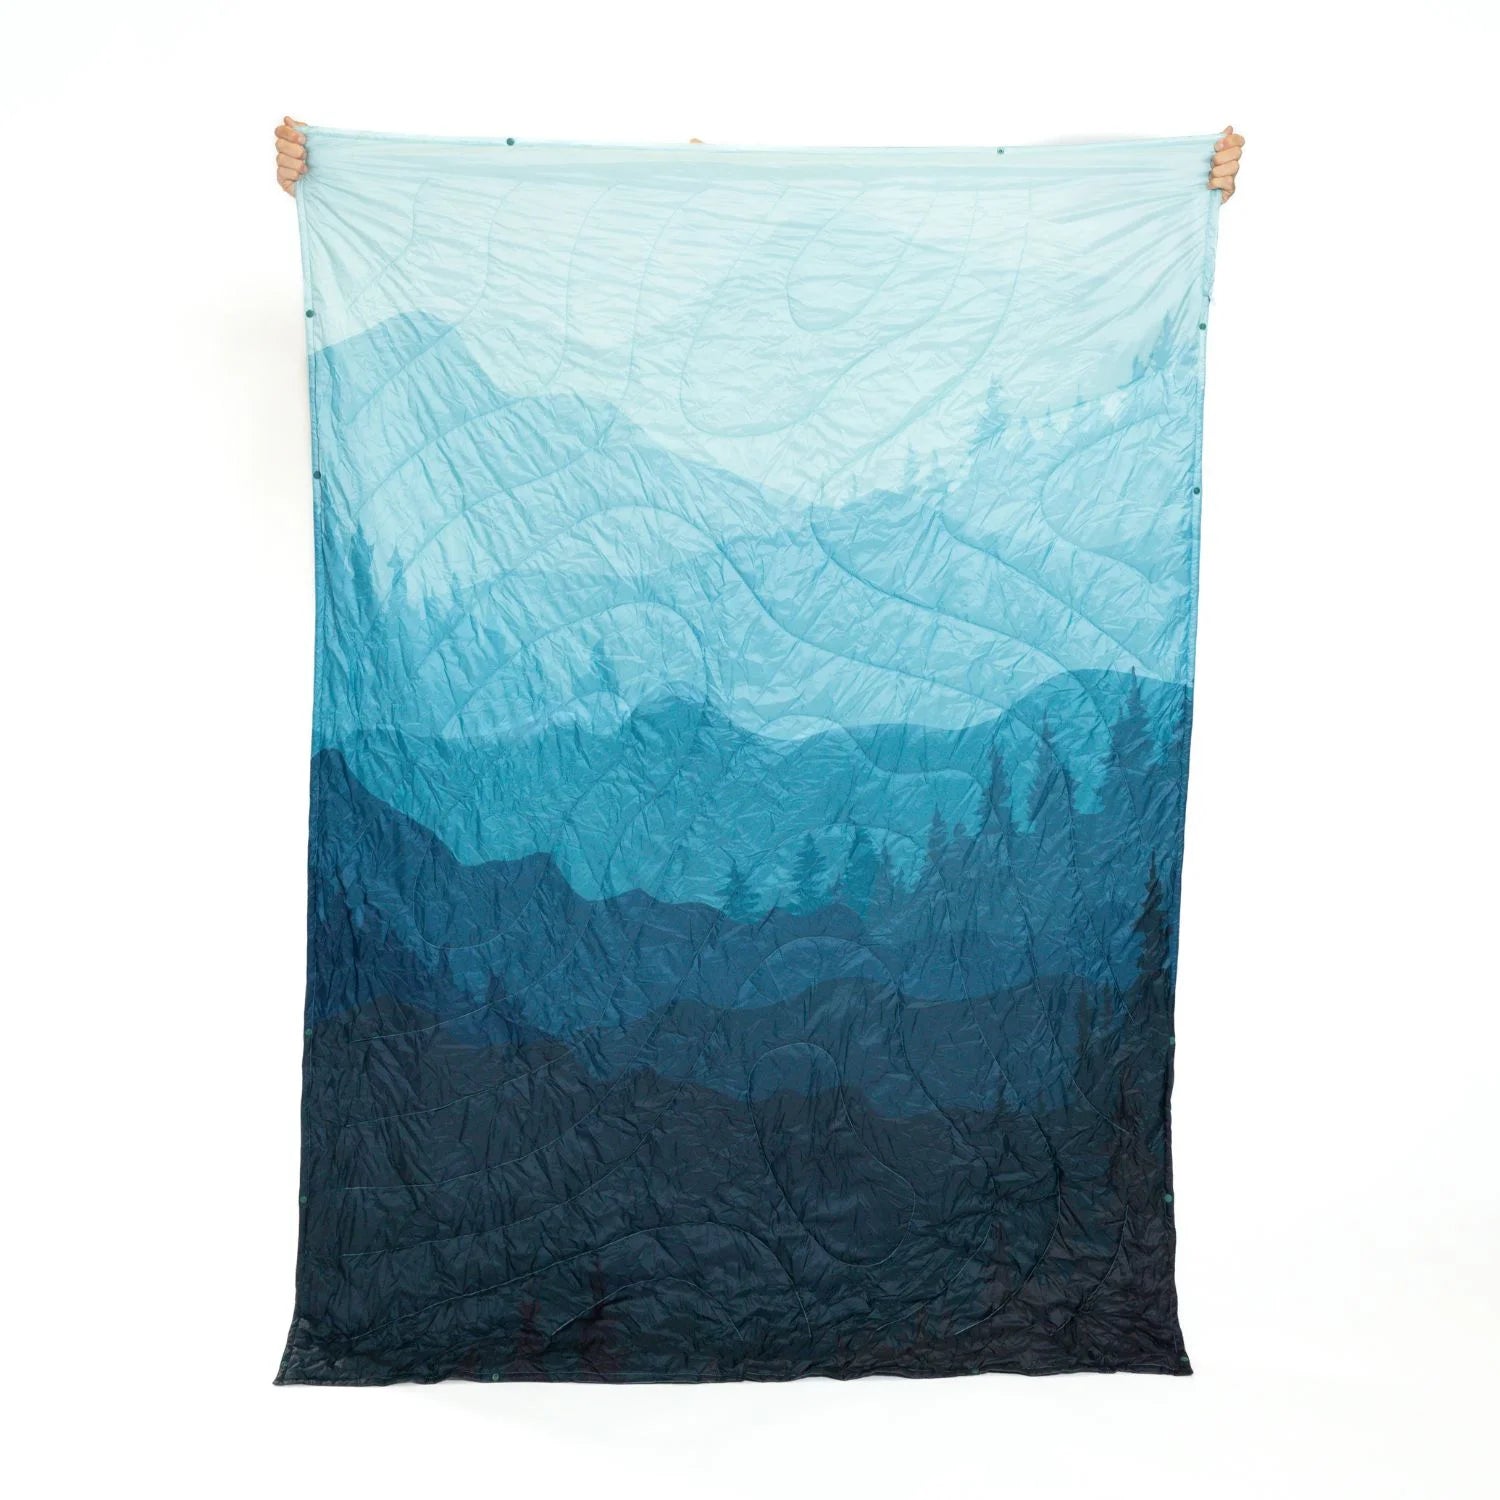
Sitpack builds foldable, ultralight seating designed to disappear into a pack until you need it, then pop open in seconds. Pair a seat with an insulating accessory like a seat warmer or thermal blanket for cold-weather trips, and you’ve added real recovery value for a few ounces of weight. Test any comfort item at home first, the same shakedown-hike logic that applies to boots and shelter applies here, so you know exactly how it packs and performs before it matters on the trail. Browse the current lineup at Sitpack and see which model fits your pack and your trip style.