Cart
0
Sign up and get 10$ off your order
Expected delivery
1-3 days
You may also like
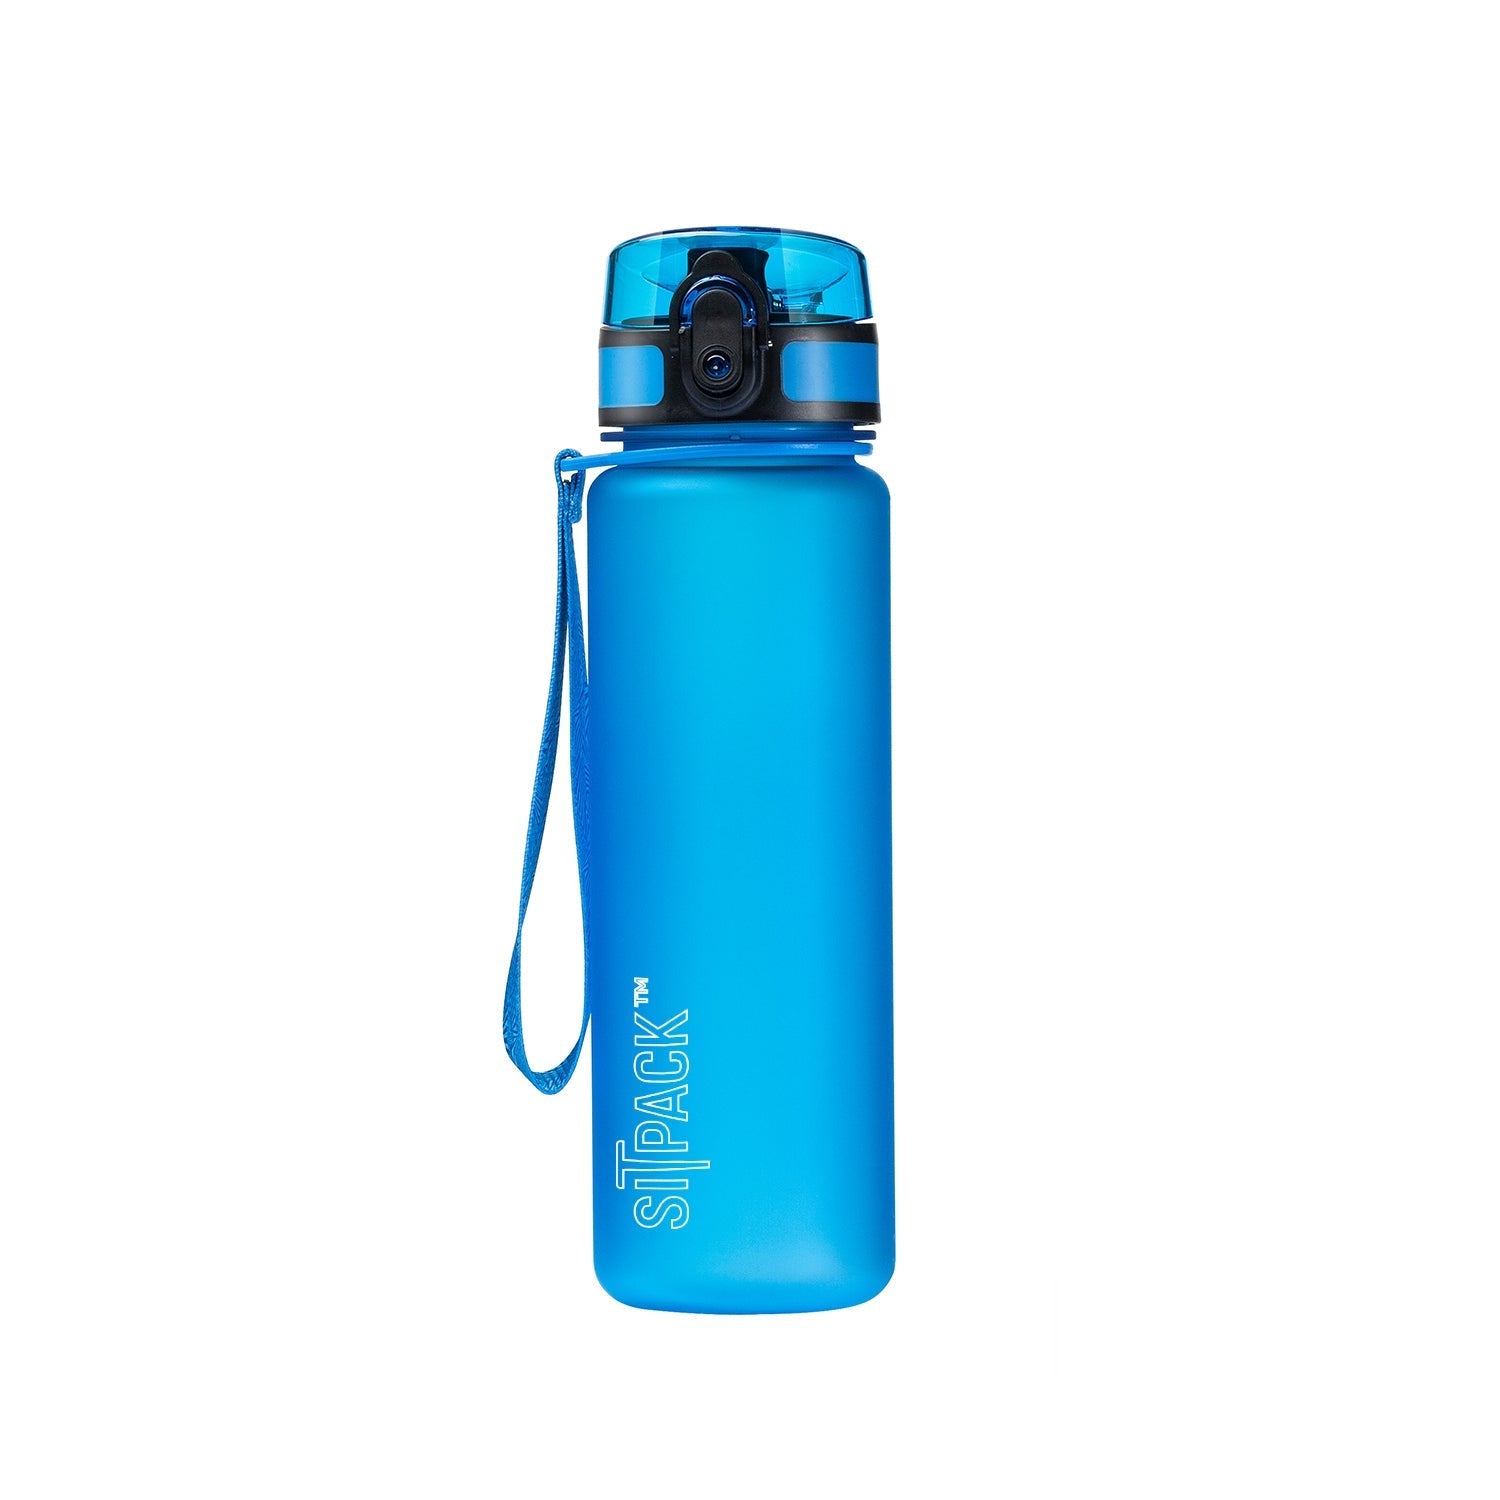
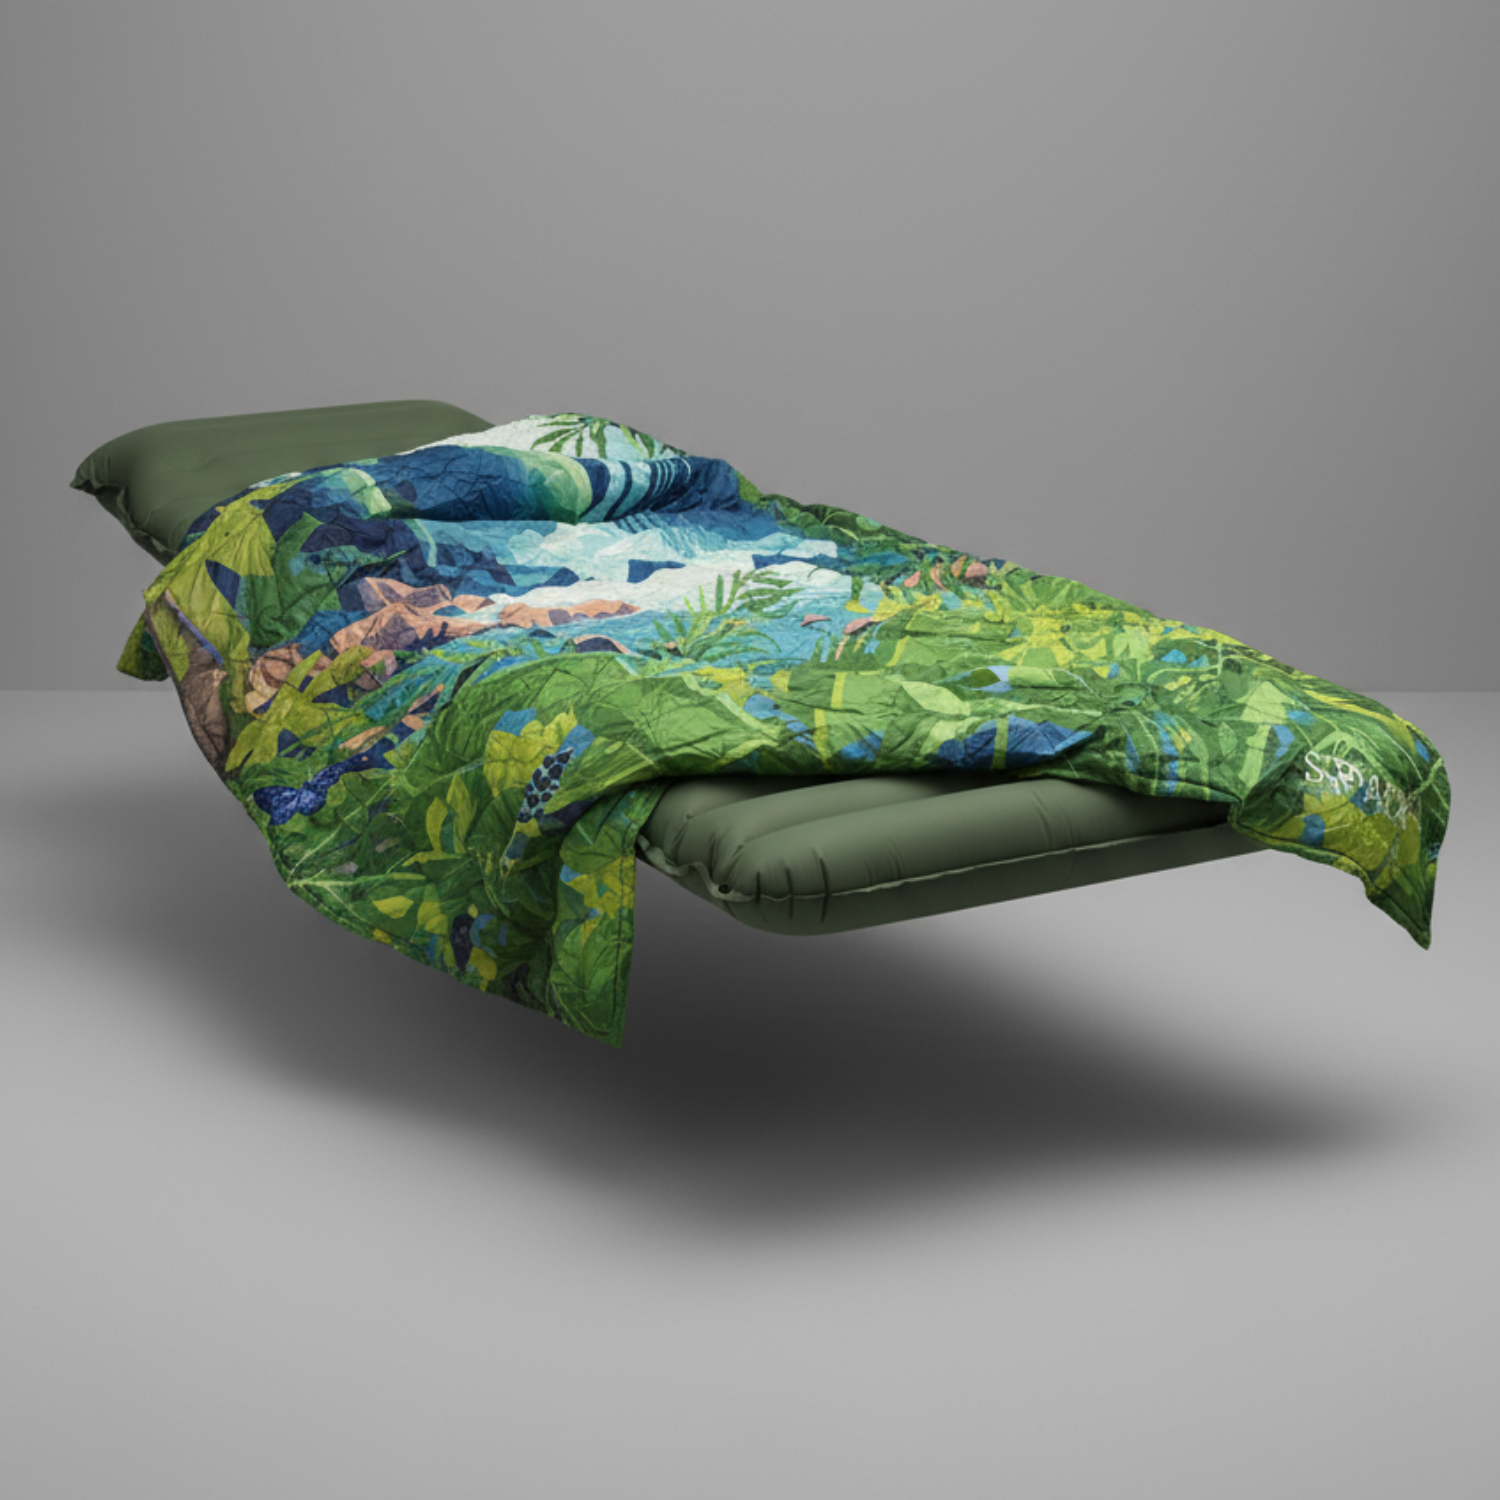
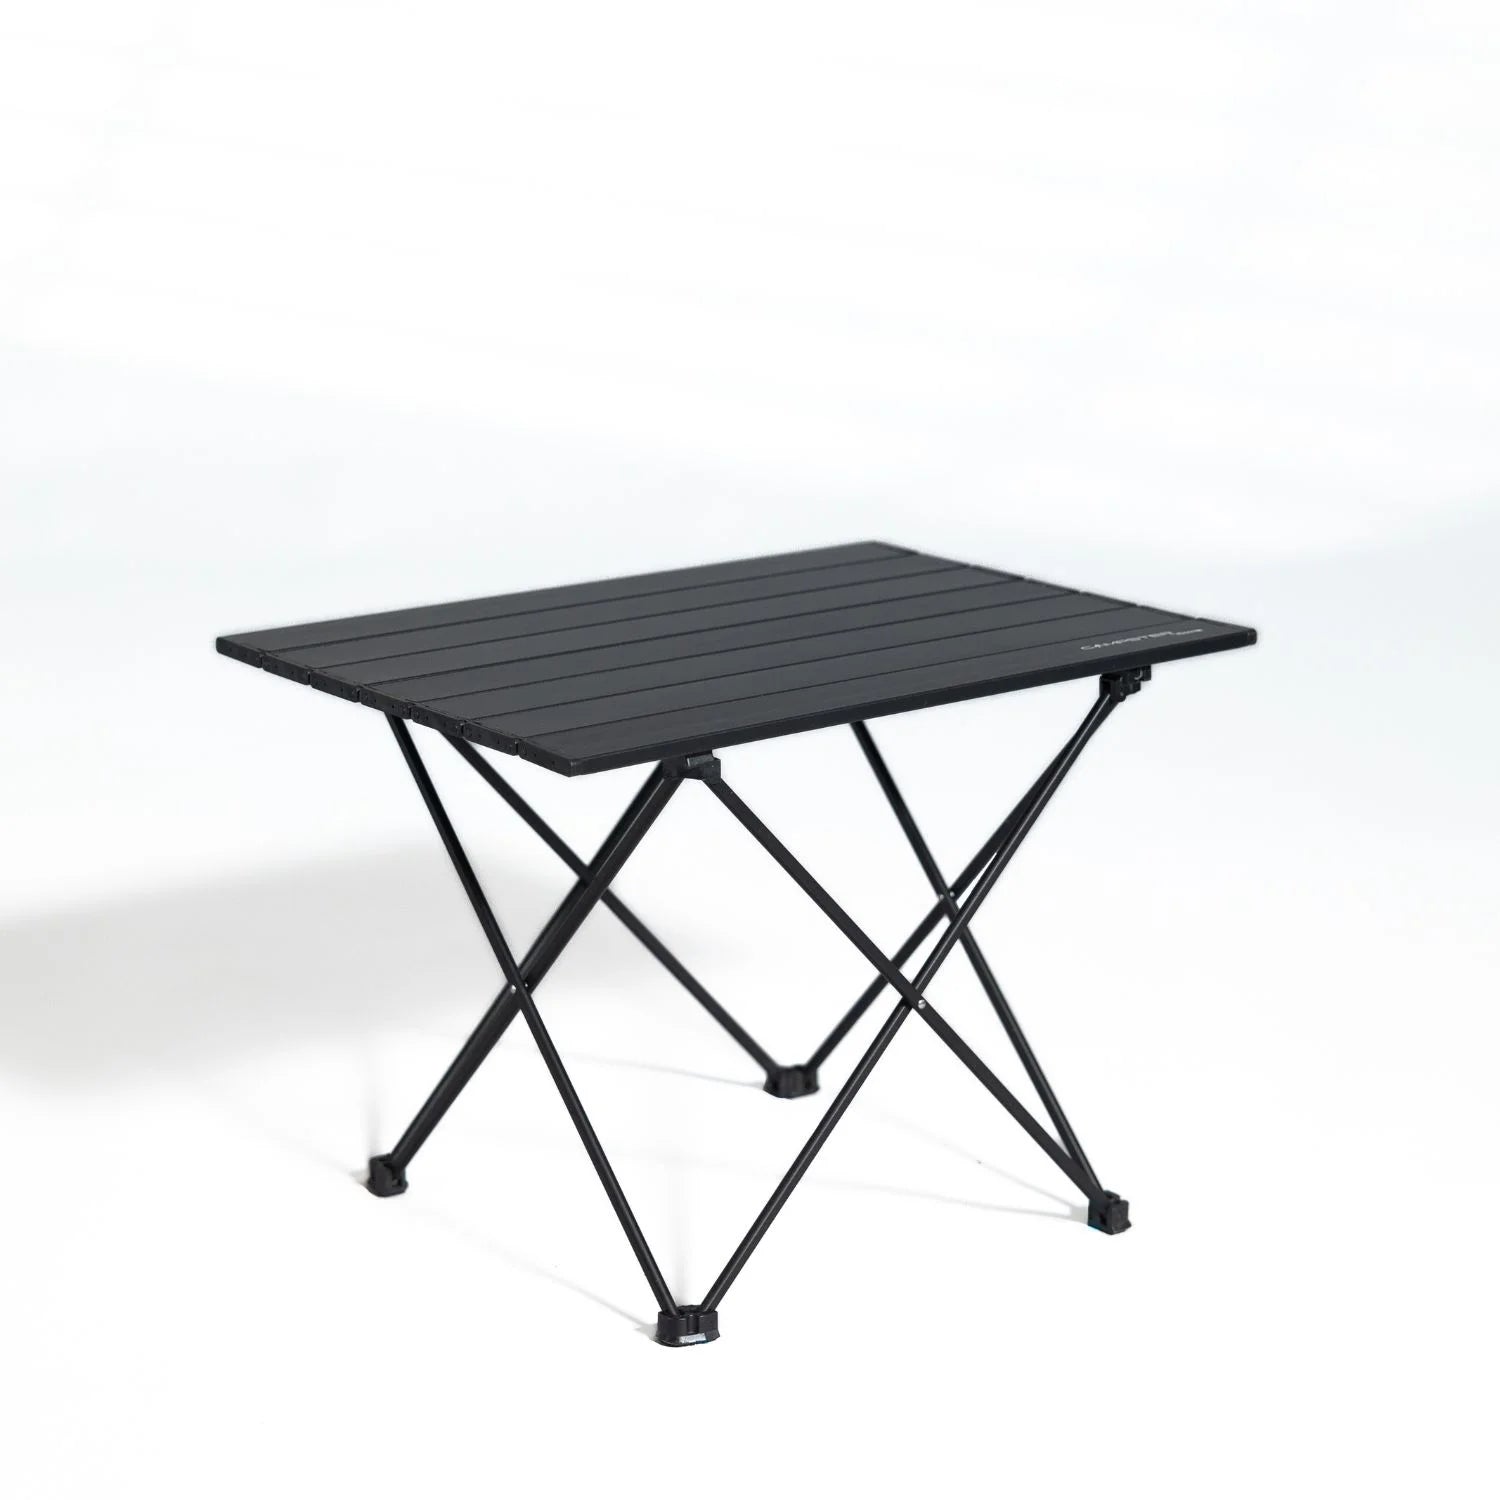
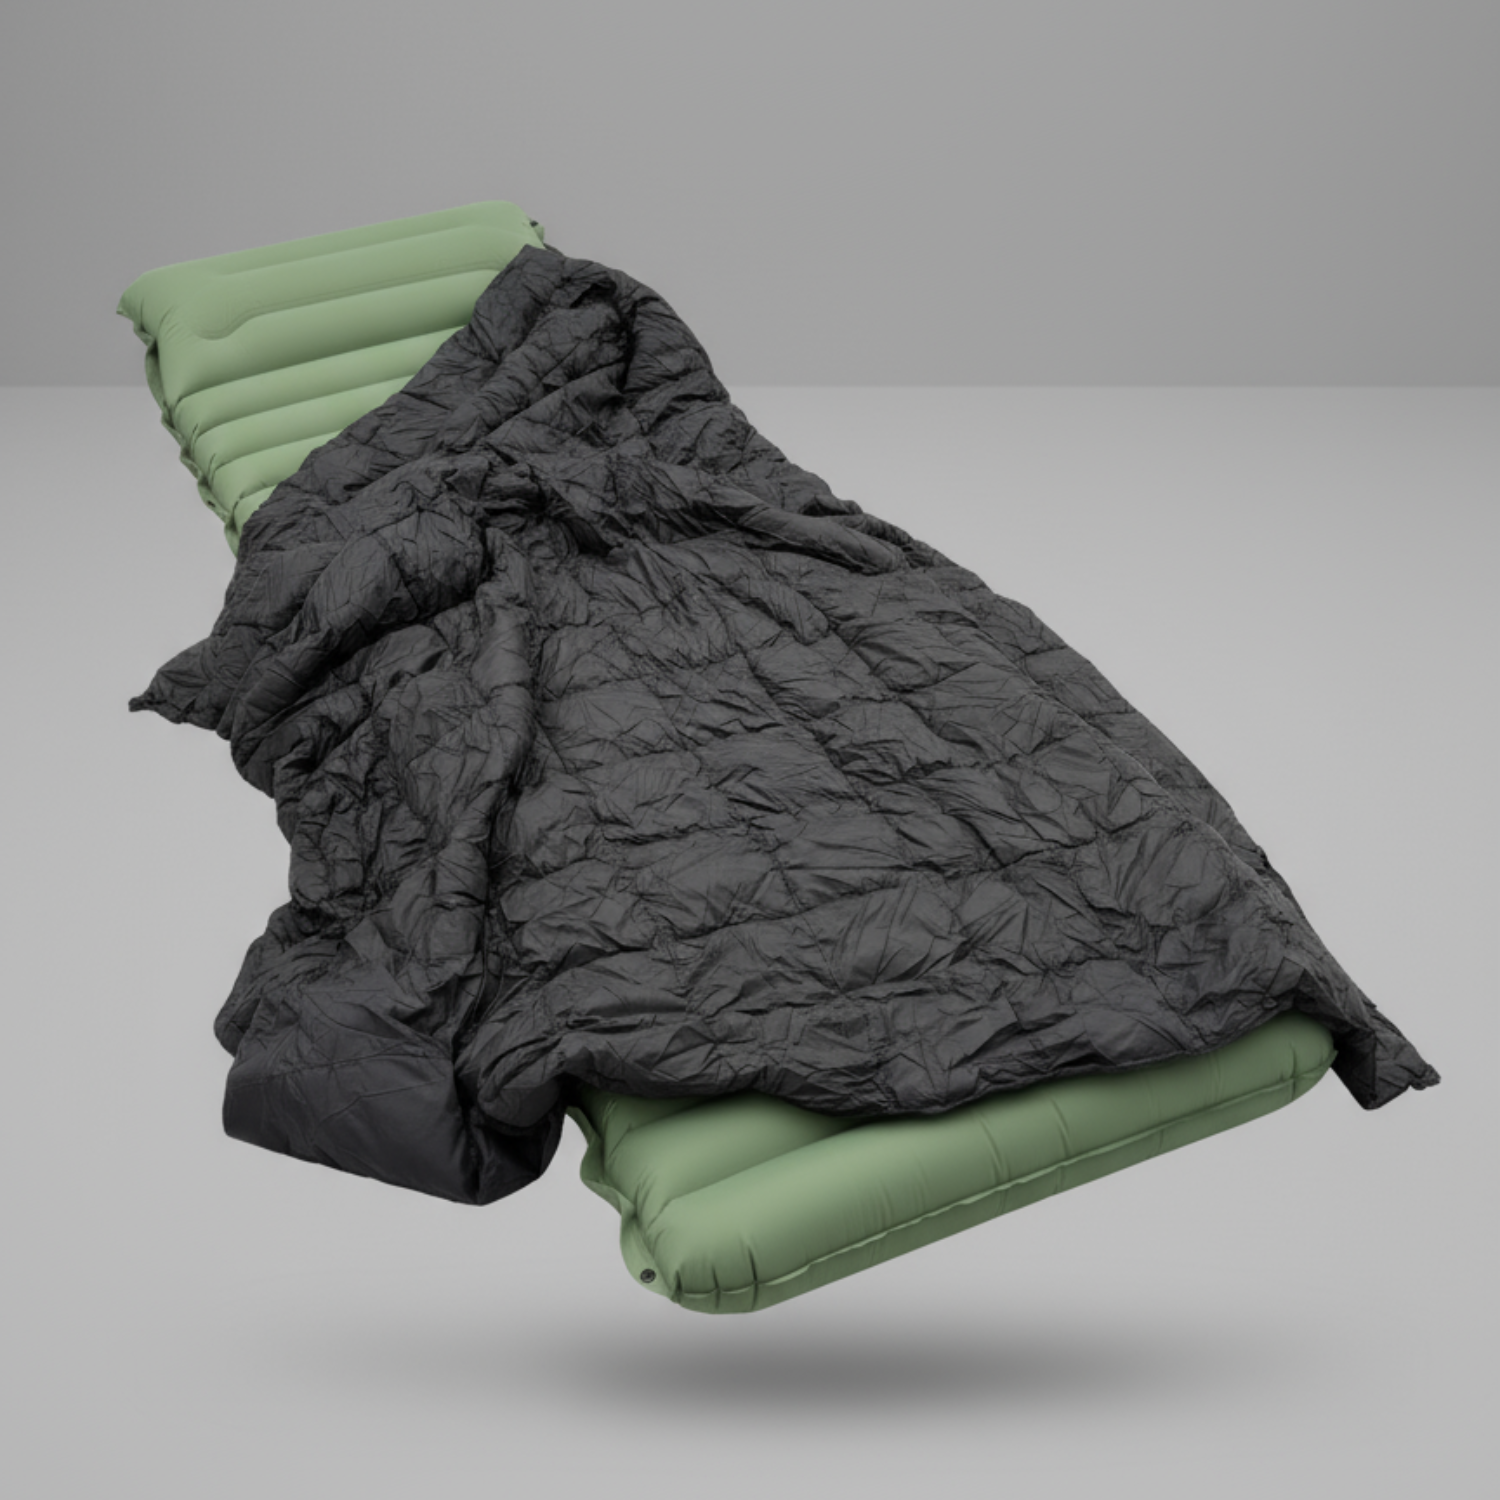


Danish Company


The core kit for any multiday backcountry trip is shelter, a sleep system, a stove with fuel, water treatment, and navigation and safety gear. Everything else is refinement. Pack toward a total weight around 20% of your body weight as a guideline, load the heavy stuff close to your hips, and adjust the categories below for trip length and season.
TL;DR:
- Use a backpack between 55 to 65 liters for most three to five-night trips, with weight centered near the hips for optimal balance.
- Prioritize the load order with heavy gear near the hips, sleep system at the bottom, and trail essentials on top to improve packing efficiency.
- Carry at least two liters of water and use a filter as the primary treatment, with chemical backups in case the filter fails.
- Ensure your pack fits properly by measuring torso length and adjusting the hip belt to sit on the iliac crest for maximum comfort.
- Focus on safety gear from the Ten Essentials framework, including navigation tools, fire-starting supplies, first aid, and signaling devices.
A full backpacking checklist is really just a handful of buckets repeated on every trip. Once you know the buckets, you stop re-inventing your packing process every time you head out. That’s the real value of thinking in categories rather than chasing a single “perfect” gear list.
Shelter and sleep. Your tent, tarp, or hammock is the anchor of the whole system. Bring a footprint if your tent floor is thin, a sleeping bag or quilt rated below your coldest expected night, a pad, and a small patch kit for punctures. Skipping the patch kit is how a pinhole leak turns into a miserable, cold night on trip two.
Cooking and water. A canister or liquid-fuel stove, enough fuel for the trip plus a margin, a compact cook pot, a spork, and a water filter are non-negotiable. Carry chemical treatment tablets or drops as backup. Filters clog, freeze, or get dropped in a creek. Bring at least one collapsible reservoir plus a hard bottle, since a hard bottle won’t puncture in your pack.
Clothing and footwear. Pack a moisture-wicking base layer, an insulating mid-layer, and a waterproof shell for the trail. Add a dedicated set of camp clothes you keep dry no matter what, wool or synthetic socks (never cotton), and lightweight camp shoes or sandals for stream crossings and airing out your feet at night.
Navigation and safety. A physical map and compass, a headlamp with spare batteries, and a multi-tool round out the basics. This is also where the National Park Service’s Ten Essentials framework earns its keep. It groups navigation, sun protection, insulation, illumination, first aid, fire, repair supplies, nutrition, hydration, and shelter into ten checkable categories, and every one of them belongs somewhere in your pack.
Toiletries and hygiene. A trowel or WAG bags depending on regulations, toilet paper sealed in a dry bag, hand sanitizer, and period products if needed. Sanitizer is a fine backup, but soap and water do a better job against certain pathogens like norovirus, so wash properly when you have the water to spare.
Tools and repair. A multi-tool, a few feet of repair tape wrapped around a trekking pole or lighter, spare cord, a small patch kit for your pad or shelter, and spare batteries for anything electronic.
Food and storage. Plan around daily calorie needs, pack calorie-dense meals, and strip packaging down to what actually goes in the pot. Flattening pouches and repackaging bars saves real volume over a multiday trip.
Pack and organization. A pack liner or dry bags to keep the inside waterproof, a rain cover for the outside, stuff sacks to compress bulky items, and hip-belt pockets loaded with anything you’ll want without stopping.
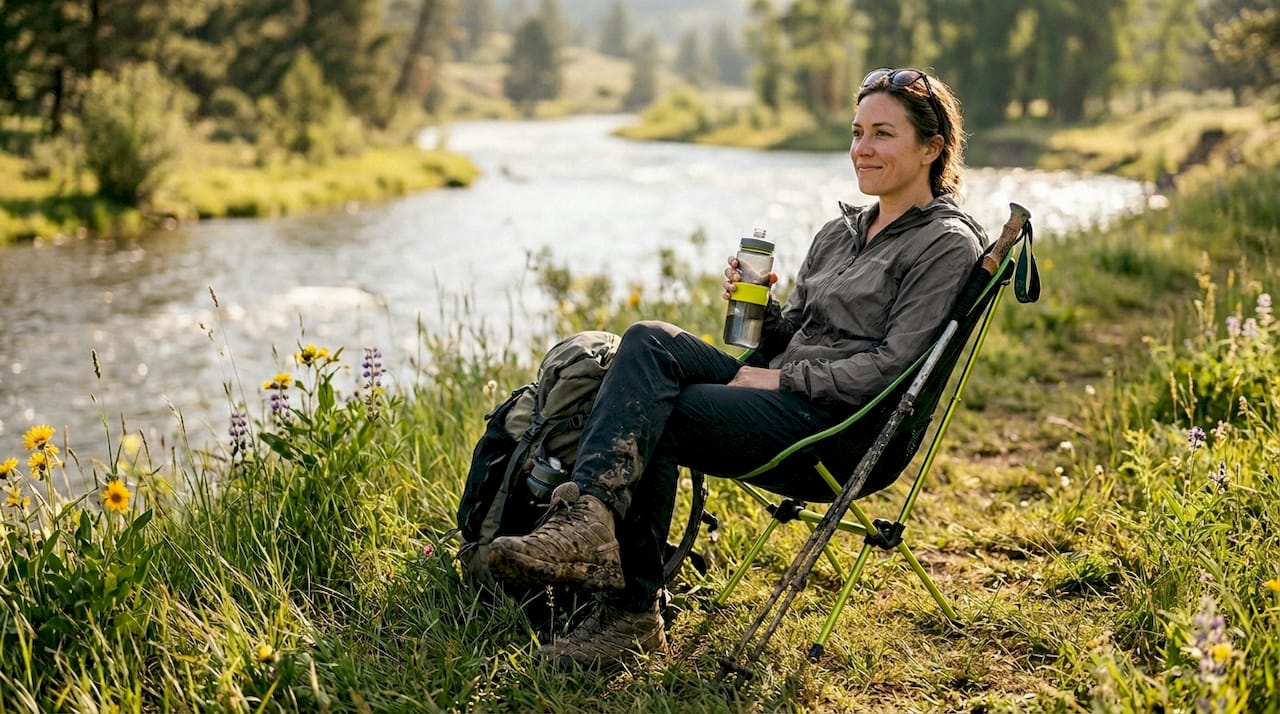
Extras and comfort. A compact camp seat, an inflatable pillow, or a small luxury item like a book or a deck of cards. These are the items that make a trip feel good instead of just survivable, as long as they don’t wreck your base weight.
Pro Tip: Lay every category out on the floor before you pack, one pile per bucket. If a pile looks thin, that’s the category you’re most likely to shortchange on trail.
Pack size should match trip length, not aspiration. A weekend out and back usually fits in 45 to 55 liters. Trips running three to five nights, especially with a bear canister, tend to need 55 to 65 liters, which checklist guides consistently point to as the sweet spot for multiday self-sufficiency. Ultralight packers with a lower base weight can sometimes go smaller, but don’t buy small first and try to force your gear to shrink around it.
Fit matters more than volume. Measure your torso length, not your height, and match it to the manufacturer’s sizing chart. A hipbelt should sit on your iliac crest, not your waist, and it should carry roughly 80% of the load. If your shoulders are doing the heavy lifting, the belt is adjusted wrong or the pack doesn’t fit your frame.
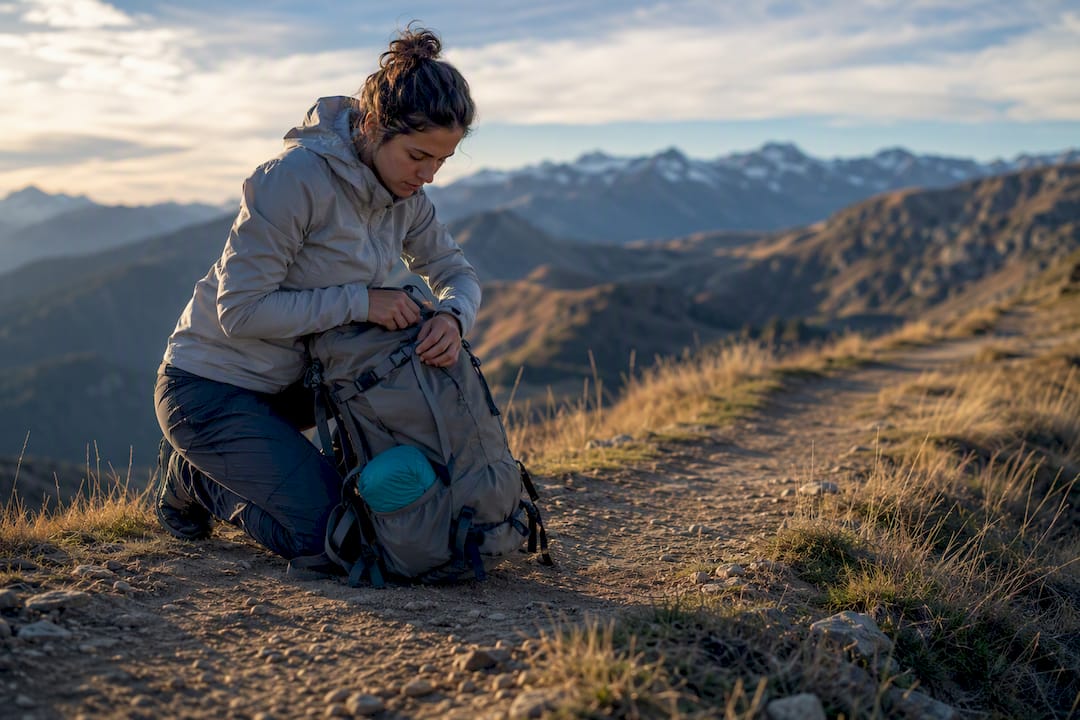
Load order isn’t random. Heavy items like food and water go centered against your back, near your hips, where they affect your balance the least. Your sleeping bag or quilt goes at the bottom, since you won’t need it until camp. Mid-weight items like your cook kit and clothing fill the middle, and anything you’ll want on trail, snacks, rain shell, map, goes in the top lid or hip-belt pockets.
Experienced backpackers keep coming back to one detail: hip-belt organization saves real time and energy over a multiday trip, since a well-placed pocket means fewer pack removals on trail. Before you leave the car or trailhead, run a quick shoulder test, put the pack on, tighten the belt, and see if it rides level and comfortable for a full minute of standing. If it pulls backward or digs into your hips, fix it now, not three miles in.
Pro Tip: Pack your sleeping bag first, then step back and photograph the inside of your pack before you close it. Next trip, you’ll have a template instead of guessing where everything goes.
Most backpackers need a range of calories per day depending on mileage, elevation gain, and body size, with harder days requiring more energy. Pair a fat and carb heavy breakfast (oatmeal with nut butter, for example) with a protein-forward dinner, and treat lunch as a grazing period of bars, nuts, and dried fruit rather than a sit-down meal.

Carry at least two liters of water capacity at any given time, more in dry or hot terrain, and know your next refill point before you leave camp. A filter handles the bulk of your treatment needs, but chemical drops or tablets are the backup when a filter freezes, clogs, or gets lost. Carrying both systems costs a few ounces and saves an entire trip if one fails.
Food storage depends on where you’re hiking. Many wilderness areas require a hard-sided bear canister, and in that case the decision is made for you. Where canisters aren’t mandated, hanging a bear bag using proper technique, as detailed by Leave No Trace’s bear-bag guidance, is the standard alternative. WAG bags and stricter storage protocols show up in high-traffic or fragile ecosystems, so check land management rules before you go rather than after you arrive.
Repackage meals into resealable bags before you leave home, and flatten anything with excess air or rigid packaging. It’s a small habit, but it compounds over a five-day trip when your food bag needs to shrink as you eat through it, not stay bulky and awkward.
Tents offer the most protection and the easiest setup for beginners, at the cost of extra weight. Tarps shave significant weight but demand more skill to pitch well and offer less protection from wind-driven rain or bugs. Hammocks solve uneven ground beautifully but need trees, which rules them out above treeline or in open desert terrain. A bivy sack splits the difference: minimal weight, real weather protection, but a cramped, no-frills experience if you’re waiting out a storm.
Quilts save weight over traditional mummy bags because they skip the underside insulation you’re compressing against the pad anyway. Match either one to the lowest temperature you realistically expect, not the average, since a cold night with the wrong bag is a genuinely bad night. Down insulates better per ounce but performs poorly wet; synthetic fill weighs more but keeps working in damp conditions.
Your pad’s R-value tells you how much it insulates from ground cold, and it matters as much as your bag’s temperature rating. An R-value under 2 is fine for summer, but shoulder-season and cold-weather trips need a pad rated 4 or higher, regardless of how warm your bag claims to be.
Solo travelers can prioritize the lightest setup that still protects them; a partner splitting shelter weight between two packs opens the door to a slightly heavier, more comfortable tent without either person carrying more.
A three-layer system covers nearly every backcountry condition: a moisture-wicking base layer against your skin, an insulating mid layer like fleece or a light puffy, and a waterproof-breathable shell on top. What you wear hiking should run slightly cool, since body heat and elevation gain will warm you up fast once you’re moving.
Camp clothes are a separate, non-negotiable set. Keep one base layer and one insulating layer sealed in a dry bag that never gets worn on trail, so you always have something dry to change into once you stop moving and start cooling down.
Footwear depends on terrain and load. Trail runners are lighter, dry faster, and work well for most maintained trails with a reasonable pack weight. Boots earn their extra weight on rocky, off-trail, or heavily loaded trips where ankle support matters more than speed. Bring one extra pair of wool or synthetic socks per two to three days, and never pack cotton.
Seasonal add-ons round out the system: rain pants and gaiters for wet or brushy terrain, an extra insulated layer for shoulder-season cold, and a buff or warm hat any time nights drop below your comfort range.
Pro Tip: Pack one more pair of socks than you think you need. Wet feet are the fastest way to turn a good trip miserable, and dry socks are the cheapest fix in your entire pack.
The Ten Essentials framework from the National Park Service breaks safety gear into ten categories, and every multiday trip should touch each one:
For communication in areas with no cell service, a satellite messenger or personal locator beacon adds real peace of mind, and a power bank keeps your headlamp and phone alive over five or six days. A whistle costs nothing and weighs almost nothing, and it’s the fastest way to signal for help when shouting won’t carry.
Blister care, tape, and pain relievers cover the vast majority of backcountry first-aid needs. Most trip-ending injuries on multiday trips are foot-related, not dramatic wilderness medicine scenarios, so weight your kit accordingly rather than packing for a trauma you’re unlikely to face.
The biggest weight savings come from three places: your shelter, your sleep system, and the pack itself. A lighter tent, a quilt instead of a bag, and a frameless or minimalist pack can shave several pounds combined, often more than every other category put together.
Safe swaps include trading a hard-sided cook pot for titanium, skipping a second stuff sack in favor of packing directly into your pack liner, and cutting camp shoes if your trail shoes dry fast enough to double as camp footwear. What you shouldn’t cut is redundancy in critical systems: a backup fire source, backup water treatment, and any piece of the Ten Essentials tied to genuine emergencies.
Base weight, your pack’s weight without food, water, or fuel, typically runs 20 to 30 pounds for a comfort-focused setup, 15 to 20 pounds for an experienced ultralight packer, and under 15 pounds for dedicated minimalists who’ve tested their kit extensively. Go ultralight when you know the terrain, trust your gear, and have backups for anything safety-critical. Stick with more margin on unfamiliar terrain, in shoulder-season cold, or on your first few multiday trips.
Staging your gear before you pack, rather than stuffing items in as you find them, cuts down on forgotten items and speeds up the whole process. Here’s a six-step routine worth repeating on every trip:
Arrival at camp deserves its own order: secure your water source first, pitch shelter second, handle food storage third, and only then fire up the stove. This sequence protects you from getting caught in fading light or bad weather without shelter up, which is a much bigger problem than a delayed dinner.
Hip-belt pockets, Sitpack’s own packing workflow guidance points out, are where small, frequently used items belong: snacks, a headlamp, lip balm, a compact multi-tool. A folded camp seat clips easily to the outside of most packs or slides into a side pocket, adding almost no weight penalty for the payoff of a dry, comfortable place to sit at the end of a long day.
Pro Tip: Do a full shoulder test with your pack loaded exactly as you plan to carry it, not half-packed. An extra liter of water shifts balance more than most people expect.
My non-negotiables haven’t changed much over the years: backup water treatment, a real first-aid kit, and one dry set of camp clothes. Everything else gets tested, questioned, and sometimes cut.
The “luxuries” I keep are the ones that improve sleep and recovery, since a bad night compounds into a bad trip fast. A compact camp seat and an inflatable pillow earn their weight every time; a camera or a book is a personal call, and I drop both when the trip gets technical.
The best way to refine a kit is across two or three trips, not one. Pack heavier than you think you need on trip one, track what you never touched, and cut it before trip two. By trip three, you’ll know your own non-negotiables the way I know mine. Trust the checklist discipline, then let real miles tell you what to change.
— Jonas
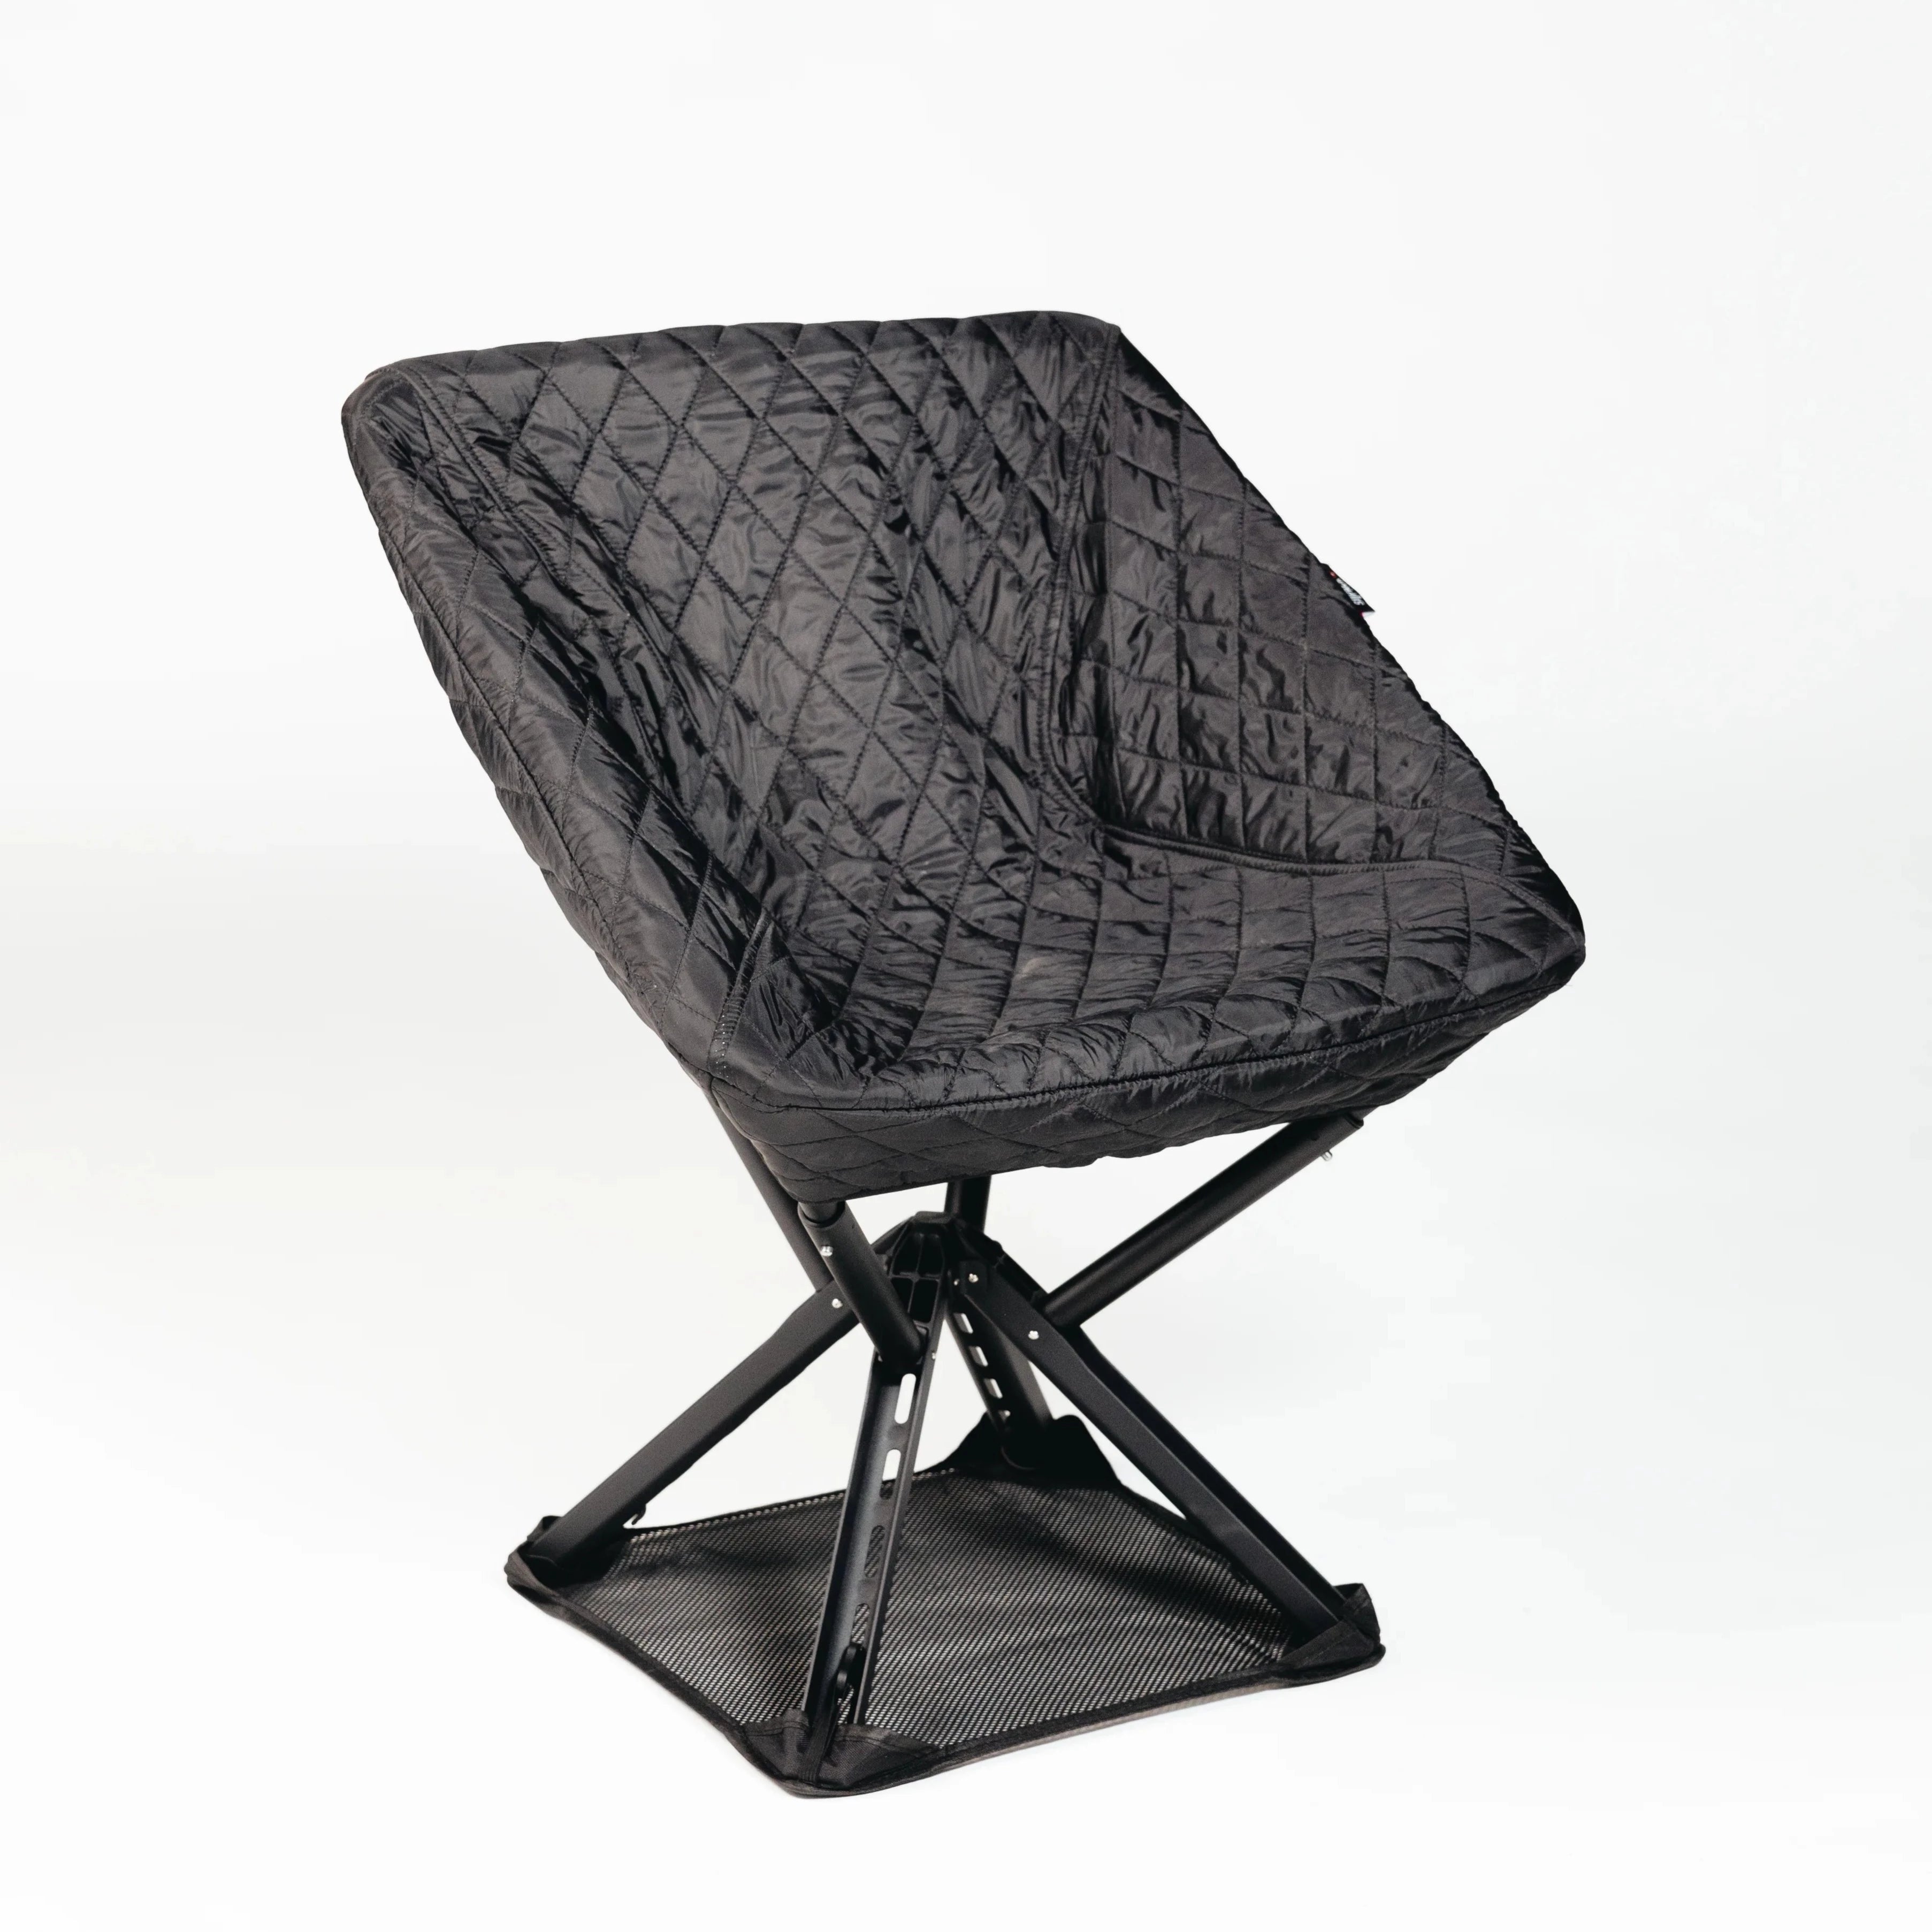
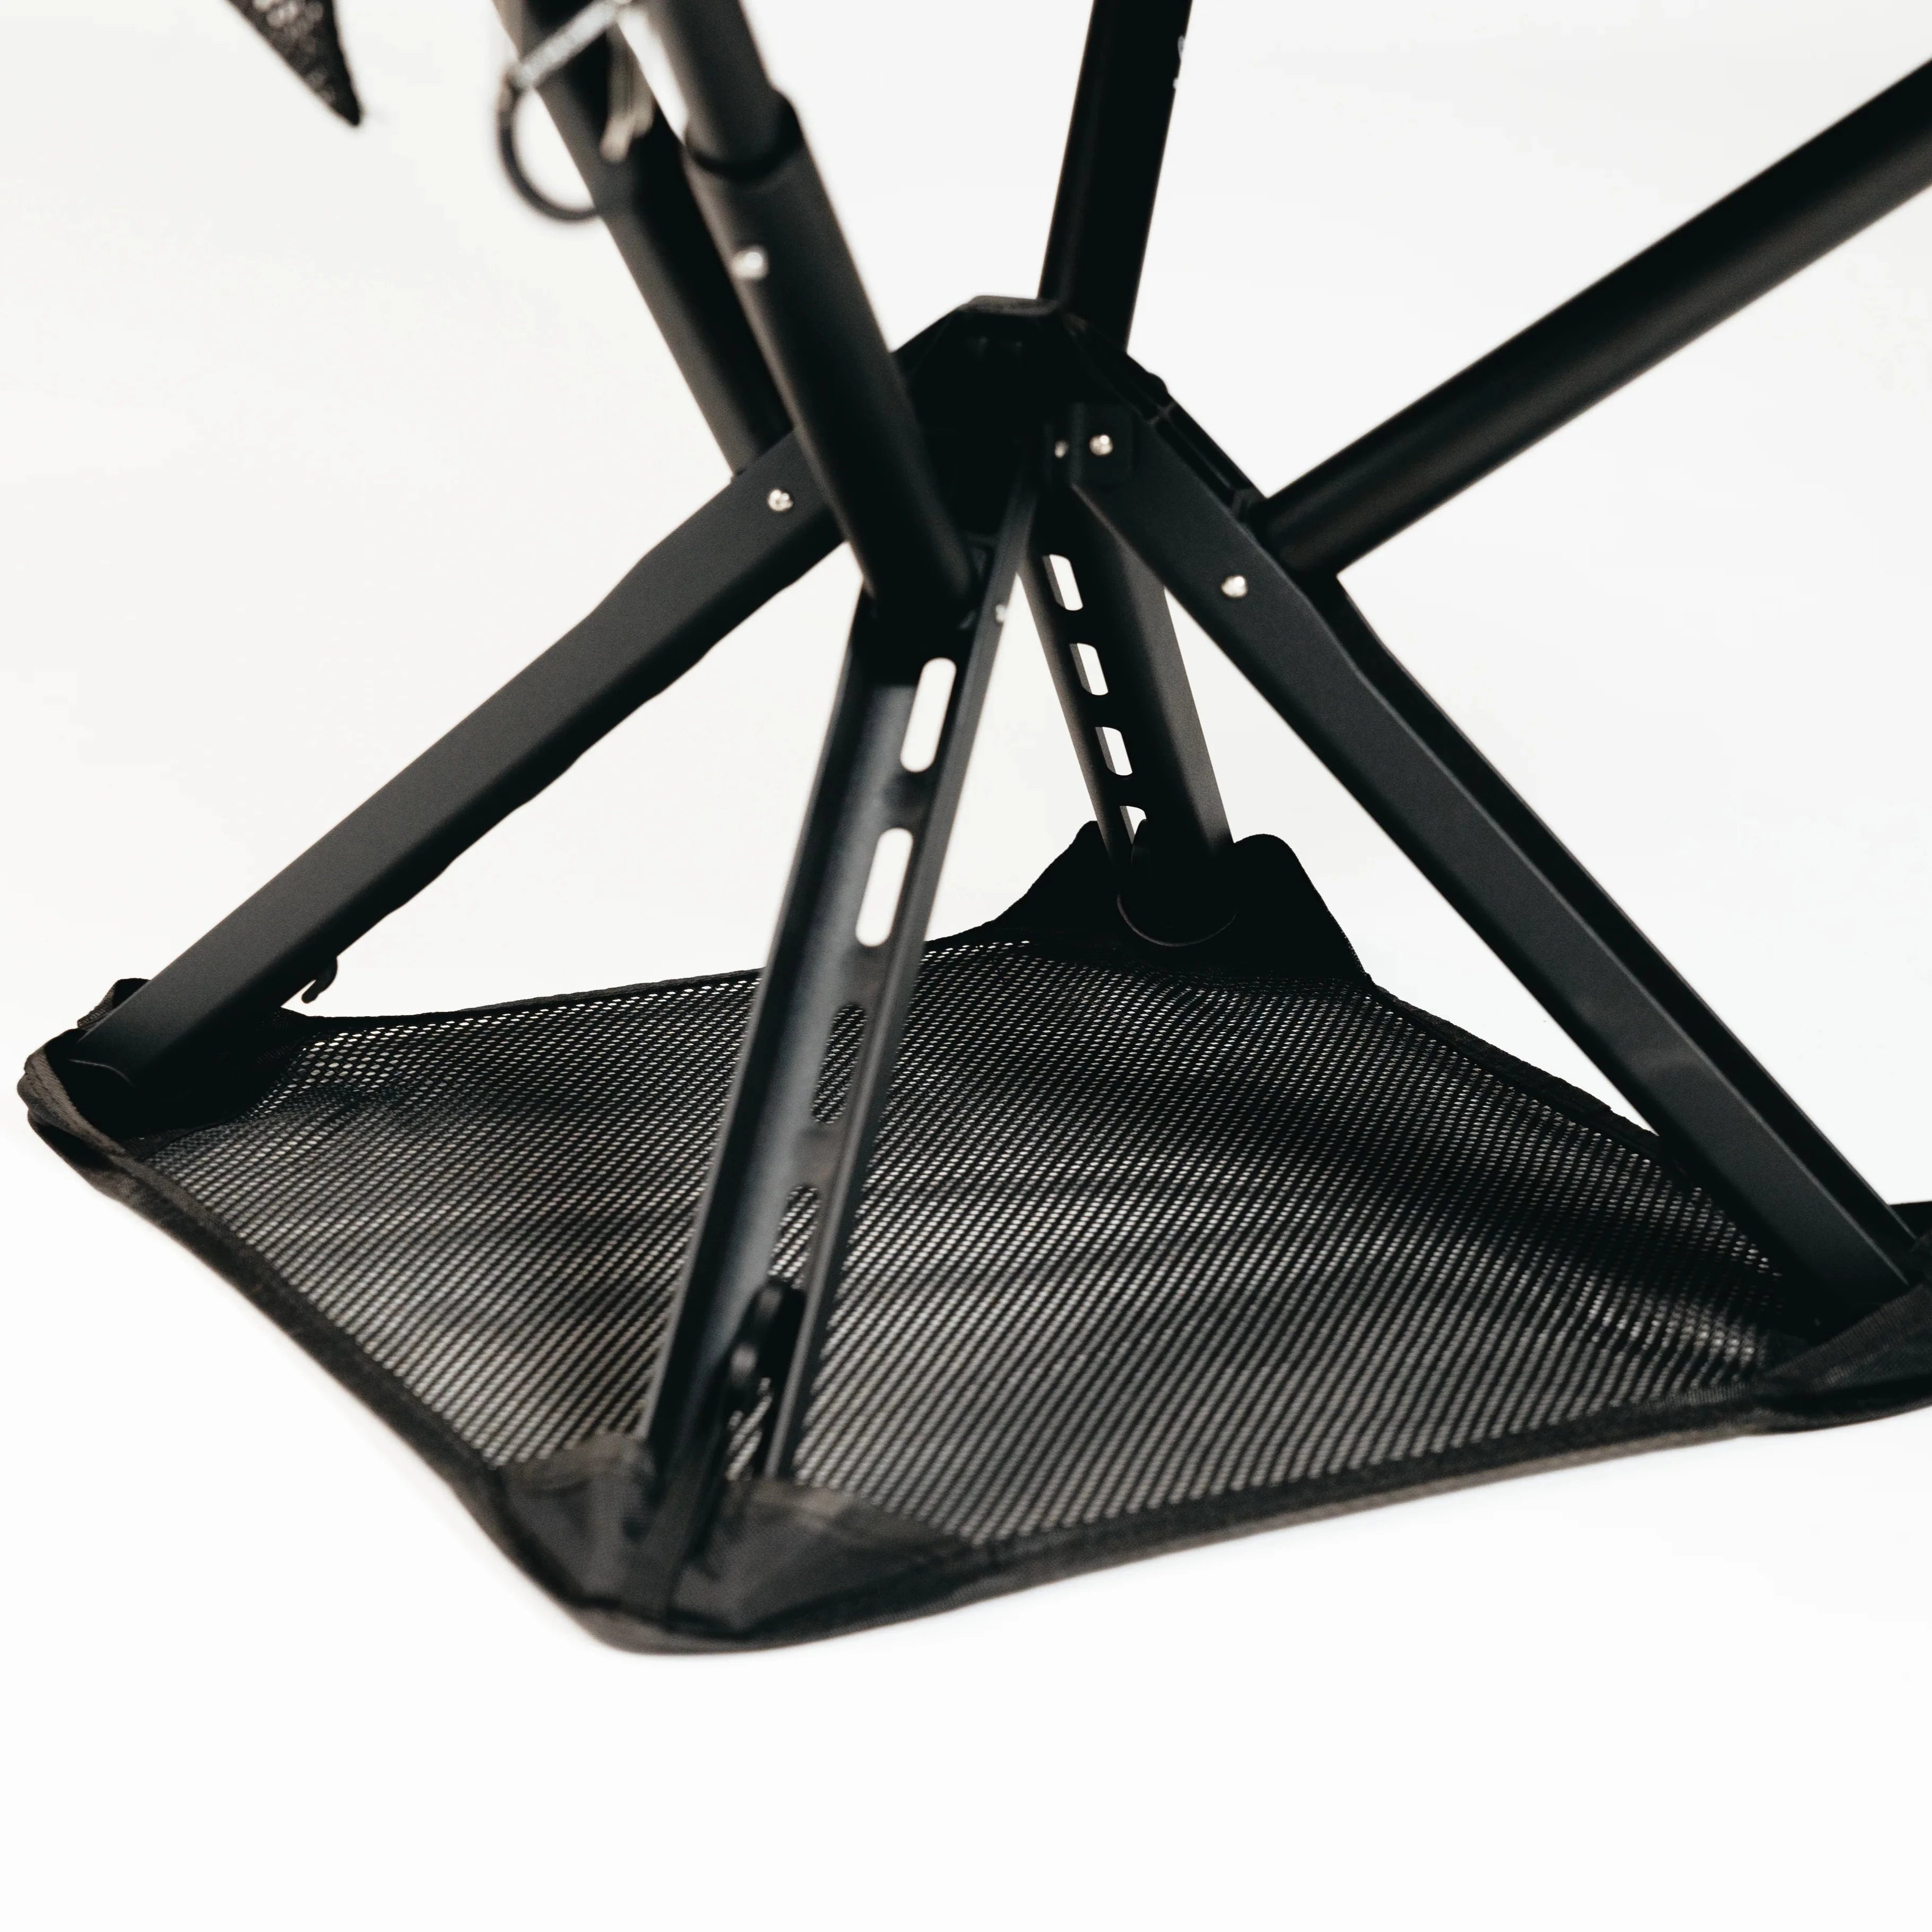
Every ounce in your pack has to justify itself, but comfort at the end of a long day isn’t a luxury you have to sacrifice for a light kit. Sitpack builds compact, foldable seating designed specifically for that gap between “ultralight” and “actually enjoying camp,” with chairs like the Campster II collapsing down small enough to clip to a pack or slide into a side pocket without disrupting your load order.
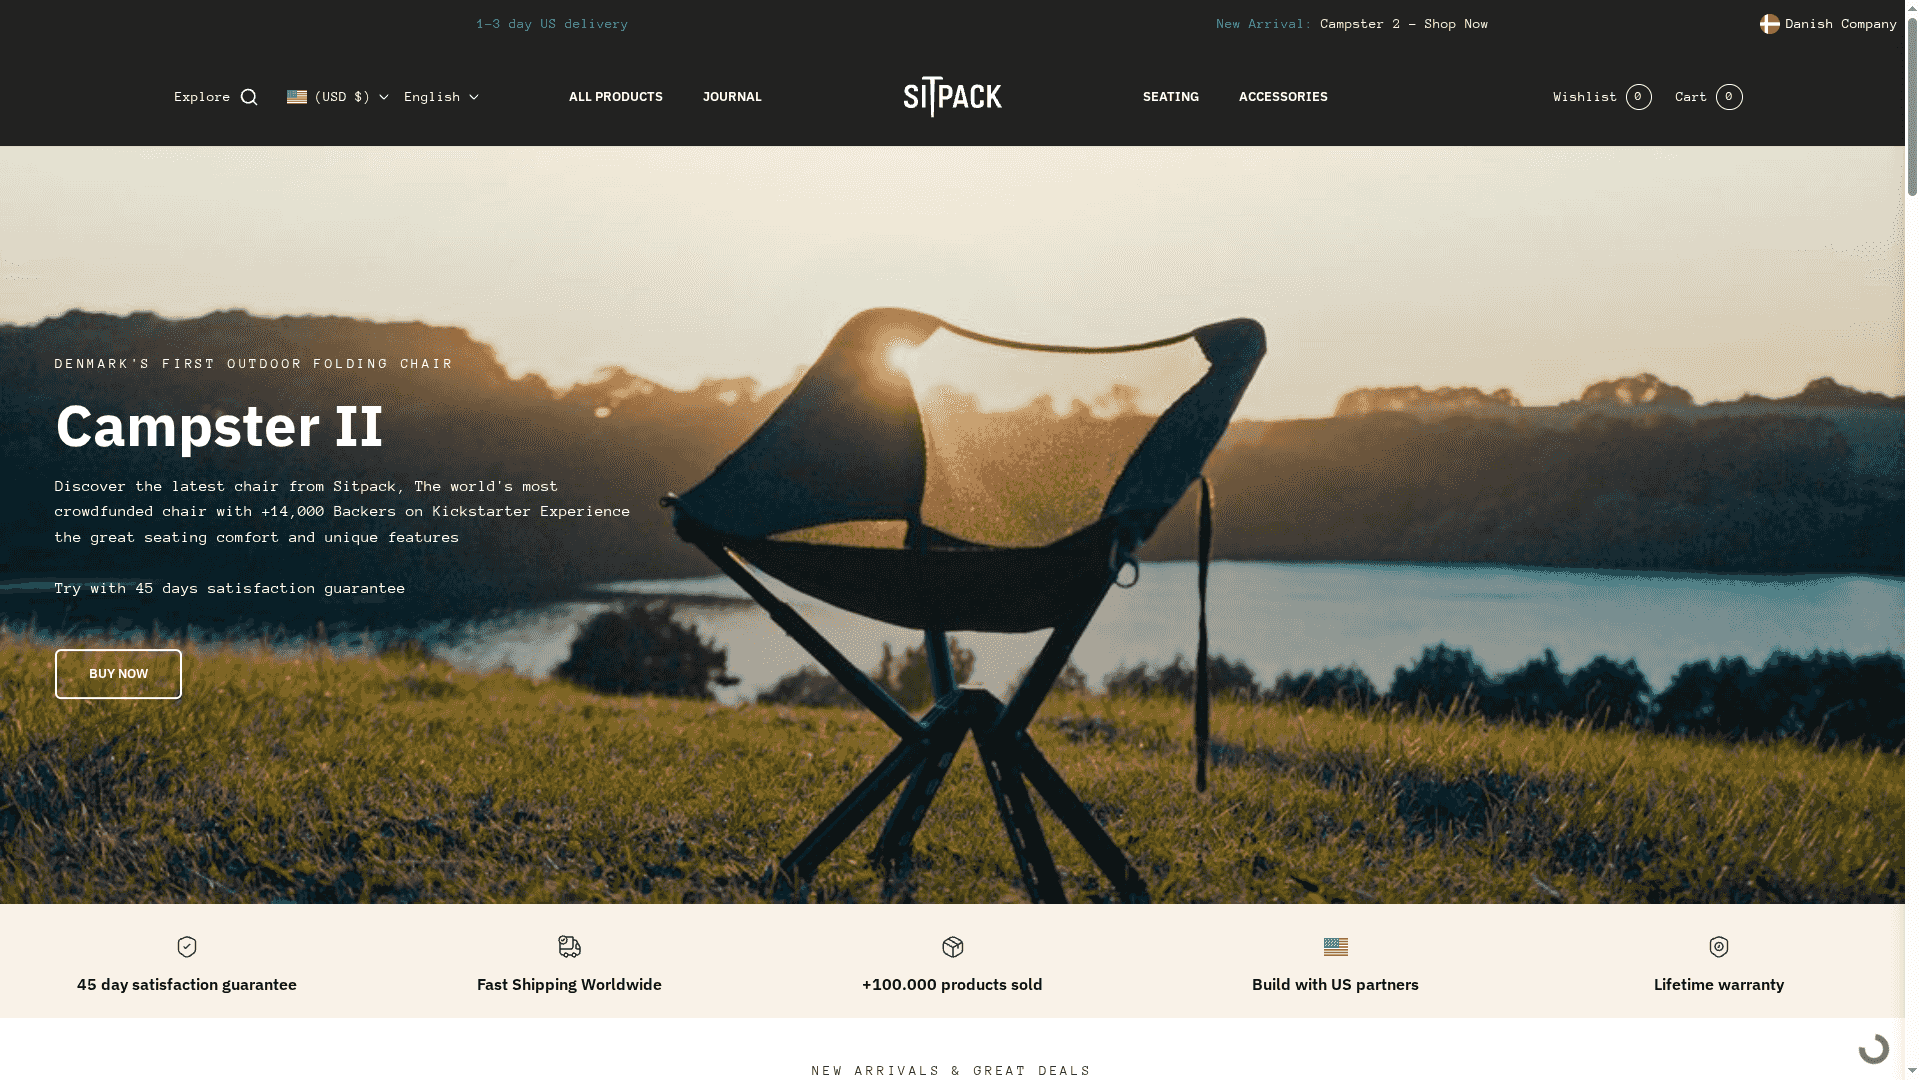
The lightweight, minimalist build means you’re not trading pounds for comfort, and the durable materials hold up to repeated trips rather than one season. Some portable seating brands ship internationally and back their chairs with warranties, so gear that sits at the bottom of your pack for years may still get replaced or repaired if something fails. If you’re rebuilding your kit around the workflow in this guide, check out the Sitpack lineup and see which chair fits the weight budget you’ve set for yourself.
This checklist draws on a handful of sources worth bookmarking for deeper research on your next trip: