Cart
0
Sign up and get 10$ off your order
Expected delivery
1-3 days
You may also like



Danish Company

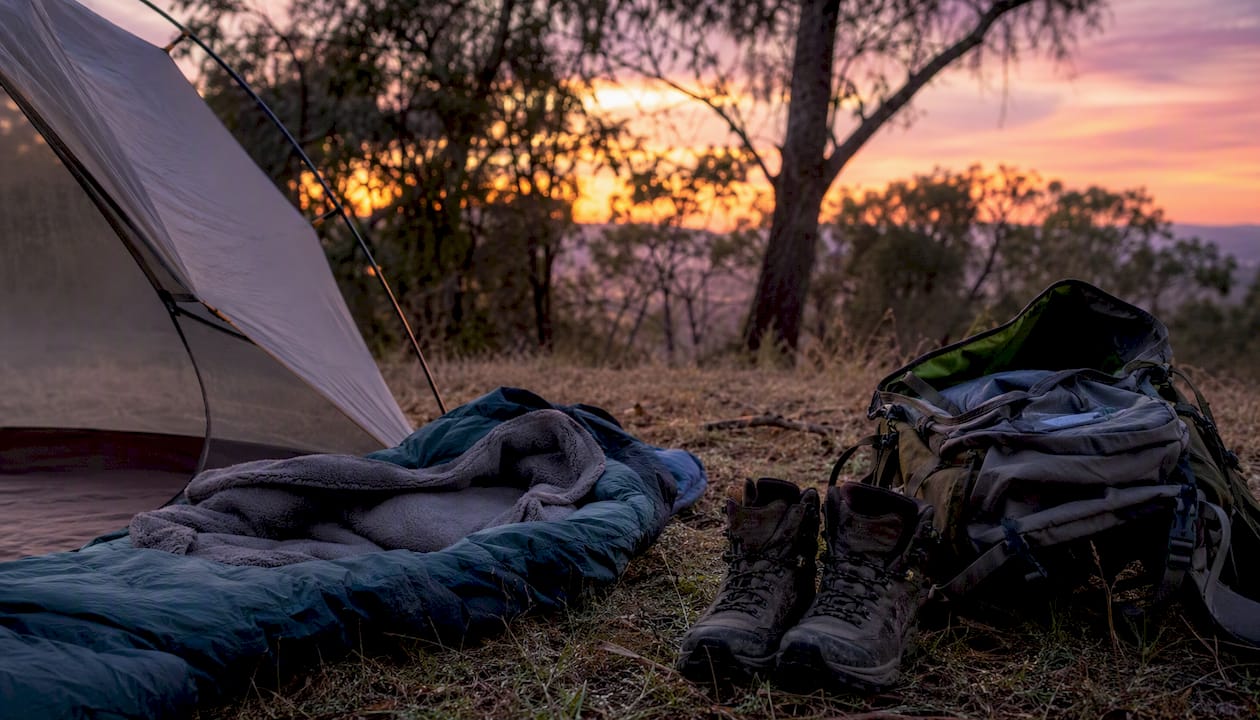
Here’s the deal: a solid backcountry backpacking checklist starts with four decisions (shelter, sleep system, backpack, footwear) and adds ten categories of safety gear on top. Get those right and everything else is just accessories, snacks, and how many pairs of socks you can justify. According to the gear breakdown at Peak Gear Guide, these “Big Four” items drive most of your base weight, which is why they deserve your budget and your attention before anything else does.
Here’s the condensed version to work from, then tailor by season, mileage, and how far you’ll be from the trailhead:
Pro Tip: Weigh every item on a kitchen scale before your first trip. You can’t trim what you haven’t measured.
A backcountry backpacking checklist works because it prioritizes the Big Four first, layers the Ten Essentials on top, and scales food and water to trip length rather than guesswork.
| Point | Details |
|---|---|
| Nail the Big Four first | Shelter, sleep system, backpack, and footwear drive most of your base weight and deserve your budget before accessories. |
| Rate your sleep system with a buffer | Choose a bag or quilt rated about 10 degrees below expected lows, and match it with an adequate pad R-value. |
| Carry one extra day of food | Add a backup day of high-calorie food on any trip past two nights for weather delays or route changes. |
| Build in navigation redundancy | Carry offline maps on multiple devices plus one paper map, and add a satellite messenger for remote routes. |
| Add comfort last | Once the essentials are covered, a packable seat like the Sitpack Zen adds real camp comfort for minimal weight. |
A one-night trip and a five-night traverse share the same core gear, but the math around food, fuel, and water shifts fast. Here’s how to scale it without either overpacking or running short:
Run a quick pre-departure pass: permit in hand, maps downloaded, weather checked, water plan set, and someone at home with your itinerary. That last one costs nothing and matters more than any piece of gear you own.
Shelter, sleep system, backpack, and footwear are where your pack weight actually lives, and where an upgrade pays off the most. Spend your gear budget here first. A $200 tent swap or a lighter sleeping bag will shave more ounces than obsessing over your spork.
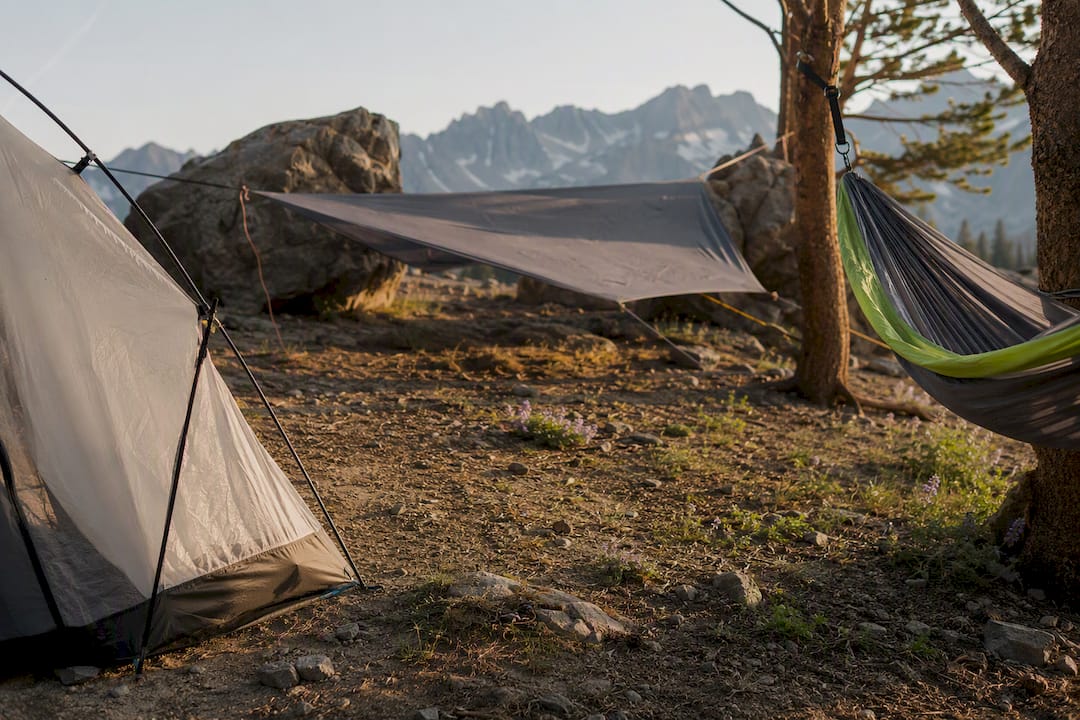
Shelter depends entirely on where you’re headed. A freestanding tent handles rocky or exposed terrain where stakes won’t hold. A tarp saves weight in mild, forested conditions but demands more skill to pitch well. Hammocks work beautifully in tree-heavy terrain but fail completely above treeline, so match the system to your actual route, not your favorite gear review.
Sleep system is two decisions, not one: bag and pad. Rate your bag or quilt about 10 degrees colder than the coldest night you expect. That buffer accounts for a bad forecast, a wet camp, or simply sleeping cold, which most people do. Your pad’s R-value matters just as much as the bag’s temperature rating. A warm bag on a cold pad still leaves you shivering, because ground contact pulls heat out fast.
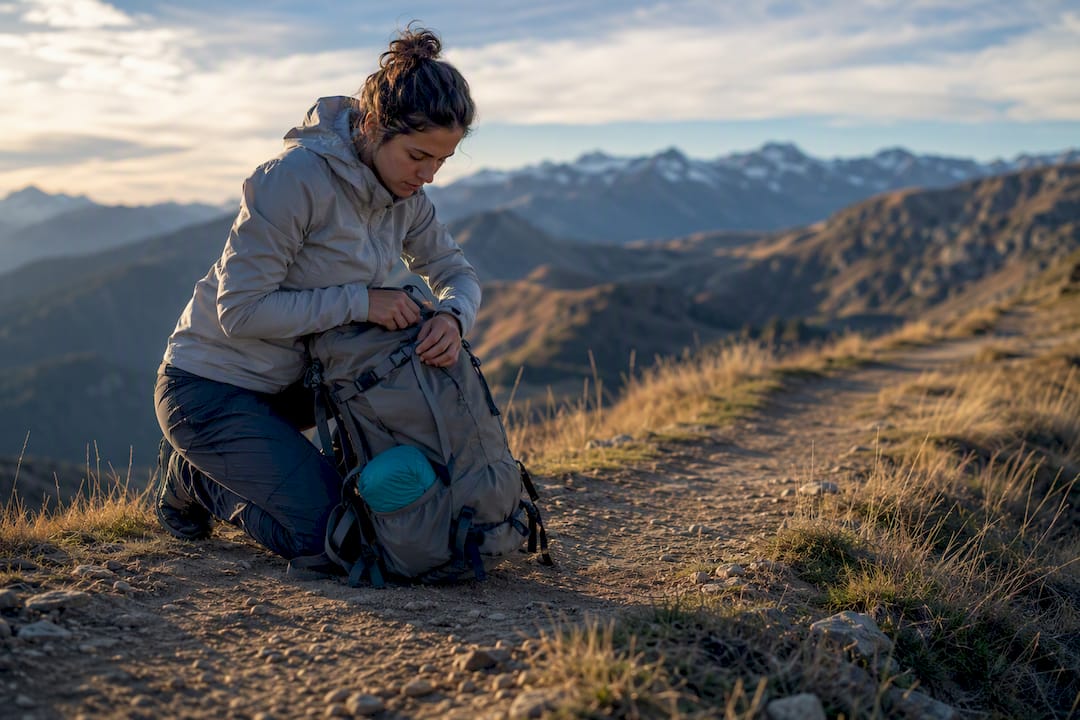
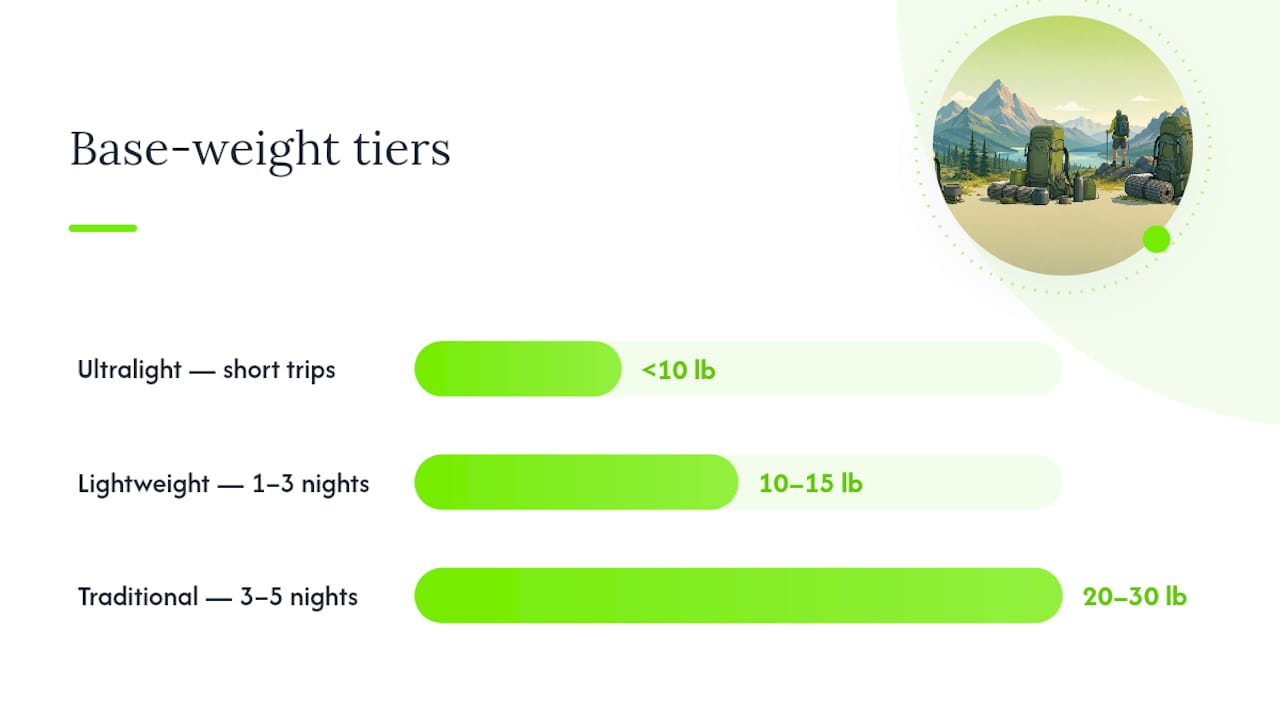
Backpack fit beats capacity every time. A pack that rides wrong on your hips will wreck a trip faster than any weather event. Get your torso length measured, load it with real gear, and walk around the store or your living room before committing. As for size, most gear guides bucket trips into three base-weight tiers: ultralight setups under 10 pounds, lightweight setups between 10 and 15 pounds, and traditional setups in the 20 to 30 pound range. A five-night trip in shoulder season pushes toward the higher end; a fair-weather overnight can live comfortably in the lightweight tier.
Footwear is the one place where “lighter is always better” falls apart. Trail runners are fantastic on maintained trails with a light pack. Load up for five nights over rough terrain, though, and a stiffer boot with ankle support starts earning its weight back in blister prevention and joint protection.
If you want a deeper walkthrough of prioritizing these four before anything else, our multiday breakdown covers the sequencing in more detail.
Layering isn’t complicated once you understand what each layer actually does. A base layer manages moisture against your skin. A mid layer traps warmth. An insulating layer (down or synthetic) handles cold camp evenings. A shell blocks wind and rain. Merino wool and synthetic fabrics do this job well; cotton does not, because it holds moisture and strips heat from your body once it’s wet.
Here’s a lean clothing list for a three to five night trip in moderate conditions:
Wear your trail clothes every day and save the camp outfit for evenings. That single habit cuts weight more than any fabric choice you’ll agonize over in the gear shop.
Most backpackers burn through roughly 2,500 to 3,500 calories a day on trail, more on steep terrain or in cold weather. Pack meals that deliver calories per gram efficiently: dehydrated dinners, nut butters, olive oil packets, and dense trail mix outperform bulky fresh food every time. Repackage everything into zip-top bags before you leave. Factory packaging is heavy and rarely fits your actual portions.
Carry one extra day of food on any trip past two nights, and lean toward emergency options with a high calorie-to-weight ratio, a habit long-time backcountry checklist curators consistently recommend for exactly the kind of delay nobody plans for.
For cooking, a basic canister stove covers most trips efficiently: budget roughly one 8-ounce canister per person for four to five days of boiling water and simple meals. Liquid-fuel stoves handle cold weather and international travel better but add complexity.
Water strategy comes down to two real options. A hollow-fiber filter (like a squeeze or pump system) handles most backcountry sources reliably and fast. Chemical treatment (tablets or drops) weighs almost nothing and works as a solid backup when your filter clogs or freezes. Carry at least two liters of storage capacity, more if your route has long dry stretches between reliable sources.
The Ten Essentials system has guided backcountry safety for decades, and it’s aged well because the categories still cover the failure points that actually get people hurt: navigation, sun protection, insulation, illumination, first aid, fire, repair tools, nutrition, hydration, and emergency shelter.
What’s changed is the tools inside each category. A modern kit looks like this:
Modern guides increasingly frame the essentials around electronic navigation and compact headlamps rather than the bulkier gear of decades past, but the redundancy principle hasn’t changed: carry offline maps on more than one device, plus that paper backup, since a dead phone shouldn’t be your single point of failure in terrain where a wrong turn costs hours.
For remote routes beyond cell coverage, add a personal locator beacon or satellite messenger. These devices run one-way (PLB) or two-way (satellite messenger) and can call in help when nothing else can.
Pro Tip: Test every electronic device, including your headlamp, at home before you leave. A dead battery at the trailhead is annoying. A dead battery three miles from camp at dusk is a different problem entirely.
For a deeper rundown of these categories, see our full Ten Essentials breakdown.
Keep your first-aid kit focused on what actually happens on trail: blisters, small cuts, sprains, and headaches. Pack blister pads or tape, gauze and adhesive bandages, an elastic wrap, tweezers, and basic pain relievers and antihistamines.
Human waste protocol matters more than most new backpackers realize. Carry a trowel to dig a proper cathole away from water sources and trails, per Leave No Trace guidelines, and pack out used toilet paper in a sealable bag rather than burying it. In alpine or desert zones with strict regulations, a wag bag might be required entirely.
Add a few personal items: contact lens solution if needed, menstrual supplies sized to trip length, and any prescription medications in their original containers. If you’re heading into truly remote terrain, a wilderness first-aid course is worth the weekend. It teaches decision-making that no kit contents list can replace.
A compact repair kit solves the majority of field breakdowns without adding real weight:
Duct tape patches a torn tent wall, a cracked pole, or a blown-out shoe sole in minutes. Just check fire restrictions before relying on any open-flame backup, since bans tighten fast during dry seasons in fire-prone regions.
Match your power bank to trip length, not ambition. A 10,000mAh bank comfortably covers phone and headlamp charging for two to three nights. Beyond five nights, a small solar panel starts making more sense than hauling multiple heavy banks.
Carry spare batteries for your headlamp regardless of what else you bring, and keep every device in a dry bag or sealed pouch. Moisture kills electronics faster than drops do. Camera gear is worth the weight only if photography is genuinely part of why you’re out there. Otherwise, your phone handles the job just fine.
Comfort items come last, after the Big Four and the essentials are locked in. That sequencing matters. Adding a luxury item while your shelter or sleep system is still mediocre is backwards; get the base weight right first, then look at what actually improves your trip.
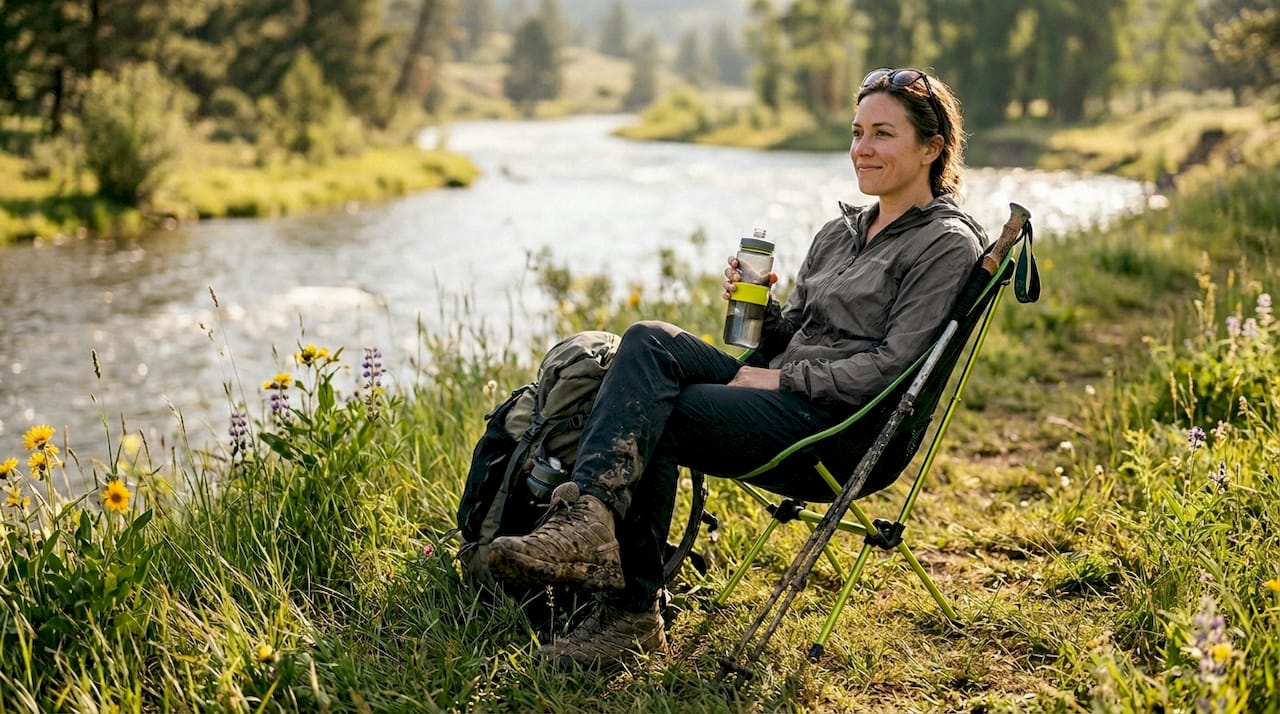
Some comfort additions punch well above their weight. A compact camp seat is the clearest example: instead of resting on a wet log or a rock digging into your back, a folding stool like the Sitpack Zen packs down small and gives you real back support at camp, at a lookout, or waiting out a lunch break. A small inflatable pillow or a packable puffy for camp both fall into this same category, high perceived value for a modest weight cost.
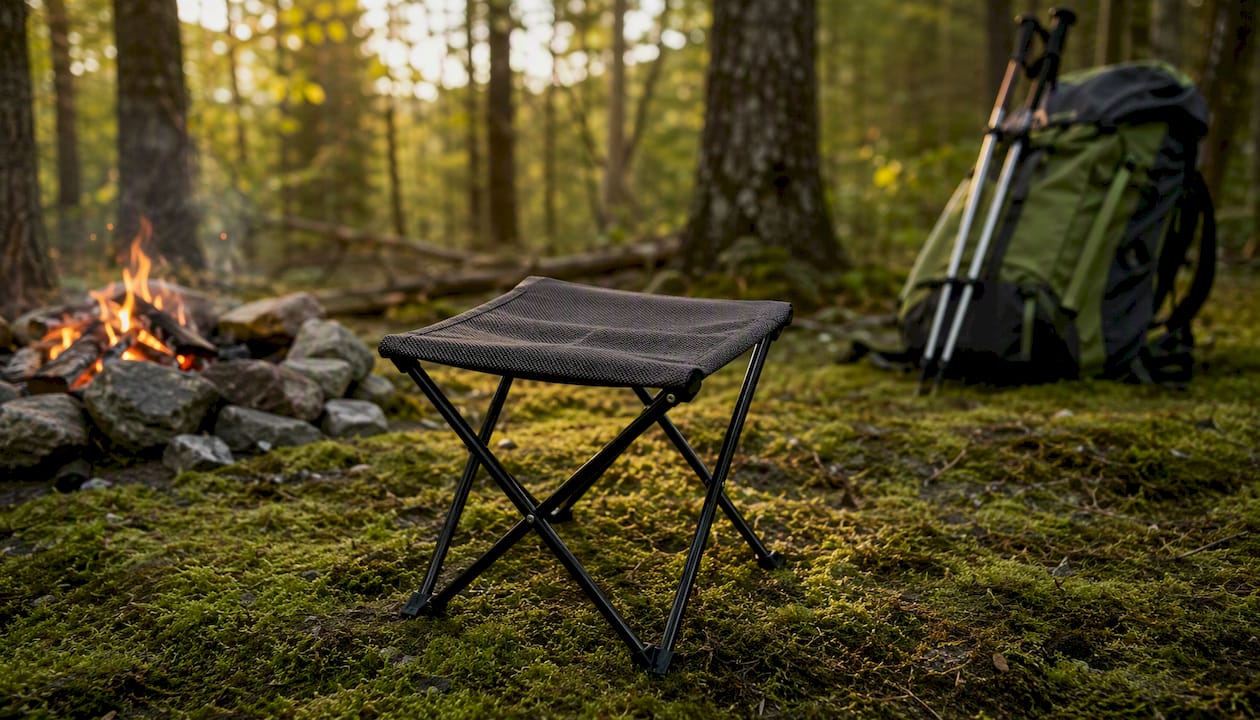
Test any new comfort item on a one-night shakedown before committing it to a five-night trip. If it doesn’t earn its spot after one overnight, leave it home next time.
Get the Big Four dialed in before you start shopping for extras.*
Packing sequence affects comfort as much as total weight does. Follow this order and you’ll notice the difference on your hips and shoulders by day two:
Pro Tip: Trim iteratively. Weigh your pack, remove one questionable item, weigh again. Repeat until every ounce in there has a job.
Field time teaches you fast that most packing mistakes aren’t about forgetting an item. They’re about over-investing in the wrong one. A backpacker who agonizes over titanium sporks while carrying a sleeping bag rated for the wrong season has the priorities backwards. This checklist exists because the Big Four decisions compound: a good shelter and sleep system mean better rest, which means better decisions on day three when you’re tired and the weather turns.
Read our step-by-step packing guide for beginners, and consider running a one-night shakedown before any longer trip. It’s the cheapest insurance you’ll ever buy.
Once your Big Four and essentials are dialed in, a compact seat is one of the few comfort upgrades that genuinely earns its place in a backcountry pack. Sitting on a cold rock or a damp log for an hour at camp gets old fast, and it adds up over a multi-night trip in ways a good chair solves instantly.
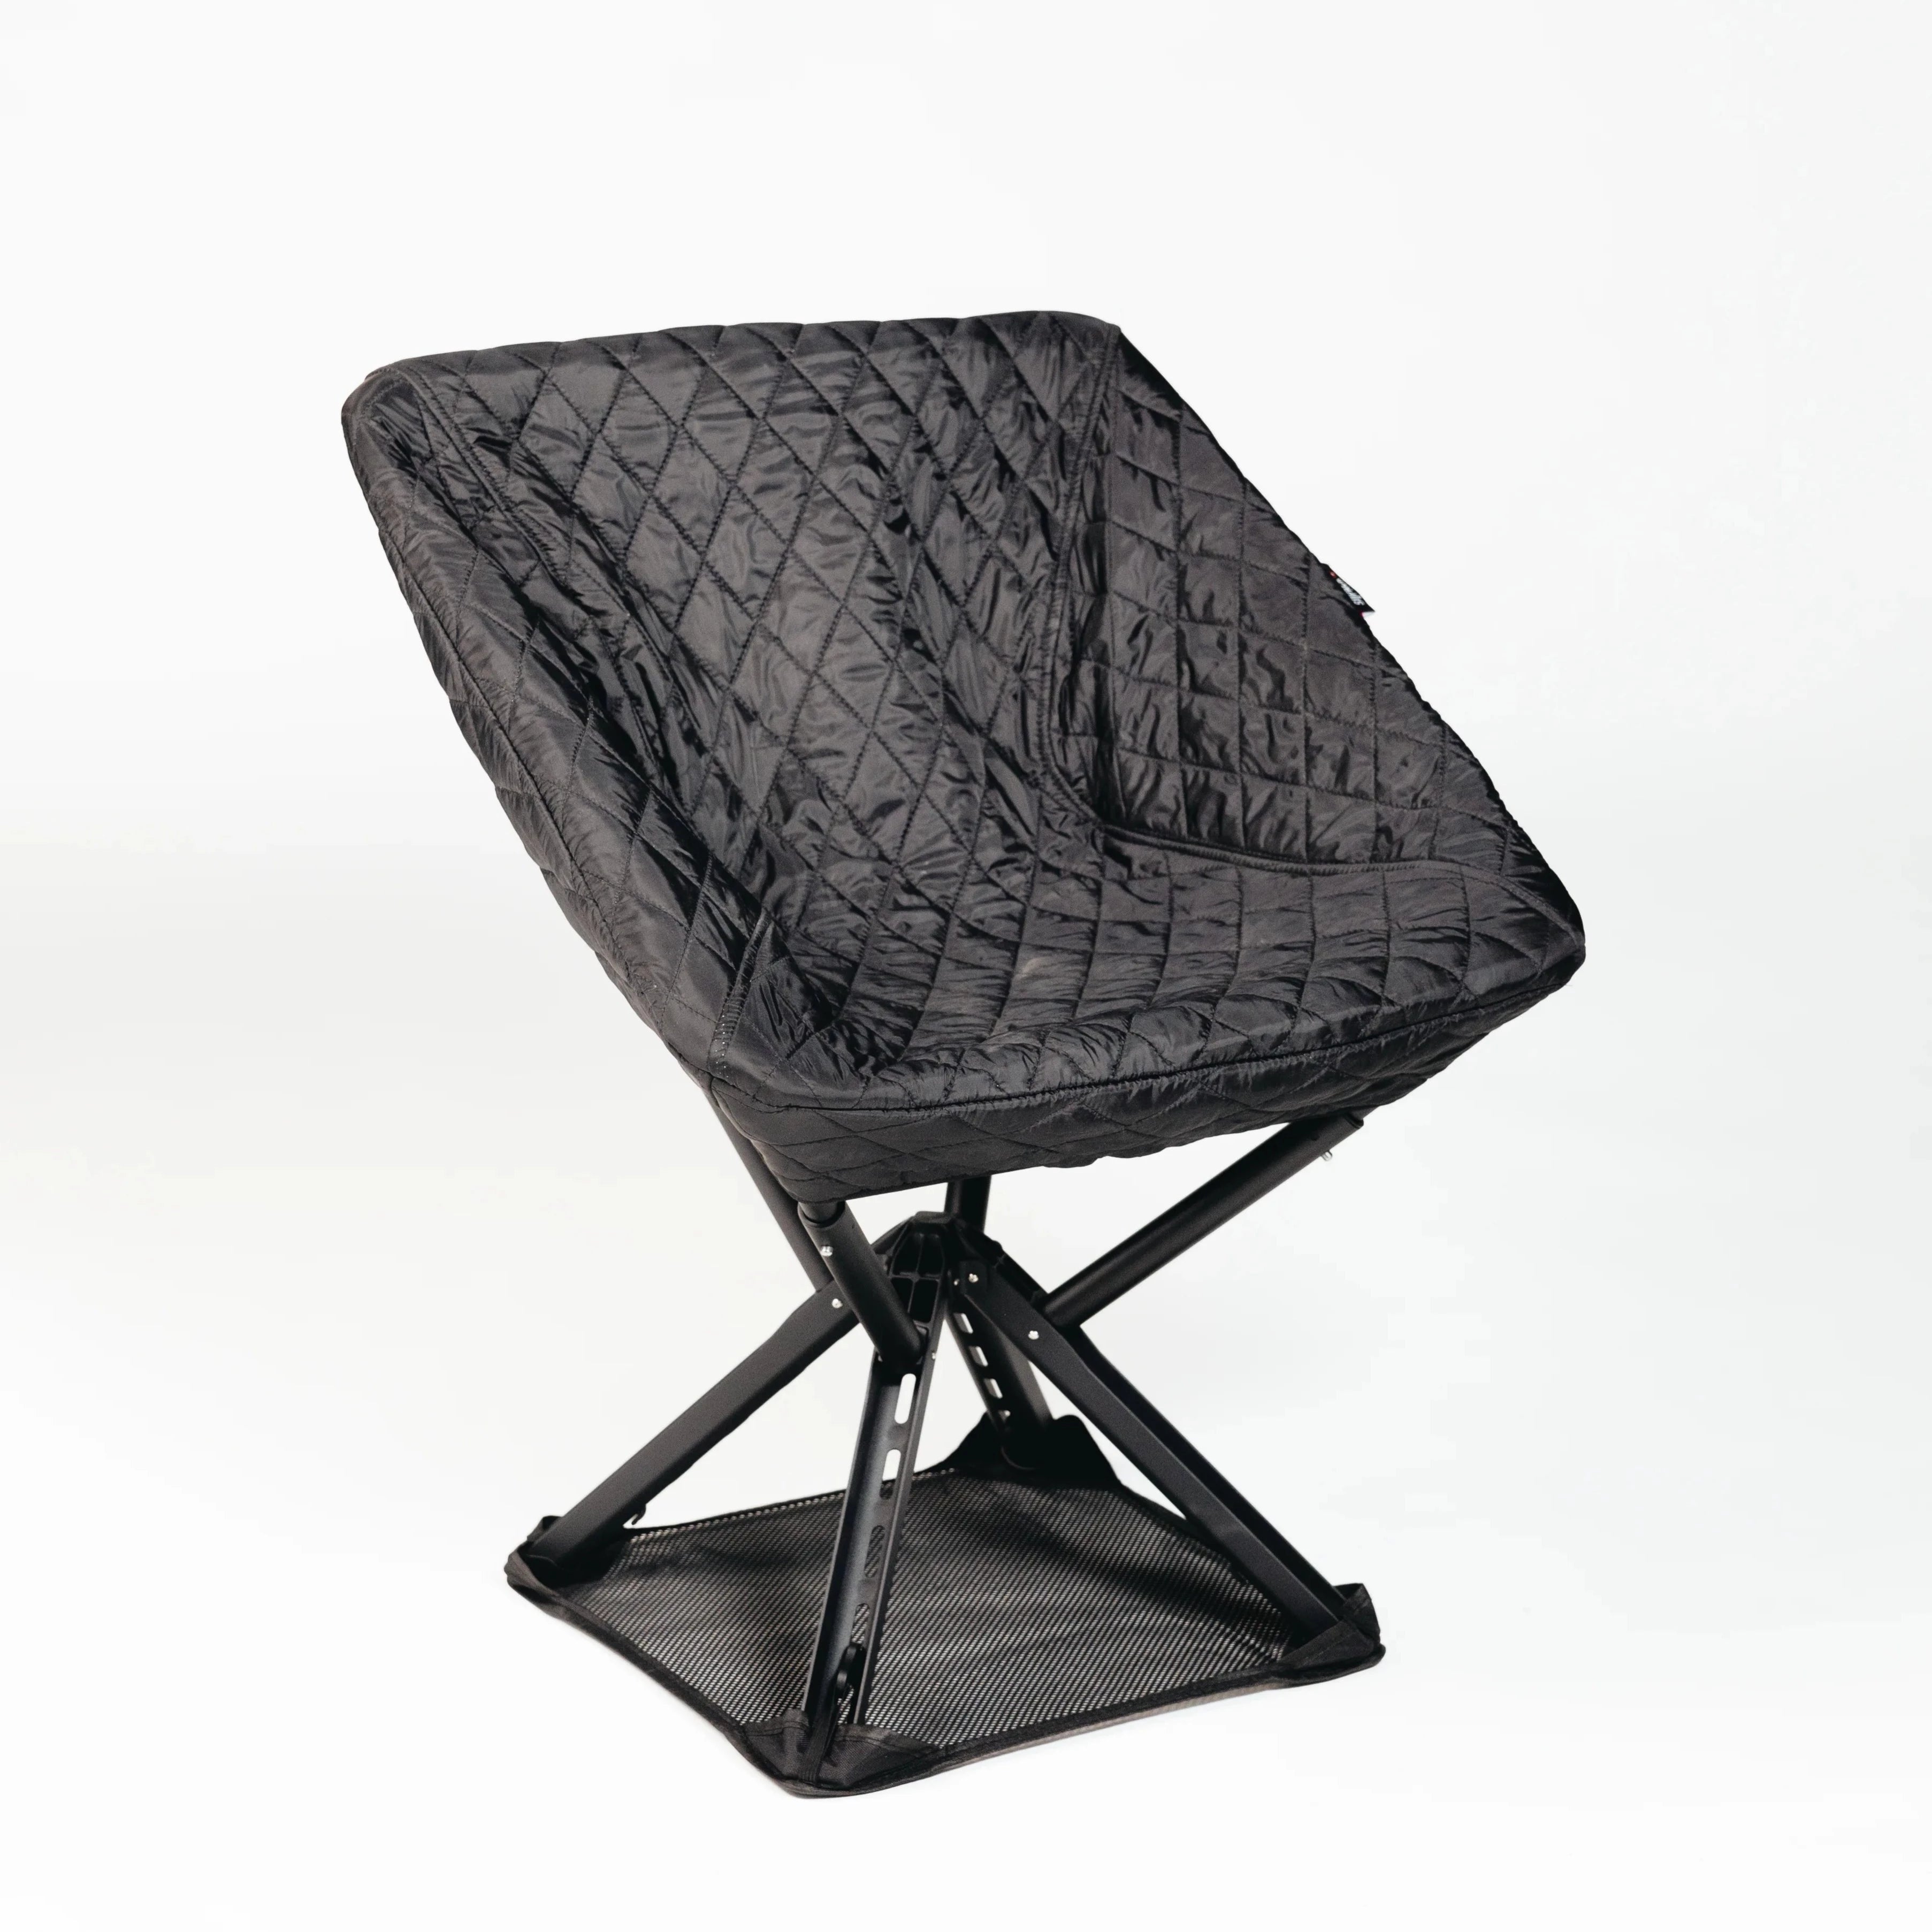
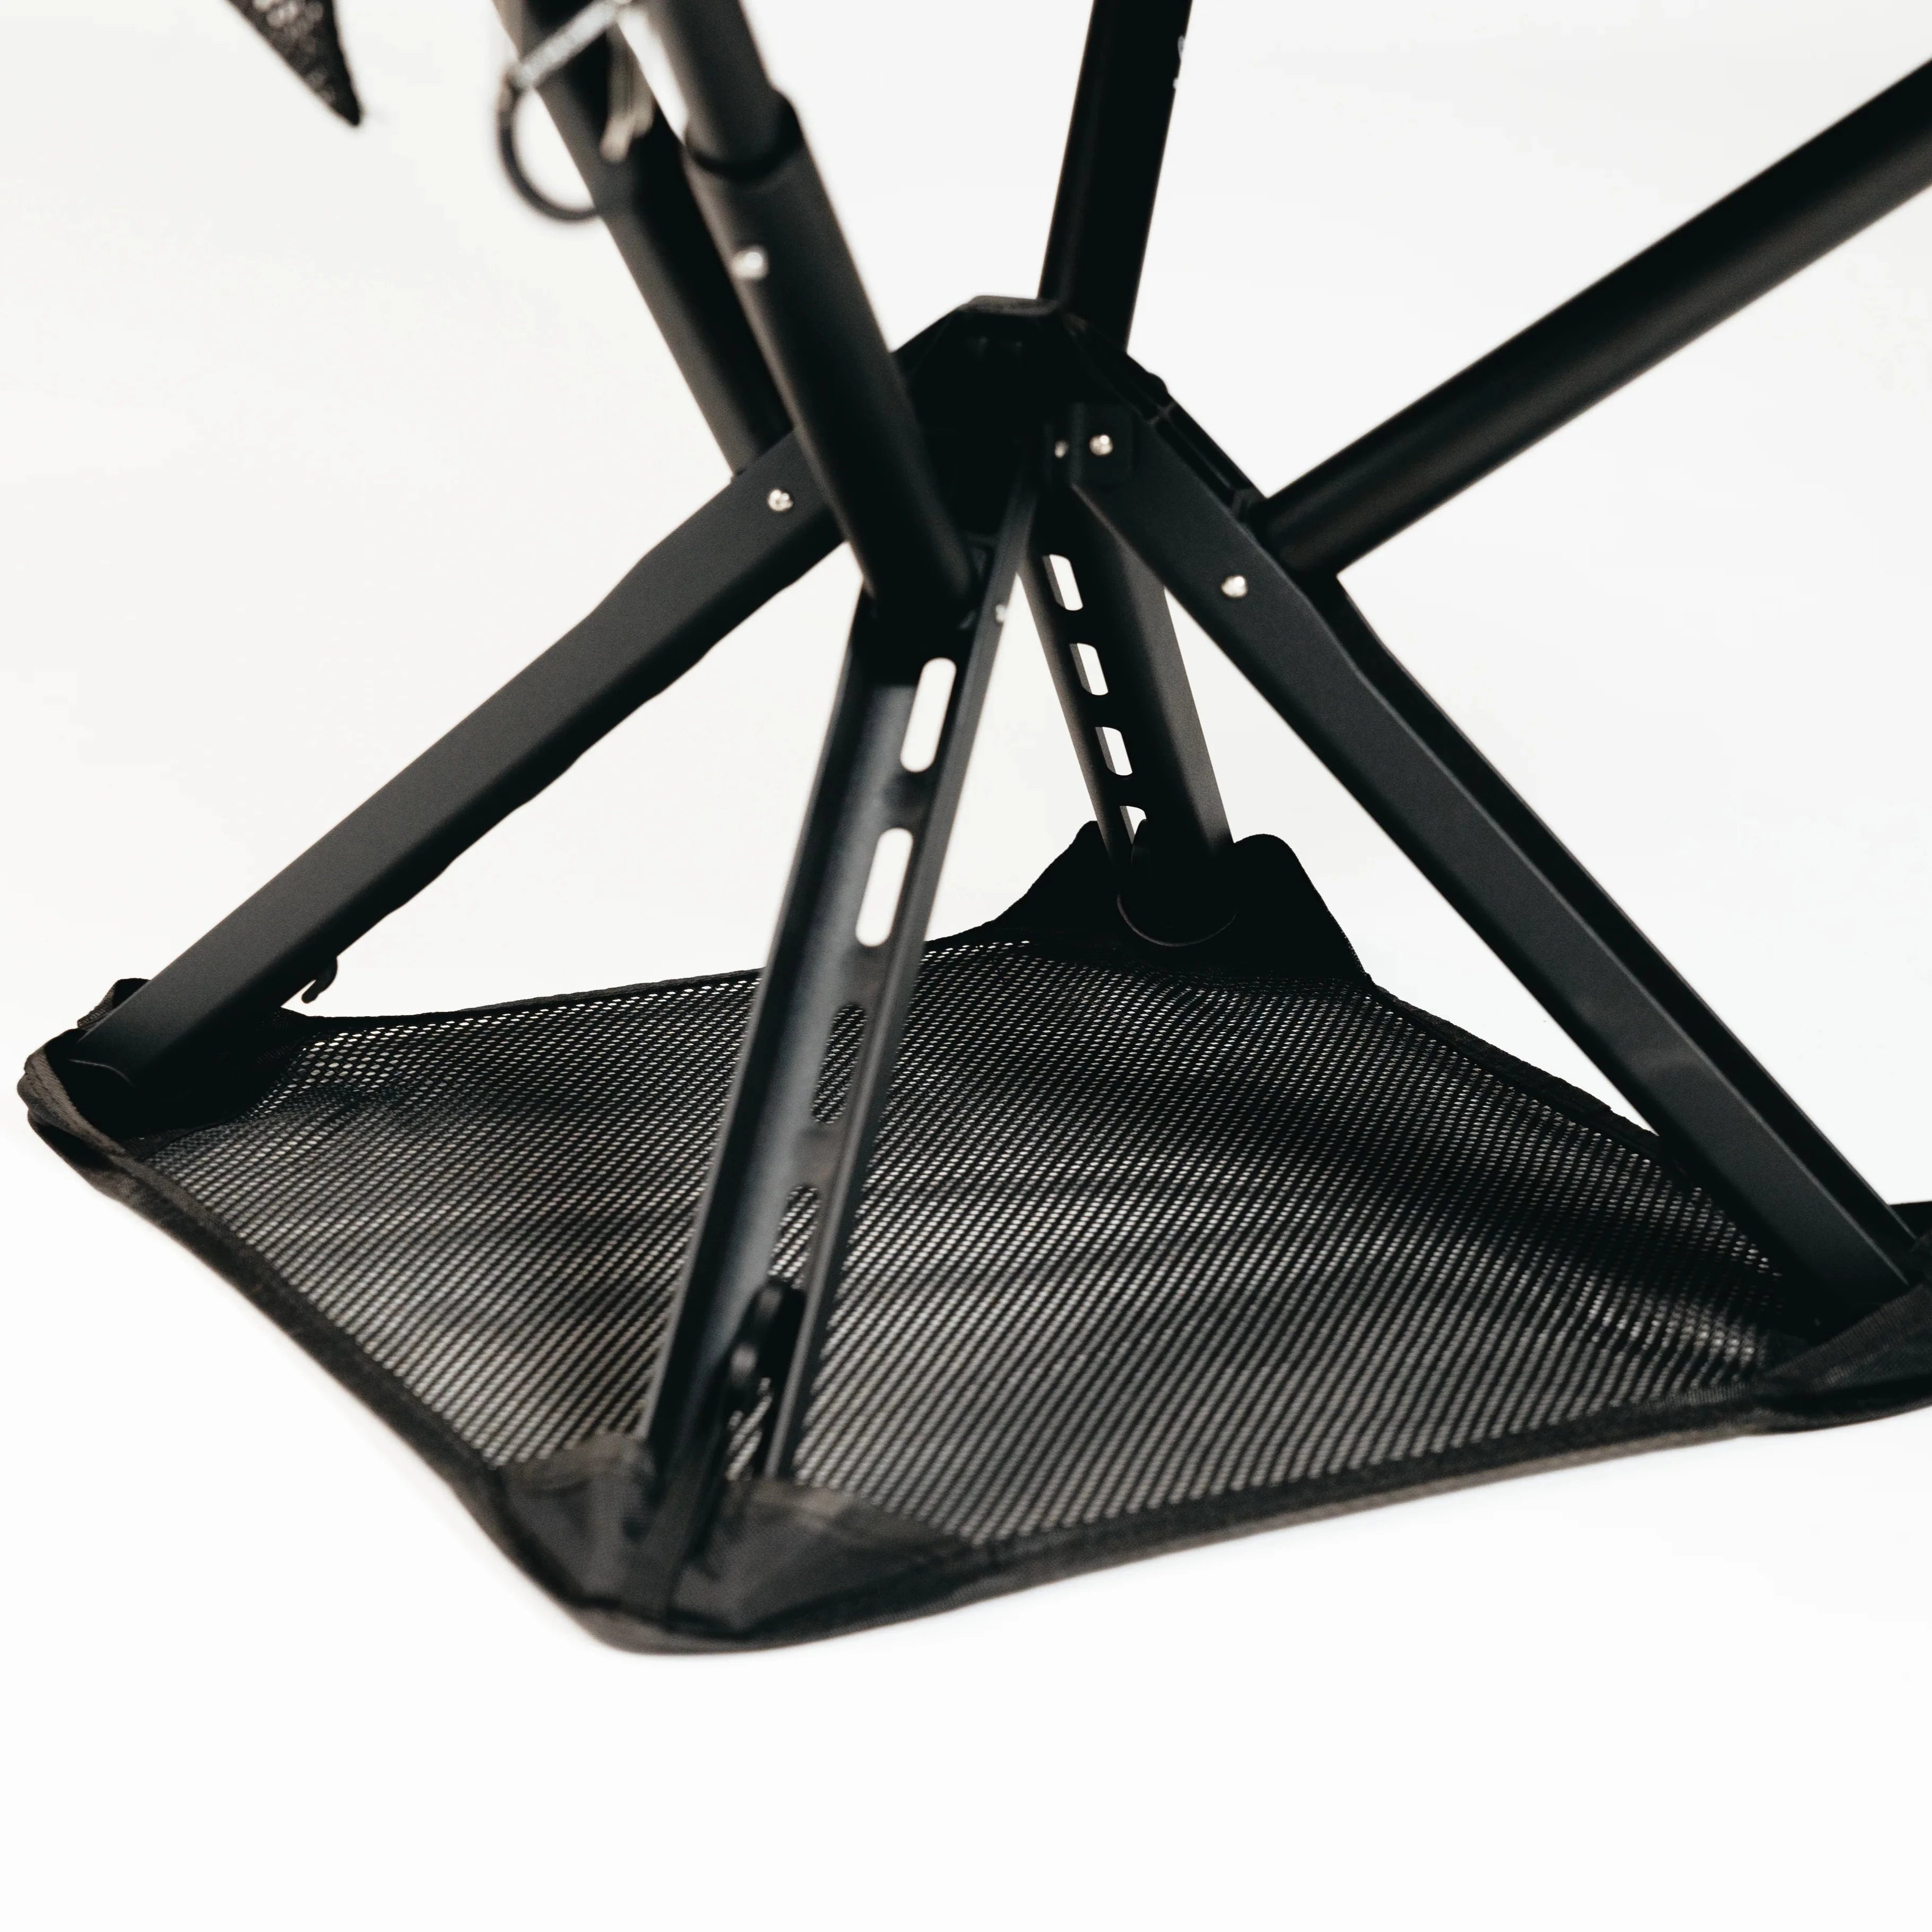
The Sitpack Zen folds down small enough to disappear into a side pocket, sets up in seconds, and gives you real back support whether you’re at a scenic overlook, cooking dinner at camp, or waiting out a break on a long approach. It’s built with a minimalist frame that keeps the weight penalty low while still holding up trip after trip, backed by a lifetime warranty and worldwide shipping if you’re ordering from outside the usual outdoor retail channels. If your current setup means either standing the whole time or sitting on whatever’s nearby, check out the Sitpack lineup and see which model fits your pack space and your trip length.