Cart
0
Sign up and get 10$ off your order
Expected delivery
1-3 days
You may also like


Danish Company
TL;DR:
- A step-by-step camping setup ensures efficiency and minimizes issues, especially in adverse weather.
- Proper gear inspection and arriving before sunset help prevent common setup mistakes.
- Following the correct sequence and tensioning techniques keeps your shelter dry and stable.
Picture this: you roll into your campsite at 7 p.m., toss your tent bag on the ground, and start yanking poles out in the fading light. Twenty minutes later, the rainfly is inside out, one stake is bent, your sleeping bag is sitting on damp grass, and you haven’t even thought about dinner. Sound familiar? It doesn’t have to be. A methodical, step-by-step camping setup transforms that chaotic scramble into a smooth, almost satisfying ritual, one where you’re sipping something warm by the fire while your neighbors are still arguing over which pole goes where. This guide walks you through the complete sequence, from pre-trip prep to final finishing touches, so your first (or fifth) camping trip feels less like a crisis and more like the adventure it’s supposed to be.
| Point | Details |
|---|---|
| Follow clear setup order | Choosing your campsite, pitching your tent, and organizing gear in sequence avoids mistakes and confusion. |
| Rainproofing is critical | Proper use of rainfly, guylines, and a footprint keeps you dry and comfortable during adverse weather. |
| Preparation prevents stress | Arriving with all your required gear and enough daylight makes your camping setup smooth and enjoyable. |
| Avoid common errors | Most camper frustrations come from skipping preparation or rushing steps—slow down and follow the process. |
Now that you recognize the value of a clear approach, let’s gather everything you need to succeed. Showing up at a campsite without the right gear is like heading to a potluck with an empty dish. You’ll survive, but everyone will notice, and you’ll be hungry.
Camping gear generally falls into five buckets. Think of them as your non-negotiables:
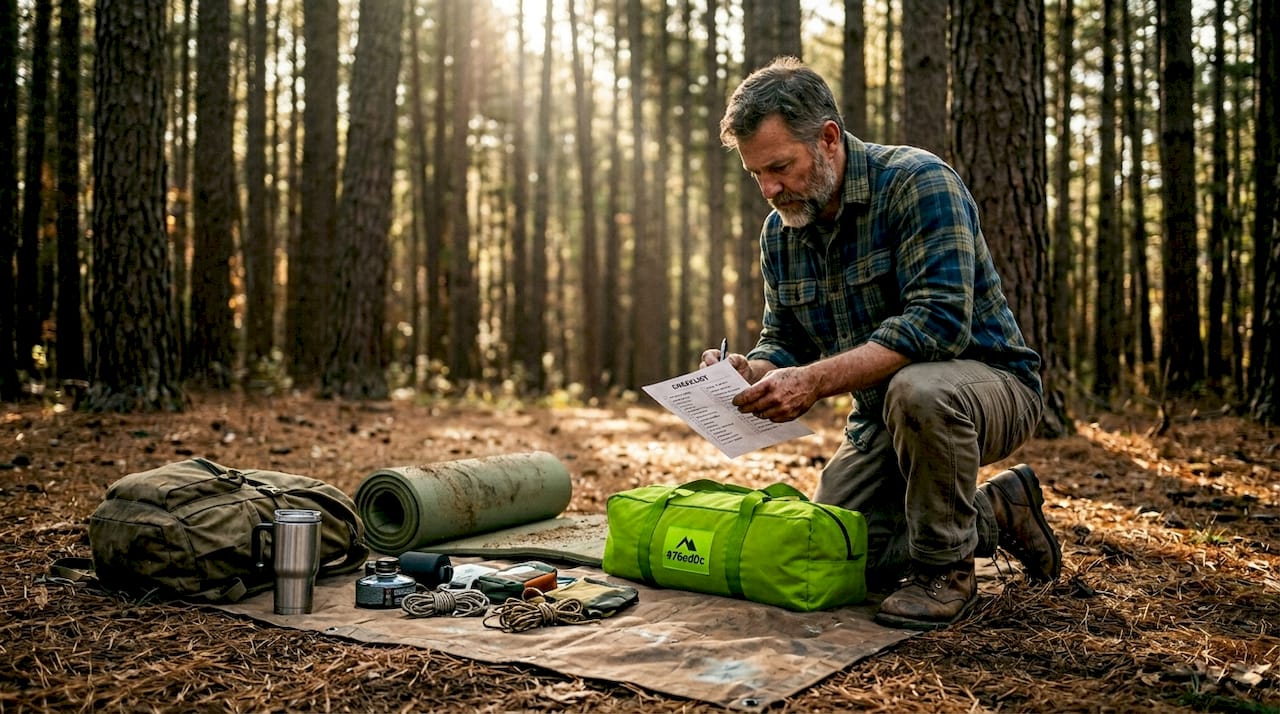
Checking every item against your ultimate camping gear checklist before you leave the house is one of those habits that sounds obvious but saves trips about 80% of the time. Seriously, do it the night before.
| Gear item | Check for | Replace if |
|---|---|---|
| Tent body and poles | Tears, bent poles, missing clips | Fabric is punctured or pole is cracked |
| Rainfly | Seam integrity, waterproof coating | Coating is peeling or seams are open |
| Sleeping bag | Loft, zipper function, odor | Zipper is broken or fill is clumping |
| Sleeping pad | Inflation, valve seal | Pad won’t hold air for 30+ minutes |
| Stove and fuel | Igniter, fuel level, connections | Igniter sparks inconsistently |
| First aid kit | Expiry dates, completeness | Any item is expired or missing |
| Headlamp | Battery charge, beam strength | Beam is dim or flickering |
A clear order of operations (site selection, tent fully pitched with rainfly and stakes, sleeping system, then kitchen and food zone) is the backbone of a stress-free setup, and it only works if you have daylight to execute it. Arriving at least two hours before sunset gives you time to assess the site, fix problems, and still enjoy the evening. Rushing a tent pitch in the dark is how poles get snapped and stakes end up in the wrong spots.
Pro Tip: Pack your tent in a stuff sack separate from the rest of your gear so you can grab it immediately upon arrival without digging through your entire pack.
With your gear and supplies ready, it’s time to dive into the practical setup process, one step at a time. Think of this as your camp setup recipe: follow the order, and the results are consistently good.
Select your site. Look for flat, elevated ground away from drainage paths. Avoid setting up under dead branches (called “widow makers” for good reason). Check for ant hills, rocks, and roots before committing.
Lay your footprint or ground tarp. Place it slightly smaller than your tent floor so rainwater can’t channel underneath. This protects the tent floor from abrasion and moisture.
Pitch the tent body. Assemble poles according to your tent’s instructions, attach the tent body, and stake out the corners first to create a taut, even base. Work from corners to mid-points.
Attach and tension the rainfly. Drape it over the tent, clip or velcro it to the frame, and make sure there’s a visible air gap between the fly and the tent body. This gap is critical for ventilation and preventing condensation drips inside.
Stake and tension guylines. Guylines (the cords that extend from the fly to the ground) stabilize the tent in wind and keep the fly taut. Angle them at roughly 45 degrees from the tent and use the provided tensioners to snug them up without over-tightening.
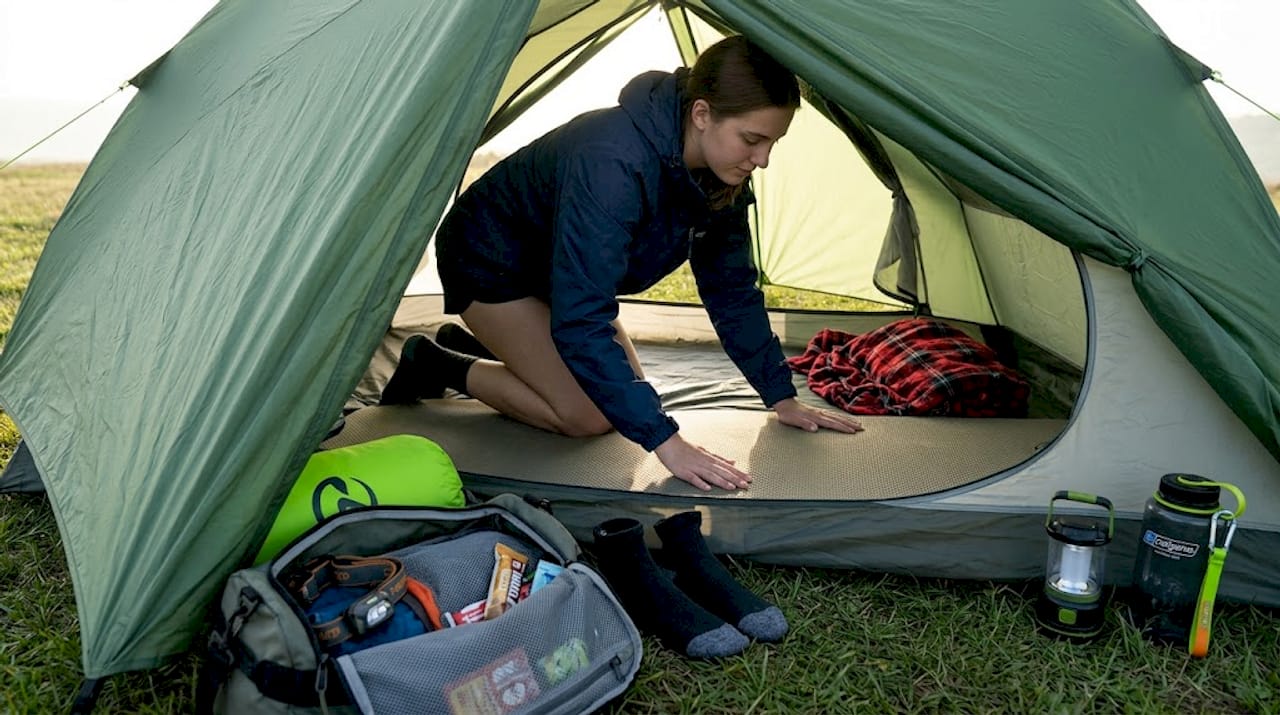
Set up your sleep system. Lay your sleeping pad inside, inflate it if needed, and unroll your sleeping bag on top. Keep your pillow and any sleep layers inside the tent now so they stay dry and warm.
Establish the kitchen and food zone. Set up your stove at least 200 feet from your tent (this is also a bear safety best practice). Organize your cooler, food bags, and cooking gear in a logical sequence: prep area, cook area, wash area.
Add finishing touches. Hang a lantern, set up seating, organize shoes at the tent door, and stow any loose gear that could become a tripping hazard at night.
“Skipping steps or doing them out of order might seem like a time-saver in the moment, but it almost always creates bigger problems later, especially when weather rolls in unexpectedly.”
Choosing the right gear for each step in this sequence also matters enormously. A cheap, thin sleeping pad won’t insulate you from cold ground no matter how good your bag is.
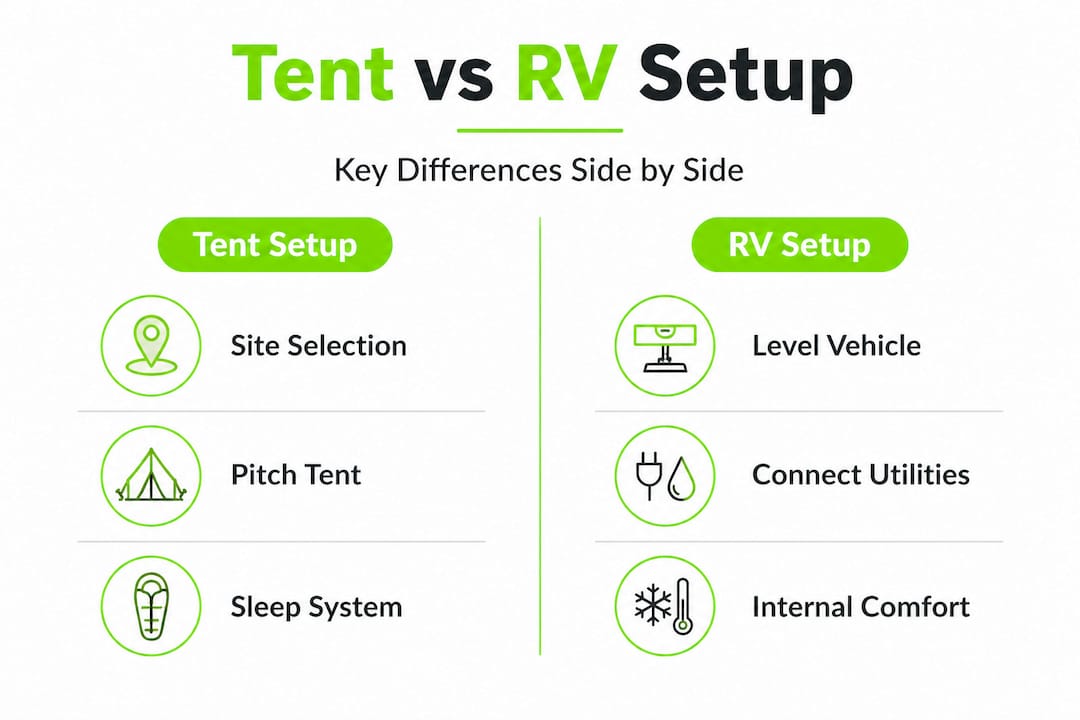
| Setup stage | Tent camping | RV or trailer camping |
|---|---|---|
| Site selection | Flat, soft ground, drainage check | Level pad, utility hookup access |
| Shelter setup | Pole assembly, staking, guylines | Leveling blocks, slide-outs, stabilizer jacks |
| Weatherproofing | Rainfly, tarp, seam sealing | Awning deployment, window seals |
| Sleep system | Sleeping bag, pad inside tent | Fixed bed, bedding from home |
| Kitchen setup | Portable stove, cooler, bear box | Built-in kitchen, propane or shore power |
Pro Tip: If rain is already falling when you arrive, use a staged workflow. Pitch the rainfly over your tent poles first (before attaching the tent body) to create a dry workspace. It takes practice, but it’s a game-changer in a downpour.
Once your shelter is up, weather conditions can make or break your camping experience, so let’s secure your comfort next. Rain doesn’t have to ruin a trip if you’ve set things up correctly from the start.
Your ground tarp or footprint is your first line of defense against moisture wicking up from below. Place it so it sits entirely under the tent floor, not extending beyond the edges. If the tarp sticks out past the tent walls, it acts like a funnel, directing rainwater straight under your floor. Fold or trim any excess, or buy a footprint cut specifically for your tent model.
Keeping the fly taut and separated with a clear air gap, and tensioning guylines properly, prevents sagging and flapping that leads to leaks. A sagging fly that touches the tent body will transfer water directly inside. Think of the air gap as your tent’s built-in weather buffer.
Condensation is sneaky. You wake up thinking your tent leaked, but really it was your own exhaled moisture condensing on the cold fly and dripping back down. The fix is simple: keep vents open, maintain that air gap, and avoid storing wet gear inside the tent. Building the ultimate gear kit with a quality double-wall tent (one that has a separate fly and inner body) makes condensation management dramatically easier than a single-wall design.
Pro Tip: Wipe down the interior of your tent each morning with a small microfiber towel to remove condensation before it soaks into your sleeping bag or clothing.
Even with the best plan, things can go sideways. Here’s how to keep your setup on track and minimize stress when they do.
“Rain increases the penalty for doing steps in the wrong order significantly. A staged workflow that protects your workspace, with a taut fly and proper ventilation separation, reduces both condensation and leak risk compared to a hasty, out-of-sequence setup.”
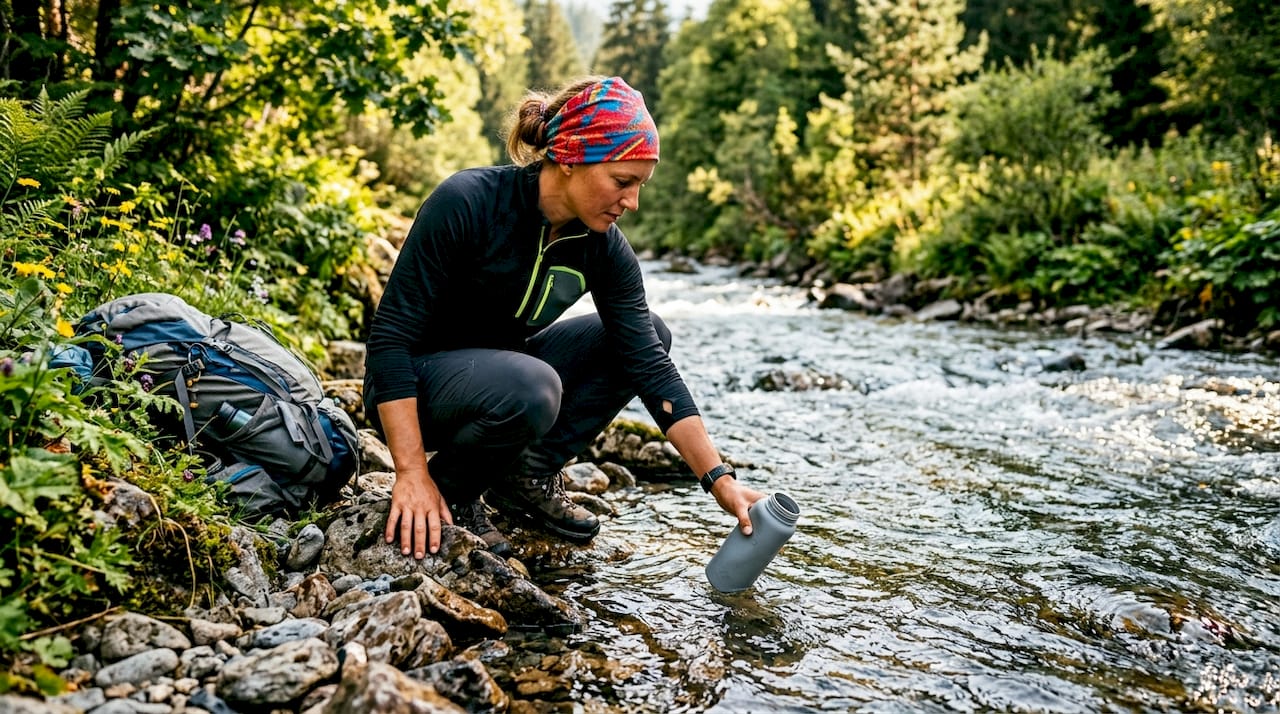
If you discover your tent is on a slope after pitching, don’t fully break it down. Loosen the stakes, shift the tent body, and re-stake. If a guyline stake keeps pulling out of soft ground, cross two stakes in an X pattern at the same anchor point for double the holding power. If condensation is already soaking your bag, move it to a dry bag or stuff sack and air it out at the first opportunity. Using compact camp furniture like a lightweight folding chair also keeps you off the wet ground while you troubleshoot, which sounds small but makes a real difference when you’re tired and frustrated.
Most setup guides, including this one, give you the sequence. What they don’t always tell you is why the sequence feels so hard the first time, and why experienced campers seem to glide through it.
Here’s the honest truth: the first time I set up a tent correctly, it took 45 minutes. The second time, 20. By the tenth time, under 10. The sequence itself isn’t complicated. What takes time is building the muscle memory and the judgment to adapt when something doesn’t go exactly as planned. A pole that doesn’t seat right, a stake that hits rock two inches down, a fly that keeps unclipping in the wind. These are the real tests, and no checklist fully prepares you for them.
What I’ve learned is that slow and deliberate always beats fast and sloppy, especially in bad weather. When you rush, you miss the slight slope in the ground, you forget to check the air gap, you skip tensioning one guyline. Each of those “small” shortcuts adds up to a wet, uncomfortable night. And a bad night’s sleep in the outdoors doesn’t just make you miserable. It makes everything harder: the hike, the cooking, the navigation, the enjoyment.
The other thing guides rarely mention is that comfort gear isn’t a luxury. It’s a force multiplier. When you have a proper place to sit, a warm layer within reach, and a kitchen that’s actually organized, you make better decisions. You’re not scrambling. You’re not cold and irritable. You’re present, and that’s what camping is actually for.
Real-world gear selection insights reinforce this point again and again: the campers who enjoy their trips most aren’t the ones with the most expensive gear. They’re the ones who know their gear, set it up deliberately, and built a system they can repeat without thinking.
When it does make sense to innovate and deviate from the checklist, it’s after you know the checklist cold. Improvisation built on a solid foundation is creative problem-solving. Improvisation built on ignorance is just chaos with a tent.
If you’re ready to take your camping setup skills to the next level, finding the right gear can make all the difference. You’ve got the sequence down, your shelter is weatherproof, and your sleep system is sorted. Now it’s time to think about the details that turn a functional campsite into a genuinely comfortable one.
At Sitpack, we specialize in exactly that kind of upgrade. Our portable, foldable chairs like the Campster II and Sitpack Zen are built for campers who want real comfort without hauling a bulky folding chair across a trail. Lightweight, durable, and genuinely packable, they fit into the kind of streamlined setup this guide is all about. Pair them with our compact tables, seat warmers, and thermal accessories, and your campsite stops feeling like a survival exercise and starts feeling like a proper basecamp. Browse our compact furniture options and see what a difference the right seat makes after a long day on the trail.
The ideal order is site selection, pitching the tent with rainfly and guylines, setting up your sleep system, and then establishing the kitchen or food area. Following this clear order of operations prevents the most common beginner mistakes and keeps your gear dry and organized from the start.
Tension the fly and guylines firmly, ensure a visible air gap between the fly and tent body, and use a footprint sized to fit under (not beyond) the tent base. Keeping the fly taut with proper separation is the single most effective step for preventing leaks.
RV and trailer camping centers on leveling the vehicle and connecting to utilities, while tent camping requires step-wise pitching, staking, and weatherproofing. RV/trailer setups involve different priorities entirely, including towing practice and utility hookup sequences, compared to the ground-up process of tent camping.
Rushing through steps or doing them out of order is the most frequent problem, and it becomes significantly worse when rain arrives. Rain increases the penalty for a disordered setup, making a staged, deliberate workflow essential rather than optional.